
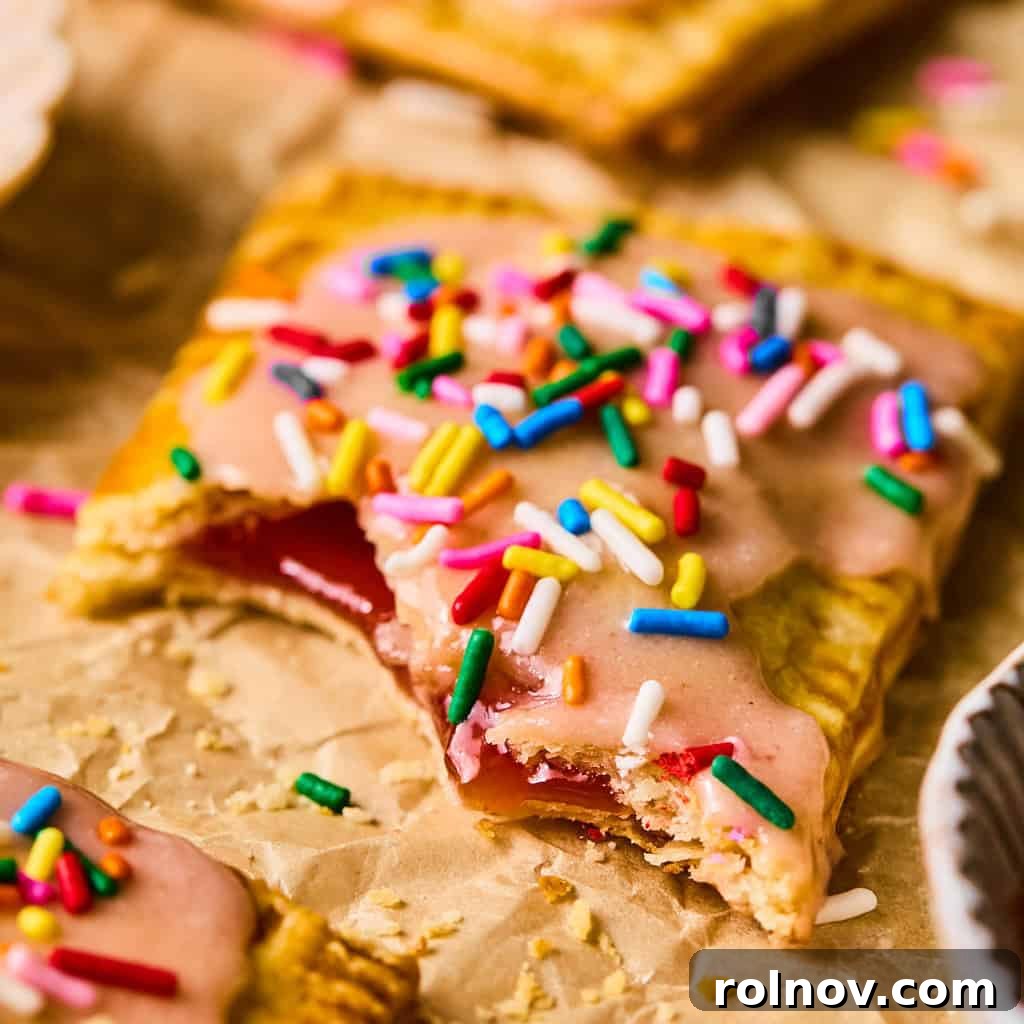
Are you craving a warm, flaky, and customizable breakfast treat? Look no further! This incredibly easy recipe for Homemade Pop Tarts allows you to craft delightful pastries right in your own kitchen. Whether you prefer the convenience of store-bought pie crust or the satisfaction of a homemade dough, this recipe offers flexibility and fantastic results. Get ready to enjoy a breakfast that’s tailored exactly to your taste!
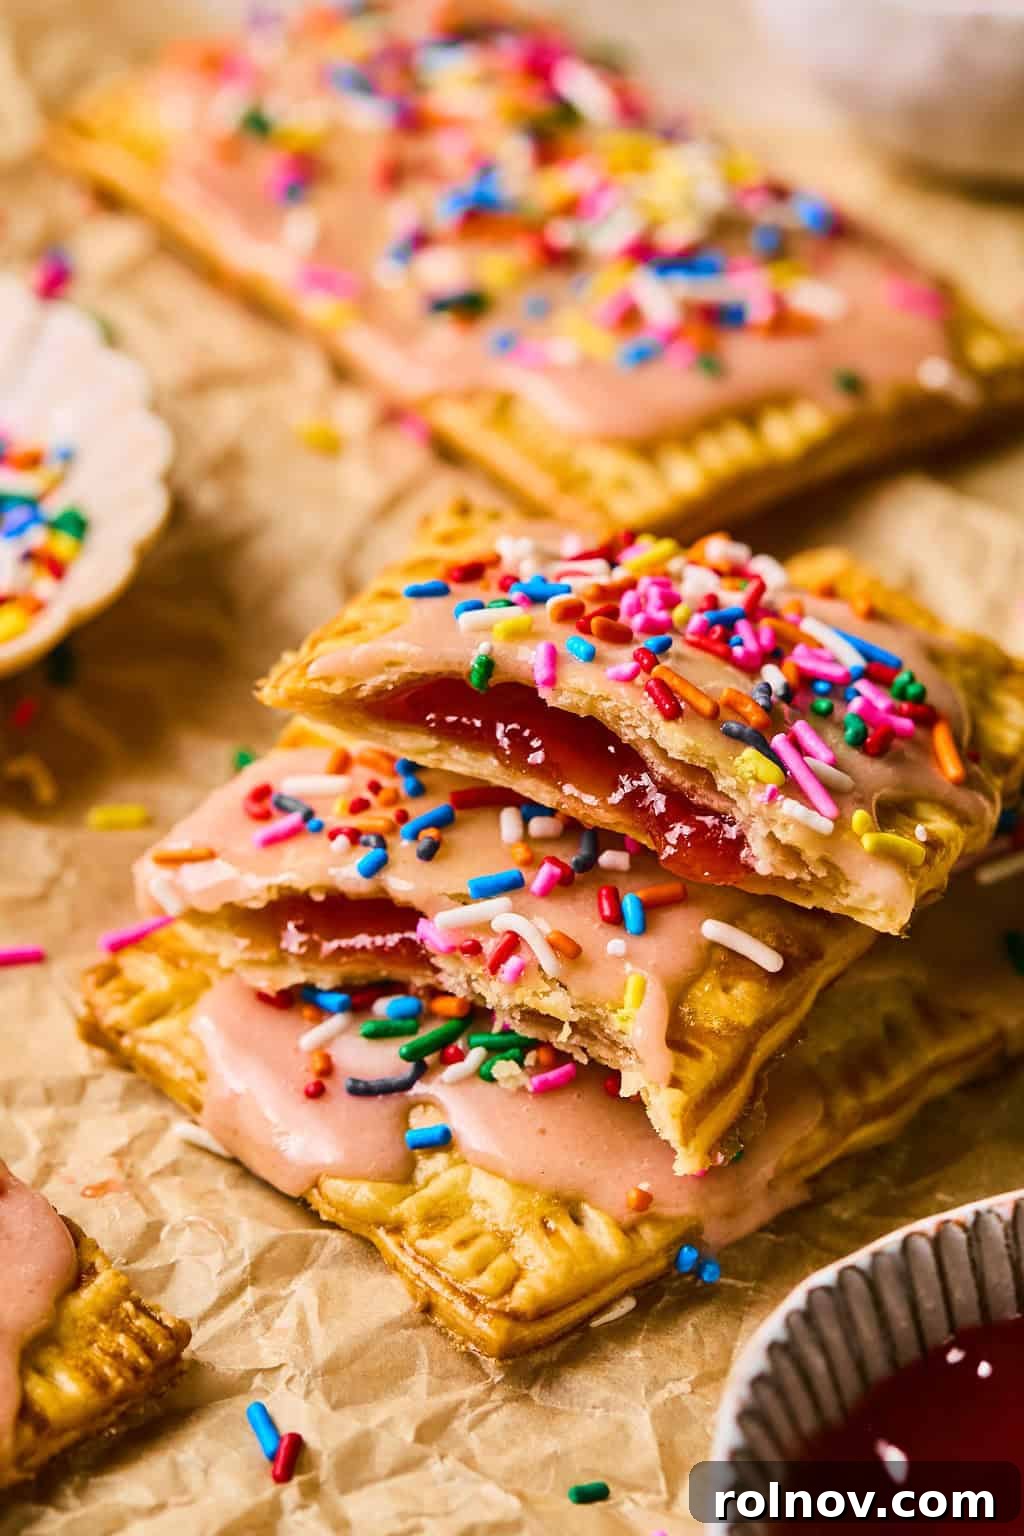
This recipe was originally published in March 2019 and significantly updated in August 2020 to include comprehensive step-by-step photos and enhanced instructions.
There’s something truly special about a freshly baked treat straight from the oven, and these homemade pop tarts deliver that comforting experience with minimal fuss. Over the past year, I’ve experimented with this recipe countless times, creating a new flavor adventure each time. Its incredible adaptability means you’ll never get bored, and it truly is one of the most straightforward pop tart recipes you’ll ever encounter.
Imagine filling these golden pockets with your favorite fruit jam, a rich chocolate hazelnut spread like Nutella, or a classic brown sugar cinnamon mixture. The possibilities are genuinely endless, transforming a simple pastry into a personalized delight. What makes this recipe even more appealing is that you don’t need any specialized baking equipment. Basic kitchen tools are all you require, making it accessible for everyone, from novice bakers to seasoned home cooks.
Of course, if you have an array of fancy baking supplies at your disposal, feel free to utilize them! However, this recipe shines brightest on those spontaneous days when the kids want to get involved in a fun kitchen project, or when you’re simply yearning for a warm, homemade pastry but are short on time. These pop tarts embody the spirit of homemade goodness without demanding a significant time commitment, and there’s absolutely nothing wrong with embracing that convenience and deliciousness!
If you’re looking to expand your breakfast repertoire, consider trying these other delightful favorites: Cinnamon Roll Breakfast Cookies, a rustic Puff Pastry Apple Tart, quick and easy Cinnamon Raisin Bagels, or these charming Blueberry Air Fryer Hand Pies for a truly special morning treat!
Why These Homemade Pop Tarts Will Become Your New Favorite:
Prepare to fall in love with these homemade pop tarts for a multitude of reasons:
- Perfect for Little Helpers: Making these pop tarts can be a wonderfully engaging activity for children. They can enthusiastically participate in almost every step, from cutting the dough into fun shapes and spooning in their chosen fillings to crimping the edges and brushing on the egg wash. It’s a fantastic way to introduce them to the joys of baking and create lasting memories together.
- Endless Flavor Customization: Forget the limited options of store-bought varieties. With this recipe, the flavor possibilities are truly boundless! Dive into classic fruit jams like strawberry, blackberry, or blueberry, or get creative with richer fillings like Nutella, decadent brown sugar cinnamon, or even unique seasonal fruit purees. Each batch can be a completely new culinary adventure tailored to your current cravings.
- Generous Icing Control: Say goodbye to the disappointment of thinly iced or partially covered store-bought pop tarts. This homemade version puts you in complete control of the frosting! Drizzle, spread, or smother your pop tarts with as much luscious icing as your heart desires, ensuring every single bite is perfectly sweet and satisfying.
Essential Ingredients and Clever Substitutions:
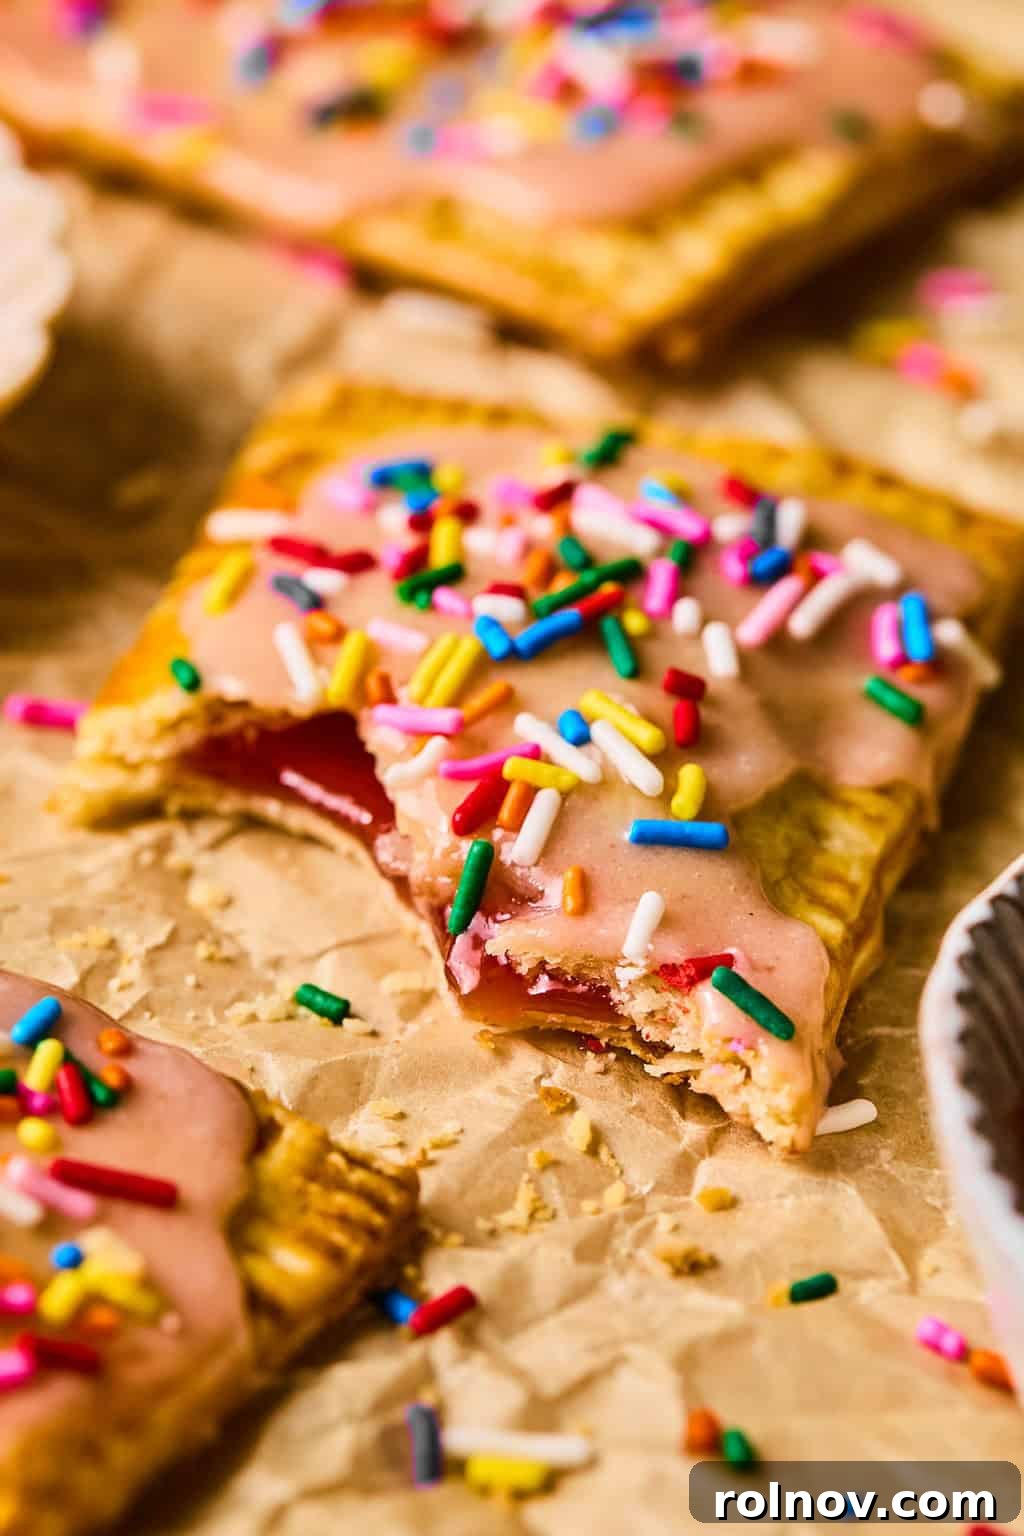
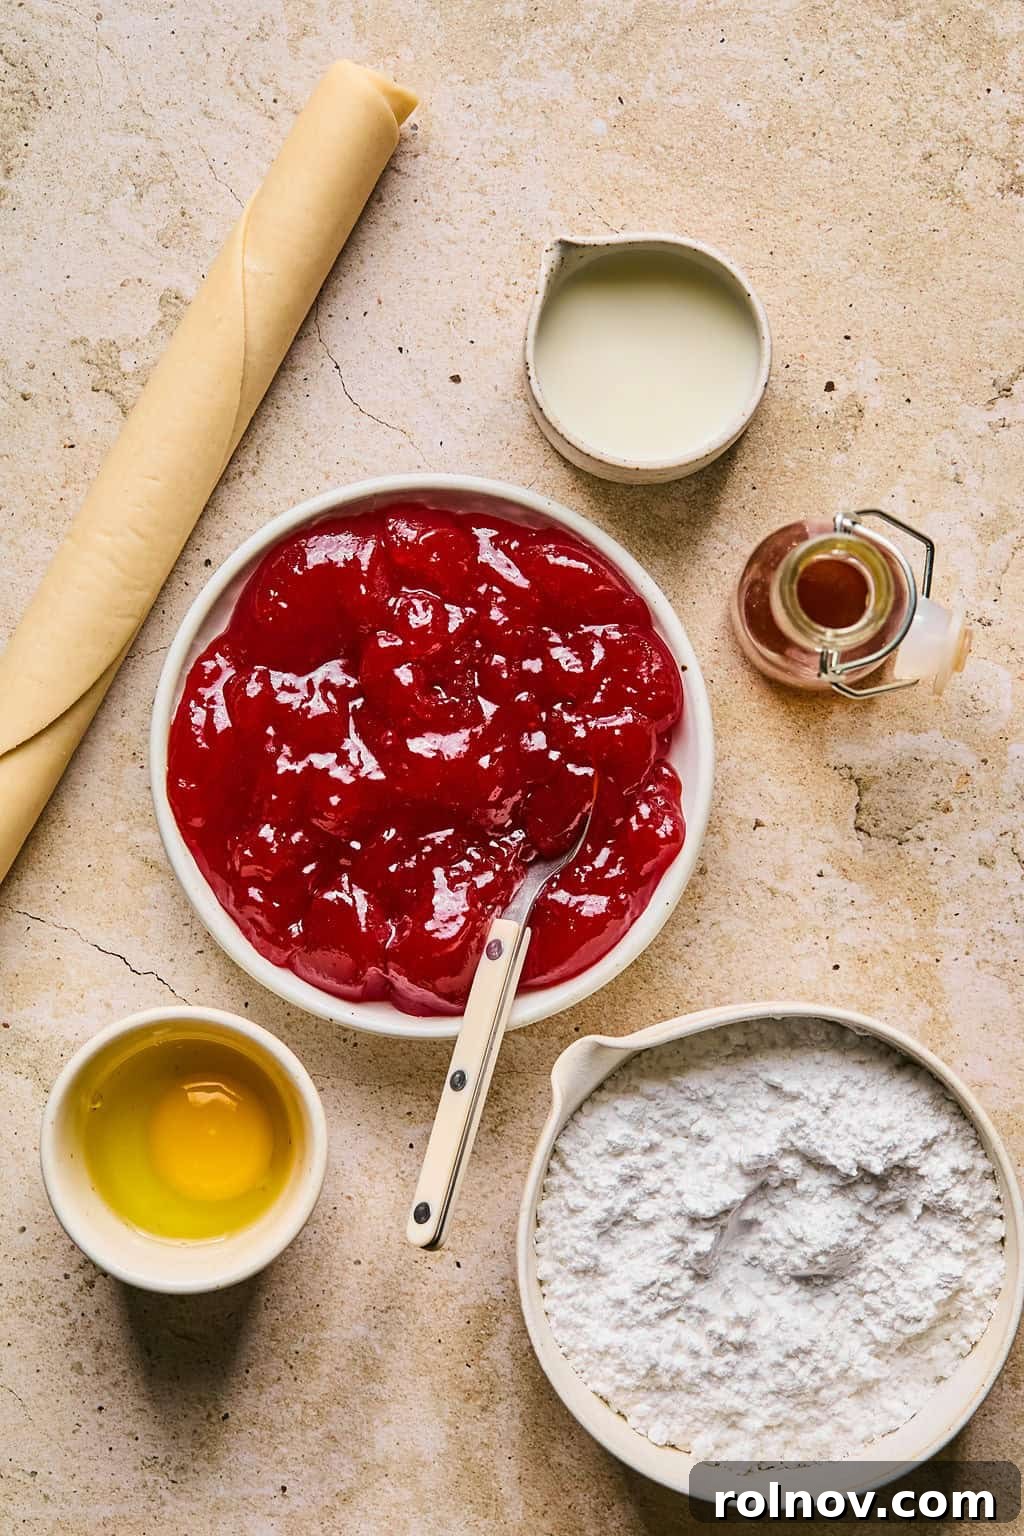
Crafting these delicious pop tarts requires just a few basic ingredients, and we’ve included some smart substitutions to ensure you can make them even if your pantry isn’t fully stocked.
- Pie Crust Choice: While the convenience of pre-made, roll-and-bake store-bought pie crusts is a major time-saver and makes these pop tarts truly “easy,” don’t hesitate to use your own homemade pie crust if you have a favorite recipe or the time to spare. A homemade crust certainly adds a rich, buttery depth and flaky texture that can elevate your pop tarts even further. However, for quick and effortless pastries, the store-bought option is perfectly delightful!
- Frosting Liquid: For the sweet icing that crowns your pop tarts, both heavy cream and milk work beautifully. Cream will yield a slightly richer, thicker frosting, while milk will result in a lighter, perhaps slightly more delicate glaze. Both options provide an excellent finish, so use whichever you have on hand.
- Egg Wash Alternatives: The egg wash is crucial for achieving that beautiful golden-brown crust and a slight sheen. If you need an egg-free version, a simple brush of melted coconut oil can provide a similar browning effect. Alternatively, a mixture of almond milk and a touch of agave nectar can also help create a lovely golden hue and a subtle sweetness.
- Filling Freedom: The heart of your pop tart is the filling! While fruit jams and preserves are classic choices, don’t be afraid to experiment. Consider thick fruit curds, nut butters, or even a simple homemade brown sugar and cinnamon mixture for a comforting classic flavor.
Crafting Your Homemade Pop Tarts: A Step-By-Step Guide:
Follow these simple steps to create your own batch of irresistible homemade pop tarts. Precision isn’t paramount here; the joy is in the making!
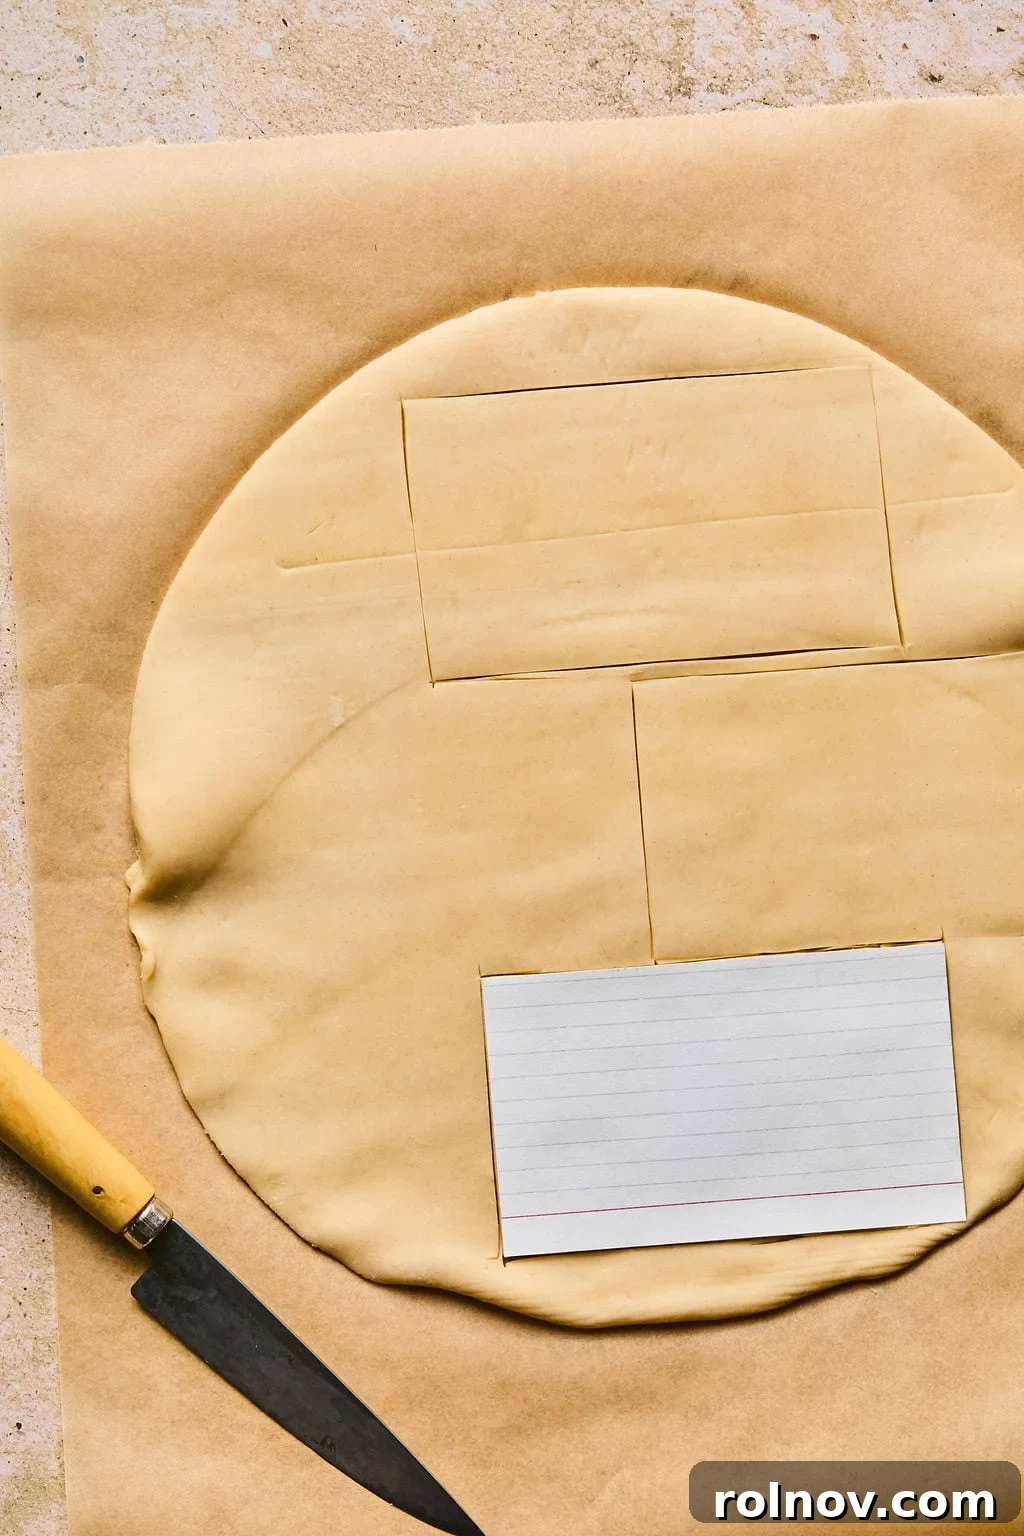
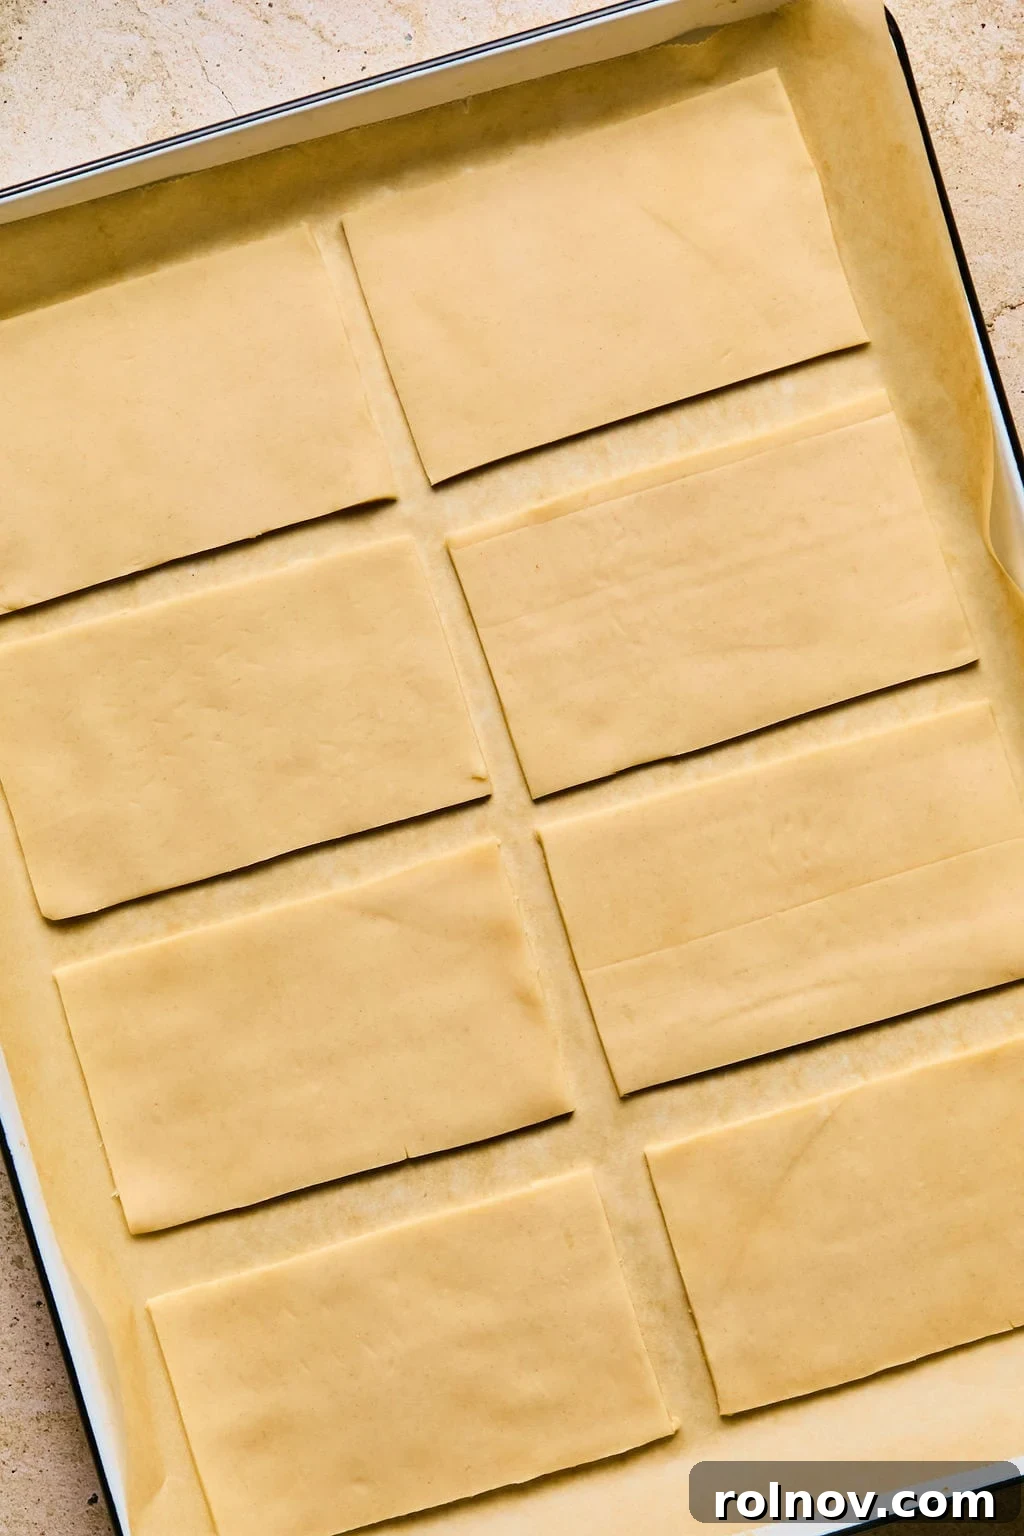
- Prepare Your Dough: Begin by allowing your store-bought pie crust to reach room temperature; this makes it much easier to unroll and work with without cracking. If using circular crusts, stack the two layers gently and trim off any rounded edges to create a more rectangular shape. A pizza cutter is excellent for this, offering clean, straight lines, but a sharp knife or a dedicated pastry cutter will also work perfectly.
- Cut Rectangles: Using a template (an index card, approximately 3×5 inches, works wonders!) as a guide, cut the dough into uniform rectangles. Carefully transfer these cutouts to a parchment-lined baking sheet, keeping them somewhat spaced apart. Gather all the leftover dough scraps, gently knead them together, then re-roll the combined dough to about 1/4 inch thickness. Cut out any additional rectangles from this re-rolled dough. For a fun twist, you can even use biscuit or cookie cutters to create unique shapes with the remaining scraps!
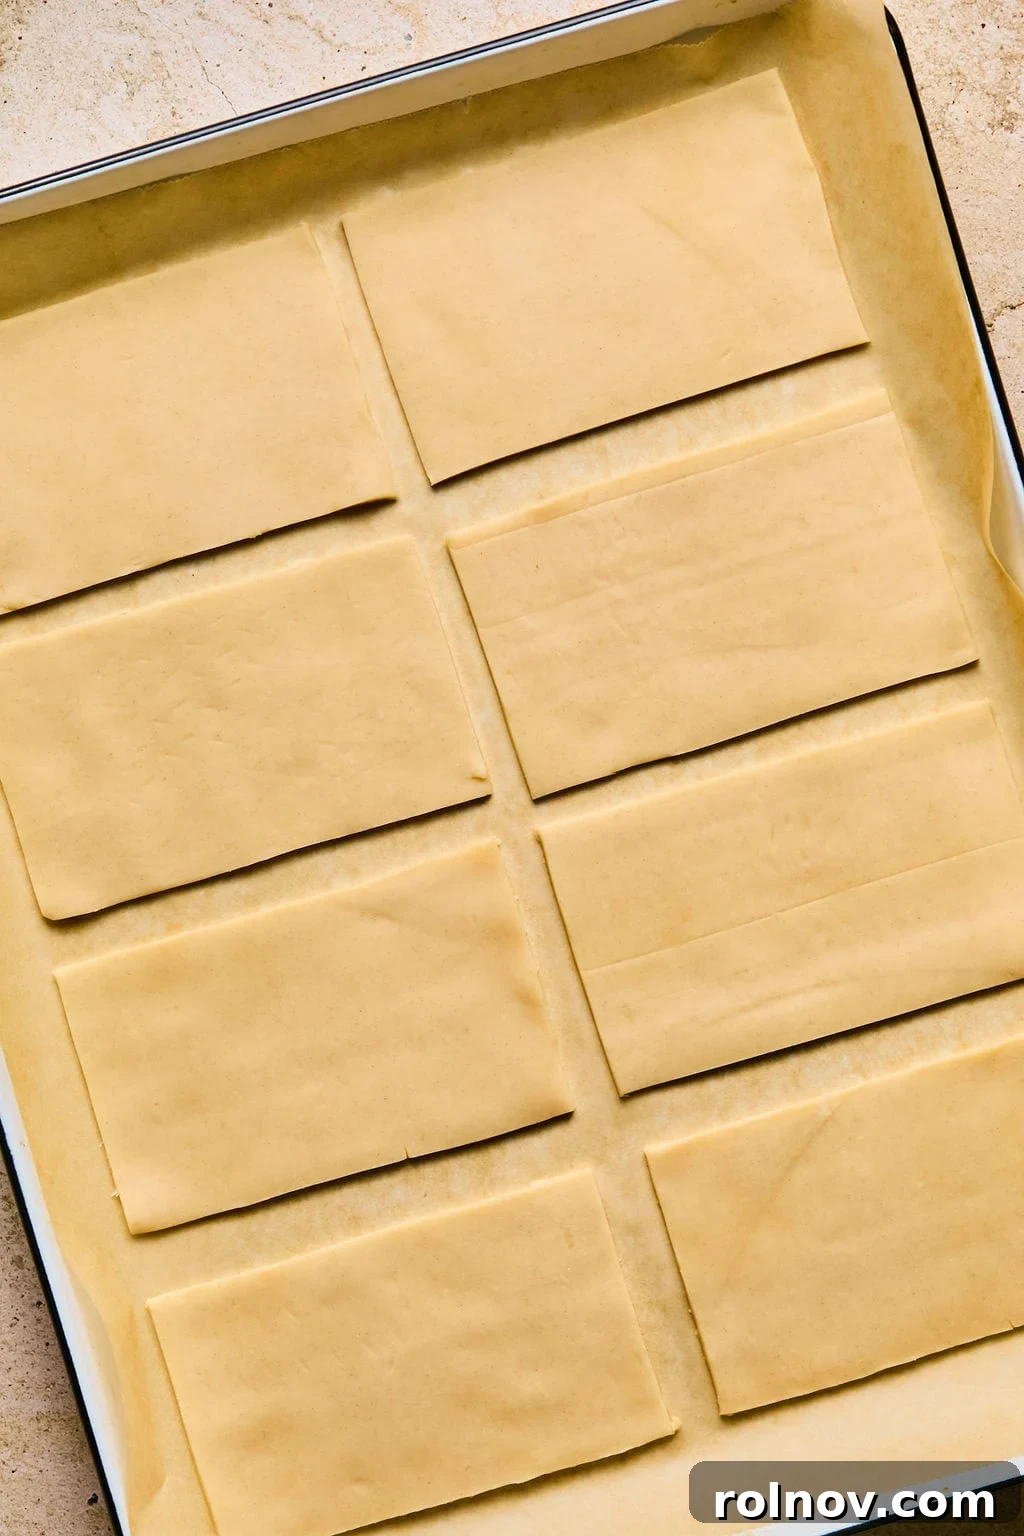
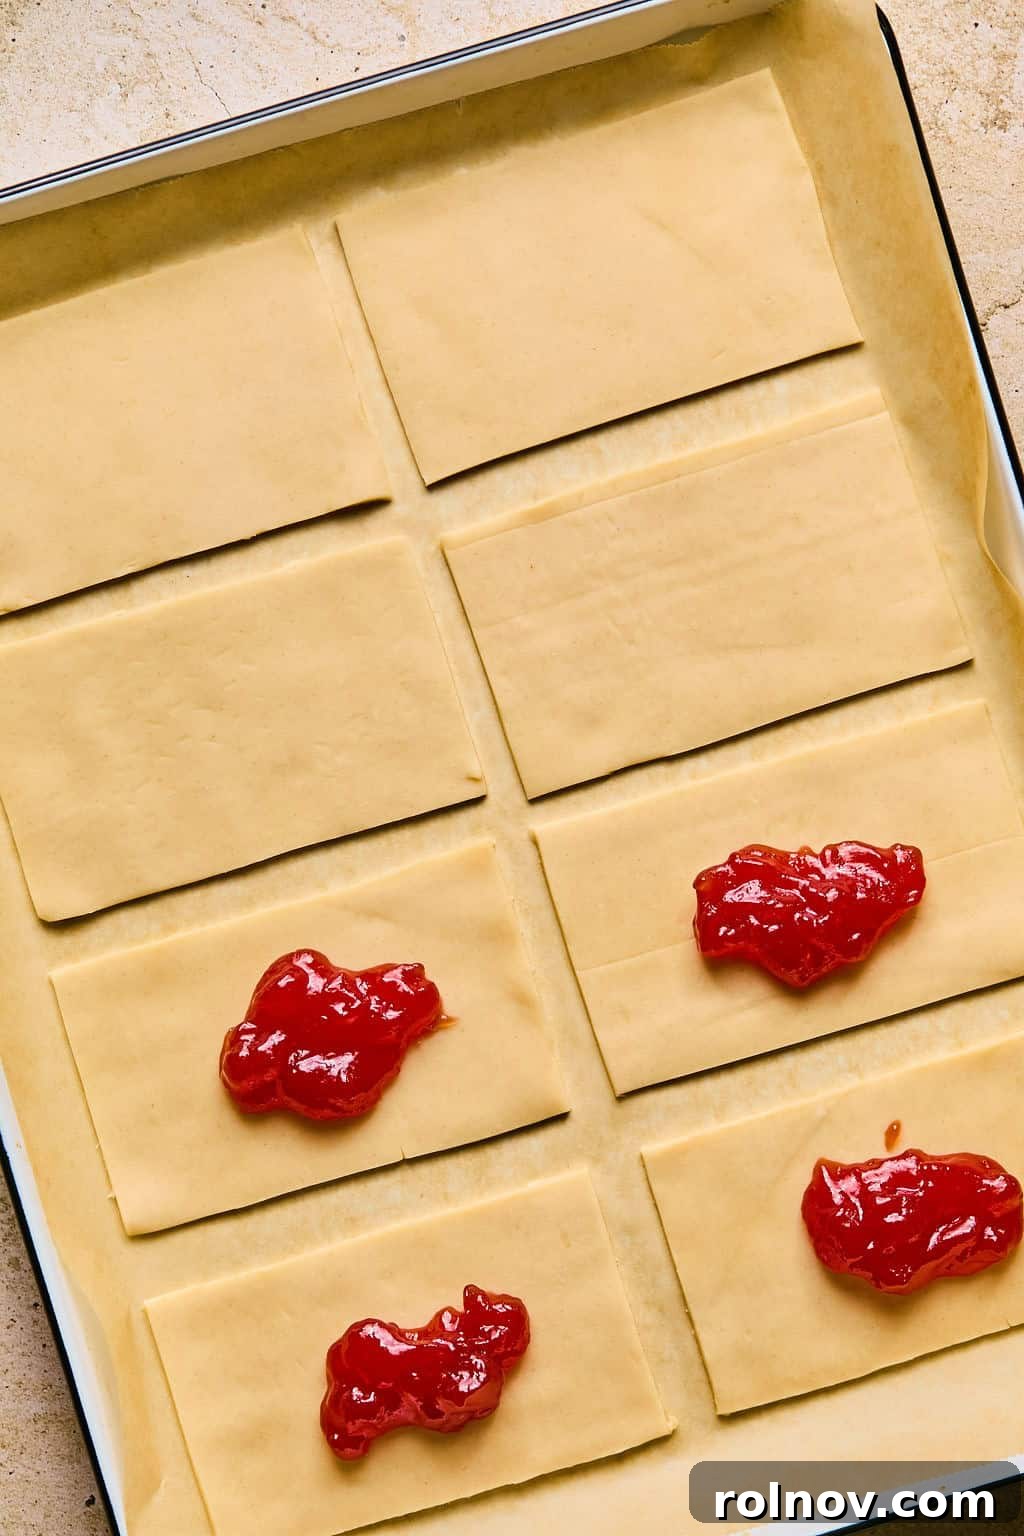
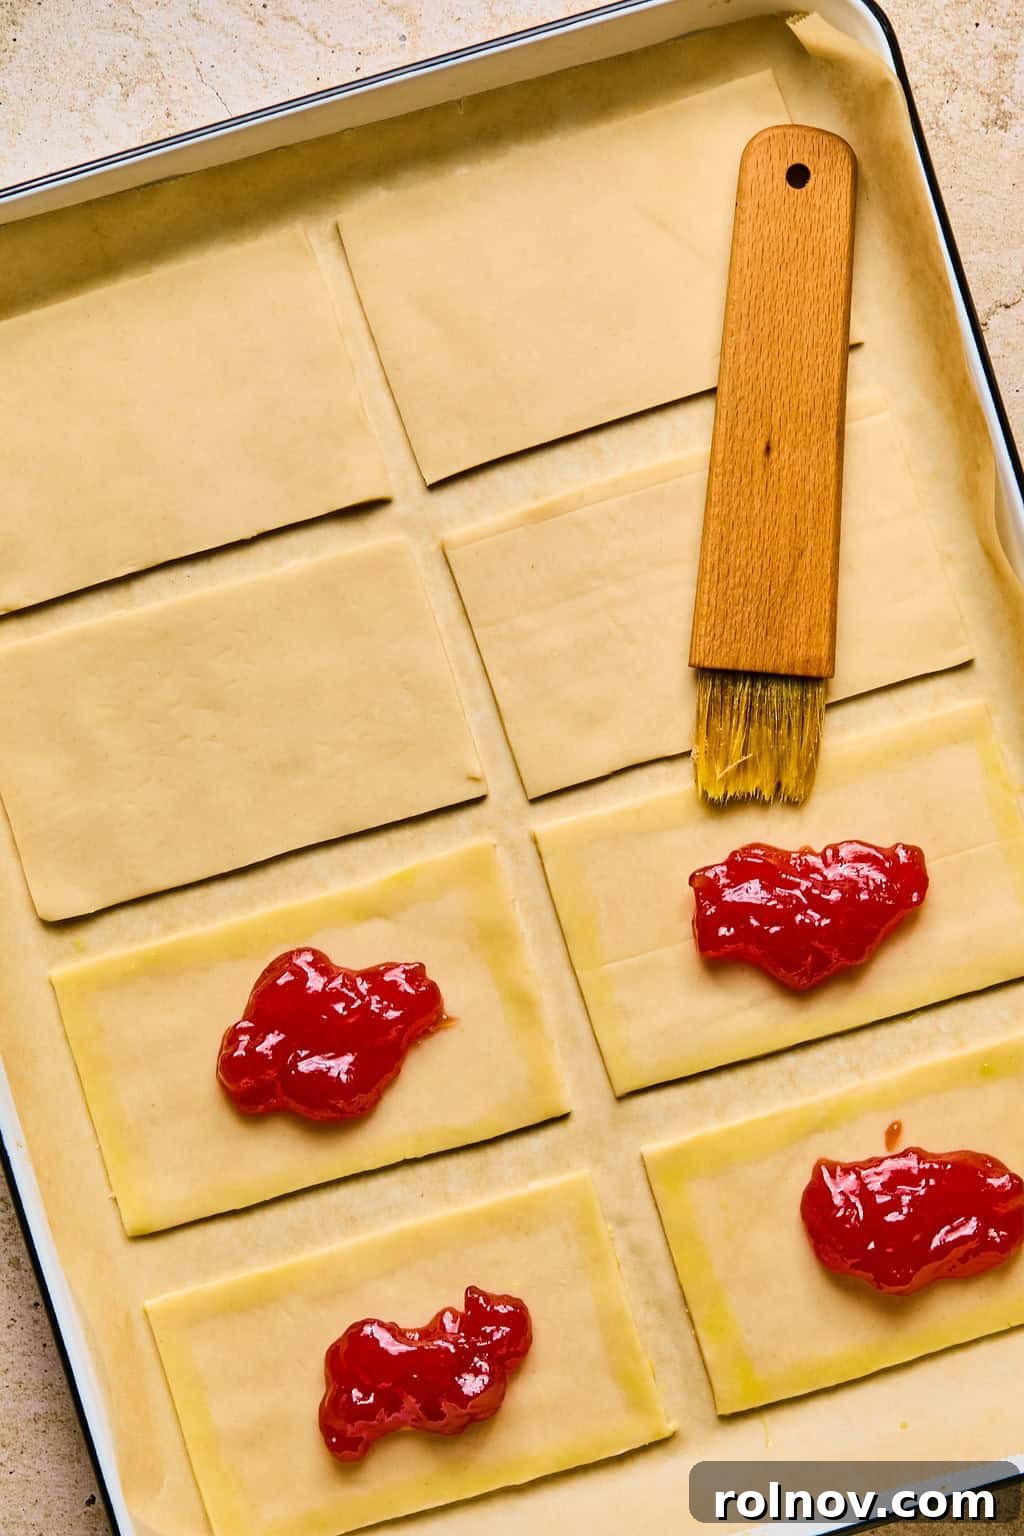
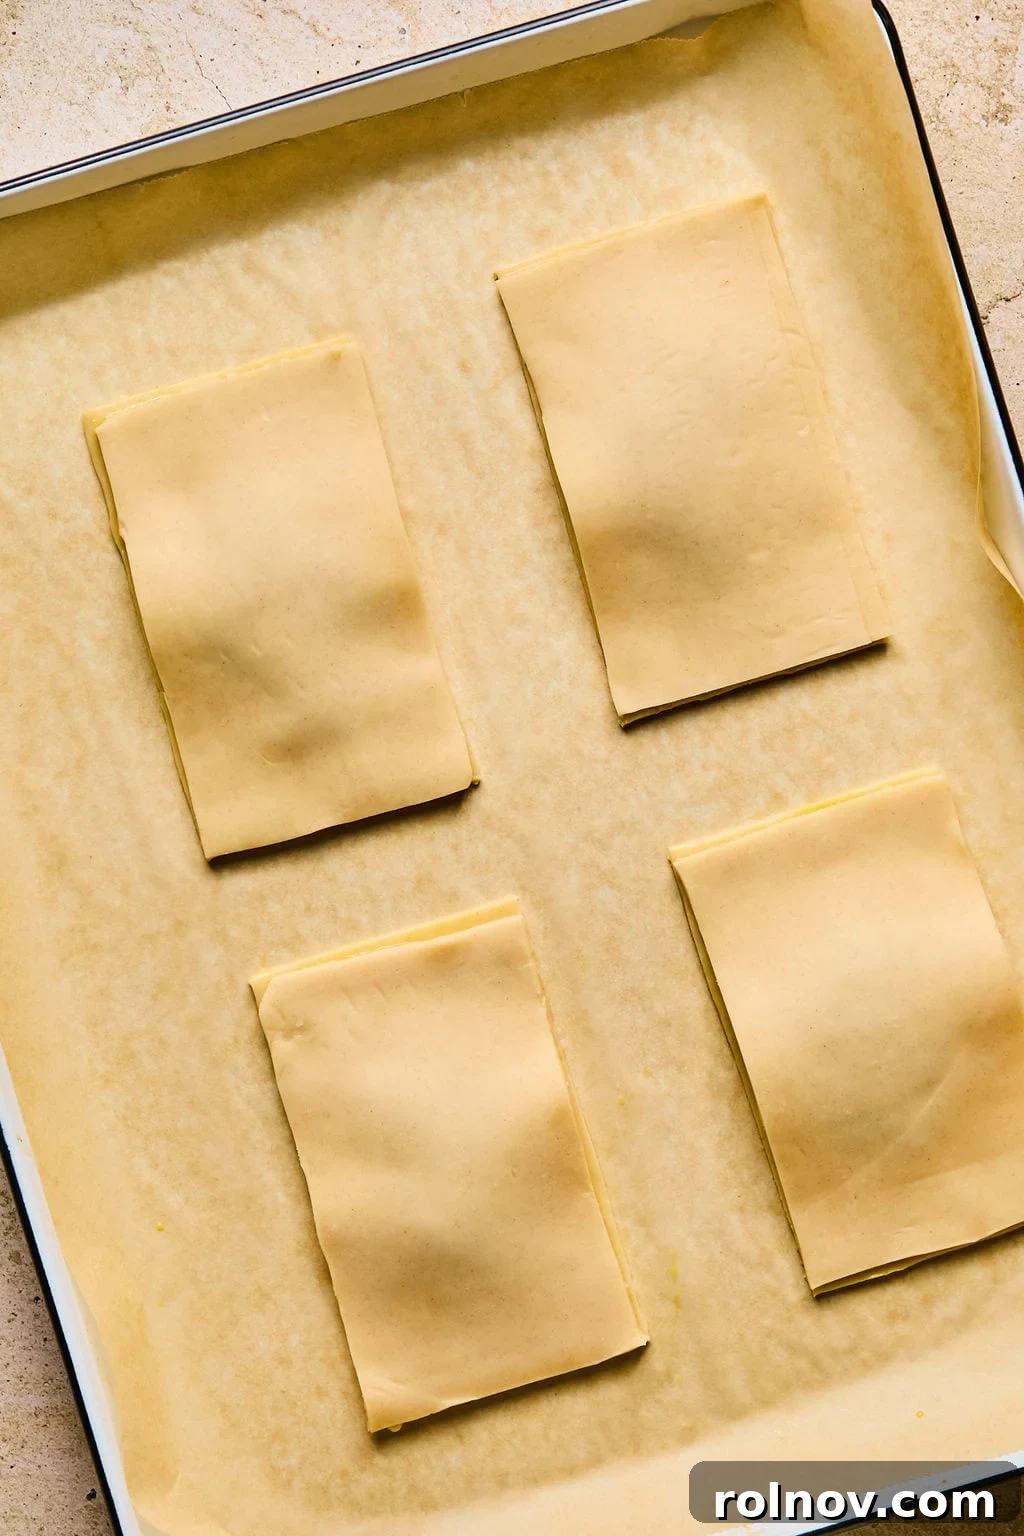
- Assemble the Base: Arrange the bottom layers of your pop tarts on a parchment-lined baking sheet, leaving adequate space between them. For clearer imagery, only four are shown in the example, but you can fit more depending on your sheet size.
- Add the Filling: Spoon approximately one and a half tablespoons of your chosen jam or preserves into the center of each rectangle. There’s no need to spread it perfectly; a small mound will do, just ensure it’s somewhat evenly distributed and leaves a clear border around the edges.
- Seal with Egg Wash: In a small bowl, whisk one large egg thoroughly to create your egg wash. Using a pastry brush, delicately paint the egg wash along the edges of each dough rectangle, creating a sticky border around the jam. This acts as glue, helping the top layer adhere securely. Carefully place the top layer of dough directly over the bottom, aligning the edges as best you can.
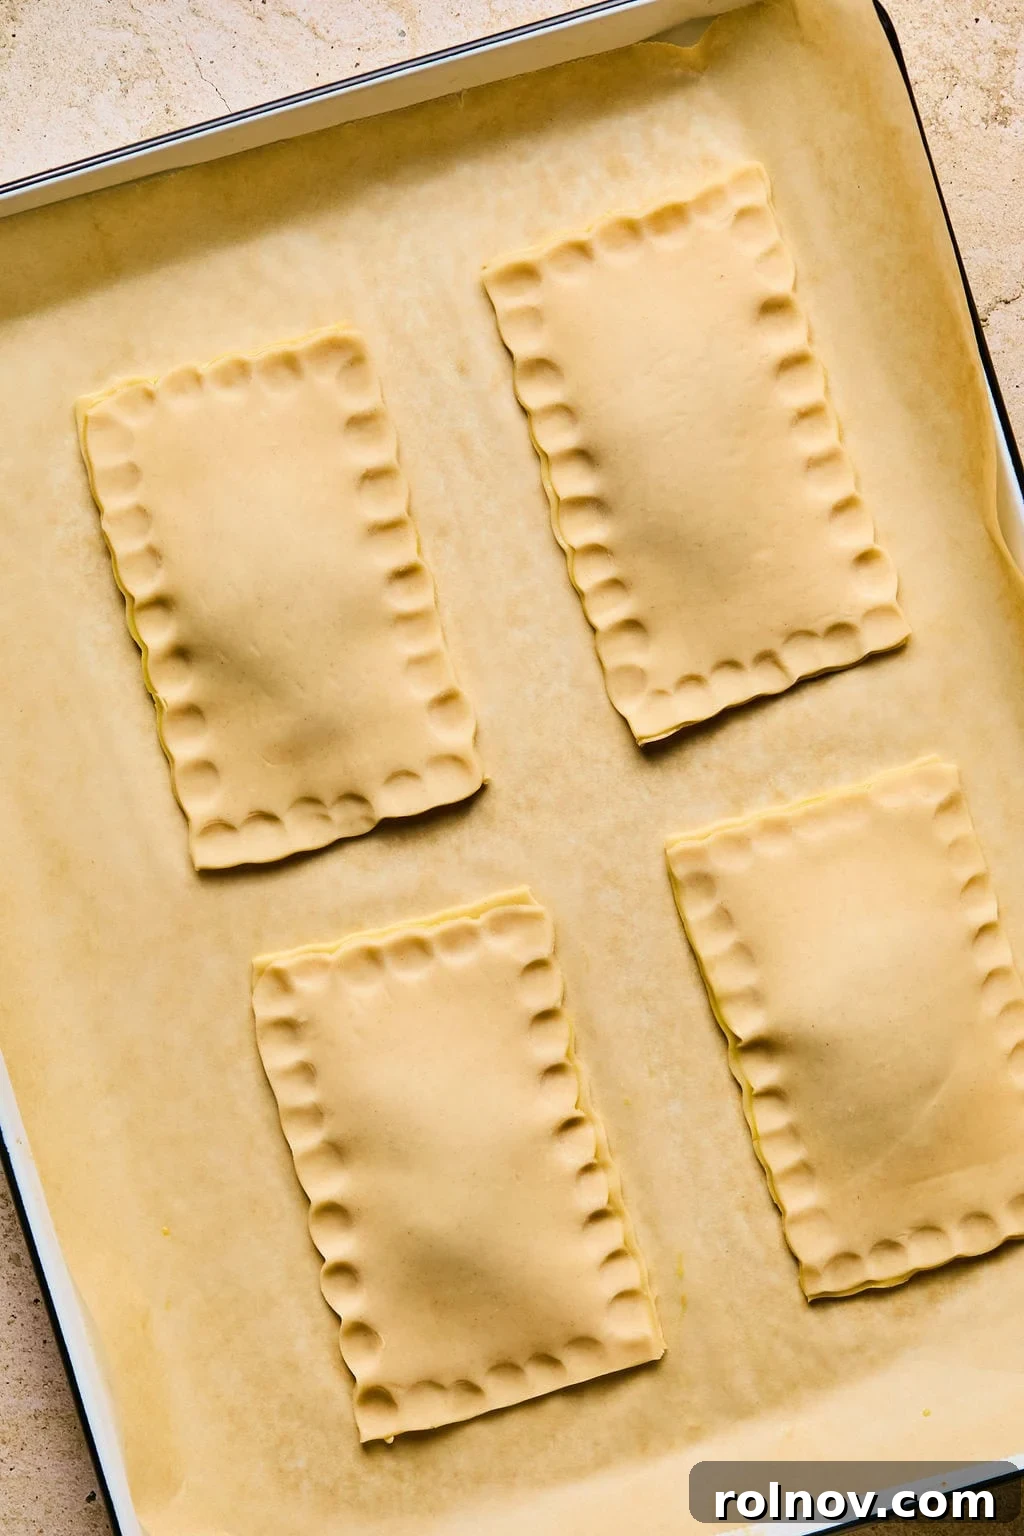
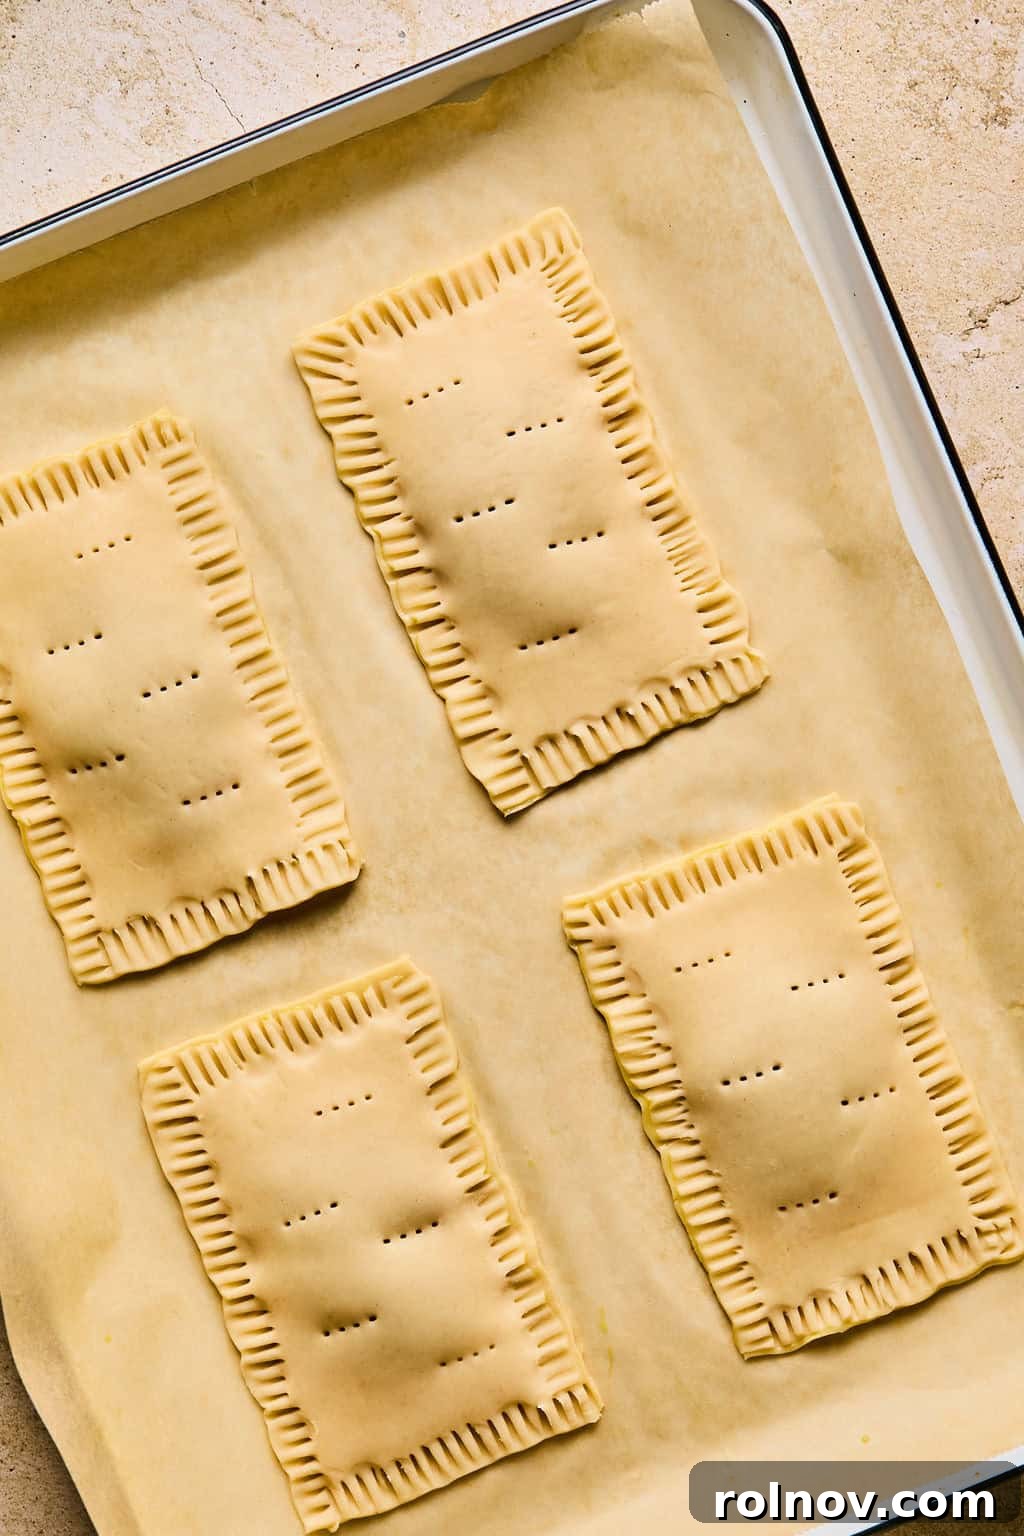
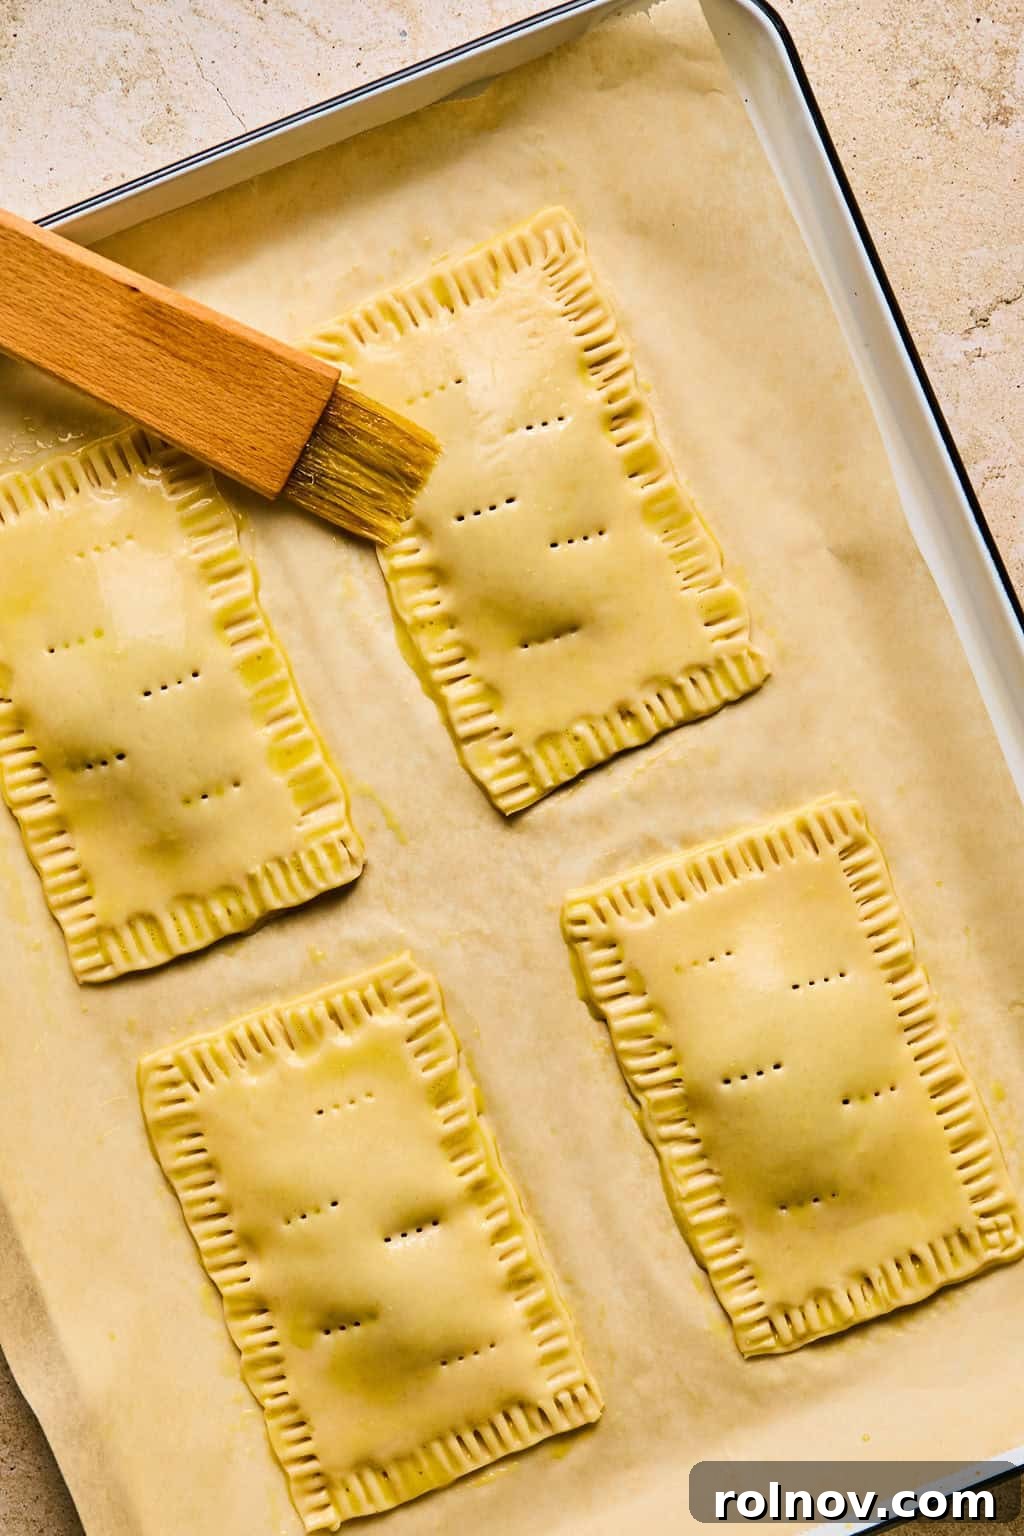
- Secure the Edges: This is a crucial step for leak-proof pop tarts! Use your fingertips to firmly crimp and press the two layers of dough together around the jam, ensuring they are fully integrated. The more thoroughly you seal these layers, the less likely any delicious filling will escape during baking.
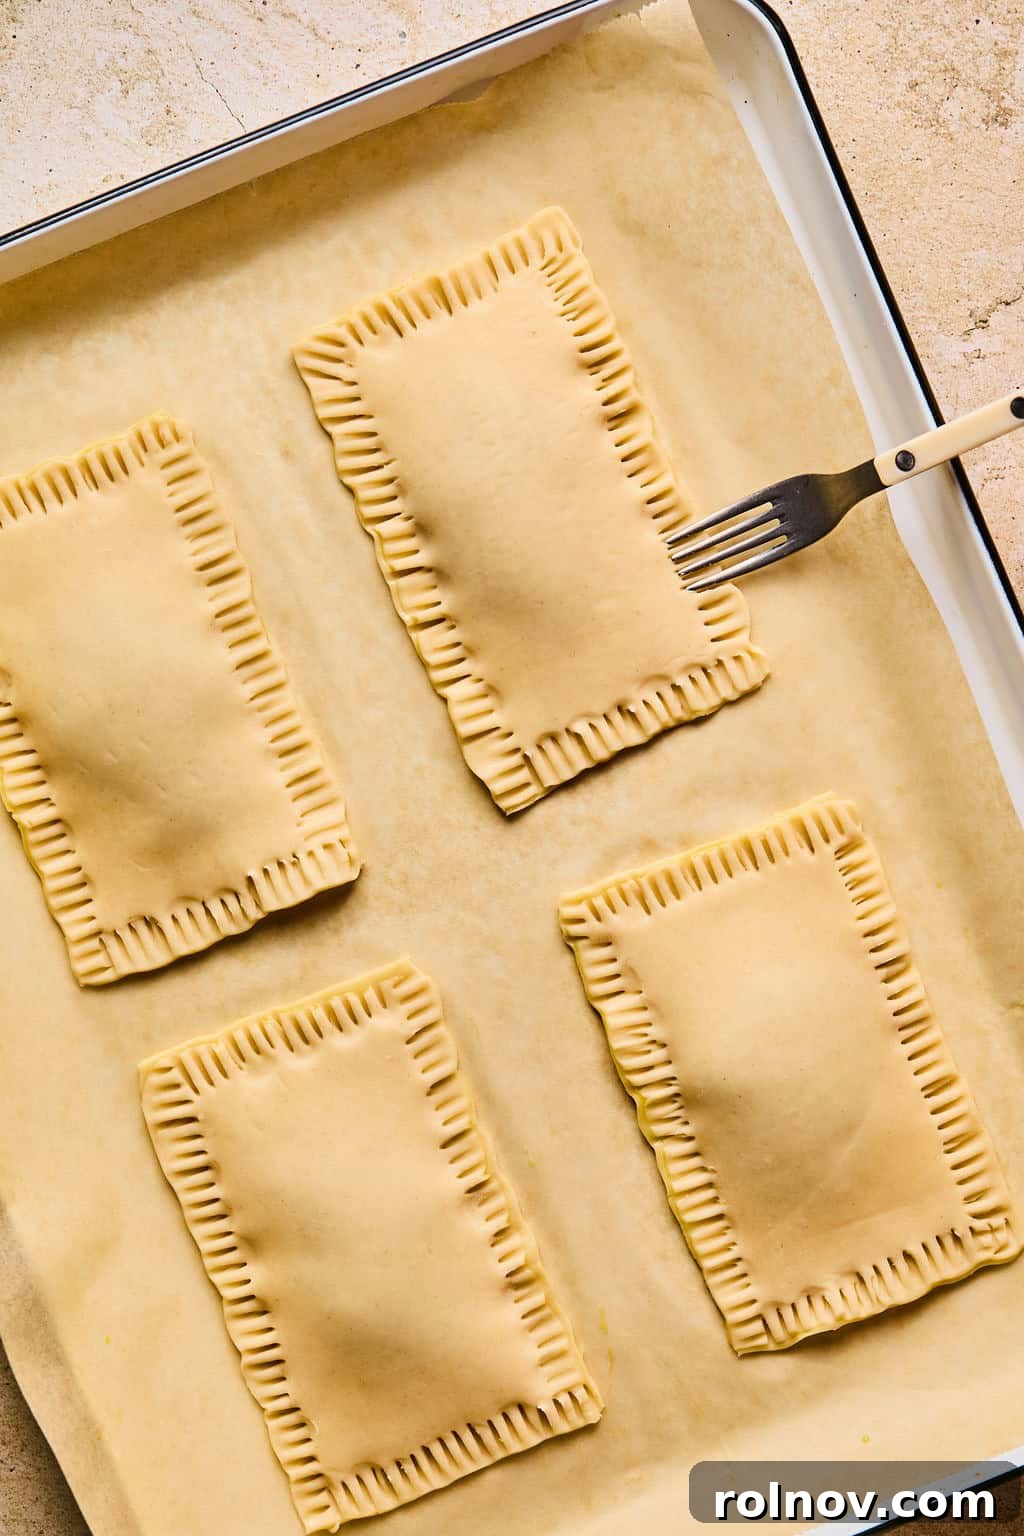
- Decorative Seal & Vent: For that iconic pastry look and an extra layer of security, use the tines of a fork to press and crimp the edges of each pop tart once more. This creates a beautiful, rustic pattern while firmly sealing the layers. Don’t forget to poke several holes with the fork on the top surface of each pastry. These small vents are essential for allowing steam to escape during baking, preventing your pop tarts from puffing up excessively or bursting.
- Final Egg Wash & Bake: Once the edges are sealed and vented, brush the entire top surface of each pop tart, including all the crimped edges, with the remaining egg wash. This will contribute to a lovely golden-brown finish. Preheat your oven to 400°F (200°C) and bake the pop tarts for approximately 12-15 minutes, or until they are beautifully golden brown and lightly puffed.
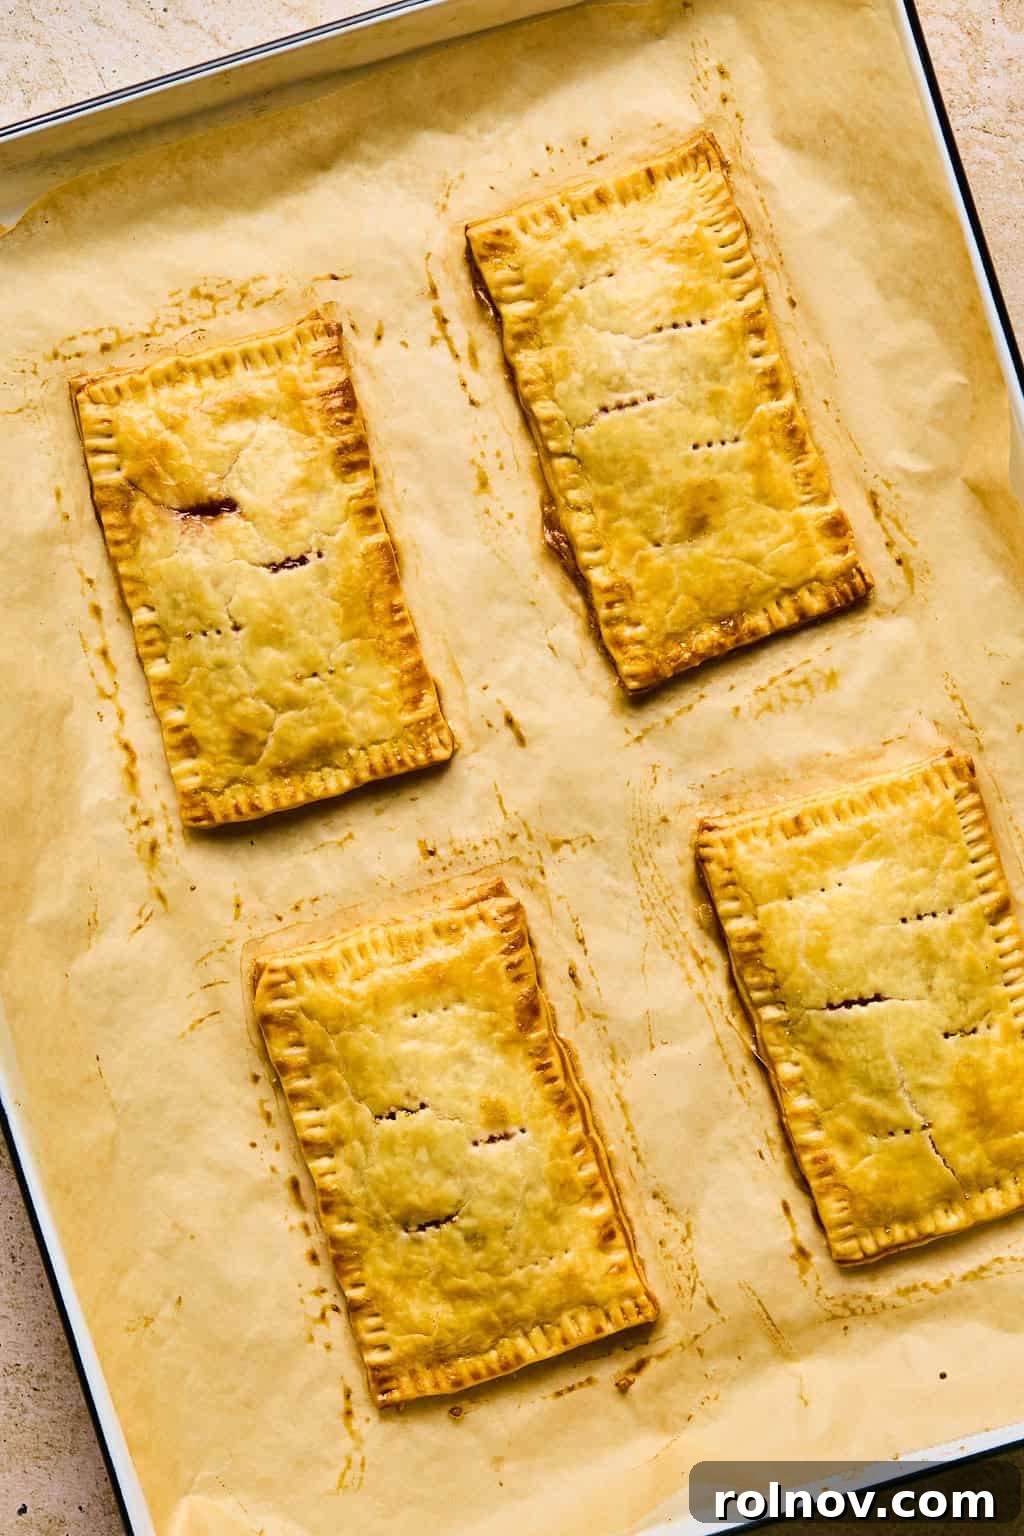
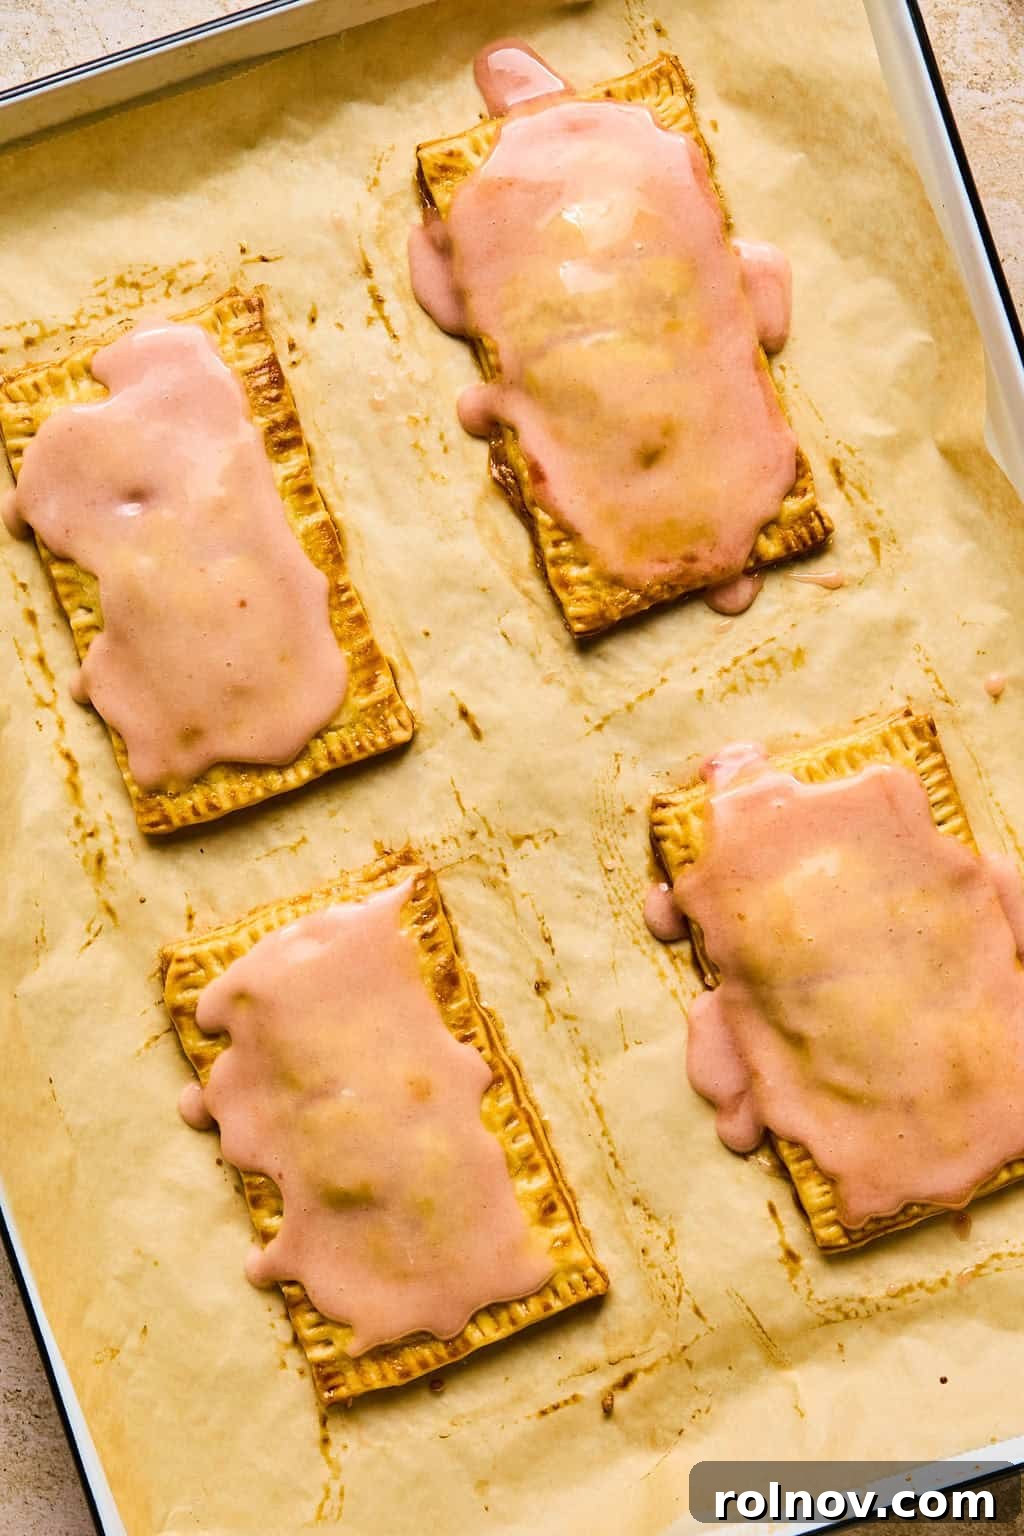
- Cool Completely: Patience is key here! Allow your baked pop tarts to cool down completely on the baking sheet or a wire rack before you even think about icing them. If you attempt to frost them while warm, the icing will simply melt into the pastry, creating a messy (though still delicious) puddle.
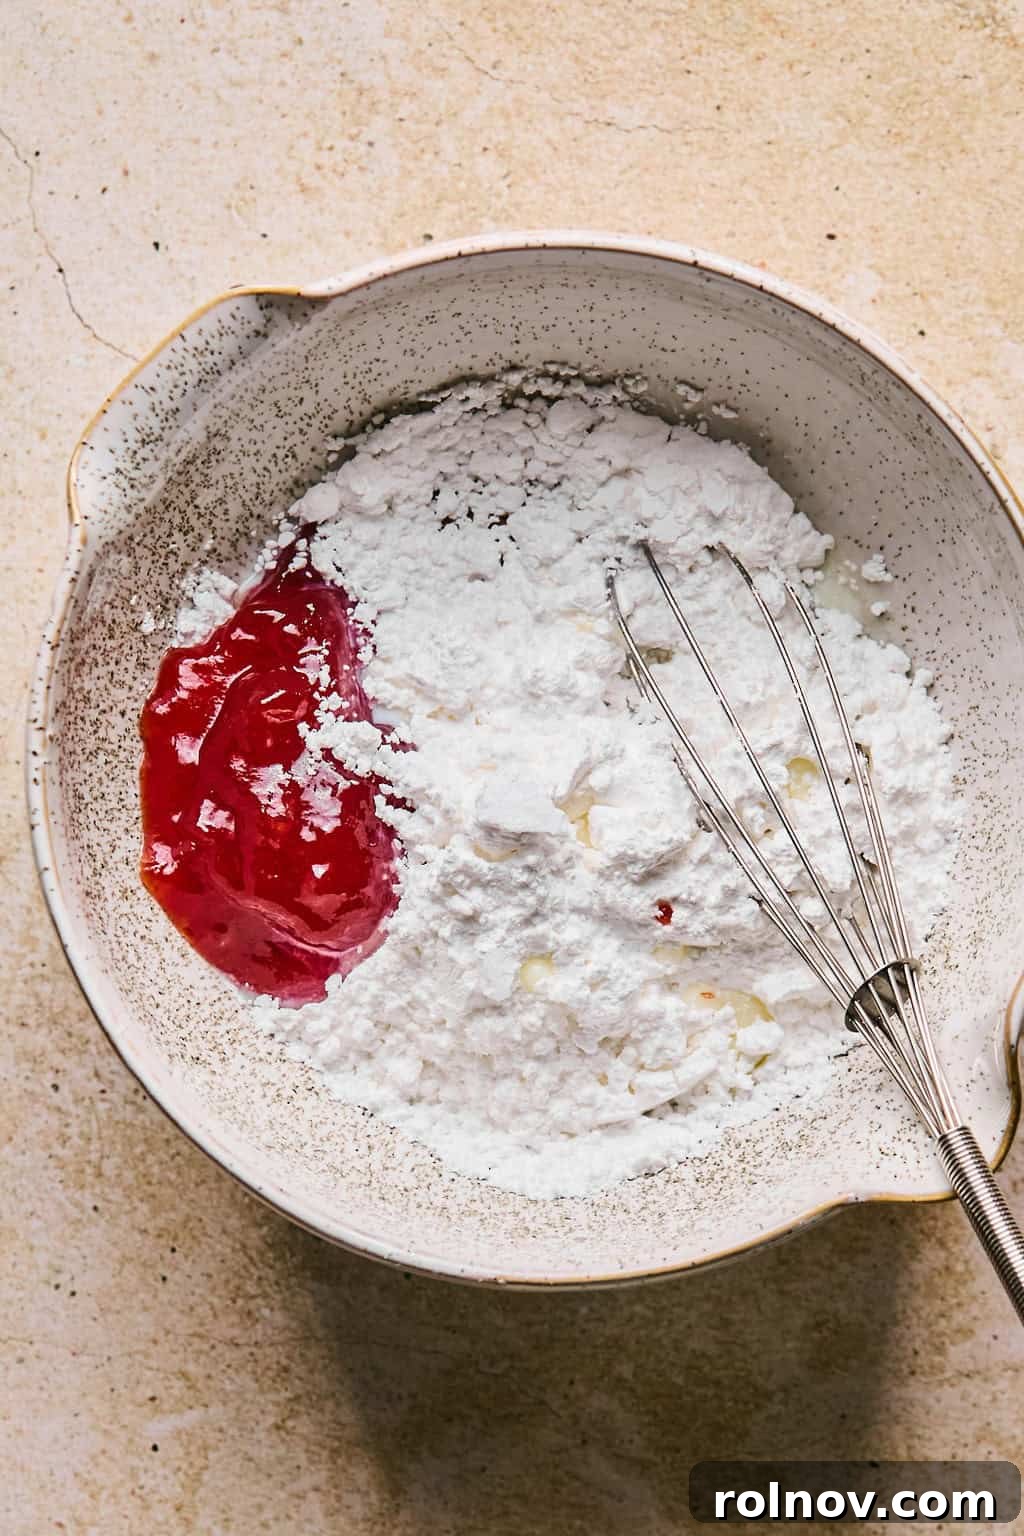
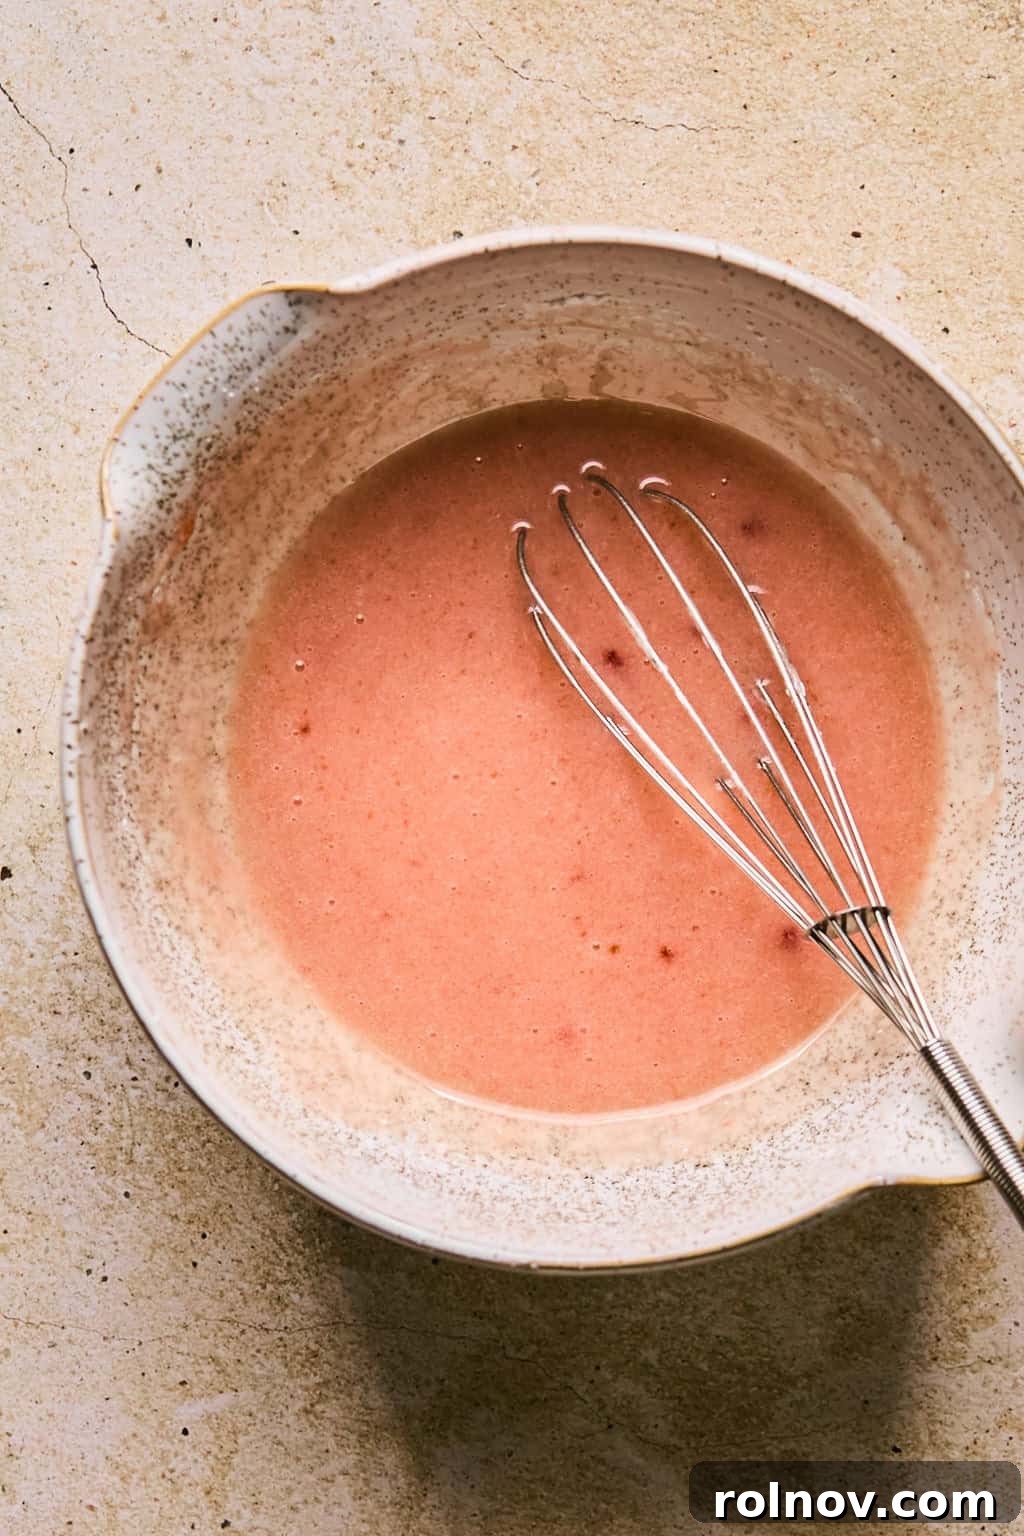
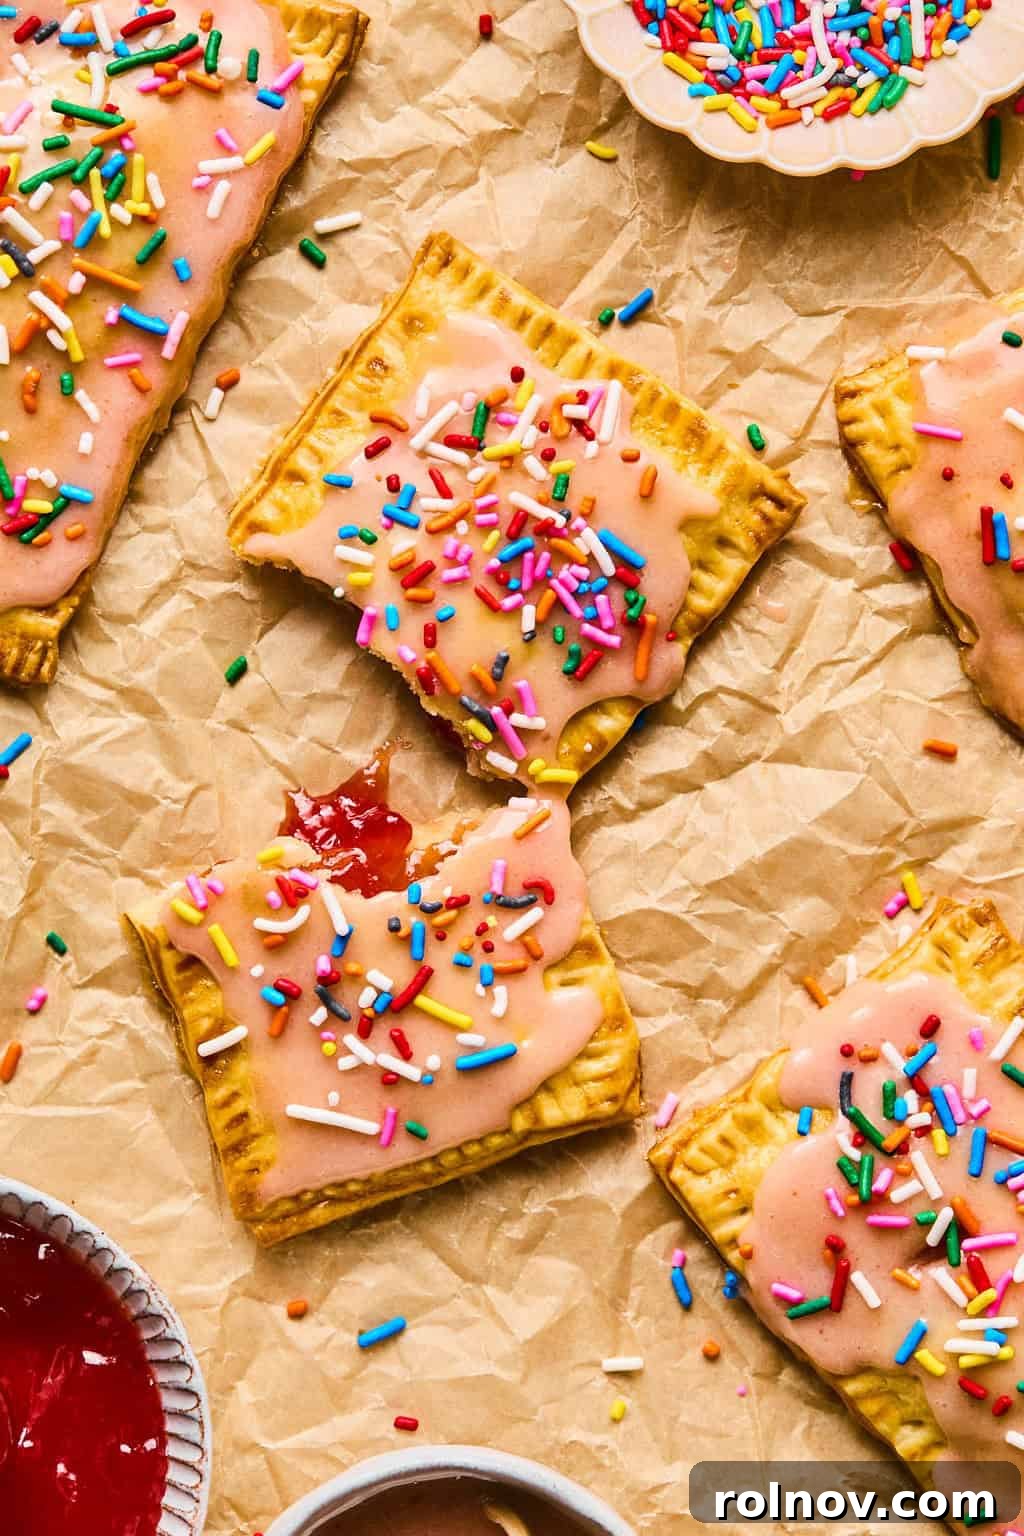
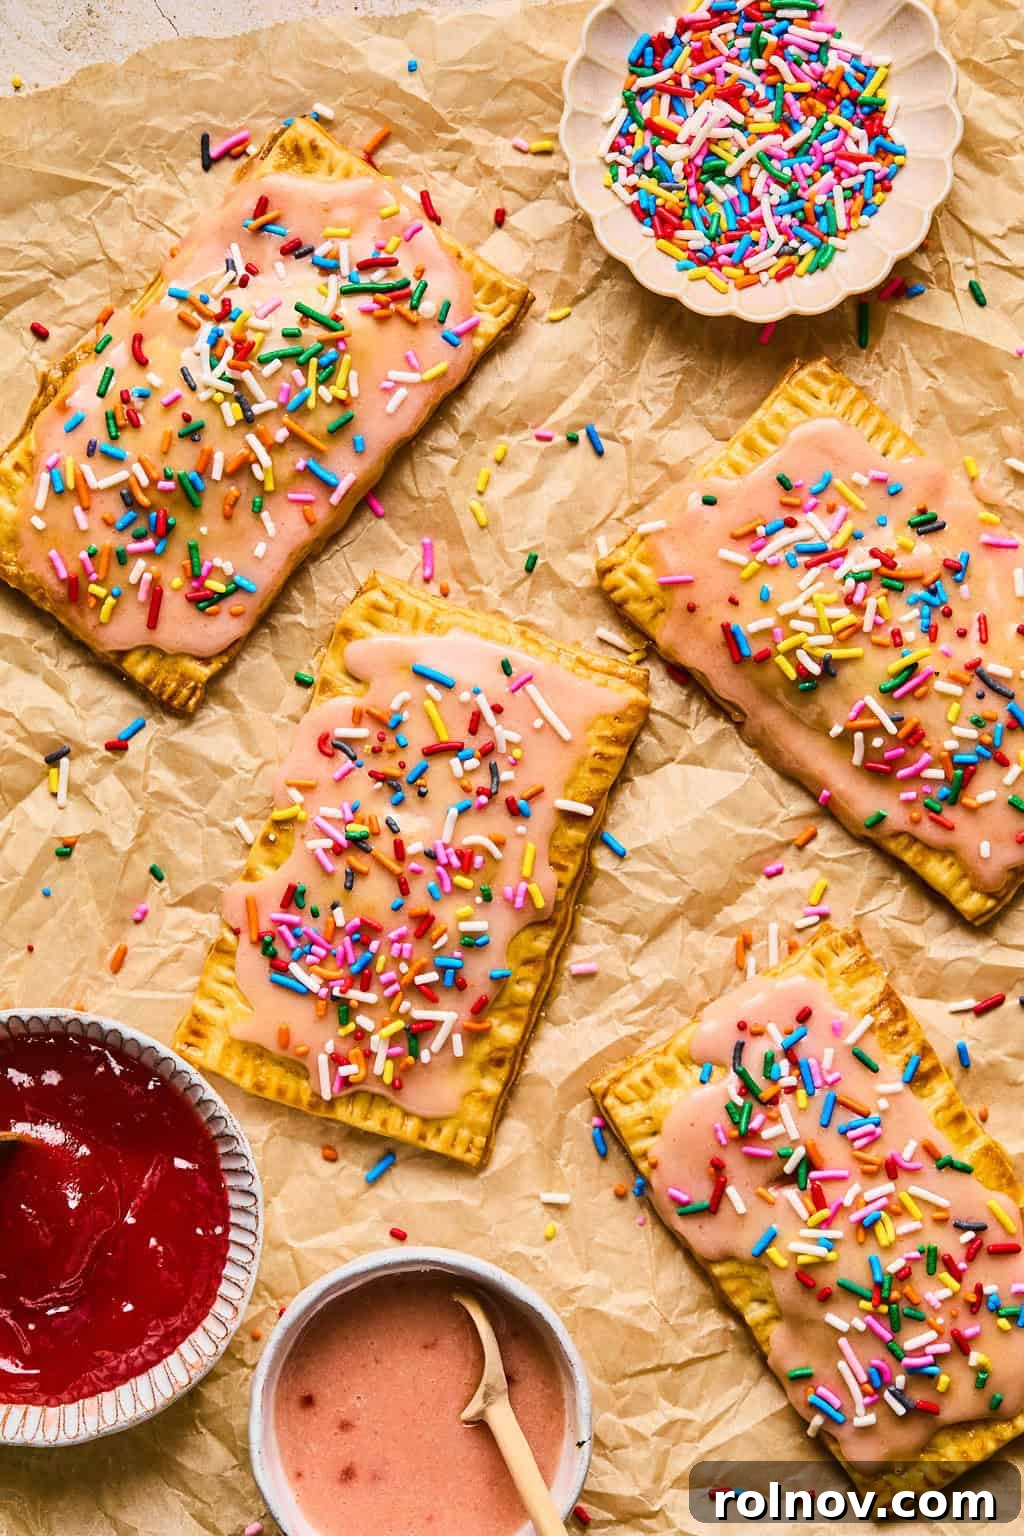
- Prepare and Apply Icing: While the pop tarts cool, whisk together all the frosting ingredients (powdered sugar, milk/cream, jam, and vanilla) in a small bowl until smooth and lump-free. Once the pastries are fully cooled, generously spread the prepared icing over the top of each pop tart. If desired, immediately add sprinkles or other decorative toppings before the icing sets.
Expert Recipe Tips for Perfect Pop Tarts:
Unlock the secrets to truly outstanding homemade pop tarts with these insightful tips:
- Filling Freedom: Don’t limit yourself to just one type of jam! Experiment with an array of flavors like strawberry preserves, tangy blackberry jam, sweet raspberry, vibrant mixed berry, delicate apricot, or rich cherry. The pop tarts pictured here feature classic strawberry jam. For an even more wholesome option, consider whipping up some homemade chia jam. The world of fillings is your oyster for these versatile homemade pop tarts!
- Avoid Overfilling: This is a crucial piece of advice! While it’s tempting to load up on delicious jam, overfilling your pop tarts can lead to the jam bubbling out during baking, resulting in a less aesthetically pleasing (and potentially sticky) pastry. Stick to the recommended amount for the best results.
- Double Down on Sealing: Achieving a tight seal is paramount to prevent leakage. After initially pressing the edges together with your fingers, follow up by firmly crimping them with a fork. This two-step sealing process makes a significant difference in keeping your fillings securely inside the pastry. If your dough becomes too warm and sticky while working, briefly refrigerate it to make it easier to handle and seal effectively.
Storing and Reheating Your Homemade Pop Tarts:
Proper storage ensures your homemade pop tarts remain delicious for as long as possible:
Store these delightful pastries in an airtight container at room temperature for up to two days. For extended freshness, they can be refrigerated for about 4-5 days. If you’re looking to enjoy them even longer, these pop tarts freeze beautifully for up to three months when wrapped tightly. Always allow them to thaw before reheating.
Reheating Best Practices: For optimal results, we highly advise against reheating these pop tarts in a toaster, as the filling can become excessively hot and potentially burn, while the pastry might become overly crisp. Instead, for a warm and crispy texture, bake them in a preheated oven at 350°F (175°C) for a few minutes until warmed through, or use an air fryer for 2-3 minutes for a quick refresh.
Exciting Flavor Variations to Try:
Unleash your culinary creativity with these imaginative flavor combinations:
- Classic Brown Sugar Cinnamon Pop Tarts: For a beloved breakfast staple, create a filling by mixing approximately 3/4 cup of brown sugar with 2-3 tablespoons of softened butter and 2-3 teaspoons of ground cinnamon. Use this aromatic mixture in place of jam. For the icing, omit the jam and instead add a teaspoon of cinnamon to the powdered sugar and milk/cream base. The result is pure, comforting bliss!
- Delectable S’mores Pop Tarts: Transform your pop tarts into a campfire classic! Fill the centers with a generous amount of chopped chocolate and a few mini marshmallows. After baking, frost them with marshmallow fluff or a rich chocolate frosting, then sprinkle with crushed graham cracker crumbs for that authentic s’mores experience.
- Other Irresistible Fillings: The possibilities don’t end there! Explore unique flavors such as zesty lemon curd, rich and creamy Nutella, a classic peanut butter (or a peanut butter and jelly combo!), your favorite fruit pie filling (apple, cherry, peach), luscious blueberry preserves, or spiced apple butter. Let your imagination guide you to your next favorite homemade pop tart!
Explore More Delicious Breakfast Recipes:
- Blueberry Baked French Toast Muffins
- Strawberry Crumble Muffins
- Carrot Cake Baked Donuts
- Triple Vanilla Donuts with Maple Glaze
- Banana Oat Blender Pancakes
HUNGRY FOR MORE? Subscribe to my newsletter and follow me on Facebook, Instagram and Pinterest for all the latest recipes and culinary inspiration!
Easy Homemade Pop Tarts with Pie Crust
Lorie Yarro

Print Recipe
20
15
35
6-8
Ingredients
- 1 package rolled pie crust (I used a 2 ct. 7.5 oz pack), or double this homemade crust
- 1 c plus 2 T jam or preserves
- 1 large egg
For the Icing:
- 1 c powdered sugar
- 2-3 T milk or cream
- 2 T jam
- 1/2 tsp vanilla extract
Instructions
-
Preheat your oven to 400°F (200°C). Prepare a baking sheet by lining it with parchment paper.
-
Unroll your pie crust onto a clean surface (or another sheet of parchment). Using a guide (like a 3×5 inch index card), cut as many rectangular pieces as possible from each crust. Gather any remaining scraps, gently knead them together, then re-roll the dough to about 1/4 inch thickness to cut more rectangles.
-
In a small bowl, whisk the large egg for your egg wash. Place about 8 of your dough rectangles on the parchment-lined baking sheet. Spoon 1 1/2 tablespoons of your desired jam into the center of each rectangle, leaving a clear border around the edges. Brush the edges with the prepared egg wash.
-
Carefully place another dough rectangle on top of each jam-filled base. Gently pinch the edges together to seal them. Then, using a fork, crimp the edges of each pop tart to create a decorative and secure seal. Poke several holes into the top surface of each pastry with a fork to allow steam to escape. Finally, brush the entire top of each pop tart, including the edges, with egg wash for a golden finish.
-
Continue this process with the rest of your pop tarts. Bake for approximately 12-15 minutes, or until they are golden brown and lightly puffed.
-
Once baked, transfer the pop tarts to a wire rack and allow them to cool completely. This is essential! While they are cooling, whisk together all the icing ingredients (powdered sugar, milk/cream, jam, and vanilla extract) until smooth. Once the pop tarts are fully cooled, spread the icing generously over each one. Add sprinkles, crushed freeze-dried berries, or other desired toppings. These pop tarts are best enjoyed fresh, but can be stored in an airtight container for up to 2 days.
Video Guide
A detailed video walkthrough of the homemade pop tart recipe is available. It covers everything from preparing the pie crust and adding the filling to sealing the edges and applying the final icing, providing visual guidance for each step to ensure perfect results.
Notes
Filling Variety: Feel free to experiment with any jam or preserve you love – strawberry, blackberry, mixed berry, apricot, raspberry, cherry are all fantastic. Homemade chia jam also works wonderfully!
Don’t Overfill: Be mindful not to overfill the pastries, as excess jam can leak out during baking and make them less appealing.
Seal Thoroughly: The key to preventing leaks is pressing the edges firmly together with your fingers first, then reinforcing the seal with a fork. This dual method is highly effective.
Nutrition Facts
Carbohydrates: 47g,
Protein: 1g,
Fat: 5g,
Saturated Fat: 1g,
Cholesterol: 1mg,
Sodium: 83mg,
Potassium: 47mg,
Fiber: 1g,
Sugar: 30g,
Vitamin C: 3mg,
Calcium: 13mg,
Iron: 1mg
Nutrition information is automatically calculated and should only be used as an approximation.
Did you enjoy this recipe? Have a question?Leave a comment below!
Shop Essential Baking Tools:
Durable Sheet Pan
Buy Now →
Versatile Pastry Brush
Buy Now →
Classic Rolling Pin
Buy Now →