
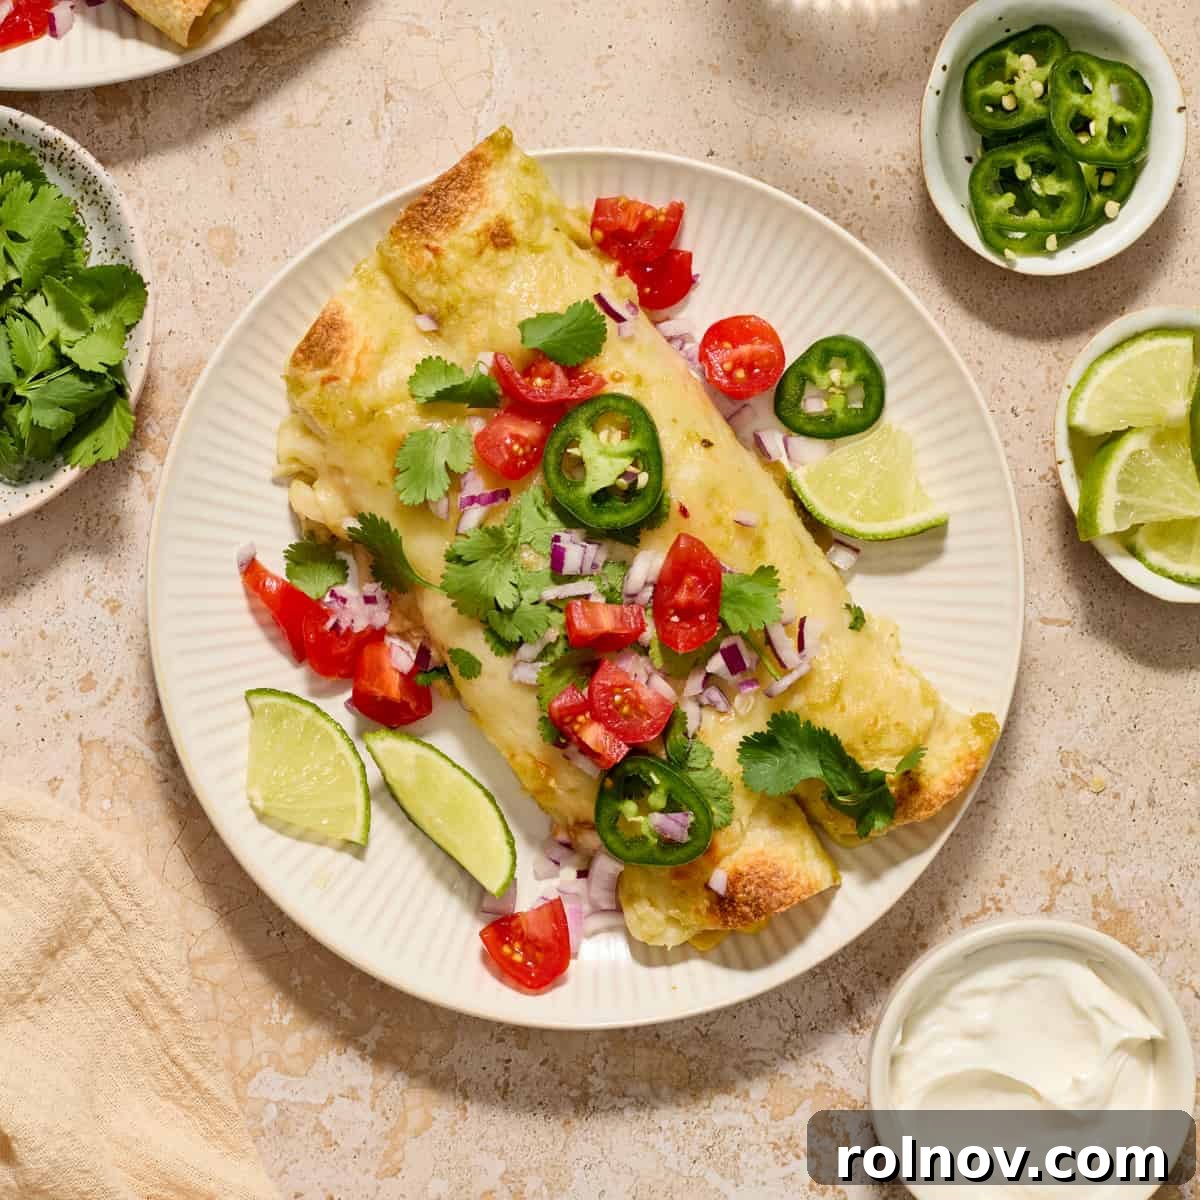
In search of a quick, satisfying, and flavor-packed dinner? Look no further than these incredibly easy Green Chicken Enchiladas! Made effortlessly with the convenience of rotisserie chicken, this recipe promises a cheesy, delicious meal on your table in under 30 minutes. The vibrant green enchilada sauce isn’t just visually appealing; it delivers a zesty, slightly spicy punch that perfectly complements the savory chicken filling, making it an absolute winner for busy weeknights or casual gatherings. Prepare to transform your dinner routine with this irresistible dish that requires only about 10 minutes of active prep time!
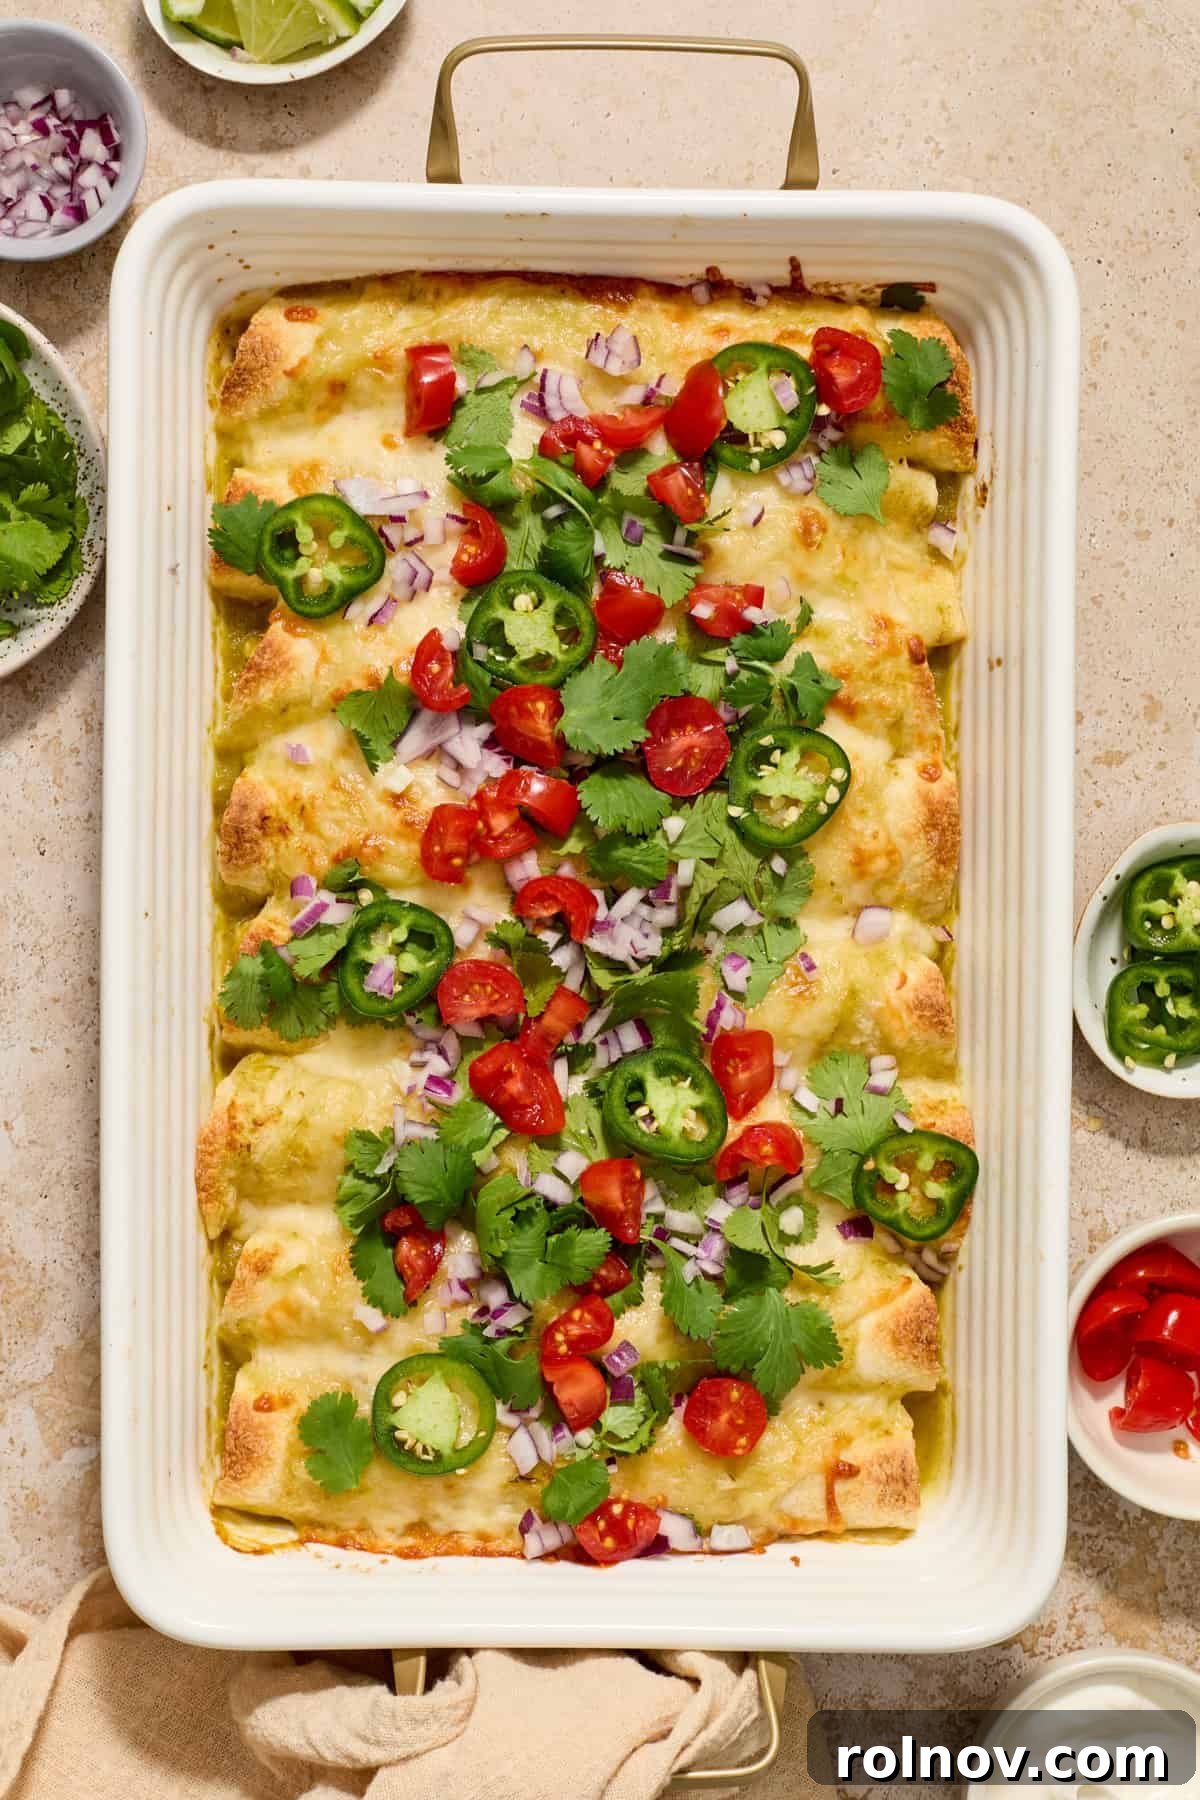
The magic of a store-bought rotisserie chicken truly cannot be overstated. It’s a versatile hero in the kitchen, offering endless possibilities beyond simply serving it with a few traditional sides. For many households, it’s a weekly staple, providing a head start on countless flavorful meals. Its pre-cooked, seasoned, and tender meat saves precious time and effort, making elaborate dishes accessible even on the busiest days. From comforting soups to vibrant salads and hearty casseroles, the humble rotisserie chicken is your secret weapon for culinary creativity and convenience.
In our kitchen, this fantastic shortcut often leads to delicious creations such as Chicken Stuffed Poblano Peppers, a refreshing Curry Chicken Salad, the comforting Chicken Taco Casserole, and a soul-warming Rotisserie Chicken Noodle Soup. Among these cherished recipes, these green chicken enchiladas have earned a permanent spot in our regular rotation. Their ease of preparation and utterly satisfying flavor make them a go-to choice for the best family dinner. If your culinary adventures are leaning towards more enchilada options, don’t miss out on these delightful ground turkey enchiladas for a delicious alternative!
Why You Will Absolutely Love These Quick Green Chicken Enchiladas:
- Effortlessly Made Ahead of Time: These chicken enchiladas in a vibrant green sauce are a dream for meal preppers. Leveraging fresh or leftover rotisserie chicken simplifies the process immensely. You can shred the chicken, combine it with the savory filling ingredients, neatly roll them into tortillas, cover them in sauce and cheese, and then simply refrigerate. When dinner time arrives, just pop them into the oven for a freshly baked meal. This simple ingredient list and straightforward prep make them ideal for busy schedules, ensuring a delicious homemade dinner is always within reach.
- Just 10 Minutes of Active Prep: Seriously, this recipe is incredibly fast. With the rotisserie chicken already cooked, you’re looking at a mere 10 minutes to assemble these enchiladas. This rapid preparation means you can have them ready for baking in no time, or even prep them up to a full day in advance. Imagine coming home to a ready-to-bake meal that only needs to be heated through, offering maximum flavor with minimal effort.
- Infinitely Customizable for Extra Goodness: One of the best aspects of these enchiladas is their adaptability. Feel free to experiment with different cheeses – add a spicy kick with habanero or pepper jack, or stick to classic Monterey Jack for creamy melt. If you love a bit more heat, a dash of your favorite hot sauce or extra chopped jalapeños can elevate the spice level. You can also sneak in extra vegetables like sautéed bell peppers, onions, or a handful of fresh spinach into the chicken mixture, boosting both flavor and nutritional value without compromising on deliciousness.
- A Comforting Crowd-Pleaser: Enchiladas are inherently comforting, and these green chicken enchiladas are no exception. The creamy chicken filling, the tangy green sauce, and the blanket of melted cheese combine to create a dish that is deeply satisfying and universally loved. Whether you’re feeding a family or hosting friends, this recipe is guaranteed to be a hit, bringing warmth and joy to any table.
- Budget-Friendly and Practical: Utilizing a rotisserie chicken not only saves time but can also be quite economical, especially if you purchase them on sale. This recipe makes the most of every ingredient, minimizing waste and maximizing flavor, providing a hearty meal that’s both delicious and kind to your wallet.
Green Enchilada Sauce Versus Red Enchilada Sauce: Unpacking the Flavor Profiles
Both green and red enchilada sauces are staples in Mexican cuisine, each offering a distinct flavor profile that can transform a simple dish into an extraordinary meal. While equally delicious, their core differences stem from their primary ingredients and the chilies used.
Green enchilada sauce, also known as “salsa verde para enchiladas,” traditionally boasts a bright, tangy, and often mildly spicy flavor. Its base relies heavily on tomatillos and green chilies, such as jalapeños or serranos. Tomatillos, small green fruits encased in a papery husk, contribute a unique tartness and earthy undertone that defines the green sauce. It’s important to note that authentic green enchilada sauce is distinct from a basic salsa verde, which is typically fresher and often served as a dipping sauce. Enchilada sauce is usually cooked, simmered to develop a richer, more complex flavor. The spice level in green enchilada sauce can vary greatly; always check the label if you’re buying a pre-made variety, or adjust the type and quantity of green chilies if making it from scratch to suit your preference.
Red enchilada sauce, often referred to as “salsa roja para enchiladas,” derives its deep, earthy, and often smoky flavor from dried red chilies like ancho, guajillo, or New Mexico chilies. These chilies are typically rehydrated, then blended with ingredients such as tomatoes, onions, garlic, and various spices before being simmered. The result is a sauce that is generally richer, sometimes sweeter, and with a more profound, complex warmth. Like its green counterpart, red sauce can range from mild to fiery depending on the chilies used.
While these versatile chicken enchiladas can certainly be prepared with either type of sauce, I have a particular fondness for the green sauce when paired with chicken and green chilies. The bright, zesty notes of the green sauce perfectly cut through the richness of the chicken and cheese, creating a balanced and incredibly satisfying dish. It’s a wonderful departure from my usual red sauce enchiladas, offering a fresh and vibrant alternative that never disappoints.
Key Ingredients for Perfect Green Chicken Enchiladas:
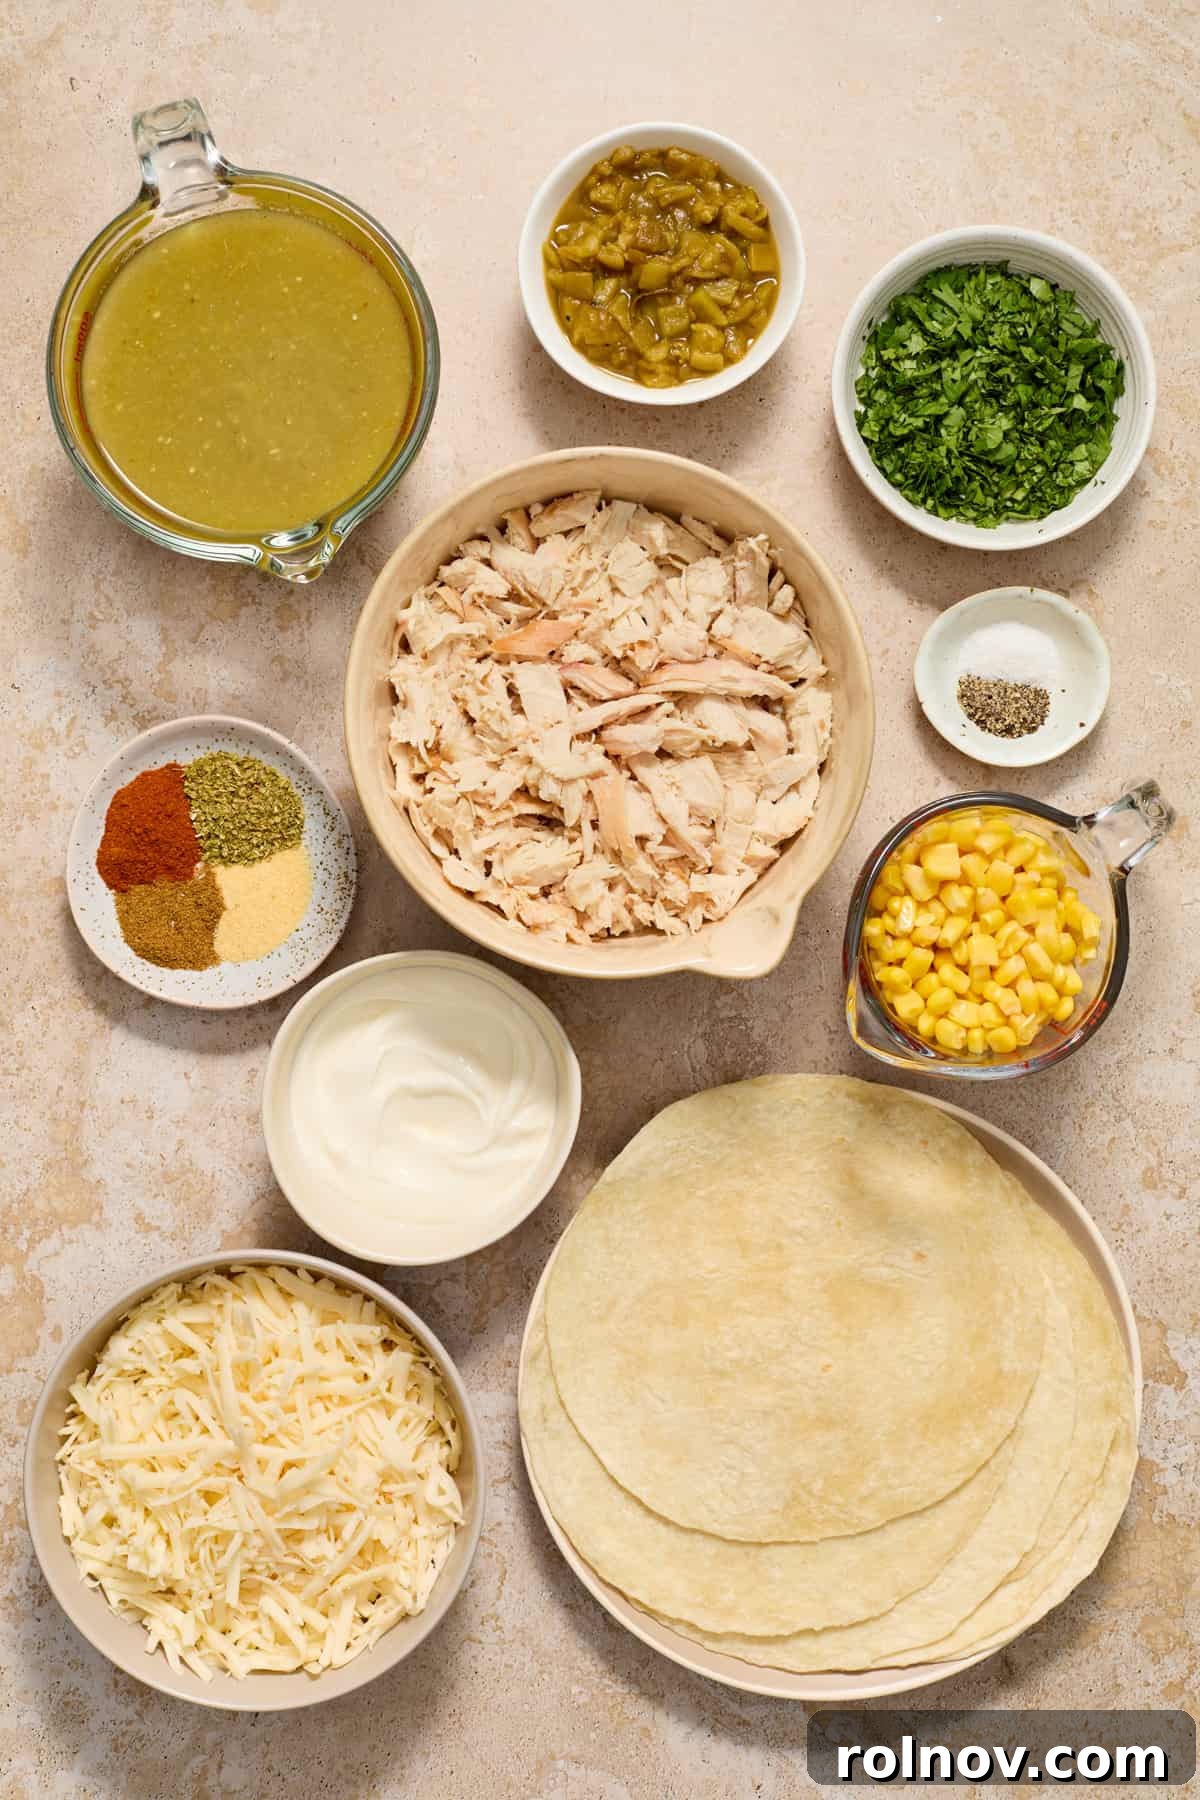
Crafting delicious green chicken enchiladas starts with a selection of fresh, high-quality ingredients. Here’s a breakdown of what you’ll need and potential substitutions to fit your pantry and preferences:
- Chicken: The star of the show! While you can certainly bake and shred your own chicken breasts or thighs, we highly recommend using rotisserie chicken for its unparalleled convenience and flavor. It’s already juicy, perfectly seasoned, and saves a significant amount of prep time. This allows you to jump straight into assembling your enchiladas without the extra cooking step.
- Cheese: For that ultimate melty, gooey finish, freshly shredded Monterey Jack cheese is our top choice. Shredding it yourself ensures a superior melt compared to pre-shredded varieties, which often contain anti-caking agents. Feel free to use your favorite shredded cheese – a blend of Mexican cheeses works beautifully, or for a delightful spicy kick, opt for habanero jack or pepper jack cheese.
- Sour Cream: This adds a wonderful creaminess and tang to the filling, balancing the other flavors. Full-fat sour cream will deliver the richest taste and texture, but reduced-fat versions can also be used. If you’re looking for a healthier alternative, plain Greek yogurt can work, though it will impart a slightly different, more pronounced tangy flavor.
- Green Chilies: For ease, a can of chopped green chilies is perfect. They’re mild, flavorful, and ready to use. If you prefer a bolder, fresher taste and more heat, you can chop up some fresh green chilies like Anaheim or poblano peppers, or even jalapeños, just be sure to adjust the quantity to your preferred spice level.
- Corn: Any type of corn will work wonderfully in this recipe. Frozen corn should be thawed before adding. Canned corn should be drained well. If you have access to fresh corn on the cob, grilling it lightly and cutting the kernels off will add an incredible smoky sweetness.
- Cilantro: Fresh cilantro is a non-negotiable for us! Its bright, herbaceous notes are a key flavor enhancer in Mexican cuisine and truly elevate these enchiladas. While dried cilantro exists, it won’t offer the same vibrant taste. Don’t skip it if at all possible!
- Tortillas: Soft taco-sized tortillas are ideal for rolling. You can use either flour or corn tortillas. If you require a gluten-free option, select your preferred gluten-free corn or flour tortillas. To prevent the tortillas from becoming soggy during baking, a common trick is to lightly fry them in a bit of oil on both sides for a few seconds until pliable, then pat them dry before filling. This creates a slight barrier that holds up better to the sauce.
- Green Enchilada Sauce: The backbone of the dish! We highly recommend Las Palmas green enchilada sauce for its exceptional flavor profile – it’s a personal favorite after trying numerous brands. A 28 oz. can is usually sufficient, and any leftover sauce can be reserved for drizzling over reheated leftovers for added moisture and flavor.
- Spices: A simple yet effective blend of garlic powder, cumin, chili powder, and oregano infuses the chicken mixture with authentic Tex-Mex flavors. Salt and pepper can be added to taste, but remember that rotisserie chicken is often well-seasoned, so you might need less salt than expected. Always taste and adjust!
- Optional Additions: For an extra layer of brightness, a squeeze or two of fresh lime juice can awaken all the flavors in the chicken mixture. If you’re a heat-seeker, a dash of your favorite hot sauce stirred into the filling or drizzled over the top before serving will certainly kick things up a notch.
Step-By-Step Guide to Crafting Your Perfect Green Chicken Enchiladas:
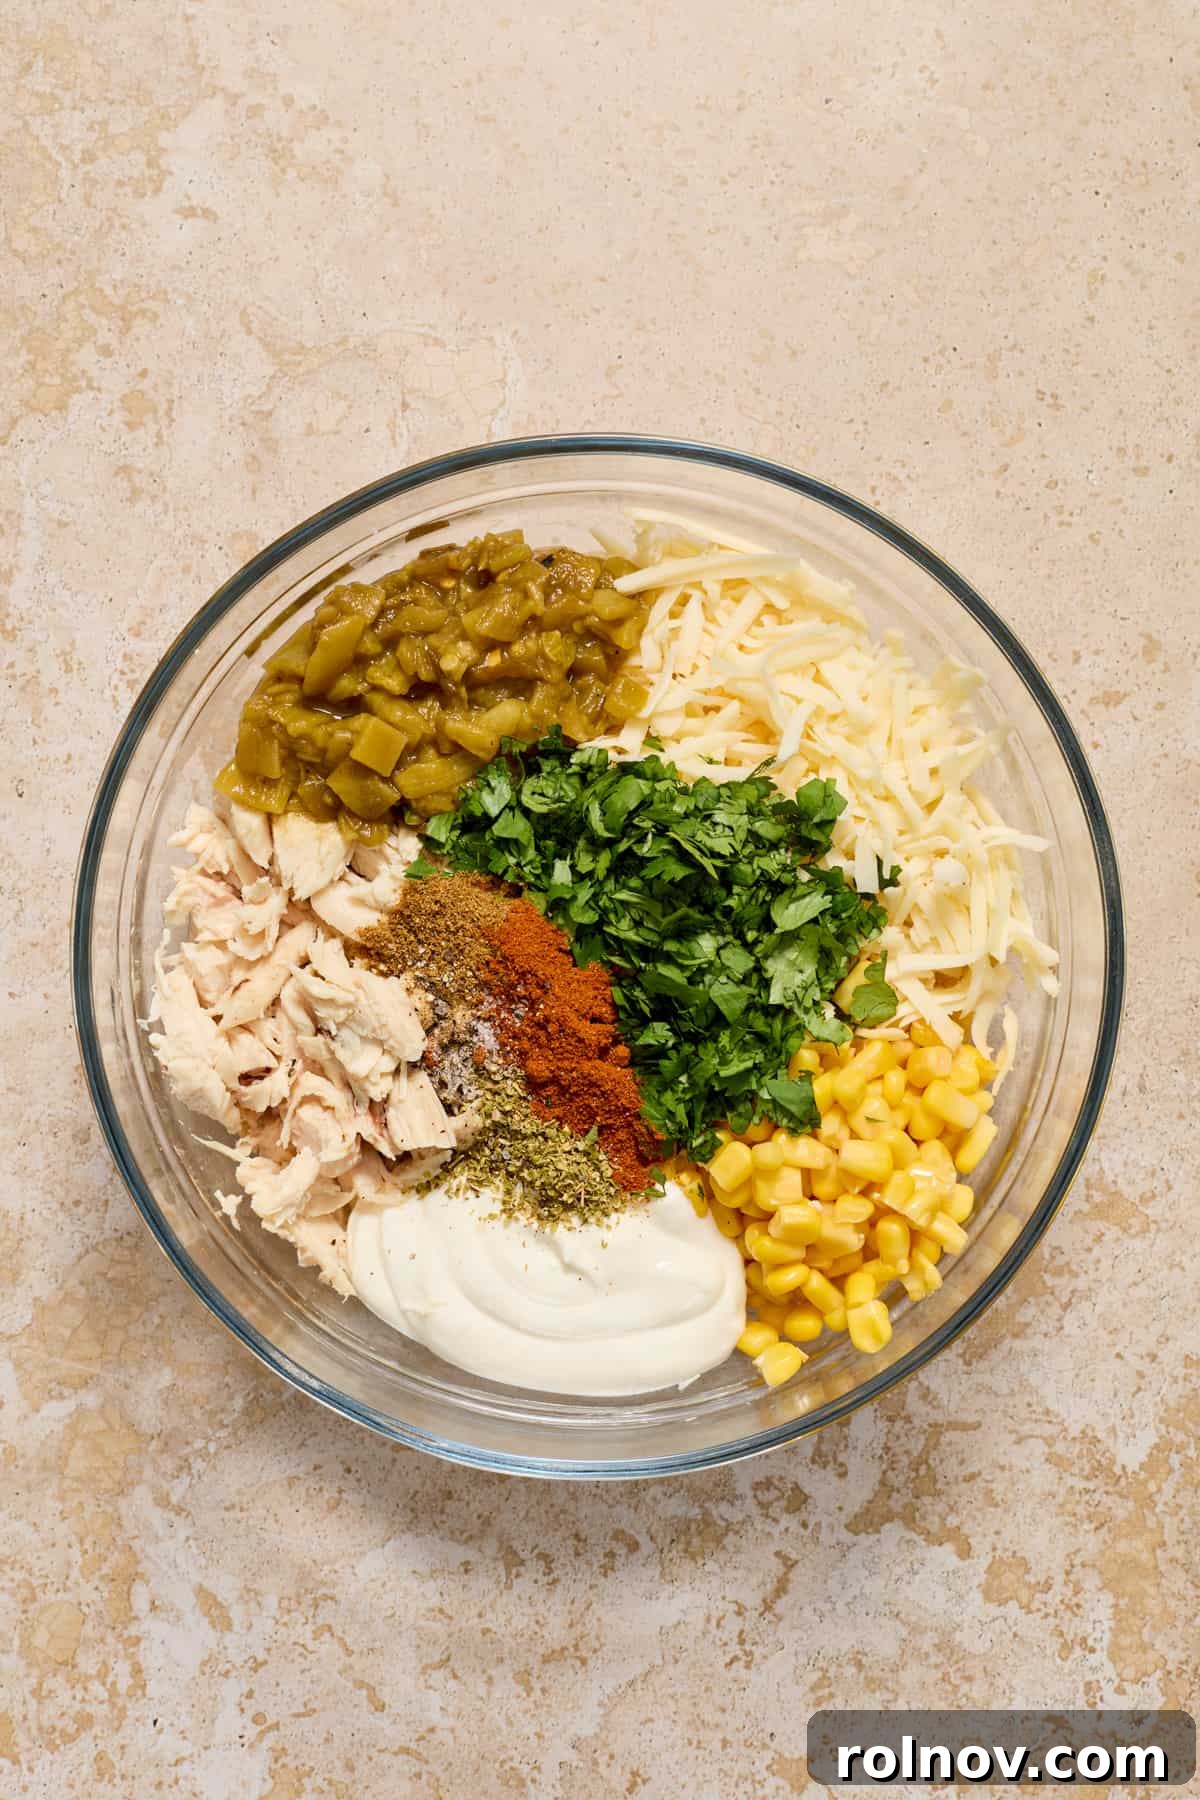
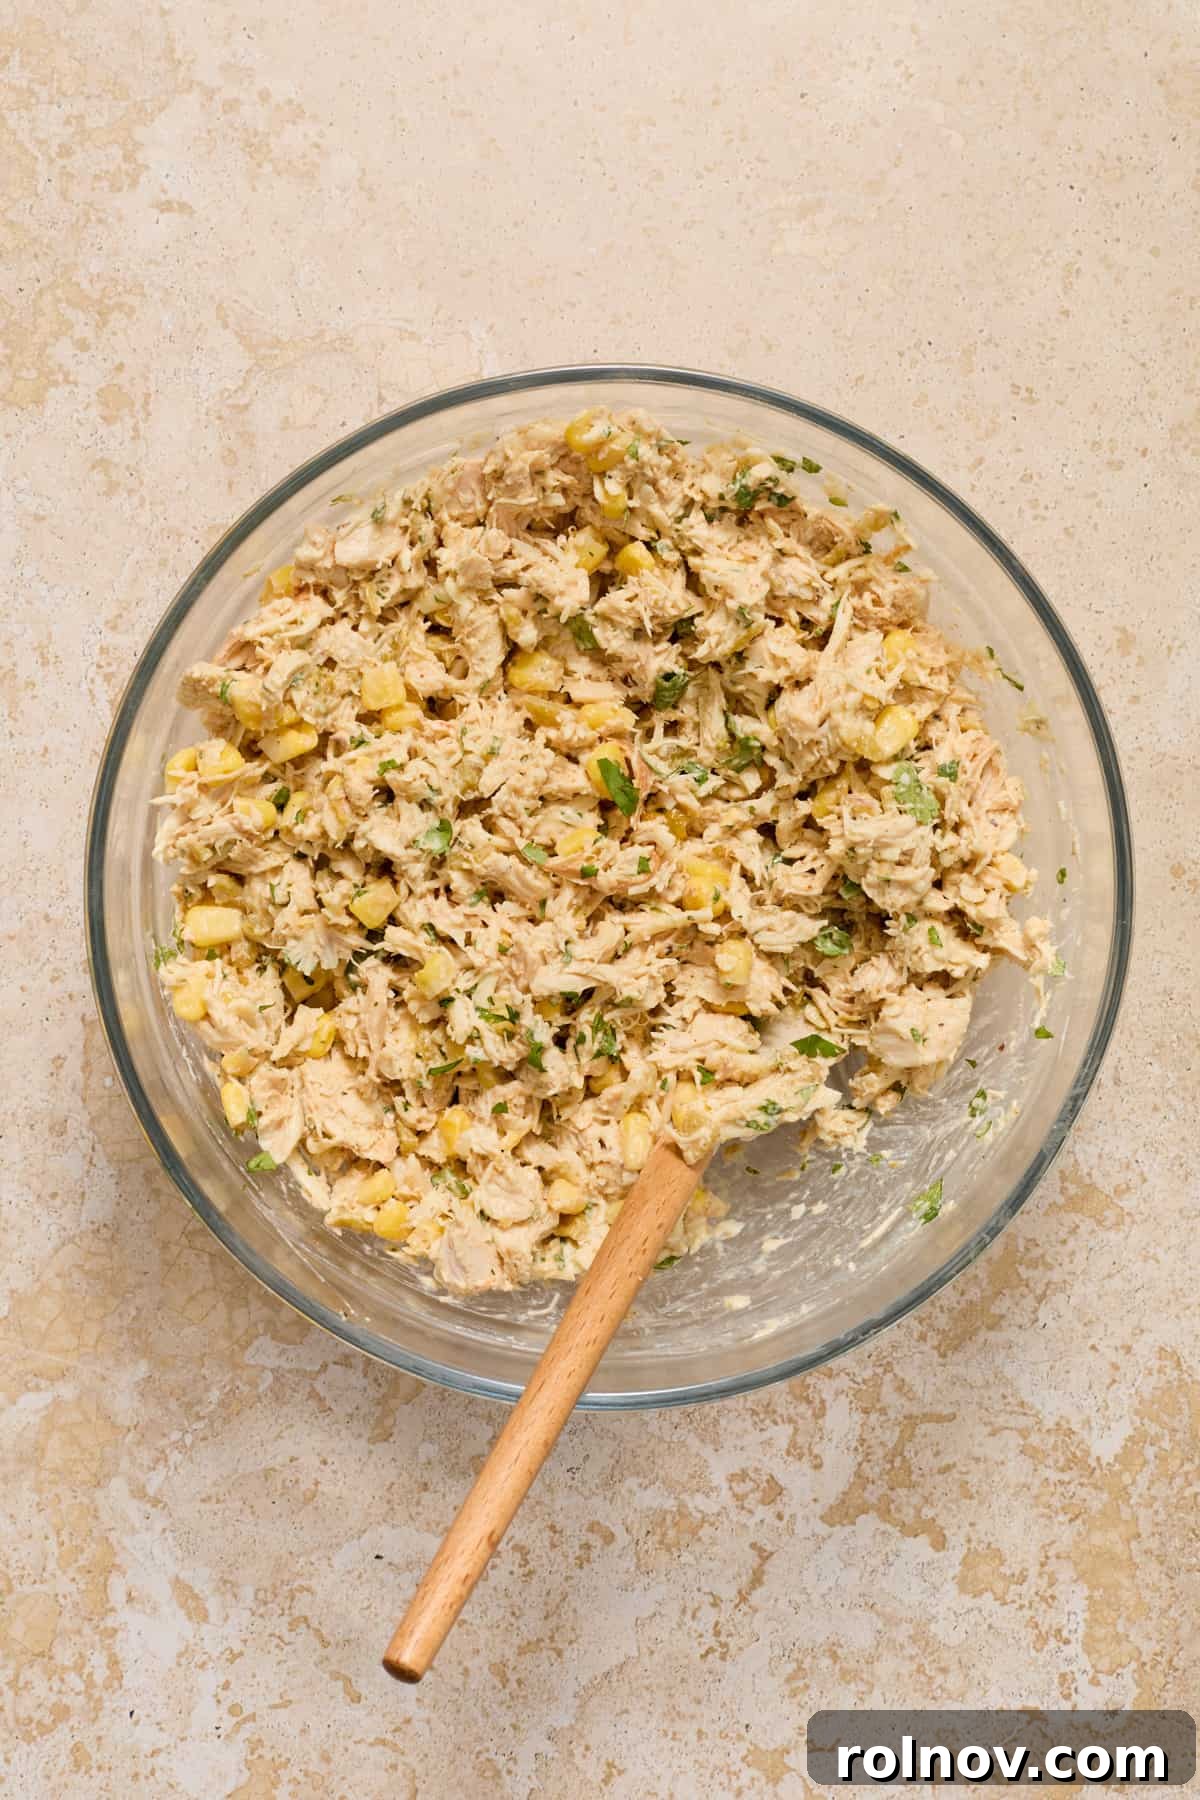
- Prepare Your Filling: In a large mixing bowl, combine the shredded rotisserie chicken with the green chilies, corn, sour cream, and fresh chopped cilantro. Add the garlic powder, cumin, chili powder, and oregano. Now, stir in 1 ½ cups of your freshly shredded Monterey Jack cheese. Mix all ingredients thoroughly until well combined. This ensures every bite of your enchilada will be bursting with flavor. Season with salt and pepper to taste, remembering that rotisserie chicken is often pre-salted.
- Ready the Tortillas: If using corn tortillas, or if you want to prevent sogginess with flour tortillas, an optional but recommended step is to lightly warm or briefly fry them. To warm, microwave tortillas for 20-30 seconds between damp paper towels to make them more pliable and prevent cracking when rolling. Alternatively, for a crispier barrier against the sauce, lightly fry each tortilla in a thin layer of oil for about 10-15 seconds per side, then pat dry thoroughly to remove excess oil.
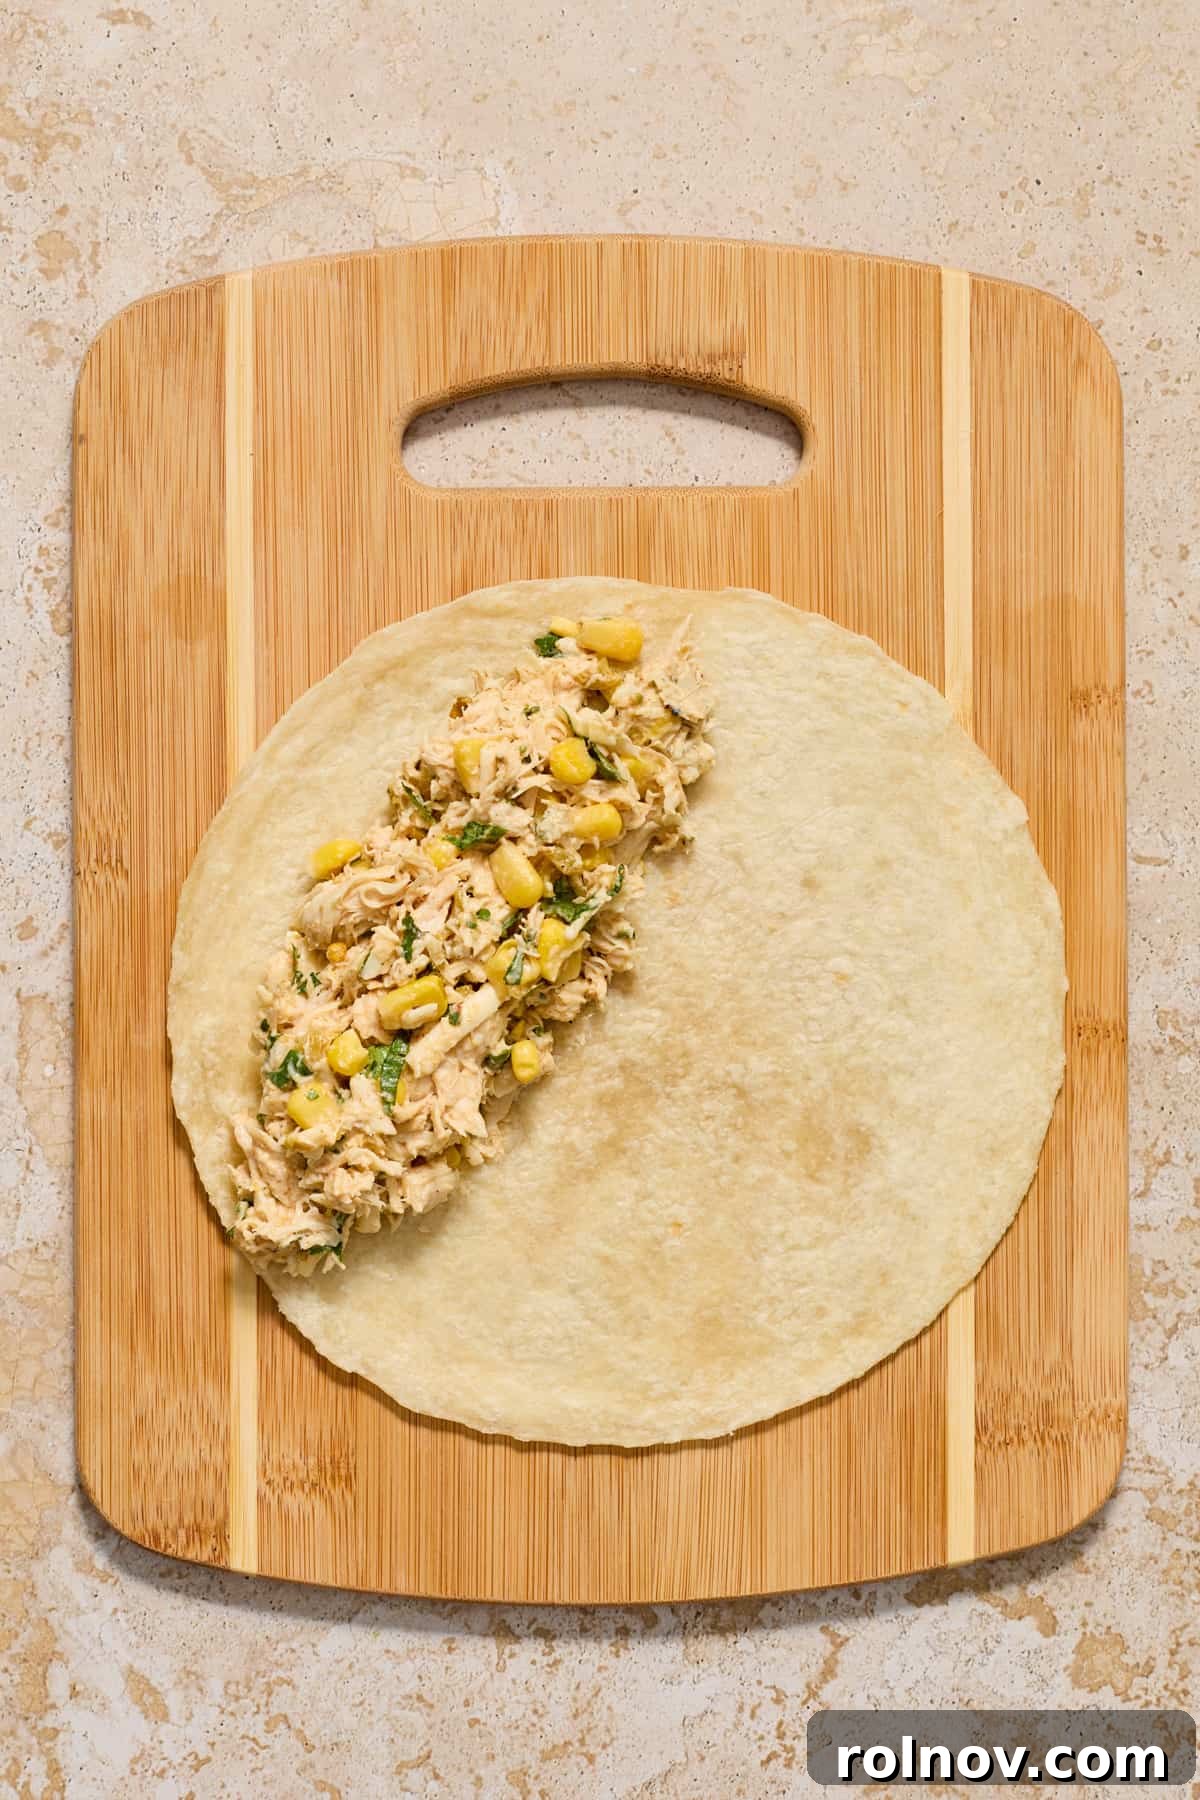
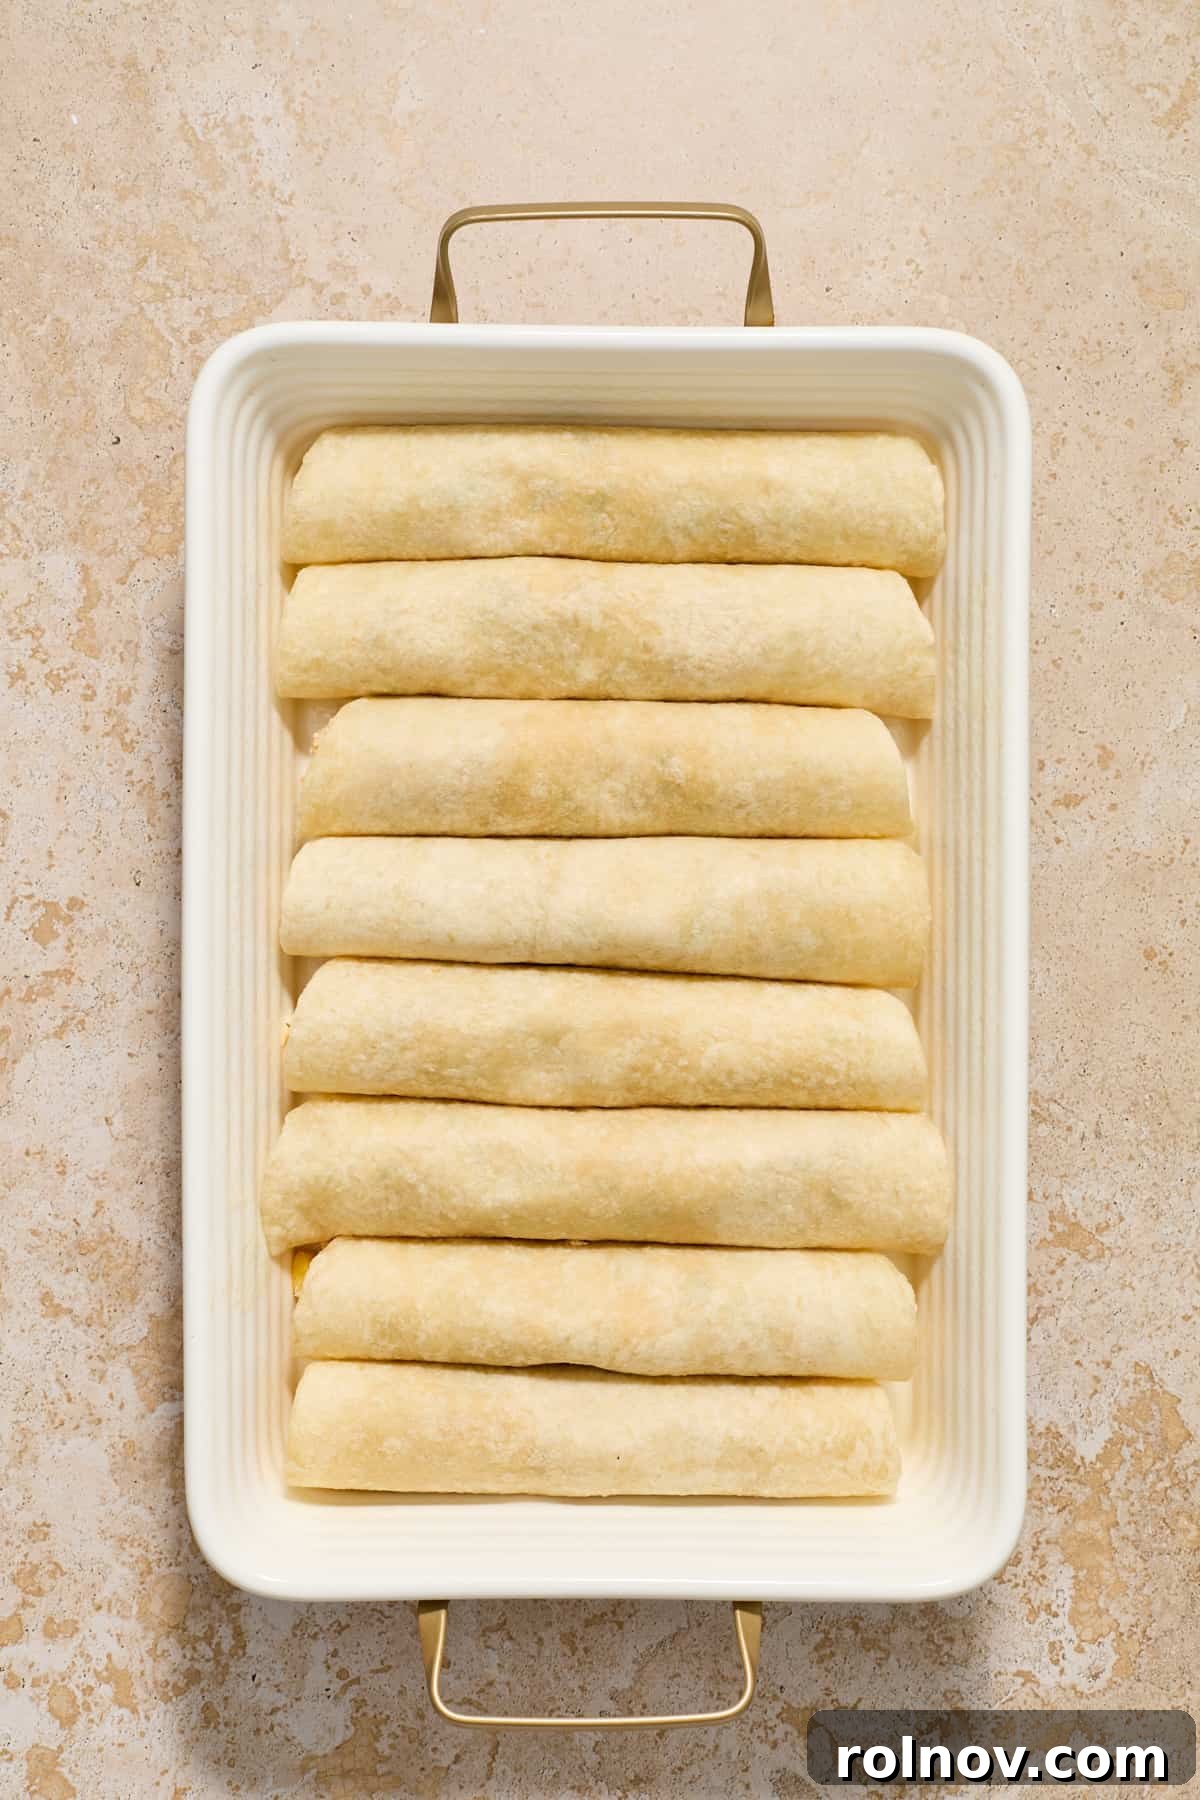
- Assemble the Enchiladas: Take approximately ½ cup of the delicious chicken enchilada filling and spoon it evenly down the center of each tortilla. Roll each tortilla tightly, being careful not to overfill, and place them seam-side down in a lightly greased 9×13-inch baking dish or large casserole dish. Arrange them snugly next to each other. If you find yourself with a small amount of leftover chicken mixture, feel free to sprinkle it over the rolled tortillas in the pan.
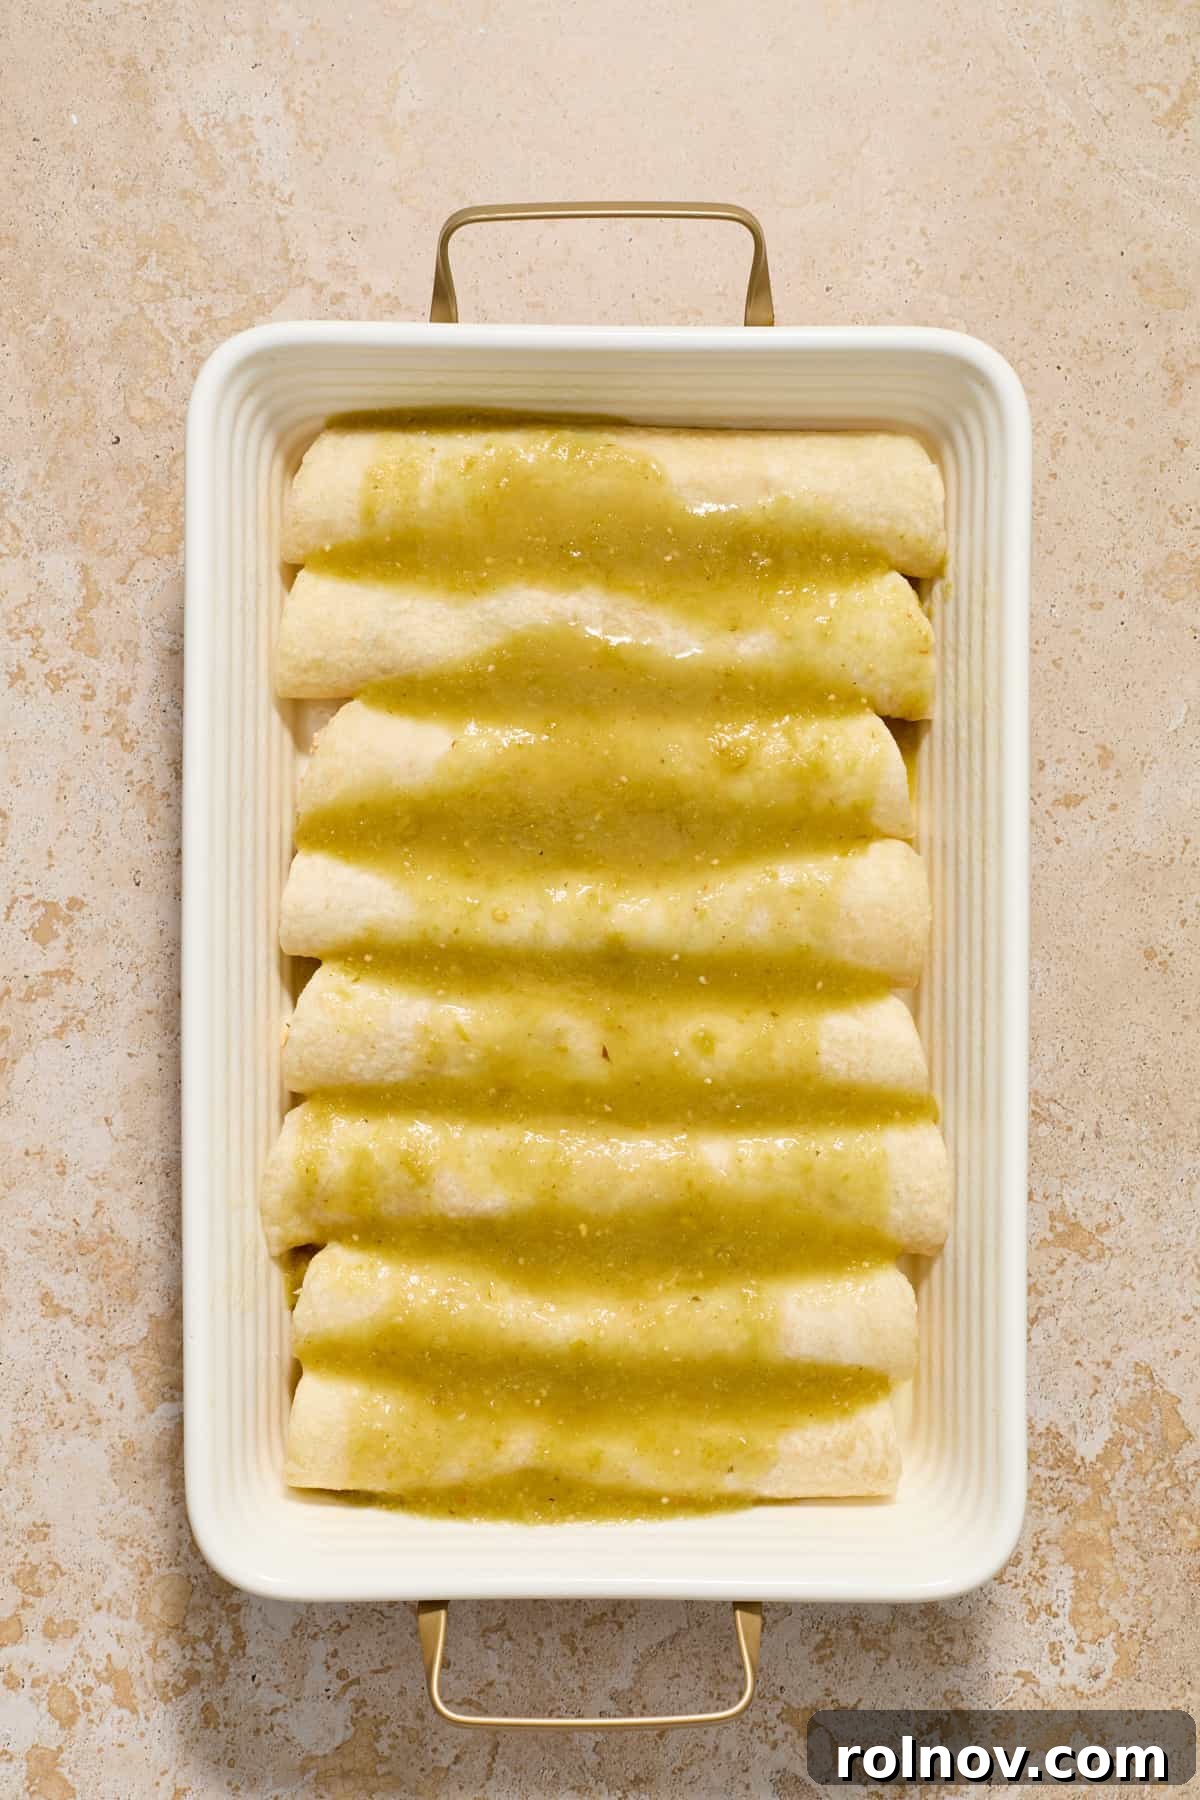
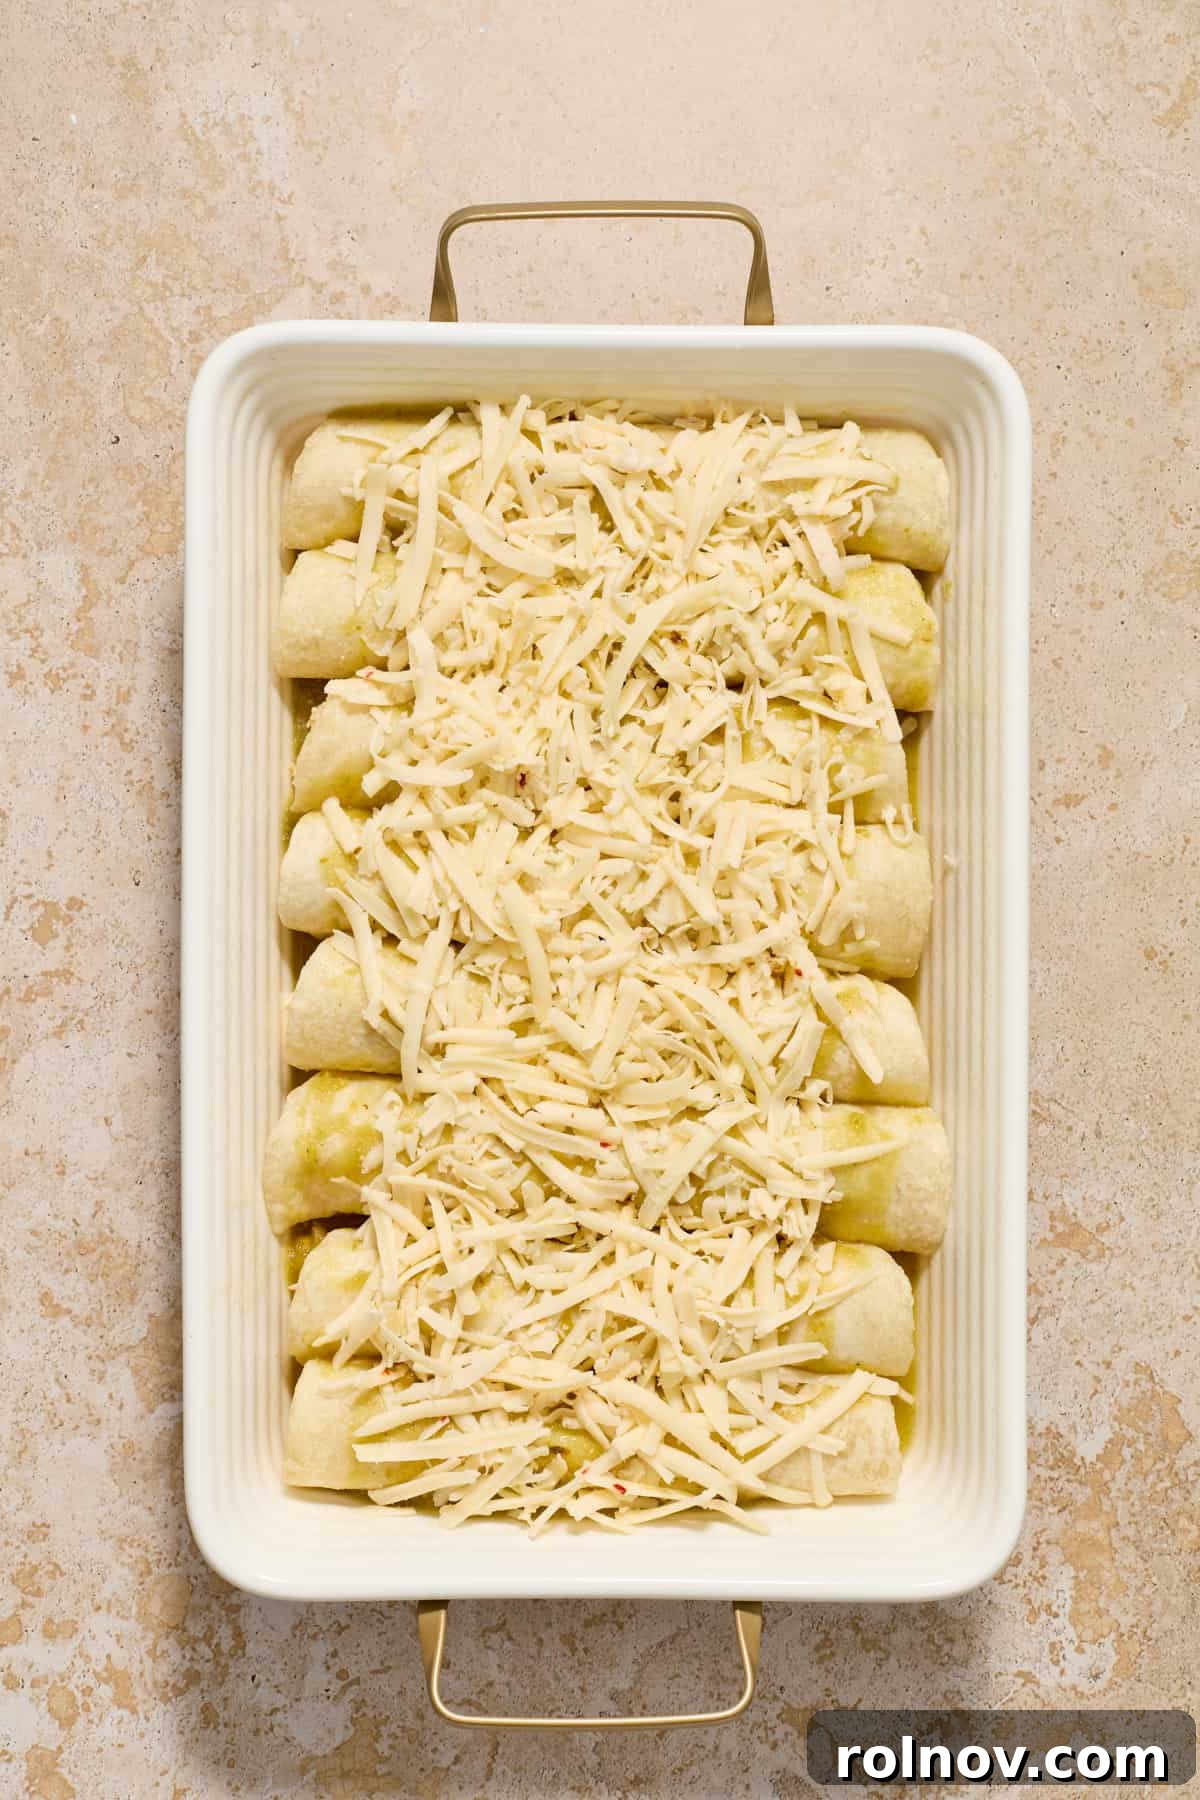
- Sauce and Cheese Them Up: Generously pour your favorite green enchilada sauce over the rolled enchiladas in the baking dish. Ensure all the tortillas are well covered to keep them moist and infuse them with flavor. Use more sauce if you prefer a saucier dish. Then, evenly sprinkle the remaining shredded cheese over the top, creating a beautiful cheesy crust.
- Bake to Golden Perfection: Preheat your oven to 375°F (190°C). Bake the enchiladas for approximately 15-20 minutes, or until the cheese on top is melted, bubbly, and lightly golden, and the sauce is simmering around the edges. For an extra crisp, browned cheese topping, you can carefully shift the oven to broil on high for about 2-3 minutes. Keep a very close eye on them during this stage, as cheese can burn quickly under the broiler.
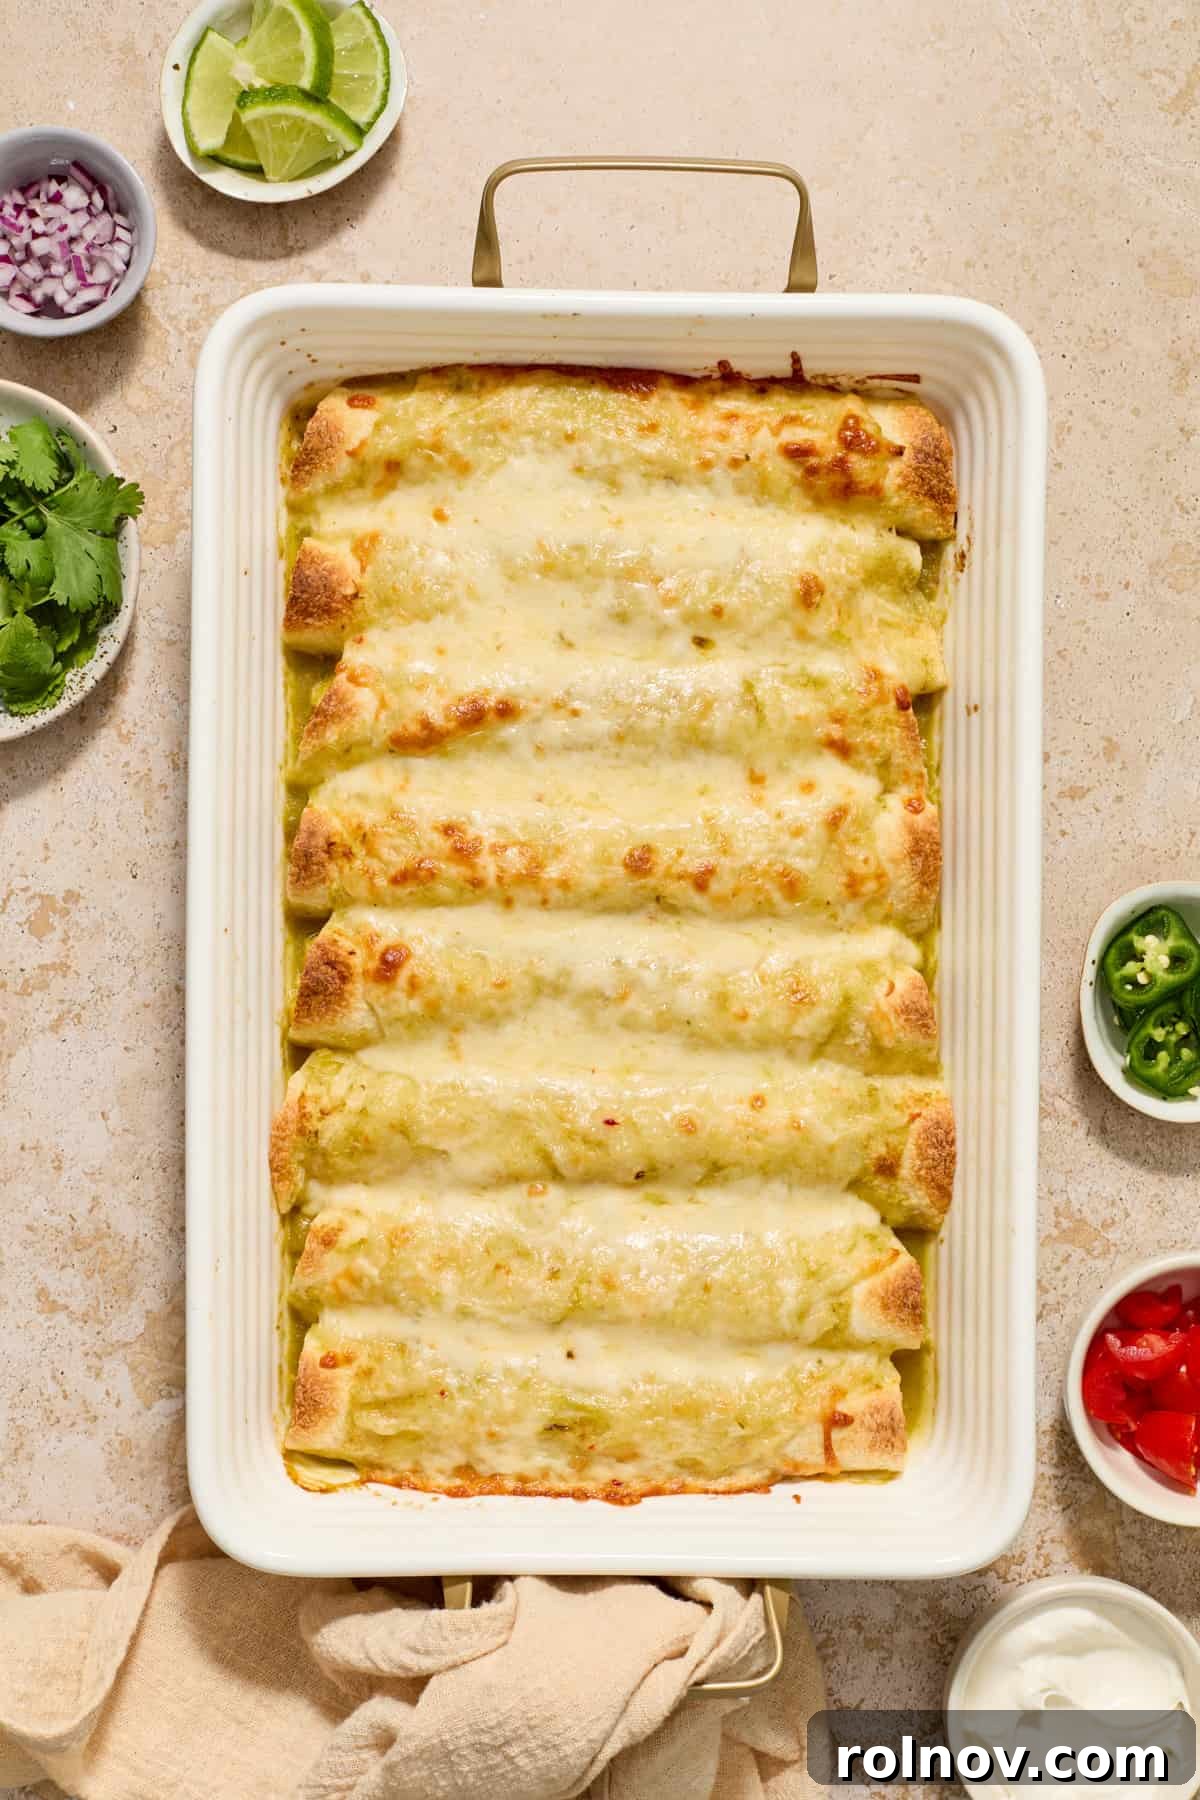
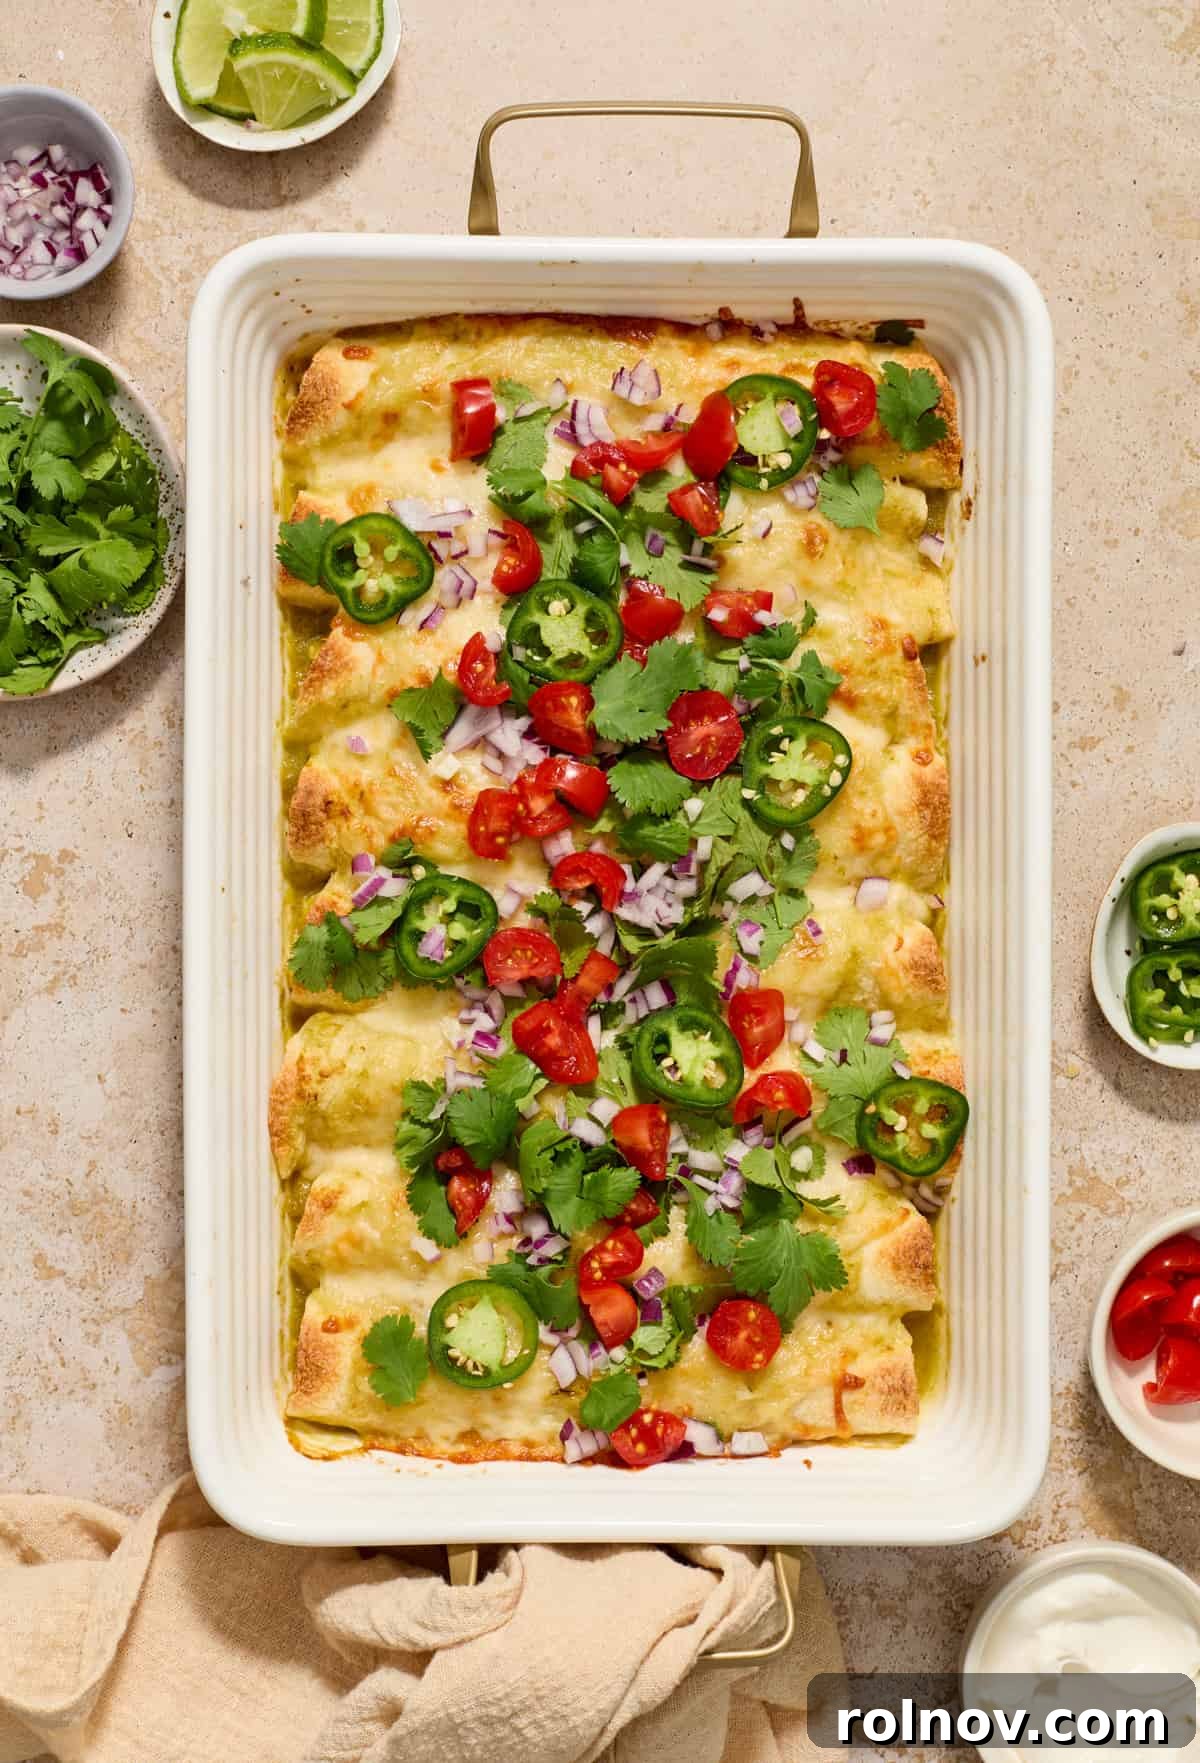
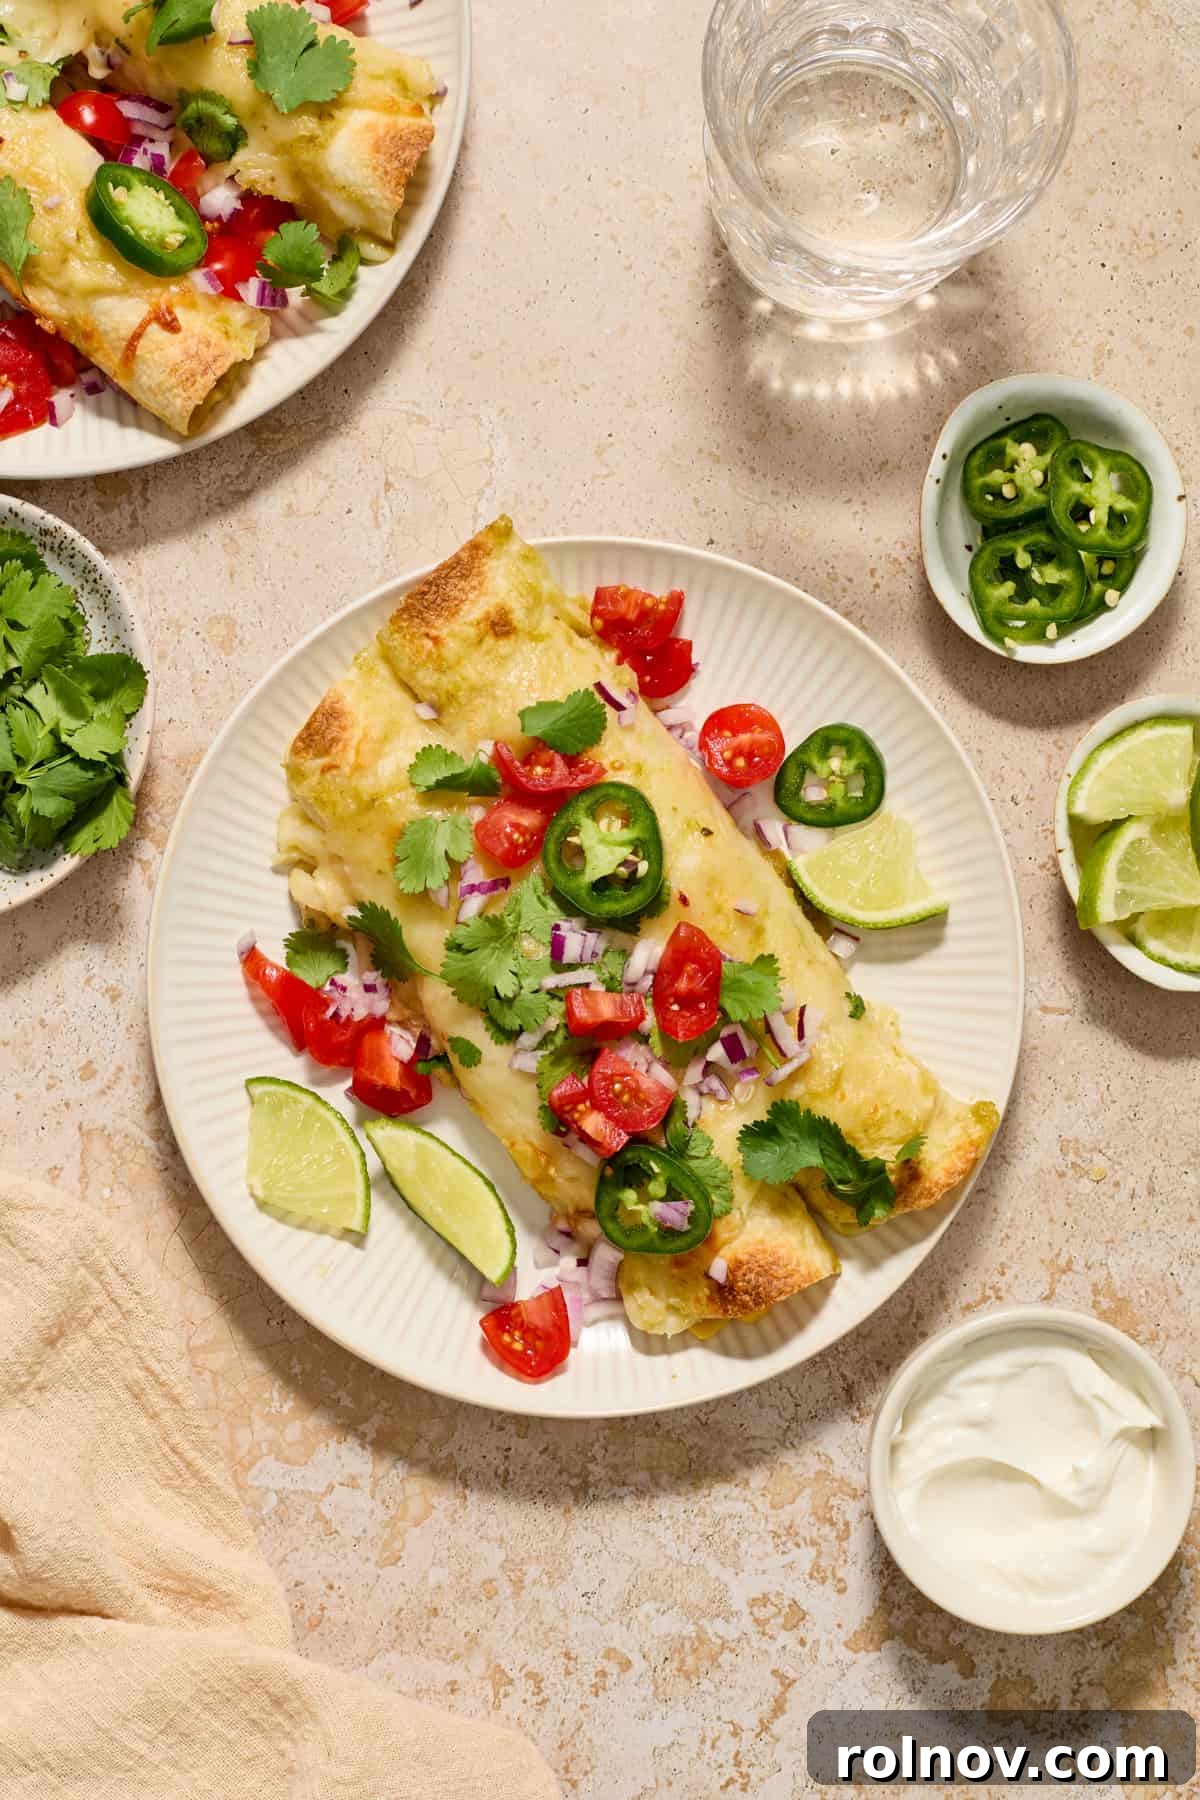
- Rest and Serve: Once baked, remove the enchiladas from the oven and allow them to rest for about 5 minutes before serving. This brief resting period helps the cheese set and prevents the filling from spilling out when you cut into them. Garnish generously with freshly chopped cilantro, sliced green onions, a dollop of cool sour cream, or any of your other favorite toppings like diced tomatoes, avocado, or a squeeze of lime juice. Serve warm and enjoy every cheesy, zesty bite!
Chef’s Tips for Enchilada Success:
- Optimal Make-Ahead Strategy: To ensure your tortillas remain perfectly textured and avoid any pre-baking sogginess, prepare the enchiladas by assembling the filled and rolled tortillas in your baking dish, but hold off on adding the green sauce and cheese. Cover the dish tightly with plastic wrap or foil and refrigerate for up to 24 hours. Just before baking, pour over the sauce, sprinkle with cheese, and bake as directed. This simple step makes future meal prep a breeze!
- Thickening Your Green Enchilada Sauce: Store-bought green enchilada sauce can sometimes be on the thinner side. If you prefer a thicker, more luxurious sauce, gently heat the sauce in a saucepan over medium-low heat. In a separate small bowl, whisk together 1 tablespoon of water with 1 tablespoon of cornstarch to form a smooth slurry. Gradually whisk this paste into the simmering sauce, stirring continuously until it reaches your desired consistency. You can add more cornstarch slurry, a teaspoon at a time, for extra thickness.
- Smart Storage Solutions: Leftover green chicken enchiladas are a treat! Store them in an airtight container in the refrigerator for up to 3 days. For longer preservation, these enchiladas freeze beautifully. You can freeze them baked or unbaked. For unbaked, follow the make-ahead tip above, then wrap the sauced and cheesed enchiladas (or just the filled tortillas) tightly in foil and then in a freezer-safe bag or container for up to 2 months. Thaw in the refrigerator overnight before baking or reheating. If already baked, allow them to cool completely before freezing in individual portions for easy reheating.
- Preventing Soggy Tortillas (Beyond Frying): While frying tortillas is effective, another trick is to lightly coat each tortilla with a thin layer of enchilada sauce *before* filling and rolling. This initial coating acts as a protective barrier against the moisture from the filling and the top layer of sauce, helping the tortillas maintain their structure.
- Boost Flavor with Aromatics: For an even deeper flavor profile, consider sautéing a small diced onion and a clove or two of minced garlic before mixing them into your chicken filling. This adds an aromatic base that truly enhances the overall taste.
- Customize Your Heat Level: Don’t shy away from adjusting the spice. If you love heat, add some finely diced fresh jalapeños or a pinch of cayenne pepper to the chicken mixture. For a milder version, ensure your canned green chilies are mild and avoid any additional spicy elements.
- Serving Temperature Matters: Allow your enchiladas to rest for 5-10 minutes after baking. This brief pause is crucial, as it allows the cheese and filling to set, making them much easier to serve without falling apart, and prevents accidental burns from extremely hot filling.
What To Serve with These Irresistible Green Chicken Enchiladas:
While these green chicken enchiladas are incredibly hearty and satisfying on their own, pairing them with a few thoughtful sides can elevate your meal to a truly memorable feast. Their rich, savory, and zesty flavors open the door to a variety of complementary dishes.
For us, no enchilada meal is complete without a generous serving of chips and a delightful dip. Our top recommendations include a vibrant Spicy Mango Guacamole, offering a fresh, fruity, and spicy counterpoint, or a classic, robust Roasted Tomato Salsa that deepens the Mexican flavors. The cool, creamy texture of guacamole or sour cream dollops on top of the warm enchiladas provides a perfect balance.
Beyond dips, consider adding some carbohydrate-rich options. A sweet and savory Honey Cornbread Casserole makes a fantastic and comforting accompaniment. Simple fluffy rice, whether plain or seasoned Mexican rice, is always a welcome addition to soak up any extra sauce. For a lighter, fresher touch, a crisp salad is an excellent choice. Our favorites include the unexpectedly refreshing Watermelon Avocado Salad, which provides a cooling contrast to the savory enchiladas, or the wholesome and flavorful Black Bean Cauliflower Rice Salad for a nutritious and zesty side.
Other excellent choices include a simple side of refried beans or black beans, lightly steamed or roasted vegetables like zucchini, bell peppers, or asparagus, or even a refreshing cucumber and tomato salad dressed with lime and cilantro. The key is to choose sides that either complement the existing flavors or offer a contrasting texture and temperature to create a well-rounded dining experience.
Frequently Asked Questions About Green Chicken Enchiladas:
Here are some common questions to help you master these delicious enchiladas:
Can I use raw chicken instead of rotisserie chicken?
Absolutely! If you don’t have rotisserie chicken on hand, you can easily cook your own. Simply bake, poach, or pan-fry about 1.5-2 pounds of boneless, skinless chicken breasts or thighs until cooked through. Once cooled slightly, shred or dice the chicken, and then proceed with the recipe as directed. Using raw chicken will add about 20-30 minutes to your total prep time.
What’s the best way to prevent tortillas from getting soggy?
The best method is to lightly fry your tortillas in a small amount of oil for 10-15 seconds per side, then pat them dry. This creates a barrier. Another effective tip is to lightly dip or brush each tortilla with enchilada sauce before filling and rolling it. This seals the tortilla and prevents it from absorbing too much moisture during baking.
Can I make these enchiladas gluten-free?
Yes! Simply ensure you use certified gluten-free corn tortillas. Most green enchilada sauces are naturally gluten-free, but always check the label to be safe. All other ingredients in this recipe are typically gluten-free.
How long do leftovers last, and how should I reheat them?
Leftover green chicken enchiladas can be stored in an airtight container in the refrigerator for up to 3 days. To reheat, you can warm individual portions in the microwave until heated through, or for a crispier result, cover the baking dish loosely with foil and reheat in an oven at 350°F (175°C) for 15-20 minutes, or until bubbling and hot.
Can I add other vegetables to the filling?
Definitely! Enchiladas are very forgiving and versatile. Sautéed diced onions, bell peppers (any color), zucchini, or even a handful of fresh spinach are excellent additions. Cook tougher vegetables like onions and peppers before mixing them into the chicken filling to ensure they are tender.
More Delicious Rotisserie Chicken Recipes:
- Strawberry Poppy Seed Chicken Salad
- BBQ Ranch Chicken Flatbread
- Easy Chicken Alfredo
- Rotisserie Chicken Noodle Soup
- Easy Chicken Stuffed Poblano Peppers
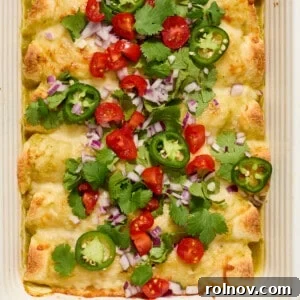
Green Chicken Enchiladas
A simple dinner ready in about 30 minutes thanks to rotisserie chicken, this quick Green Chicken Enchiladas recipe is the best weekday meal. Toss it together in 10 minutes and have a cheesy delicious dinner in no time! Green enchilada sauce adds the perfect flavor!
Prep Time: 10 minutes
Cook Time: 20 minutes
Total Time: 30 minutes
Servings: 8 enchiladas
Ingredients
- 4 cups shredded rotisserie chicken
- 1 cup corn (frozen, canned, or fresh)
- 4 oz can of chopped green chiles
- ⅓ cup chopped cilantro, plus more for topping
- ½ cup sour cream (full-fat recommended)
- 3 cups Monterey Jack shredded cheese, divided (or your favorite shredded cheese)
- ½ tsp garlic powder
- 1 tsp dried oregano
- ½ tsp ground cumin
- 1 tsp chili powder
- ½ tsp black pepper
- ¼ – ½ tsp sea salt (to taste, check seasoning of rotisserie chicken)
- 8 soft taco-sized tortillas (flour or corn, gluten-free if needed)
- 2 cups green enchilada sauce (Las Palmas recommended)
Instructions
- Preheat your oven to 375°F (190°C). Lightly grease a 9×13 inch baking dish.
- In a large mixing bowl, combine the shredded chicken, green chilies, corn, cilantro, sour cream, garlic powder, oregano, cumin, chili powder, and black pepper. Stir in 1 ½ cups of the shredded cheese. Taste and add sea salt as desired.
- (Optional for non-soggy tortillas): Lightly fry both sides of each tortilla in a bit of oil for about 10-15 seconds per side until pliable. Pat dry to remove excess oil. Alternatively, microwave tortillas for 20-30 seconds to make them soft and easy to roll.
- Spoon about ½ cup of the chicken filling evenly into each tortilla. Roll each tortilla tightly and place it seam-side down in your prepared baking dish. Arrange them snugly.
- Pour the green enchilada sauce over the rolled enchiladas, spreading it across to ensure all tortillas are covered.
- Evenly sprinkle the remaining 1 ½ cups of shredded cheese over the top of the sauced enchiladas.
- Bake for 15-20 minutes, or until the cheese on top is melted and bubbly, and the sauce is simmering. For a golden-brown cheese topping, you can switch the oven to broil on high for 2-3 minutes, watching carefully to prevent burning.
- Remove from the oven and let cool for about 5 minutes before serving. Garnish with extra chopped cilantro, green onions, and a dollop of sour cream or other favorite toppings. Enjoy!
Notes
- Make Ahead Tip: To prevent soggy tortillas when making ahead, assemble the filled and rolled enchiladas in the baking dish, but do not add the sauce or cheese. Cover and refrigerate for up to 24 hours. Add sauce and cheese just before baking.
- Thickening Sauce: If your green enchilada sauce is too thin, you can thicken it. Heat the sauce over medium-low heat. In a small bowl, whisk 1 tablespoon water with 1 tablespoon cornstarch. Slowly stir this slurry into the simmering sauce until desired thickness is reached.
- Storage: Store leftover enchiladas in an airtight container in the refrigerator for up to 3 days. For longer storage, freeze in a freezer-safe container for up to 2 months.
Nutrition (Approximate per serving)
Calories: 441kcal, Carbohydrates: 26g, Protein: 32g, Fat: 23g, Saturated Fat: 12g, Polyunsaturated Fat: 2g, Monounsaturated Fat: 7g, Cholesterol: 98mg, Sodium: 1078mg, Potassium: 333mg, Fiber: 3g, Sugar: 7g, Vitamin A: 1038IU, Vitamin C: 7mg, Calcium: 385mg, Iron: 3mg
Nutrition information is automatically calculated and should be used as an approximation only.
HUNGRY FOR MORE? Subscribe to my newsletter and follow me on Facebook, Instagram and Pinterest for all the latest!
Did you enjoy this recipe? Have a question?
Leave a comment below!
Shop This Post:
Glass 9×13 inch Baking Dish
Buy Now →
Box Grater
Buy Now →
Mixing Bowls
Buy Now →