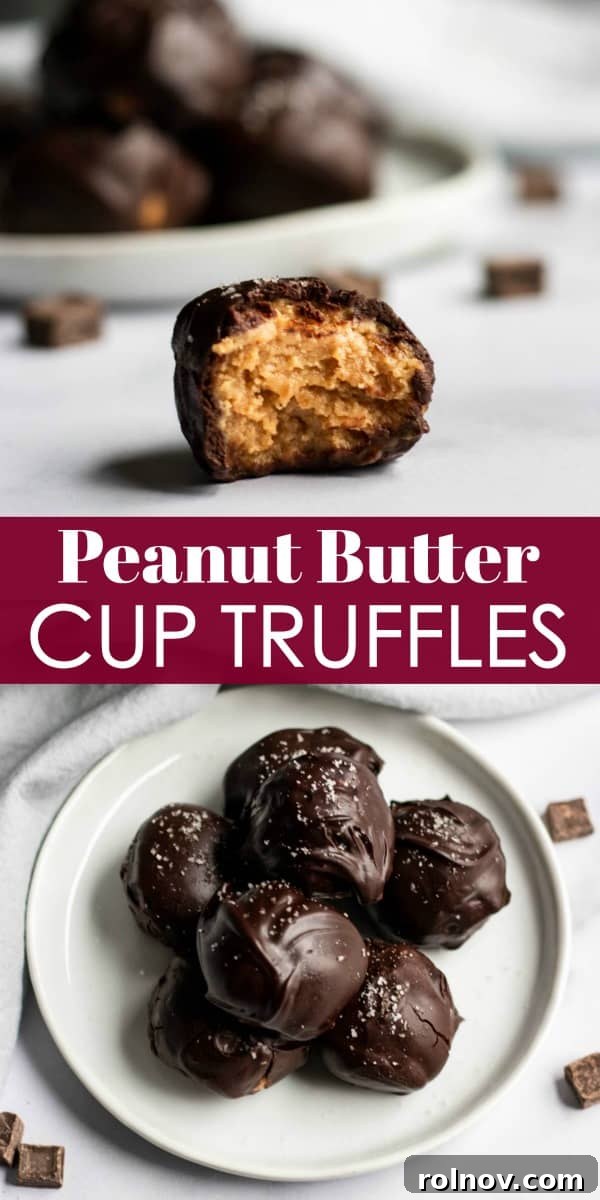
Irresistible Homemade Peanut Butter Cup Truffles: A Sweet Escape
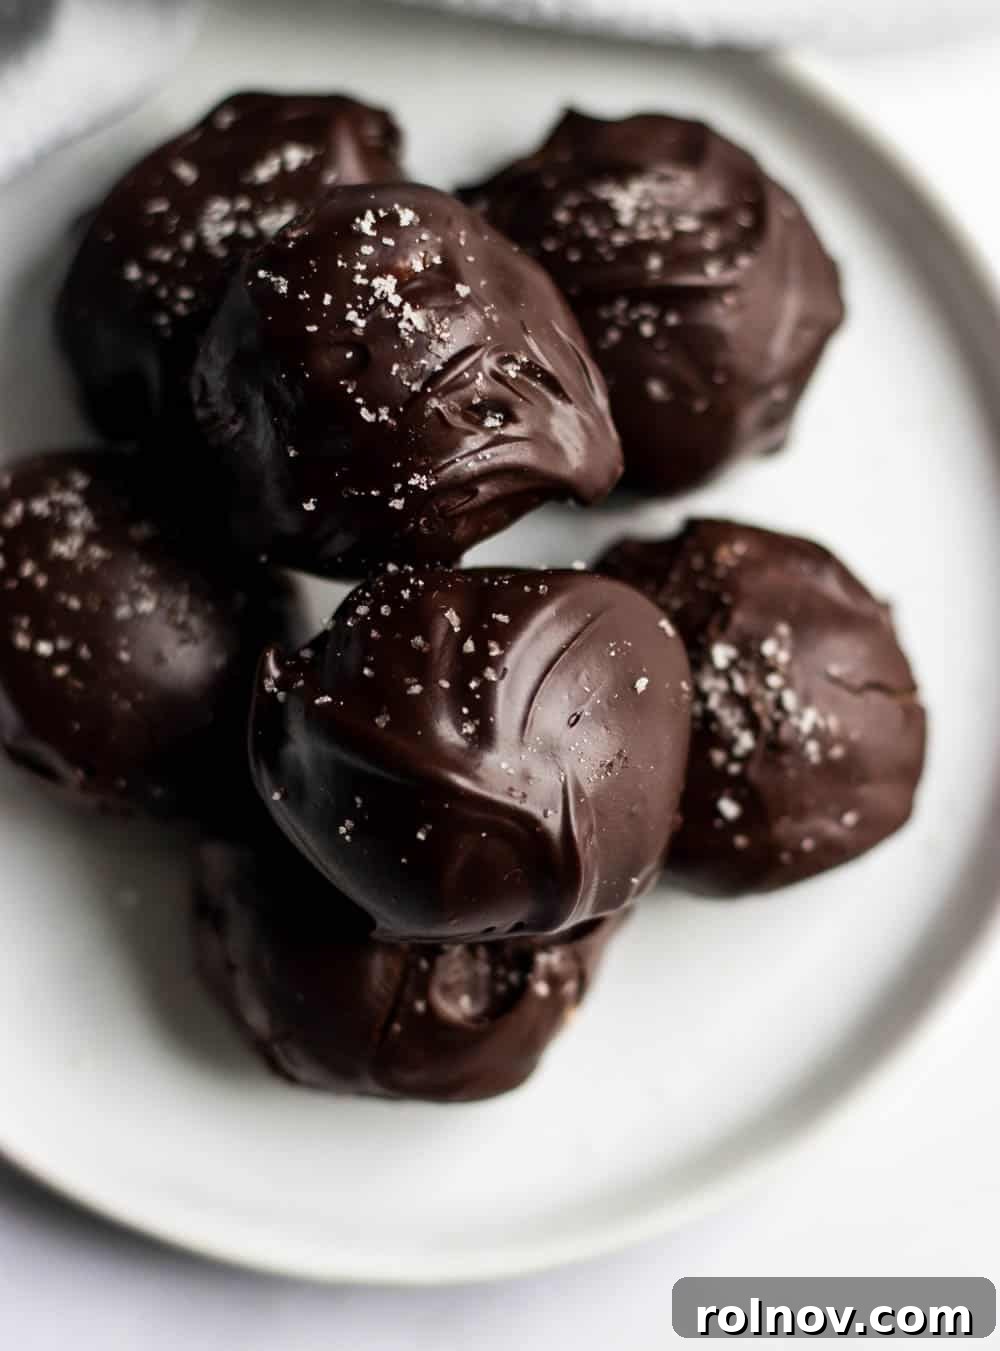
Peanut butter and chocolate – a timeless duo, truly meant to be together. These indulgent Homemade Peanut Butter Cup Truffles offer a luxurious take on this classic combination, perfect for any celebration, a thoughtful gift, or simply a delightful treat just for you. With their rich flavor and melt-in-your-mouth texture, they’re guaranteed to become a new favorite. Plus, with a little creativity, you can easily transform them into iconic Buckeyes or festive Easter eggs!
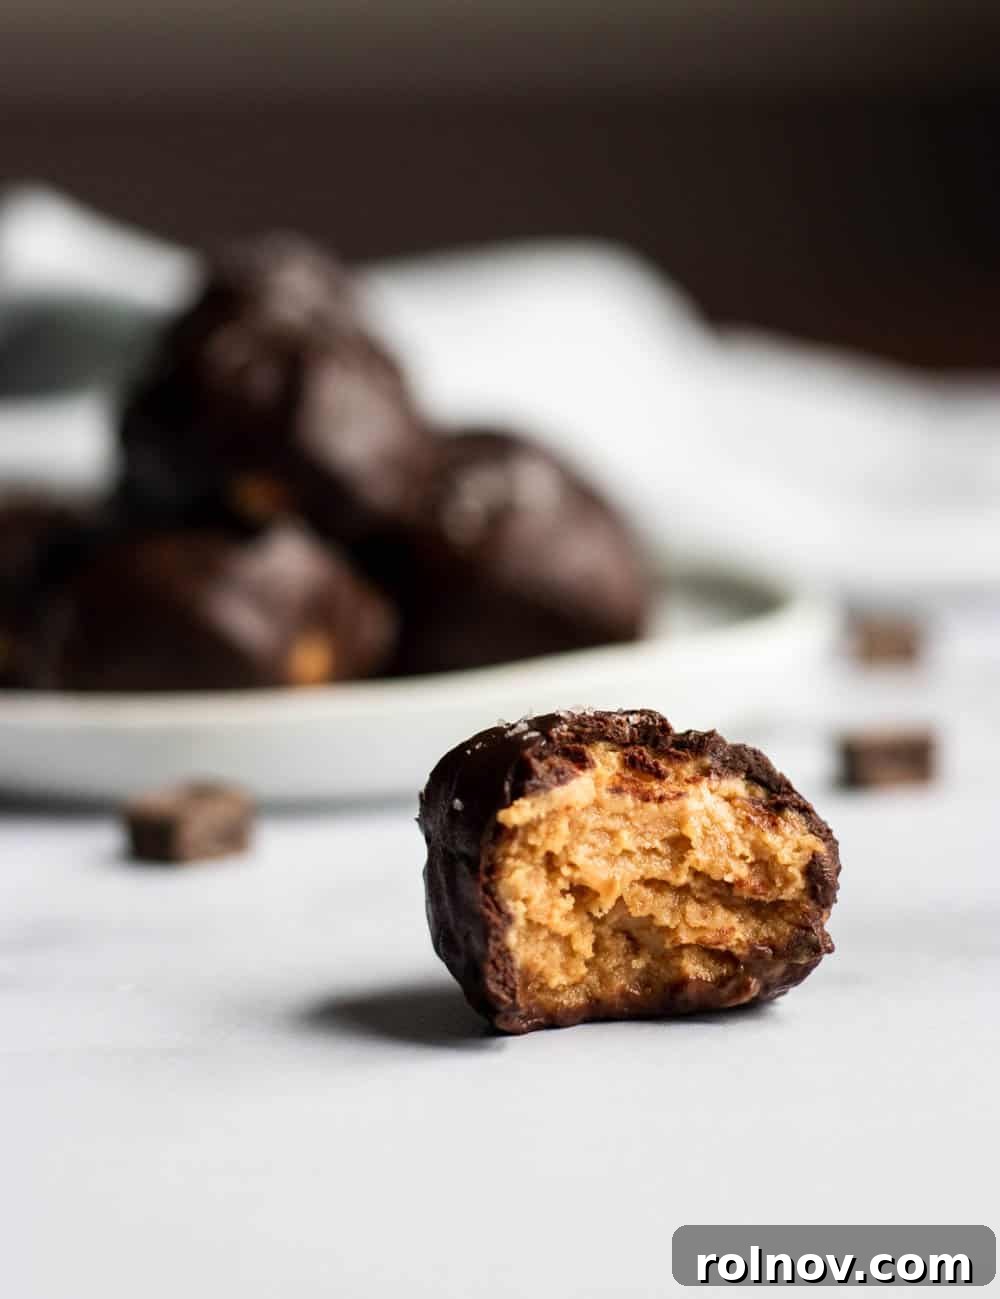
The Joy of a Classic Combination: My Happy Accident and the Buckeye Connection
There’s something inherently comforting about the pairing of peanut butter and chocolate. For me, it’s a source of pure happiness. Not long ago, I attempted a batch of Reese’s-esque treats, and while the flavor was there, my chocolate seizing slightly meant they were far from “photo-worthy.” Undeterred, I returned to the kitchen, and what I discovered brought an even bigger smile to my face: this very recipe can effortlessly be adapted into a traditional Buckeye! As a proud native of the “Buckeye State” (Ohio), this realization was particularly exciting, as Buckeyes are a beloved regional delicacy.
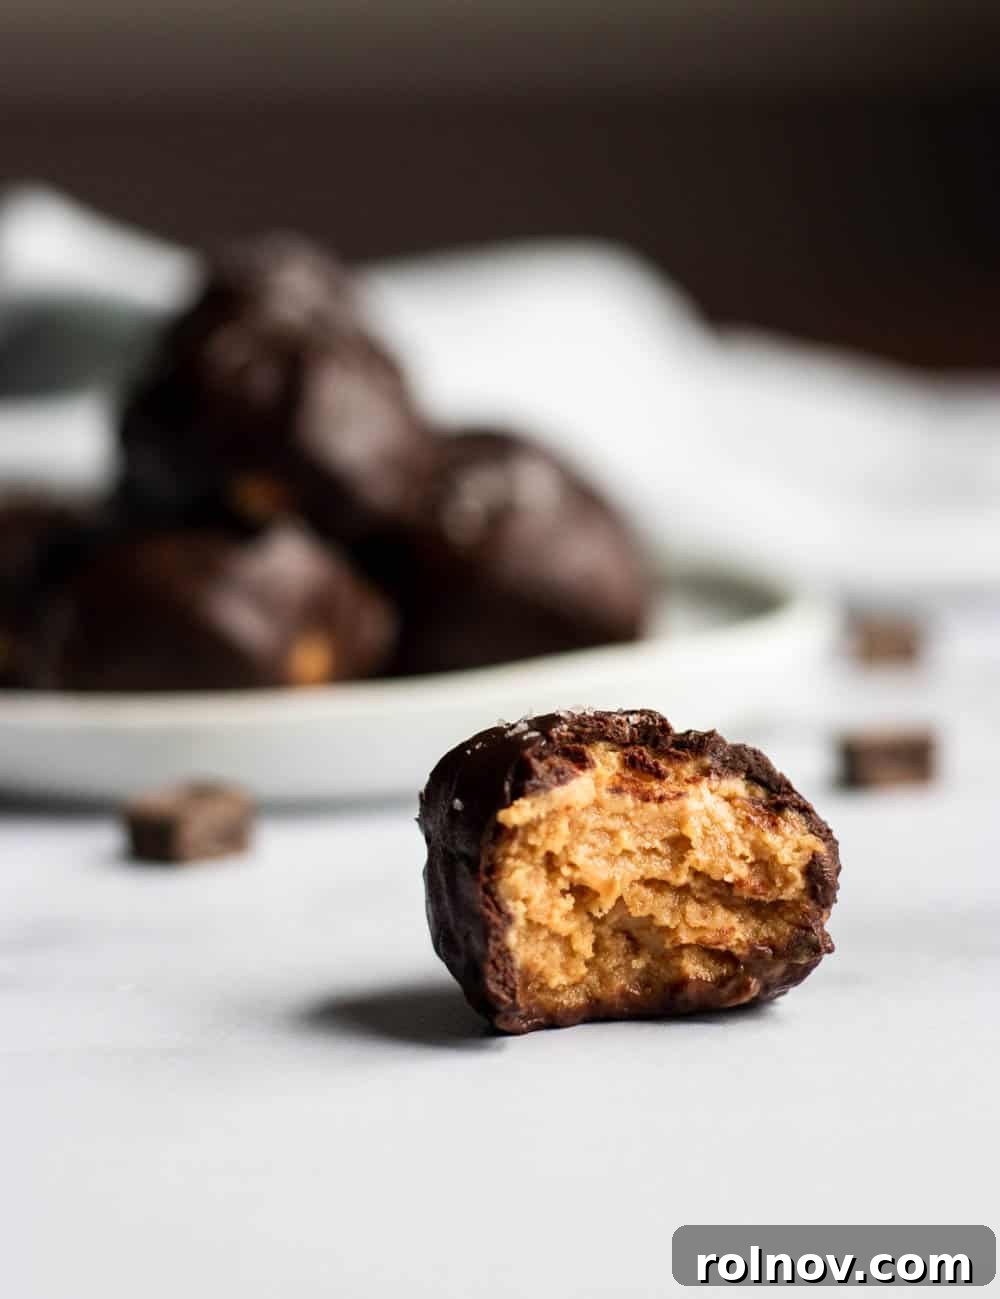
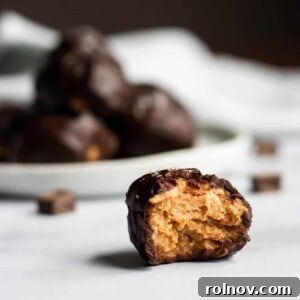
My culinary journey often balances vibrant fruits and wholesome vegetables with an undeniable love for sweet indulgences. A little something sweet after lunch or dinner often feels like the perfect conclusion to a meal. These homemade peanut butter cup truffles have quickly become my personal slice of heaven. The secret to their incredible texture lies in the medjool dates, which not only add a natural sweetness but also impart a wonderful thickness, giving the peanut butter filling a perfectly rich and chewy consistency. This makes for a delightful contrast with the smooth chocolate coating.
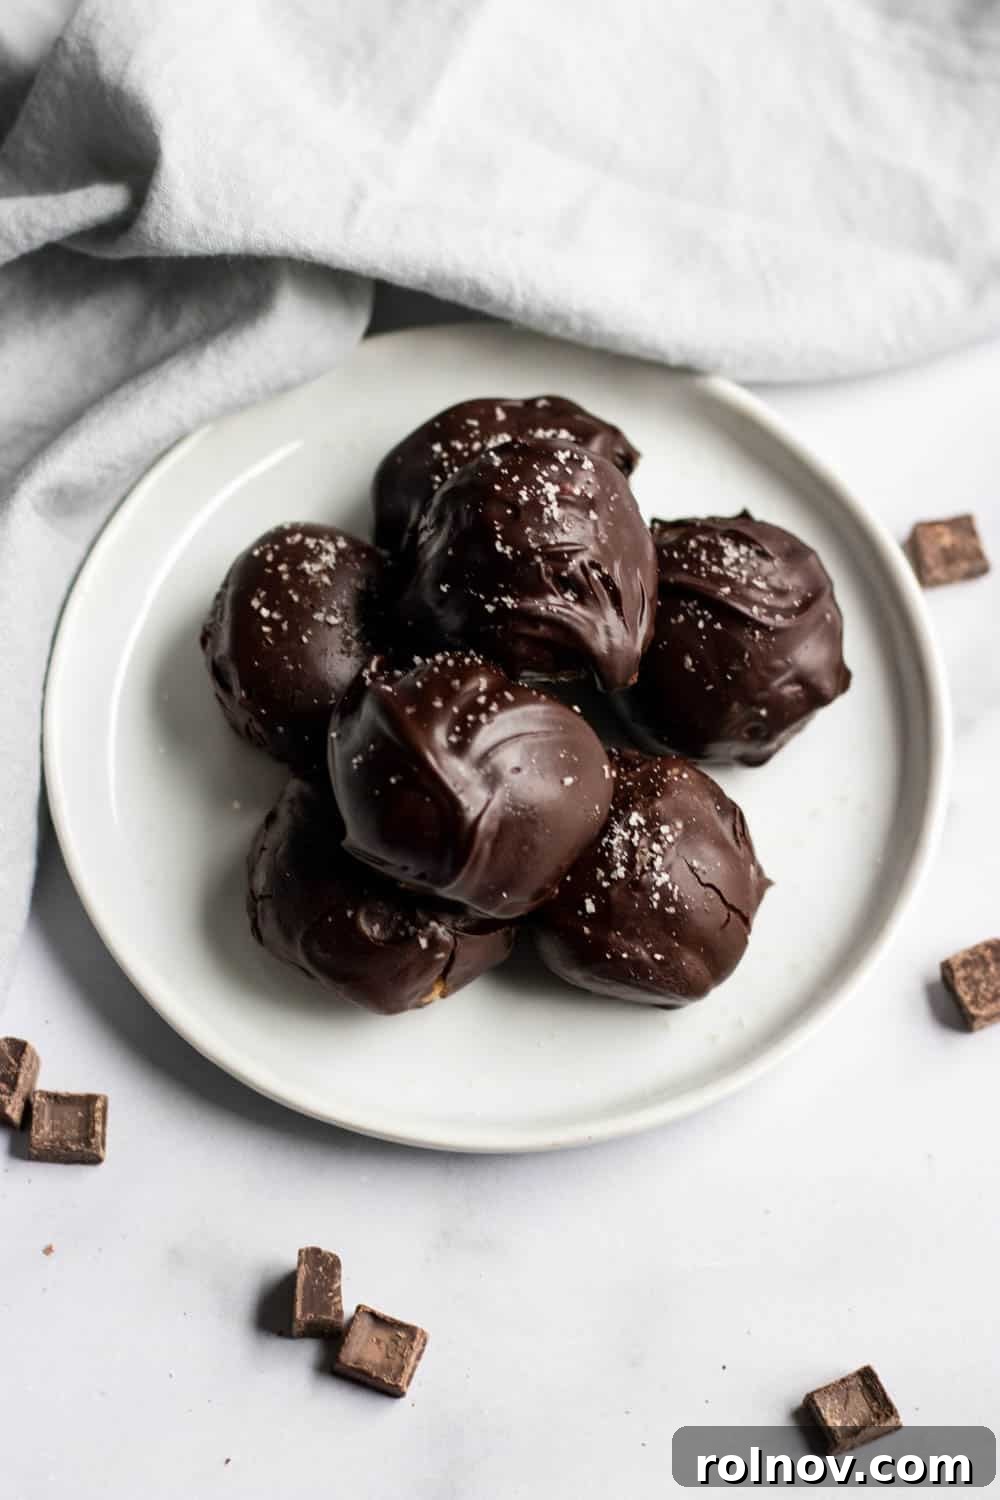
The beauty of these homemade peanut butter cup truffles lies in their versatility. I’ve explored several variations, and I encourage you to do the same! While I love the subtle richness it adds, the maple syrup in the filling is entirely optional if you prefer a less sweet or slightly different flavor profile. It truly just deepens the natural peanut butter taste. As always, I try to keep my recent post on moderation in mind when I whip up a batch of these, and I hope you find the perfect balance for enjoying these delightful treats!
Why Choose Homemade Truffles? The Benefits of Baking Your Own Sweet Treats
In a world full of store-bought sweets, there’s a unique satisfaction that comes from creating your own confections from scratch. These homemade peanut butter cup truffles offer several advantages. Firstly, you have complete control over the ingredients. Using natural creamy peanut butter ensures you avoid unwanted additives and excessive sugars often found in commercial brands. Medjool dates provide natural sweetness and a wholesome thickener, replacing processed sugars and binders. This recipe is also incredibly fresh; nothing beats the taste of a freshly made truffle. The absence of preservatives means you’re enjoying a purer, more authentic flavor.
Secondly, the no-bake aspect of this recipe makes it incredibly accessible. You don’t need to be an experienced baker to achieve impressive results. With just a food processor and a few simple steps, you can create professional-looking and tasting truffles. This makes it a fantastic project for a quick dessert, a last-minute gift, or even a fun activity with children. The minimal cooking involved also means less cleanup, which is always a bonus!
Finally, the customization options are endless. While the basic recipe is phenomenal, it serves as a wonderful canvas for your creativity. Want to add a pinch of sea salt to the peanut butter mixture? Go for it! Prefer milk chocolate over dark? That’s an easy swap. You can even experiment with different extracts like vanilla or almond for a nuanced flavor. Homemade treats allow you to tailor every aspect to your personal preferences, ensuring every bite is exactly what you crave.
The Versatility of Truffles: From Buckeyes to Easter Eggs
One of the most exciting aspects of this peanut butter truffle recipe is its incredible adaptability. As I mentioned, discovering its potential to morph into Buckeyes was a game-changer for me. For those unfamiliar, Buckeyes are a confection popular in Ohio, consisting of a peanut butter fudge ball partially dipped in chocolate, leaving a circle of peanut butter visible to resemble the nut of the Ohio Buckeye tree. To achieve this, simply roll your peanut butter mixture into balls, chill them thoroughly, then use a toothpick to dip them partially into melted chocolate, leaving the top exposed. It’s a nostalgic and utterly delicious treat that always brings a smile.
Beyond Buckeyes, these truffles can be shaped for various holidays and occasions. For Easter, I’ve successfully rolled the mixture into small balls and then gently flattened them into egg shapes before dipping them in chocolate. You could even use colored white chocolate for a more festive look. During Christmas, round truffles can be adorned with festive sprinkles, or shaped into tiny logs and sliced. The firm yet pliable texture of the date-sweetened peanut butter allows for a surprising amount of sculptural freedom, making these truffles a fantastic addition to any holiday platter or themed party.
Ingredients Deep Dive: Crafting Flavor and Texture
Each ingredient in this recipe plays a crucial role in creating the perfect peanut butter cup truffle:
- Natural Creamy Peanut Butter: The star of the show! Opting for natural peanut butter with minimal ingredients (just peanuts and salt) is key. Its smoother consistency blends beautifully with the dates and maple syrup, creating a luxurious filling. Avoid hydrogenated oils and added sugars for the best flavor and texture.
- 100% Pure Maple Syrup: This liquid gold not only adds a delicate, complex sweetness but also helps to bind the peanut butter mixture. Its unique flavor profile complements both the peanut butter and chocolate, adding depth without being overly sugary. If you’re conscious about sugar intake, remember it’s optional, but highly recommended for that extra richness.
- Pitted Medjool Dates: These are the unsung heroes of this recipe. Medjool dates are naturally sweet, incredibly moist, and have a caramel-like flavor. When processed, they create a thick, chewy, and slightly sticky texture that mimics the interior of a classic peanut butter cup. They’re also a source of natural fiber, adding a touch of wholesome goodness. Ensure they are pitted before adding to the food processor.
- Dark Chocolate Chips: The bitter notes of dark chocolate perfectly balance the sweetness of the peanut butter filling. Choose a high-quality dark chocolate (60% cacao or higher) for the best flavor and melt. The better the chocolate, the smoother and more luxurious your coating will be.
- Milk of Choice: A couple of tablespoons of milk help to thin out the melted chocolate, making it smoother and easier to dip your truffles. Any milk will work, whether it’s dairy milk, almond milk, oat milk, or soy milk, so choose based on your dietary preferences.
Tips for Truffle Perfection: Achieving the Best Results
Making these truffles is straightforward, but a few tips can elevate your results:
- Chill Time is Crucial: Do not rush the chilling steps. The initial 30 minutes in the freezer for the peanut butter balls ensures they are firm enough to handle and dip without losing their shape. If they start to soften while you’re dipping, simply pop them back in the freezer for a few minutes. The final chill helps the chocolate set beautifully.
- Perfecting the Chocolate Coating: The double boiler method is your best friend here. It melts chocolate gently and evenly, preventing it from scorching or seizing. If you don’t have a double boiler, a heatproof glass bowl placed over a pot of simmering water works perfectly. Ensure the bottom of the bowl does not touch the water. Stir constantly until completely smooth. If the chocolate seems too thick, add a tiny bit more milk, a half-teaspoon at a time, until you reach your desired consistency.
- Rolling Technique: For evenly sized truffles, use a small cookie scoop or a measuring spoon. Roll them quickly between your palms to create smooth balls. If the mixture is too sticky, slightly dampen your hands or lightly dust them with a tiny bit of powdered sugar (though this recipe aims for a cleaner ingredient list).
- Dipping Like a Pro: For truffles, you can use a fork or a dipping tool to submerge the peanut butter balls fully. Gently tap off excess chocolate. For Buckeyes, use a toothpick inserted into the center of the peanut butter ball, dip most of it into the chocolate, then gently push it off the toothpick onto parchment paper, using another toothpick or a small knife to help slide it off and smooth the hole.
- Setting the Chocolate: While the refrigerator works, placing the dipped truffles back in the freezer for 10-15 minutes will set the chocolate much faster, getting you to the tasting stage sooner!
Storage and Serving Suggestions
Once your homemade peanut butter cup truffles are set, store them in an airtight container in the refrigerator. They will last for up to a week. For longer storage, you can freeze them for up to a month. Thaw in the refrigerator for a few hours before serving, or enjoy them straight from the freezer for a firmer, colder treat!
These truffles are wonderful on their own, but they also make fantastic additions to dessert platters, especially during holidays. Serve them alongside coffee or tea, or as a sweet bite after a meal. They also make thoughtful edible gifts, beautifully packaged in small boxes or bags.
One of my other favorite candy recipes to make are my Almond Joy Bars—with just these two recipes, I’m set for satisfying almost any sweet craving!
HUNGRY FOR MORE? Subscribe to my newsletter and follow me on Facebook, Instagram and Pinterest for all the latest recipes and culinary inspiration!
Peanut Butter Cup Truffles
Ingredients
For the Center
- 1 cup natural creamy peanut butter
- 1/4 cup 100 % pure maple syrup
- 2-3 pitted medjool dates
For the coating
- 3/4 cup dark chocolate chips
- 2 T milk of choice
Want to save this recipe for later? Subscribe to my newsletter to get new recipes delivered straight to your inbox and easily save your favorites!
Instructions
-
In a food processor, finely chop the pitted medjool dates by pulsing several times, then running until small, uniform pieces are formed.
-
Add the natural peanut butter and maple syrup to the food processor. Process until the mixture becomes thick, smooth, and all ingredients are evenly combined.
-
Roll the peanut butter mixture into balls of your preferred size and shape (e.g., small spheres for truffles, slightly larger for Buckeyes, or flattened ovals for Easter eggs). Place them on a plate or tray lined with parchment paper.
-
Place the parchment-lined dish with the peanut butter shapes into the freezer for approximately 30 minutes to firm up.
-
For the Coating: Prepare a double boiler. Fill a small saucepan with about an inch of water and bring it to a gentle boil. Place a heatproof glass bowl (make sure it doesn’t touch the water) on top of the saucepan. Add the dark chocolate chips and milk of choice to the bowl. Stir constantly until the chocolate is completely melted and smooth.
-
For Truffles: Remove the chilled peanut butter balls from the freezer. Roll each ball into the melted chocolate, ensuring it’s fully coated. Place the chocolate-covered truffles back on the parchment paper. Let them set in the refrigerator for about one hour, or return them to the freezer for quicker setting (about 15-20 minutes).
-
For Buckeyes: Using a toothpick, gently pick up a peanut butter ball by poking it slightly off-center. Dip the bottom half of the ball into the melted chocolate, leaving a small circle of peanut butter exposed at the top. Carefully place the partially dipped Buckeyes back on the parchment paper. Allow them to cool and set in the refrigerator or freezer as needed.
Notes
For Easter Treats: I’ve successfully rolled these into balls and then gently flattened them to create egg shapes. They were absolutely perfect for a festive Easter dessert!
Nutrition
Nutrition information is automatically calculated, so should only be used as an approximation.
Did you enjoy this recipe? Have a question?Leave a comment below!