
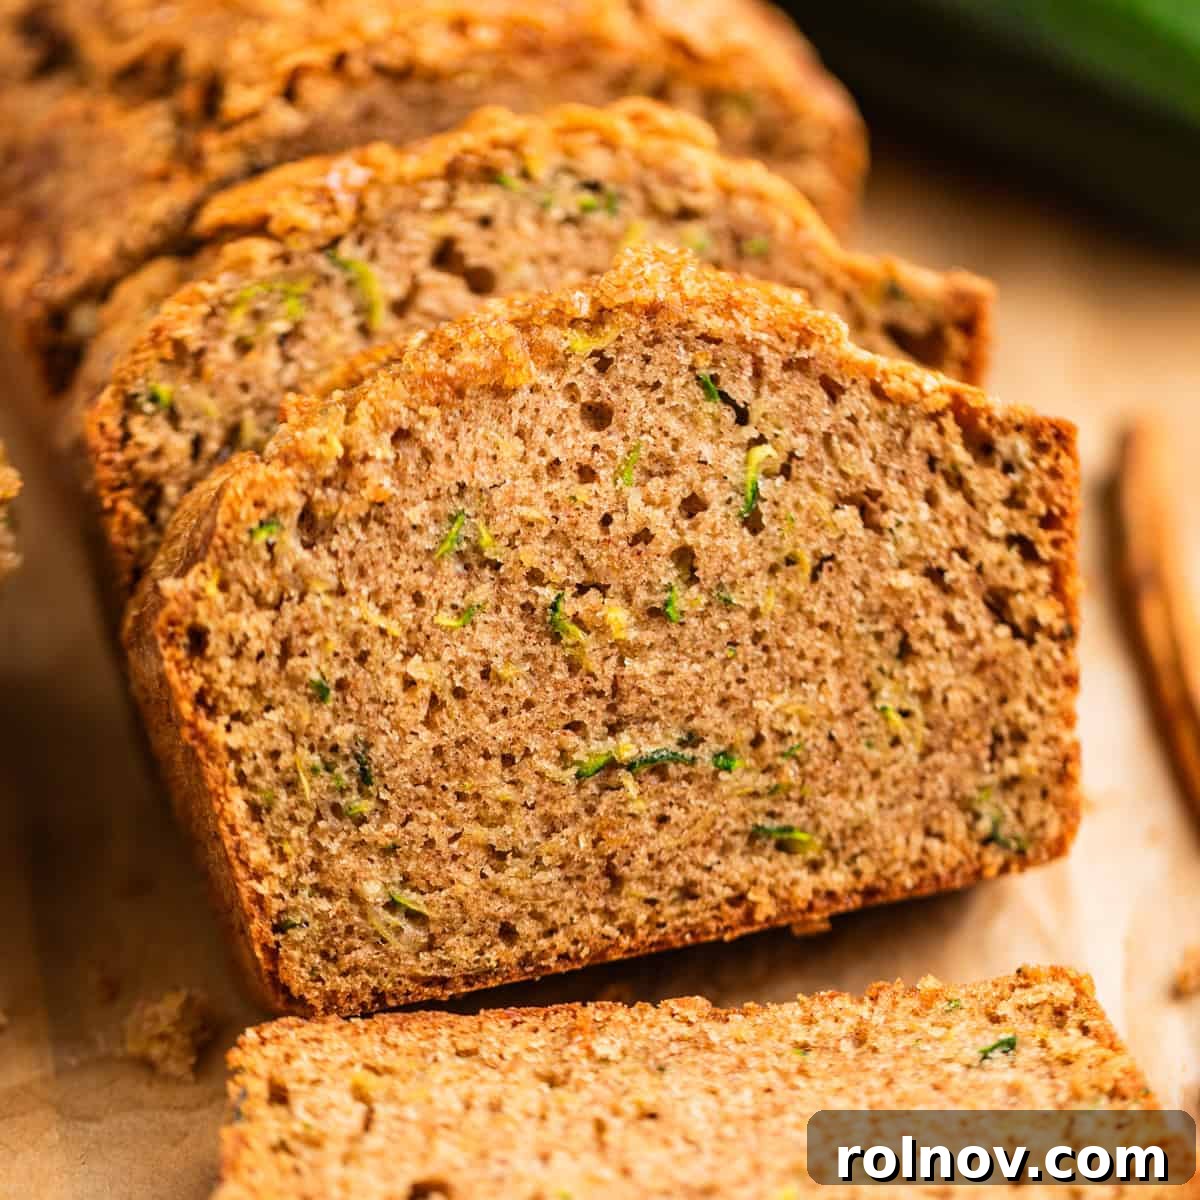
Discover the ultimate version of a timeless classic with this enhanced Zucchini Bread Recipe. Moving beyond tradition, we’ve perfected Grandma’s beloved creation by embracing modern preferences – specifically, by thoughtfully omitting raisins for a universally appealing treat. Prepare to be captivated by a heavenly combination of a sweet, crunchy sugar topping and an incredibly moist, cinnamon-spiced interior that promises an irresistible experience. With only 15 minutes of active preparation time, this recipe integrates simple, time-honored baking wisdom with subtle improvements to deliver truly the best zucchini bread you’ll ever bake.
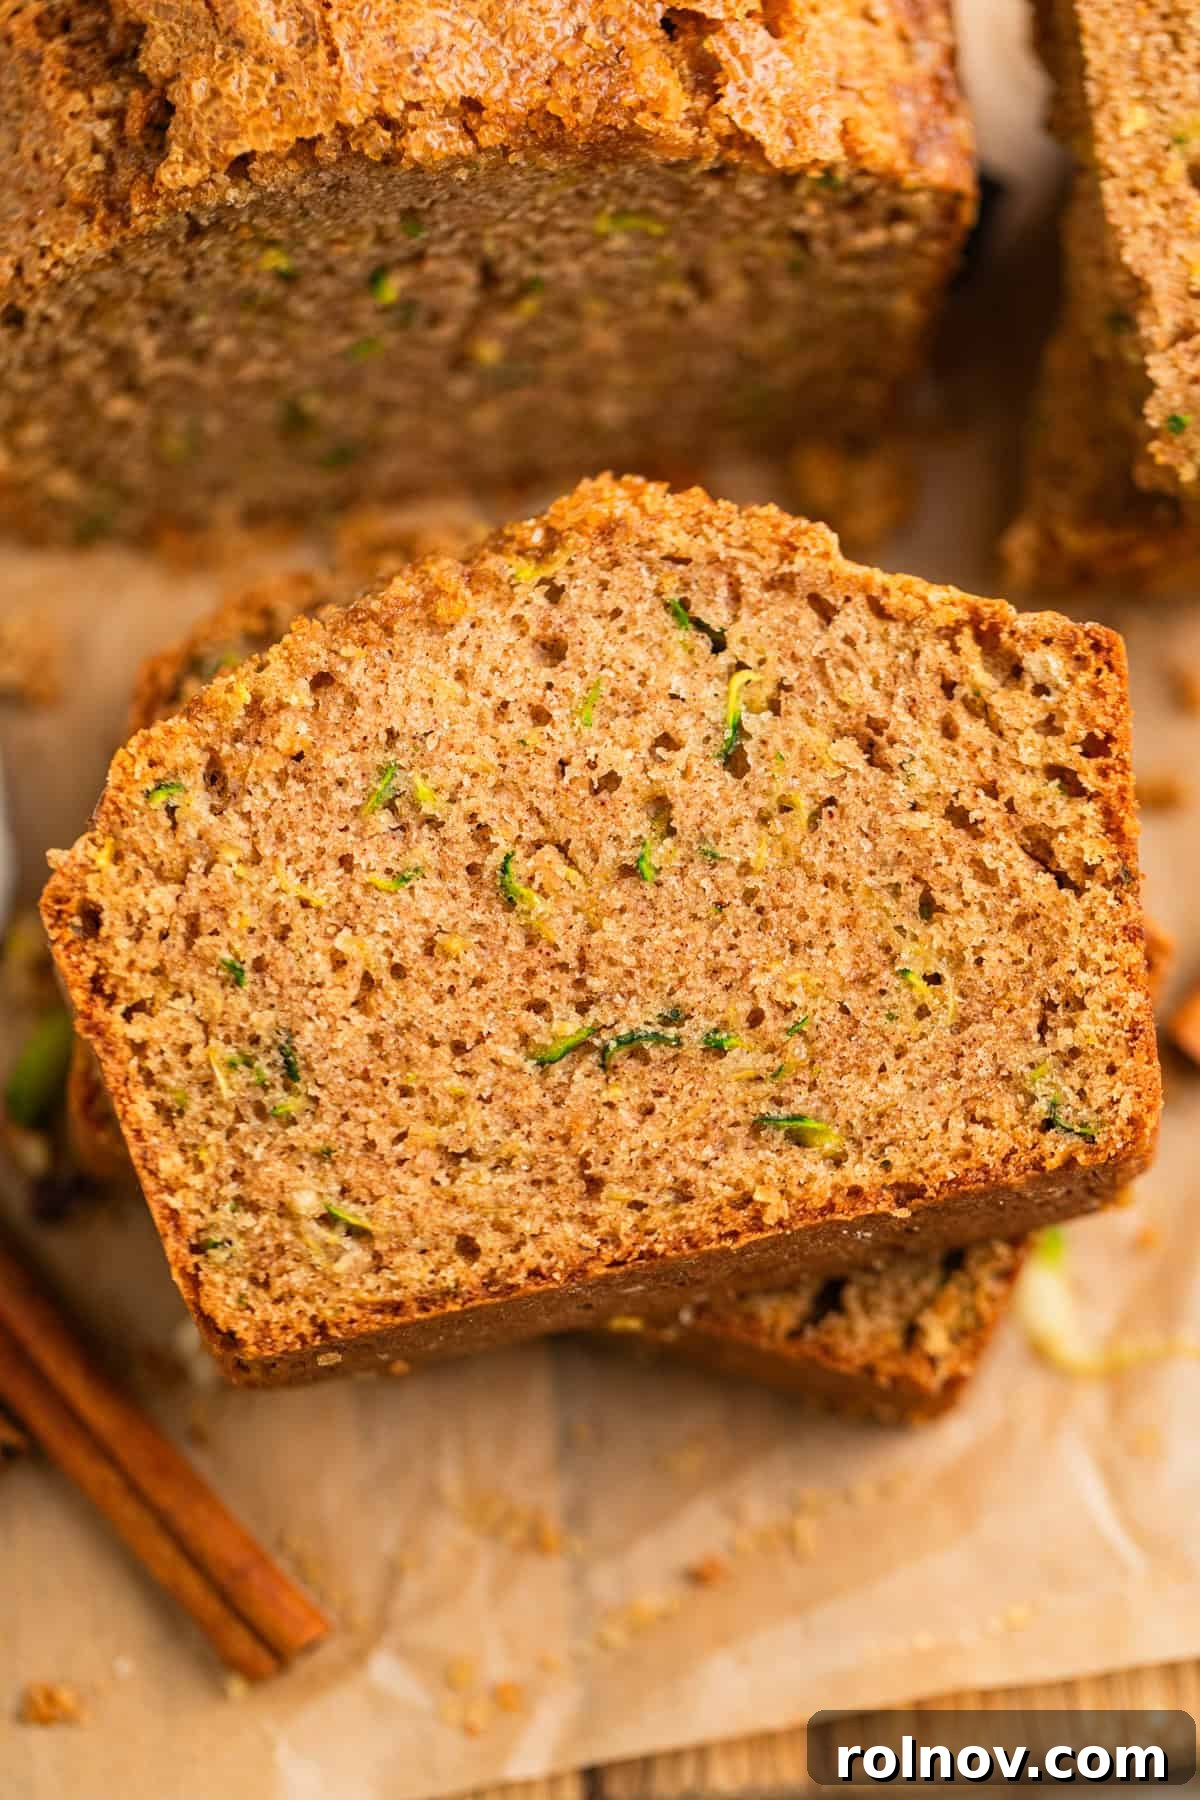
While the nostalgic charm of grandma’s baking is undeniably special, a culinary journey often involves respectful innovation. Our family recipe for zucchini bread, a cherished heirloom, has undergone a thoughtful evolution to elevate its texture and flavor profile. The most significant and celebrated change, surprisingly, came from the overwhelming feedback of our readers: a unanimous desire for zucchini bread free from raisins. This simple omission transformed a classic into a modern favorite, proving that sometimes, less is indeed more, especially when it comes to preferred inclusions!
This recipe isn’t about replacing tradition but rather about refining it, building upon the foundational wisdom passed down through generations. Zucchini bread holds a special place in my heart, evoking warm memories of childhood summers and comforting aromas filling the kitchen. It’s more than just a quick bread; it’s a connection to the past, brought into the present with an irresistible twist. What baking recipe sparks the most nostalgia for you? For me, it’s definitely this cinnamon-infused delight.
If you share a passion for baking, you’ll find kindred spirits in these delightful creations. Explore other beloved recipes that bring joy to the kitchen, such as our Pumpkin Chip Banana Bread, a perfect blend of autumn flavors. Indulge in the delicate sweetness of White Chocolate Raspberry Muffins, or savor the rich combination in our White Chocolate Almond Banana Bread. And if you have an abundance of zucchini from your garden or farmer’s market, don’t limit yourself to bread! Venture into savory territory with this refreshing Grilled Zucchini Pasta Salad, a perfect light meal for any day.
Why You’ll Adore This Zucchini Bread Recipe

- Unforgettable Texture and Flavor: Prepare for a truly exceptional experience! I might get some good-natured ribbing for saying this surpasses my grandma’s original, but the truth is, this bread delivers an undeniable “WOW” factor. The crispy, sweet topping perfectly complements the wonderfully moist and fluffy interior. Each bite is a symphony of warm cinnamon spice, making it more than just bread – it’s a delightful sensation that will leave you craving more.
- Effortless Freezing for Future Enjoyment: This recipe is perfect for meal prepping or simply ensuring you always have a comforting treat on hand. Double the batch and freeze one loaf for later! Zucchini bread freezes exceptionally well, maintaining its delicious taste and moist texture once thawed. It’s an ideal way to capture the taste of summer fresh from your oven, ready to be enjoyed weeks or even months down the line.
- Simple to Adjust for Any Occasion: Planning to bake for a smaller crowd or just craving a single loaf? Aside from the eggs, most ingredients in this recipe are straightforward to halve, making it incredibly adaptable. If reducing the recipe to a single loaf, you’ll likely need to beat three eggs and then divide them in half to achieve the perfect consistency. Don’t let the leftover egg go to waste – scramble it up for a quick and fluffy breakfast!
- A Recipe That’s Unintimidatingly Easy: Don’t let the thought of baking intimidate you. This zucchini bread recipe is remarkably simple to follow, even for novice bakers. The most “challenging” part is typically the shredding of the zucchini, but with a good box grater or food processor, that task becomes a breeze. Beyond that, it’s mostly a matter of mixing and stirring, making it a fantastic project for kids to help with in the kitchen, fostering their love for baking!
Essential Ingredient Notes for Perfection
Crafting the perfect zucchini bread begins with understanding the role of each ingredient. Below, you’ll find a detailed breakdown of key components, offering insights and tips to ensure your bread turns out wonderfully. For a complete list of ingredients and their precise measurements, please refer to the comprehensive recipe card at the end of this article.
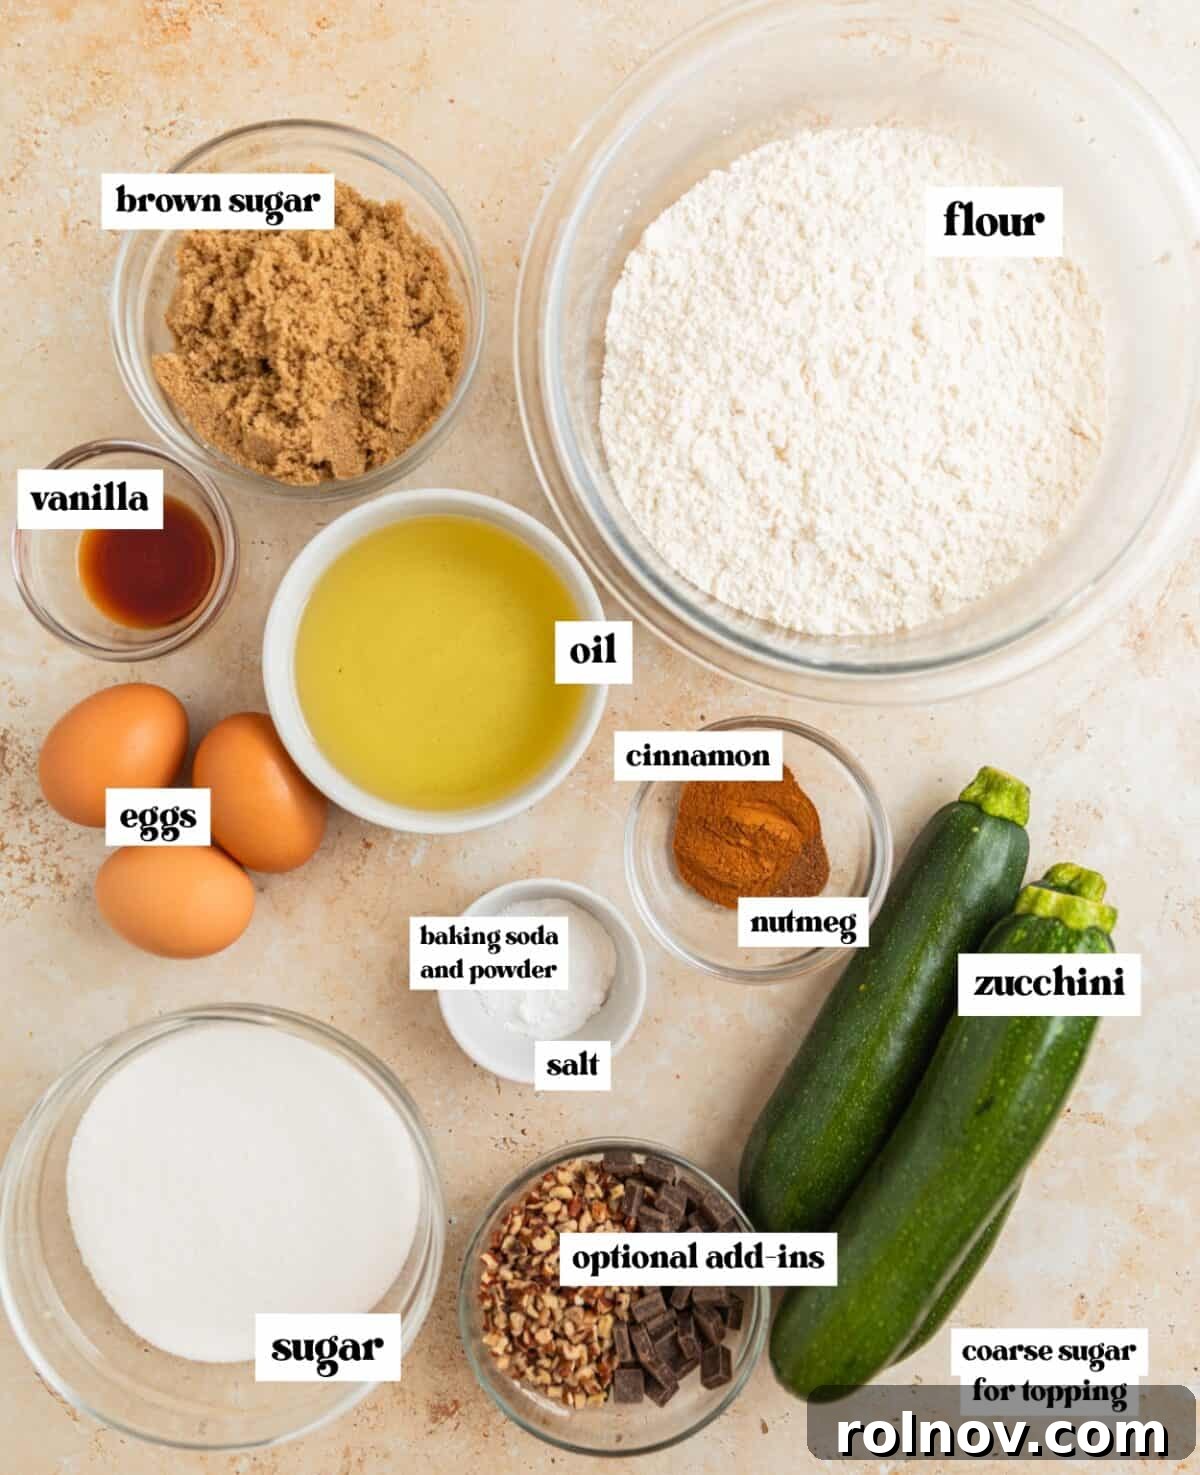
- All-Purpose Flour: The Foundation: For consistently excellent results in any baking endeavor, measuring your flour by weight is highly recommended. It’s the most accurate method to prevent adding too much, which can lead to a dense, dry bread. If you don’t have a kitchen scale, don’t worry! Start by stirring and aerating the flour in its container to loosen it. Then, gently spoon the flour into your measuring cup until it’s overflowing, and finally, level it off with the straight edge of a knife. This spoon-and-level technique helps avoid compacting the flour, ensuring you use the correct amount.
- Zucchini: No Peeling Required!: One of the best aspects of baking with zucchini is its forgiving nature. There’s absolutely no need to peel the zucchini for this recipe. The skin softens beautifully during baking and becomes virtually undetectable in the final product. More importantly, keeping the skin on imparts lovely little green flecks throughout the bread, giving it that classic, homemade zucchini bread appearance and a subtle boost of nutrients. Use small to medium zucchinis, as larger ones tend to have bigger, tougher seeds that can alter the texture.
- The Sweetness Factor: A Blend of Sugars: While experimenting with grandma’s original recipe, which called for a generous two cups of white sugar, I aimed to achieve a balance of sweetness and depth. My tests revealed that reducing the sugar too much, even slightly, diminished the bread’s delightful richness. The inclusion of brown sugar, alongside white sugar, proved to be a game-changer. Brown sugar not only contributes a molasses-rich flavor but also adds to the bread’s incredible moisture and tender texture, making it an indispensable component for that “better than grandma’s” quality.
- Choosing Your Oil: For Ultimate Moisture: This recipe primarily uses canola oil, which is an excellent choice due to its neutral flavor profile. This allows the wonderful tastes of cinnamon, vanilla, and zucchini to shine through without interference. Vegetable oil works just as perfectly, offering similar benefits in terms of moisture and a mild taste. Both oils contribute to the bread’s soft, tender crumb, ensuring it remains incredibly moist for days.
Exciting Ways to Customize Your Zucchini Bread
One of the joys of baking is the ability to personalize recipes to suit your taste or what you have on hand. This zucchini bread recipe serves as a fantastic canvas for creativity. While we’ve perfected the base, feel free to explore these delightful variations to make it uniquely yours.
- Unleash Your Inner Baker with Diverse Add-ins: The easiest and most popular way to transform this zucchini bread is by incorporating your favorite extras. While I adore baked raisins, feedback showed that many prefer them omitted, so our primary images showcase the bread without any additions – allowing you to choose your own adventure! Consider folding in a generous 1 to 1.5 cups of chocolate chips for a sweet surprise, chopped walnuts or pecans for a delightful crunch, shredded coconut for a tropical twist, or even a mix of several for a truly decadent loaf.
- Transform into Delightful Zucchini Muffins: This versatile batter adapts beautifully to muffin tins! Simply portion the batter into greased muffin cups (filling them about two-thirds full) and adjust the baking time. Muffins will cook much faster, typically requiring only about 20-25 minutes at the same 325°F oven temperature. Keep an eye on them and test for doneness with a toothpick. They’re perfect for grab-and-go breakfasts or quick snacks.
- Elevate with a Cinnamon Streusel Topping: For an extra layer of texture and sweetness, consider adding a buttery streusel topping. A simple streusel made from flour, sugar, cold butter, and a dash of cinnamon can be sprinkled over the batter before baking. It creates an irresistible crunchy, crumbly crust that adds another dimension of flavor, similar to what you’d find on a delicious Cinnamon Streusel Pumpkin Coffee Cake.
- Give It a Refreshing Citrus Zest: For a bright and zesty twist, skip the traditional cinnamon and nutmeg. Instead, incorporate 2-3 tablespoons of fresh lemon zest (or orange zest for a slightly sweeter aroma) into your batter. The citrus brightens the entire flavor profile, creating a wonderfully refreshing lemon zucchini bread that’s perfect for spring or summer gatherings. You could even finish it with a simple lemon glaze made from powdered sugar and lemon juice.
Effortless Step-By-Step Zucchini Bread Instructions
Follow these detailed steps to bake two perfect loaves of moist, flavorful zucchini bread. Each stage is designed for clarity and ease, ensuring a successful baking experience every time.
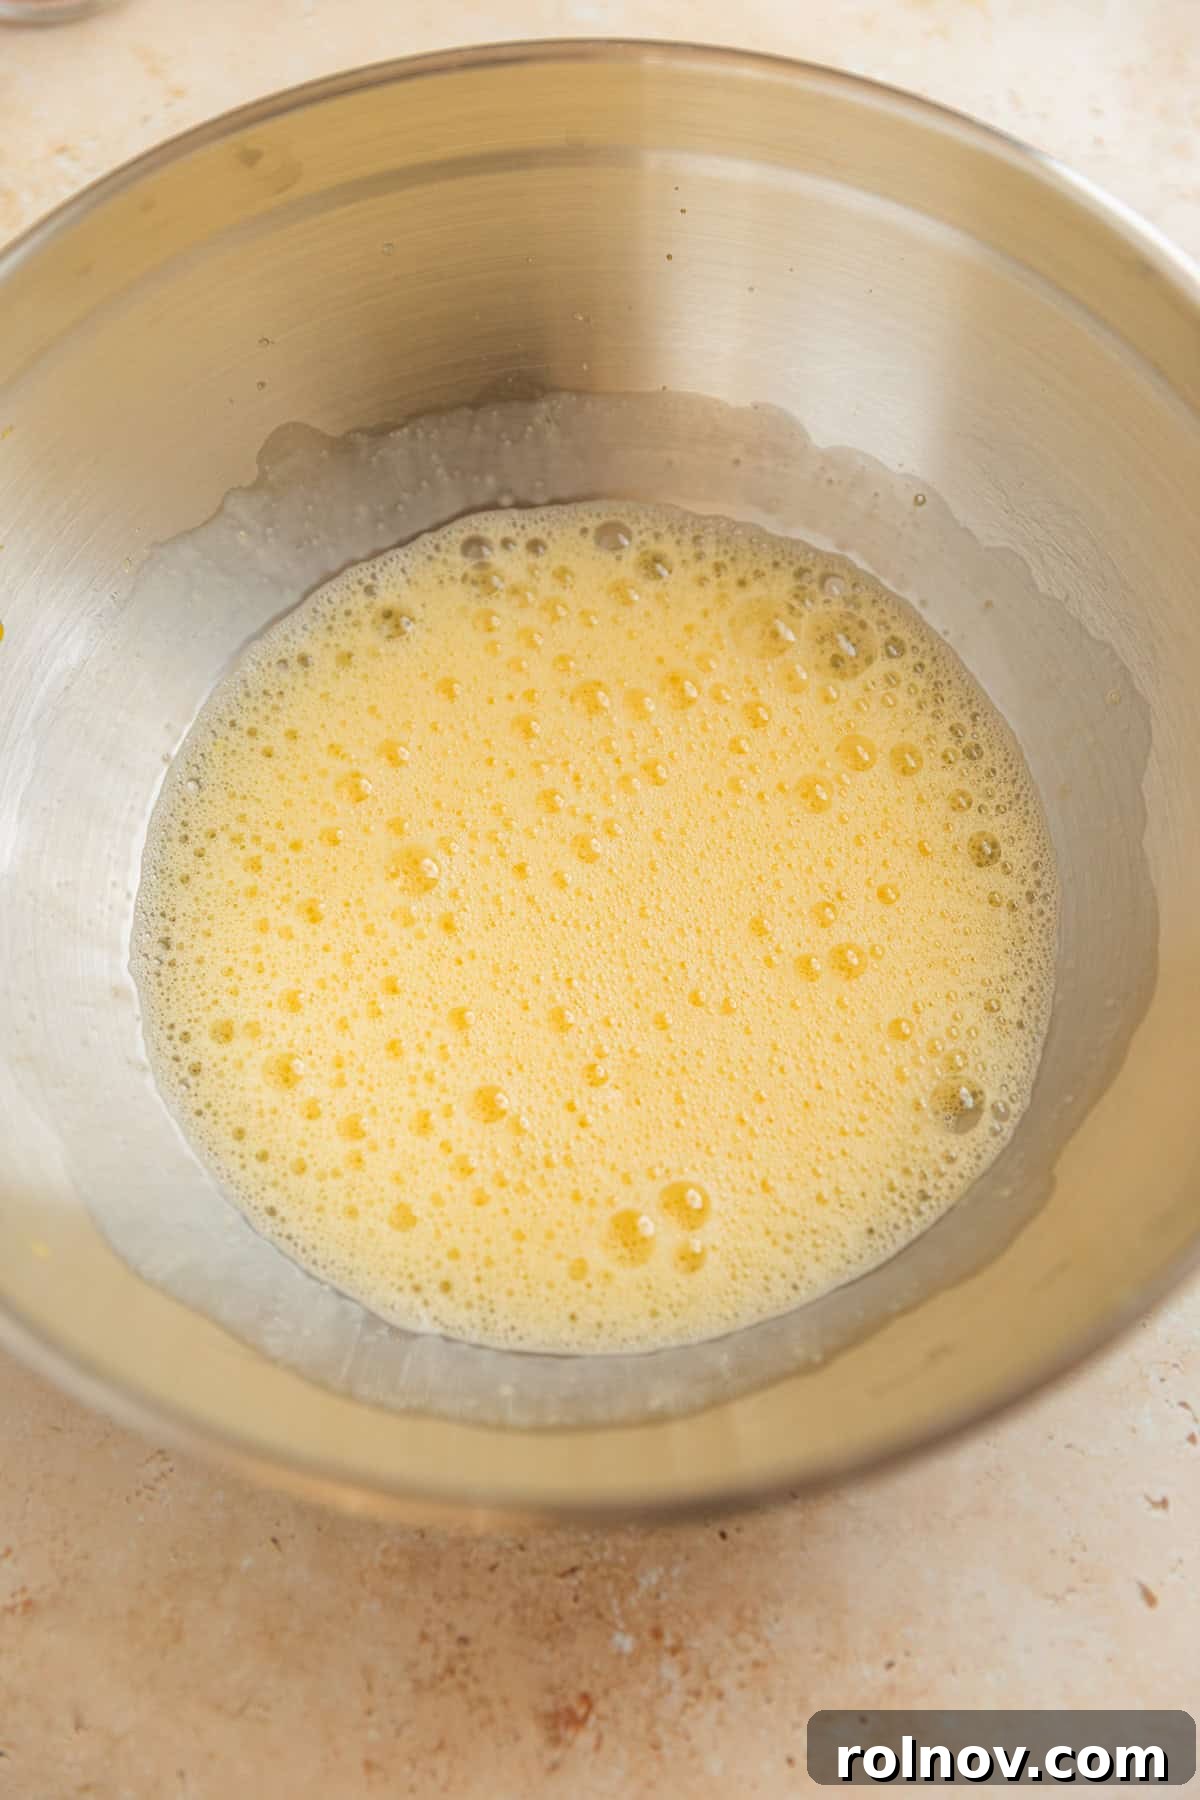
Step 1: Prepare the Oven and Eggs. Begin by preheating your oven to 325°F (160°C). In a large mixing bowl, using an electric hand mixer, beat the room-temperature eggs until they are light, fluffy, and noticeably frothy. This crucial step incorporates air, contributing to a lighter, more tender crumb in the finished bread. Once the eggs are frothy, add both white and brown sugars to the bowl. Continue beating until the sugars are fully dissolved and the mixture is smooth and well-incorporated, creating a luscious base for your bread.
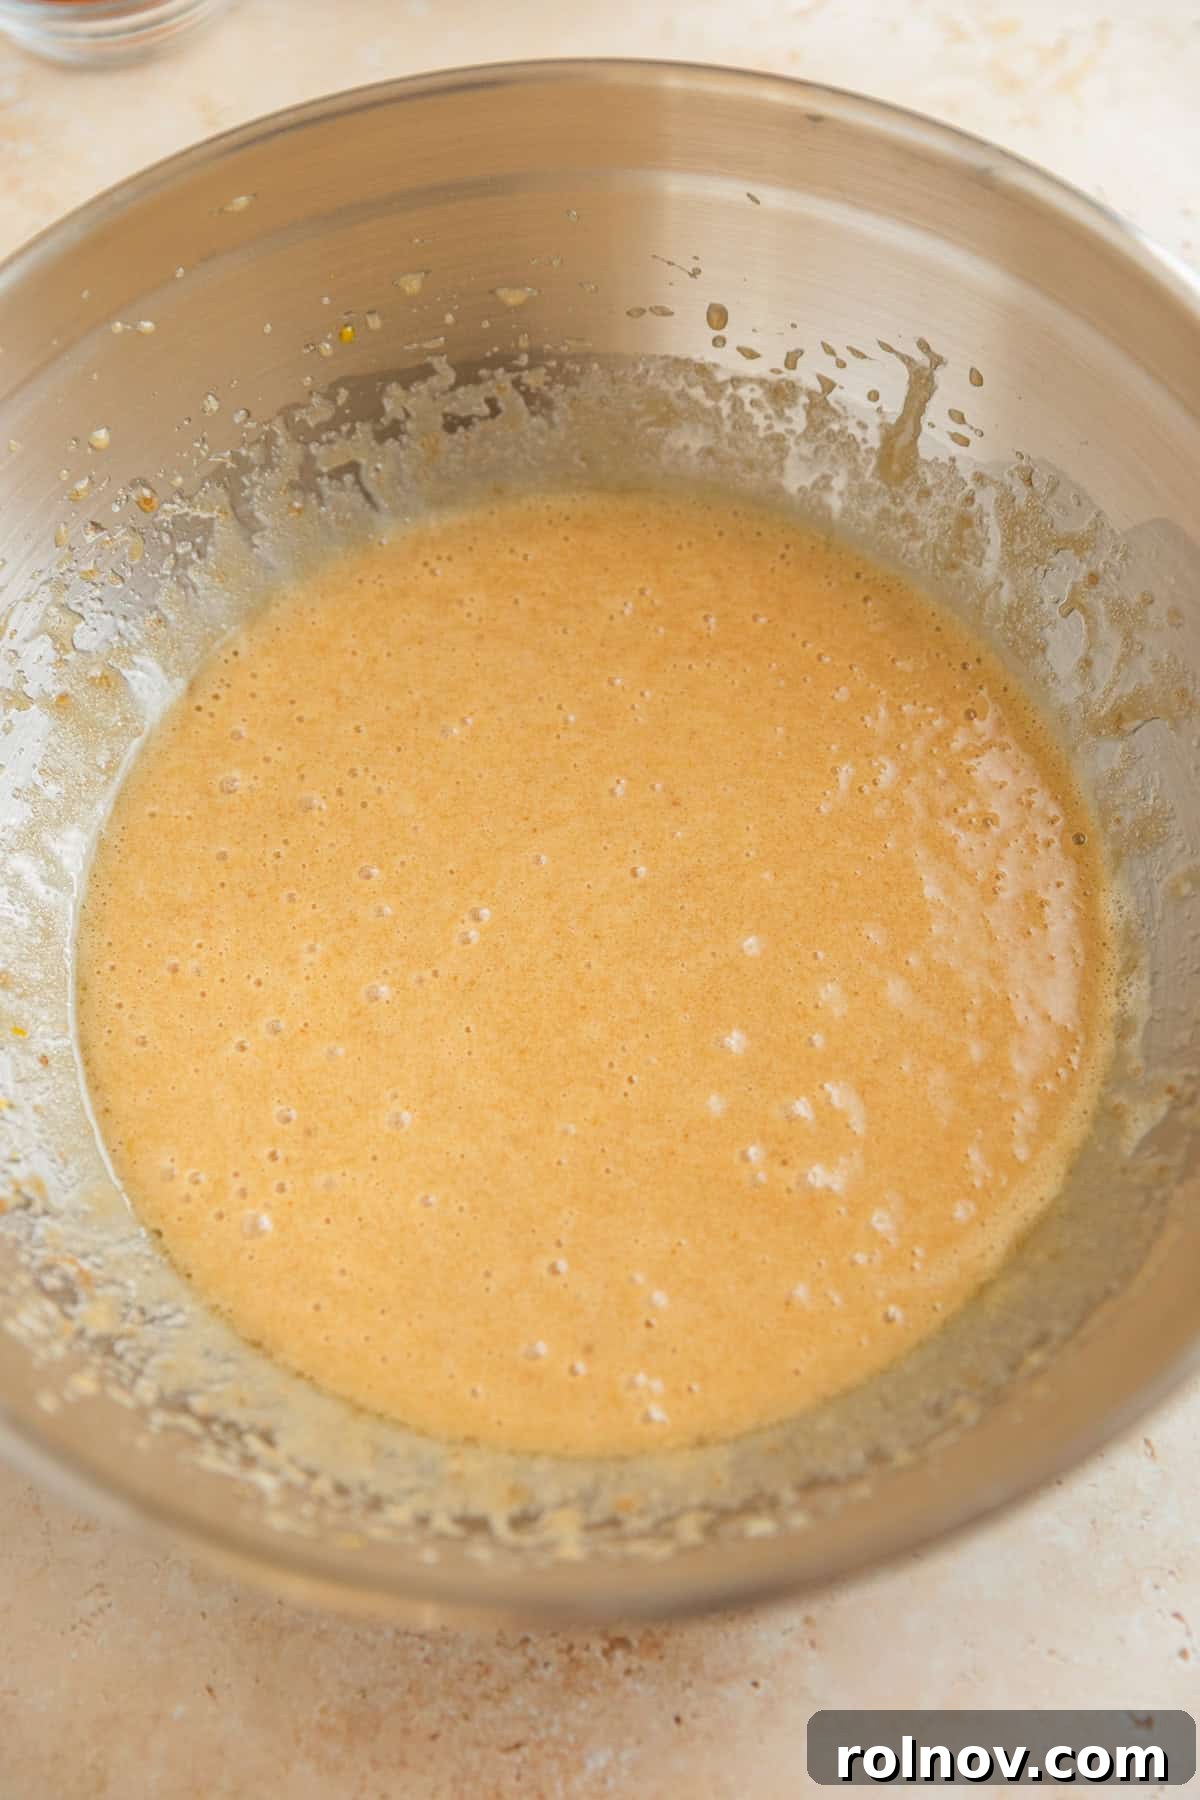
Step 2: Incorporate Wet Ingredients. To the frothy egg and sugar mixture, pour in the canola oil and fragrant vanilla extract. Continue to beat with your electric hand mixer until all these wet ingredients are thoroughly combined and the mixture achieves a smooth, unified consistency. The oil will fully emulsify, ensuring that moisture is evenly distributed throughout the batter, which is essential for that signature moist zucchini bread texture.
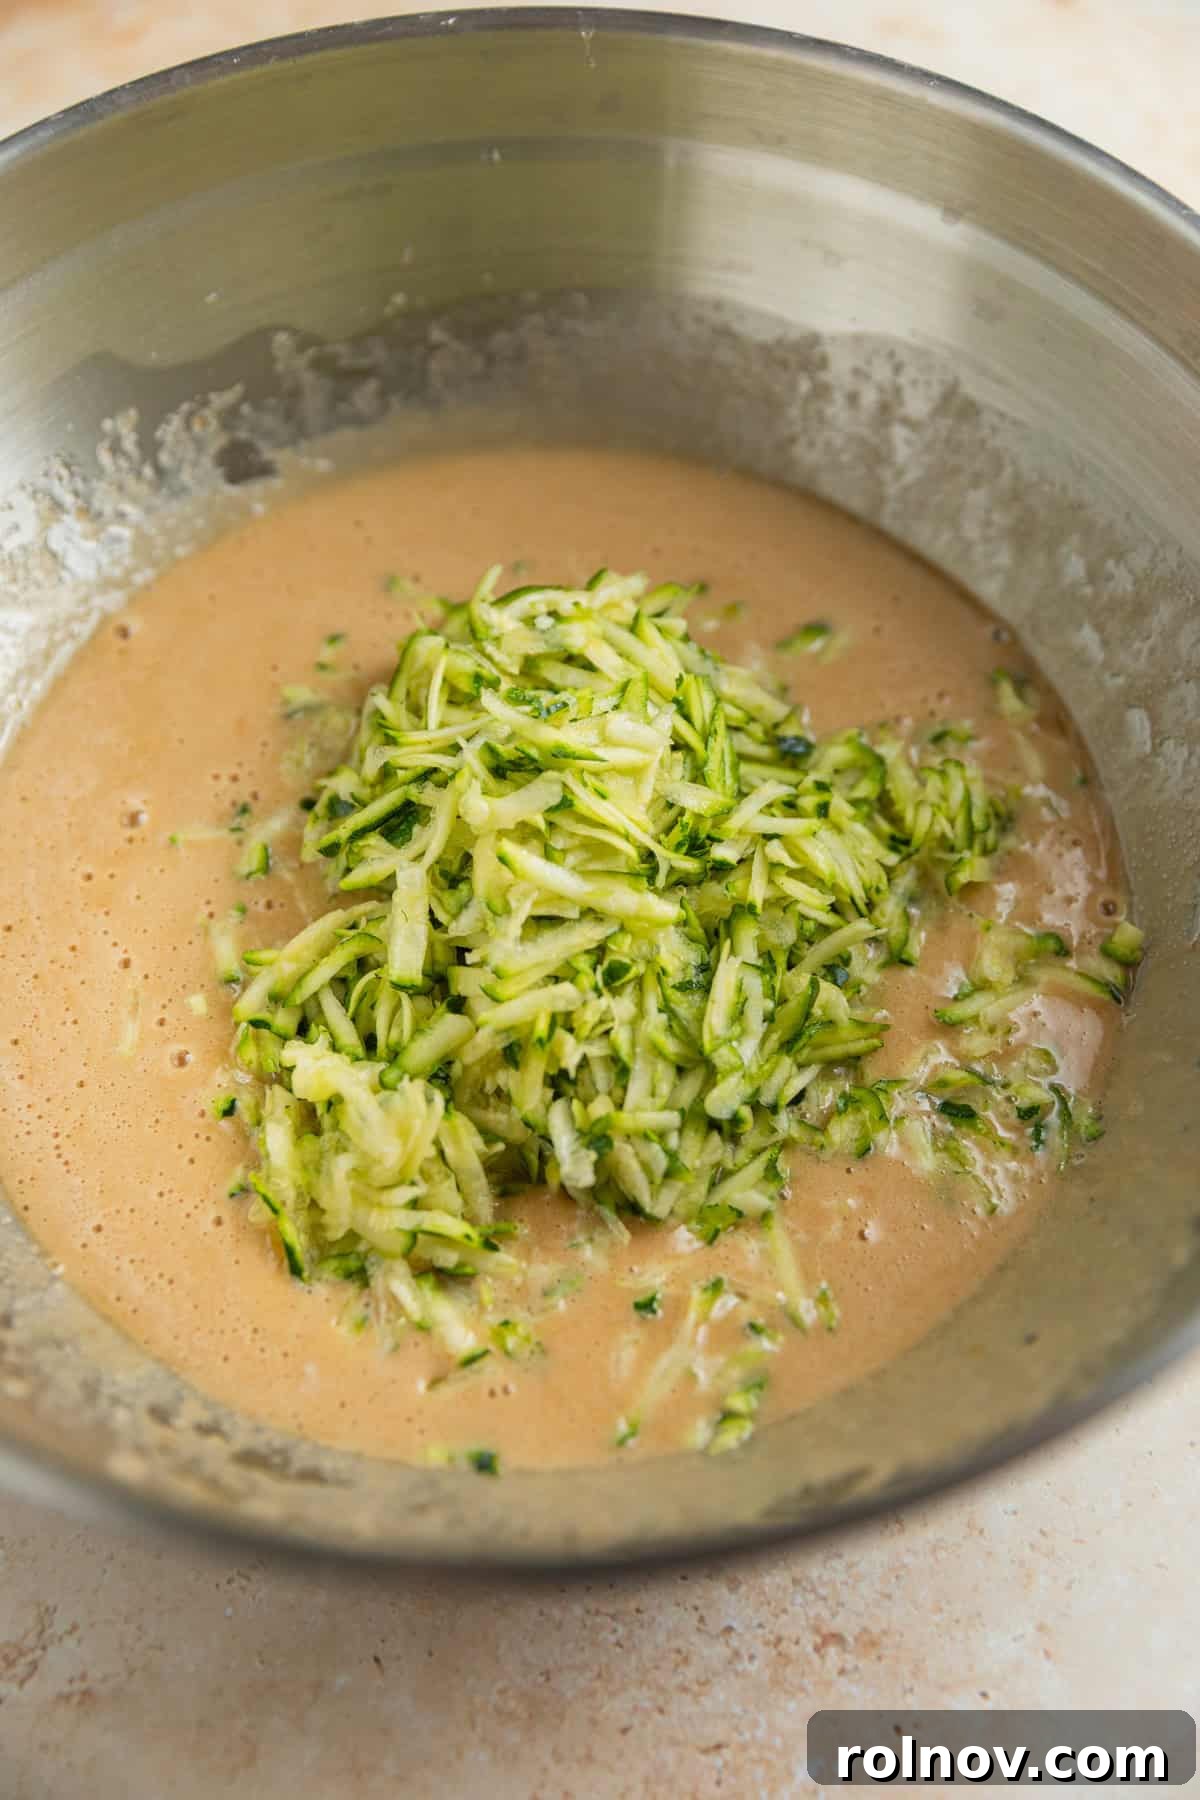
Step 3: Add the Zucchini. With a spatula or wooden spoon, gently stir the grated zucchini into the wet ingredient mixture. For optimal results, use the larger holes of a box grater to shred the zucchini, and pack it firmly into your measuring cup without squeezing out any excess liquid. The natural moisture from the zucchini is crucial for keeping the bread incredibly moist, so resist the urge to drain it. Ensure the zucchini is evenly distributed throughout the batter.
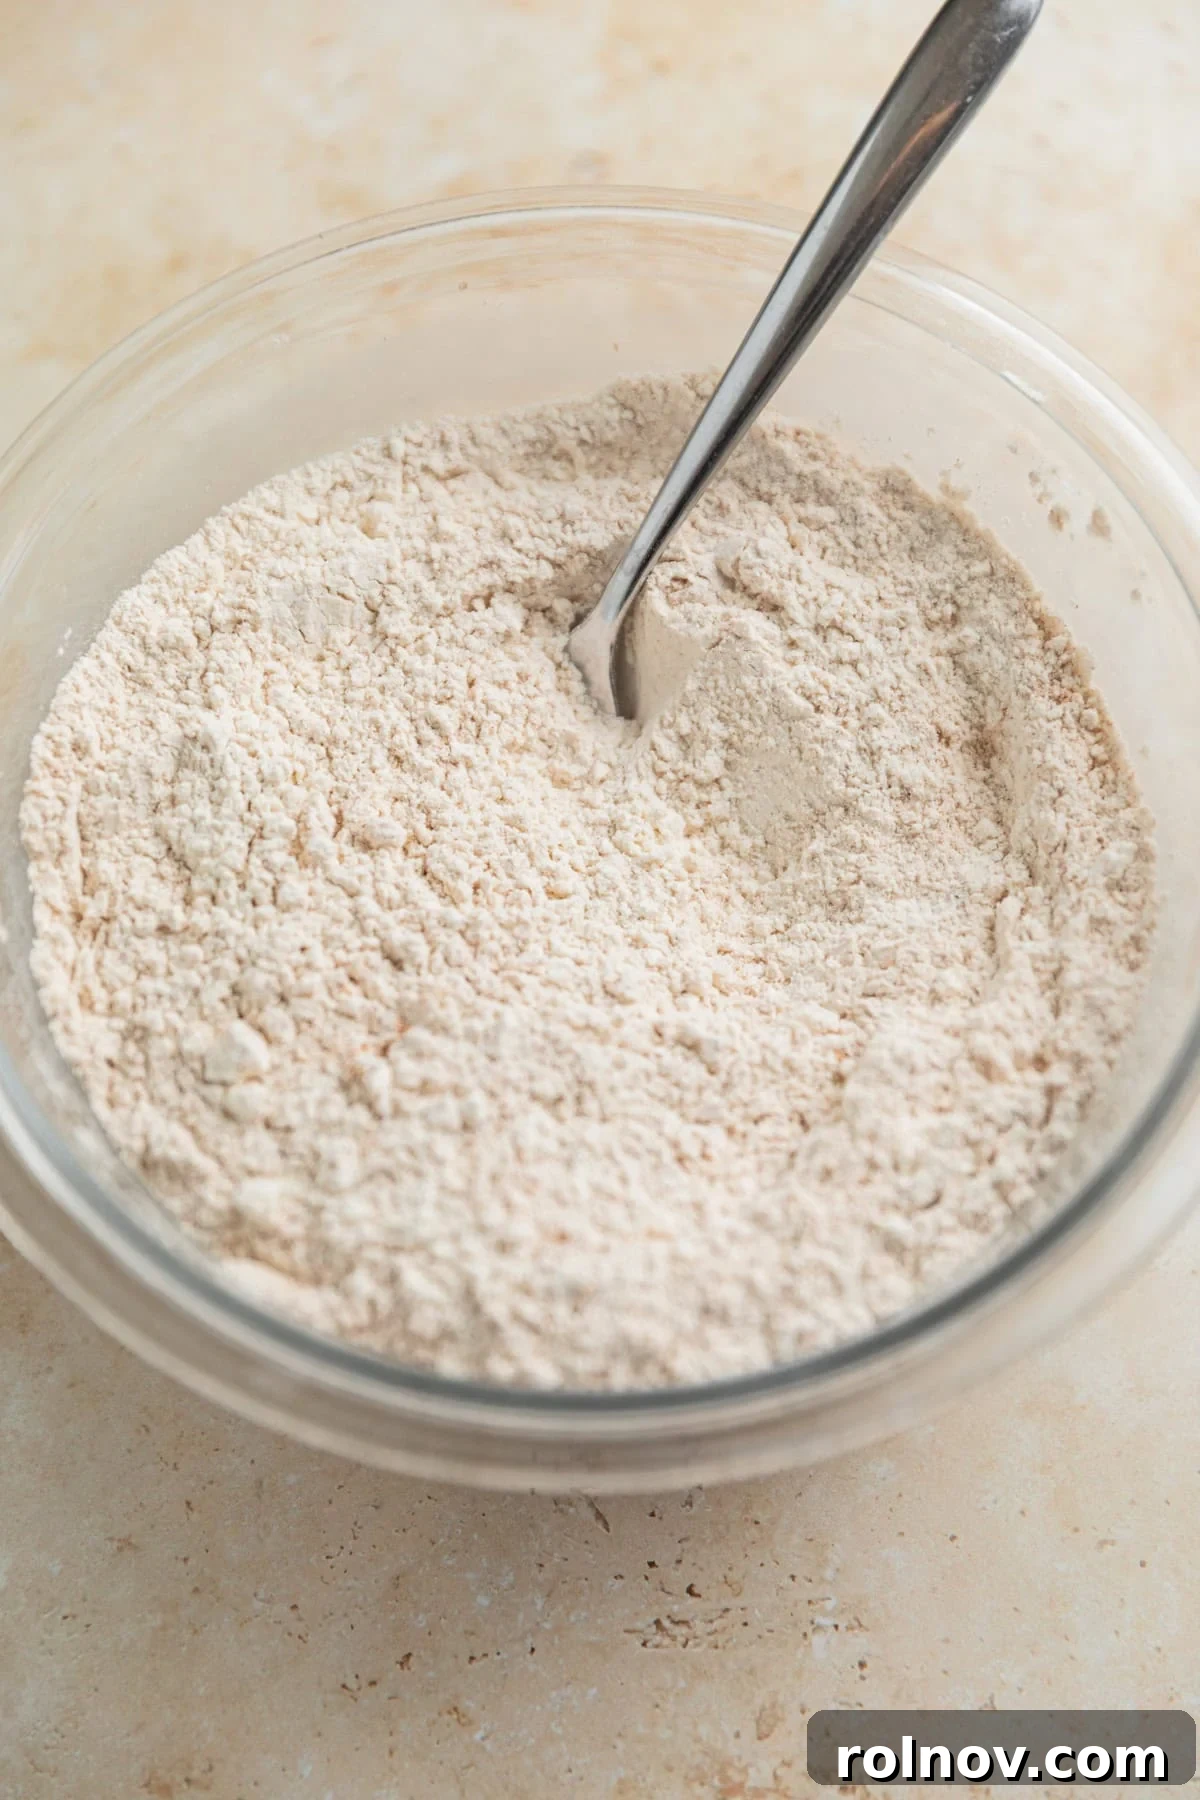
Step 4: Prepare Dry Ingredients. In a separate, medium-sized bowl, combine all the dry ingredients: flour, ground cinnamon, nutmeg, salt, baking soda, and baking powder. Whisk them together thoroughly until they are uniformly blended. I personally prefer a heaping tablespoon of cinnamon to truly emphasize that warm, comforting spice flavor that pairs so beautifully with zucchini. This ensures that the leavening agents and spices are evenly distributed before mixing them into the wet ingredients.
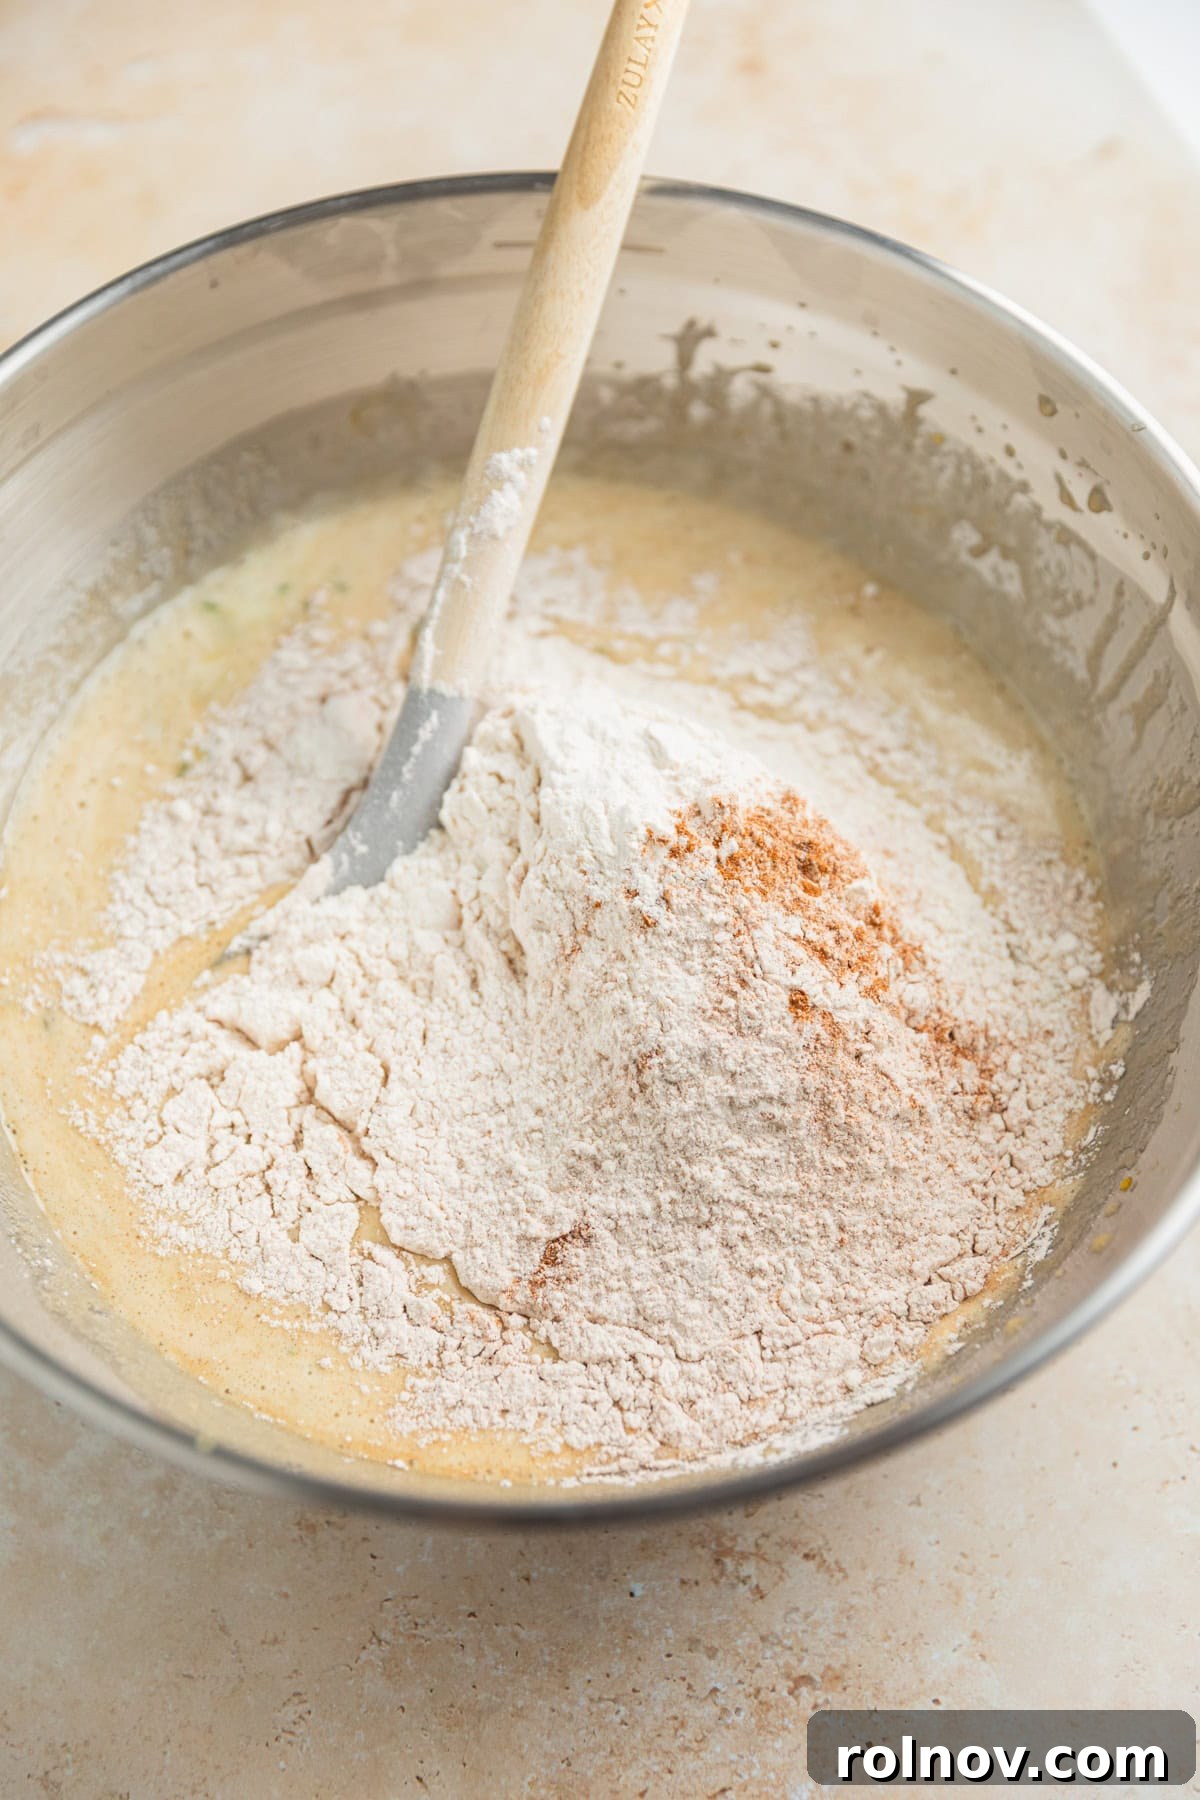
Step 5: Combine Wet and Dry Mixtures. Gradually add the dry ingredient mixture to the wet mixture. Using a spatula or wooden spoon, stir gently only until the dry ingredients are just combined and no streaks of flour remain. It’s crucial not to overmix the batter, as overmixing can develop the gluten in the flour too much, resulting in a tough, dense bread rather than a light and tender one. A few lumps are perfectly acceptable.

Step 6: Fold in Optional Add-ins. If you’re incorporating any optional add-ins such as chocolate chips, chopped nuts, or dried fruit (excluding raisins, of course!), gently fold them into the batter at this stage. Use a light hand to ensure they are evenly distributed without overworking the mixture. For the images displayed here, no additional mix-ins were used, showcasing the pure, unadulterated beauty of the zucchini bread base.
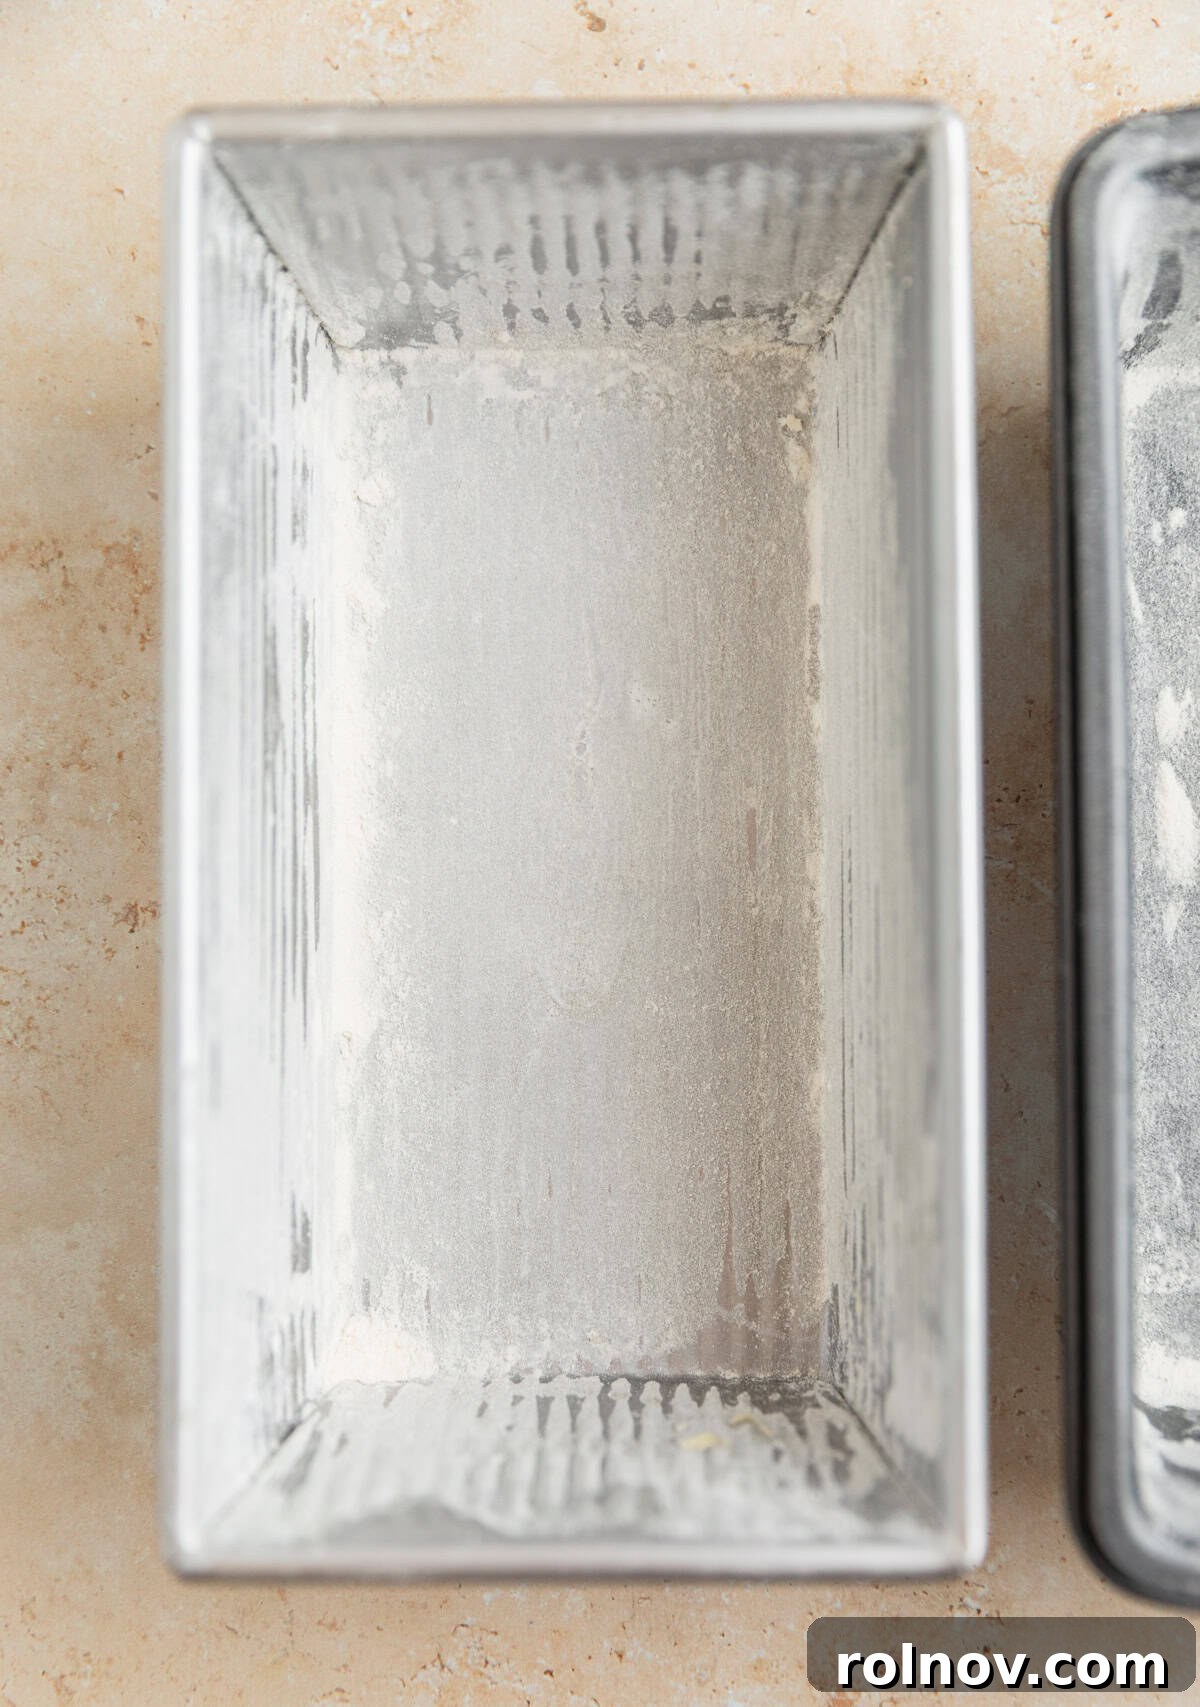
Step 7: Prepare Loaf Pans. Thoroughly grease and flour two standard loaf pans, typically 8.5 by 4.5 inches (21.5 x 11.5 cm). This step is essential to prevent the bread from sticking and ensures easy removal once baked. You can use butter, baking spray, or cooking oil to grease the pans, then dust lightly with flour, tapping out any excess. This creates a non-stick barrier for your delicious loaves.
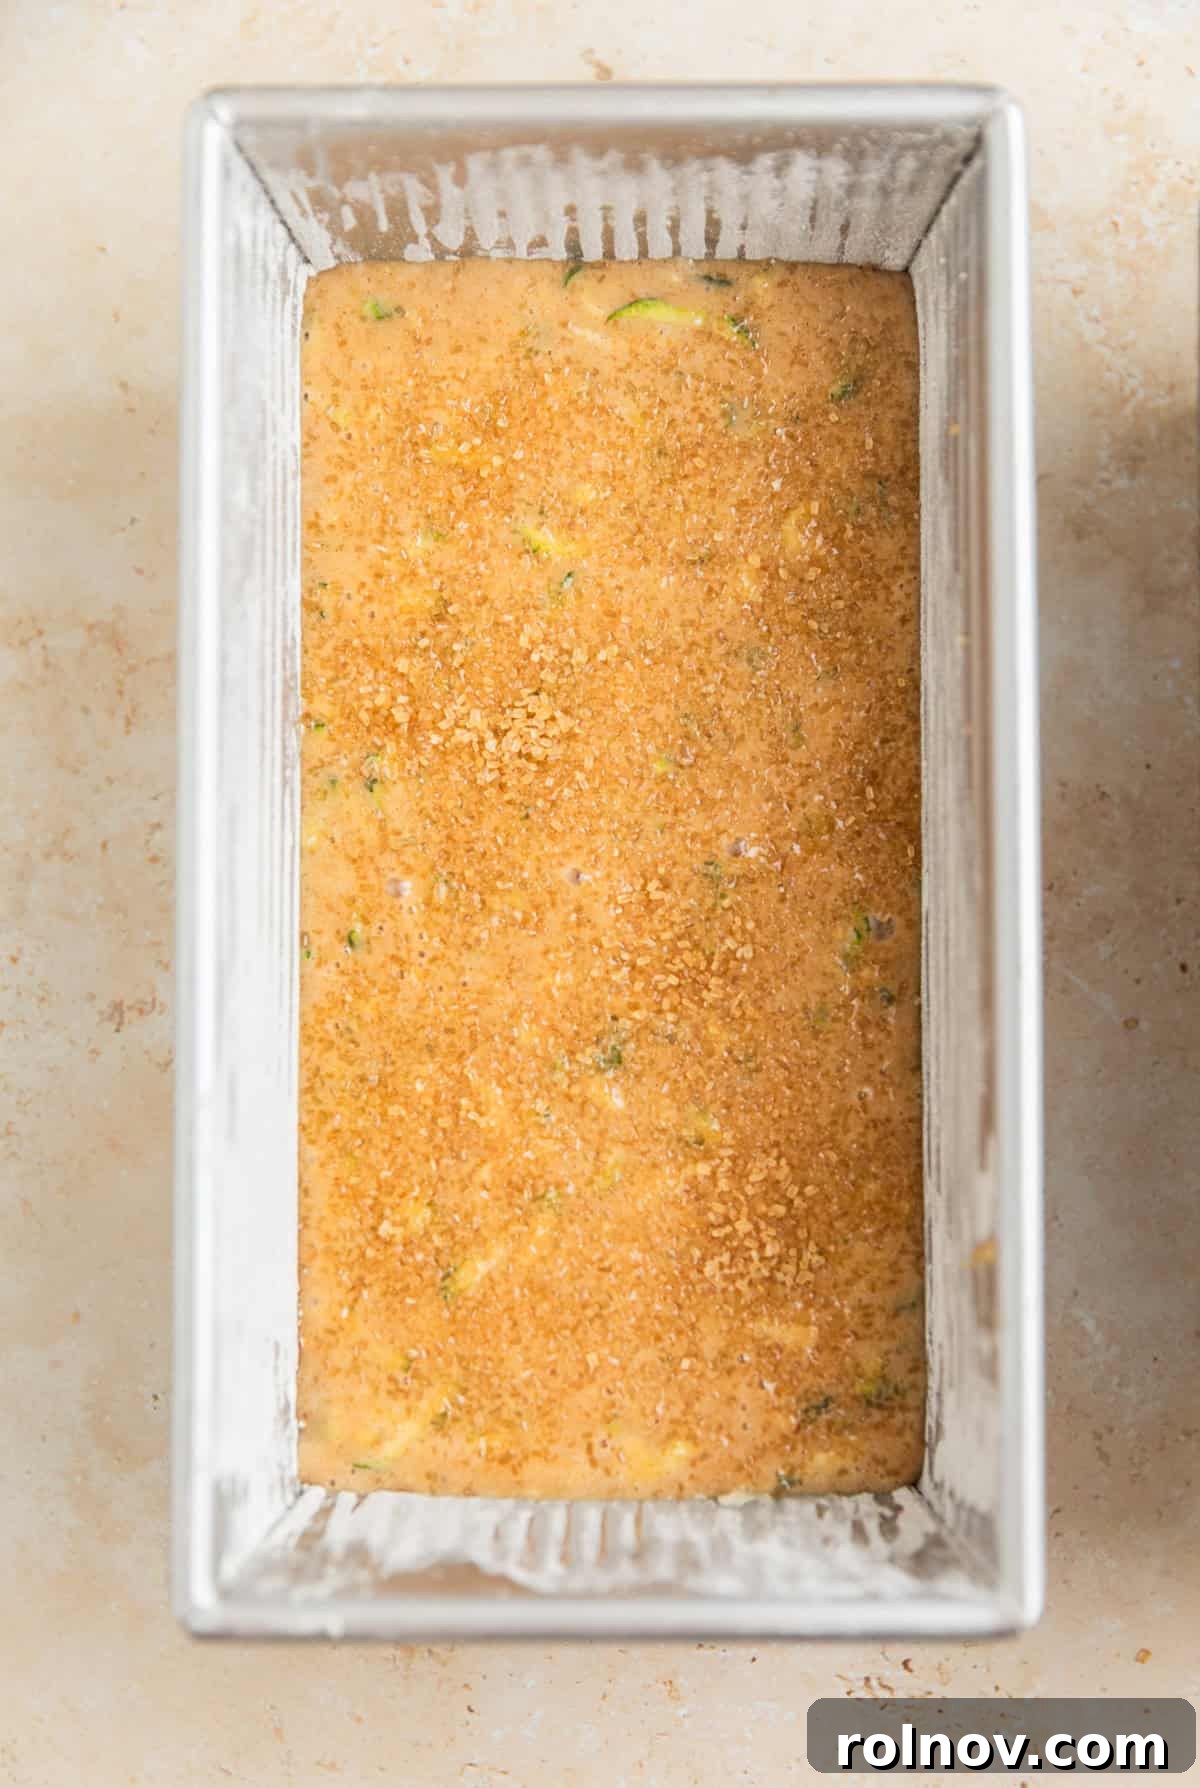
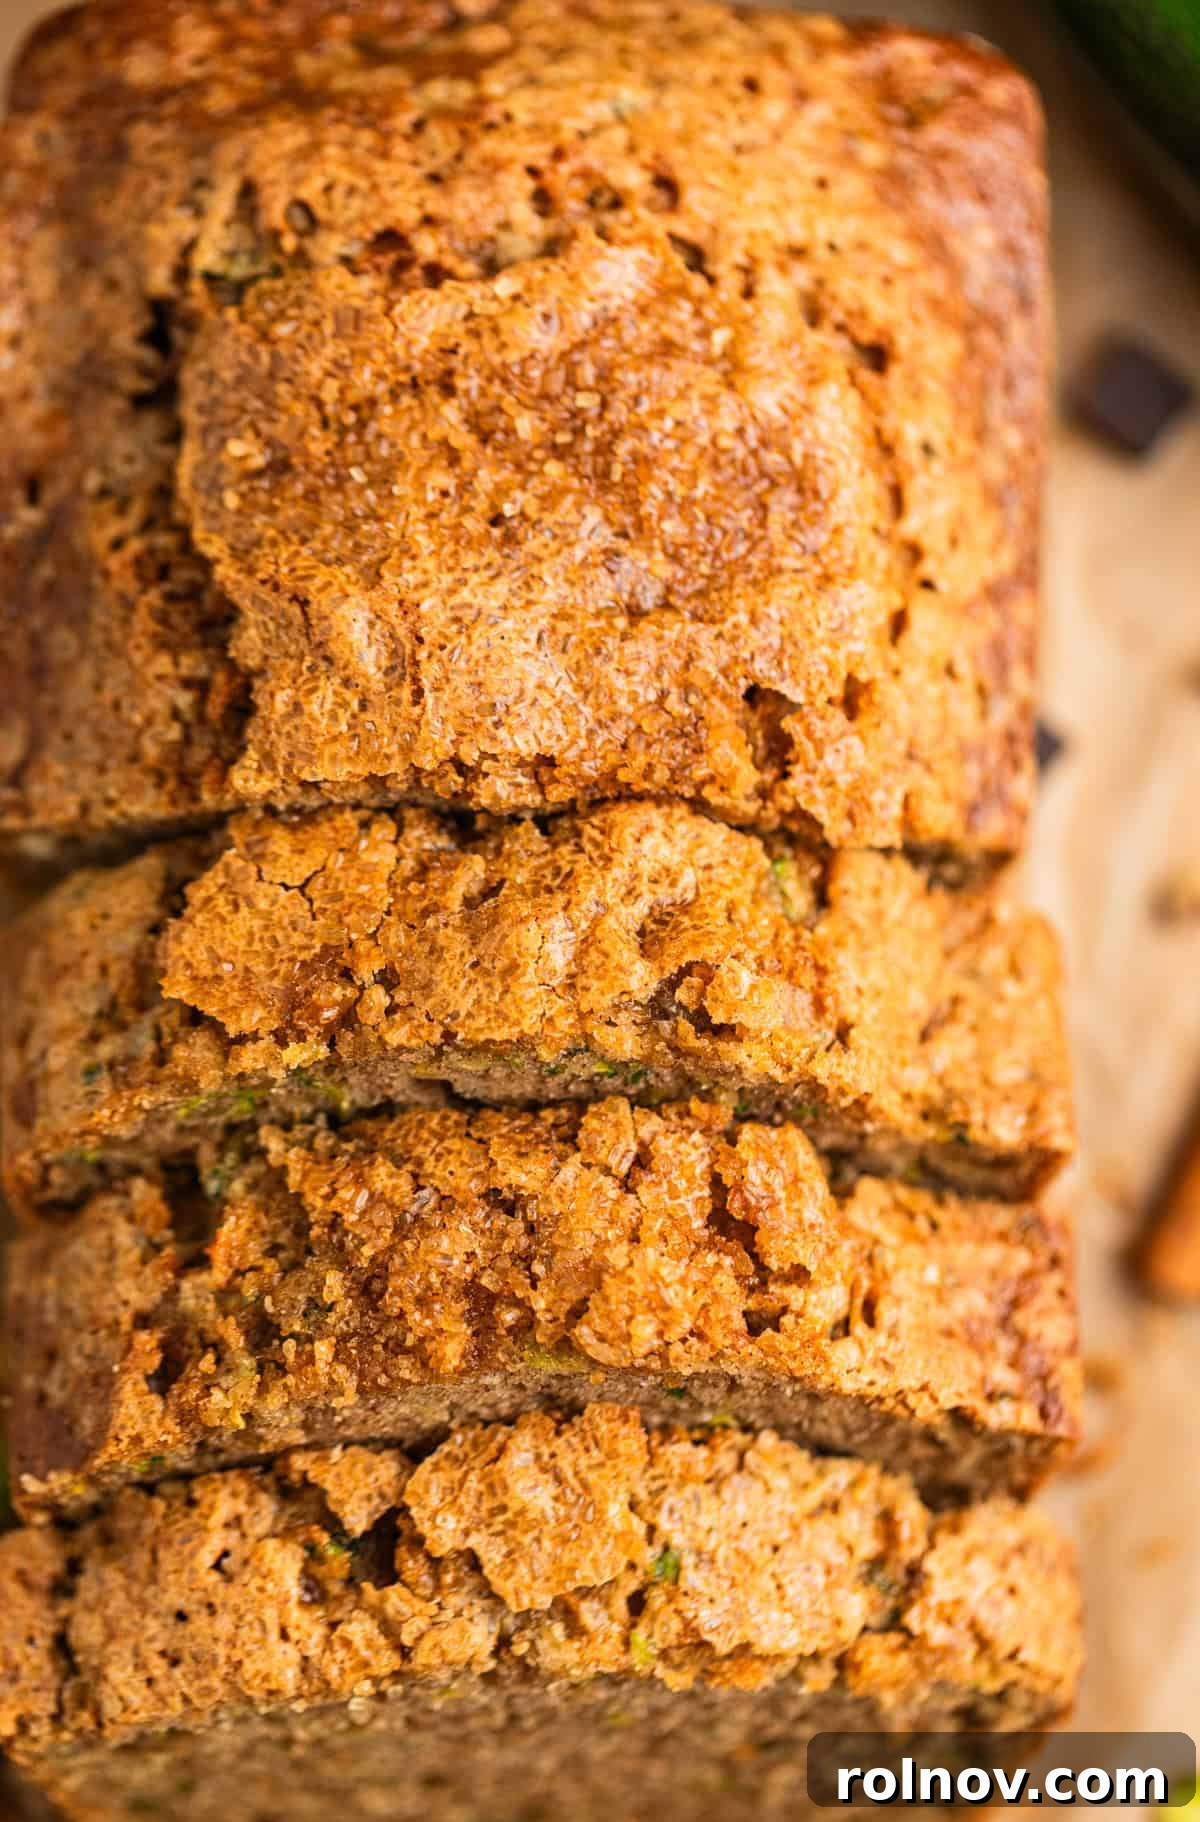
Step 8: Fill Pans and Add Topping. Divide the prepared zucchini bread batter evenly between the two greased and floured loaf pans. Gently smooth the top of the batter in each pan. For that irresistible sweet crunch, sprinkle a thin, even layer of coarse sugar (such as turbinado or sanding sugar) over the top of each loaf. While this step is optional, it’s highly recommended for enhancing both the texture and visual appeal of your homemade zucchini bread.
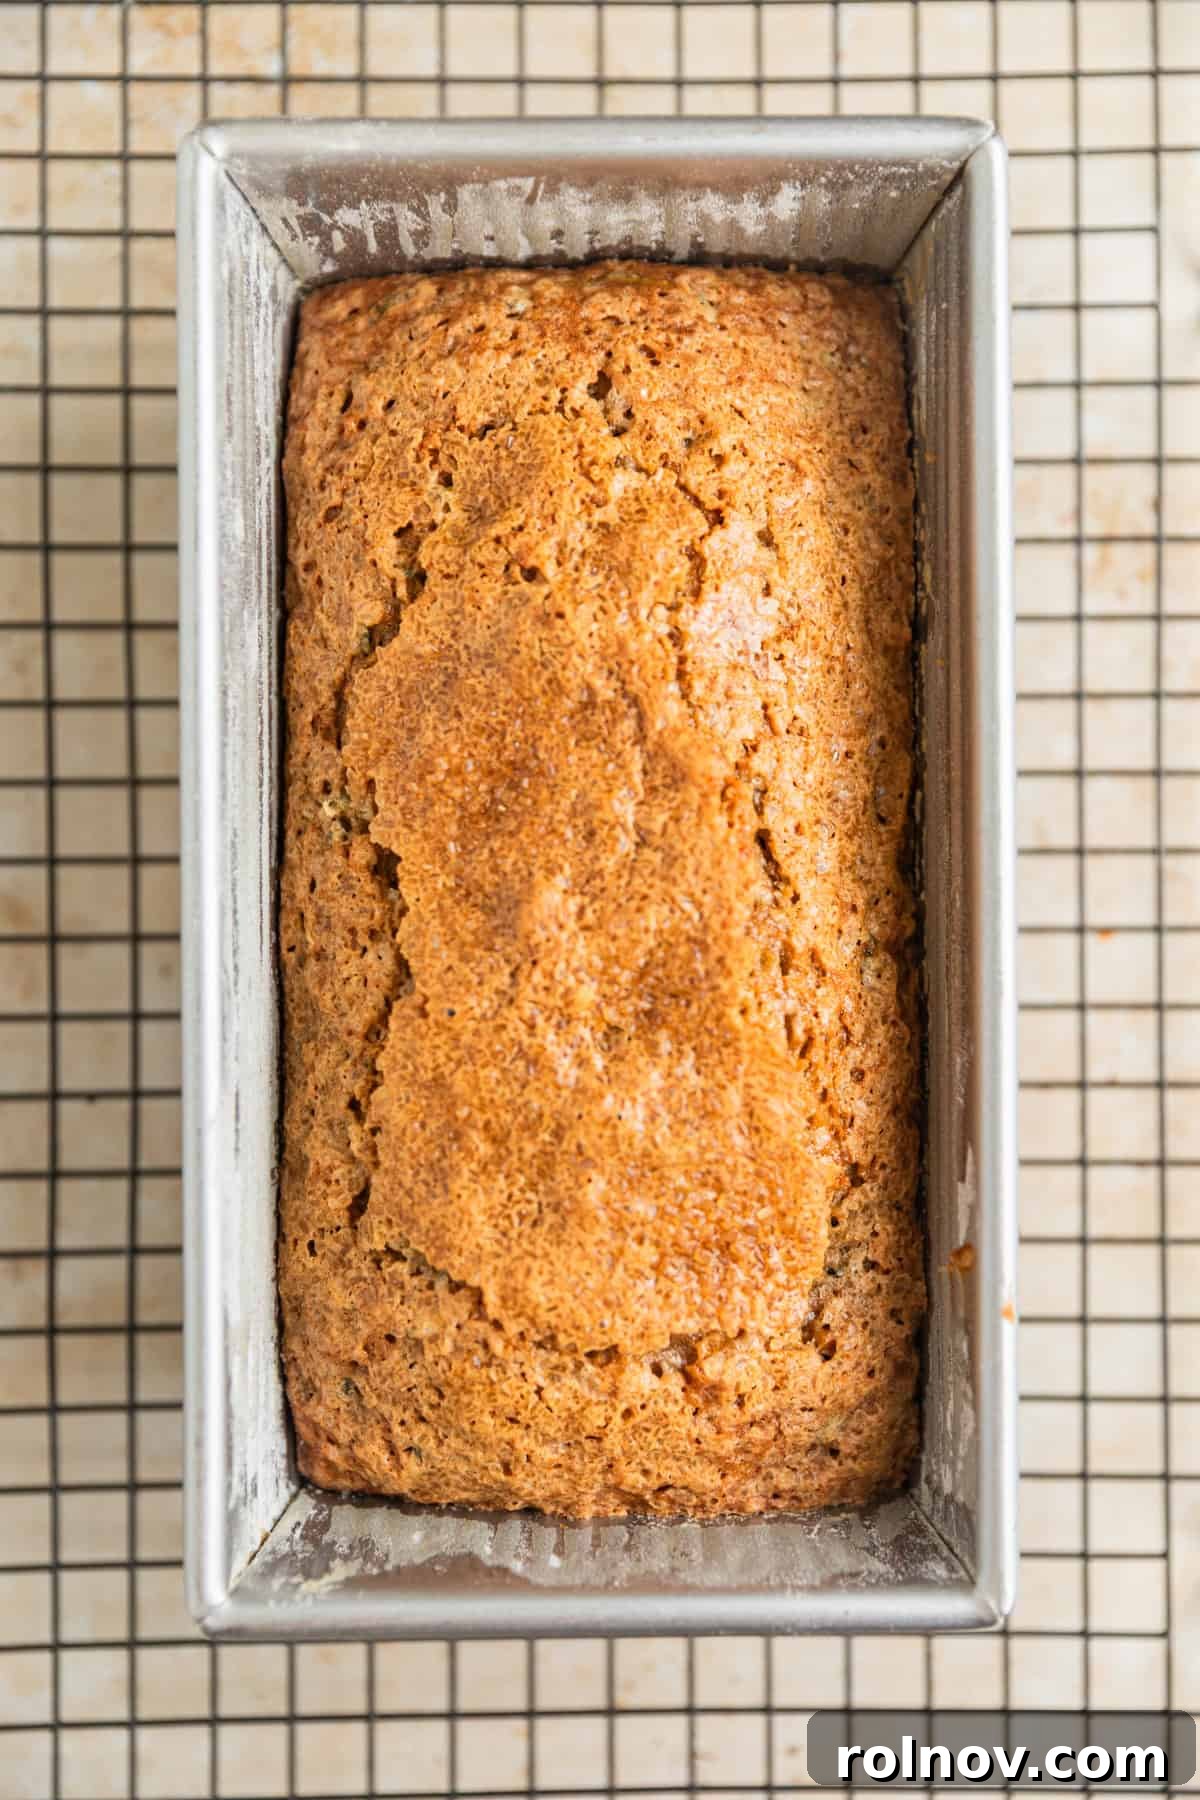
Step 9: Bake to Perfection. Carefully transfer the loaf pans to your preheated oven. Bake for approximately 50 minutes to 1 hour. The precise baking time can vary slightly depending on your oven, so begin checking for doneness around the 45-minute mark. Insert a wooden skewer or toothpick into the center of the loaf; if it comes out clean or with only moist crumbs attached, your bread is ready. The top should be golden brown and the coarse sugar caramelized.
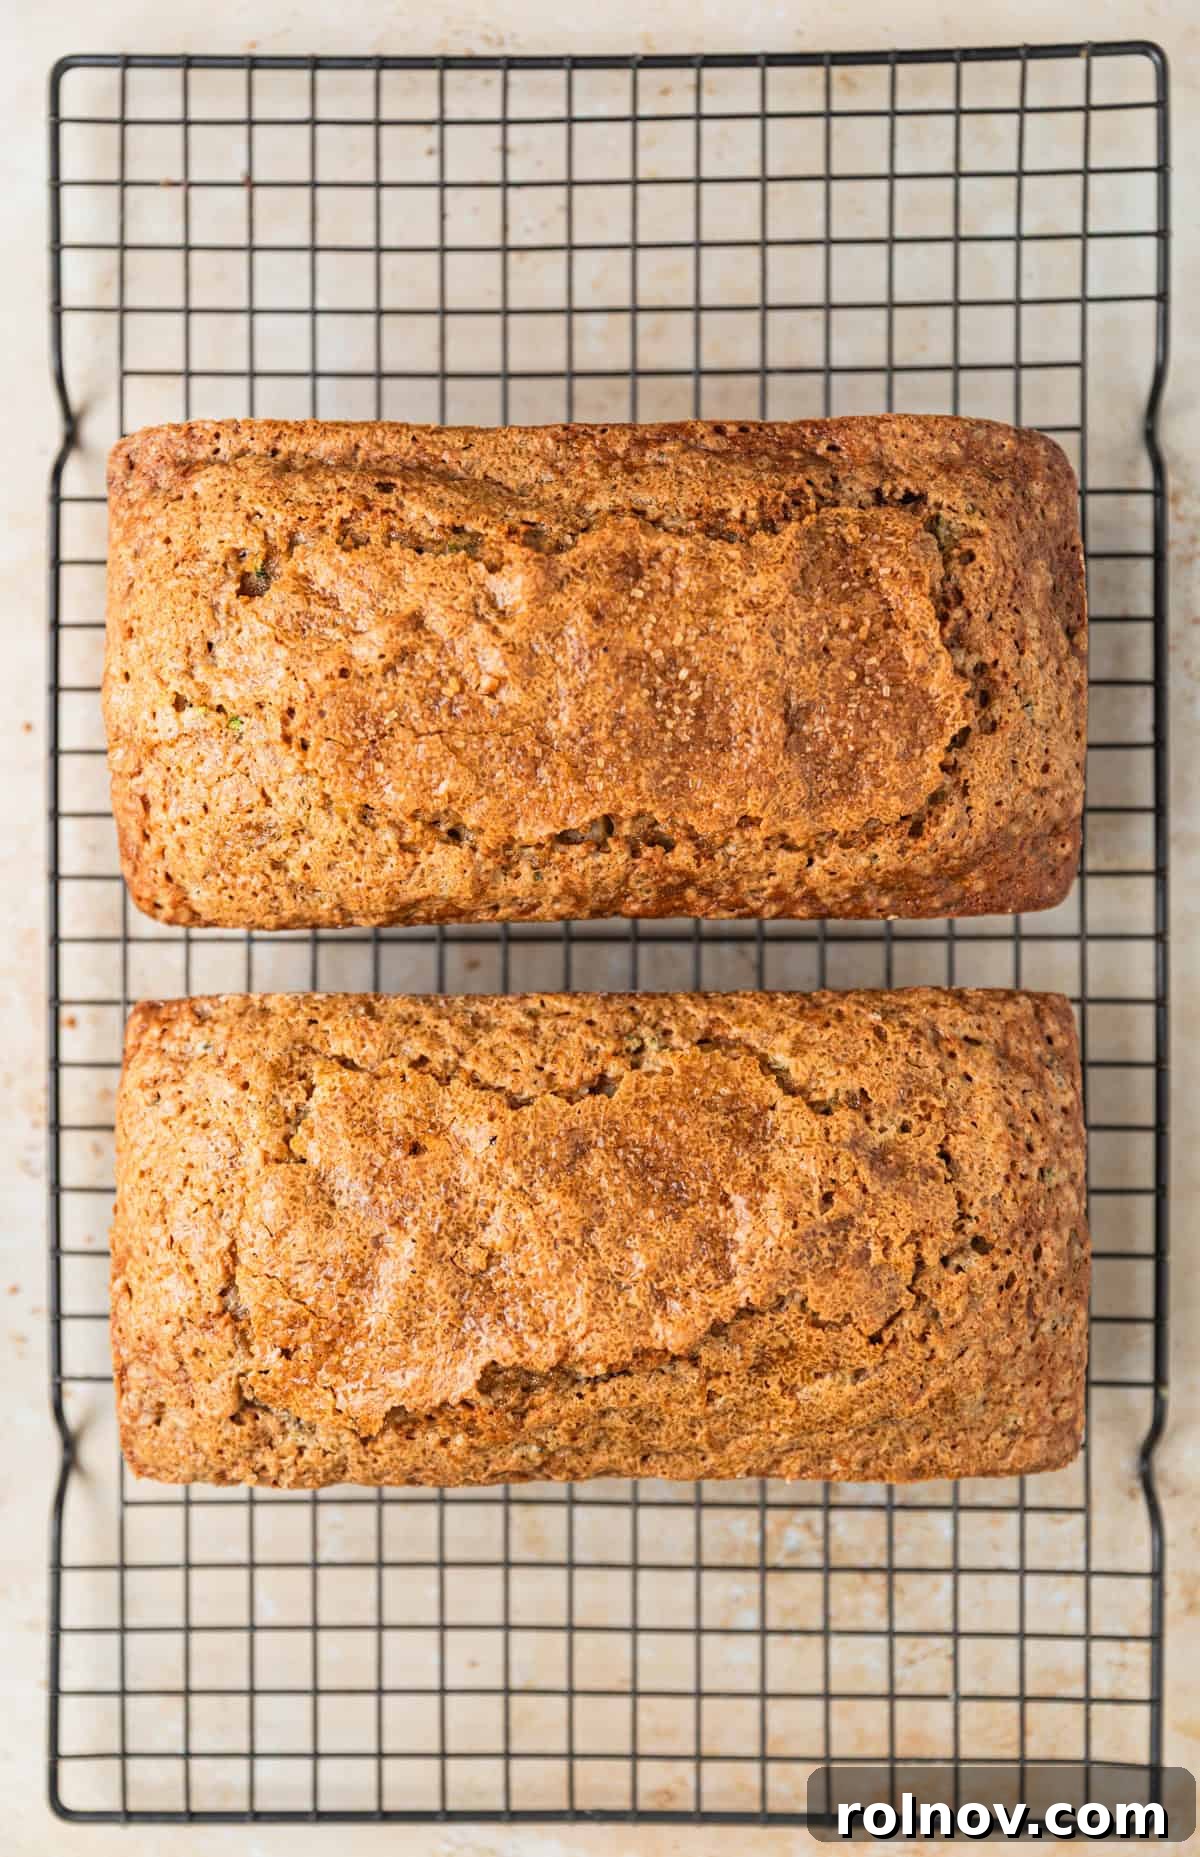
Step 10: Cool and Serve. Once baked, remove the pans from the oven and let the loaves cool in their pans on a wire rack for about ten minutes. This allows them to firm up slightly before handling. After ten minutes, carefully invert the pans to release the loaves onto the cooling rack, allowing them to cool completely before slicing and serving. This cooling process is essential for the bread’s final texture. But honestly, it’s so good, you might just want to eat it all before anyone else gets a chance!
Expert Baking Tips for Your Zucchini Bread
- The Art of Beating Eggs: Your Secret to Perfect Texture: This is a game-changer! Thoroughly beating the eggs until they are light and frothy before adding any other ingredients is a fundamental step for achieving that coveted light and airy crumb texture. This process incorporates vital air into the mixture, which acts as a natural leavening agent. It also helps in emulsifying the eggs with the upcoming liquid ingredients more effectively. Don’t skip this step – it’s a key differentiator for success!
- Embracing the Slow Bake: Grandma’s Hidden Wisdom: When deciphering grandma’s handwritten recipe, I noticed she had initially written 325°F but then crossed it out and penned in 350°F. Intrigued, I tested both temperatures. My findings strongly suggested that the lower heat setting of 325°F yields a superior result. A slower bake allows the bread to cook more evenly all the way through, prevents the edges from over-browning before the center is done, and ultimately contributes to a moister loaf. Good things truly come to those who wait, especially when it comes to baking!
- Choosing the Right Zucchini Size: For the most desirable texture and flavor in your bread, opt for small to medium-sized zucchinis. These typically have tender skins, fewer and smaller seeds, and a balanced moisture content. Very large zucchinis, while impressive in size, often contain large, tough seeds that can affect the bread’s texture. If you only have large zucchinis, you might consider scooping out the largest seeds before grating.
- Vigilance is Key During the Final Baking Stage: While baking times are provided, ovens can vary significantly. Begin checking your loaves around the 40-minute mark. If the top appears to be browning too quickly, but the center isn’t quite done, loosely tent a piece of aluminum foil over the pans. This will prevent the top from burning while allowing the interior to continue baking to perfection. Trust your instincts and the toothpick test for the ultimate indication of doneness.
Proper Storage for Lasting Freshness
Ensuring your homemade zucchini bread stays fresh and delicious is simple with the right storage methods. I experimented with several options to find the best way to maintain its delightful qualities, especially that coveted crunchy sugar topping.
For optimal freshness and to preserve the wonderful crunchy sugar topping, this zucchini bread recipe stores best in the refrigerator. Place the cooled loaves in an airtight container, ensuring that the container’s lid does not press down on the bread’s sugary crust. Stored this way, the bread will remain moist and the topping will retain its crispness for about 5 days.
Alternatively, you can store zucchini bread at room temperature for up to 2 days. However, be aware that when stored at room temperature, the sugar topping tends to soften and lose its crunch due to moisture migration. To store at room temperature, simply wrap the cooled loaves tightly in aluminum foil or place them in an airtight container.
Freezing for Extended Enjoyment: Zucchini bread freezes exceptionally well, allowing you to enjoy homemade goodness whenever a craving strikes. To freeze, ensure the bread has cooled completely to room temperature. Wrap each loaf individually in a layer of plastic wrap, followed by a layer of aluminum foil. For extra protection against freezer burn, you can then place the wrapped loaves in a freezer-safe bag or container. Properly frozen zucchini bread will maintain its quality for up to 3 months. Thaw at room temperature or gently warm in the oven for a “freshly baked” experience.
Common Questions About Zucchini Bread
Absolutely not! There’s no need to peel zucchini before incorporating it into your bread. The skin becomes wonderfully soft during the baking process and is completely undetectable in the final texture. Keeping the skin on not only saves you time but also adds those classic, appealing green flecks throughout the bread, giving it a rustic, homemade charm. It even provides a tiny nutritional boost!
A dry zucchini bread is a common disappointment, usually stemming from a few key issues. The most frequent culprit is the addition of too much flour. Flour measurements can vary significantly depending on how it’s scooped and packed. For the best, moist results, always measure flour by weight using a kitchen scale. Even a half-cup extra can drastically alter the bread’s moisture content. Another major factor is overmixing the batter. Once the wet and dry ingredients are combined, stir only until no streaks of flour remain. Overmixing develops the gluten in the flour, leading to a tough, dry texture. Lastly, baking at too high a temperature or for too long can also dry out your bread, so always keep an eye on your oven and use the toothpick test for doneness.
Yes, absolutely! A food processor is a fantastic tool for quickly shredding zucchini, especially if you’re making a large batch or prefer a finer texture. Simply cut your zucchini into manageable chunks, fit your food processor with the shredding disc, and process until finely shredded. Be careful not to over-process, as you want shredded pieces, not a puree. Using a food processor can save you a lot of time and effort compared to a box grater.
Zucchini bread sinking in the middle can be frustrating! This often happens due to one of two reasons: either the bread isn’t fully cooked through when removed from the oven, or there’s an imbalance in the leavening agents or too much moisture. Ensure your oven temperature is accurate (an oven thermometer can help!), and always perform the toothpick test in the very center of the loaf to confirm it’s baked through. If your zucchini is exceptionally watery, a very gentle pat with a paper towel before adding to the batter might help, but generally, the moisture from zucchini is desired. Also, avoid opening the oven door too frequently during the first 30-40 minutes of baking, as sudden temperature drops can cause a collapse.
More Delightful Zucchini Creations
Overnight Oats
Zucchini Bread Overnight Oats
Air Fryer
3 Cheese Air Fryer Fried Zucchini
Dinner
Zucchini Beef Meatballs
Grilling Recipes
Grilled Steak Kabobs with Cilantro Chimichurri
CRAVING MORE CULINARY INSPIRATION? Make sure to subscribe to my newsletter for exclusive recipes and updates. Don’t forget to follow me on Facebook, Instagram, and Pinterest to catch all the latest delectable content!
The Best Zucchini Bread (Better Than Grandma’s!)
Ingredients
- 3 large eggs, room temperature
- 1 cup white sugar, 200 g
- ¾ cup light brown sugar, packed, 150 g
- 1 cup canola oil
- 1 Tbsp vanilla extract
- 2 cups grated zucchini, firmly packed, do not squeeze out excess liquid ( about 2 to 2 1/2 medium zucchinis)
- 3 cups flour, spooned and leveled, 380 g
- 1 tsp baking soda
- 1/2 tsp baking powder
- 3/4 tsp salt
- 1 Tbsp cinnamon, heaping
- ¼ tsp nutmeg
- 1 ½ c add-ins: chocolate chips, pecans, walnuts, etc., optional
- 4 Tbsp coarse sugar , for topping bread
Instructions
- Preheat oven to 325°F (160°C).
- In a large bowl, beat eggs with an electric hand mixer until light and frothy. Add white sugar, brown sugar, canola oil, and vanilla extract. Beat until smooth and well incorporated.
- Gently stir in the grated zucchini, ensuring it’s evenly distributed throughout the wet mixture. Remember, do not squeeze out the excess liquid from the zucchini.
- In a separate medium bowl, whisk together the flour, cinnamon, nutmeg, salt, baking soda, and baking powder until thoroughly combined.
- Add the dry ingredients to the wet ingredients. Stir gently with a spatula or wooden spoon until just combined. Be careful not to overmix the batter; a few lumps are fine. If desired, fold in any optional add-ins at this point.
- Grease and flour two 8.5 by 4.5 inch (21.5 x 11.5 cm) loaf pans. Pour the batter evenly into the two prepared pans. Sprinkle coarse sugar over the top of each loaf in a thin layer for a sweet, crunchy crust.
- Bake for approximately 50 minutes to 1 hour, or until a wooden skewer or toothpick inserted into the center of the loaf comes out clean. If the tops brown too quickly, loosely tent with foil. Cool the loaves in their pans on a wire rack for ten minutes, then carefully remove them from the pans and allow them to cool completely on the rack before slicing and serving. Enjoy every last crumb!
Notes
Nutrition
Nutrition information is automatically calculated, so should only be used as an approximation.
Recommended Kitchen Tools
Equipping your kitchen with the right tools can make all the difference in your baking endeavors. These items are carefully selected to help you achieve perfect results with this zucchini bread recipe and many others.
Box Grater
Buy Now →Hand Mixer
Buy Now →Food Processor
Buy Now →