
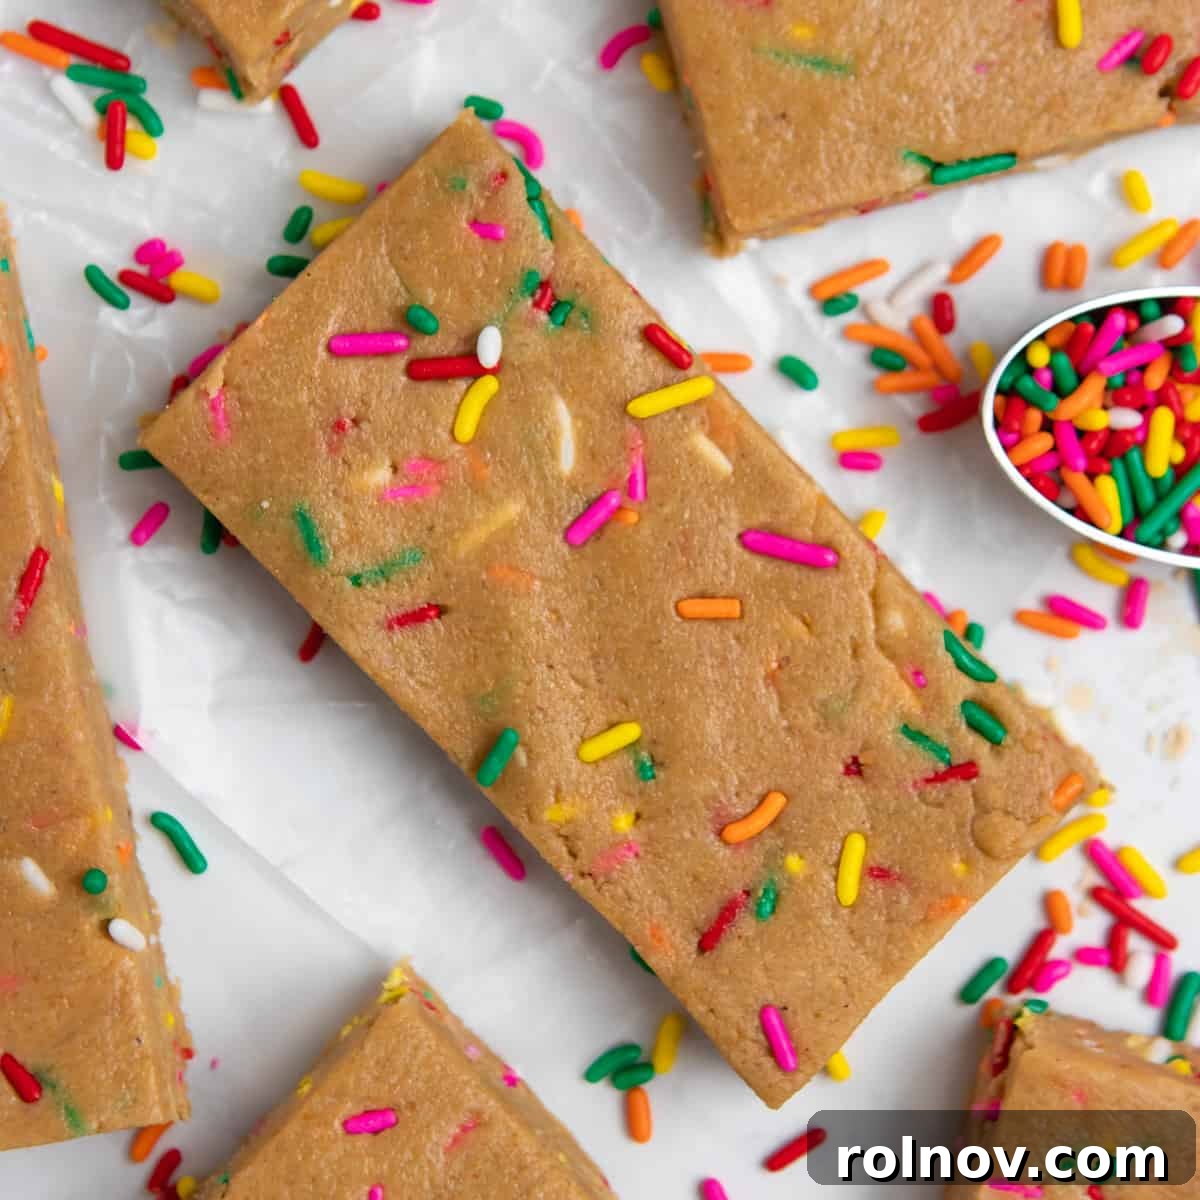
Tired of expensive store-bought protein bars that often disappoint in taste? Imagine crafting your favorite sprinkle-filled protein bar right in your kitchen, saving money, and enjoying a flavor that tastes exactly like a delicious birthday cake! This incredibly easy, no-bake recipe for Birthday Cake Protein Bars brings that dream to life, delivering a burst of celebratory flavor in every bite. Best of all, it’s easily adaptable to be dairy-free and egg-free, yet remains packed with essential protein and irresistible taste. With just about 5 minutes of active preparation, you’ll discover that this homemade version isn’t just better for your wallet—it’s genuinely more delicious than anything you’ll find on a store shelf!
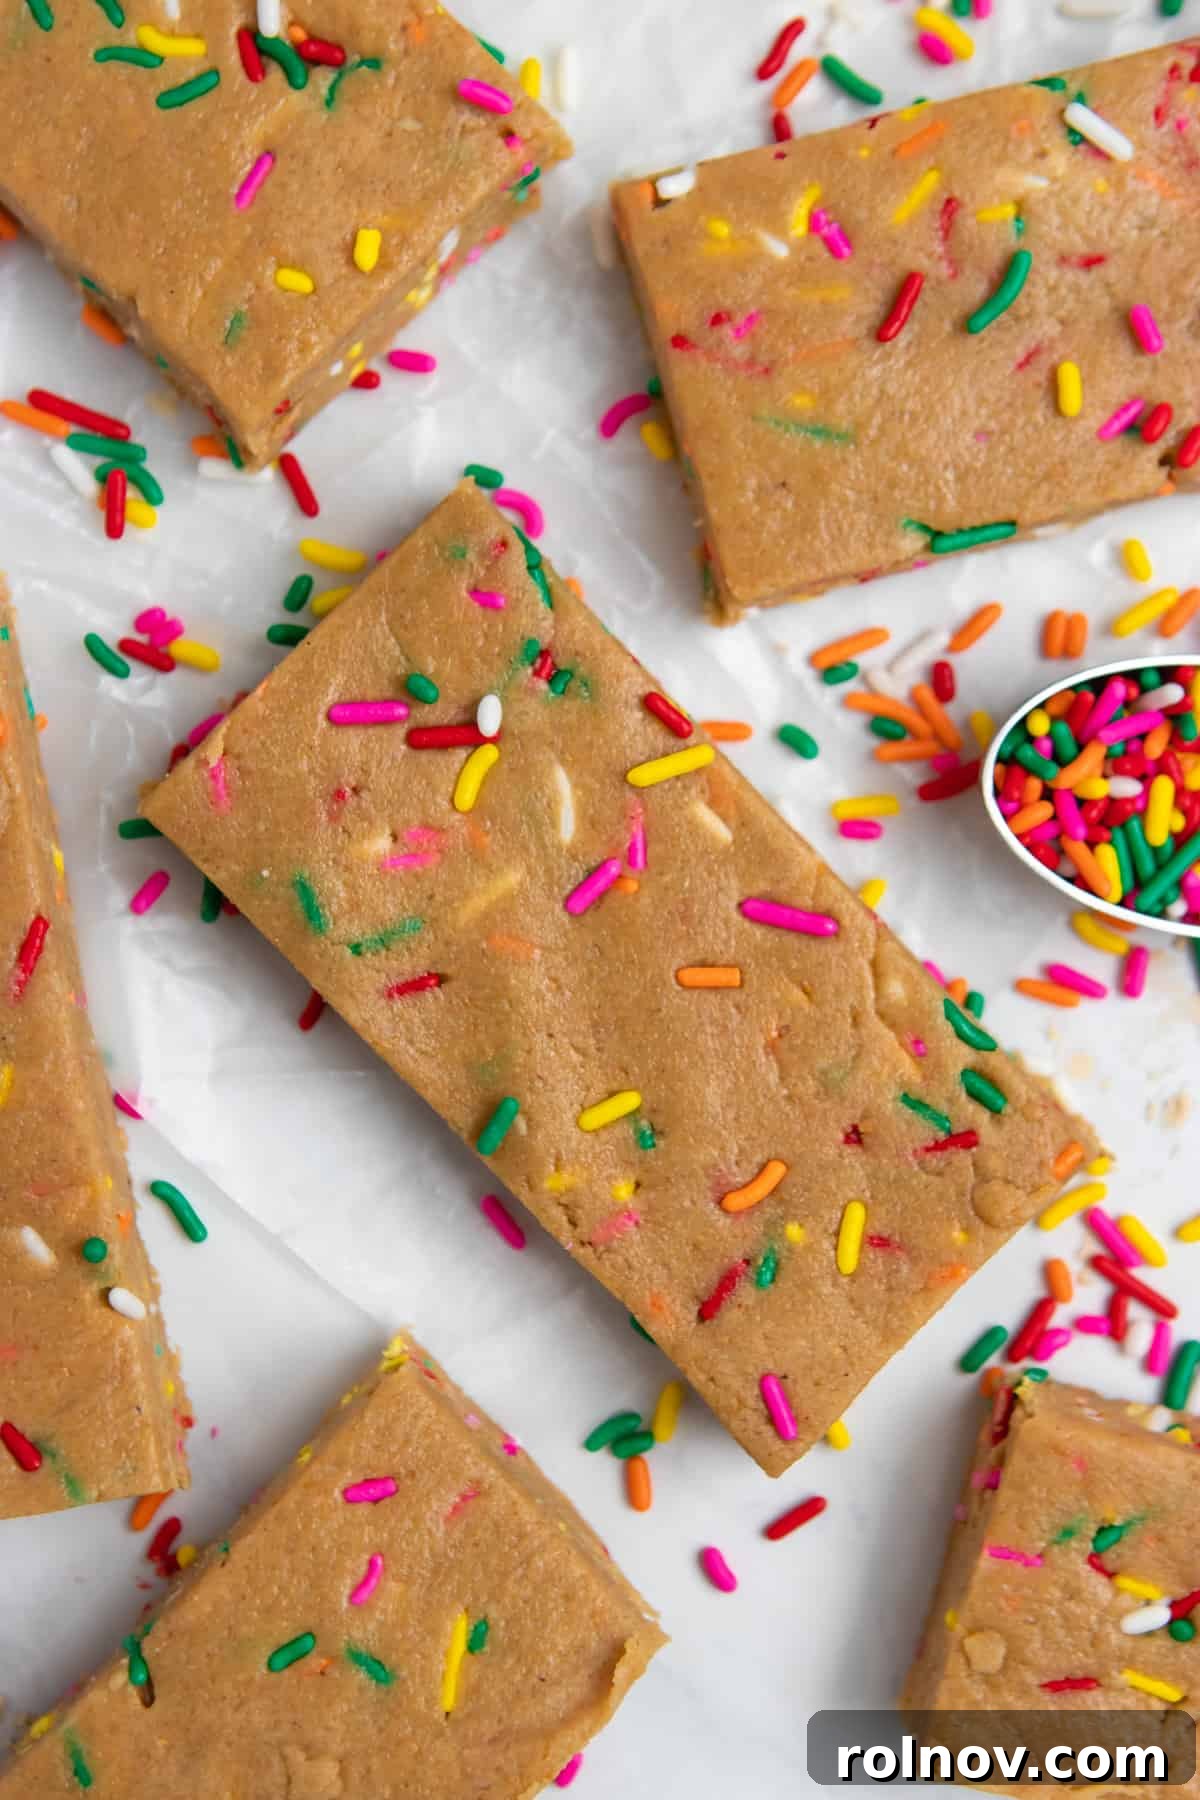
This recipe was originally published in June 2019 and updated July 2021.
Indulge Guilt-Free: Homemade No-Bake Birthday Cake Protein Bars Recipe
Do you love the convenience of protein bars but wish there was a more cost-effective and delicious way to incorporate them into your routine? If you’re constantly seeking healthy, high-protein snacks that don’t compromise on flavor, then this homemade Birthday Cake Protein Bar recipe is precisely what you need! These bars offer a delightful solution to expensive, often artificial-tasting commercial options, allowing you to enjoy a guilt-free treat packed with nutritional benefits.
The inspiration for this vibrant recipe comes from a fan favorite: our Peanut Butter Dark Chocolate Chip Perfect Bars. Our readers can’t get enough of them, proving there’s a huge demand for wholesome, homemade protein snacks. It was time to introduce a fun, exciting new flavor that captures the joy of a birthday celebration without the baking hassle, and what better way than with the nostalgic taste of birthday cake?
Why You Will Absolutely Love These No-Bake Birthday Cake Protein Bars:
- Effortless Prep in Under 10 Minutes: Forget complicated baking schedules or lengthy ingredient lists. These protein bars come together with remarkable speed. Simply combine your ingredients, mix, and press into a pan. That’s it! In less than 10 minutes, your active prep work is done, making them perfect for busy weeknights or when you need a quick, healthy snack on the go. The ease of preparation truly sets these apart from more time-consuming homemade treats.
- Remarkably Freezer-Friendly for Long-Term Enjoyment: One of the greatest advantages of these no-bake bars is their exceptional freezer-friendliness. Whether you plan to enjoy them throughout the week or stash them away for future cravings, they hold up beautifully. I often prepare a larger batch, cut them into individual portions, and store them in the freezer. This way, whenever that sweet tooth or protein craving strikes, I can simply grab a bar, let it thaw for a few minutes, and enjoy a perfectly fresh and delicious snack. It’s ideal for meal prepping and ensuring you always have a healthy option readily available.
- No Baking Required for Ultimate Simplicity: The “no-bake” aspect is a game-changer! There’s no need to preheat an oven, monitor baking times, or worry about over-baking. All you have to do is thoroughly mix the ingredients, firmly press the mixture into a pan, and then chill it to set. This makes the recipe incredibly approachable for cooks of all skill levels, from beginners to seasoned bakers looking for a hassle-free alternative. In just a short chilling period, you’ll have delightful, birthday cake flavored protein bars ready at your fingertips—it really is that simple and satisfying.
- Easily Customizable to be Gluten-Free and Vegan: This recipe is a fantastic choice for those with dietary restrictions or preferences. Many of the core ingredients are naturally gluten-free; just be sure to check your oat flour to ensure it’s certified gluten-free if needed. To make these bars completely plant-based and vegan, simply opt for a vegan protein powder (such as pea, rice, or soy-based options) and a dairy-free milk alternative (like almond, oat, or soy milk). This versatility ensures everyone can enjoy these delicious and nutritious bars.
- Bonus: They Taste Absolutely Delicious, Not Like Cardboard: Let’s be honest, many store-bought protein bars can taste bland, chalky, or just plain gross. This homemade recipe is a complete departure from that! We’ve carefully selected ingredients that contribute to a rich, satisfying birthday cake flavor and a pleasant texture. You’ll find these bars to be wonderfully tasty, providing excellent fuel without any compromise on enjoyment. They’re a truly delightful way to get your protein in.
Key Ingredients for Your Homemade Birthday Cake Protein Bars:
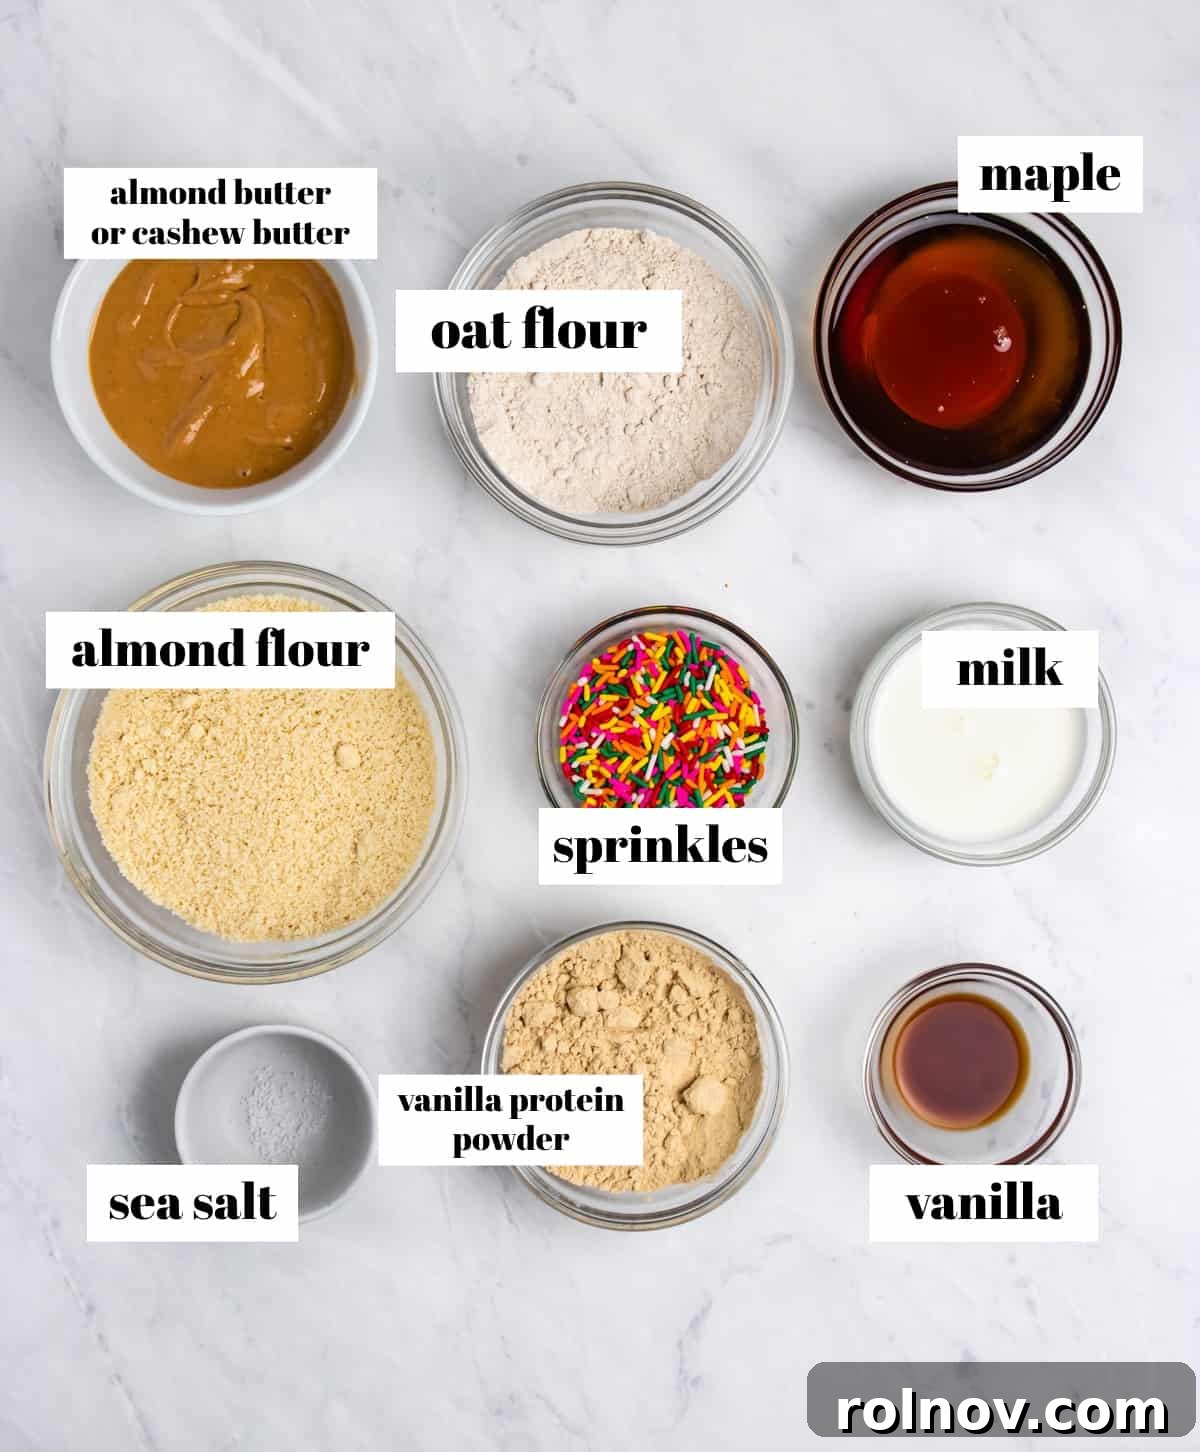
Crafting the perfect no-bake protein bar starts with selecting quality ingredients. Here’s a breakdown of what you’ll need and why each component is important:
- Almond Flour: I prefer a combination of almond and oat flours for optimal texture and flavor. Almond flour adds a subtle nutty sweetness and contributes to a wonderfully tender crumb. While it can sometimes be a bit pricier or less fine than oat flour, its unique flavor profile makes it a worthwhile addition. I’ve experimented with using only one type of flour, but all-oat flour batches tended to be slightly drier, and all-almond flour could be too dense. The blend strikes a perfect balance.
- Oat Flour: This provides structure and a wholesome base for our bars. Oat flour is naturally gluten-free (ensure it’s certified if necessary) and packed with fiber. A fantastic tip is that you can easily make your own oat flour by simply blending rolled oats in a food processor or blender until finely ground. This can be a great cost-saving hack!
- Nut Butter: The binding agent and a key contributor to the bars’ rich texture and flavor. I’ve successfully made these birthday cake bars with both almond butter and cashew butter. Both yield fantastic results, making it hard to choose a favorite! Almond butter is often more readily available and can be more budget-friendly, making it an excellent choice. If you’re feeling adventurous, try making your own, like this homemade cashew butter, for an even fresher taste. Ensure your nut butter is smooth and somewhat runny for easier mixing.
- Vanilla Protein Powder: This is arguably the most crucial ingredient for the bar’s overall flavor. Please choose a vanilla protein powder you genuinely enjoy the taste of, as it will significantly impact the final product. A high-quality vanilla powder will impart that classic birthday cake essence, while a less flavorful or artificial-tasting one can unfortunately diminish the experience. Consider whether you prefer a whey-based or plant-based vanilla protein to suit your dietary needs.
- Maple Syrup: My preferred natural liquid sweetener for these bars. Maple syrup adds a lovely depth of flavor and helps bind the ingredients together. If you need to substitute, you can use another liquid sweetener like agave nectar or honey (though honey is not vegan). Adjust the amount to your sweetness preference, keeping in mind that different sweeteners might alter the consistency slightly.
- Vanilla Extract: Essential for amplifying that quintessential birthday cake flavor. A generous amount of good quality vanilla extract really brings out the sweet, creamy notes we associate with cake batter. While there are specialized birthday cake and cake batter extracts available, I generally find a good quality vanilla extract delivers the best, most natural flavor without any artificial undertones. Feel free to experiment if you’re curious!
- Milk: A small amount of milk (dairy or non-dairy) is added to achieve the perfect consistency for the bars. It helps to moisten the mixture, ensuring it’s pliable enough to form a cohesive dough that presses firmly into the pan. Start with the recommended amount and add more sparingly if the mixture still seems too dry.
- Sprinkles: The iconic touch that makes these truly “birthday cake” bars! Use your favorite rainbow sprinkles to add a festive look and a fun textural element. Opt for high-quality sprinkles that hold their color and shape well. For those looking to avoid artificial dyes, there are many fantastic naturally-dyed sprinkle options available today.
- Dash of Sea Salt: A tiny pinch of sea salt enhances all the other flavors, balancing the sweetness and bringing out the rich notes of the nut butter and vanilla. Don’t skip this subtle but important ingredient!
Step-by-Step Guide: Crafting Your Perfect No-Bake Birthday Cake Protein Bars:
Making these protein bars is incredibly straightforward. Follow these simple steps for a perfect batch every time:
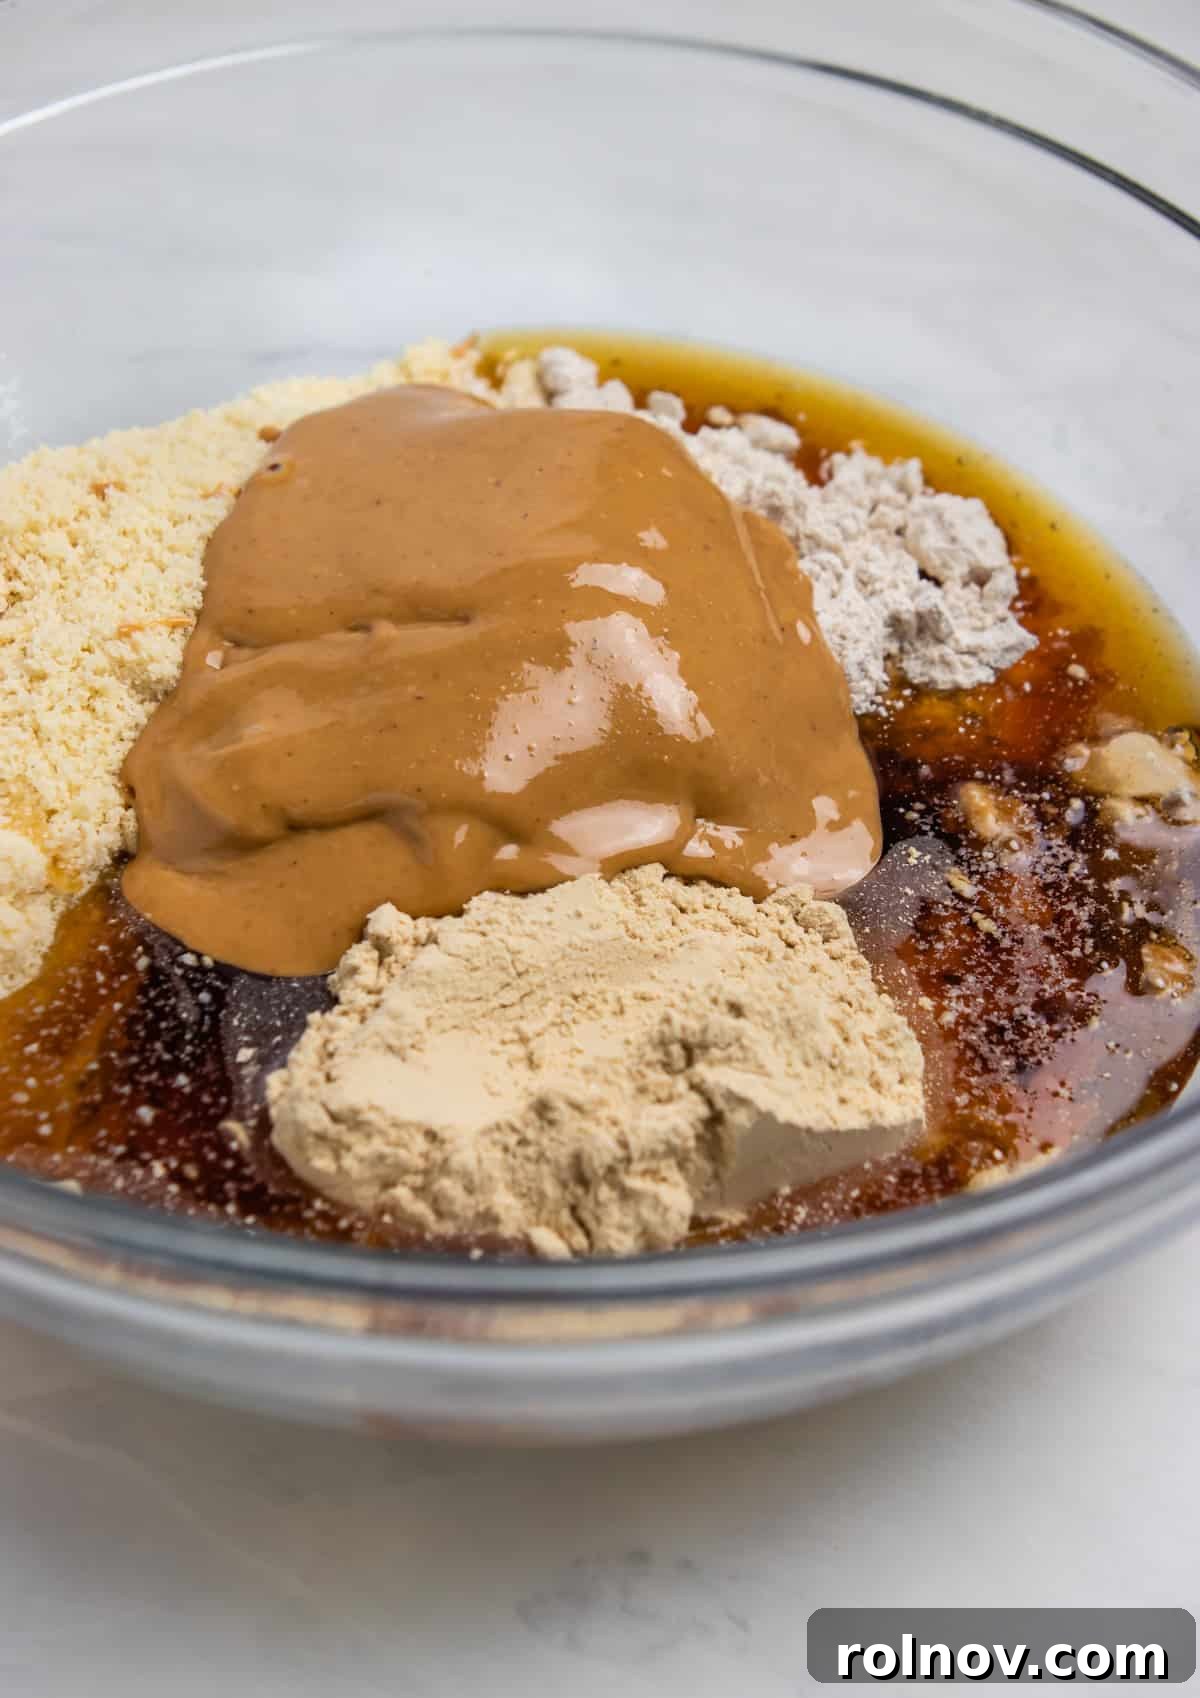
Step 1: Combine Dry and Wet Ingredients (Except Milk and Sprinkles)
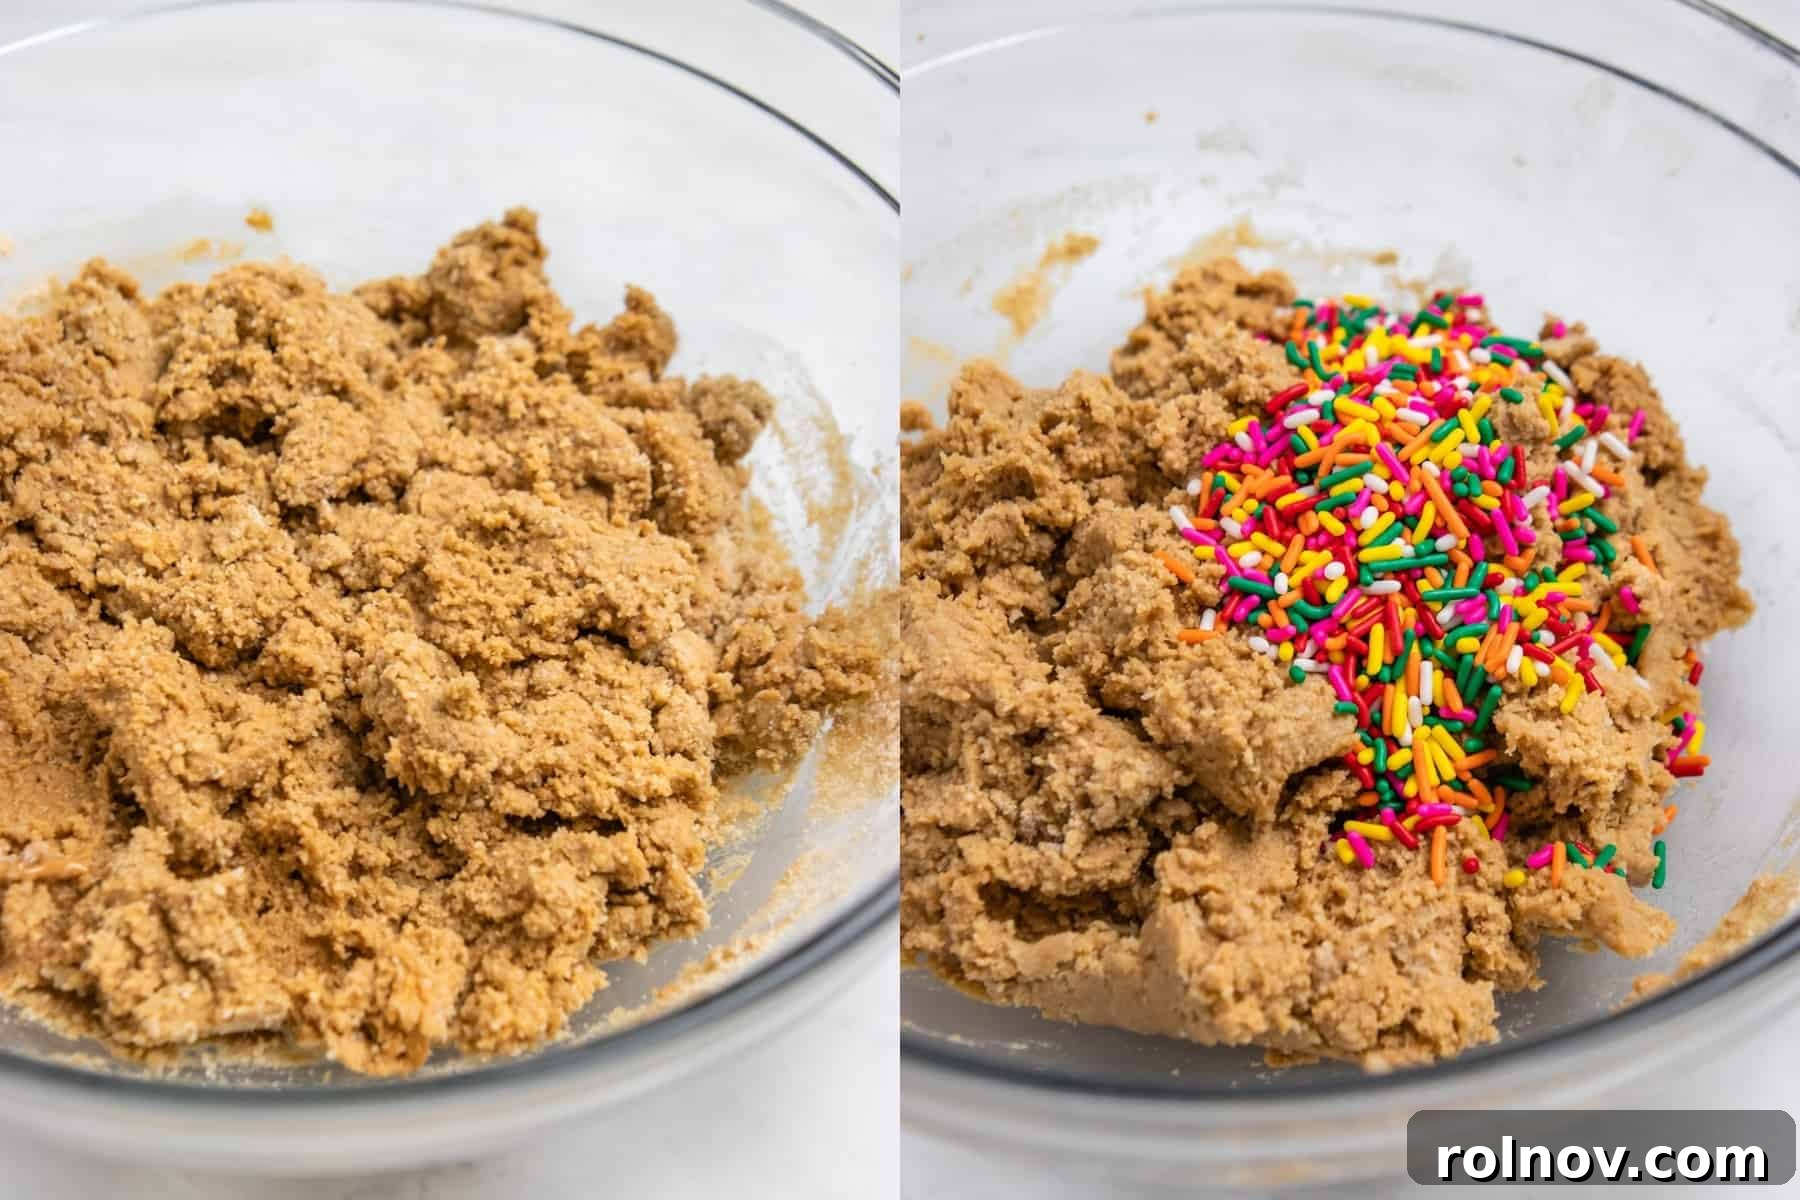
Begin by adding all of your measured ingredients into a large mixing bowl, with the exception of the milk and the colorful sprinkles. This includes your almond flour, oat flour, nut butter, vanilla protein powder, maple syrup, vanilla extract, and sea salt. Use a sturdy spoon or spatula to stir these ingredients together thoroughly. Initially, the mixture may appear a bit dry and crumbly, but don’t worry—the milk added in the next step will bring it all together to the right consistency. Focus on breaking down any large clumps of nut butter or protein powder to ensure an even blend.
Step 2: Achieve the Perfect Dough Consistency with Milk
Now it’s time to add the milk, but do so gradually, one tablespoon at a time. Continue to stir and work the mixture, observing how the texture changes. The goal is to achieve a thick, cohesive dough that can be easily rolled into a ball without crumbling, yet isn’t overly wet or sticky. You might not need all of the recommended milk, or you might need a tiny splash more, depending on the dryness of your flours or the runniness of your nut butter. Use your hands to knead the mixture if needed; this helps distribute moisture evenly and forms a well-bound dough.
Step 3: Fold in the Sprinkles for That Birthday Cake Magic
Once your dough has reached the ideal consistency, gently fold in about two-thirds of the rainbow sprinkles. Reserve the remaining sprinkles for decorating the top of the bars later. Carefully incorporate them into the dough, ensuring they are evenly distributed but not crushed. This step infuses the interior of your bars with festive color and a fun, slightly crunchy texture, truly embodying the “birthday cake” experience.
Step 4: Press Firmly into the Pan and Decorate
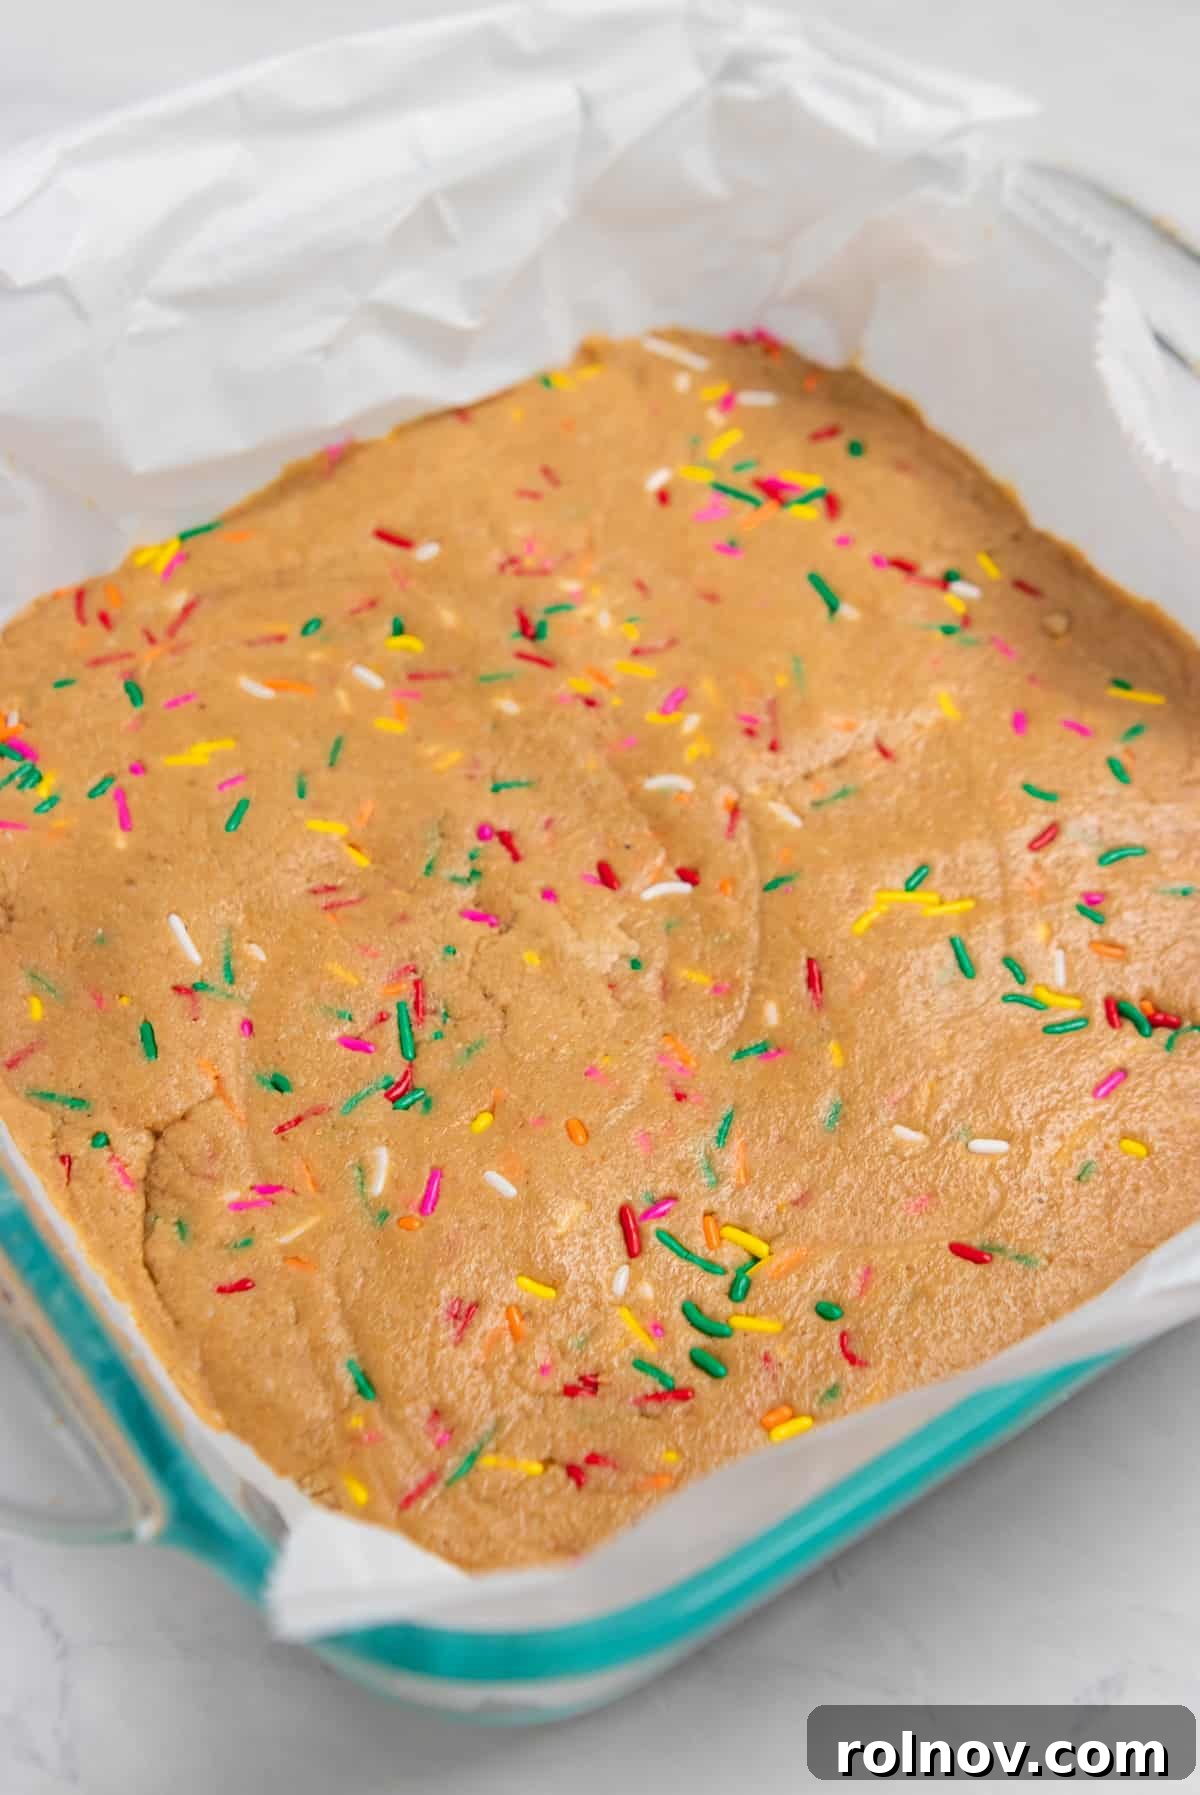
Line an 8×8 inch baking pan or dish with parchment paper, leaving an overhang on the sides to easily lift the bars out later. Transfer the entire protein bar mixture into the prepared pan. Now, this is a crucial step: you need to press the mixture down VERY firmly. Use a spatula, the back of a measuring cup, or even your hands (protected by a piece of parchment) to compact the mixture evenly across the bottom of the pan. The harder you press, the denser and sturdier your bars will be, ensuring they hold their shape beautifully when cut. If you prefer thicker bars, simply don’t press the mixture all the way to the edges of the pan. Once the mixture is firmly pressed, scatter the remaining rainbow sprinkles generously over the top and gently press them in so they adhere.
Step 5: Chill to Set and Cut into Bars
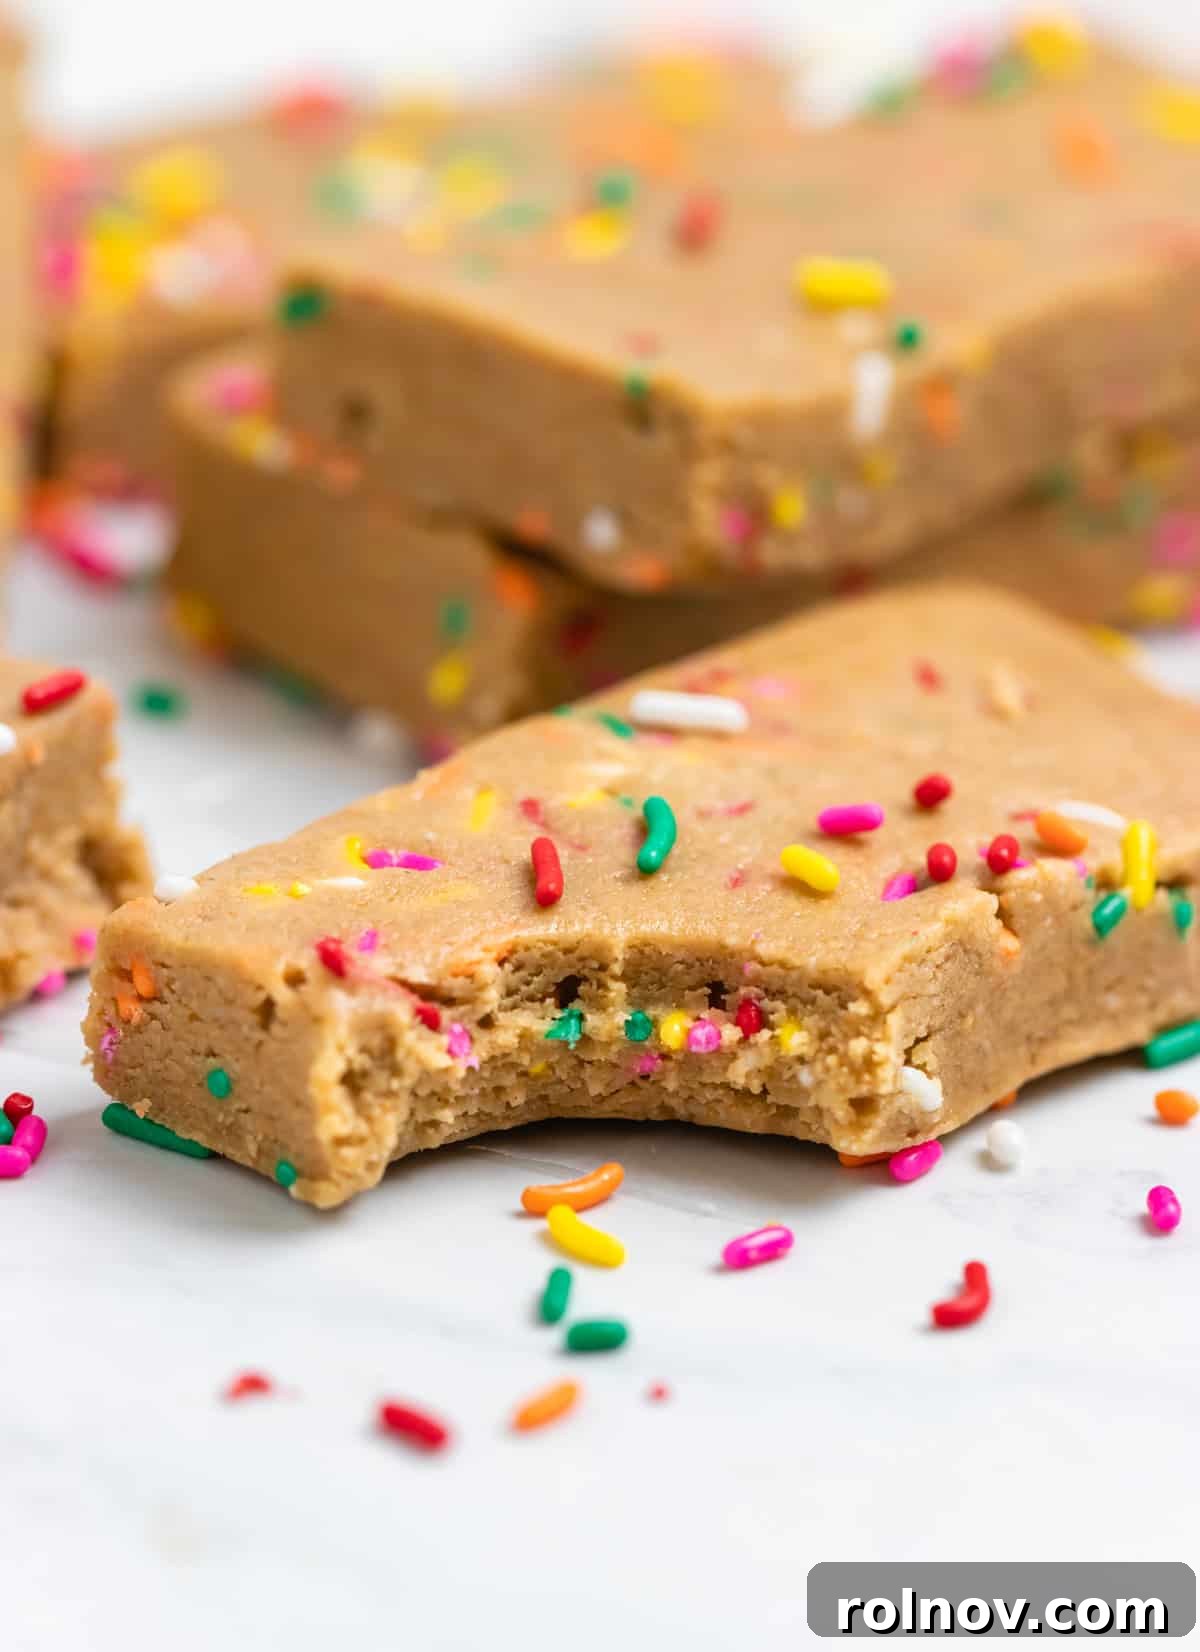
Place the pan into the freezer for approximately 30 minutes to 1 hour. This chilling time is essential for the bars to firm up and set properly, making them easy to slice. Once thoroughly chilled and firm, remove the pan from the freezer. Use the parchment paper overhang to carefully lift the entire slab of protein bar mixture out of the pan and onto a cutting board. Use a sharp knife to cut the slab into your desired bar size. Store these delightful homemade protein bars in an airtight container in the refrigerator to maintain their freshness and firm texture. Enjoy your perfectly crafted, celebratory protein treat!
Boost Your Protein: Creative Ways to Enhance Your Bars:
If you’re looking to pack an even bigger protein punch into these already nutritious bars, here are a few simple and effective strategies:
- Opt for Whole Milk or High-Protein Dairy Alternatives: Instead of lower-fat milk, choosing whole dairy milk can add a few extra grams of protein per serving. Alternatively, consider using a high-protein plant-based milk, such as a fortified soy milk or a specialized protein-enhanced almond milk, to naturally boost the protein content without altering the flavor profile significantly.
- Incorporate Egg White Powder for an Invisible Boost: Some commercial protein bars utilize egg white powder to easily increase their protein levels. It’s an excellent source of complete protein and is often very easily digestible. If you decide to add a scoop (approximately 1/4 to 1/2 cup) of egg white powder, keep in mind that your birthday cake protein bars will no longer be vegan. When adding this, you may need to adjust the wet ingredients slightly, potentially increasing the nut butter by one or two tablespoons and adding an extra splash of milk to maintain the desired consistency, as egg white powder can absorb a lot of moisture.
- Replace Regular Milk with a Protein Drink: Have a favorite ready-to-drink protein shake or fortified milk beverage? Instead of plain milk, use that as your liquid component. This is a super simple way to infuse more protein and potentially even more flavor into your bars, especially if you choose a vanilla or cake-batter flavored protein drink. Just ensure the consistency is similar to regular milk to avoid making the mixture too wet or too dry.
Expert Tips for Perfect No-Bake Birthday Cake Protein Bars:
Achieving the best results with your homemade protein bars is easy with a few key considerations. Here are some expert tips and notes to help you perfect your batch:
- The Paramount Importance of Your Protein Powder: I cannot emphasize this enough – the flavor of your protein powder will have the single biggest impact on the overall taste of these bars. If your protein powder has an earthy, chalky, or otherwise unpleasant taste, those undesirable notes will unfortunately transfer directly to your finished bars. For these “birthday cake” bars, I highly recommend opting for a quality vanilla-flavored protein powder over a flavorless one. The exception here is collagen peptide powder; collagen is one of the few protein powders that is genuinely and truly flavorless, making it a great choice if you want to add protein without affecting the taste profile. Invest in a protein powder you genuinely enjoy, and your bars will be exponentially better.
- Optimal Nut Butter Consistency is Key: For the easiest mixing and best texture, a thinner, drippier almond or cashew butter will work wonders. Nut butters that are smooth, moist, and slightly runny will incorporate much more easily into the dry ingredients, leading to a more homogenous and pliable dough. If your nut butter is on the thicker or stiffer side, try leaving it out of the fridge for about an hour before you start preparing the recipe, or gently warm it in the microwave for 15-30 seconds to help loosen it up. This will make combining all the ingredients significantly smoother.
- The Art of Firm Pressing: When I say “press,” I truly mean to apply significant pressure to these bars in the pan. If you desire a really sturdy, dense bar that holds its shape beautifully and doesn’t crumble, you need to put your full weight into pressing the mixture down. Use a flat-bottomed object like the back of a measuring cup, a spatula, or even a glass to compact the dough. The bars will be too flimsy and prone to falling apart if not pressed hard enough. So, when you think you’ve pressed sufficiently, keep going for another minute or two to ensure maximum density and structure.
- Versatile Serving: Bars or Bites: While this recipe is designed for bars, don’t feel limited! These delicious protein-packed treats can easily be rolled into bite-sized balls instead. Simple, poppable protein bites are an excellent option for portion control, quick mini-snacks, or even as a healthier alternative to energy balls. Just roll the dough into small spheres and chill them just as you would the bars.
- Mind Your Sprinkles (Food Dyes): Traditional rainbow sprinkles often contain artificial food dyes. If you or your family are looking to avoid these dyes, there’s good news! Many brands now offer sprinkles that are naturally dyed using vegetable extracts. These naturally colored sprinkles are widely available these days and offer a vibrant, guilt-free way to add that festive birthday cake aesthetic to your bars.
- Storage and Shelf Life: For optimal freshness and texture, store your homemade Birthday Cake Protein Bars in an airtight container in the refrigerator for up to a week. If you’ve made a larger batch or want to extend their shelf life, they freeze beautifully for up to 2-3 months. Wrap individual bars in parchment paper or plastic wrap before placing them in a freezer-safe bag or container to prevent freezer burn and make thawing easier.
- Customization Beyond Sprinkles: While sprinkles are key to the birthday cake theme, feel free to get creative with other add-ins! Consider folding in mini white chocolate chips, a handful of finely chopped dried fruit, or even a few extra drops of almond extract for a slightly different flavor profile. Just be mindful that additional ingredients might slightly alter the overall consistency, so you might need to make minor adjustments to the liquid content.
Explore More Protein-Packed Delights:
If you loved these No-Bake Birthday Cake Protein Bars, you’re in for a treat! We have a variety of other delicious and protein-packed recipes designed to fuel your body and delight your taste buds. Explore these other wholesome options from our collection:
- Protein Overnight Oats
- Orange Creamsicle Protein Smoothie
- No Bake Blueberry Muffin Protein Bars
- Protein Mac and Cheese
HUNGRY FOR MORE? Subscribe to my newsletter and follow me on Facebook, Instagram and Pinterest for all the latest!
Birthday Cake Protein Bars
Print Recipe
Ingredients
- 1 c almond flour
- 1/2 c oat flour
- ½ c almond butter or cashew butter
- ½ c vanilla protein powder
- 3 T milk of choice, more if needed
- 1/3 – 1/2 c maple syrup
- 1 1/2 tsp vanilla extract
- 2 – 3 T rainbow sprinkles
- Dash of sea salt
Instructions
-
Combine all ingredients except for milk and sprinkles in a large mixing bowl.
-
Stir well, then use your hands to knead until a dough begins to form. Gradually add milk, one tablespoon at a time, until the mixture is a thick, cohesive dough that is not too wet. Fold in 2 tablespoons of the rainbow sprinkles.
-
Press the mixture VERY FIRMLY into a parchment-lined 8×8 inch pan or dish. For thicker bars, simply don’t press the mixture all the way to the edges of the pan.
-
Sprinkle the remaining sprinkles on top and gently press them into the bars. Freeze for about 30 minutes to 1 hour to set.
-
Remove from the freezer, lift using the parchment paper, and cut into bars. Store in an airtight container in the refrigerator.
Notes
- The biggest impact on the flavor of these bars will be your protein powder. If your protein powder tastes like grass, then these protein bars are going to taste like grass. Sad, but true. I would opt for a vanilla versus a flavorless, unless you use a collagen peptide powder. Collagen seems to be the only powder that is really and truly flavorless. I could get behind using one of these for sure.
- A thinner, drippy almond or cashew butter will work best. It will be easiest to mix up these protein bars if you use a nut butter that is moist, smooth and more on the runny side. I usually keep mine out of the fridge for about an hour to help loosen it up a bit.
- When I say press, I mean PRESS these babies into the pan. If you want a really sturdy, dense bar, then you gotta put all your weight into it, sit on it, whatever you have to do, bring the power. The bars will be too flimsy if you don’t so when you think you have pressed hard enough, keep going.
- Sprinkles often include food dyes. If you are looking to avoid food dyes, opt for sprinkles that are naturally dyed. There are actually a lot of them out there these days!
Nutrition
Nutrition information is automatically calculated, so should only be used as an approximation.
Did you enjoy this recipe? Have a question?Leave a comment below!