
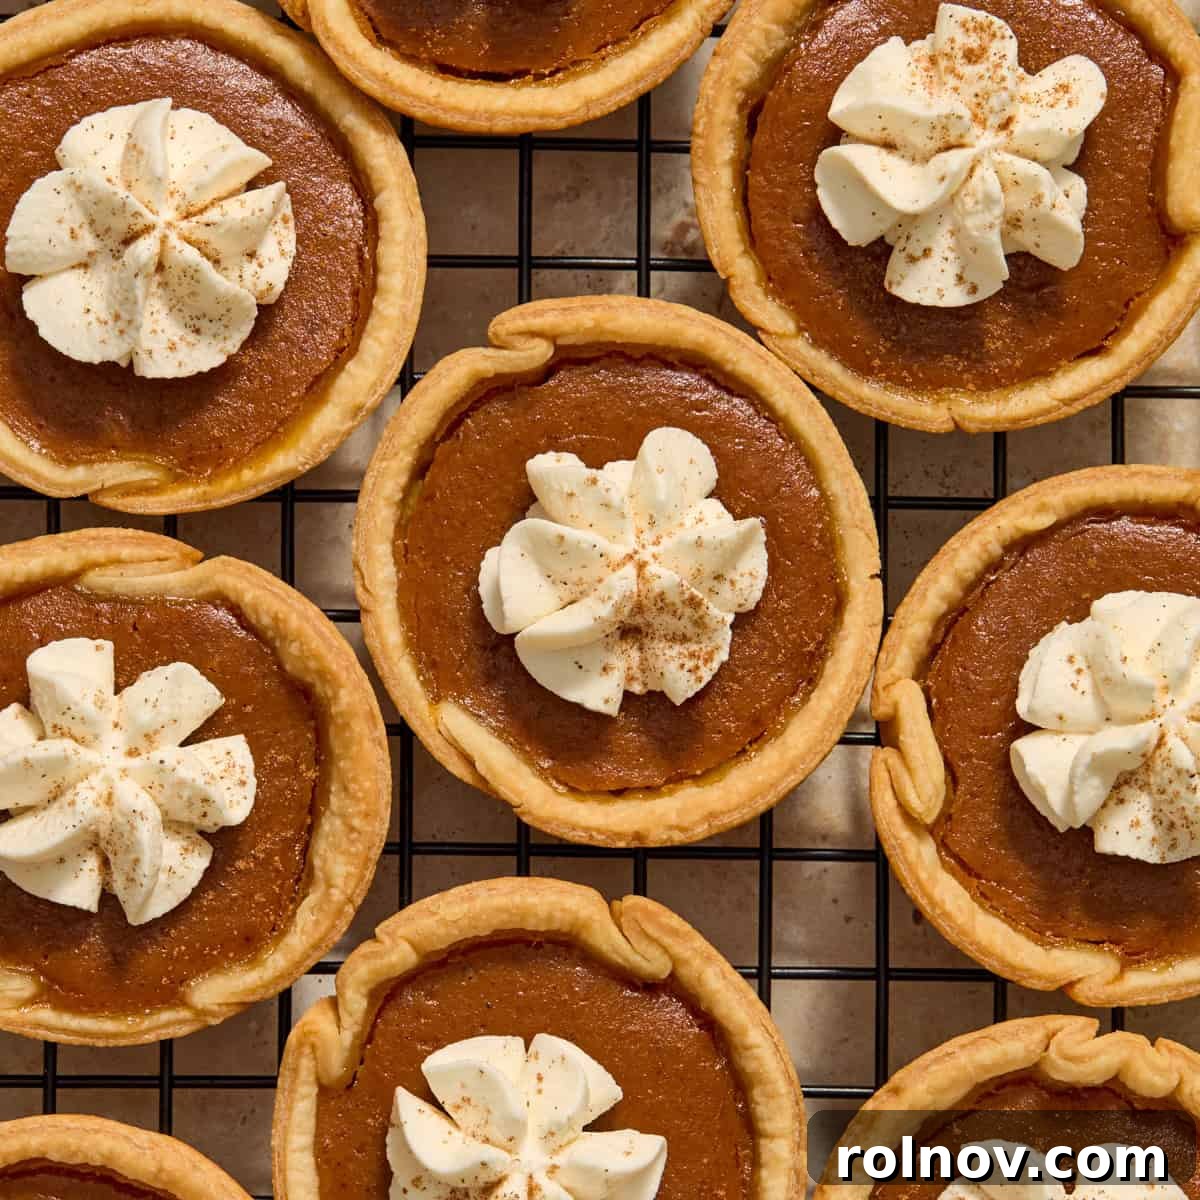
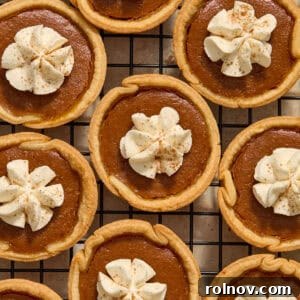
Irresistible Mini Pumpkin Pies with Brown Sugar Whipped Cream
Embrace the flavors of fall with these incredibly easy and utterly delicious mini pumpkin pies, perfectly sized for a single serving. Topped with a luscious brown sugar whipped cream, these handheld delights are the ultimate seasonal dessert. Requiring less than 20 minutes of active prep time, they are ideal for making ahead, helping you effortlessly check off your holiday baking list. Each bite is a symphony of warm spices and rich pumpkin flavor, and you have the flexibility to use either a convenient pre-made crust or your cherished homemade recipe.
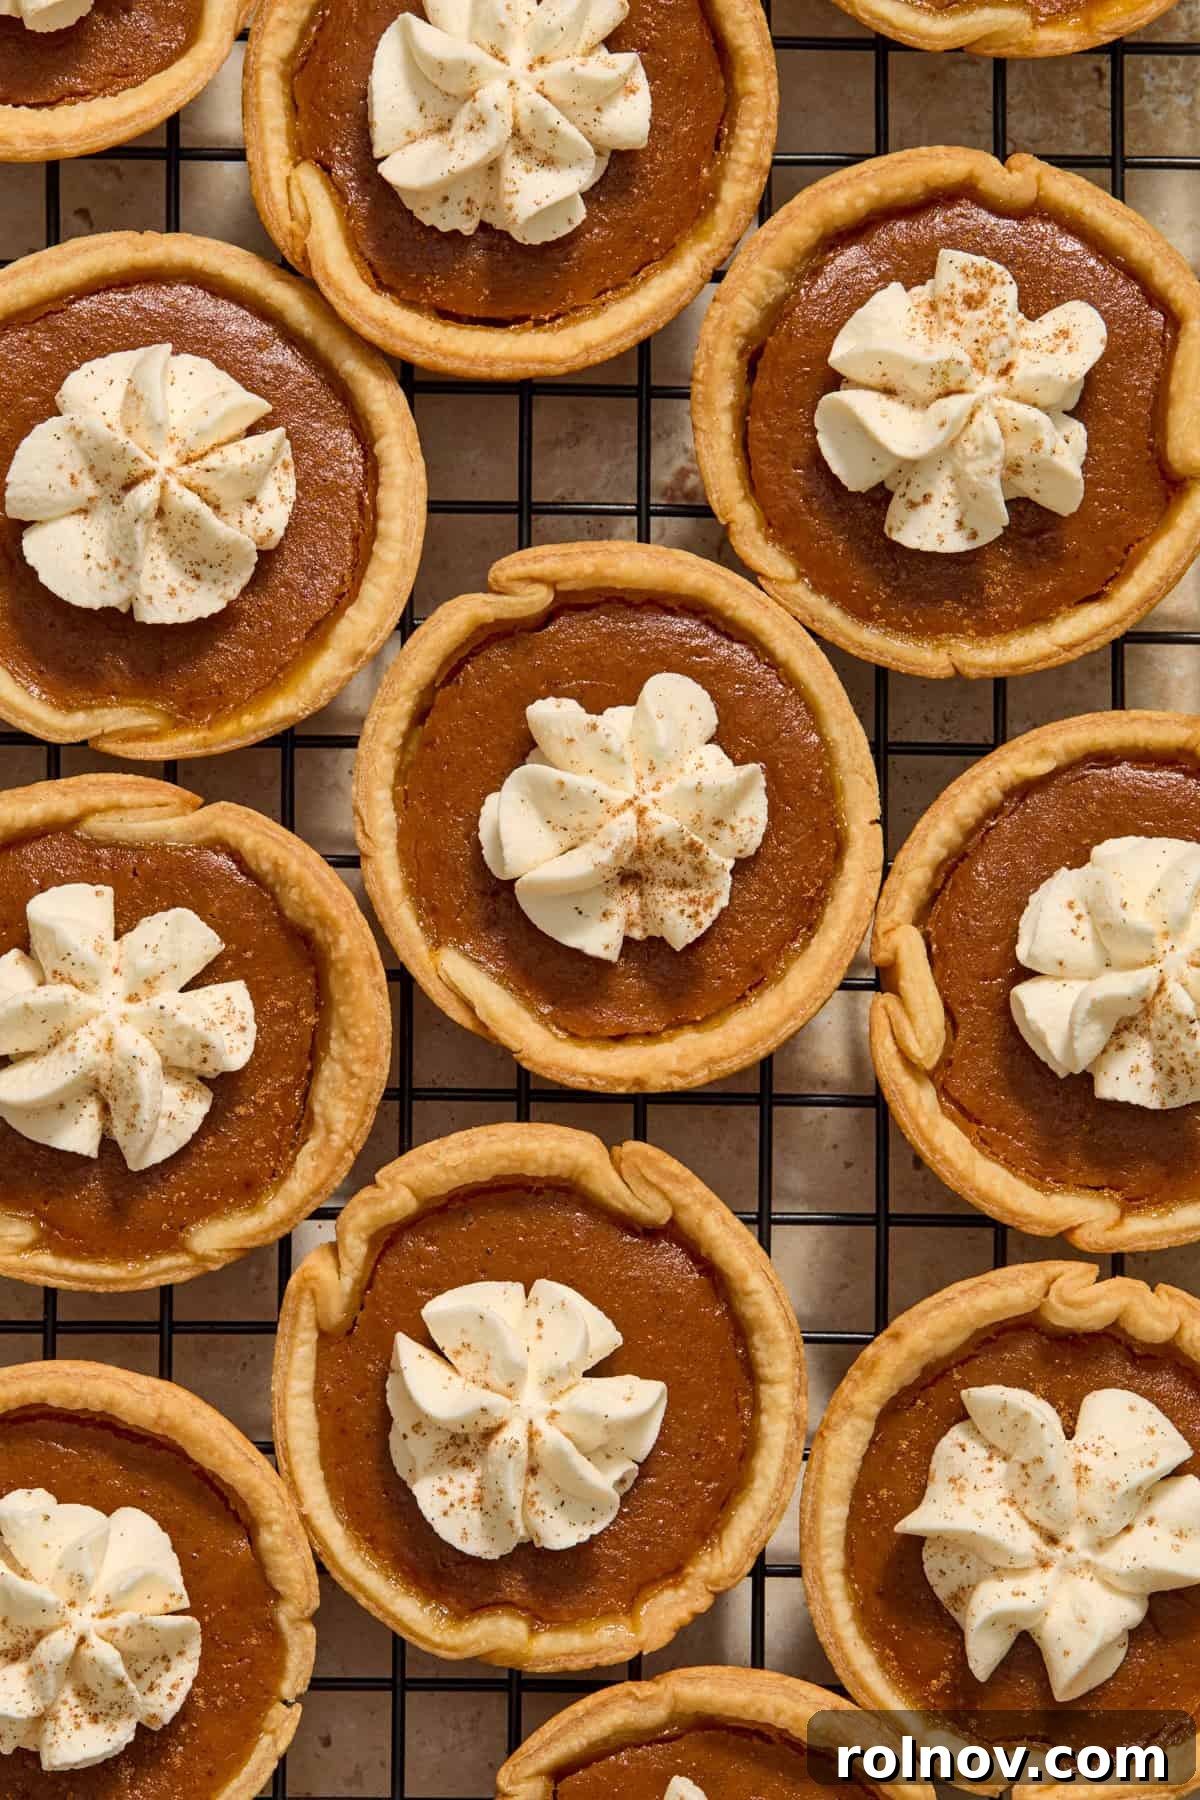
While the allure of delicate puff pastry pumpkin pies tempted us, extensive testing led us back to the comforting familiarity of a classic pie crust for these charming miniature pumpkin pies. The result is a dessert that’s not only incredibly delicious but also remarkably simple to prepare, making it a stress-free addition to any gathering.
These individual pumpkin pies are a fantastic option for entertaining, as they can be prepared in advance and are delightfully easy to serve. Their compact size makes them perfect finger food, allowing guests to enjoy a slice of autumn bliss without the need for plates and forks. We’re confident you’ll adore these delightful treats as much as we do!
Looking for more festive inspiration? Don’t miss these other beloved holiday and Thanksgiving recipes: our comforting Pumpkin Pie Crumble, the effortlessly elegant No Bake Pumpkin Cheesecake Bars, or this delightful Apple Cranberry Crisp!
Why You’ll Fall in Love with This Family Favorite Recipe

Holiday family gatherings are often brimming with a spectacular array of desserts, and navigating the dessert table can sometimes feel like a strategic mission. This is where easy, grab-and-go options shine, and these miniature pumpkin pies are the perfect solution for serving pie in a delightfully accessible way. No more fussing with slicing large pies or worrying about plates and forks!
These adorable individual pumpkin pies can be effortlessly picked up and enjoyed in just one or two delicious bites, ensuring that the dessert line keeps moving smoothly. Their charming presentation also makes them a standout addition to any dessert spread, impressing your guests with both taste and thoughtful convenience.
Beyond their undeniable charm, these mini pumpkin pies offer a host of benefits:
- Effortless Make-Ahead Dessert: Prepare them days in advance to free up precious time on busy holiday mornings or event days. They store beautifully in the refrigerator or freezer, making planning a breeze.
- Quick Preparation: With only about 20 minutes of hands-on prep time, this recipe is designed for efficiency without compromising on flavor. The simple steps make it approachable for even novice bakers.
- Freezer-Friendly: Enjoy the taste of fall whenever a craving strikes! These pies freeze exceptionally well, allowing you to have a delicious homemade treat on hand for weeks.
- Perfect for Any Occasion: Whether it’s a casual fall gathering, a school potluck, or the grand Thanksgiving feast, these mini pies are universally loved. Their individual portions make serving a crowd simple and hygienic.
- Portion Control: Their small size naturally encourages portion control, allowing guests to indulge without overdoing it.
- Irresistible Flavor: Packed with classic pumpkin and warm spices, these pies deliver all the beloved flavors of traditional pumpkin pie in a delightful, compact package.
Prepare to delight your taste buds and impress your guests with these cute and flavorful mini pumpkin pies!
Essential Ingredient Notes for Perfect Mini Pumpkin Pies
For a complete list of ingredients and precise measurements, please refer to the detailed recipe card below. Here are some key notes to ensure your mini pumpkin pies turn out perfectly every time:
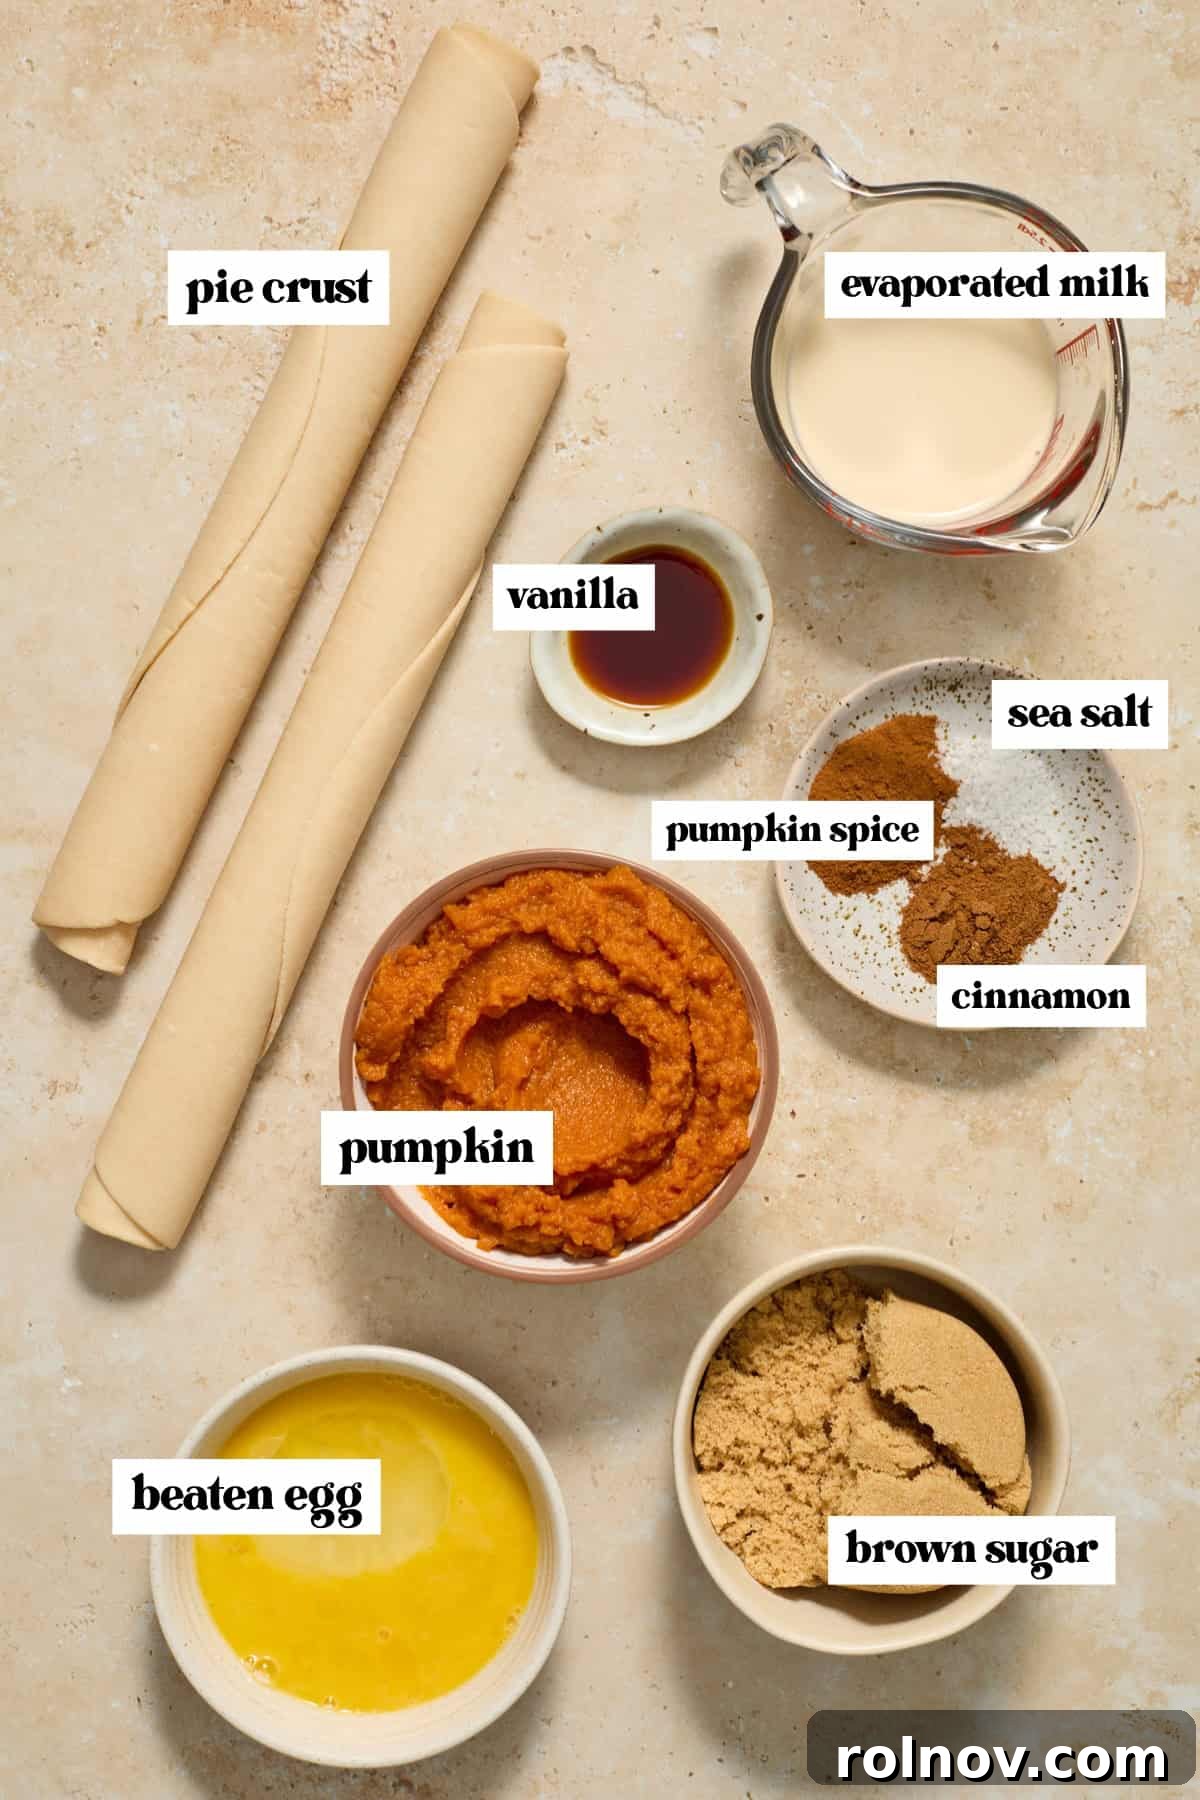
- Pumpkin Purée vs. Pumpkin Pie Filling: Crucial Distinction! Always ensure you are using plain pumpkin purée, not pumpkin pie filling. Pumpkin pie filling is already pre-sweetened and spiced, and using it in this recipe will result in an overly intense and sweet pie. Plain pumpkin purée allows you to control the exact balance of flavors.
- Adjusting Sweetness: Our recipe provides a balanced sweetness, but if you prefer your pumpkin pies a bit sweeter, you can easily add an extra sprinkle of white granulated sugar to the pumpkin filling mixture before baking. Taste and adjust to your preference.
- Pie Crust Choice: For ultimate convenience, we highly recommend using Pillsbury refrigerated pie crust (the 14.1 oz package, which contains two pie rounds). These crusts are incredibly easy to work with and deliver a consistently flaky result. You will use both rounds from the package for this recipe. Of course, if you have a favorite homemade pie crust recipe, feel free to use that instead – the choice is yours!
- Room Temperature Egg: For the smoothest and most homogenous filling, ensure your large egg is at room temperature. This helps it incorporate more easily and evenly into the pumpkin mixture.
- Fresh Spices: The quality of your spices makes a significant difference. Use fresh, aromatic cinnamon and pumpkin pie spice for the most vibrant flavor in your filling.
Creative Recipe Variations to Explore
While these mini pumpkin pies are delicious as written, feel free to get creative and customize them with these delightful variations:
- Decadent Crumbly Topping: Elevate your mini pies with a buttery streusel topping. To make it, combine about 3/4 cup all-purpose flour, 1/4 cup granulated sugar, 1/4 cup packed light brown sugar, 6 tablespoons of melted unsalted butter, a generous pinch of cinnamon, and a tiny sprinkle of sea salt. Mix these ingredients until the mixture forms coarse crumbs. Sprinkle this delicious topping generously over the filled pie crusts before baking. It adds a wonderful texture and an extra layer of sweetness.
- Handmade Pie Crust Excellence: If you enjoy the art of baking from scratch, consider using your homemade pie crust. It offers a unique texture and flavor that can truly make these mini pies special. Just ensure it’s well-chilled before rolling and cutting.
- Sweet Potato Mini Pies Twist: For a delightful alternative, transform these into mini sweet potato pies! Simply substitute an equal amount of cooked and mashed sweet potato purée (ensure it’s plain, not canned pie filling) for the pumpkin purée in the recipe. The spices and other ingredients will complement the sweet potato beautifully.
- Cinnamon Sugar Crust Enhancement: Add an extra touch of sweetness and spice to your crusts. Before pressing the pie rounds into the muffin tins, lightly brush them with melted butter and then sprinkle generously with a mixture of cinnamon and granulated sugar. This creates a crisp, sweet, and fragrant crust.
- Gluten-Free Option: For those with dietary restrictions, these mini pies can easily be made gluten-free. Simply use your favorite store-bought or homemade gluten-free pie crust. Ensure all other ingredients are also certified gluten-free.
- Nutty Crunch: Fold finely chopped pecans or walnuts into the pumpkin filling for an added layer of texture and nutty flavor. Alternatively, sprinkle them on top of the crumbly topping before baking.
Step-By-Step Instructions: Crafting Your Mini Pumpkin Pies
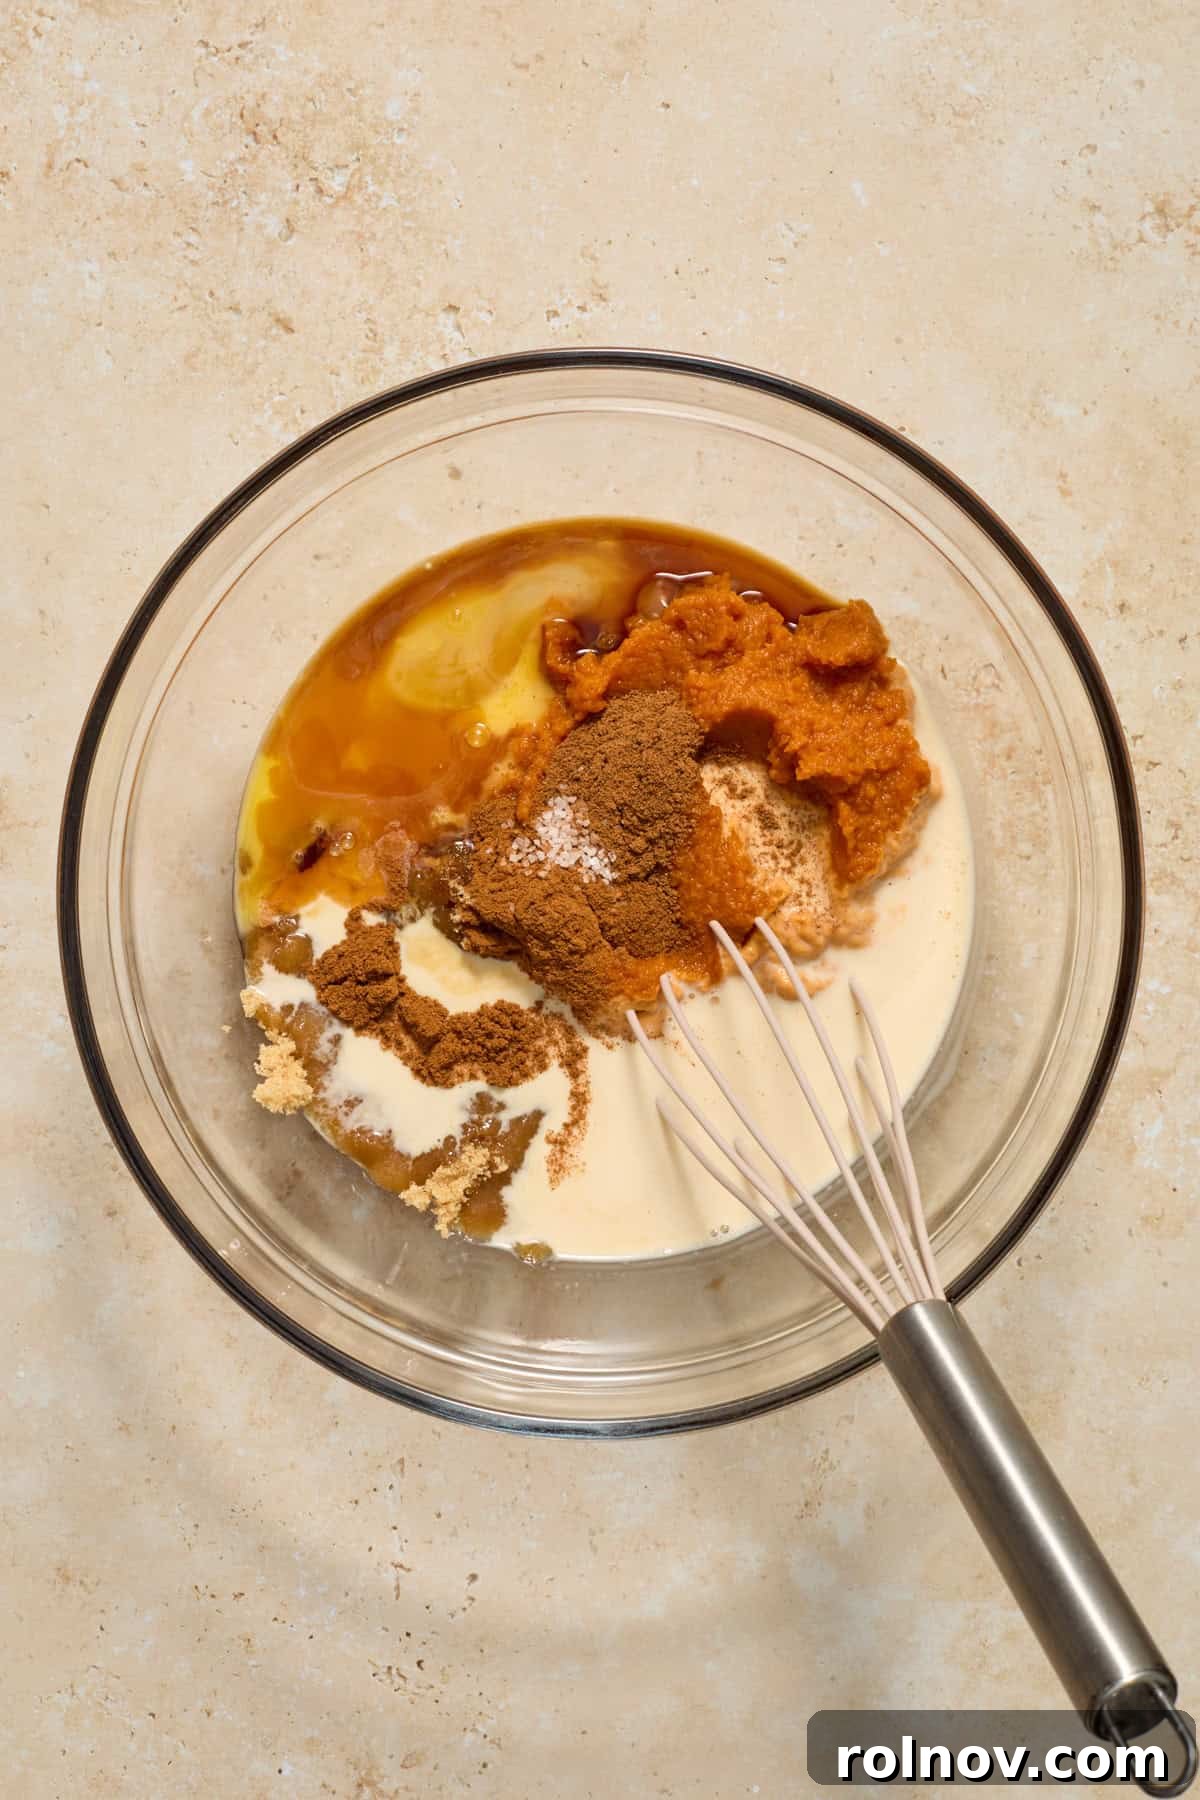
Step 1: Prepare the Filling. Begin by preheating your oven to 350°F (175°C). In a medium-sized mixing bowl, combine all the ingredients for the pumpkin filling: pumpkin purée, packed brown sugar, vanilla extract, cinnamon, pumpkin pie spice, evaporated milk, lightly beaten room temperature egg, and sea salt. Ensure you’re using plain pumpkin purée, not pie filling.
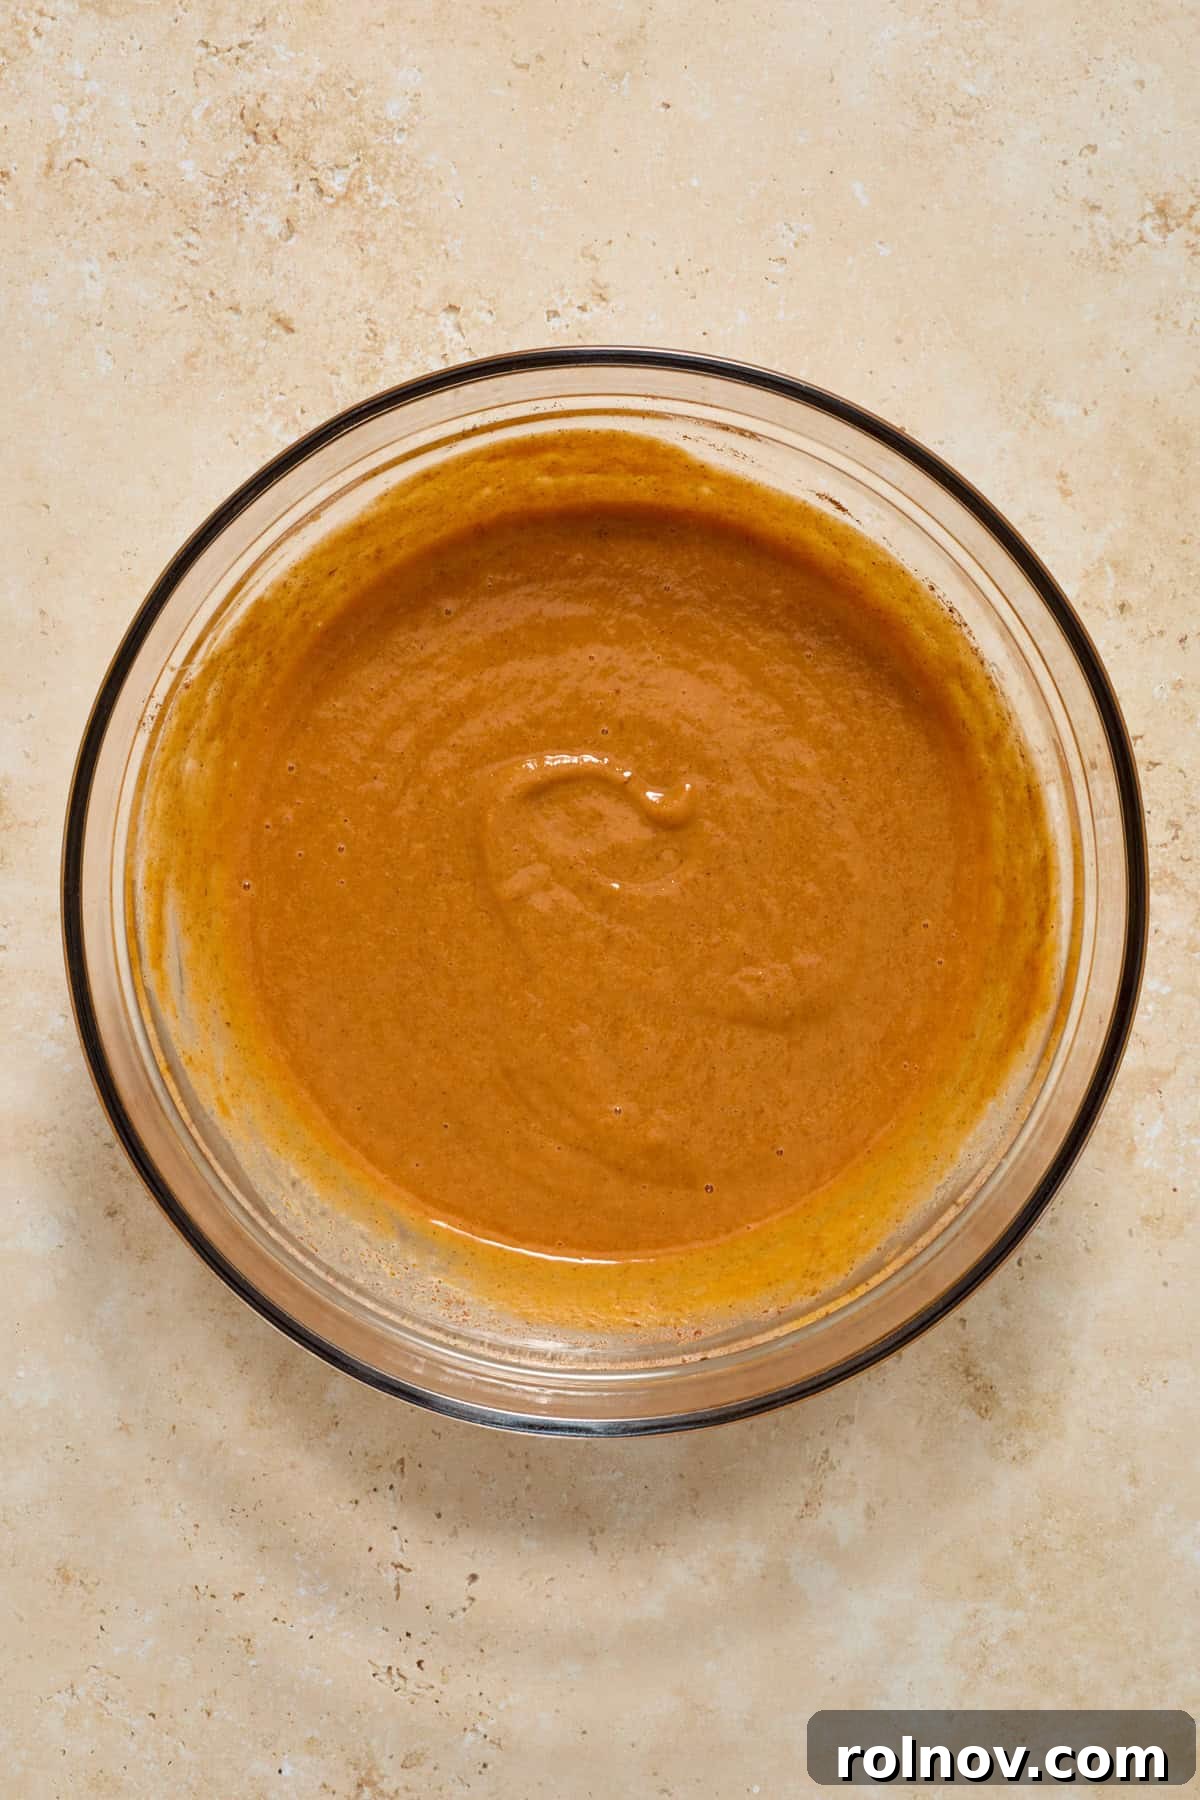
Step 2: Whisk until Smooth. Using a whisk or an electric mixer, beat the pumpkin filling ingredients together until the mixture is completely smooth and well combined. There should be no lumps of brown sugar or spice. Set aside while you prepare the crusts.
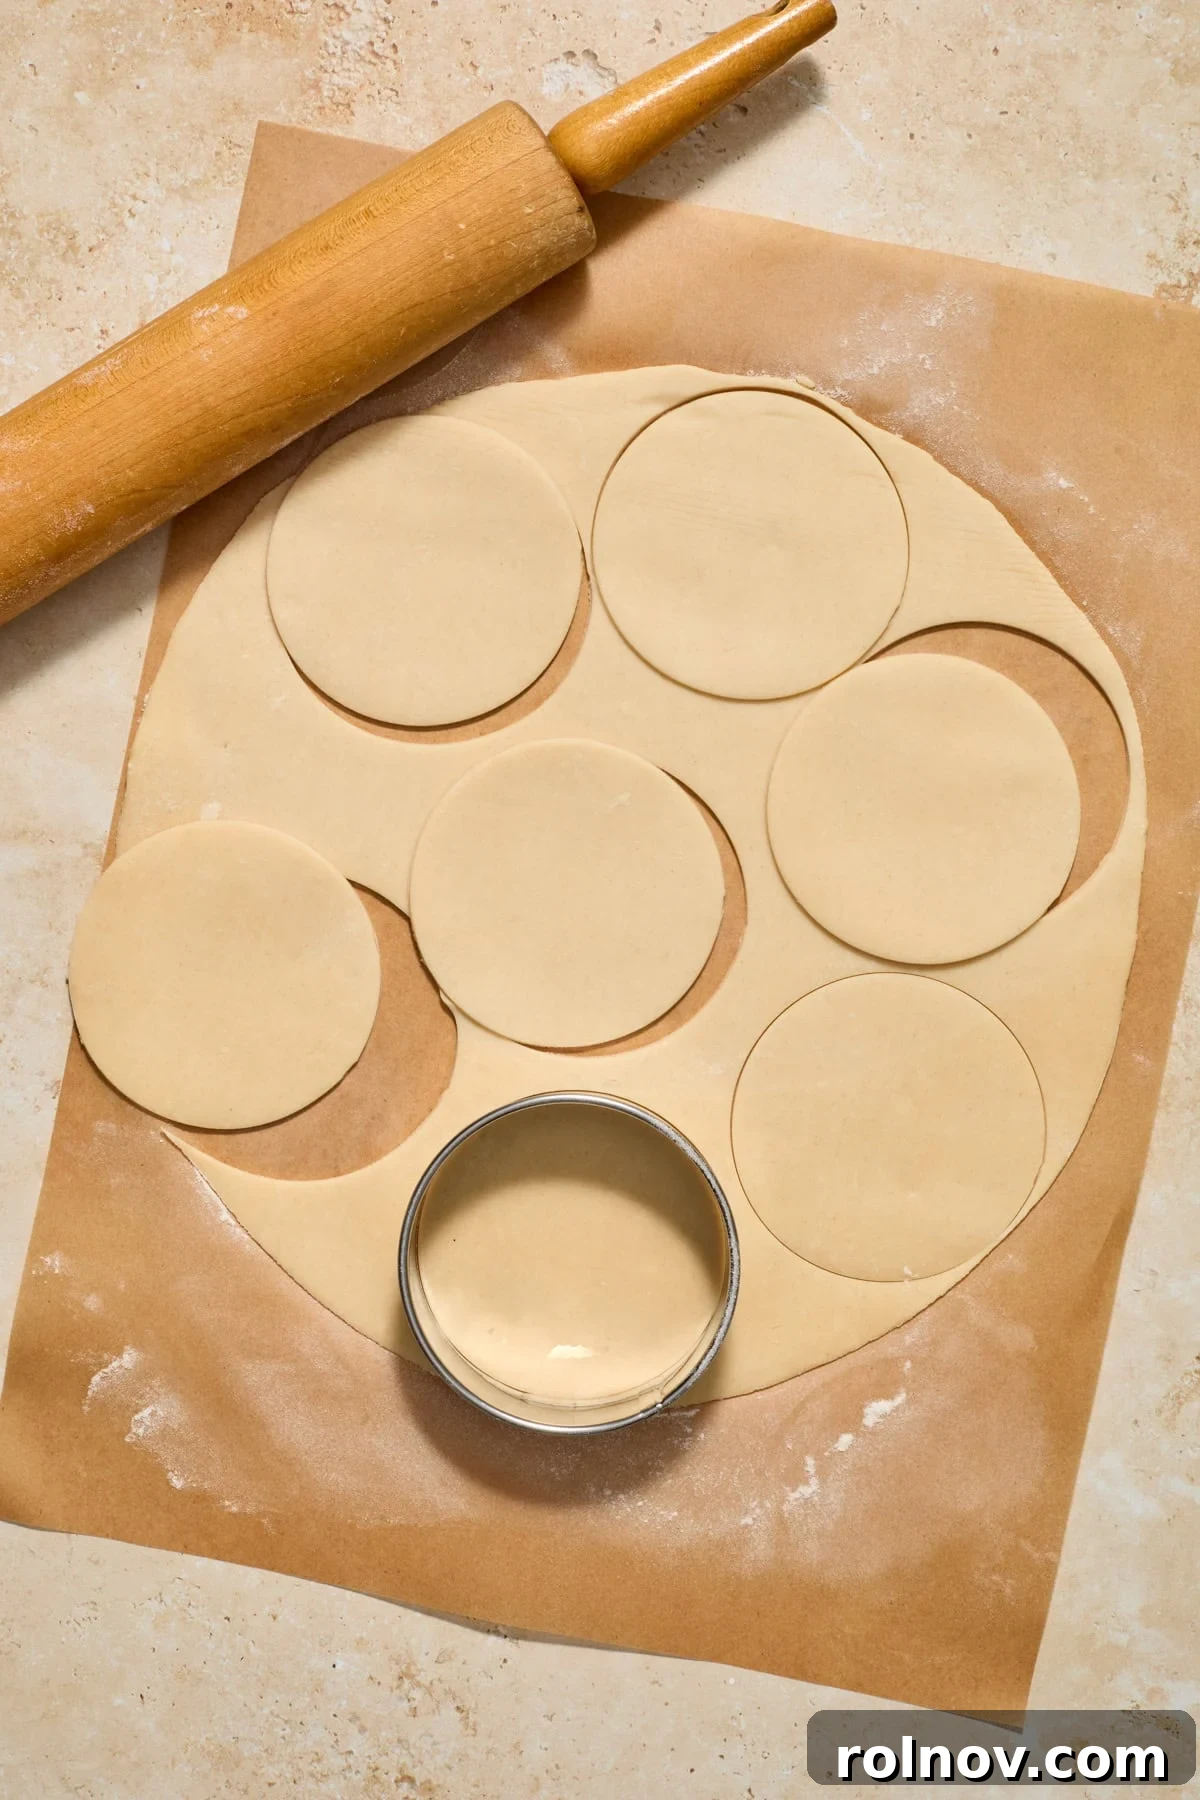
Step 3: Prepare the Pie Crust Rounds. Unroll one chilled refrigerated pie crust onto a lightly floured surface or a piece of parchment paper. Using a rolling pin, roll the dough out to an even thickness of approximately 1/8 inch. Next, use a 3 ½-inch round cookie cutter or biscuit cutter to cut out as many rounds as possible. Gently gather the dough scraps, press them together (being careful not to overwork the dough), roll them out again, and cut out more rounds. You should get about 9 rounds from each pie crust. Repeat this process with the second pie crust, yielding a total of approximately 18 pie rounds.
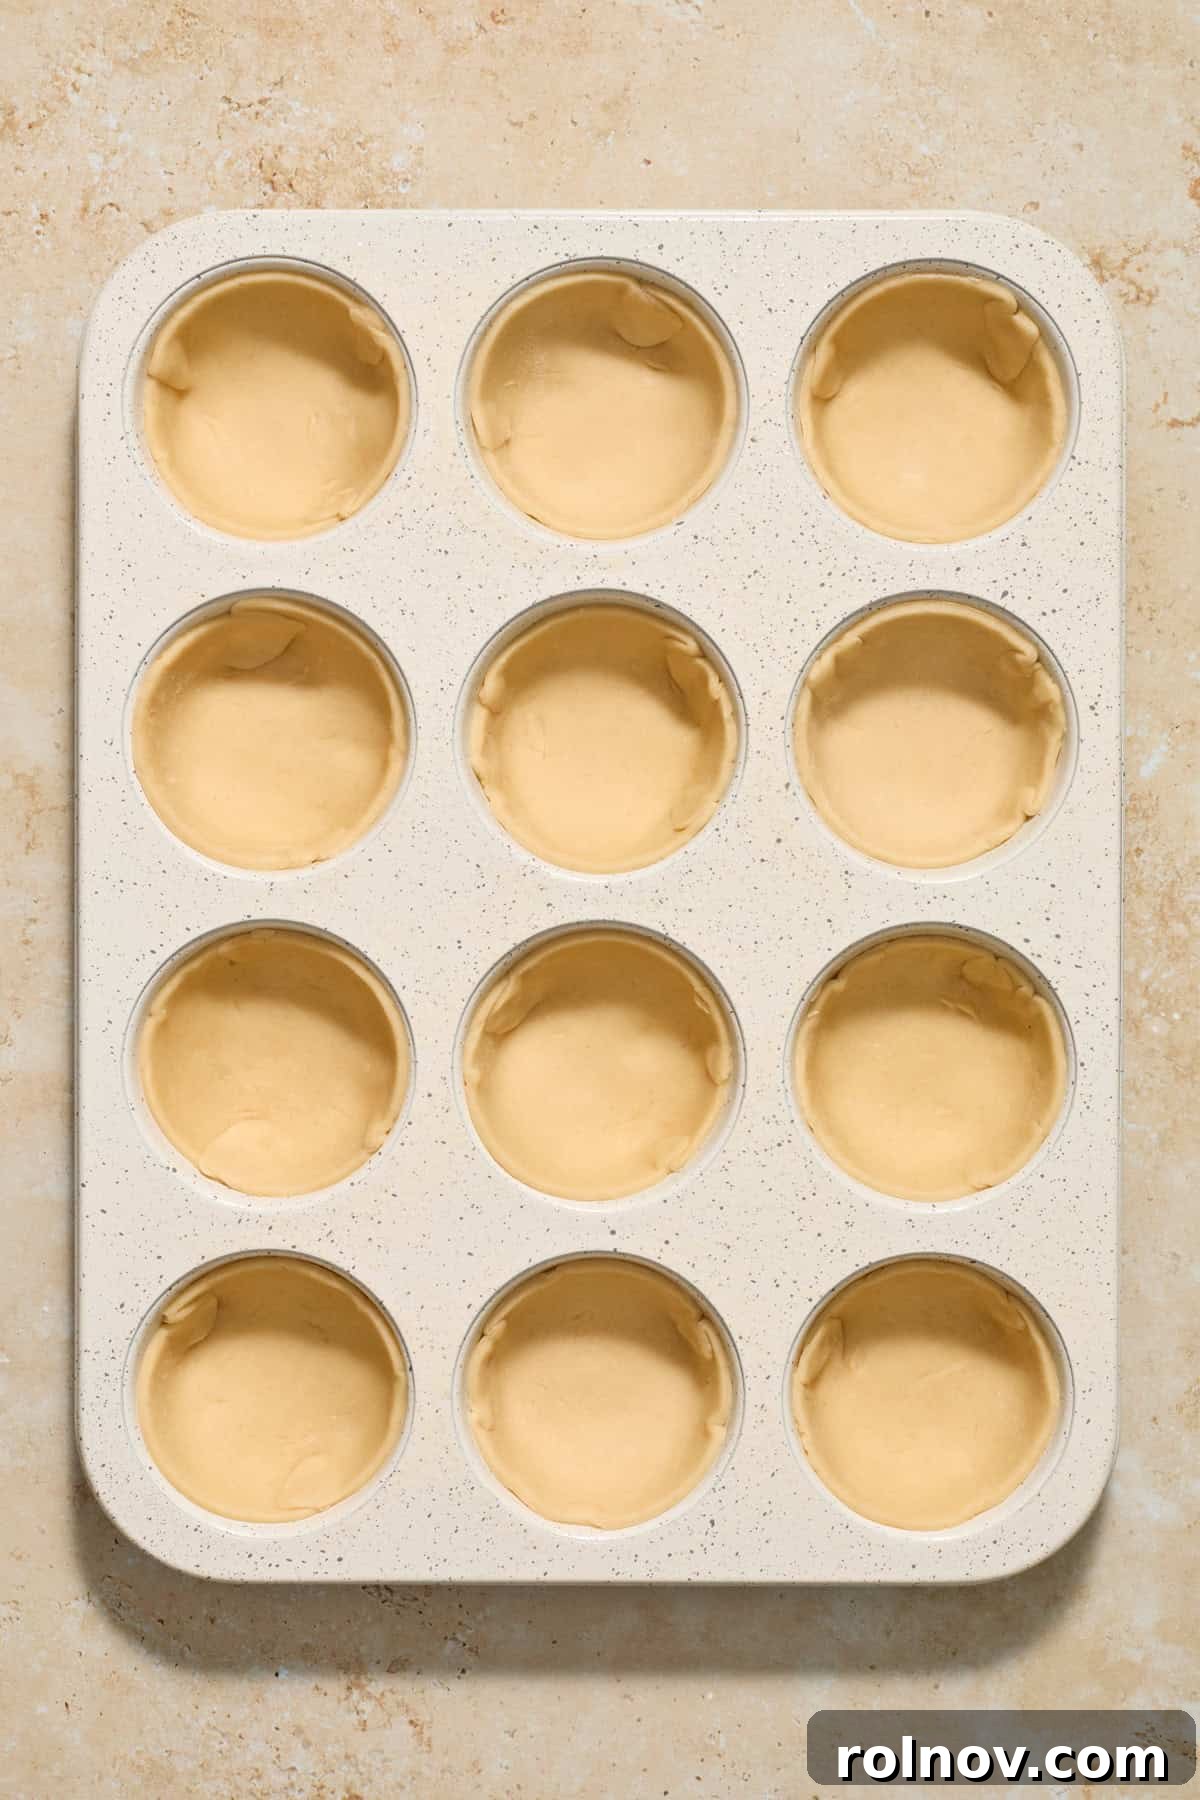
Step 4: Form Crusts in Muffin Tins. Lightly spray the muffin cavities of two standard 12-cup muffin tins with non-stick cooking spray. If you only have one muffin tin, you will need to bake in two batches. Carefully press each pie crust round into a muffin cavity, gently molding the dough to conform to the cup-like shape of the tin. Ensure the bottom and sides are evenly covered. If desired, you can create a decorative crimped edge around the top of each crust.
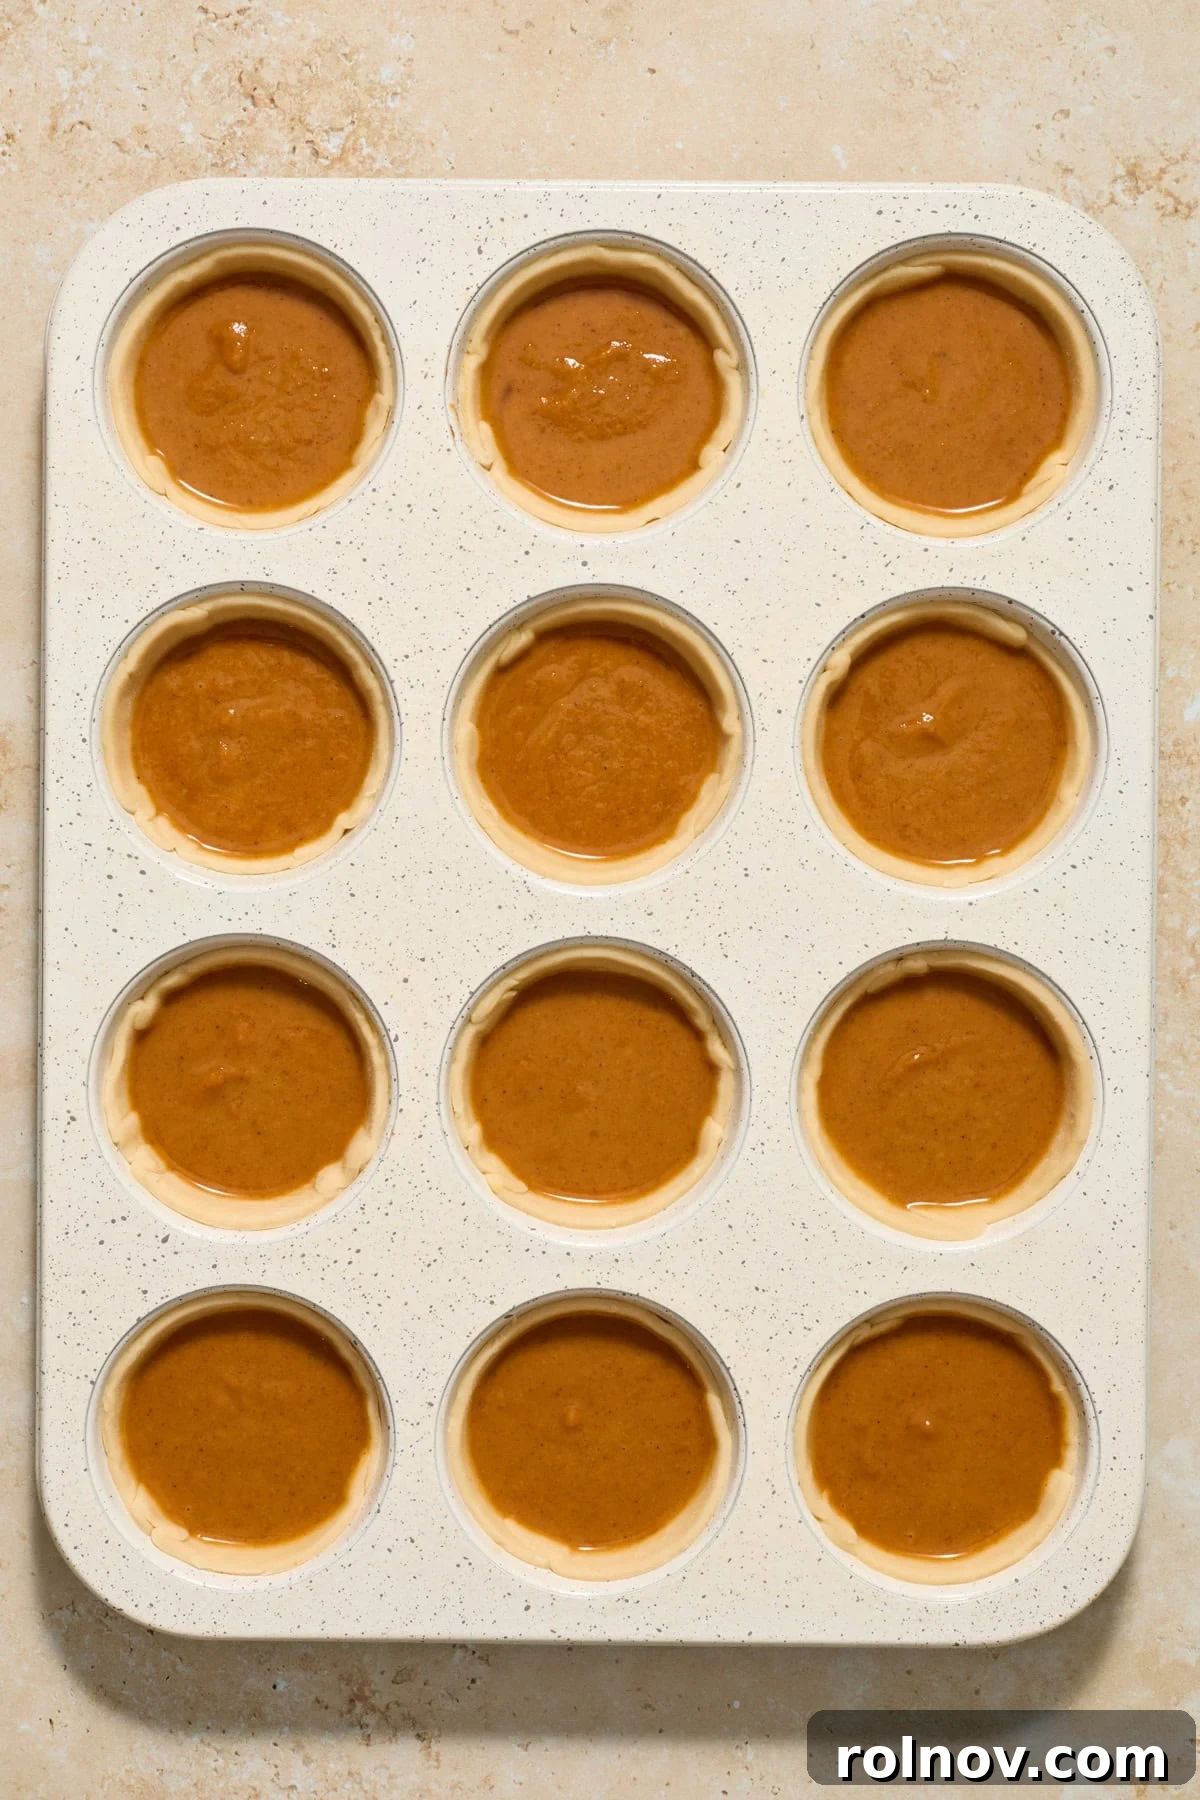
Step 5: Fill the Pies. Carefully spoon the prepared pumpkin pie filling evenly across all 18 (or 24, depending on your yield) pie crusts in the muffin tins. A good guideline is to use approximately 1 ½ to 2 tablespoons of filling per mini pie, making sure not to overfill them, as the filling will puff slightly during baking. Fill them nearly to the top.
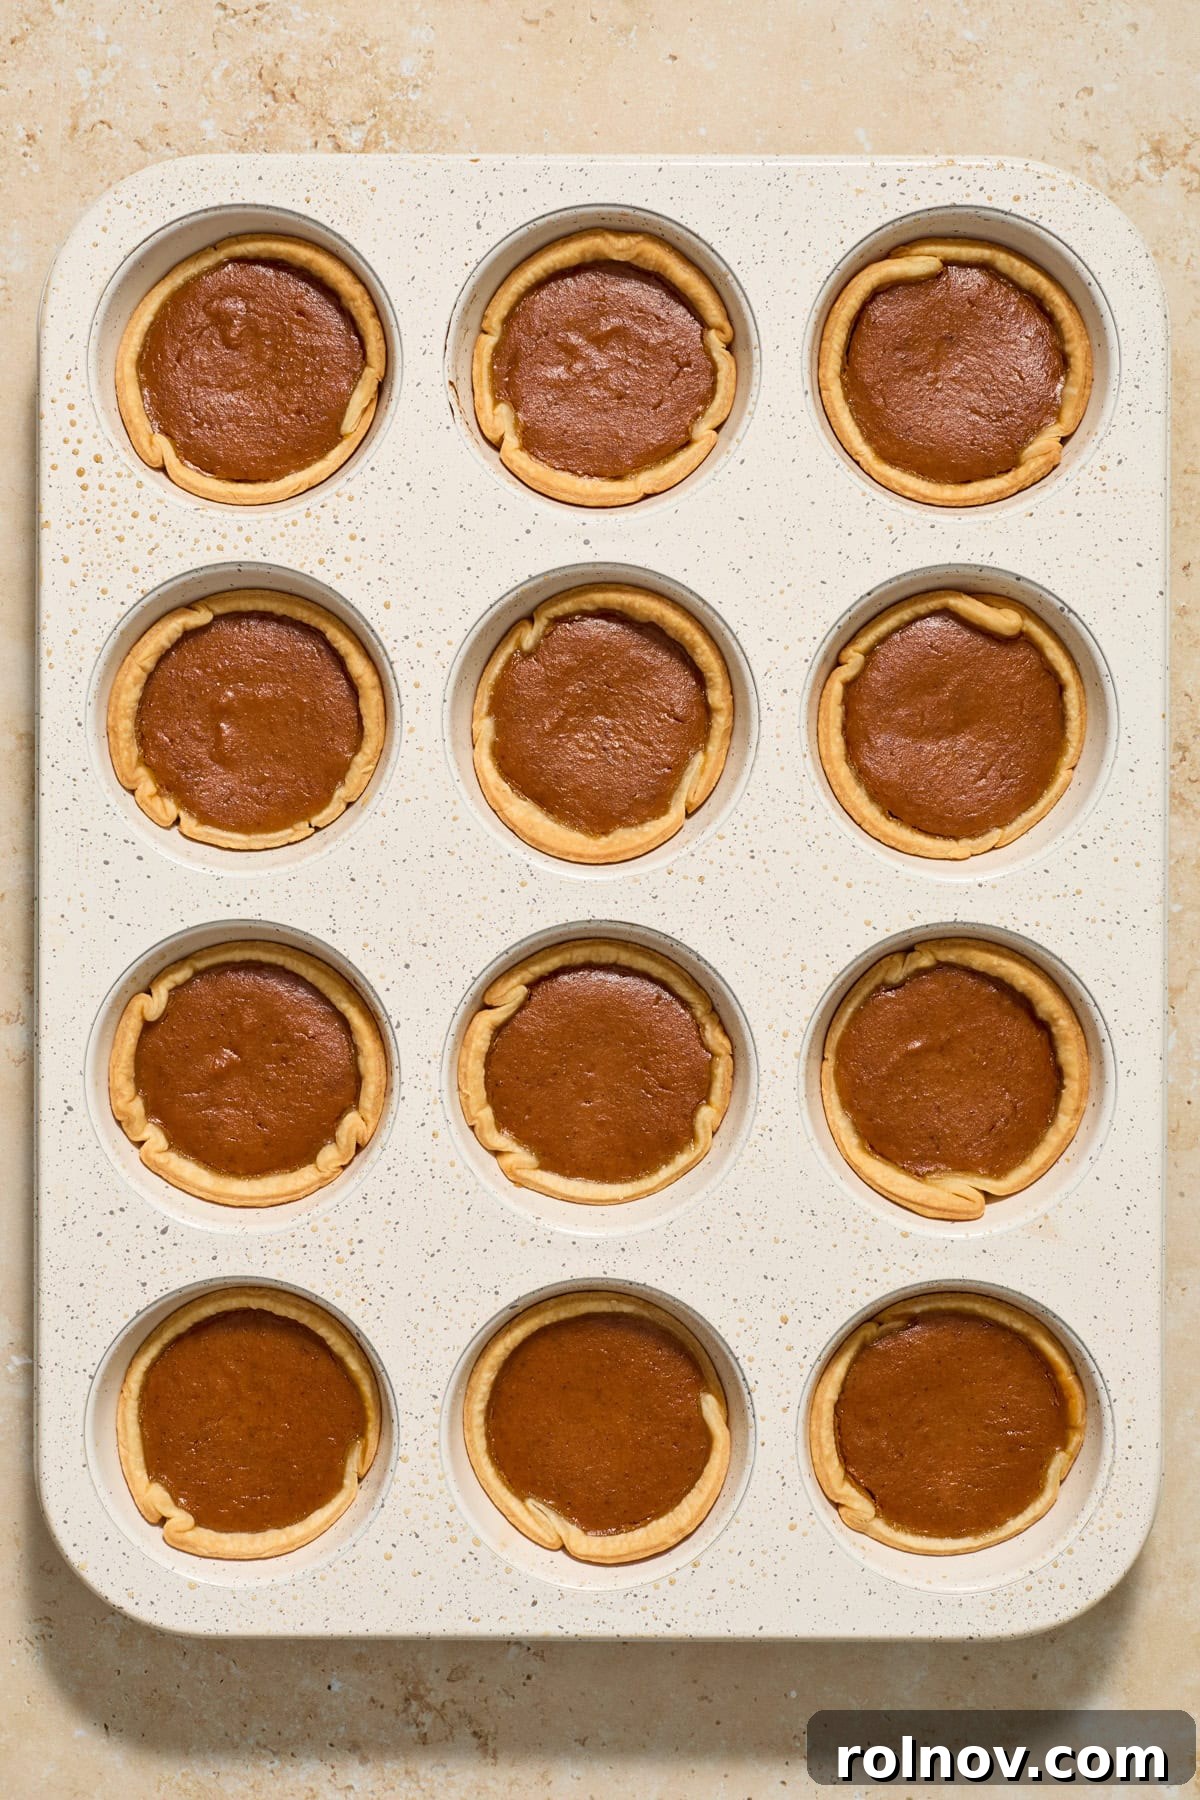
Step 6: Bake and Cool. Place the muffin tins on the middle rack of your preheated oven. Bake for approximately 25-30 minutes, or until the pie crusts are beautifully golden brown and the pumpkin filling is set. To check for doneness, gently shake a tin; the centers of the pies should no longer be liquid or wobbly. Remove the tins from the oven and let the mini pies cool in the muffin tins for about 10-15 minutes before carefully transferring them to a wire rack to cool completely. Cooling thoroughly is important for the filling to fully set.
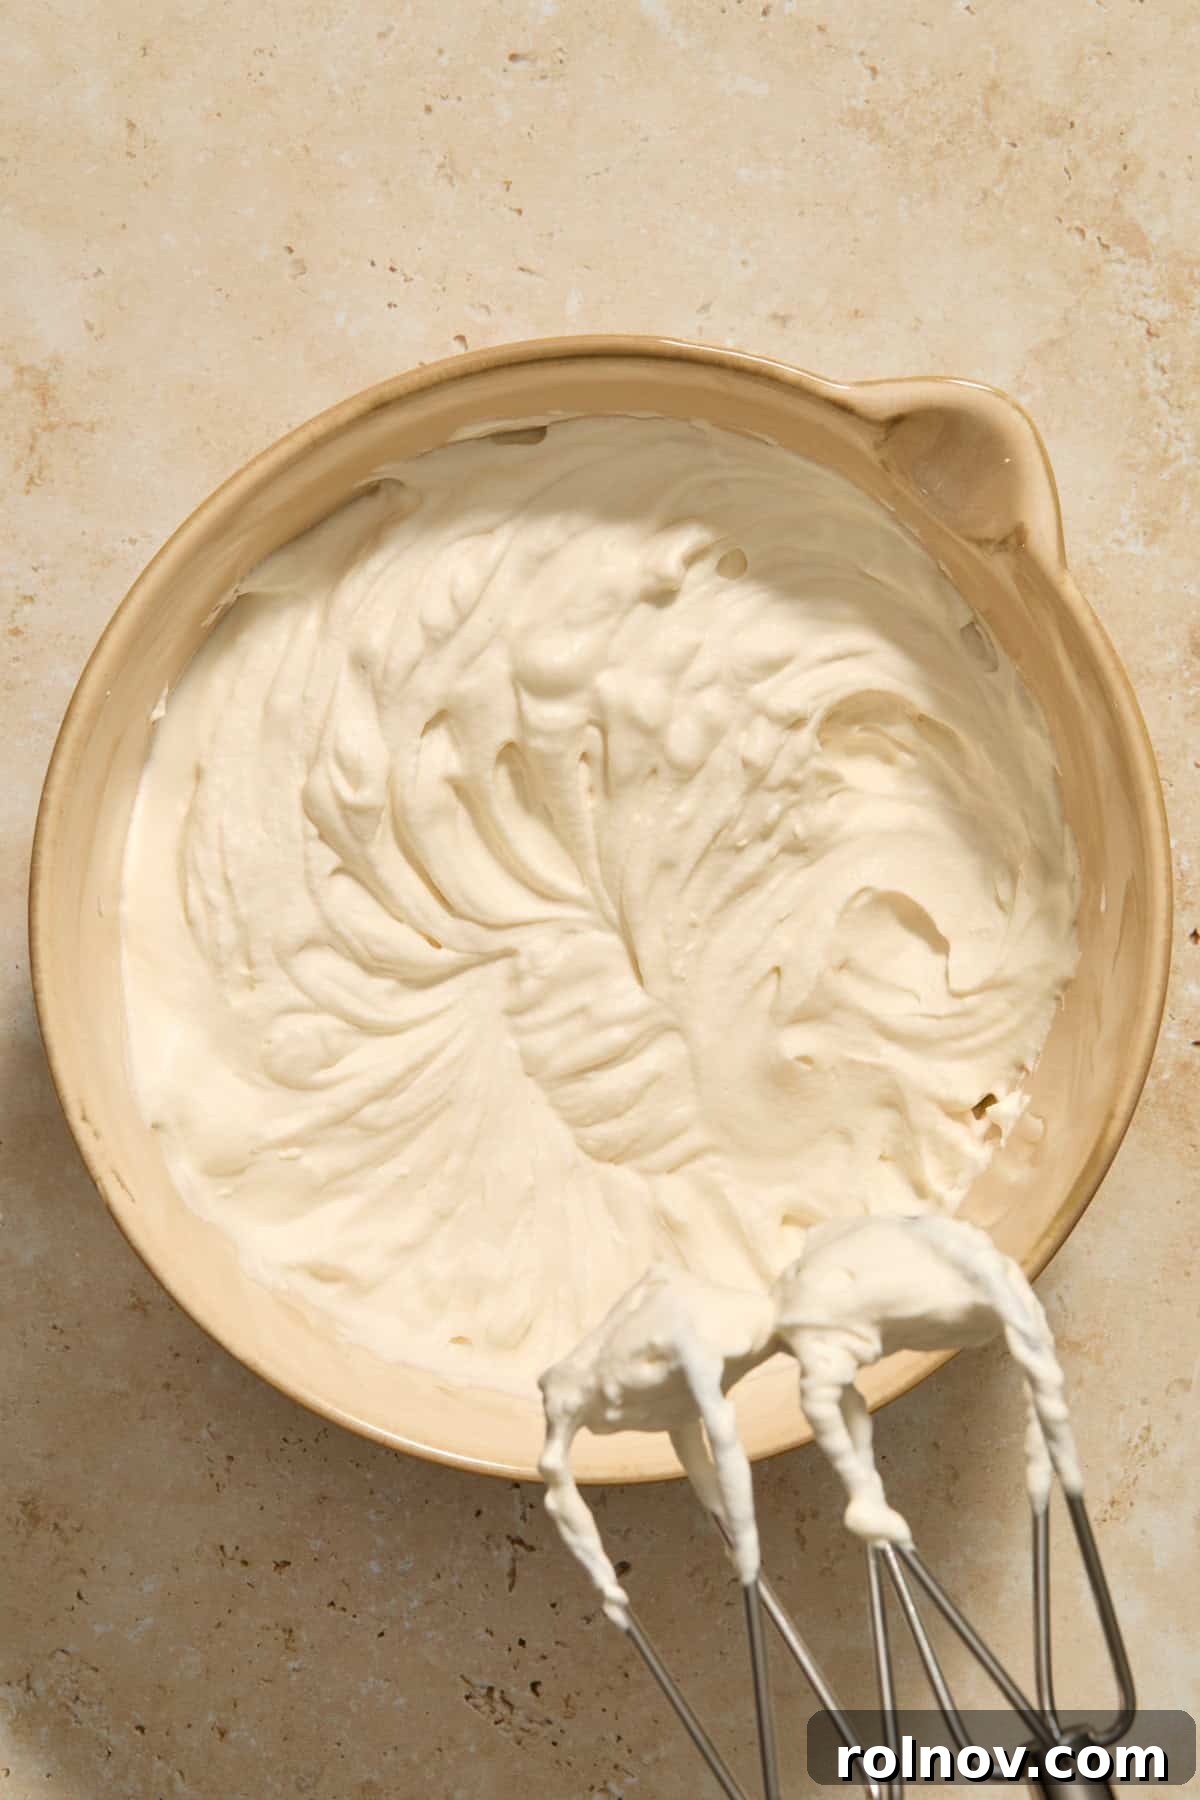
Step 7: Prepare Brown Sugar Whipped Cream. Just before serving, prepare the optional brown sugar whipped cream. In a chilled mixing bowl (preferably metal) with a chilled whisk attachment (for a stand mixer) or hand mixer beaters, combine the very cold heavy cream, powdered sugar, brown sugar, and vanilla extract. Beat on high speed for several minutes until stiff peaks form, indicating the whipped cream is firm and holds its shape.
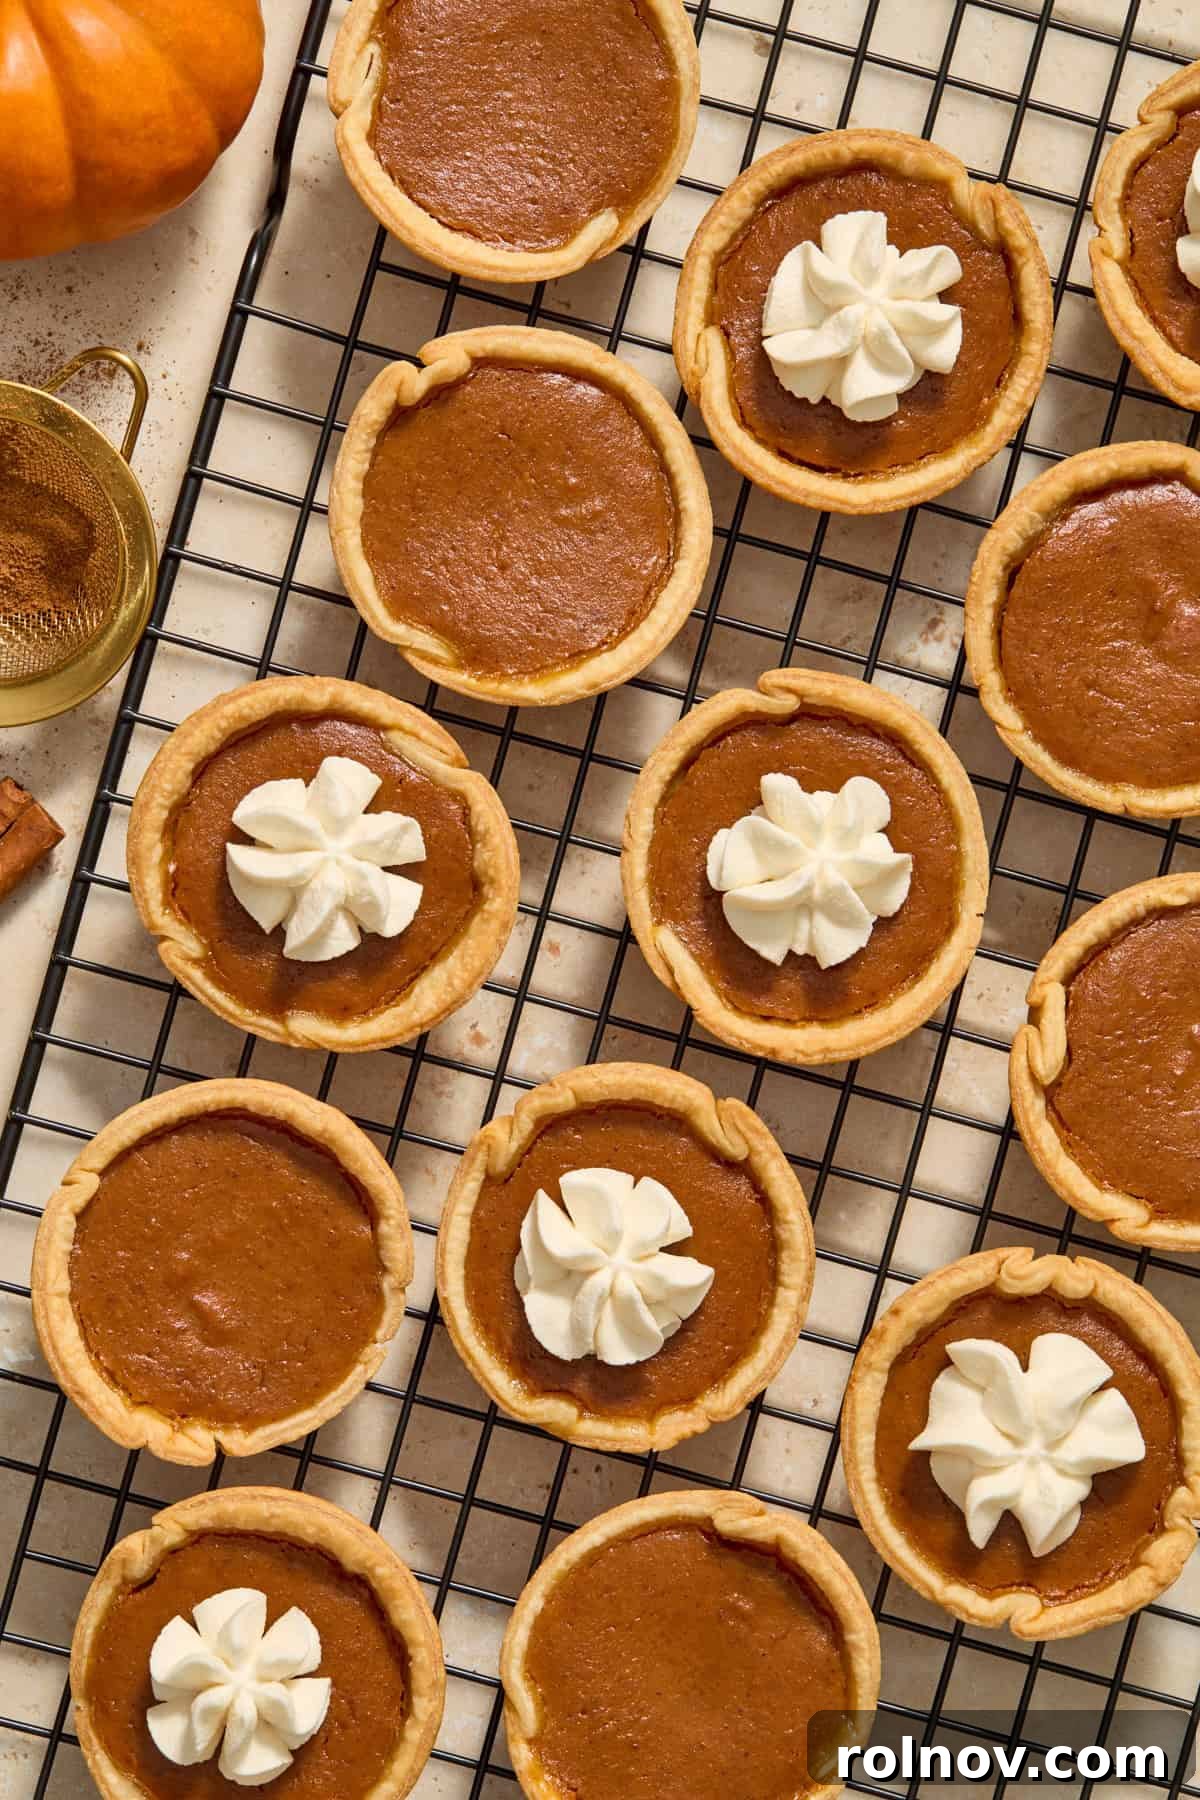
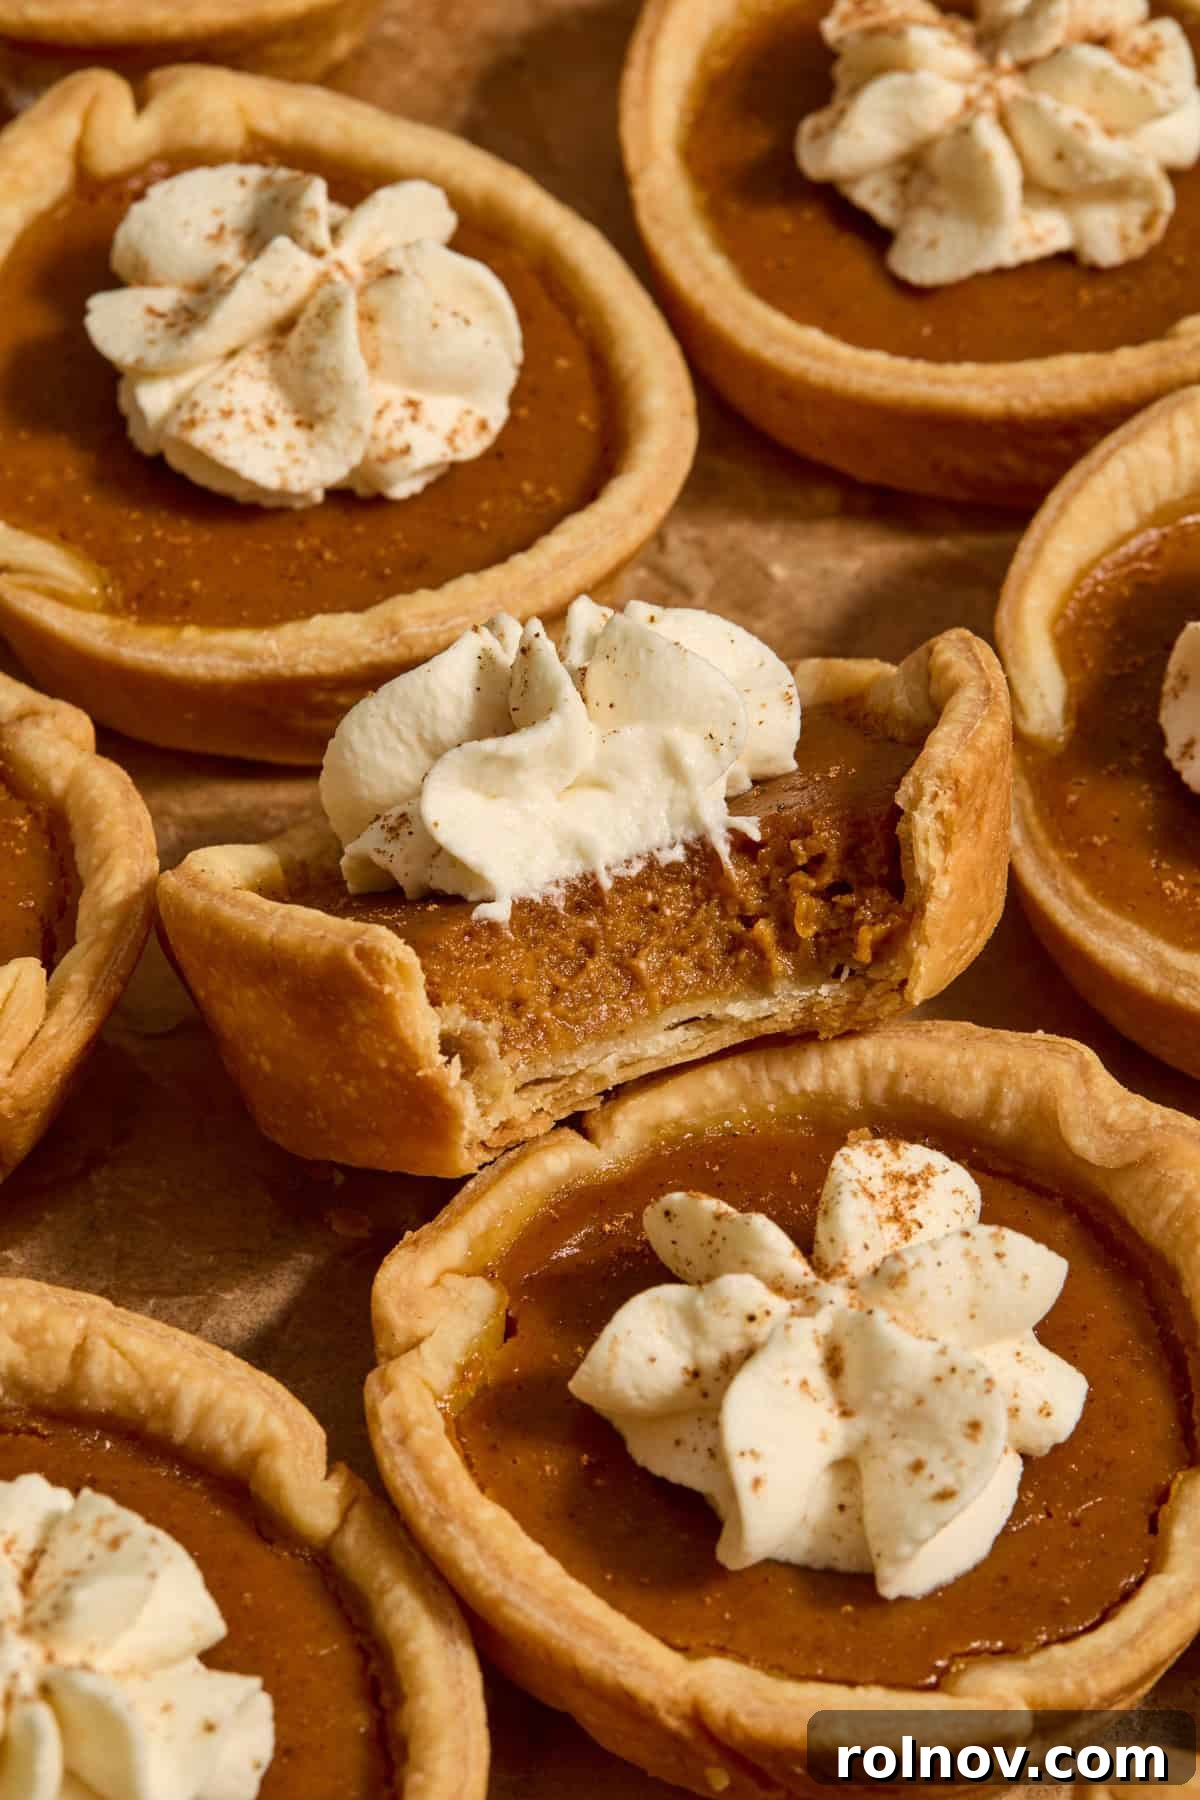
Step 8: Top and Serve. Once the mini pies have cooled completely, pipe or spoon a generous dollop of the freshly made brown sugar whipped cream onto the center of each pie. For an extra touch, you can lightly dust them with a sprinkle of cinnamon or a tiny garnish of nutmeg. Serve immediately and enjoy! Any leftover pies are best chilled in the refrigerator.
Pro Tips for Baking the Best Mini Pumpkin Pies
- Crust Thickness is Key: When rolling out your pie crusts, aim for a thickness slightly thinner than you might initially feel comfortable with, roughly 1/8 inch. As long as you can easily lift the dough from your work surface without tearing, you’re good. If the crust is rolled too thick, the pie-to-crust ratio can be unbalanced, resulting in a pie that’s too heavy on the pastry and less on the luscious filling. The precision in rolling out your dough will directly impact the total number of mini pies you get from this recipe.
- Preventing Soggy Crusts: A common pitfall for pies is a soggy bottom crust. To combat this, ensure your muffin tins are adequately greased before pressing in the pie rounds. You can also lightly brush the bottom of your crusts with a little egg white before filling and baking, which creates a barrier against moisture.
- Don’t Overmix the Filling: While you want a smooth filling, avoid overmixing once all ingredients are combined. Overmixing can incorporate too much air, leading to cracks in the pumpkin filling during baking. Mix just until smooth and uniform.
- Alternative to Homemade Whipped Cream: While homemade brown sugar whipped cream adds an exquisite touch, for even easier and quicker preparation, especially when you’re short on time, don’t hesitate to use a store-bought whipped cream in a can. It might not be quite the same as the homemade version, but it still provides a delicious and convenient topping that complements the pumpkin pies beautifully.
- Cooling is Crucial: Allow your mini pumpkin pies to cool completely on a wire rack before attempting to remove them from the muffin tin or adding whipped cream. This allows the filling to fully set and prevents the pies from collapsing or tearing.
- Even Baking: If you’re using multiple muffin tins, rotate them halfway through the baking time to ensure even browning and cooking.
Storage Recommendations for Optimal Freshness
Proper storage ensures your mini pumpkin pies remain fresh and delicious for longer:
- Refrigeration: Store these mini pies in an airtight container in the refrigerator for approximately 3-4 days. For the best taste and texture, it’s recommended to store them without the whipped cream. Add the brown sugar whipped cream just before serving. Allowing the refrigerated pies to sit at room temperature for about 10-15 minutes before serving can enhance their flavor and soften the crust slightly.
- Freezing for Longer Enjoyment: To freeze your mini pumpkin pies, first ensure they have cooled completely to room temperature. Then, arrange them in a single layer in an airtight freezer-safe container. If stacking layers, place a piece of parchment paper between each layer to prevent sticking. For optimal results, freeze the pies without any whipped cream topping. When you’re ready to enjoy them, thaw the frozen pies in the refrigerator overnight. Once thawed, you can add fresh whipped cream just before serving. Frozen pies can maintain their quality for up to 1-2 months.
More Delicious Pumpkin Recipes to Savor
Cookies
Pumpkin Spice Molasses Cookies
Fall Recipes
Cinnamon Streusel Pumpkin Coffee Cake
Fall Recipes
Pumpkin Whipped Cream
Fall Recipes
Pumpkin Chip Banana Bread
HUNGRY FOR MORE? Subscribe to my newsletter and follow me on Facebook, Instagram and Pinterest for all the latest recipes and culinary inspiration!
Mini Pumpkin Pies Recipe
By: Lorie Yarro
These quick and easy mini pumpkin pies are topped with brown sugar whipped cream and are the perfect handheld dessert this season. Less than 20 minutes to prep, perfect to make ahead of time to get something off the to-do list, and full of warm spices and pumpkin flavor. Option to use pre-made crust or your own–either is great!
Pin this recipe to save for later!
Pin Recipe
Print Recipe
Prep Time: 20 minutes
Cook Time: 25 minutes
Total Time: 50 minutes
Servings: 18 (this can vary based on crust thickness)
Ingredients
For the Crust:
- 2 refrigerated pie crusts (such as Pillsbury 14.1 oz. package), rolled into approx. 1/8-inch thickness, (or homemade crust)
For the Pumpkin Filling:
- 1 ¼ cup pumpkin purée (plain, not pie filling)
- ½ cup plus 2 Tbsp packed brown sugar
- 1 ½ tsp vanilla extract
- 1 tsp cinnamon
- 1 tsp pumpkin pie spice
- ½ cup evaporated milk
- 1 large egg, lightly beaten, room temperature
- ¼ tsp sea salt
Optional Brown Sugar Whipped Cream:
- 1 cup heavy cream, very cold
- 2 Tbsp powdered sugar
- 2 Tbsp brown sugar
- 1 tsp vanilla extract
Instructions
- Preheat oven to 350°F (175°C). Whisk together all of the pumpkin filling ingredients (pumpkin purée, brown sugar, vanilla extract, cinnamon, pumpkin pie spice, evaporated milk, egg, and sea salt) in a medium bowl until completely smooth and well combined.
- Roll one chilled pie crust out on a lightly floured surface to about 1/8 inch thickness. Using a 3 ½-inch cookie cutter or biscuit cutter, cut out approximately 9 rounds. Gather the scraps, roll again, and cut more rounds as needed. Repeat with the second pie crust to get a total of about 18 pie rounds.
- Lightly spray the muffin cavities of two standard muffin tins with oil (or work in batches if you only have one tin). Press each pie round into a muffin cavity, gently molding the dough into a cup-like shape. Spoon the pumpkin filling evenly across all the pie crusts, using about 1 ½ to 2 tablespoons per pie.
- Bake on the middle rack for about 25-30 minutes, or until the crust is golden brown and the pumpkin filling is set (a gentle jiggle should show no liquid center). Remove from the oven and let cool in the muffin tins for 10-15 minutes before transferring to a wire rack to cool completely.
- Before serving, prepare the brown sugar whipped cream. In a chilled bowl, beat the very cold heavy cream, powdered sugar, brown sugar, and vanilla extract together for several minutes until stiff peaks form. Pipe or spoon a dollop onto each cooled mini pie. Enjoy immediately. Chill any leftovers.
Notes
- Storage: Refrigerate these mini pies for about 3-4 days in an airtight container. They are best stored without the whipped cream – add the whipped cream just before serving. Allow them to sit out for about 10-15 minutes before serving for optimal flavor.
- To freeze: Ensure the pies are cooled completely. Place them in an airtight container, using parchment paper to separate layers if stacking. Freeze without whipped cream for best results. Thaw in the refrigerator overnight before serving and adding whipped cream.
- Crust Thickness Tip: Roll the pie crust out a touch thinner than you might initially think, aiming for about 1/8 inch. This prevents an overly thick crust that can overwhelm the filling. The exact number of pies will vary based on your rolling thickness.
- Whipped Cream Shortcut: For even easier and quicker prep, you can opt for store-bought whipped cream. While not the same as homemade, it’s still a delicious and convenient topping!
Nutrition Information (Approximation per serving)
Calories: 184kcal
Carbohydrates: 20g
Protein: 3g
Fat: 11g
Saturated Fat: 5g
Polyunsaturated Fat: 1g
Monounsaturated Fat: 4g
Trans Fat: 0.001g
Cholesterol: 26mg
Sodium: 95mg
Potassium: 102mg
Fiber: 1g
Sugar: 10g
Vitamin A: 2873IU
Vitamin C: 1mg
Calcium: 44mg
Iron: 1mg
Nutrition information is automatically calculated and should only be used as an approximation.
Did you enjoy this recipe? Have a question? Leave a comment below!
Shop Essential Baking Tools
Equip your kitchen with these helpful items to make baking your mini pumpkin pies even easier:
Biscuit Cutters
Perfect for cutting uniform pie crust rounds for your mini pies.
Buy Now →
Rolling Pin
An essential tool for evenly rolling out pie crusts to the perfect thickness.
Buy Now →
Muffin Pan
The ideal pan for baking individual mini pies to golden perfection.
Buy Now →
Mixing Bowls
A set of sturdy mixing bowls is indispensable for preparing your pumpkin filling and whipped cream.
Buy Now →