
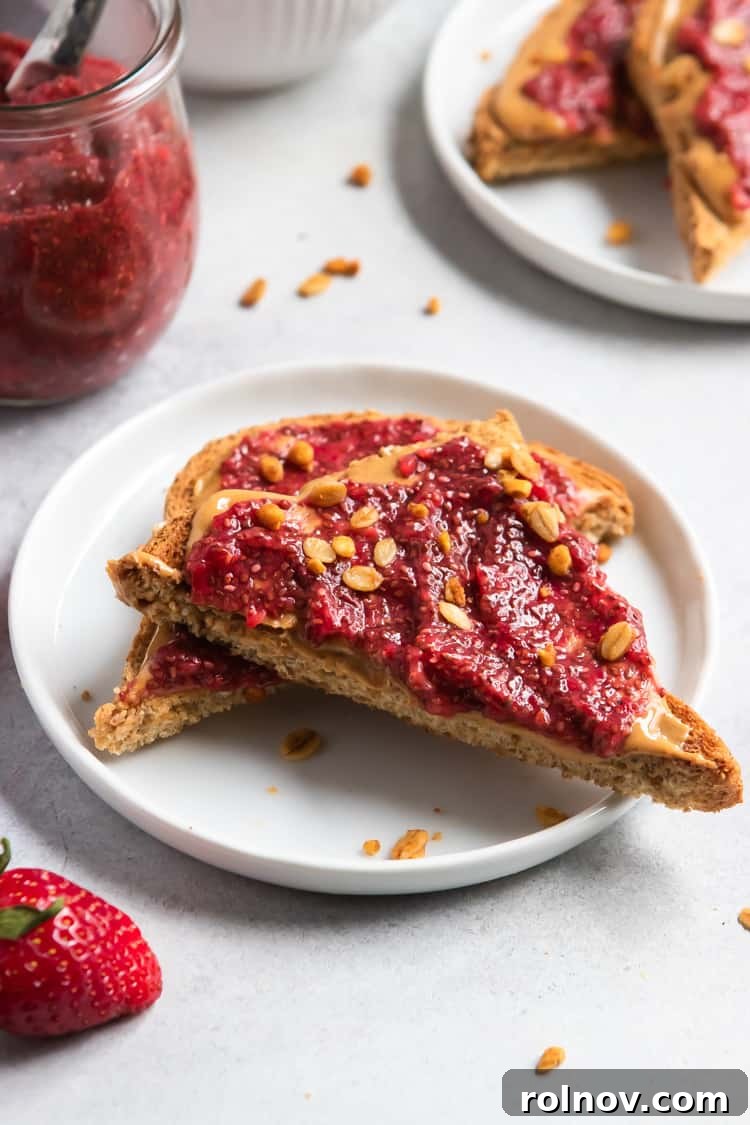
Embark on a culinary journey with this incredibly simple homemade vegan Strawberry Chia Jam recipe. Requiring no cooking and just 5 minutes of active preparation, this delightful spread is a wholesome and flavorful addition to virtually any meal. Sweetened naturally with maple syrup and bursting with the vibrant taste and chunky texture of real strawberries, it’s a wholesome treat the whole family will adore. Say goodbye to store-bought jams filled with artificial ingredients and hello to fresh, homemade goodness!
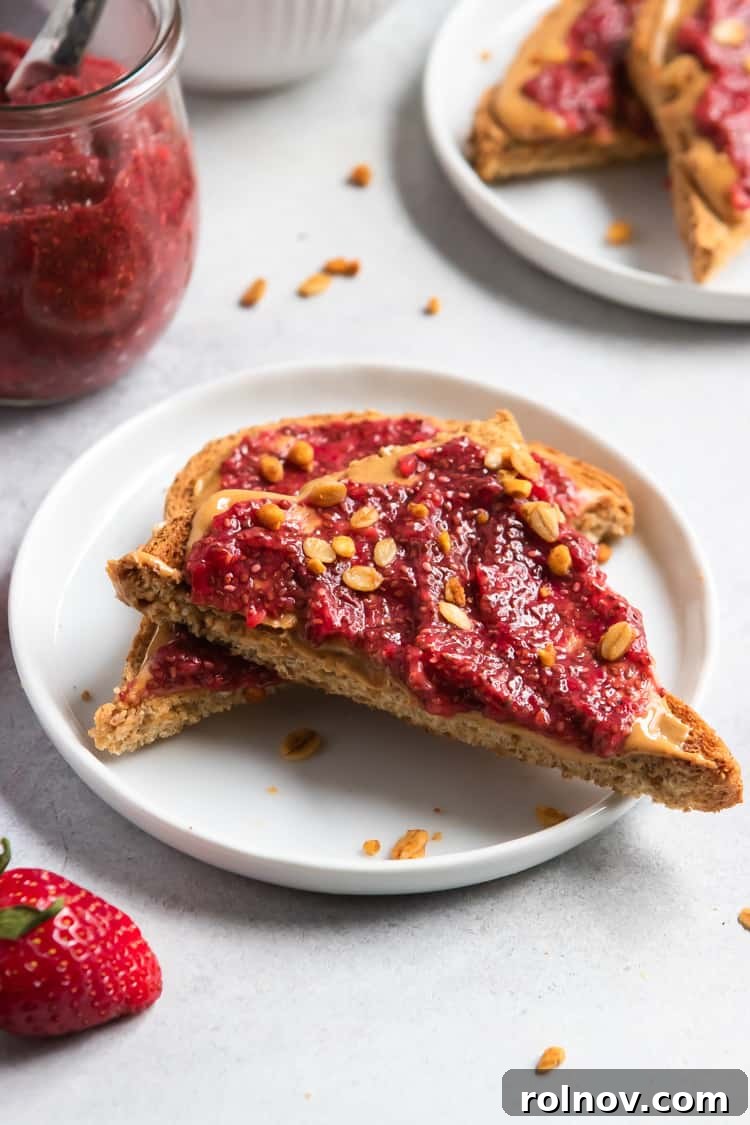
If the thought of making homemade jam feels daunting or overly complicated, prepare to have your mind changed. Many believe jam-making is a laborious process involving endless stirring and precise pectin measurements, but this recipe proves otherwise.
Thanks to the magic of chia seeds, luscious strawberries, a touch of maple syrup, and just 5 minutes of your time, you can create a perfectly set, deliciously sweet, and genuinely homemade vegan strawberry chia jam. It’s a game-changer for anyone seeking healthy, easy, and flavorful pantry staples.
Here in our kitchen, this strawberry chia jam, alongside its equally delightful blueberry lemon counterpart, is a constant fixture. Once you experience its freshness and simplicity, you’ll understand why it quickly becomes a family favorite!
Why You Will Fall in Love with This Easy Chia Jam:
There are countless reasons to adore this quick and healthy strawberry chia jam. From its effortless preparation to its incredible versatility, it’s a recipe that truly delivers on all fronts:
- Unbelievably Simple to Make: Forget the simmering pots and sticky clean-up of traditional jams. This recipe is a genuine “no-cook” wonder. With less than 5 minutes of hands-on prep, you simply mash your strawberries, stir in the remaining ingredients, and let the refrigerator do the rest. It’s truly that easy – perfect for busy mornings or spontaneous cravings!
- Minimal Ingredients, Maximum Flavor: You only need four core ingredients to create this vibrant jam: fresh or frozen strawberries, chia seeds, a natural sweetener like maple syrup, and a squeeze of fresh lemon juice. This minimalist approach not only keeps things simple but also allows the natural, sweet-tart flavor of the strawberries to shine through beautifully.
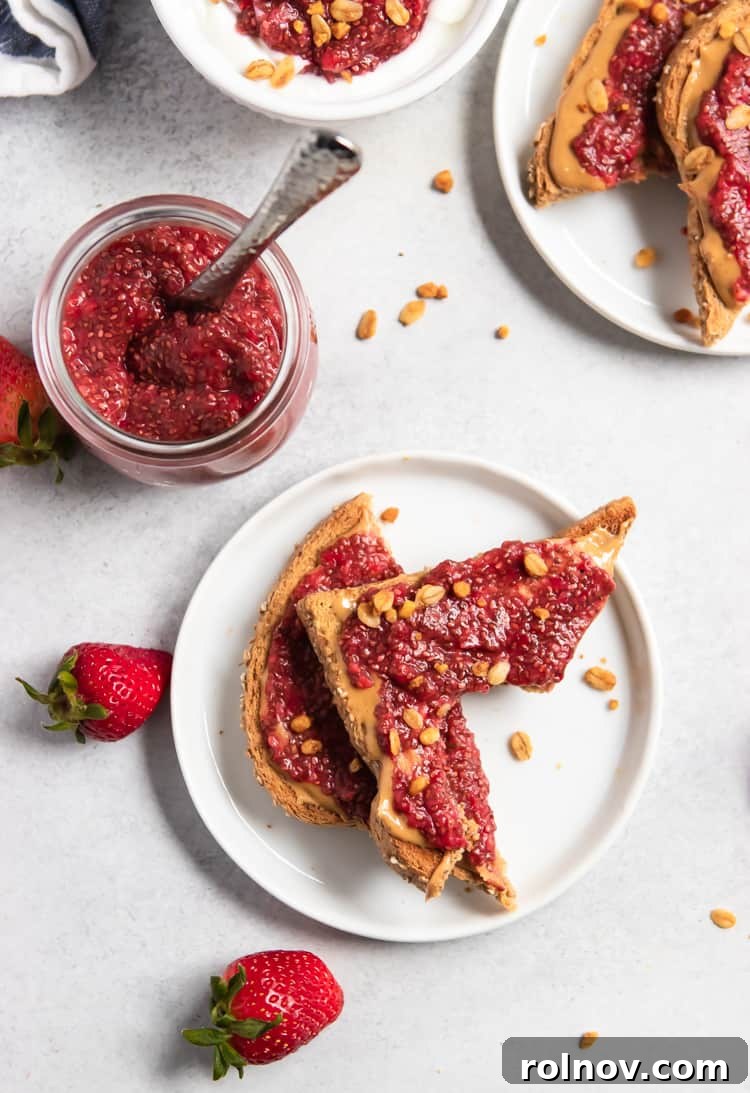
- Incredibly Versatile for Any Occasion: This homemade jam isn’t just for toast (though it’s absolutely divine on a slice of warm, buttery bread!). Its uses are endless: swirl it into your morning yogurt or oatmeal, spread it generously on a classic peanut butter and jelly sandwich, use it as a topping for pancakes, waffles, or even ice cream, incorporate it into thumbprint cookies, or add a fruity twist to smoothies. Its adaptability makes it a kitchen staple.
- Naturally Healthy and Wholesome: Unlike many store-bought jams packed with refined sugars and artificial additives, this chia jam is sweetened naturally with maple syrup. Chia seeds themselves are a nutritional powerhouse, contributing fiber, omega-3 fatty acids, and protein, making this a healthy choice you can feel good about serving your family. It’s also naturally vegan, gluten-free, and suitable for a variety of dietary preferences.
- Customizable to Your Taste: Whether you prefer a sweeter jam or a more tart spread, a chunky texture or something perfectly smooth, this recipe is easily adaptable. You have full control over the sweetness level and the consistency of your jam, ensuring it always meets your exact preferences.
The Magical Role of Chia Seeds in Jam Making
Chia seeds are the unsung heroes of this no-cook jam recipe, completely transforming the traditional jam-making process. Their remarkable properties eliminate the need for lengthy cooking or the addition of pectin, which is typically used to achieve that characteristic gel-like consistency in conventional jams.
So, why chia seeds? These tiny powerhouses act as an incredibly efficient natural thickening agent. When exposed to liquid, chia seeds have an extraordinary ability to absorb up to 12 times their weight, forming a gel-like texture around each seed. This natural gelling process is what transforms your mashed fruit and sweetener into a thick, spreadable jam without any heat or additional gelling agents.
Beyond their functional role, chia seeds also bring a wealth of nutritional benefits to the table. They are an excellent source of dietary fiber, promoting digestive health and making this jam more satisfying. They’re also packed with omega-3 fatty acids, which are crucial for heart health and brain function, as well as protein, antioxidants, and essential minerals like calcium and magnesium. This means you’re not just making a delicious spread; you’re creating a nutrient-dense superfood that actively contributes to your well-being.
This natural thickening capability makes for a perfect, healthy fruit spread that requires minimal effort and delivers maximum flavor and nutritional value. It’s a simple, ingenious way to enjoy homemade jam without the fuss!
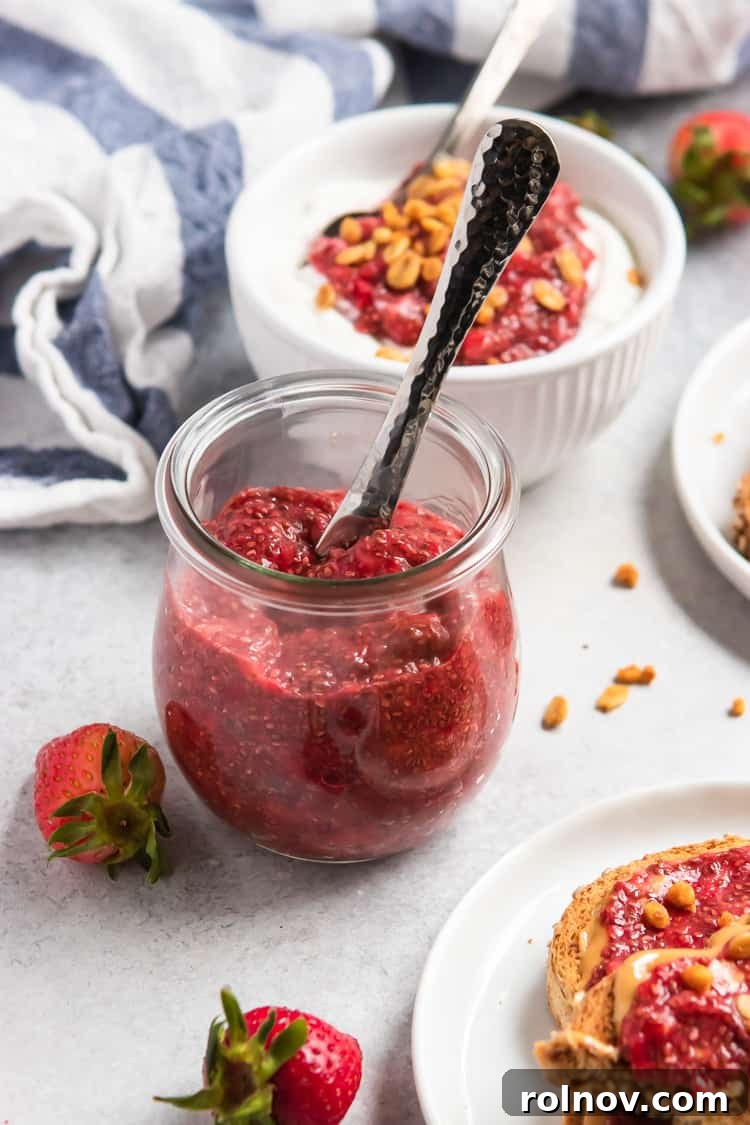
Essential Ingredients and Creative Swaps for Your Chia Jam
Crafting this simple strawberry chia jam requires just a handful of ingredients, most of which you likely already have on hand. The beauty of this recipe lies in its flexibility, allowing for easy substitutions and variations to suit your taste and what’s available.
- Strawberries: The star of our jam! You can use either fresh or frozen strawberries with equally delicious results. If using frozen berries, it’s highly recommended to thaw them completely first. This helps them break down more easily and prevents excess water from making your jam too thin. When choosing fresh strawberries, opt for ripe, fragrant berries for the best flavor. While strawberries are fantastic, feel free to experiment with other berries like blueberries, raspberries, or blackberries. A delightful mixed berry jam is also an excellent option if you have a variety of fruits on hand.
- Maple Syrup: This is our preferred natural sweetener, offering a lovely depth of flavor that complements the strawberries beautifully, along with being a vegan-friendly option. Its liquid consistency also blends seamlessly into the jam. However, you can certainly use your favorite sweetener. Granulated sugar (adjusting for sweetness and ensuring it dissolves well) or honey (for a non-vegan option) are good alternatives. For a sugar-free version, consider a small amount of stevia or erythritol, but be mindful of the flavor impact and adjust to taste.
- Chia Seeds: These are non-negotiable for their thickening power! Any kind of chia seeds will work – whether they are black or white, their gelling properties remain the same. Ensure they are fresh to guarantee optimal absorption.
- Lemon Juice: A splash of lemon juice is crucial for two reasons: it brightens the flavor of the strawberries, adding a lovely tart counterpoint to the sweetness, and it also acts as a natural preservative, helping the jam stay fresh longer. Freshly squeezed lemon juice is always my preference for its vibrant taste, but bottled lemon juice can be used in a pinch.
Don’t be afraid to get creative! A tiny pinch of vanilla extract or a hint of cinnamon can add another layer of complexity to your jam. Consider adding a small amount of orange zest for an extra citrusy kick if you’re feeling adventurous.
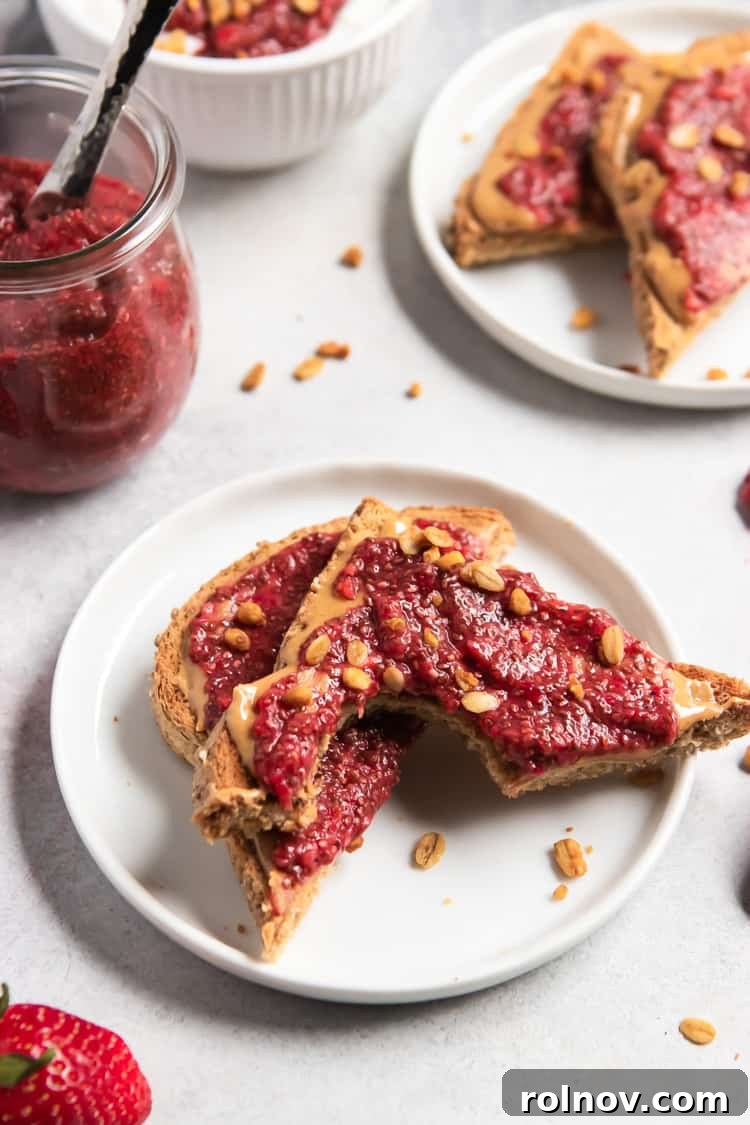
Step-by-Step Guide: Crafting the Perfect Strawberry Chia Jam
Making this strawberry chia jam is incredibly straightforward, proving that homemade doesn’t have to mean complicated. Follow these simple steps for a perfect batch every time:
- Prepare the Strawberries: Begin by washing your strawberries thoroughly and removing their stems. If using fresh berries, you can simply add them to your food processor. If you’re using frozen strawberries, make sure they are completely thawed before proceeding. This is important for achieving the desired consistency and preventing excess water from diluting your jam.
- Process for Desired Texture: Transfer the prepared strawberries to a food processor. Pulse the strawberries until they reach your desired consistency. If you love a jam with visible fruit pieces and a delightful chunky texture, pulse gently and avoid over-processing. If you prefer a smoother, more spreadable jam, process for a bit longer until it’s nearly pureed. Remember, you’re in control of the texture here, so process to your personal preference.
- Combine Ingredients: Once the strawberries are processed, transfer them to a small mixing bowl. Add the chia seeds, fresh lemon juice, and maple syrup (or your chosen sweetener). Stir all the ingredients together thoroughly with a spoon or spatula until everything is well combined. Make sure there are no clumps of chia seeds.
- Adjust Sweetness to Taste: At this stage, it’s a good idea to taste a small spoonful of the mixture. Depending on the sweetness of your strawberries and your personal preference, you may want to add a little more maple syrup. Add it gradually, stirring well after each addition, until the jam is perfectly balanced for your palate.
- Chill to Thicken: Transfer the mixture into a clean glass container with an airtight lid. This could be a mason jar or any other suitable container. Cover it tightly and place it in the refrigerator. The magic happens during this chilling period! The chia seeds will slowly absorb the liquid and expand, thickening the mixture into a jam-like consistency. This process typically takes about 2 to 4 hours. For best results and optimal thickness, I recommend allowing it to chill for at least 4 hours, or even overnight.
- Serve and Enjoy: Once fully chilled and thickened, your homemade strawberry chia jam is ready to enjoy! Serve it generously on your favorite toast, swirl it into creamy yogurt, stir it into hot oatmeal, or use it in any of the countless ways you desire.
It’s that simple! In just a few easy steps, you’ll have a fresh, healthy, and delicious homemade jam that tastes infinitely better than anything from the store.
Expert Tips for the Best Strawberry Chia Jam Every Time
While this strawberry chia jam recipe is incredibly forgiving, a few expert tips can help you achieve perfect results and make your experience even more enjoyable:
- Achieving the Perfect Thickness: If, after chilling for a few hours, your strawberry chia jam seems a little too thin for your liking, don’t worry! This is an easy fix. Simply stir in an additional teaspoon or two of chia seeds into the mixture. Give it another good stir to ensure the seeds are evenly distributed, and then return it to the refrigerator for at least another hour. The extra chia seeds will continue to absorb liquid, helping your jam reach that ideal spreadable consistency.
- Customizing Sweetness: The sweetness level of your jam can greatly depend on the ripeness of your strawberries and your personal preference. When adding your maple syrup, I recommend starting with half the amount suggested in the recipe. Stir it in, taste, and then slowly add more, a teaspoon at a time, until you reach your perfect balance of sweet and tart. It’s much easier to add more sweetness than to try and reduce it!
- Embrace Berry Variety: While strawberries are fantastic, this recipe is incredibly versatile and works wonderfully with almost any berry. Feel free to use blueberries, raspberries, blackberries, or even a mix of your favorite seasonal berries. Each berry will lend its unique flavor profile to the jam, opening up a world of delicious possibilities.
- Storage and Shelf Life: Store your homemade chia jam in an airtight container in the refrigerator. It will typically last for up to 1-2 weeks. Due to the lack of traditional canning methods and preservatives, it’s best enjoyed fresh.
- Freezing for Longer Storage: If you’ve made a large batch or want to enjoy this jam for longer, it freezes beautifully! Transfer the jam to freezer-safe containers, leaving a little headspace as it may expand slightly. It can be stored in the freezer for up to 2-3 months. Thaw it in the refrigerator overnight before use.
- Don’t Over-Process for Flavor: While it’s tempting to puree the strawberries completely, leaving some small chunks of fruit in the jam provides a wonderful texture and burst of fresh berry flavor. It also gives the jam a more rustic, homemade appeal.
- Using Ripe Fruit: The ripeness of your strawberries (or any fruit you choose) dramatically impacts the final flavor of your jam. Super ripe, fragrant berries will yield a naturally sweeter and more flavorful jam, potentially requiring less added sweetener.
Creative Ways to Enjoy Your Homemade Strawberry Chia Jam:
This versatile jam goes far beyond simple toast. Here are even more ideas to inspire you:
- Breakfast Booster: Stir into overnight oats, top Greek yogurt parfaits, or dollop on your favorite granola.
- Baked Goods: Use as a filling for muffins, tarts, or even a simple layer cake.
- Dessert Topping: Spoon over ice cream, cheesecake, or panna cotta.
- Savory Pairings: Believe it or not, a dollop of strawberry jam can be delicious with creamy cheeses on a charcuterie board or as a glaze for pork.
- Drinks: Stir a spoonful into sparkling water for a refreshing fruity drink or add it to cocktails.
Discover More Delicious Chia Seed Creations:
If you’ve fallen in love with the simplicity and health benefits of chia seeds in this jam, you’ll be thrilled to explore these other fantastic recipes that incorporate this superfood:
- Creamy Banana Chia Pudding: A delightful and nutritious breakfast or snack, combining the natural sweetness of bananas with the wholesome goodness of chia seeds.
- Vibrant Strawberry Coconut Chia Pudding: Indulge in a tropical twist with fresh strawberries and creamy coconut milk, perfectly thickened with chia for a refreshing treat.
- Wholesome Blueberry Chia Crumble Bars: A perfect grab-and-go snack or dessert, featuring a fruity blueberry chia filling nestled between a buttery crumble topping.
- Decadent Almond Joy Pudding: Experience the classic candy bar flavors in a healthy pudding form, made rich and creamy with chia seeds.
- Luxurious Creamy Coconut Chip Chia Pudding: A delightful blend of coconut, chocolate chips, and chia, creating a satisfyingly rich and guilt-free treat.
Craving more wholesome and delicious recipes? Be sure to subscribe to my newsletter for the latest culinary inspirations and follow me on Facebook, Instagram, and Pinterest for daily food adventures and tips!
Strawberry Chia Jam Recipe
Lorie Yarro
5 minutes
4 hours
4 hours
5 minutes
12
Ingredients
- 16 oz. fresh strawberries, stems removed
- juice of 1/2 of a lemon
- 3 T chia seeds
- 2-3 T maple syrup , or your favorite sweetener, to taste
Instructions
-
In a food processor, pulse the fresh or thawed strawberries to puree. For a chunky jam with real fruit pieces, pulse gently. For a smoother consistency, process until nearly smooth.
-
Pour the processed strawberries into a small mixing bowl. Stir in the lemon juice, maple syrup, and chia seeds until all ingredients are well combined.
-
Taste the mixture and adjust the sweetness as needed by adding more maple syrup, one teaspoon at a time, until it reaches your desired flavor.
-
Transfer the jam mixture to a clean glass container with an airtight lid (such as a mason jar).
-
Cover the container and refrigerate for about 2-4 hours, or until the chia seeds have fully expanded and the jam has thickened to a desired spreadable consistency. For best results, chill overnight.
-
Enjoy your homemade strawberry chia jam on toast, swirled into yogurt, mixed with oatmeal, or straight from the jar!
Notes
- If your strawberry chia seed jam appears too thin after chilling for several hours, you can easily add a bit more chia seeds to the mixture. Stir well and allow it to chill for another hour or two to achieve your preferred thickness.
- Always adjust the sweetness of this jam recipe to your personal preference. Start with the lower amount of maple syrup, taste, and then gradually add more until the flavor is perfectly balanced.
- This versatile recipe works beautifully with almost any type of berry! Feel free to substitute strawberries with blueberries, raspberries, blackberries, or a delightful mixed berry blend.
- Store the jam in an airtight container in the refrigerator for up to 1-2 weeks. For longer storage, freeze the jam for up to 2-3 months.
Nutrition
Carbohydrates: 6g,
Protein: 1g,
Fat: 1g,
Saturated Fat: 1g,
Trans Fat: 1g,
Sodium: 1mg,
Potassium: 78mg,
Fiber: 2g,
Sugar: 4g,
Vitamin A: 6IU,
Vitamin C: 22mg,
Calcium: 29mg,
Iron: 1mg
Nutrition information is automatically calculated, so should only be used as an approximation.
Did you enjoy this recipe? Have a question?
Leave a comment below!