
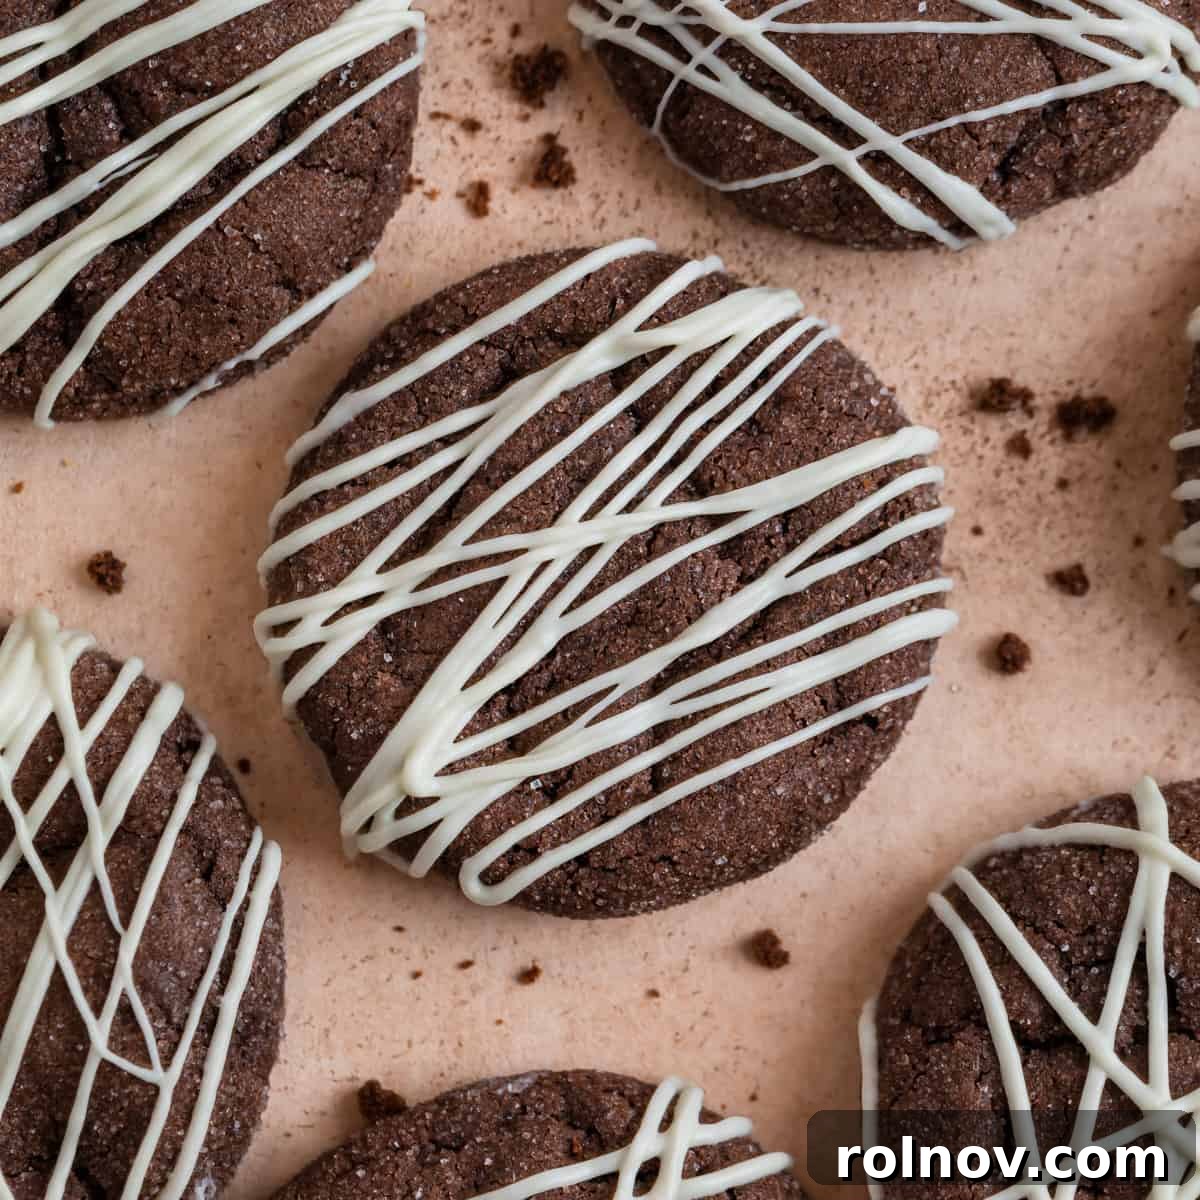
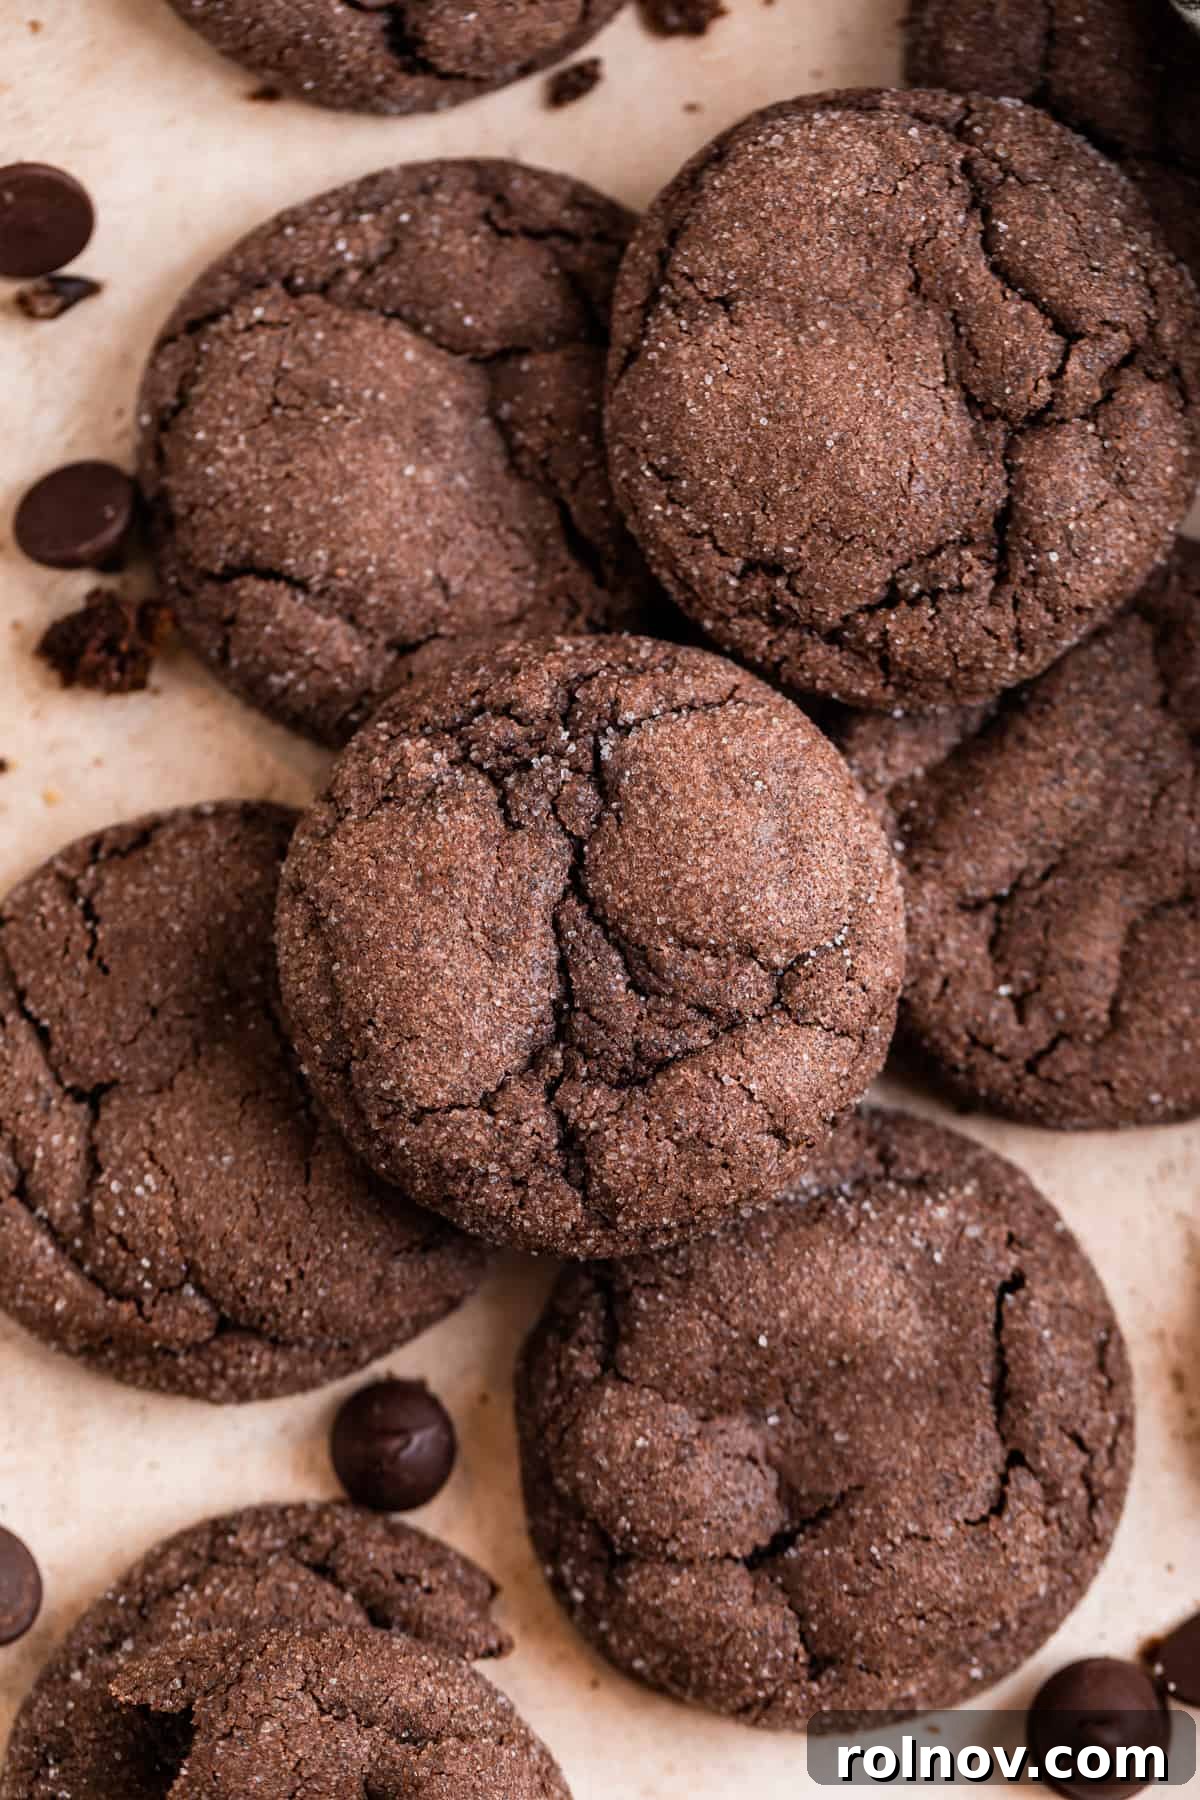
Unlock effortless baking with these easy Chocolate Cake Mix Cookies! Crafted in under 10 minutes of hands-on prep time, these cookies are a dream come true for busy bakers and families alike. Expect soft, gloriously chewy, and intensely fudgy bites that are simply irresistible. With endless possibilities for add-ins and creative toppings, these cookies offer a fun and engaging way to bring kids into the kitchen, creating delicious memories together. Get ready to bake a batch of pure chocolate bliss that tastes wonderfully homemade!
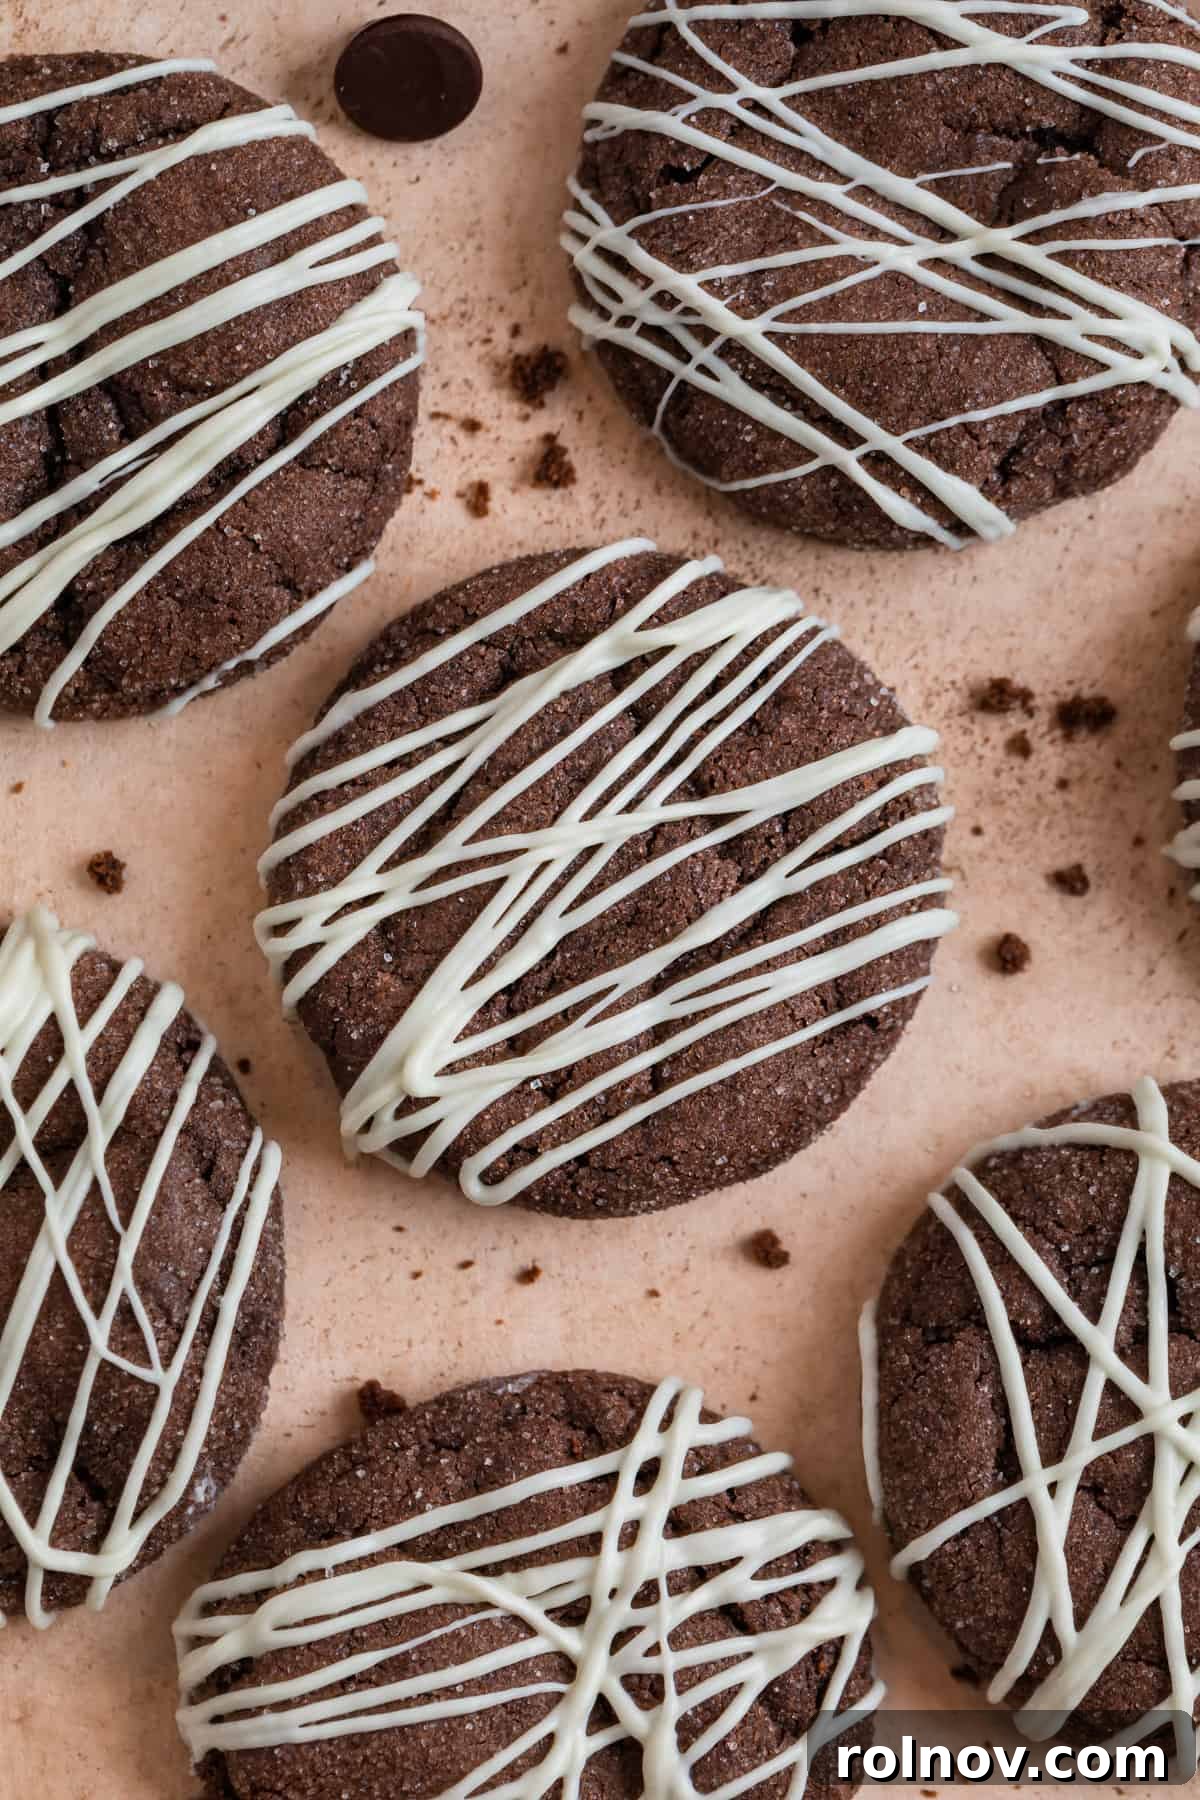
As a passionate baker, the joy of whipping up a fresh batch of cookies knows no season. However, sometimes life calls for a quicker, simpler approach, especially when tiny hands are eager to help. These incredibly simple yet utterly delicious chocolate cake mix cookies were born from a desire to bake with my toddler without the usual kitchen chaos and stress. It’s a game-changer for parents who want to share the joy of baking but need a recipe that doesn’t demand an electric mixer or multiple complicated steps.
While my little helper has enthusiastically assisted me with more traditional recipes, like our favorite small batch chocolate chip cookies, there are moments when convenience is king. These chocolate cake mix cookies fit that bill perfectly, offering a minimal-effort, maximum-reward baking experience. If you’re a fan of cake mix convenience, you’ll also adore our Red Velvet Cake Mix Cookies. For more delightful treats, explore our collection of cookie recipes, including refreshing Key Lime Cookies, luscious Nutella Thumbprint Cookies, and the ever-popular Oreo Chocolate Chip Cookies.
Why These Chocolate Cake Mix Cookies Are a Must-Try:
- Unbelievably Quick Prep Time: Who knew such deliciousness could come together so fast? These cookies require less than 10 minutes of active preparation. Simply melt butter, whisk it with eggs and vanilla, and then stir in the cake mix. It’s an almost unbelievably simple process for a delicious dessert that tastes like it took hours. The less time you spend prepping, the sooner you get to savor these rich, fudgy treats!
- Perfect for Little Bakers: Designed with simplicity in mind, this is an incredibly kid-friendly recipe from start to finish. Without the need for an electric mixer, it’s a safe and fun way to get children involved in the kitchen. Kids can easily help measure, mix with a whisk or wooden spoon, roll the dough, and even decorate, making it a wonderful activity for parents and children to bond over.
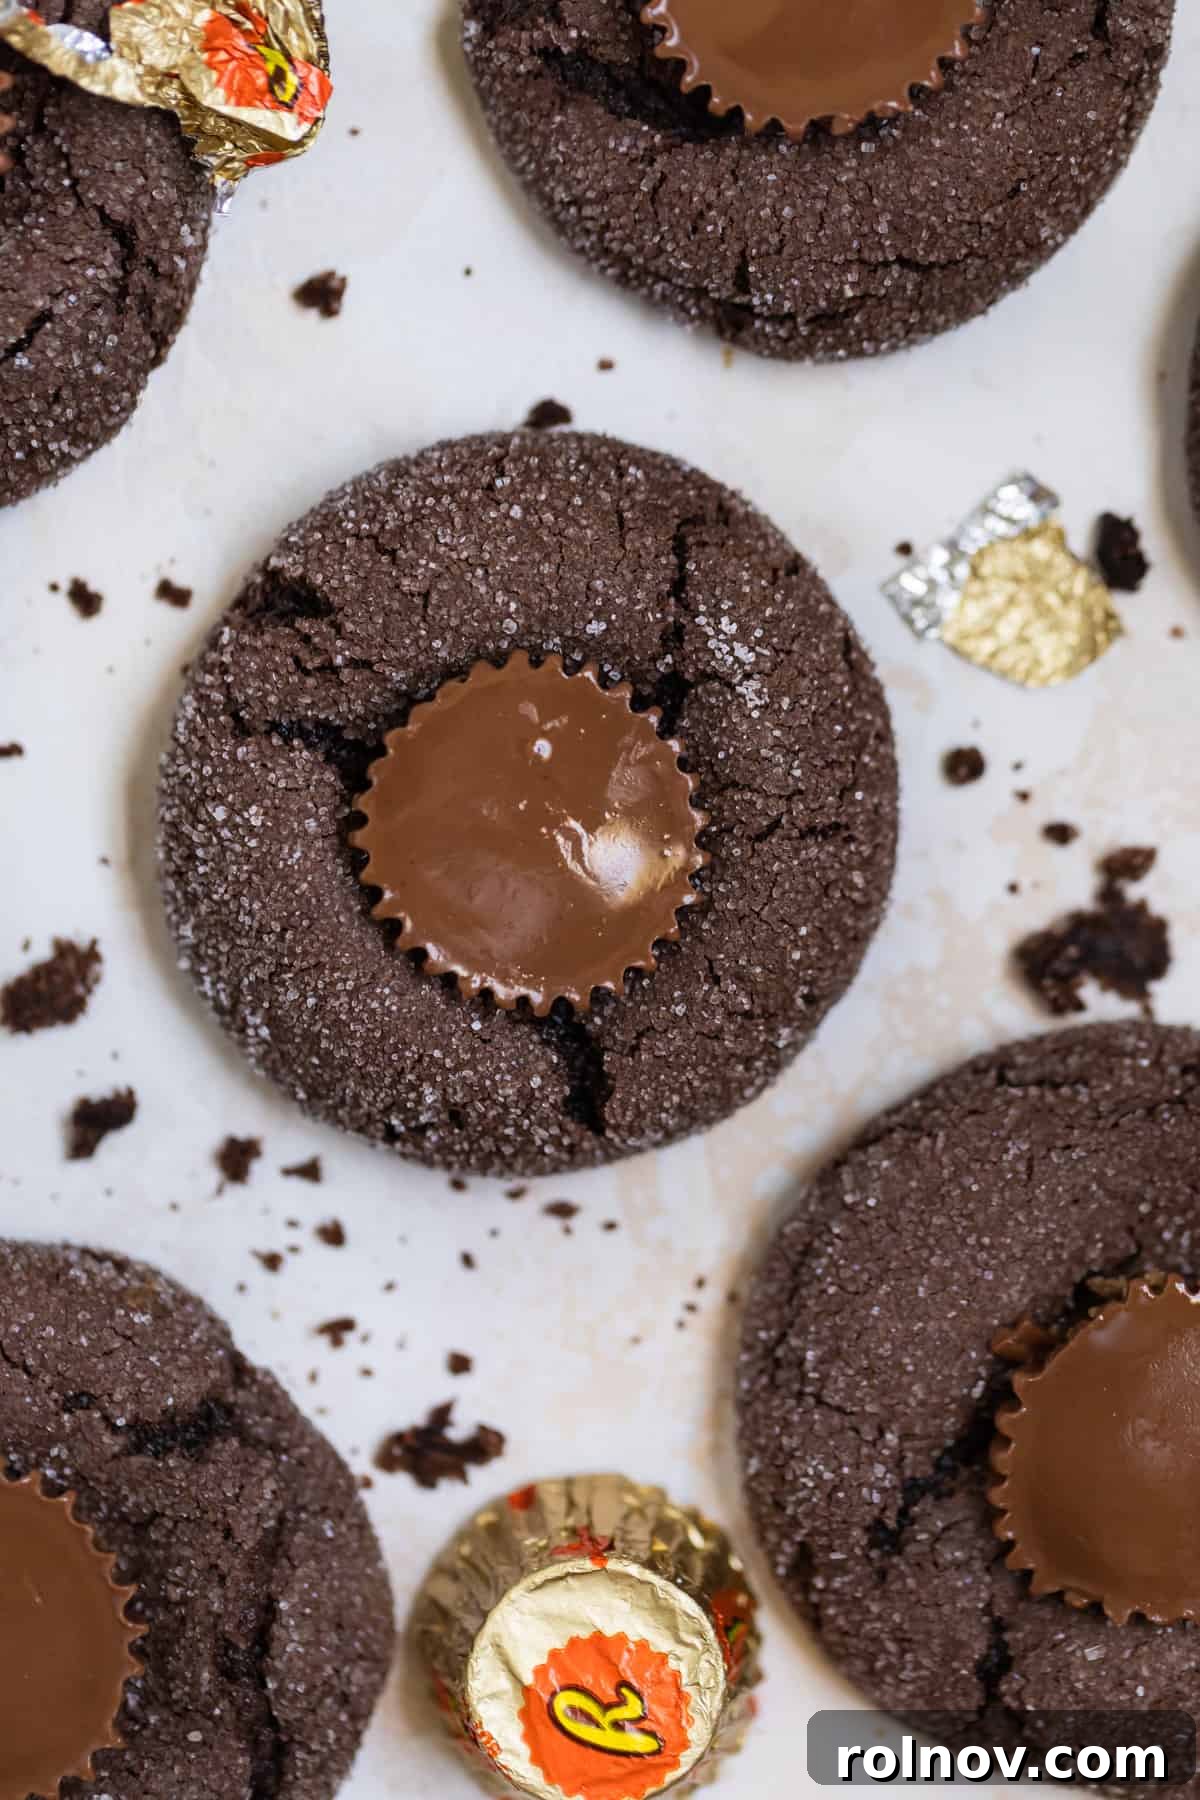
- Endlessly Adaptable to Your Cravings: The beauty of these chocolate cake mix cookies lies in their versatility. While we love adding a creamy Reese’s Peanut Butter Cup for a classic blossom cookie effect, the possibilities are limitless. You could press in a Hershey’s Kiss (we particularly love the “Hugs” variety for a white chocolate swirl), embed your favorite mini chocolate candies, or even skip the center filling entirely. For a different twist, try folding in a handful of white chocolate chips, dark chocolate chunks, or even mini marshmallows. Each variation transforms them into a new delightful experience!
- Minimal Pantry Staples Required: You’ll be amazed that such a delectable cookie recipe calls for only a few core ingredients: a box of chocolate cake mix, butter, eggs, vanilla extract, and a little sugar for rolling. Most of these items are likely already in your pantry, making these cake mix cookies the ultimate solution for last-minute cravings or an impromptu baking session. If you happen to have an extra box of yellow cake mix on hand, don’t miss out on trying this easy Apple Dump Cake!
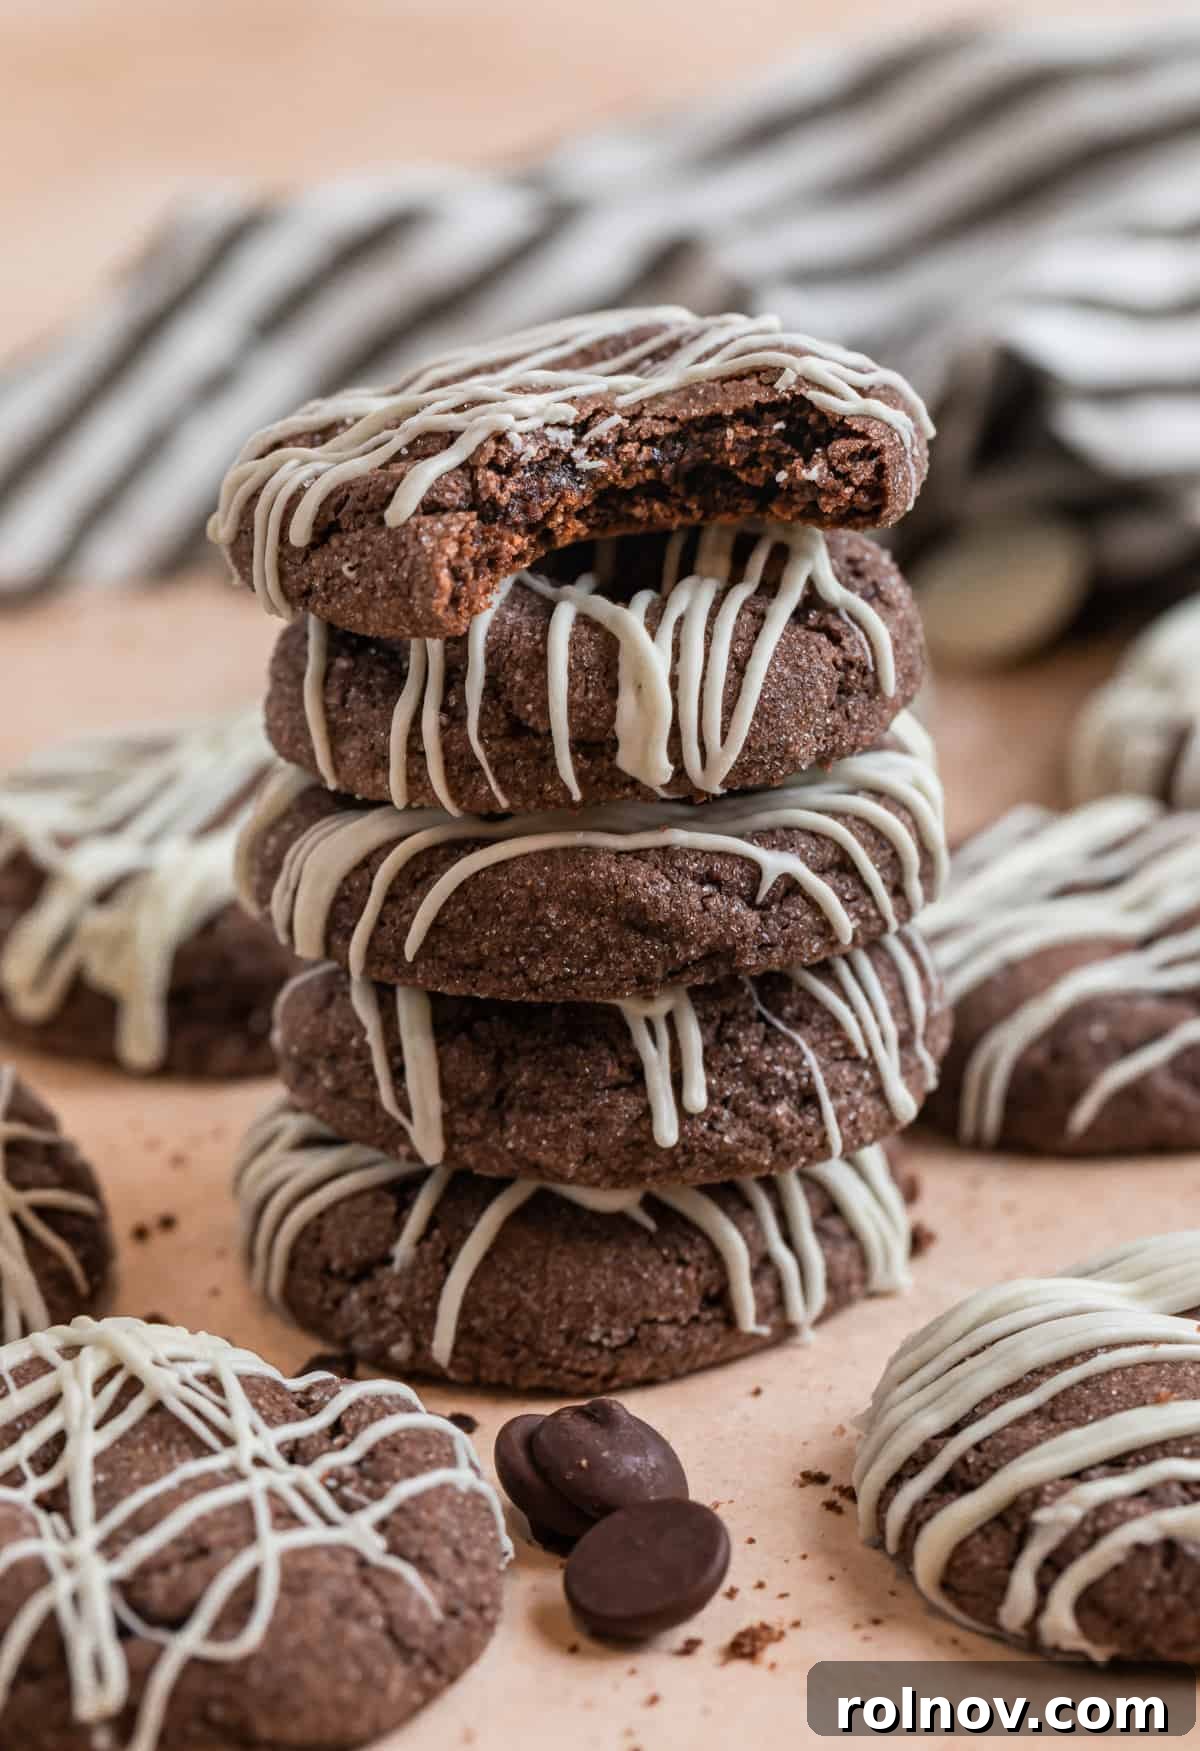
Essential Recipe Ingredients:
- Chocolate Cake Mix: For these particular chocolate cookies, I consistently achieve the best results using a 15.25 oz. box of chocolate cake mix, typically from Betty Crocker. I highly recommend opting for a standard chocolate cake mix over devil’s food cake. While both are chocolate, a regular chocolate cake mix tends to yield a denser, chewier cookie, whereas devil’s food can sometimes result in a lighter, more cake-like texture which isn’t what we’re aiming for here.
- Butter: Use unsalted butter, melted, but critically, allow it to cool slightly before combining with other ingredients. If the butter is too hot, it can start to “cook” the eggs, which we definitely want to avoid for a perfect cookie dough. Melted butter contributes to the fudgy texture and rich flavor that makes these cookies so irresistible.
- Large Eggs: It’s always best to use large eggs that are at room temperature. Room temperature eggs emulsify better with the melted butter and vanilla, creating a smoother, more uniform dough consistency. This leads to a more consistent bake and a superior final texture in your cookies.
- Vanilla Extract: While many cake mix cookie recipes omit vanilla, I firmly believe it’s a non-negotiable addition. Just one teaspoon of pure vanilla extract elevates the flavor profile significantly, adding depth and a comforting aroma that truly makes these cookies taste more homemade and less like they came from a box. It rounds out the chocolate flavor beautifully.
- Granulated Sugar: This isn’t mixed into the dough itself, but rather used for rolling the cookie balls before baking. Rolling the dough in sugar serves a dual purpose: it adds a delicate, sweet crunch to the exterior of the cookies, and it gives them a beautiful, classic crinkled appearance, enhancing their aesthetic appeal.
- Optional Add-ins and Toppings: This is where you can truly customize your cookies! Consider a luxurious drizzle of melted white or dark chocolate, pressing a Hershey’s Kiss or a mini Reese’s Peanut Butter Cup into the center immediately after baking for a “blossom” effect, or folding in your favorite chocolate chips (milk, dark, or white), M&M’s, chopped nuts, or even toffee bits into the dough.
Effortless Step-By-Step Instructions:
Step 1: Prepare the Wet Ingredients. Begin by preheating your oven to 350°F (175°C). In a spacious mixing bowl, combine your slightly cooled melted butter with the large eggs and vanilla extract. Whisk these ingredients together thoroughly until they are well incorporated and smooth. This initial step lays the groundwork for a rich, moist cookie.
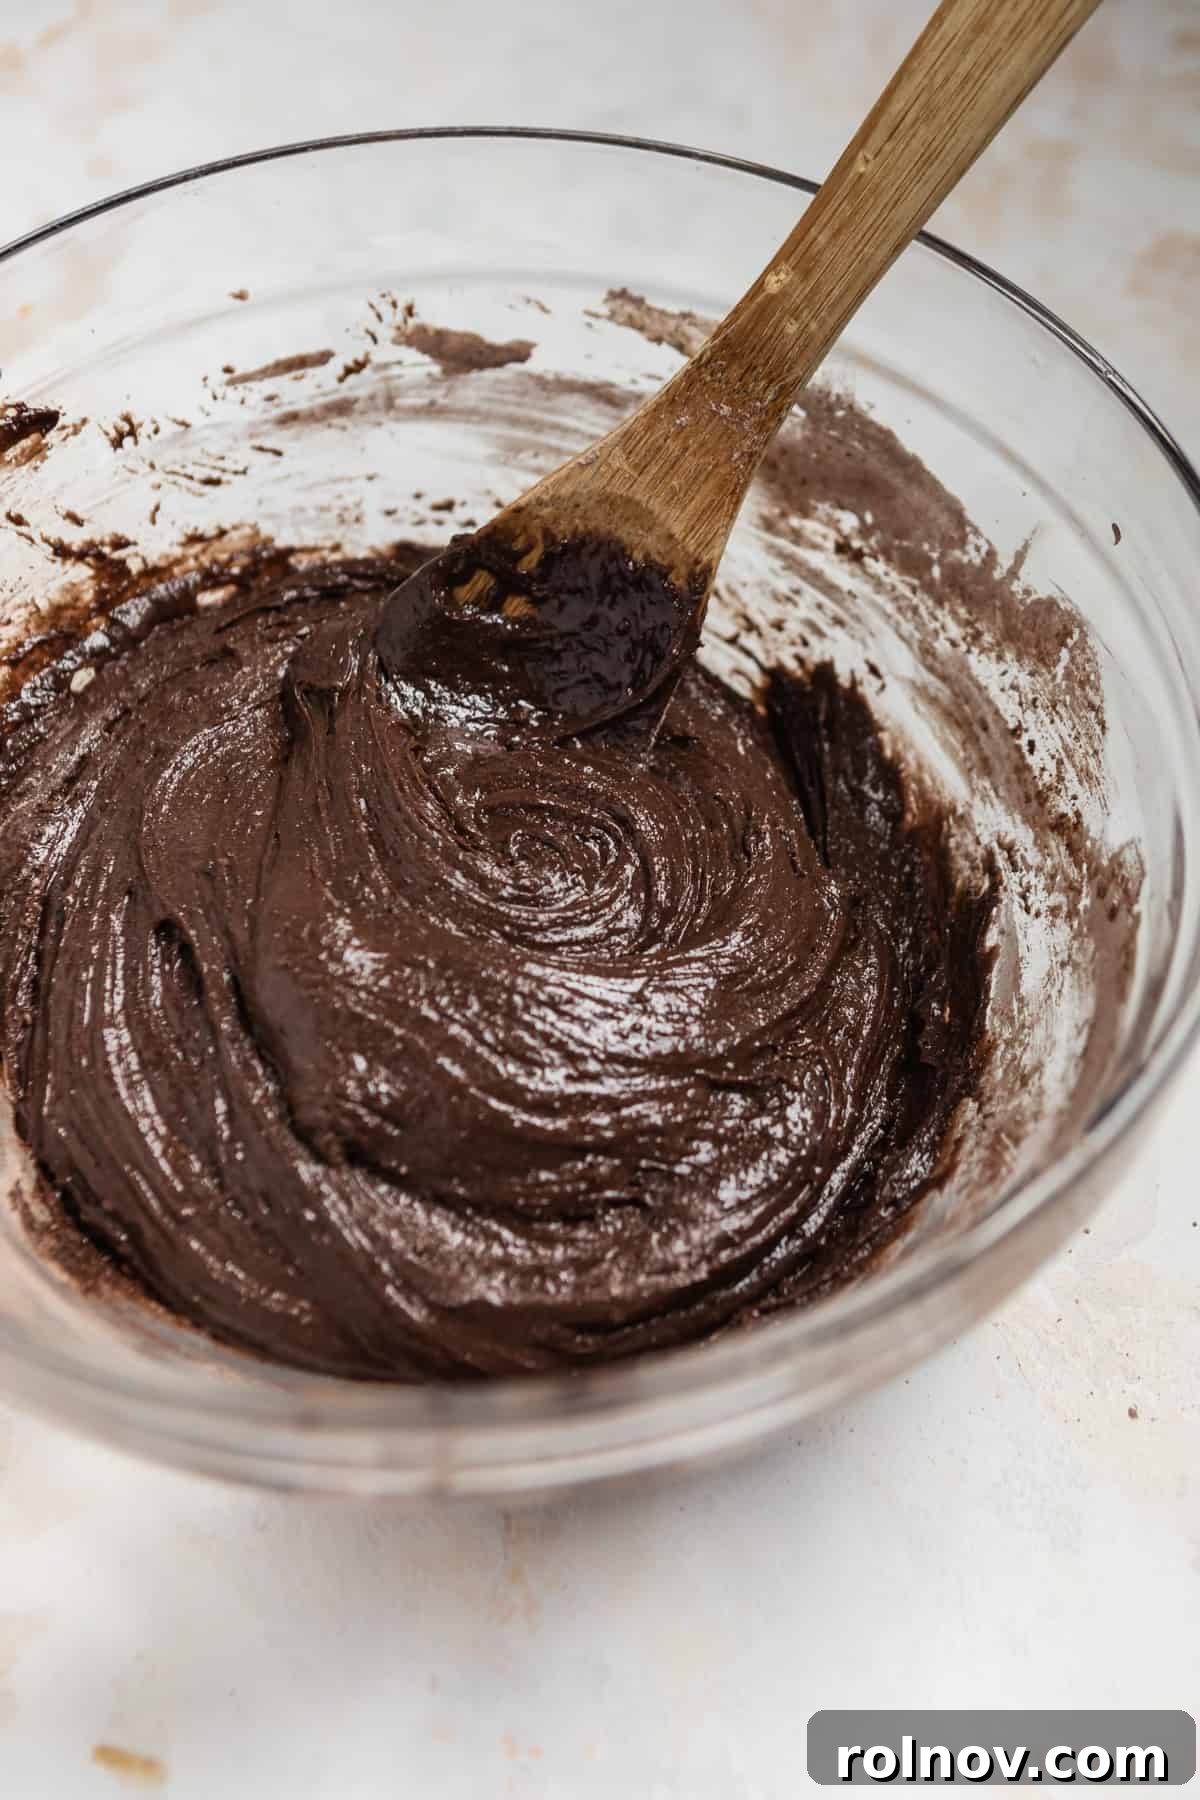
Step 2: Incorporate the Cake Mix. Gently pour the entire contents of the chocolate cake mix into the wet ingredient mixture. Using a sturdy wooden spoon or a spatula, stir the ingredients until they are just combined. Be careful not to overmix; stirring until no dry streaks of cake mix remain is sufficient. If you’re adding chocolate chips or other mix-ins, now is the perfect time to fold them in until evenly distributed.
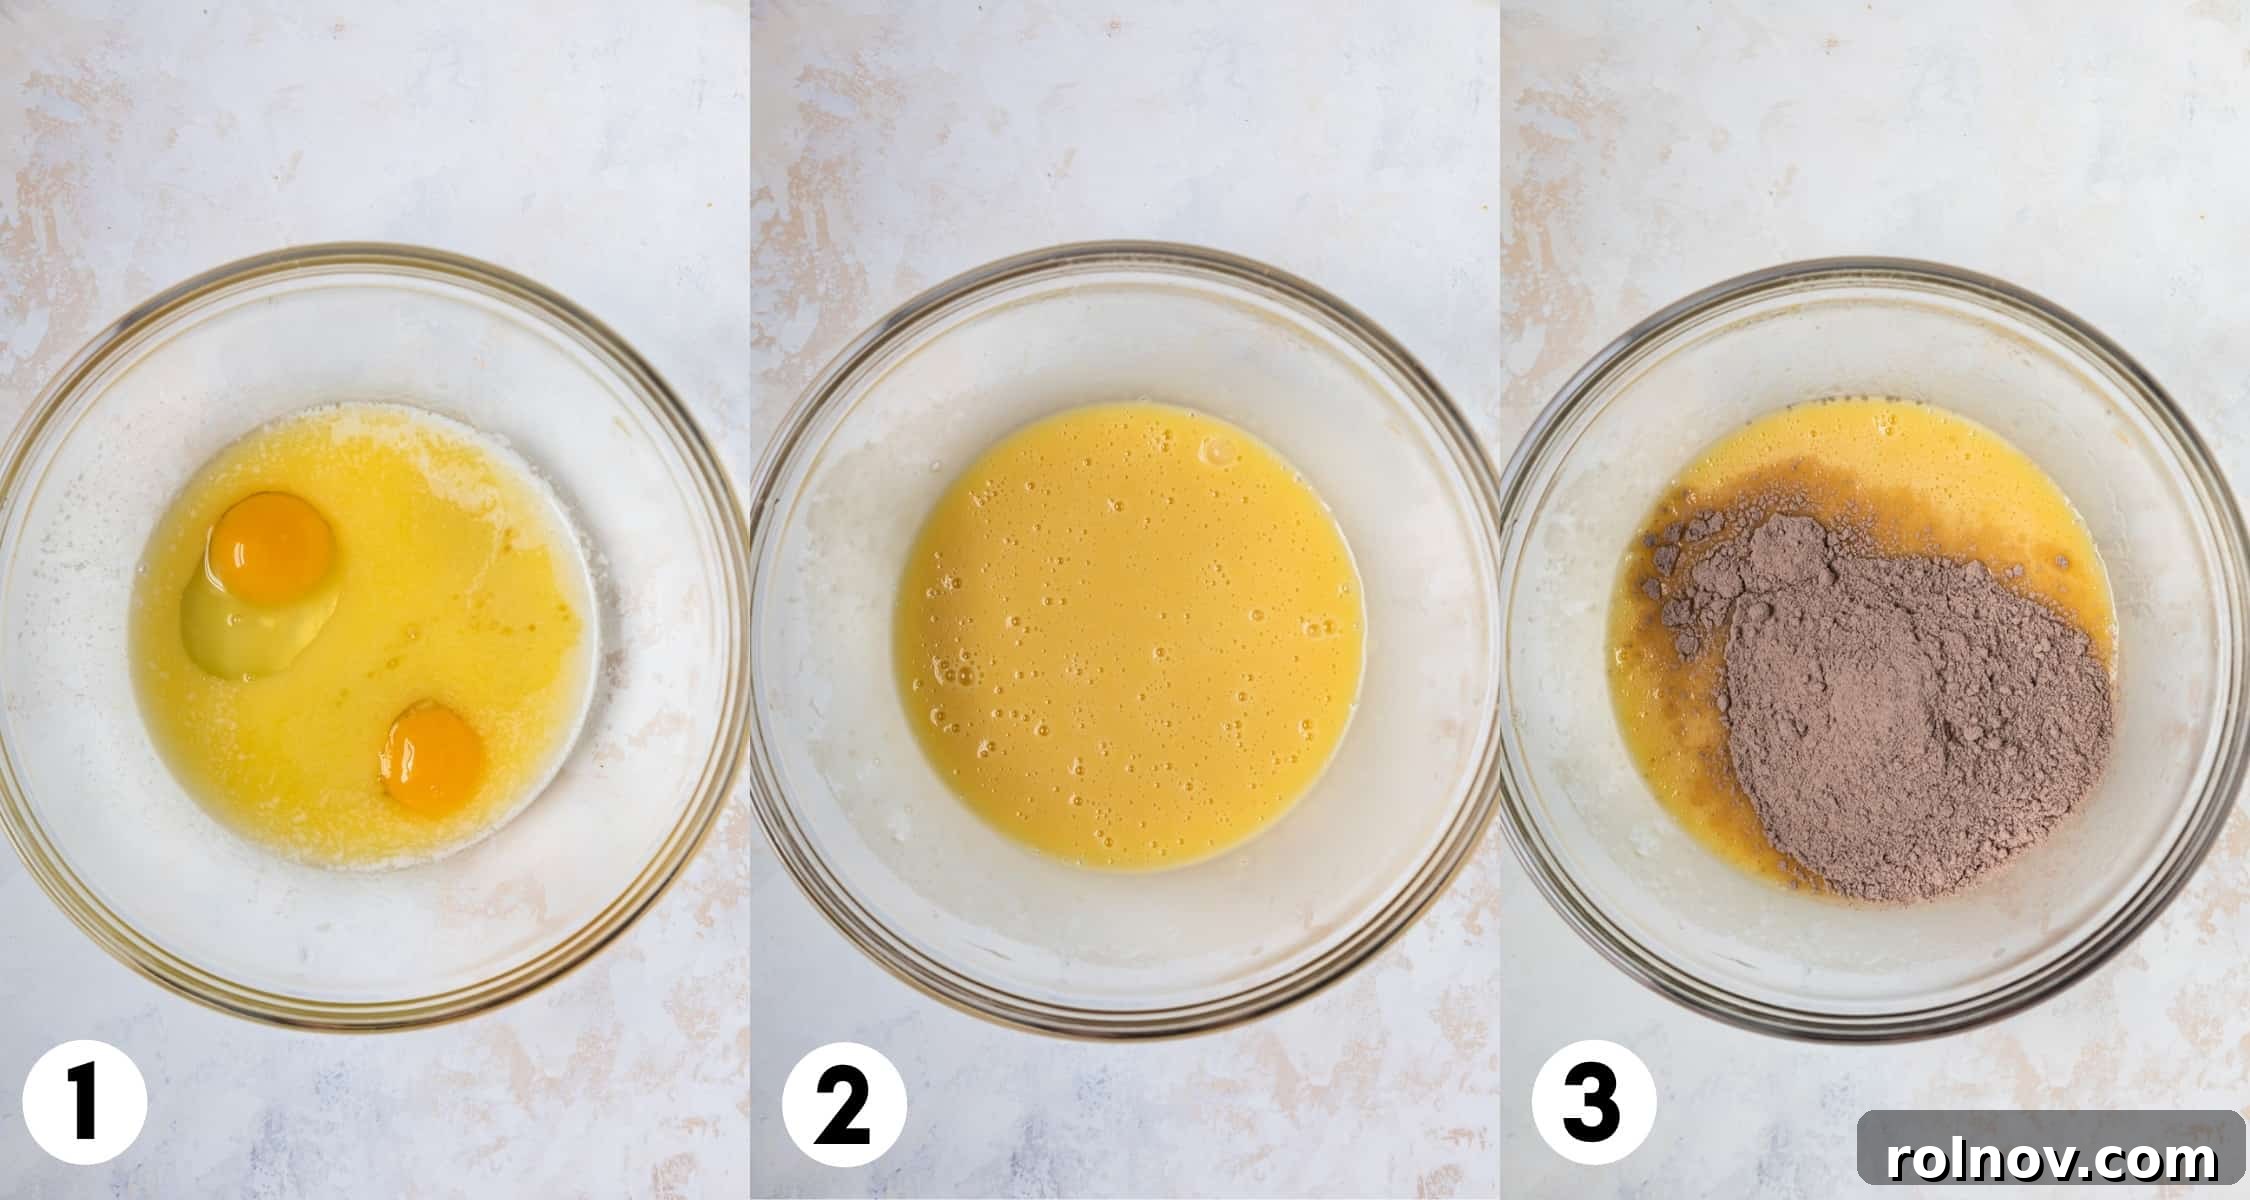
Step 3: Chill the Dough (Crucial for Best Results!). You’ll notice that the chocolate cake mix cookie dough is quite soft, gooey, and sticky at this stage. To make handling and rolling much easier, it’s absolutely essential to chill the dough. Cover the bowl and refrigerate for at least 15-30 minutes. This chilling period allows the butter to firm up slightly and the ingredients to fully hydrate, resulting in a more manageable dough that holds its shape beautifully and prevents excessive spreading during baking. Trust me, you won’t be able to roll them without this step!
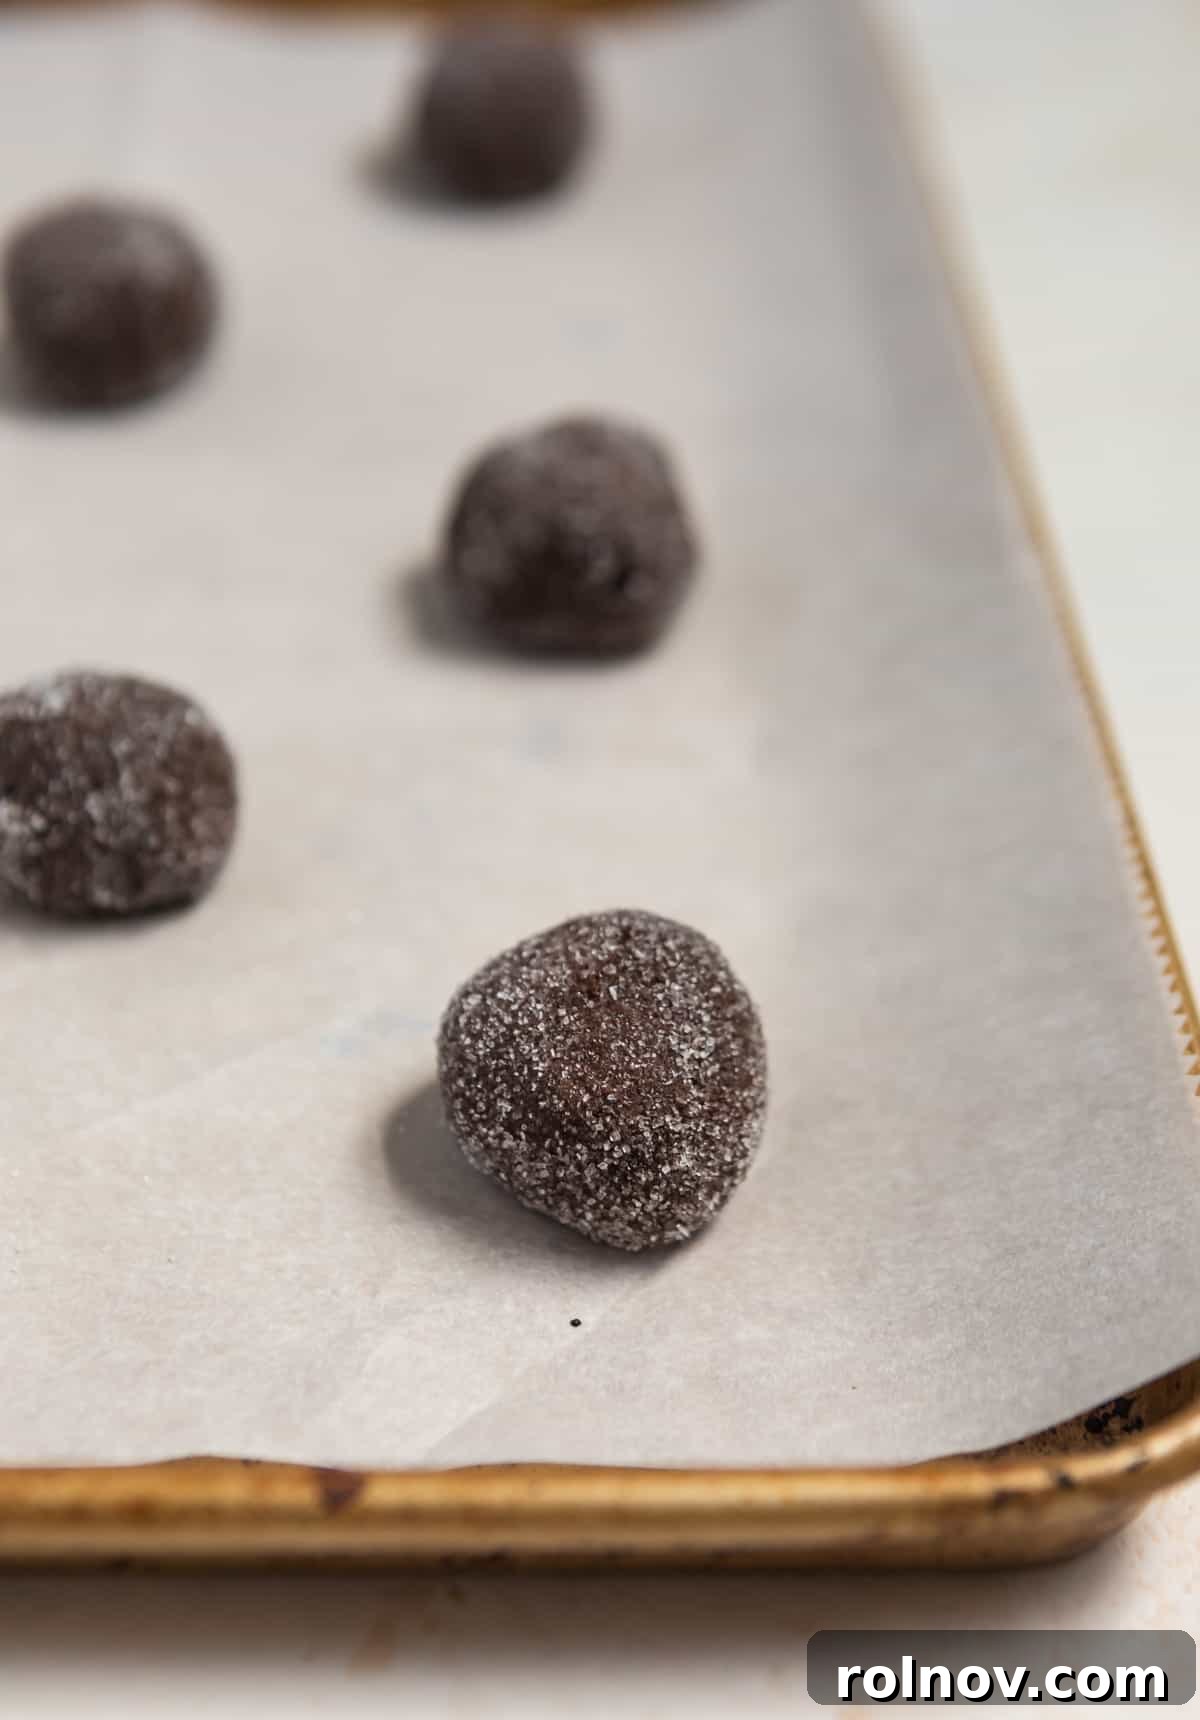
Step 4: Roll and Coat the Cookies. Once your dough is adequately chilled and firm enough to handle, scoop out portions of about 1 ½ inches in diameter. A cookie scoop works wonderfully for consistent sizing, but your hands will do the trick too. Lightly spray your fingers with a bit of cooking oil if the dough is still sticking. Roll each portion into a smooth ball, then gently roll it in the granulated sugar to coat it evenly on all sides. This sugar coating is what gives these cookies their delightful sparkle and slightly crisp exterior. Arrange the sugar-coated cookie balls on a parchment-lined baking sheet, ensuring they are spaced about 2 inches apart to allow for spreading.
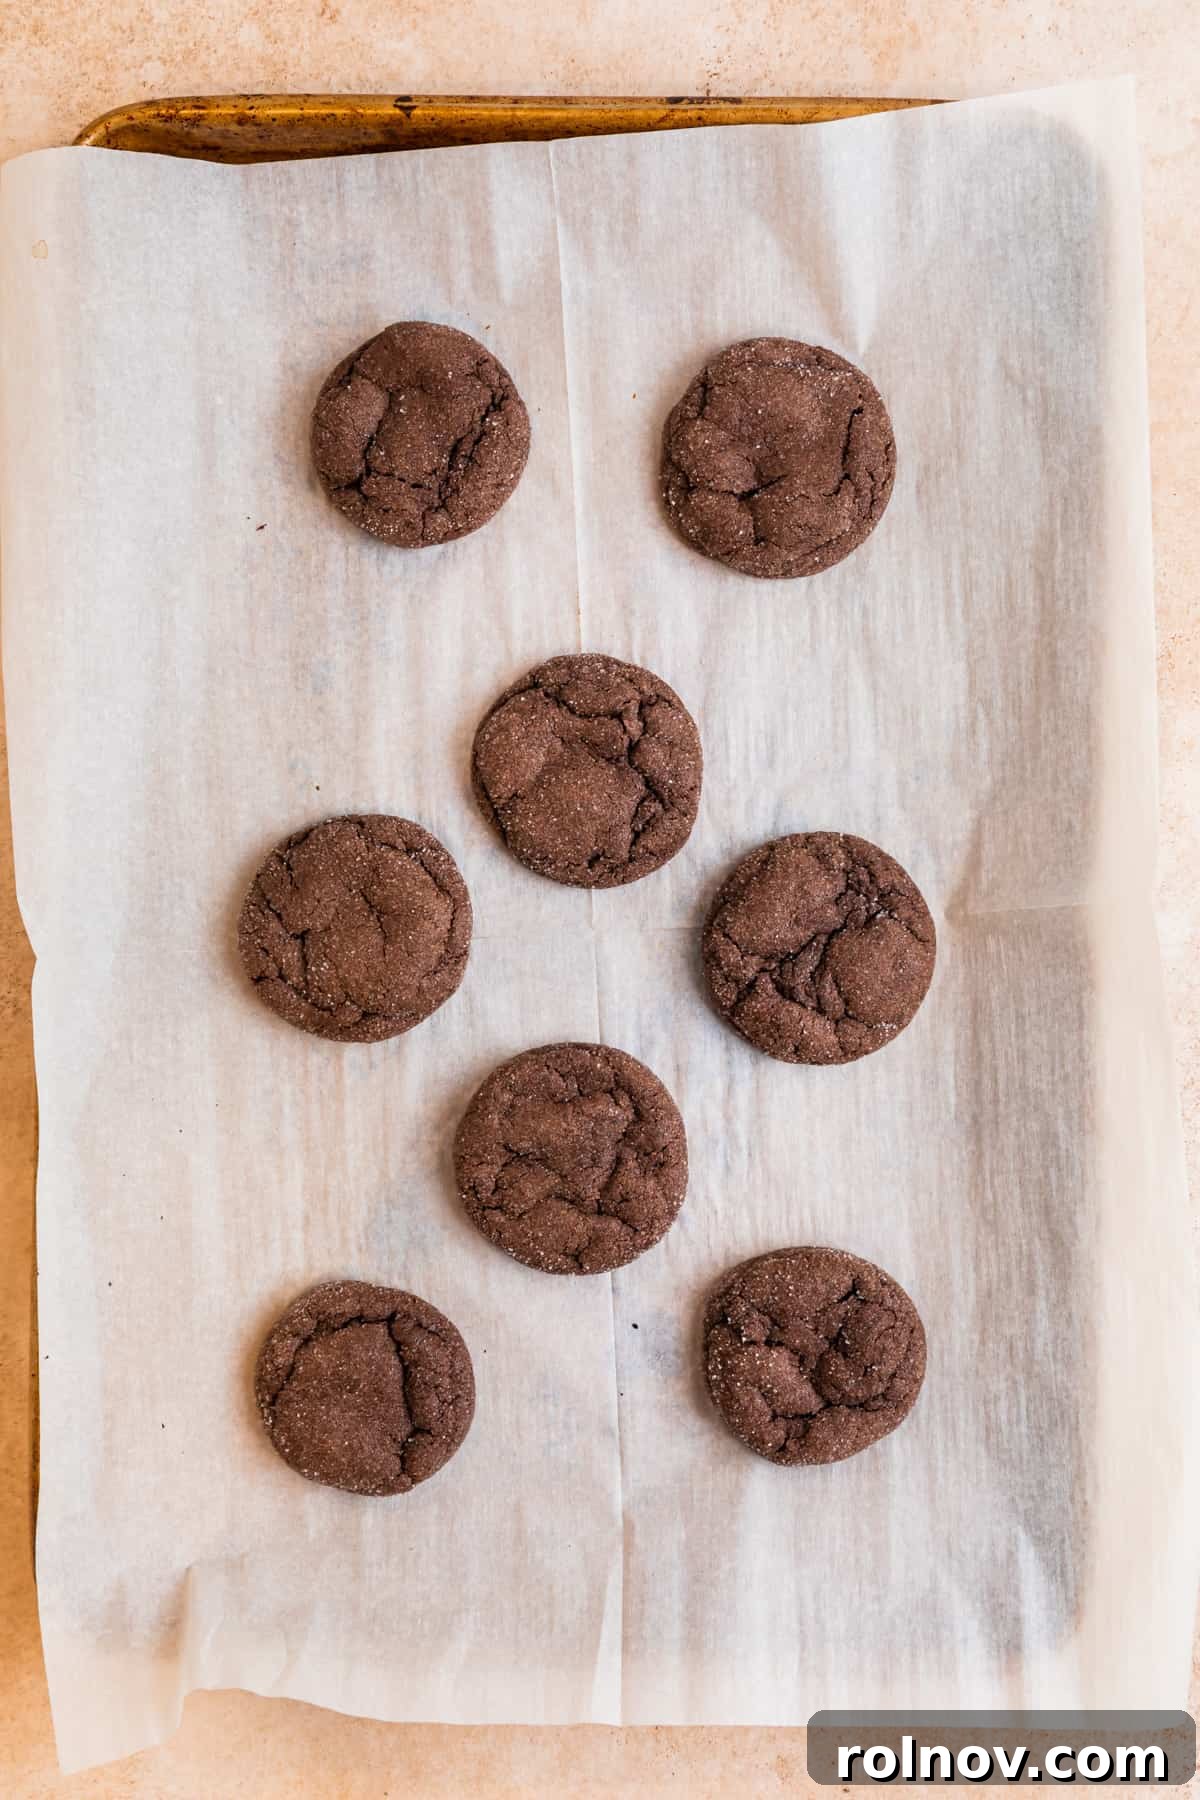
Step 5: Bake to Perfection. Transfer the baking sheet to your preheated oven and bake for approximately 9-10 minutes. In my oven, 9 minutes is the sweet spot for the perfect soft and chewy texture. You’ll want to pull them out just as they appear to be almost done. The centers will still look slightly puffed, some charming crinkles will have started to form on the surface, and the edges will be just set. Overbaking can lead to a drier cookie, so keep a close eye on them!
*For a Classic Blossom Cookie: If you’re aiming for a charming “blossom” cookie, have your mini Reese’s Peanut Butter Cups or Hershey’s Kisses ready. Immediately after removing the cookies from the oven, gently but somewhat firmly press one chocolate candy into the center of each warm cookie. Be careful not to press so hard that you break through the bottom. Allow them to cool on the baking sheet for a few minutes before carefully transferring them to a wire rack to cool completely.
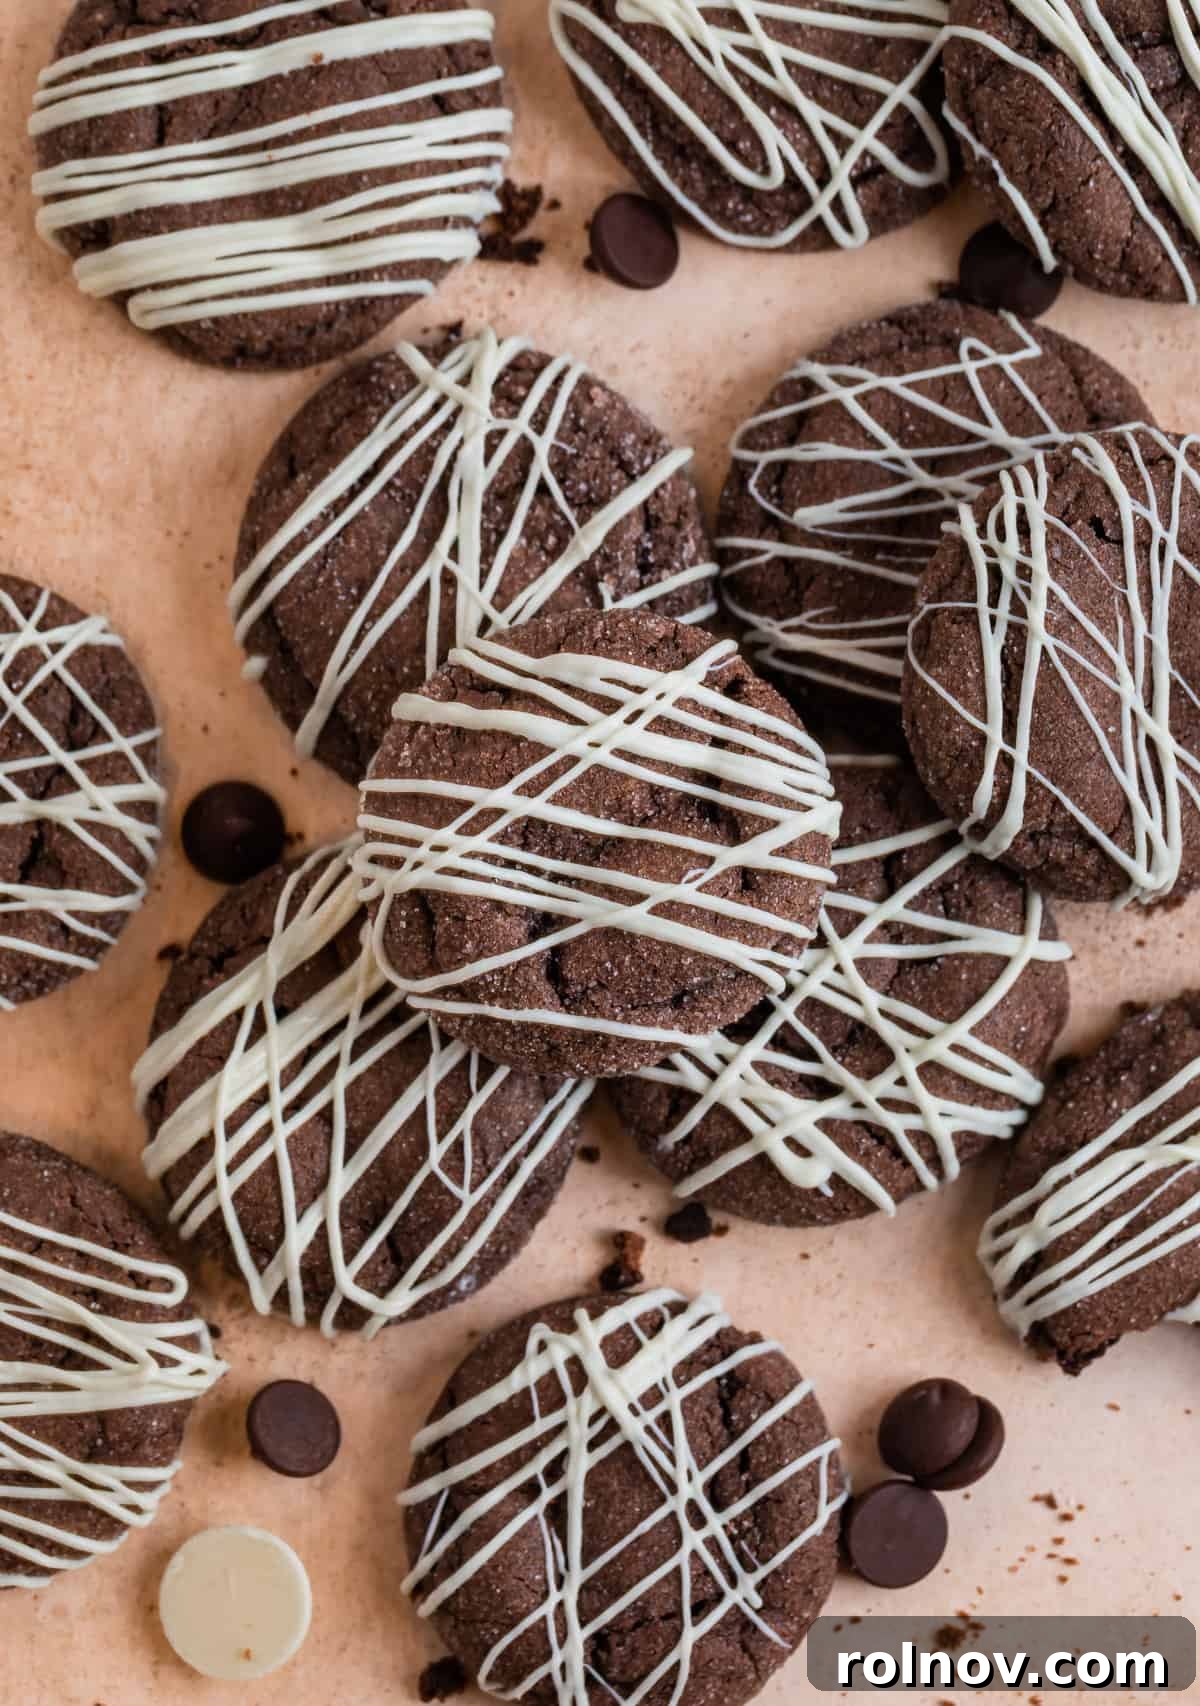
**For a Decadent Drizzle: If you plan to add a chocolate drizzle, it’s crucial to let the cookies cool completely on a wire rack first. Once cooled, melt about 1 cup of white chocolate wafers or your preferred melting chocolate according to package directions. For a professional, uniform drizzle, transfer the melted chocolate to a small plastic bag, snip a tiny corner, and pipe the chocolate over the cookies in your desired pattern. Allow the drizzle to set before serving or storing.
Recipe Notes and Expert Tips for Success:
- Butter vs. Oil: A Flavor Preference: While many cake mix cookie recipes suggest using canola or vegetable oil, I wholeheartedly recommend using melted butter. The butter imparts a richer, more complex flavor and contributes to a superior texture that is both soft and slightly chewy. If you prefer, you can certainly substitute with oil, but for the best tasting and most luxurious cookies, butter is the way to go.
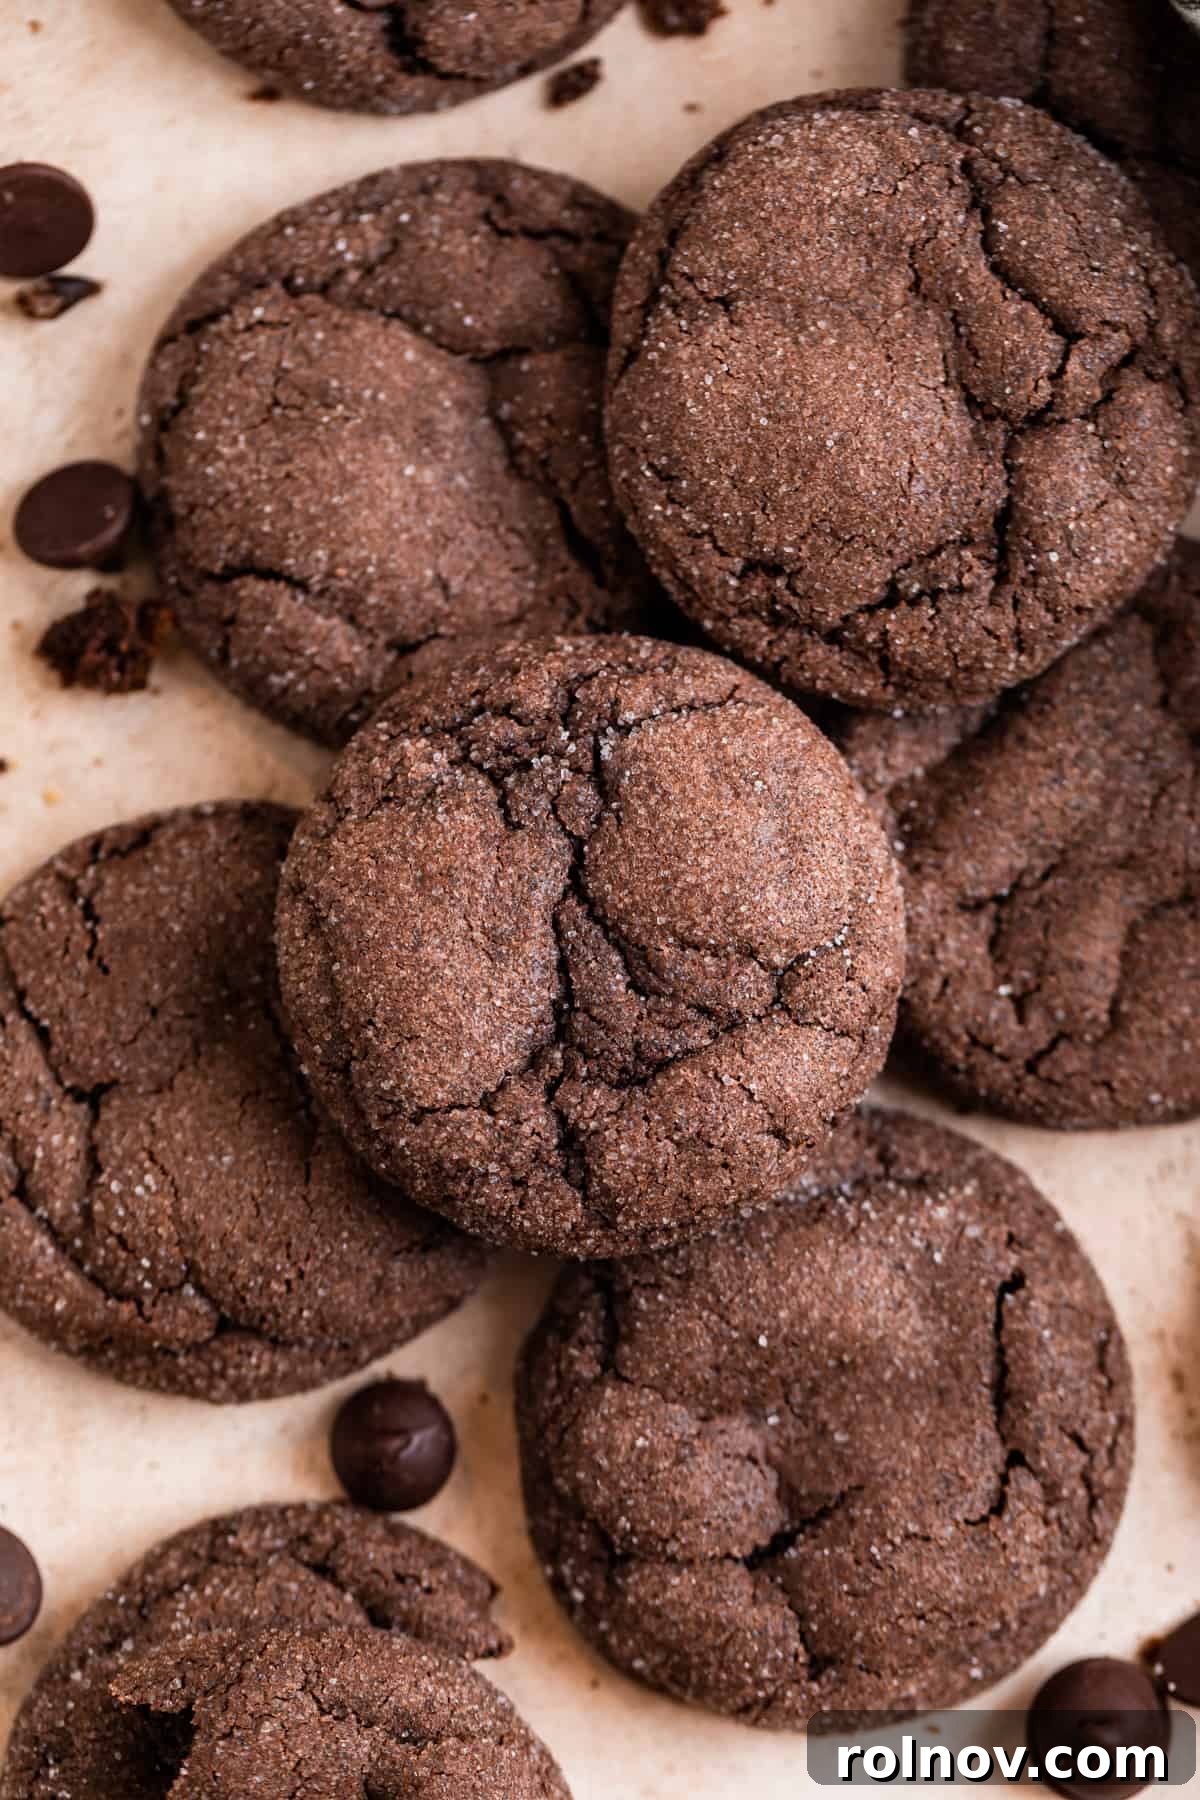
- Achieving the Perfect Softness: These cookies are designed to remain wonderfully soft and tender for approximately 3-4 days when stored correctly. The key to this lasting freshness is not to overbake them. If you prefer a chewier cookie, you can extend the baking time by an extra minute or two, but remember that a slightly underbaked center often leads to the most fudgy and delightful results. They can be stored for up to 5 days, though their peak softness is in the initial days.
- Handling Chilled Dough: Chilling the dough is an important step, but don’t overdo it. If your cookie dough has been chilling for significantly longer than 30 minutes (e.g., several hours or overnight), allow it to sit at room temperature for about 10-15 minutes before attempting to roll it. This allows the dough to soften just enough to be pliable. If the dough is too cold, the cookies may not spread properly during baking and could remain too spherical. If they are still a bit too cool, you may need to bake them a couple of minutes longer to ensure they are cooked through.
Storage and Freezing Instructions:
Room Temperature Storage: To maintain their optimal soft and chewy texture, store these chocolate cake mix cookies in an airtight container at room temperature. They will remain wonderfully fresh for about 3-4 days, and are generally good for up to 5 days. Refrigeration is typically not recommended for unfrosted cookies as it can dry them out. However, if you’ve frosted them with a cream cheese-based frosting, as we often do with our Red Velvet Cake Cookies, then refrigeration is necessary.
Freezing Baked Cookies: These cookies freeze exceptionally well, making them perfect for meal prep or unexpected guests. Once completely cooled, arrange the baked cookies in a single layer on a baking sheet and freeze for about an hour until solid. This prevents them from sticking together. Then, transfer the frozen cookies to an airtight, freezer-safe container or a heavy-duty freezer bag. They will keep beautifully in the freezer for up to 3 months. When ready to enjoy, simply thaw them at room temperature for a few hours.
Freezing Cookie Dough: You can also freeze the unbaked cookie dough. For the best results, I recommend rolling the dough into individual balls first, as directed in the recipe. Place the dough balls in a single layer on a parchment-lined baking sheet and freeze until firm. Once frozen, transfer them to an airtight freezer-safe container or bag. They can be stored for up to 2-3 months. When you’re ready to bake, you can roll them in sugar just before placing them on the baking sheet. Thaw the frozen cookie dough balls at room temperature for 15-20 minutes, then bake according to the recipe instructions, possibly adding an extra minute or two to the baking time.

Creative Chocolate Cake Mix Cookies Variations and Add-ins:
The versatility of these chocolate cake mix cookies means you can easily customize them to suit any craving or occasion. While I have exciting new flavors of similar cookies in the works, here are some fantastic ideas to elevate your chocolate cake mix cookies to the next level of deliciousness:
- Mint Chocolate Bliss: Infuse your cookies with a refreshing twist by adding ½ teaspoon of peppermint extract to the dough. Once baked, top them with crushed candy canes or delicate mint chocolate candies for a festive and cool flavor profile, perfect for holidays or a refreshing treat.
- Rich Mocha Enhancement: For an even deeper, more sophisticated chocolate flavor with a hint of coffee, stir in 1 teaspoon of instant espresso powder or finely ground coffee. The espresso powder won’t make the cookies taste like coffee, but rather intensifies the chocolate notes, creating a rich, complex mocha-like experience.
- Chocolate Chip Extravaganza: Never underestimate the power of more chocolate! Fold in ½ cup of your favorite chocolate chips into the dough – white chocolate chips for a striking contrast, dark chocolate chips for extra intensity, or even a mix of milk chocolate and semi-sweet for a balanced sweetness.
- Colorful M&M’s Fun: Make these cookies extra kid-friendly and vibrant by mixing in ½ cup of colorful M&M’s candies. They add a delightful crunch and a burst of color, making them perfect for parties, lunchboxes, or simply brightening up your day.
- Andes Mint Surprise: Instead of a peanut butter cup, try pressing an Andes mint chocolate candy into the center of each warm cookie as soon as it comes out of the oven. The mint will melt slightly, creating a gooey, irresistible mint-chocolate center.
- Marshmallow Magic: For a s’mores-inspired treat, press half of a jumbo marshmallow onto the top of each cookie during the last minute or two of baking. This allows the marshmallow to soften and lightly toast, creating a gooey, sweet topping. Alternatively, press it into the hot cookies right after baking.
- Nutty Crunch: Add ½ cup of chopped pecans, walnuts, or almonds to the dough for an appealing textural contrast and a delightful nutty flavor that pairs wonderfully with chocolate.
Discover More Cookie Delights:
- Eggless Chocolate Chip Cookies
- Lemon Sugar Cookies
- Funfetti Birthday Cake Cookies
- Peppermint Chocolate Chip Cookies
HUNGRY FOR MORE? Subscribe to my newsletter and follow me on Facebook, Instagram and Pinterest for all the latest recipes and culinary inspiration!
Chocolate Cake Mix Cookies
Lorie Yarro

Pin
10 minutes
9 minutes
30 minutes
24 cookies
Ingredients
- 1 boxed chocolate cake mix, 15.25 oz. (such as Betty Crocker)
- 2 large eggs, at room temperature
- ½ cup unsalted butter (1 stick), melted and slightly cooled
- 1 tsp vanilla extract
- ¼ cup granulated sugar, for rolling the cookies
- Optional add-ins: mini Reese’s Peanut Butter Cups, Hershey’s Kisses, chocolate chips (white, milk, or dark), M&M’s, chopped nuts, or even a melted chocolate drizzle for topping.
Instructions
- Preheat your oven to 350°F (175°C). In a medium-sized mixing bowl, combine the large eggs, cooled melted butter, and vanilla extract. Whisk thoroughly until all ingredients are well combined and smooth.
- Add the entire box of chocolate cake mix to the wet ingredients. Stir with a sturdy spoon or spatula until the cake mix is fully incorporated and no dry streaks remain. If adding chocolate chips or other mix-ins, gently fold them into the dough at this stage. The dough will be quite sticky.
- Cover the bowl and chill the cookie dough in the refrigerator for at least 15-30 minutes. This crucial step will firm up the dough, making it much easier to roll into balls and helping to prevent excessive spreading during baking. (If the dough is still too sticky, lightly spray your fingers with a tiny amount of cooking oil before handling).
- Once the dough is chilled, roll it into approximately 1 ½-inch balls. Then, roll each dough ball in the ¼ cup of granulated sugar to coat it evenly. Arrange the sugar-coated cookie balls on a parchment-lined baking sheet, leaving about 2 inches between each cookie.
- Bake for about 9-10 minutes, or until the cookies are puffed up, the edges are lightly set, and slight crinkles appear on the surface. They should still look soft in the center when removed from the oven.
- For Blossom Cookies: Immediately upon removing the cookies from the oven, gently press a mini Reese’s Peanut Butter Cup or a Hershey’s Kiss into the center of each warm cookie. Press firmly but not so much that it breaks through the bottom.
- Allow the cookies to cool on the baking sheet for a few minutes before carefully transferring them to a wire rack to cool completely.
- For Chocolate Drizzle: If decorating with melted chocolate, ensure the cookies are completely cool. Melt about 1 cup of white chocolate wafers or your preferred melting chocolate. Drizzle the melted chocolate over the cooled cookies as desired (a plastic bag with a snipped corner works well for this). Allow the chocolate drizzle to set before serving.
- Store these delicious chocolate cake mix cookies at room temperature in an airtight container for up to 5 days, though they are softest in the first 3-4 days.
Notes
- Butter vs. Oil: While you can use canola oil instead of butter if desired (many cake mix cookie recipes do), I highly recommend using melted butter. I find that butter significantly enhances the texture and imparts a richer, more homemade flavor to these cookies.
- Softness & Freshness: These cookies are designed to stay wonderfully soft and tender for approximately 3-4 days when stored properly. Avoid overbaking, as this is the primary factor that can lead to a dry cookie. If you prefer a chewier cookie, you can bake them for an extra minute, but be mindful not to let them get too crisp. They will keep for up to 5 days in an airtight container at room temperature.
- Dough Chilling Tips: If your cookie dough has been chilled for much longer than the recommended 30 minutes (e.g., several hours or overnight), allow it to sit out at room temperature for about 10-15 minutes before rolling. This will make the dough more pliable and ensure the cookies spread properly during baking. If the dough is still too cold, the cookies may not spread enough and could bake up as dense balls. If this happens, they might need a couple of extra minutes in the oven.
Nutrition Facts (per cookie)
Carbohydrates: 15g,
Protein: 2g,
Fat: 7g,
Saturated Fat: 3g,
Polyunsaturated Fat: 1g,
Monounsaturated Fat: 2g,
Trans Fat: 0.2g,
Cholesterol: 26mg,
Sodium: 155mg,
Potassium: 67mg,
Fiber: 0.4g,
Sugar: 9g,
Vitamin A: 141IU,
Calcium: 31mg,
Iron: 1mg
Nutrition information is automatically calculated and should only be used as an approximation.
Did you enjoy this recipe? Have a question?
Leave a comment below and let us know!