
Easy & Flaky Apple Puff Pastry Tart: Your Go-To Dessert for Any Occasion
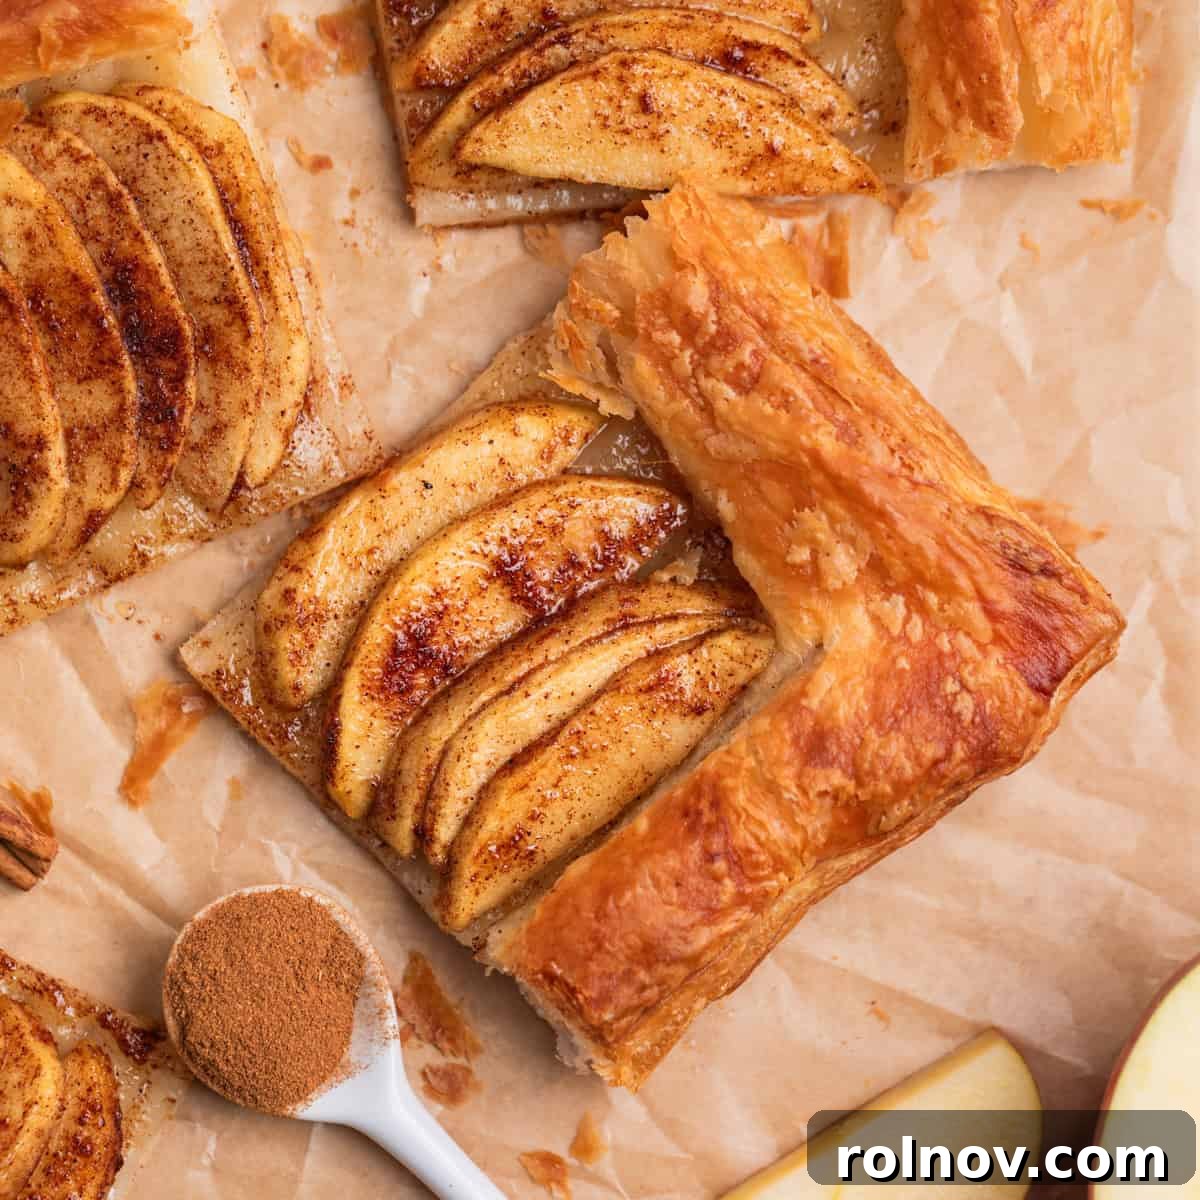
Indulge in the irresistible charm of this Apple Puff Pastry Tart – a deliciously simple dessert that effortlessly brightens any brunch spread or serves as a perfect after-dinner delight, especially when paired with a generous scoop of vanilla ice cream. Featuring golden, flaky puff pastry, tender apples infused with sweet cinnamon sugar, and a glistening drizzle of honey, this recipe boasts a mere 10-minute prep time, promising a treat the whole family will adore!
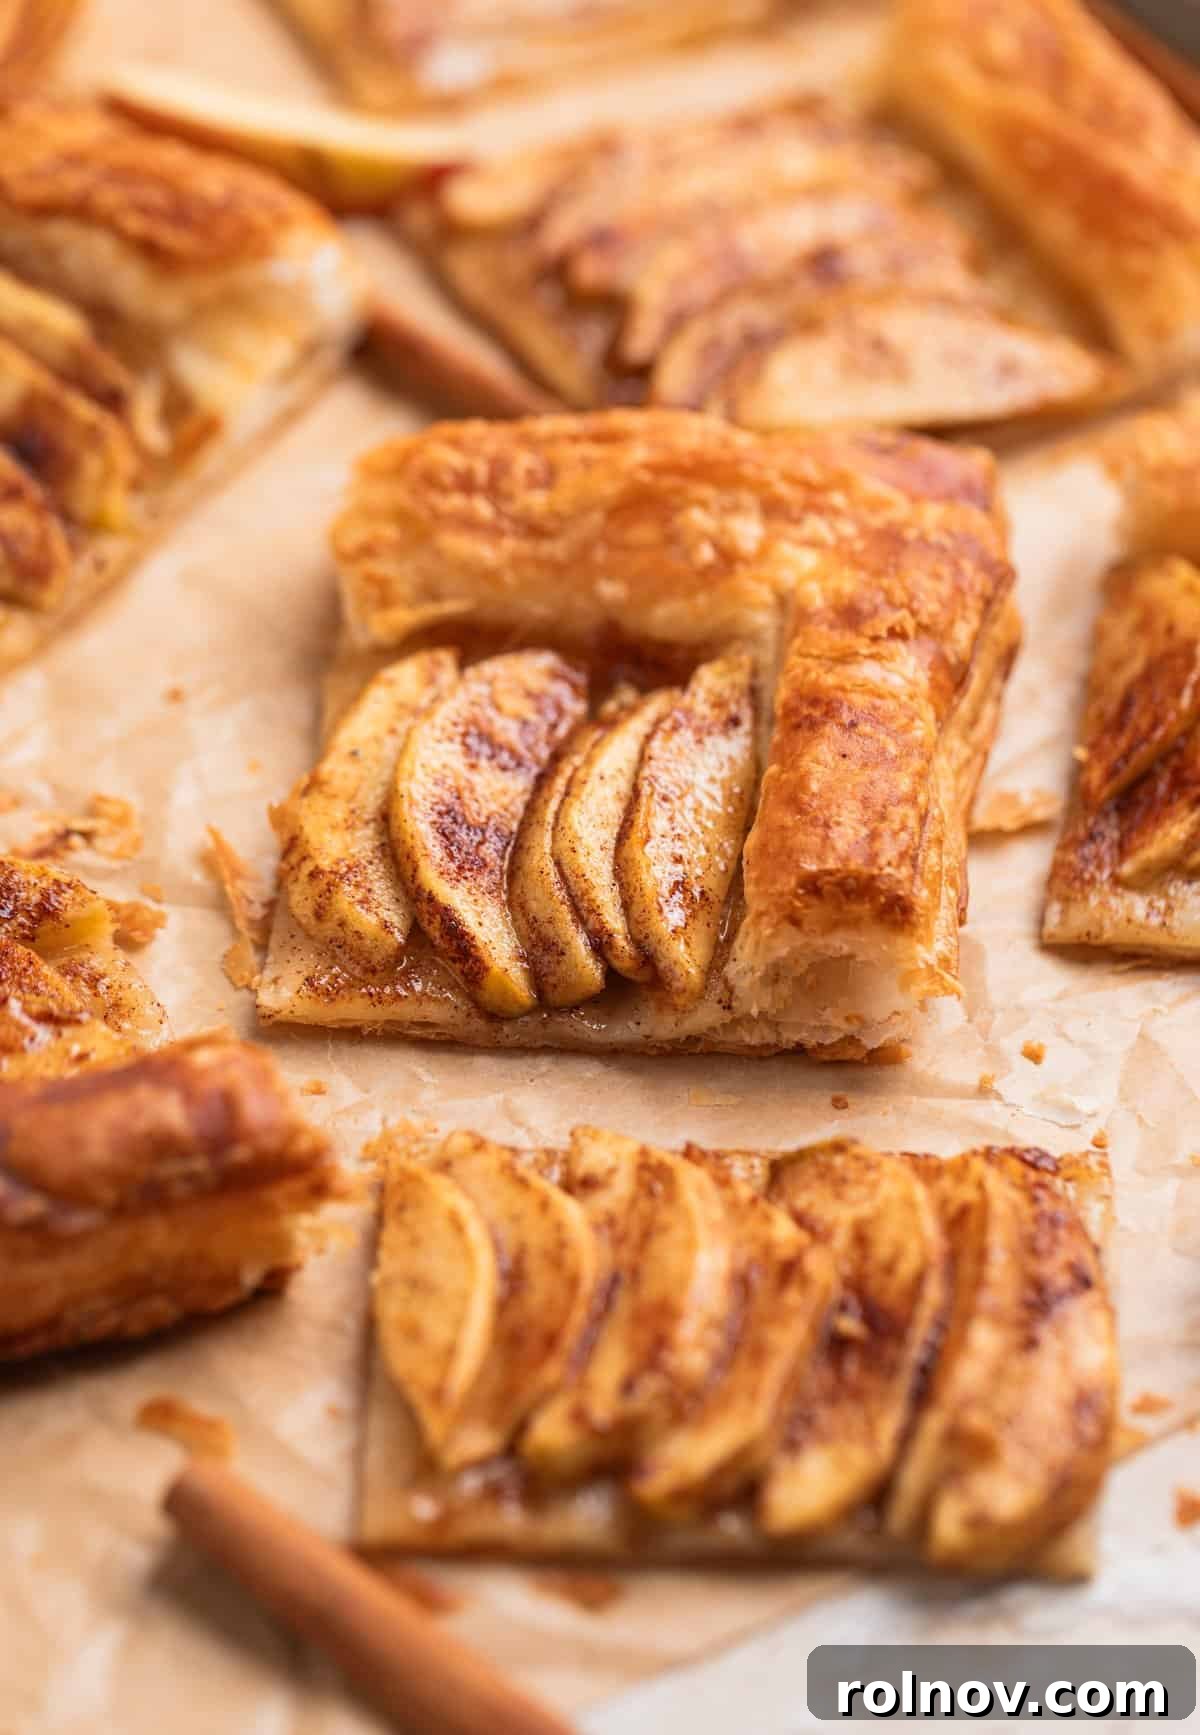
There’s something truly magical about a recipe that seamlessly transitions from a sophisticated dessert to a delightful breakfast dish. This remarkably simple Puff Pastry and Apple Tart recipe is precisely that kind of culinary dream. It’s an ideal choice when you crave a homemade apple tart without spending hours in the kitchen, making it a standout among easy apple desserts.
My enthusiasm for puff pastry knows no bounds. Its buttery, ethereal flakiness provides the perfect foundation for a myriad of fillings. In this case, we elevate it with a luscious topping of thinly sliced apples, generously coated in rich brown sugar and warm cinnamon. Baked to golden perfection, then finished with a sweet, shimmering honey drizzle, this flaky apple pastry is truly set to impress. Serve it warm with a scoop of creamy vanilla ice cream or a dollop of whipped cream for an elevated dessert experience, or enjoy it as is alongside your morning coffee and other favorite brunch items for a cozy start to your day.
If you’re a fan of uncomplicated yet utterly delicious apple treats, you’ll also love these recipes! Explore our Apple Cranberry Crisp, Apple Dump Cake, Apple Crumble Bars, or these delightful Apple Cinnamon Donuts with Apple Cider Glaze!
Why You Will Adore This Puff Pastry Apple Tart Recipe:
-
Effortlessly Simple Preparation:
This recipe is so straightforward, it barely feels like cooking! With just a few common ingredients and minimal effort, you can create a stunning dessert. The process involves tossing thinly sliced apples with melted butter, brown sugar, cinnamon, and vanilla, then arranging them on a prepped puff pastry sheet. A quick egg wash on the edges, and into the oven it goes. Fresh out of the oven, a brush of honey adds the perfect finishing touch. It’s truly a quick apple recipe that delivers maximum flavor with minimal fuss, making it perfect for novice bakers and busy home cooks.
-
Remarkably Versatile:
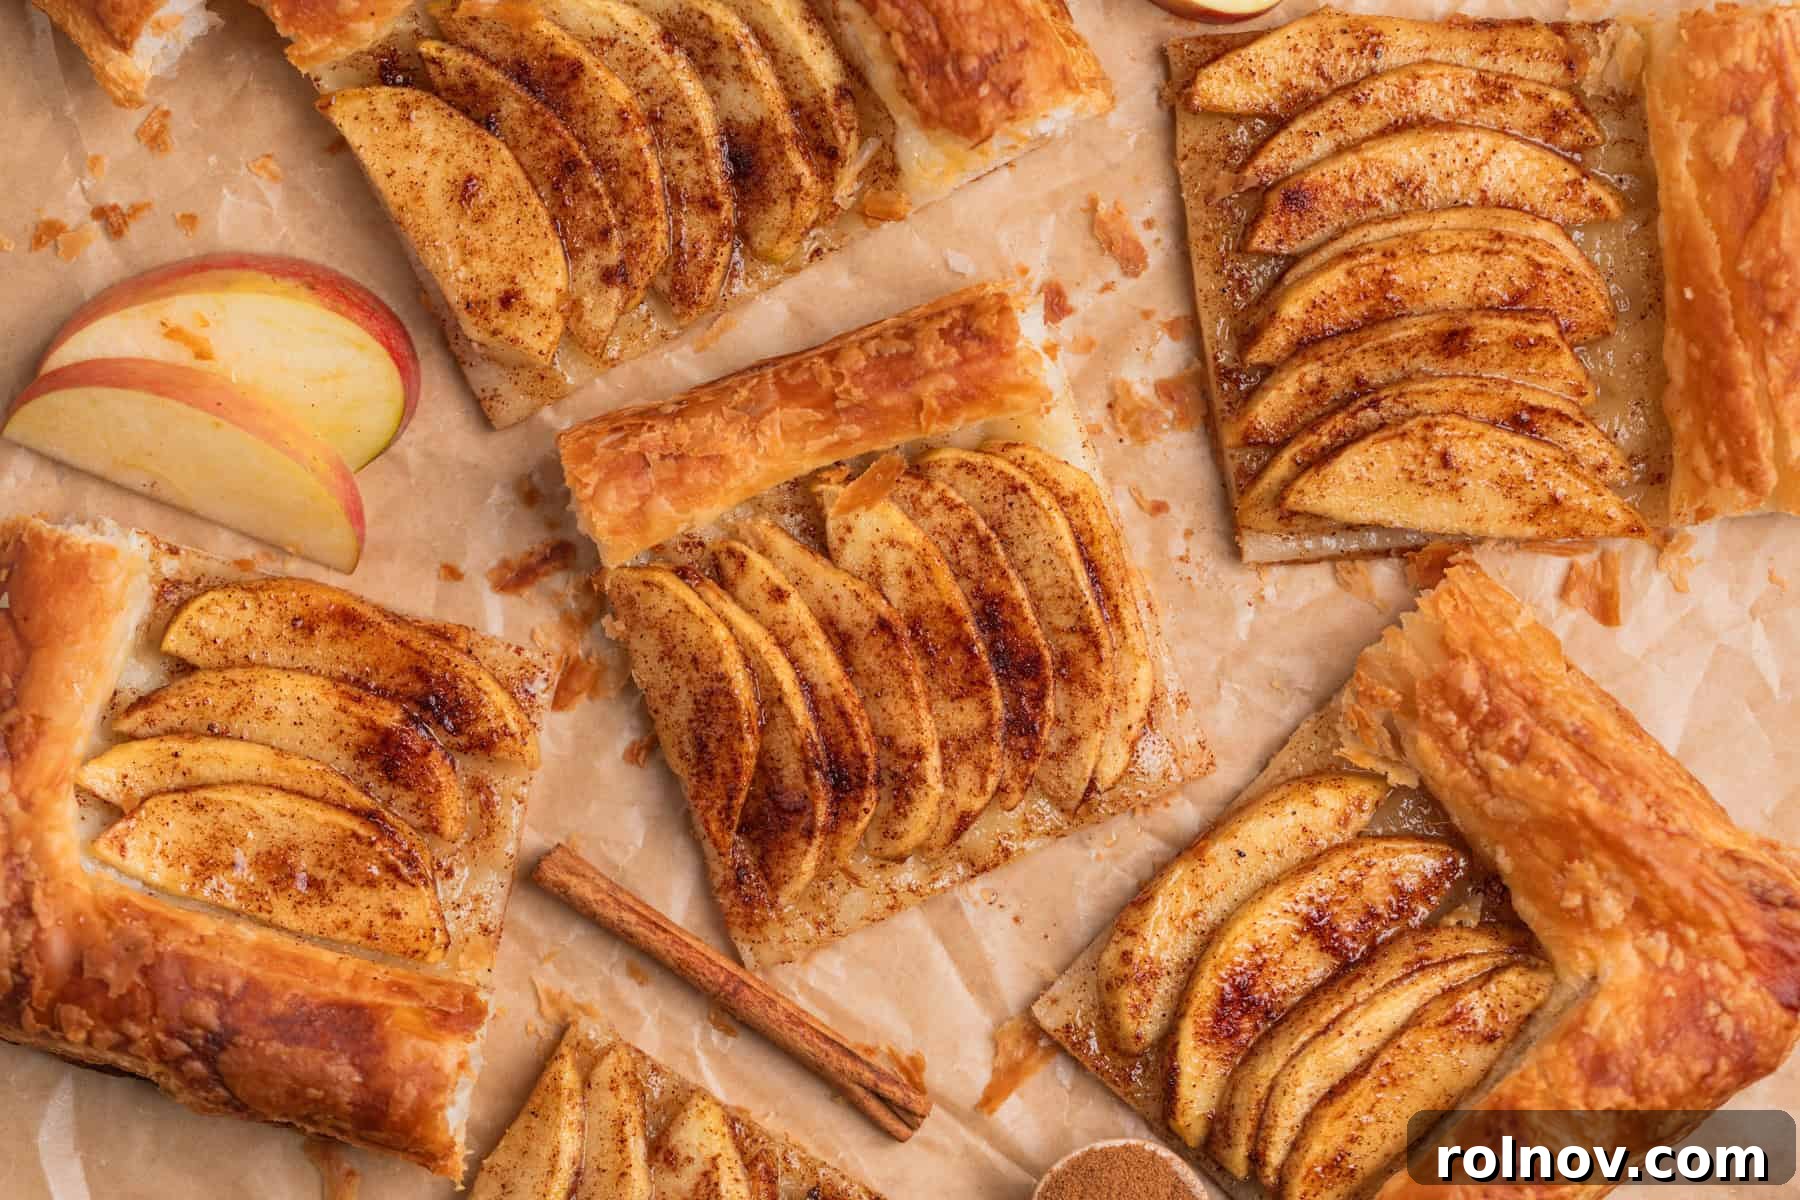
One of the best aspects of this homemade apple tart is its incredible adaptability. Feel free to customize it to your heart’s content! Before layering the apples, consider spreading a thin layer of cream cheese for a tangy counterpoint, a fruit preserve for extra sweetness, or even a spiced apple butter for a deeper apple flavor. You can also experiment with different glazes or toppings post-baking, such as a simple powdered sugar icing. For individual servings, simply cut the puff pastry into smaller squares or circles before baking, creating charming mini apple tarts perfect for parties or lunchboxes.
-
A Perfect Addition to Any Gathering:
Light, inviting, and utterly delicious, this simple puff pastry recipe is an excellent choice for a wide array of occasions. Planning a special brunch? It’s a fantastic centerpiece. Hosting a shower or a casual get-together with friends? This tart is sure to be a crowd-pleaser. Moreover, it’s a wonderful “just because” recipe – ideal for using up a bounty of apples after a fun apple-picking excursion or simply to transform those extra apples sitting in your fruit bowl into a comforting treat.
Essential Ingredients for Your Apple Puff Pastry Tart:
Crafting this delightful apple puff pastry tart requires only a handful of readily available ingredients. Here’s a closer look at what you’ll need and some tips for selection:
- Apples: For this apple tart, I typically reach for Fuji or Gala apples due to their balanced sweetness and firm texture, which holds up well during baking. These varieties are often on hand, especially during the fall season. If you prefer a tart apple flavor, Granny Smith apples are an excellent choice and will offer a lovely contrast to the sweet pastry. Ultimately, the best apples are your favorite ones, so feel free to experiment with what you enjoy most!
- Puff Pastry: Quality puff pastry is key to a flaky apple pastry. My go-to brands are Pepperidge Farm, which typically comes in two convenient sheets, and Jus-Rol, often found as one long roll. The main difference is their size, but both perform beautifully. This recipe is designed around one standard Pepperidge Farm sheet. If using Jus-Rol, you can either cut it to a similar size or embrace its larger format and simply add more apples to cover the surface. The flexibility here means you don’t need to stress over exact pastry dimensions. Remember to thaw your puff pastry according to package directions before use.
- Brown Sugar: Whether you opt for light or dark brown sugar, both will work wonderfully in this recipe, imparting a rich, molasses-like sweetness. Light brown sugar is my usual preference and what I typically have on hand, offering a milder, butterscotch-like note.
- Vanilla Extract: Just a touch of pure vanilla extract significantly enhances the overall flavor profile of the cinnamon apples, adding depth and a comforting aroma.
- Warm Spices: A classic and simple combination of ground cinnamon and a pinch of ground nutmeg is all it takes to give the apples that irresistible, cozy flavor pop that defines a perfect cinnamon apple tart.
- Butter: Unsalted or salted butter can be used. If you opt for salted butter, you might want to omit or reduce the optional pinch of sea salt to control the overall saltiness. Melted butter is used both for tossing with the apples and brushing the pastry border, contributing to that rich, golden finish.
- Egg (for egg wash): An egg wash, made by whisking an egg with a little water or milk, is brushed onto the puff pastry border to help it achieve a beautiful golden brown color and a lovely sheen. If you have an egg allergy or simply prefer not to use it, heavy cream, milk, or even a bit more melted butter can serve as a suitable alternative for brushing the crust.
- Sea Salt: A tiny pinch of sea salt, while optional, subtly enhances the sweetness of the apples and balances the flavors. It’s a small addition that makes a noticeable difference.
- Honey: Brushing the warm, baked apples with honey not only adds an extra layer of sweetness but also gives the tart a gorgeous, glossy finish that makes it even more appealing. You can warm the honey slightly in the microwave for easier brushing.
Step-by-Step Guide to Crafting Your Apple Puff Pastry Tart:
Creating this stunning and delicious apple puff pastry tart is a straightforward process. Follow these detailed steps to achieve a beautifully golden, flaky, and fruit-filled masterpiece:
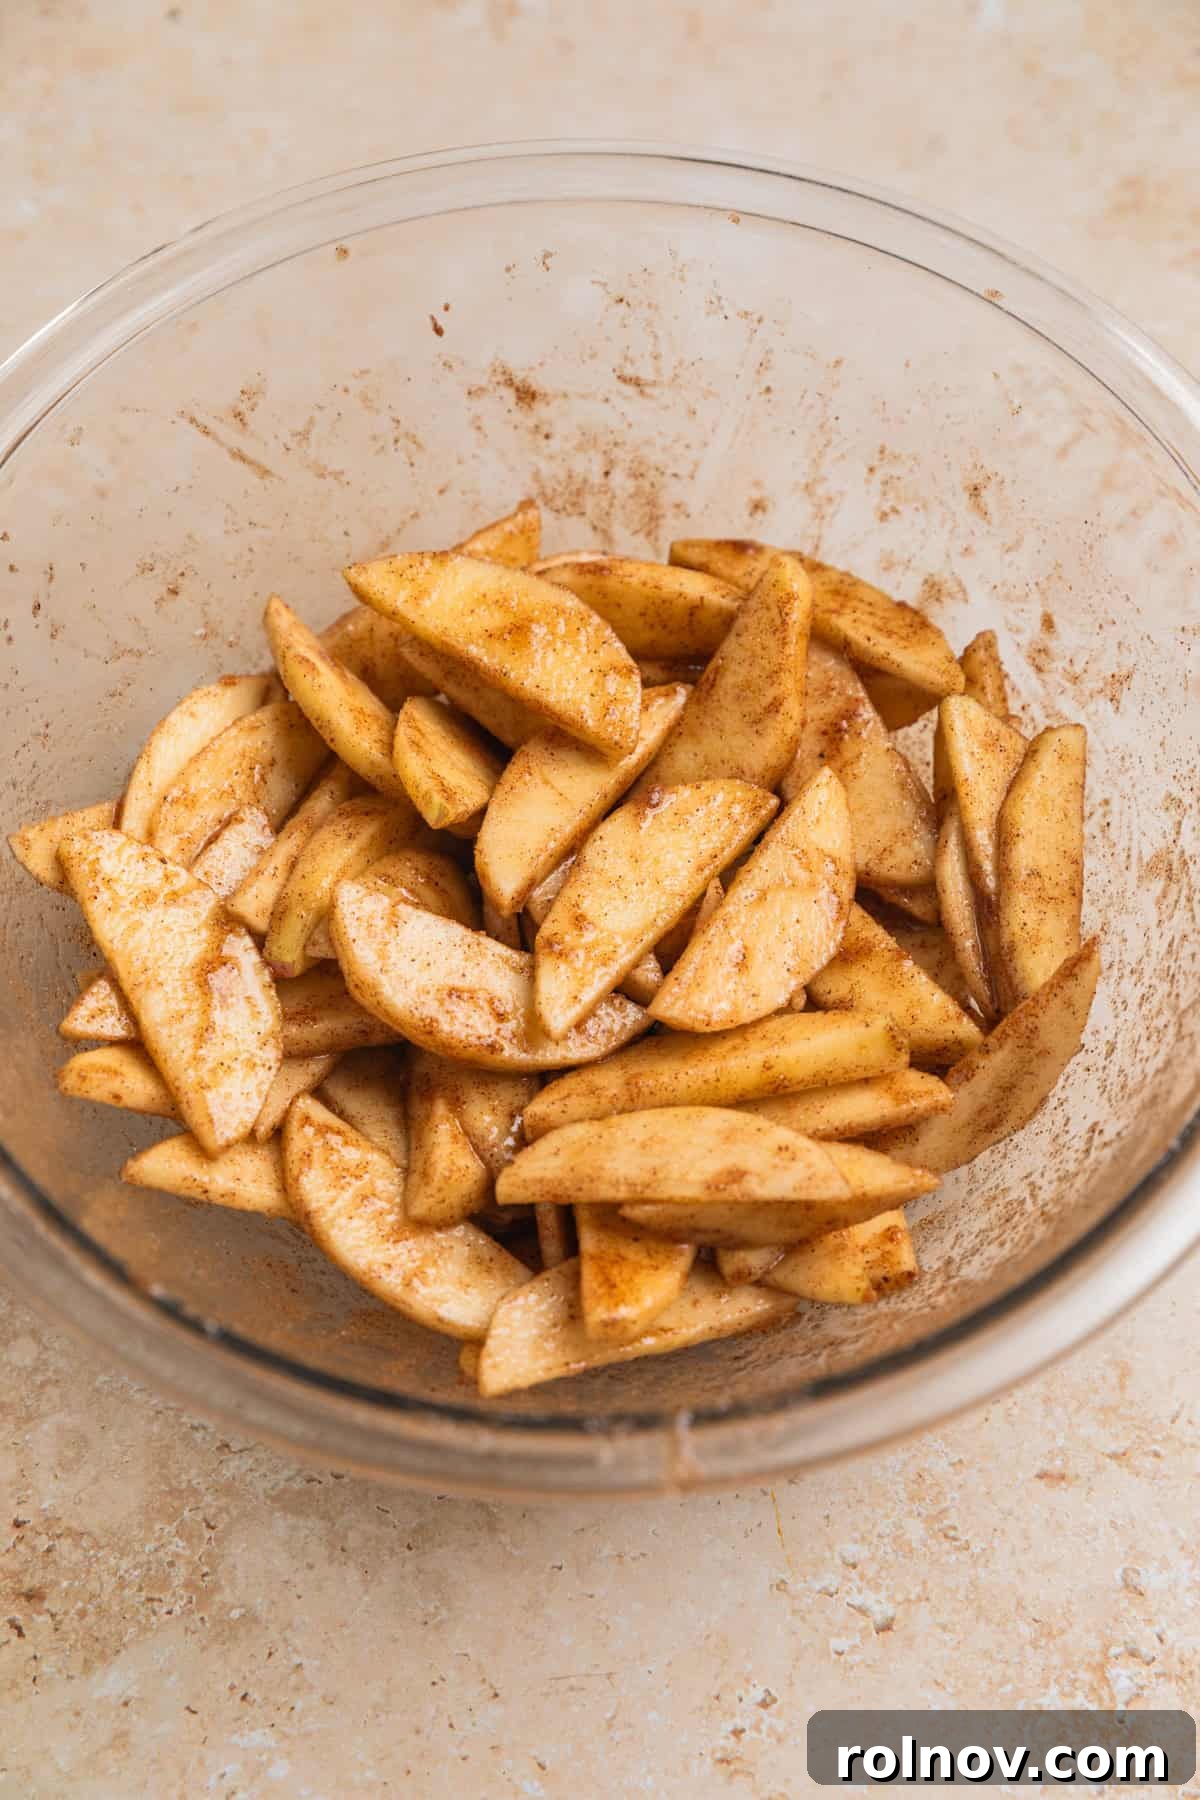
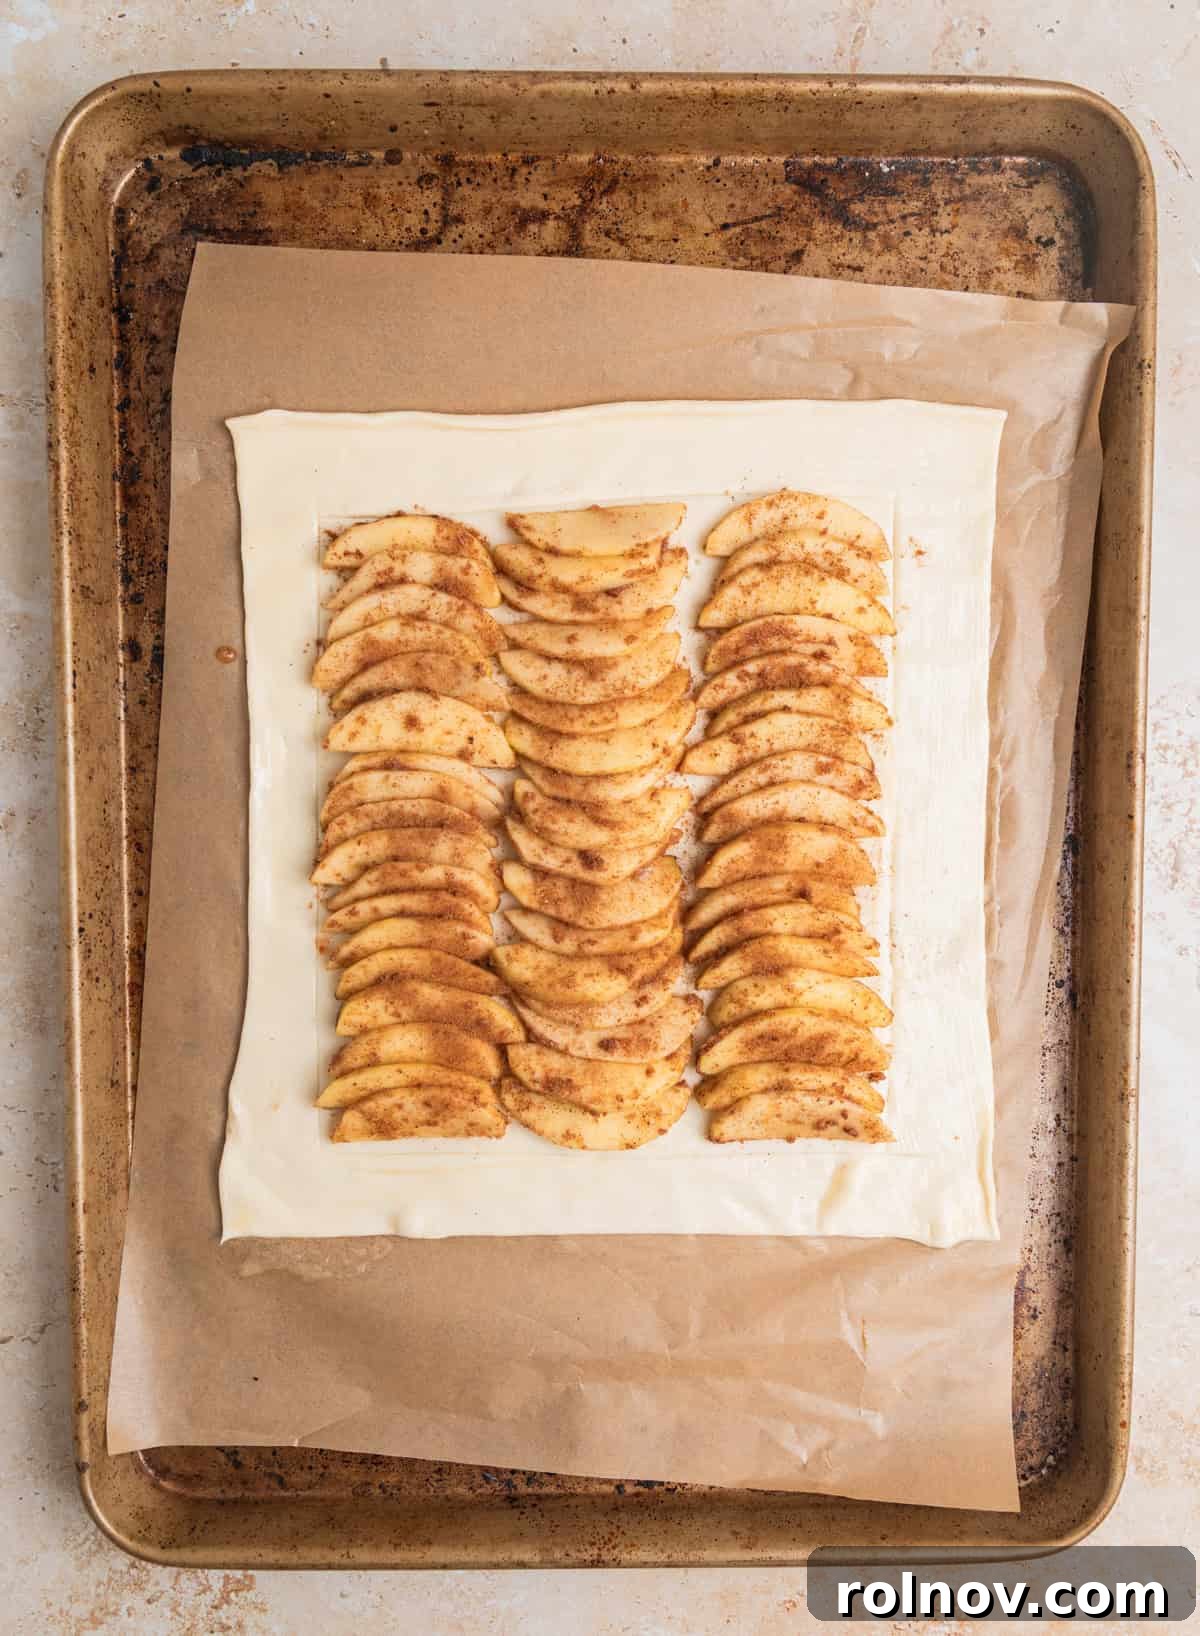
- Step 1: Prepare the Apples. Begin by peeling your chosen apples and slicing them very thinly. Aim for uniform slices, about 1/8-inch thick, to ensure even cooking. In a medium bowl, combine the thinly sliced apples with 2 tablespoons of melted butter, brown sugar, cinnamon, nutmeg, vanilla extract, and a pinch of sea salt (if using). Toss gently until all the apple slices are evenly coated.
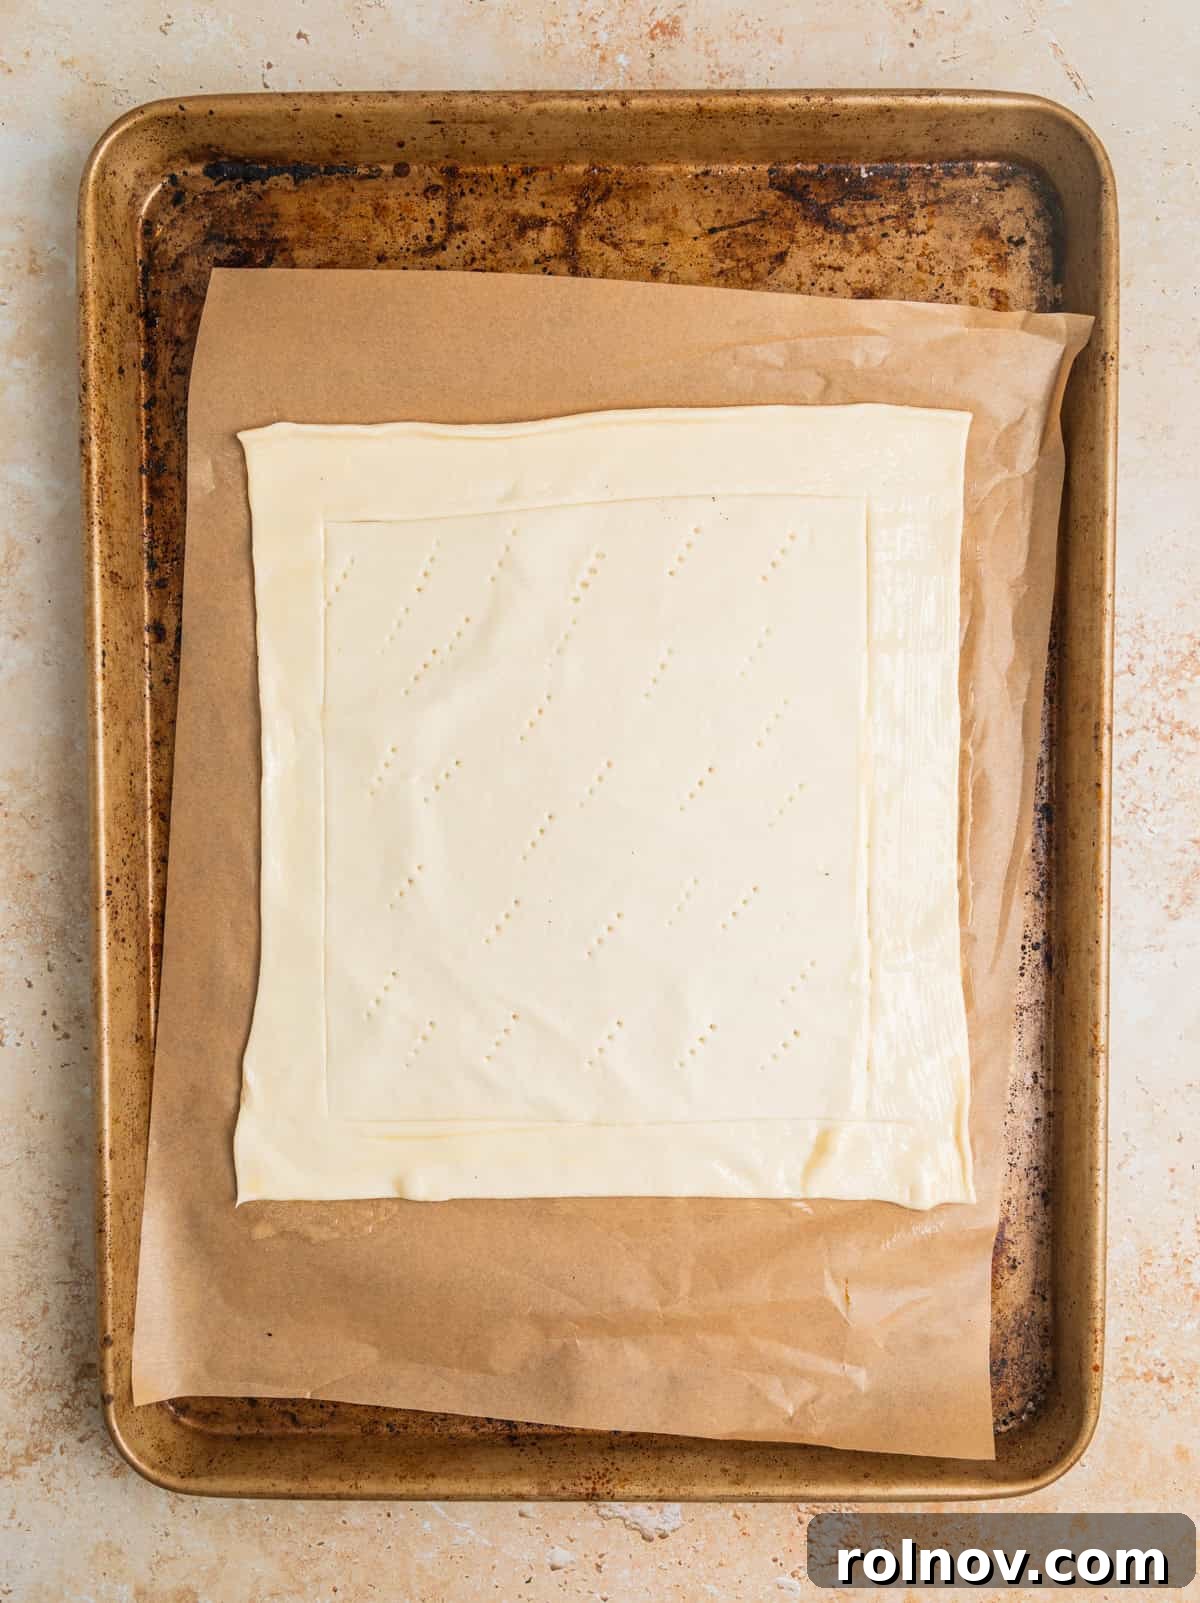
- Step 2: Prepare the Puff Pastry. Line a standard baking sheet with parchment paper. Carefully unroll or unfold your thawed puff pastry sheet onto the parchment. Using a sharp knife, gently score a 1-inch border around the perimeter of the puff pastry. This is not a full cut through the dough, but rather a shallow line that helps the edges puff up beautifully and keeps the apple juices contained within the border during baking.
- Step 3: Prep the Pastry for Filling. Using a fork, lightly poke holes across the entire center section of the puff pastry, inside the scored border. This prevents the center from puffing up too much and ensures a crisp base for your apples. Next, brush the scored border with the remaining tablespoon of melted butter. While you could use an egg wash, milk, or cream for the border, the melted butter adds an extra layer of rich, savory flavor that I absolutely adore.
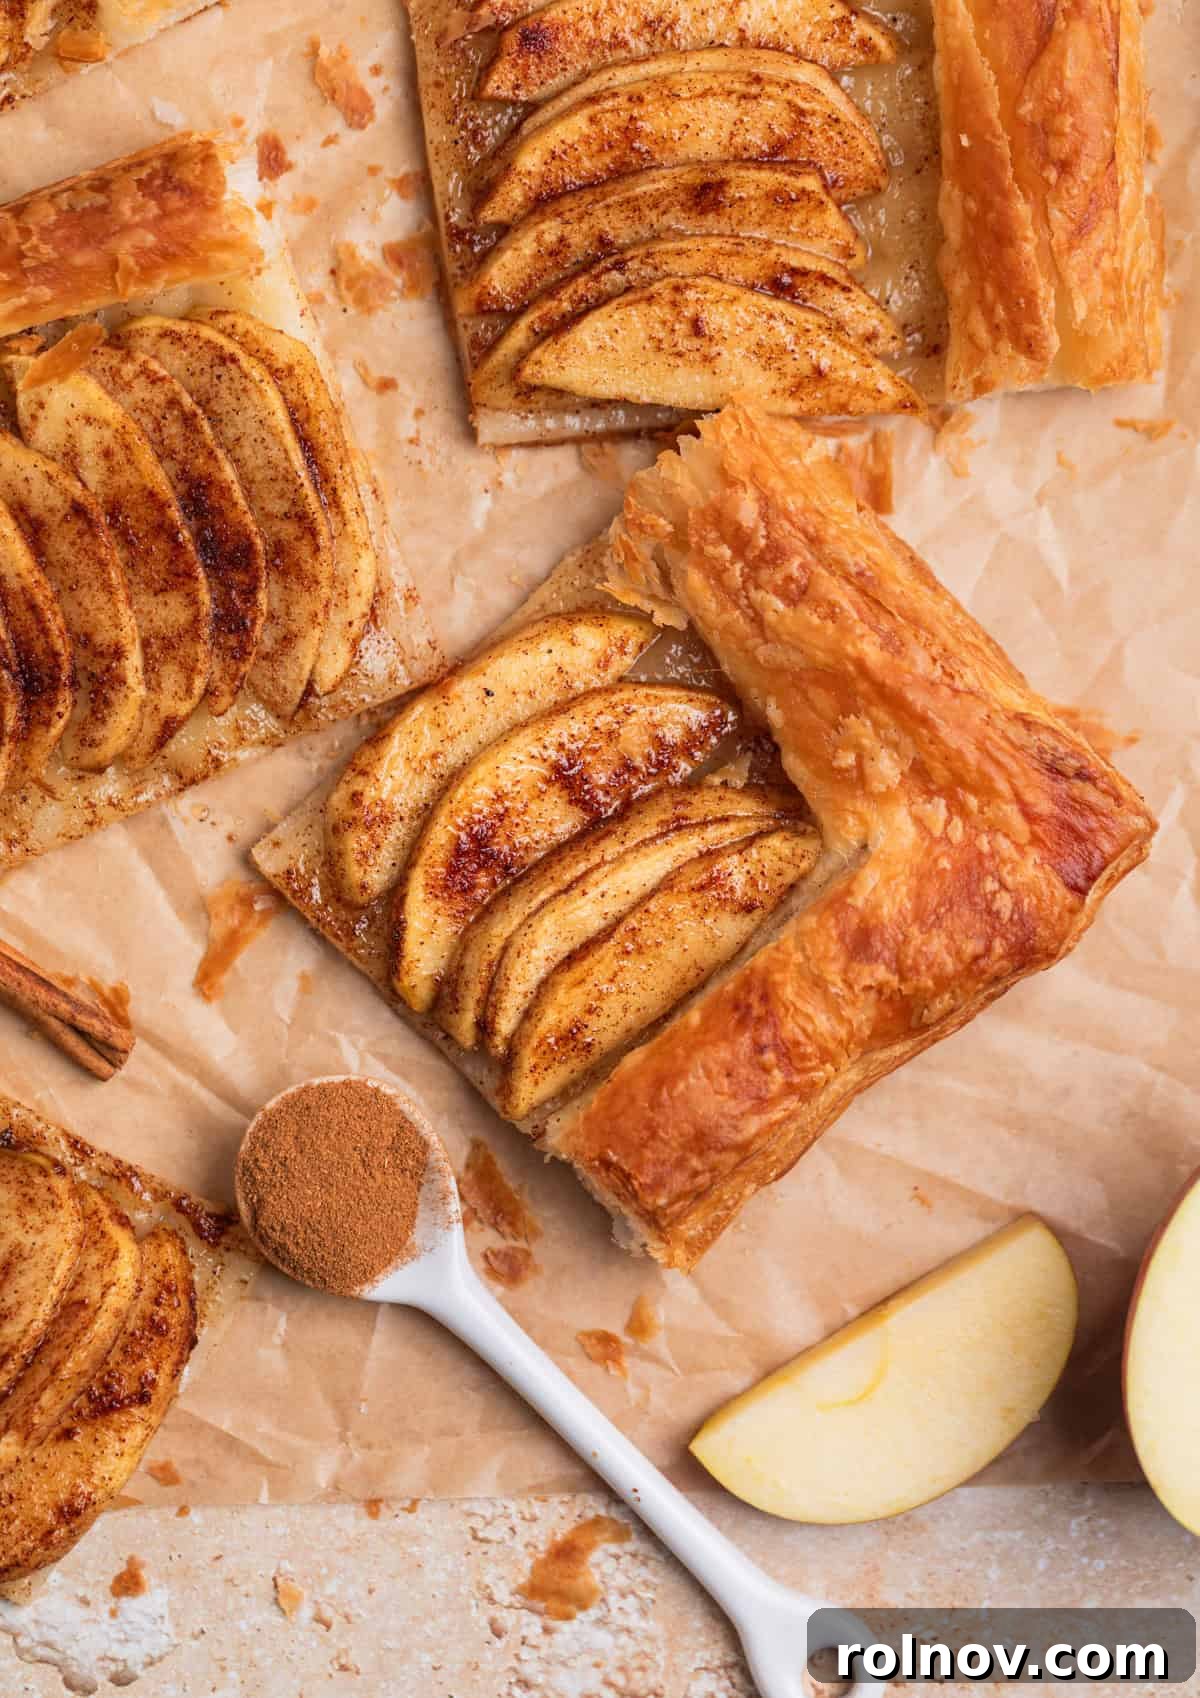
- Step 4: Arrange the Apples. Artfully arrange the seasoned apple slices on the poked center of the puff pastry. I typically create three neat, even rows, overlapping the slices slightly to create a visually appealing pattern. However, feel free to get creative and arrange them as elaborately or simply as you like – a beautiful presentation always enhances the dessert!
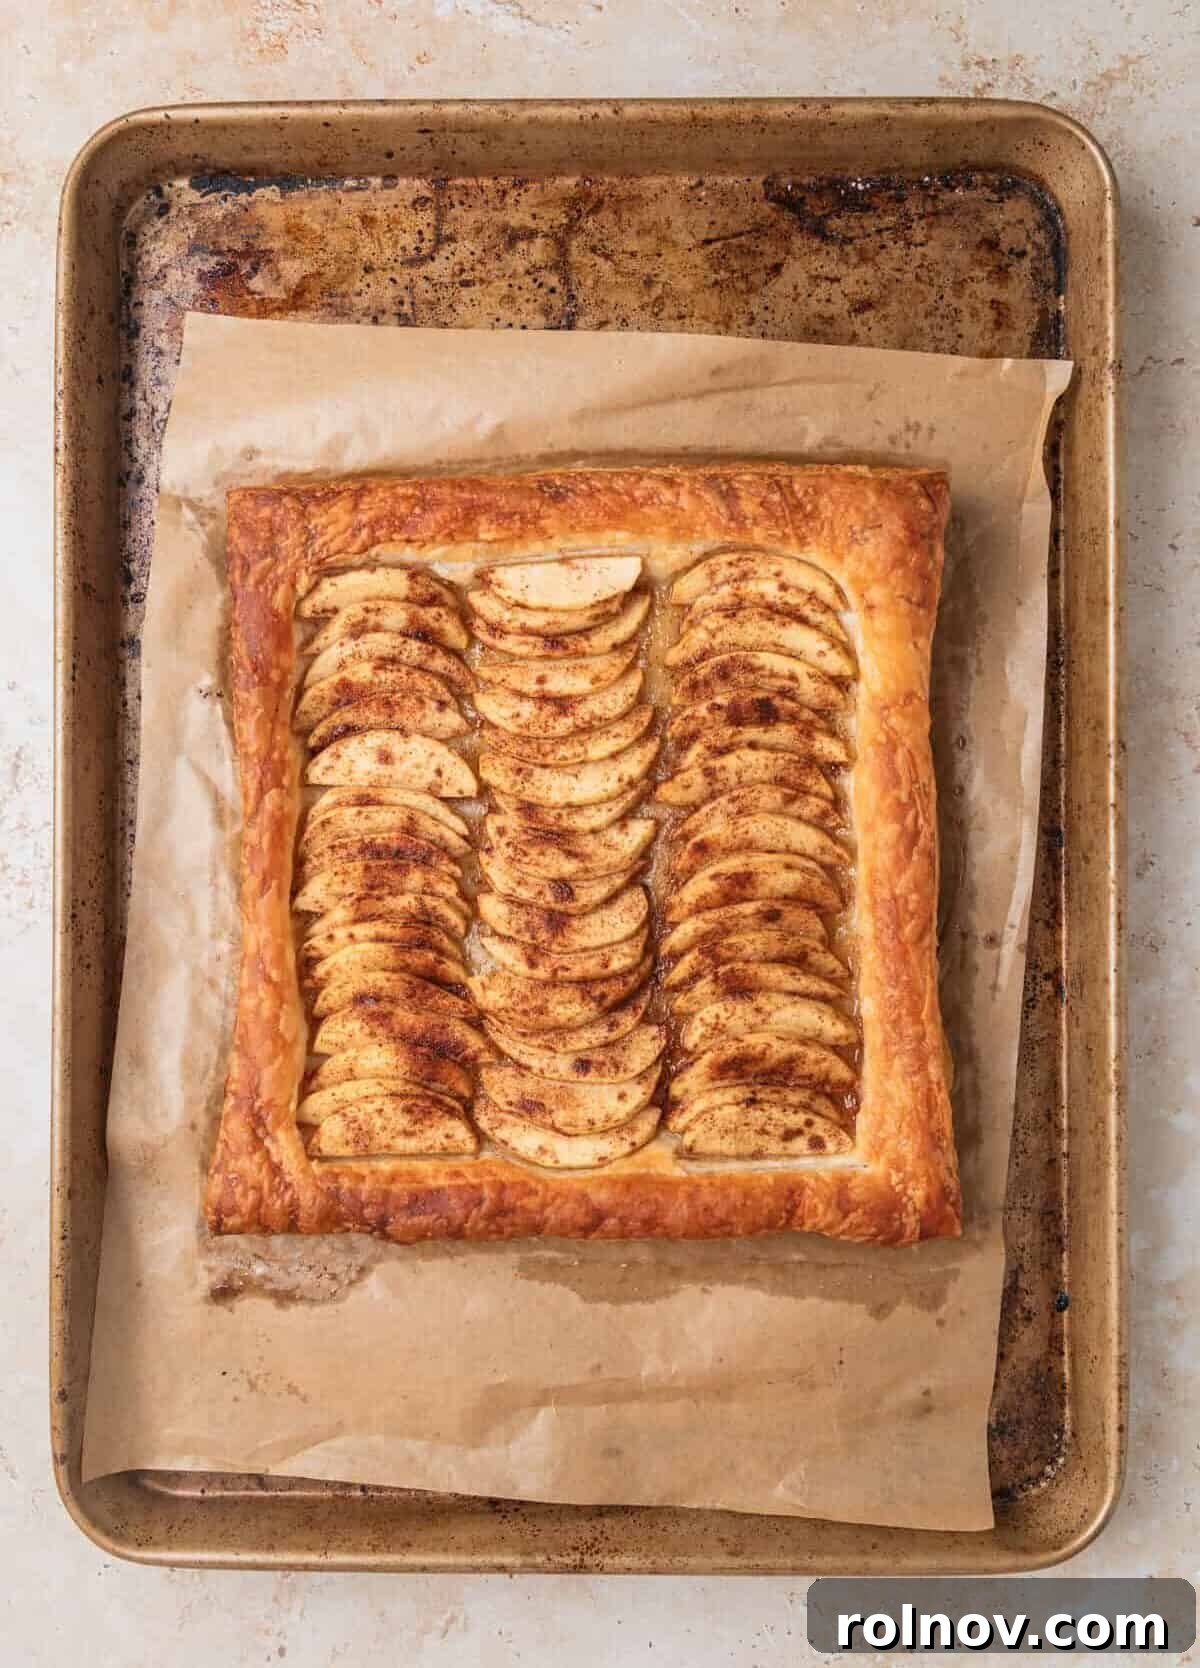
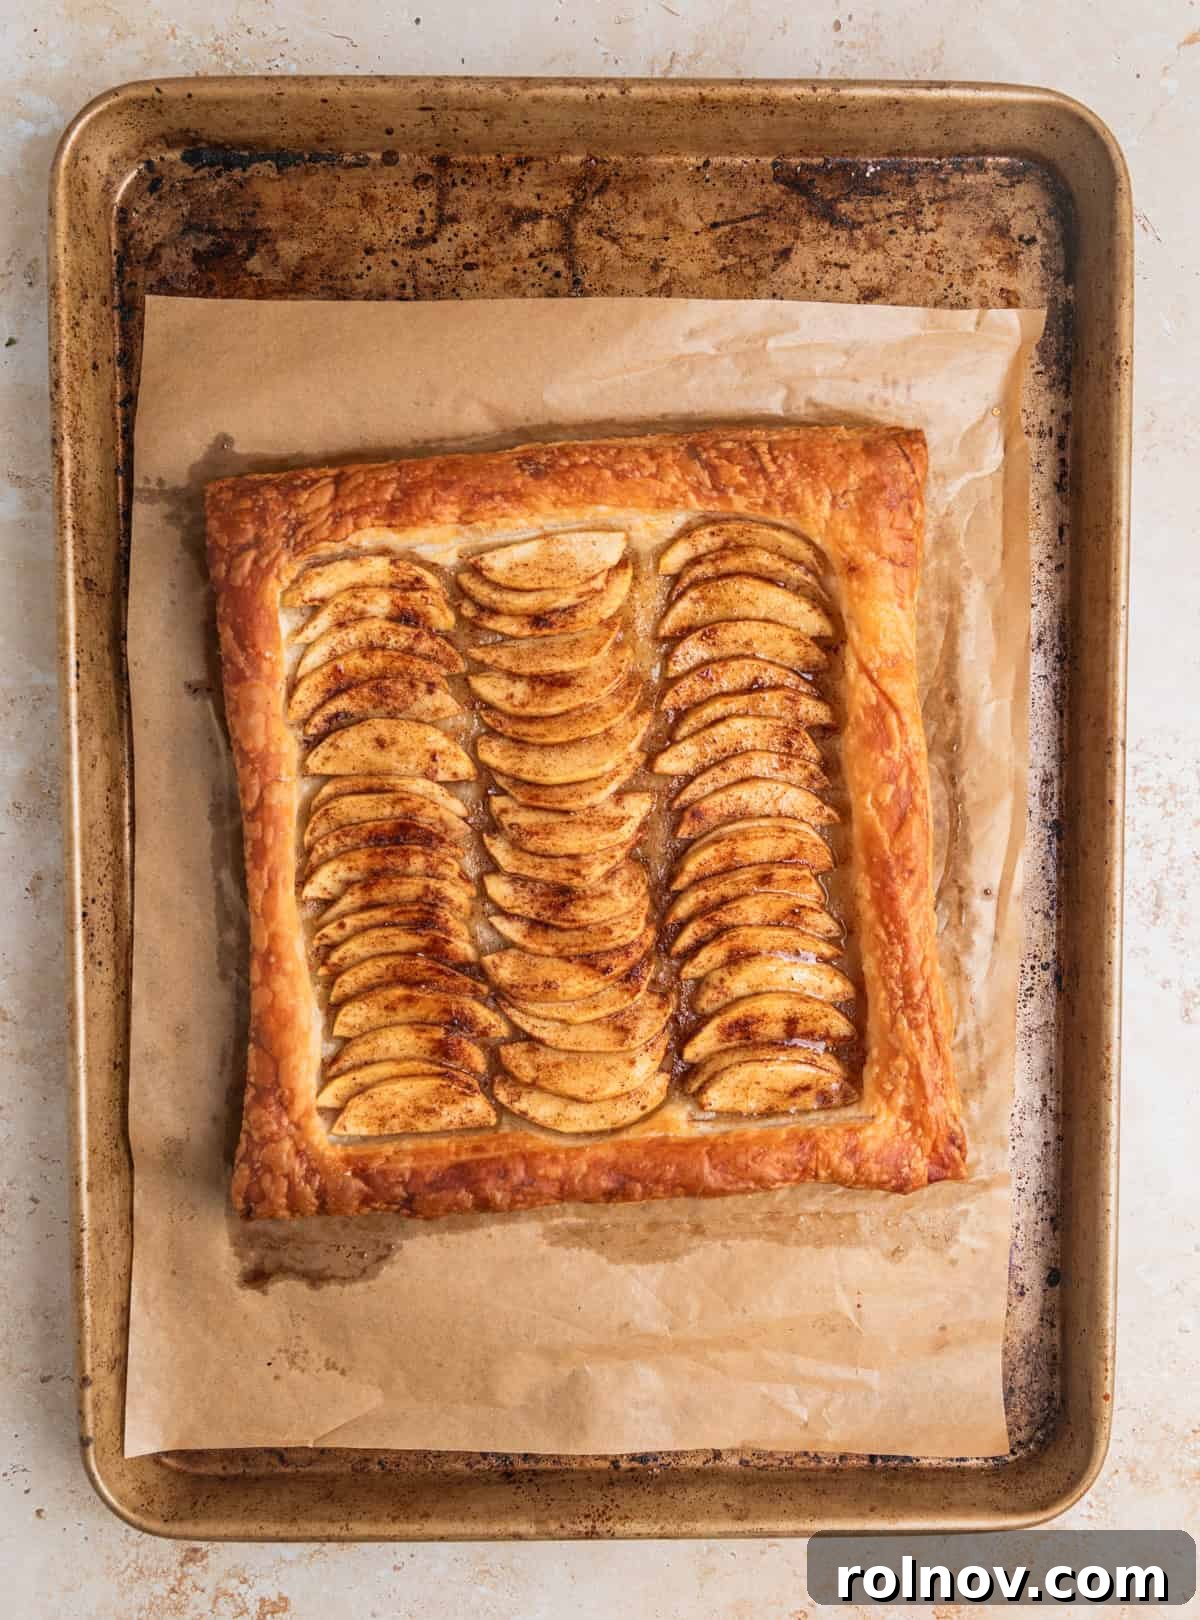
- Step 5: Bake to Golden Perfection. Preheat your oven to 400°F (200°C). Carefully transfer the baking sheet with your apple tart to the preheated oven. Bake for approximately 20 minutes, or until the puff pastry edges are beautifully puffed up and golden brown, and the apples are tender. Start checking the tart around the 15-minute mark, and then monitor it every 2 minutes thereafter to prevent over-browning.
- Step 6: Glaze and Serve. Once baked, remove the apple puff pastry tart from the oven. While still warm, gently brush the tops of the apples with honey. If your honey is too thick, microwave it for about 15 seconds to thin it out slightly, making it easier to spread and giving your tart an exquisite shine. Allow the tart to cool for several minutes on the baking sheet before transferring it to a cutting board. Serve warm or at room temperature. Enjoy this delicious treat on its own, with a luxurious scoop of vanilla ice cream, a dollop of freshly whipped cream, or a dusting of powdered sugar.
Expert Tips for the Perfect Apple Puff Pastry Tart
- Customize Your Border: The thickness of your tart’s border is entirely up to your preference! I personally love a generously thick, fluffed-up border on my apple tarts, so I score it about 1 inch from the edge. If you prefer more apple filling and less crust, you can score the edge closer to a ½ inch for more surface area dedicated to the delicious apples.
- Add a Flavorful Layer: For an extra layer of flavor and texture, consider spreading something delicious onto the puff pastry before arranging the apples. Fig jam offers a unique sweetness, cream cheese adds a tangy richness, while apple butter deepens the apple essence. This intermediary layer can truly elevate your apple puff pastry tart.
- Puff Pastry Size Flexibility: Don’t fret if your puff pastry sheet isn’t the exact standard size. Puff pastry is wonderfully forgiving! If your sheet is larger, simply add a few more apple slices to ensure even coverage. If it’s a bit smaller, you can reduce the amount of apples slightly. The key is to cover the center adequately for a delicious result, regardless of minor size variations.
- Even Apple Slicing: Use a mandoline slicer for perfectly even, thin apple slices. This ensures that all apples cook at the same rate and results in a beautiful, professional-looking tart.
- Don’t Overcrowd: While you want a good amount of apples, avoid piling them too high. An even layer allows for proper baking and prevents a soggy crust.
- Cooling Time is Key: While it’s tempting to cut into this delicious tart right out of the oven, allowing it to cool for at least 10-15 minutes ensures the pastry sets and the flavors meld, making it easier to slice and enhancing its overall texture.
Storage & Reheating Instructions:
This delectable apple tart is truly at its best when enjoyed fresh from the oven, offering optimal flakiness and warmth. However, any leftovers can be easily stored and savored later.
Refrigeration: To store, transfer the cooled apple puff pastry tart to an airtight container. It will keep well in the refrigerator for up to 3 days. When ready to enjoy again, you can gently reheat slices in an oven at 300°F (150°C) for about 5-10 minutes to restore some crispness, use an air fryer for a quick reheat, or even microwave individual slices if you prioritize speed over crispness.
Freezing: This recipe is also freezer-friendly, offering a convenient make-ahead option. Once the tart has completely cooled, place it in a freezer-safe sealed container or wrap it tightly in plastic wrap and then aluminum foil. It can be frozen for up to 3 months. While a frozen and reheated tart might not possess the exact same fresh-baked texture, I have personally tried it and still found it to be incredibly enjoyable. To reheat from frozen, bake in a preheated oven at 350°F (175°C) until warmed through and the pastry is crisp, typically around 20-30 minutes, or longer if a whole tart.
More Delightful Apple Recipes:
Desserts
Apple Crumble Bars
Desserts
Apple Dump Cake
Desserts
No Bake Caramel Apple Cheesecake
Breakfast
Apple Cinnamon Donuts with Apple Cider Glaze
HUNGRY FOR MORE? Subscribe to my newsletter and follow me on Facebook, Instagram and Pinterest for all the latest recipes and culinary inspiration!
Puff Pastry Apple Tart
By: Lorie Yarro
This Apple Puff Pastry Tart is a delicious and simple dessert that can easily be part of a brunch spread or an after dinner treat with a big scoop of vanilla ice cream. Flaky puff pastry, sweet cinnamon sugar apples and a drizzle of honey over top for a 10 minute prep recipe that the whole family is going to love!
Prep Time: 10 minutes
Cook Time: 20 minutes
Total Time: 30 minutes
Servings: 9
Ingredients
- 3 small/medium apples, peeled and sliced thin
- 1 puff pastry sheet, thawed
- ¼ cup brown sugar
- ½ tsp vanilla extract
- ¼ tsp ground nutmeg
- 1 ½ tsp ground cinnamon (recommended brand)
- Pinch of sea salt (optional)
- 3 tbsp melted butter, divided
- 2 tbsp honey, optional (recommended brand)
Instructions
- Preheat oven to 400°F (200°C).
- Peel and slice apples very thin. In a small bowl, toss sliced apples with 2 tablespoons of the melted butter, brown sugar, cinnamon, nutmeg, vanilla, and sea salt.
- Line a baking sheet with parchment paper. Lay the thawed puff pastry on the parchment. Score with a sharp knife leaving a one-inch border around the perimeter of the puff pastry. (This is not a full cut through the pastry dough. Just a line around the border to help it puff up and keep the apple juices inside the border).
- Poke holes with a fork in the center of the puff pastry (inside the scored border). Brush the border with the remaining tablespoon of melted butter.
- Arrange the sliced apples on the poked center of the puff pastry. You can create three even rows, or arrange them as artfully as you like.
- Bake in the preheated oven for about 20 minutes or until the edges are puffed and golden brown. Check at the 15-minute mark and then keep an eye on it every 2 minutes.
- Remove from oven and gently brush the tops of the apples with honey. (You can microwave the honey for about 15 seconds to help thin it out a touch). Serve after allowing to cool for several minutes before enjoying.
Notes
- Customize the border: You can make the edges as thin or as wide as desired. I love a thick, fluffed-up border, so I make it on the thicker side (1 inch). If you prefer, you can score the edge about 1/2 inch for more space for apples.
- Add a base layer: Feel free to spread some jam (like fig jam) or cream cheese before adding the apples for an extra layer of flavor. Apple butter is another delicious option.
- Puff pastry size: Don’t worry if your puff pastry comes in a different size than standard sheets. You can easily make adjustments by adding some more apples, or lessening them as needed to cover the pastry adequately.
Nutrition
Nutrition information is automatically calculated, so should only be used as an approximation.
- Calories: 204kcal
- Carbohydrates: 30g
- Protein: 2g
- Fat: 14g
- Saturated Fat: 5g
- Polyunsaturated Fat: 1g
- Monounsaturated Fat: 6g
- Trans Fat: 0.2g
- Cholesterol: 10mg
- Sodium: 95mg
- Potassium: 94mg
- Fiber: 2g
- Sugar: 16g
- Vitamin A: 151IU
- Vitamin C: 3mg
- Calcium: 16mg
- Iron: 1mg
Did you enjoy this recipe? Have a question?
Leave a comment below!