
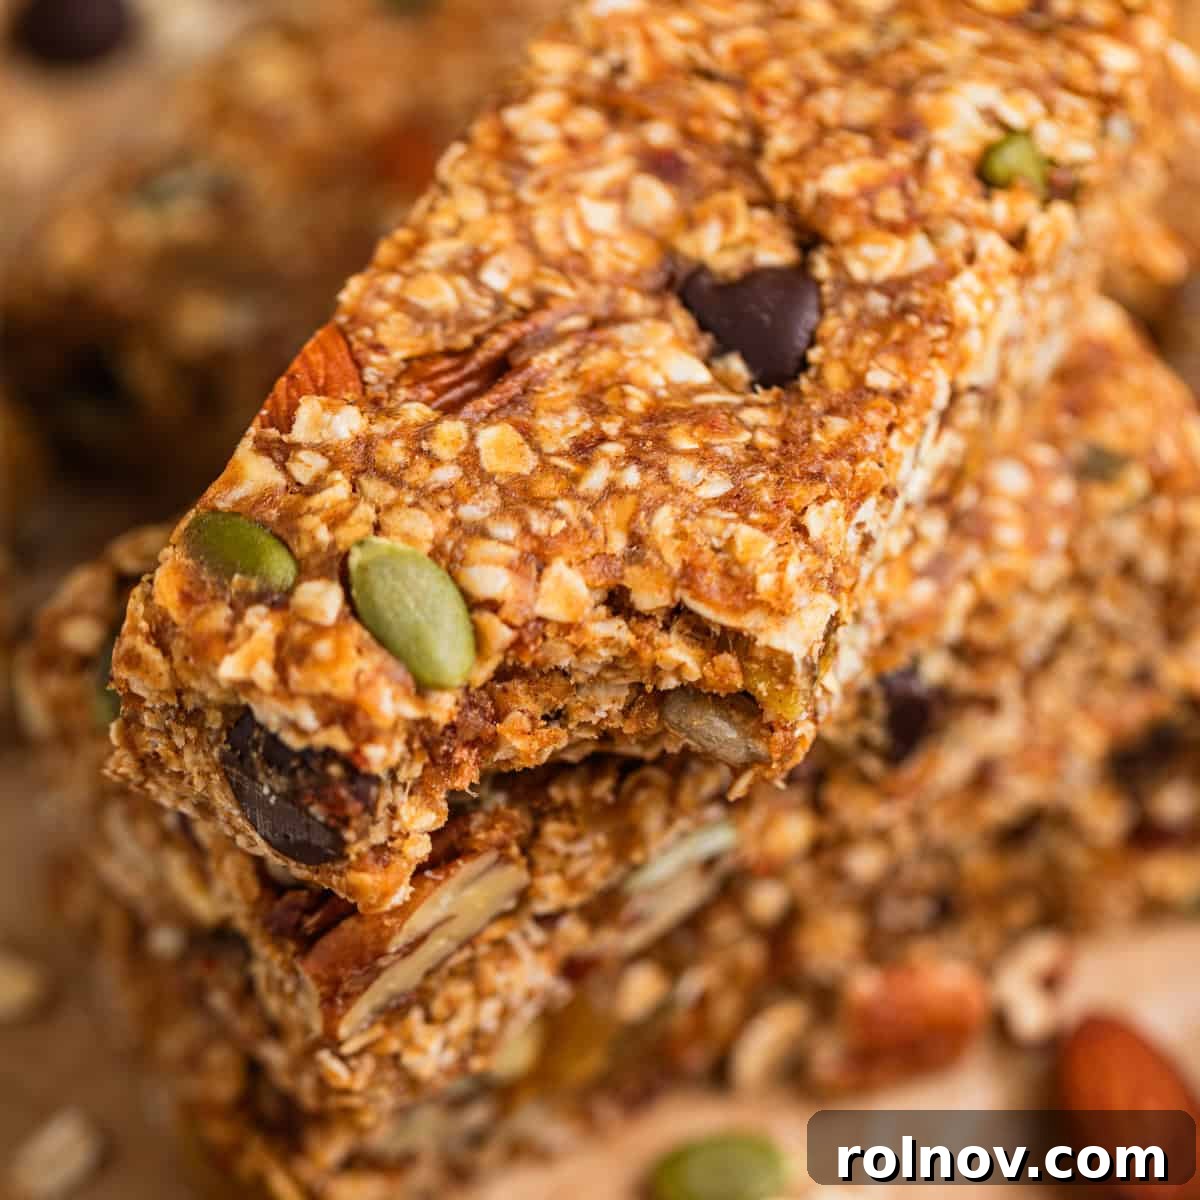
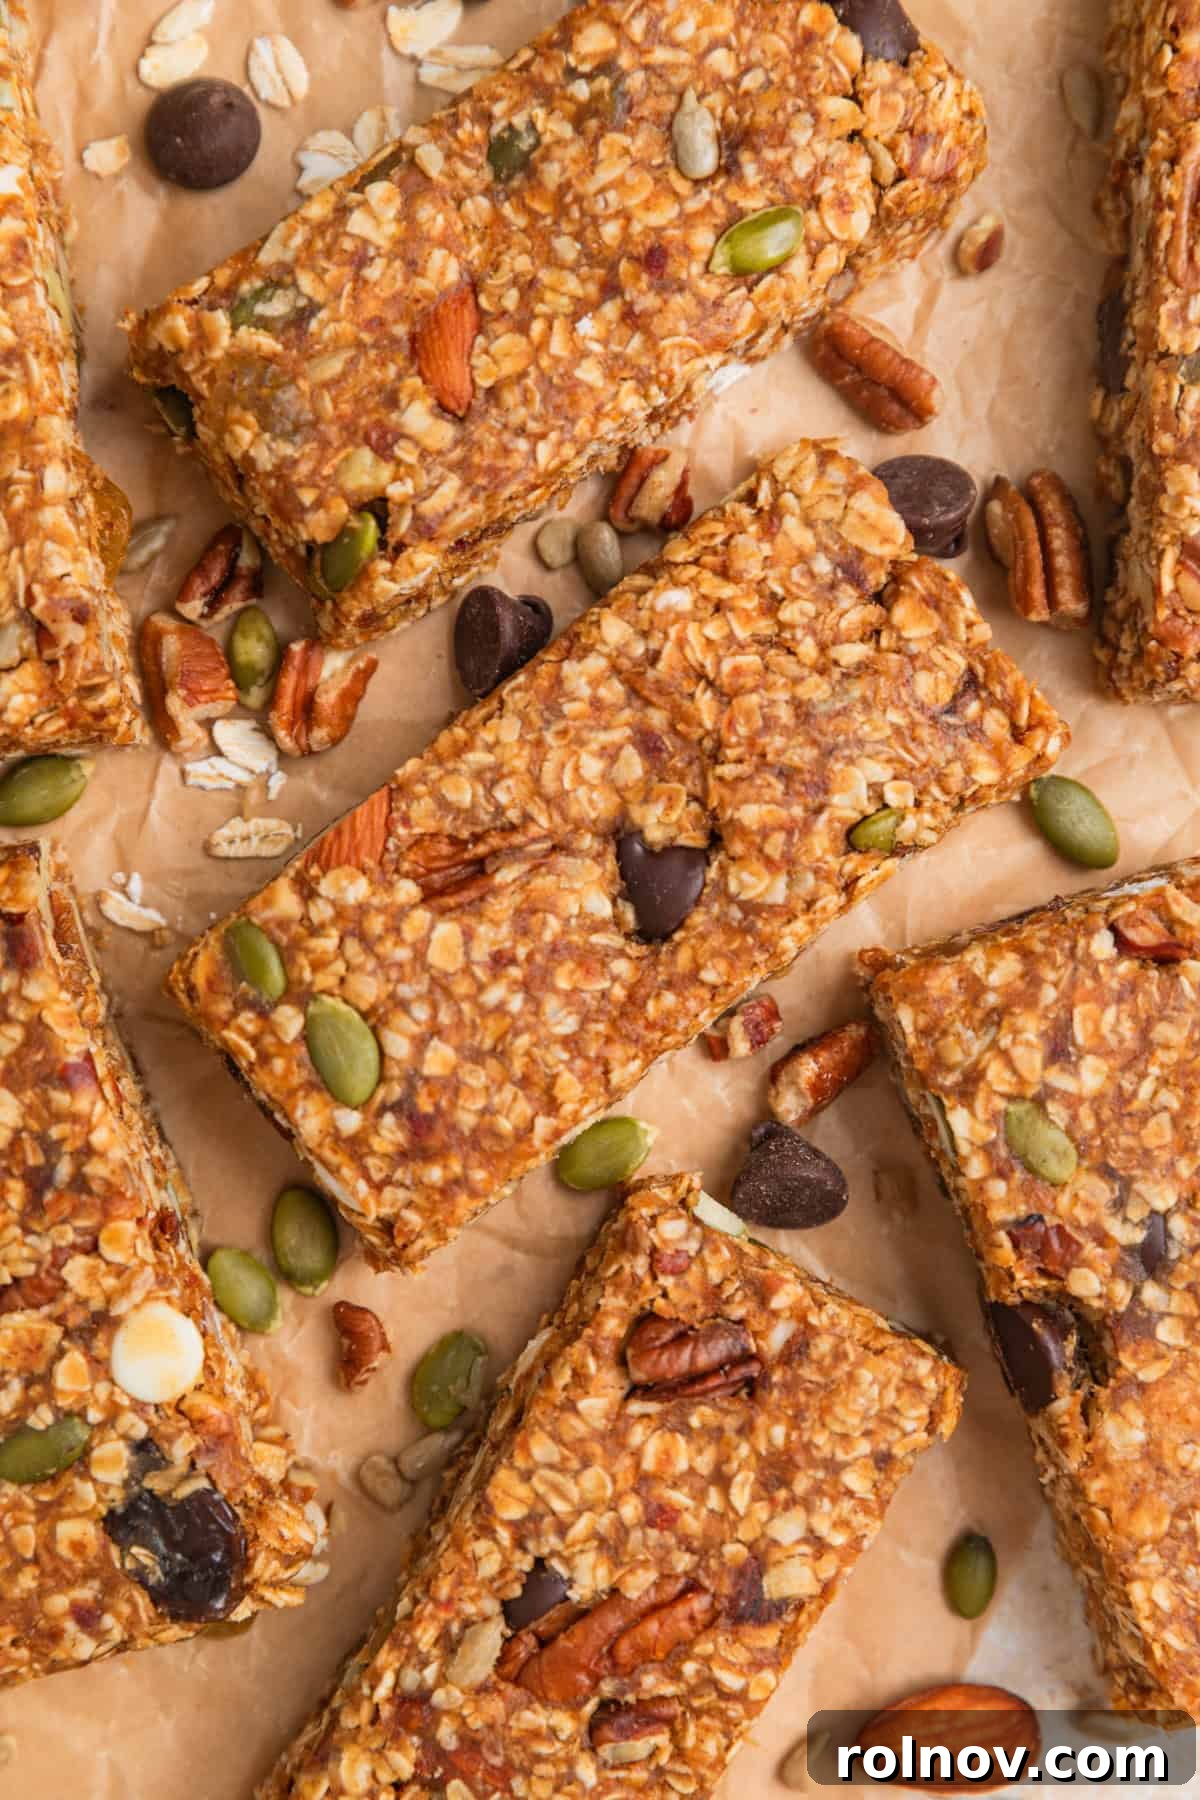
Transform your ordinary snack routine with these incredibly simple, no-bake Trail Mix Bars. Crafted in under 20 minutes, these wholesome bars are effortlessly customizable with your favorite nuts, seeds, and dried fruits, naturally sweetened with dates, and provide the perfect energy boost to power your day.
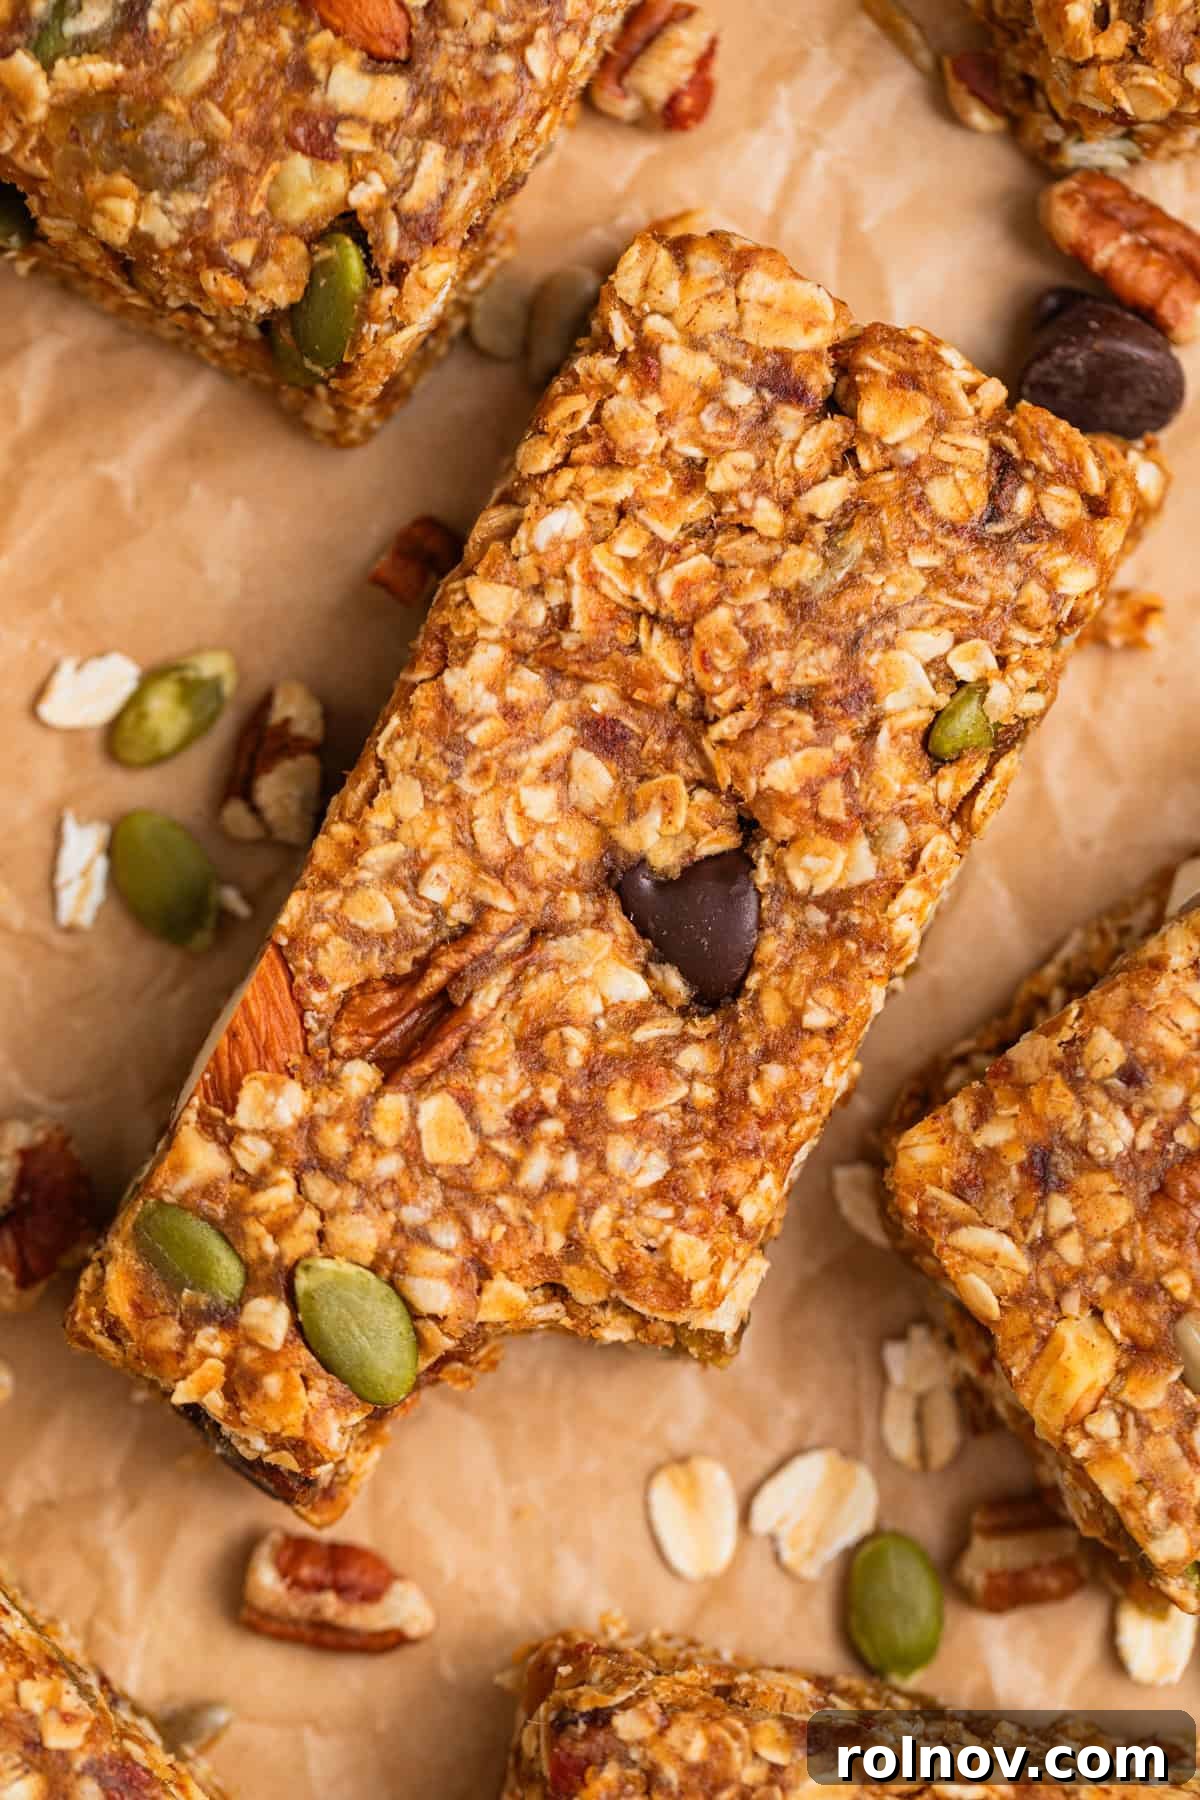
This beloved recipe was first introduced in July 2017 and has been thoughtfully updated in January 2025 with fresh images and enhanced tips, while preserving the original, delicious recipe!
Who doesn’t appreciate the delightful medley of a good trail mix? The satisfying crunch of nuts, the subtle chew of seeds, bursts of flavor from dried fruit, and the occasional indulgence of chocolate chunks – it’s a snack that caters to every palate. Whether you prefer a sweet and salty blend or something in between, trail mix is a universally loved treat. Take inspiration from a classic roasted trail mix and elevate it to bar form!
By bringing all these wonderful components together into a convenient bar, you create a truly nourishing and delicious grab-and-go snack. These No-Bake Trail Mix Bars are a fantastic way to incorporate your preferred flavors and pack powerful fuel to keep you energized and focused throughout any adventure or busy day.
Made with wholesome, natural ingredients and requiring absolutely no baking, these bars are a guaranteed win for healthy snacking!
If you’re a fan of fuss-free, no-bake treats, be sure to explore some of our other popular recipes. Discover the irresistible combination of No Bake Peanut Butter Chocolate Oatmeal Bars, the bite-sized delight of Peanut Butter Oatmeal Balls, the refreshing simplicity of Greek Yogurt Bark, or whip up a batch of these satisfying Homemade Perfect Bars.
Why You Will Love These Irresistible No-Bake Trail Mix Bars
- Effortless Preparation – No Baking Required! One of the standout features of these bars is their sheer simplicity. There’s no need to preheat your oven or spend time monitoring baking. This makes them perfect for busy individuals, novice cooks, or anyone looking to whip up a healthy snack without heating up the kitchen. You can easily use up whatever wholesome ingredients you have on hand in your pantry. The versatility means you could genuinely prepare these bars every week and create a new flavor profile each time. When it comes to convenience and deliciousness, no-bake recipes truly shine!
- Incredibly Simple to Customize and Adapt. The beauty of these chewy trail mix bars lies in their adaptability. Very few ingredients are off-limits, allowing for endless customization to suit your taste preferences or dietary needs. You can incorporate virtually any of your favorite trail mix components, swap peanut butter for almond butter, cashew butter, or even sunflower seed butter for allergy-friendly options. They are easily made gluten-free by using certified gluten-free oats, and simple to adapt for a vegan diet. These bars are truly designed to be made *your* way!
- A Kid-Friendly Favorite. Getting kids excited about healthy snacks can be a challenge, but these bars often do the trick! I love making these with my little one’s favorite add-ins, encouraging him to enjoy a nutritious treat. Adding a few mini marshmallows, for instance, instantly makes them “gold” in his eyes. Just be prepared for them to potentially pick out all the marshmallows first – a small price to pay for a wholesome snack! Their chewy texture and customizable nature make them a hit with children of all ages, providing sustained energy for their active days.
Essential Ingredients for Your Trail Mix Bars
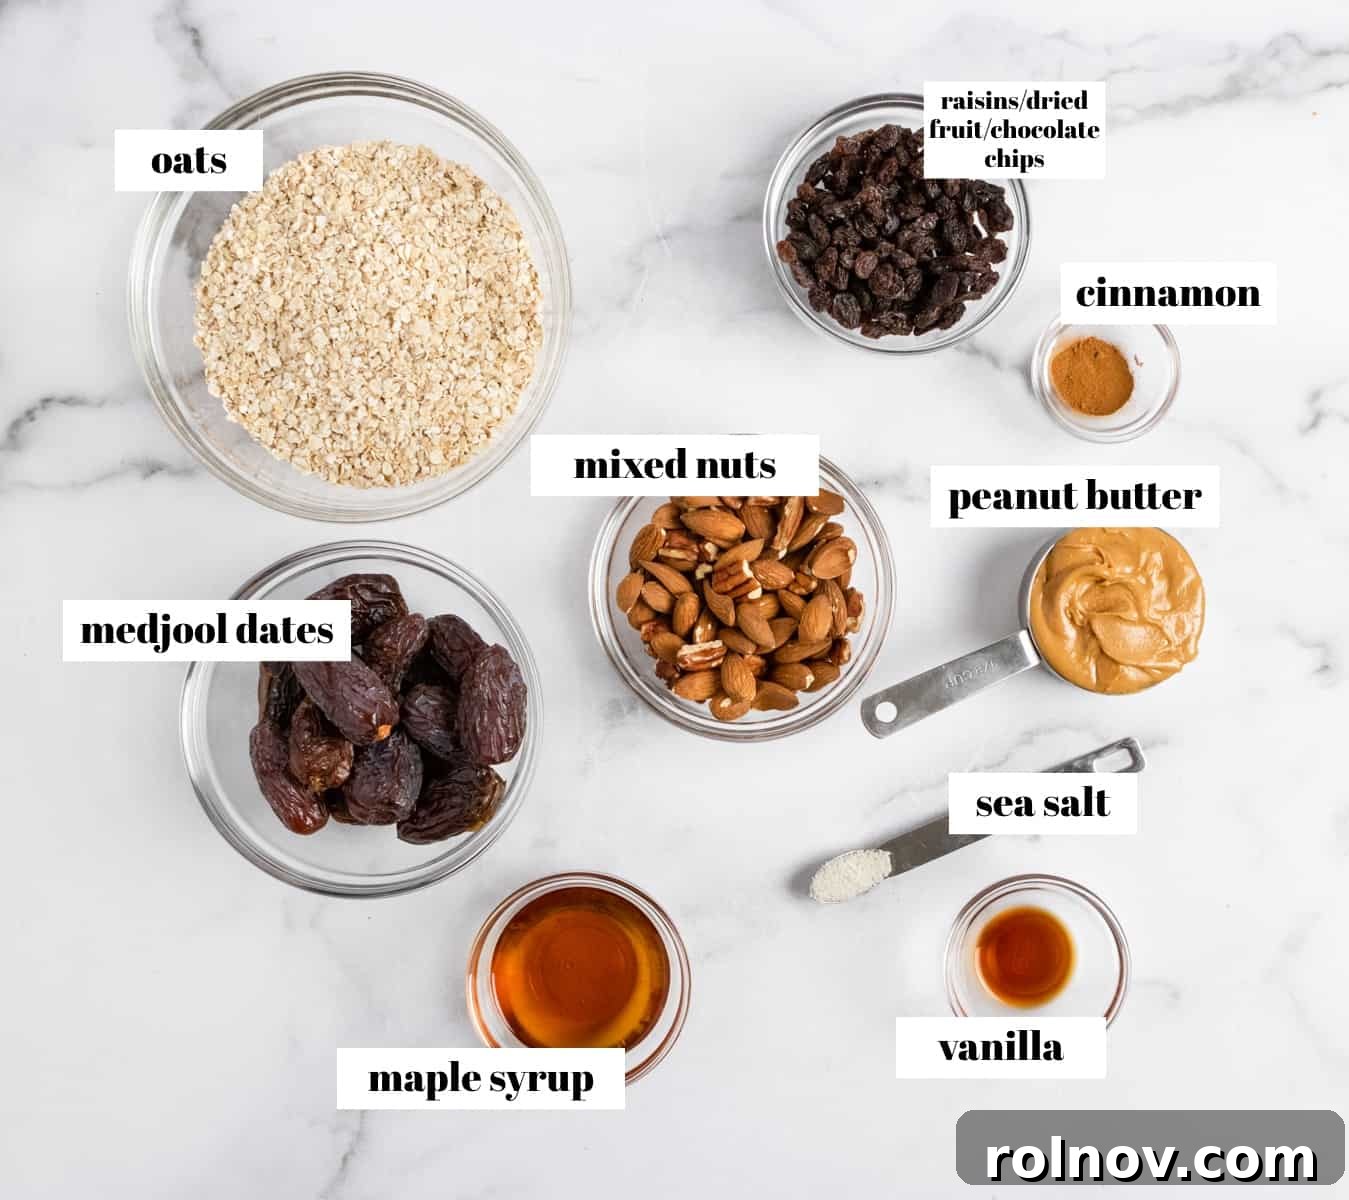
Crafting these delicious bars requires a handful of simple, wholesome ingredients you likely already have in your pantry. Here’s what you’ll need, along with some helpful tips and substitutions:
- Quick Oats: While I’ve experimented with both rolled oats and quick-cooking oats, I consistently find that quick oats yield the best texture for these no-bake bars. They break down and bind more effectively, creating a chewier, less crumbly bar. If you require a gluten-free option, ensure you use certified gluten-free quick oats. Oats are a fantastic source of fiber, providing sustained energy and contributing to a feeling of fullness.
- Peanut Butter: Creamy peanut butter is the star binder here, contributing rich flavor and essential healthy fats. For the best consistency and ease of mixing, I recommend using a natural, drippy peanut butter. If you have a peanut allergy, or simply prefer a different flavor, feel free to substitute with other nut butters like almond butter or cashew butter. For a completely nut-free alternative, sunflower seed butter (like SunButter) works wonderfully.
- Medjool Dates: These plump, naturally sweet dates are crucial for the bars’ unique chewy texture and serve as a natural sweetener, reducing the need for excessive added sugars. When soaked in hot water and then processed, they transform into a sticky paste that acts as a powerful binder. Be sure to remove the pits before processing. Dates are also rich in fiber and provide natural energy.
- Vanilla Extract: A splash of vanilla extract helps to round out and enhance all the other flavors in the bars, adding a comforting warmth.
- Cinnamon (Optional): Ground cinnamon can add a lovely depth of flavor, especially when paired with certain nuts or dried fruits. However, it’s entirely optional. Consider if its warm spice will complement the specific trail mix additions you plan to use.
- Maple Syrup: A touch of pure maple syrup provides additional natural sweetness and helps to achieve the perfect moist consistency, ensuring the bars aren’t too dry. You can substitute with your favorite liquid sweetener, such as honey or agave nectar. Adjust the amount to your preferred level of sweetness.
- Sea Salt: Just a pinch of sea salt is essential to balance the sweetness and enhance all the flavors, preventing the bars from tasting bland or overly sweet.
- Your Favorite Trail Mix Add-Ins: This is where the fun truly begins! The possibilities are virtually endless. Think about your favorite mixture of nuts and seeds (almonds, pecans, cashews, walnuts, pumpkin seeds, sunflower seeds, chia seeds, flax seeds), dried fruit (cranberries, blueberries, raisins, chopped apricots, dried mango), and even a little indulgence like chocolate chips (dark, milk, or white), mini marshmallows, or M&Ms. Get creative and customize these bars to your heart’s content!
Step-by-Step Instructions to Create Your No-Bake Trail Mix Bars
Making these delicious and healthy bars is incredibly straightforward. Just follow these simple steps for perfect results every time:
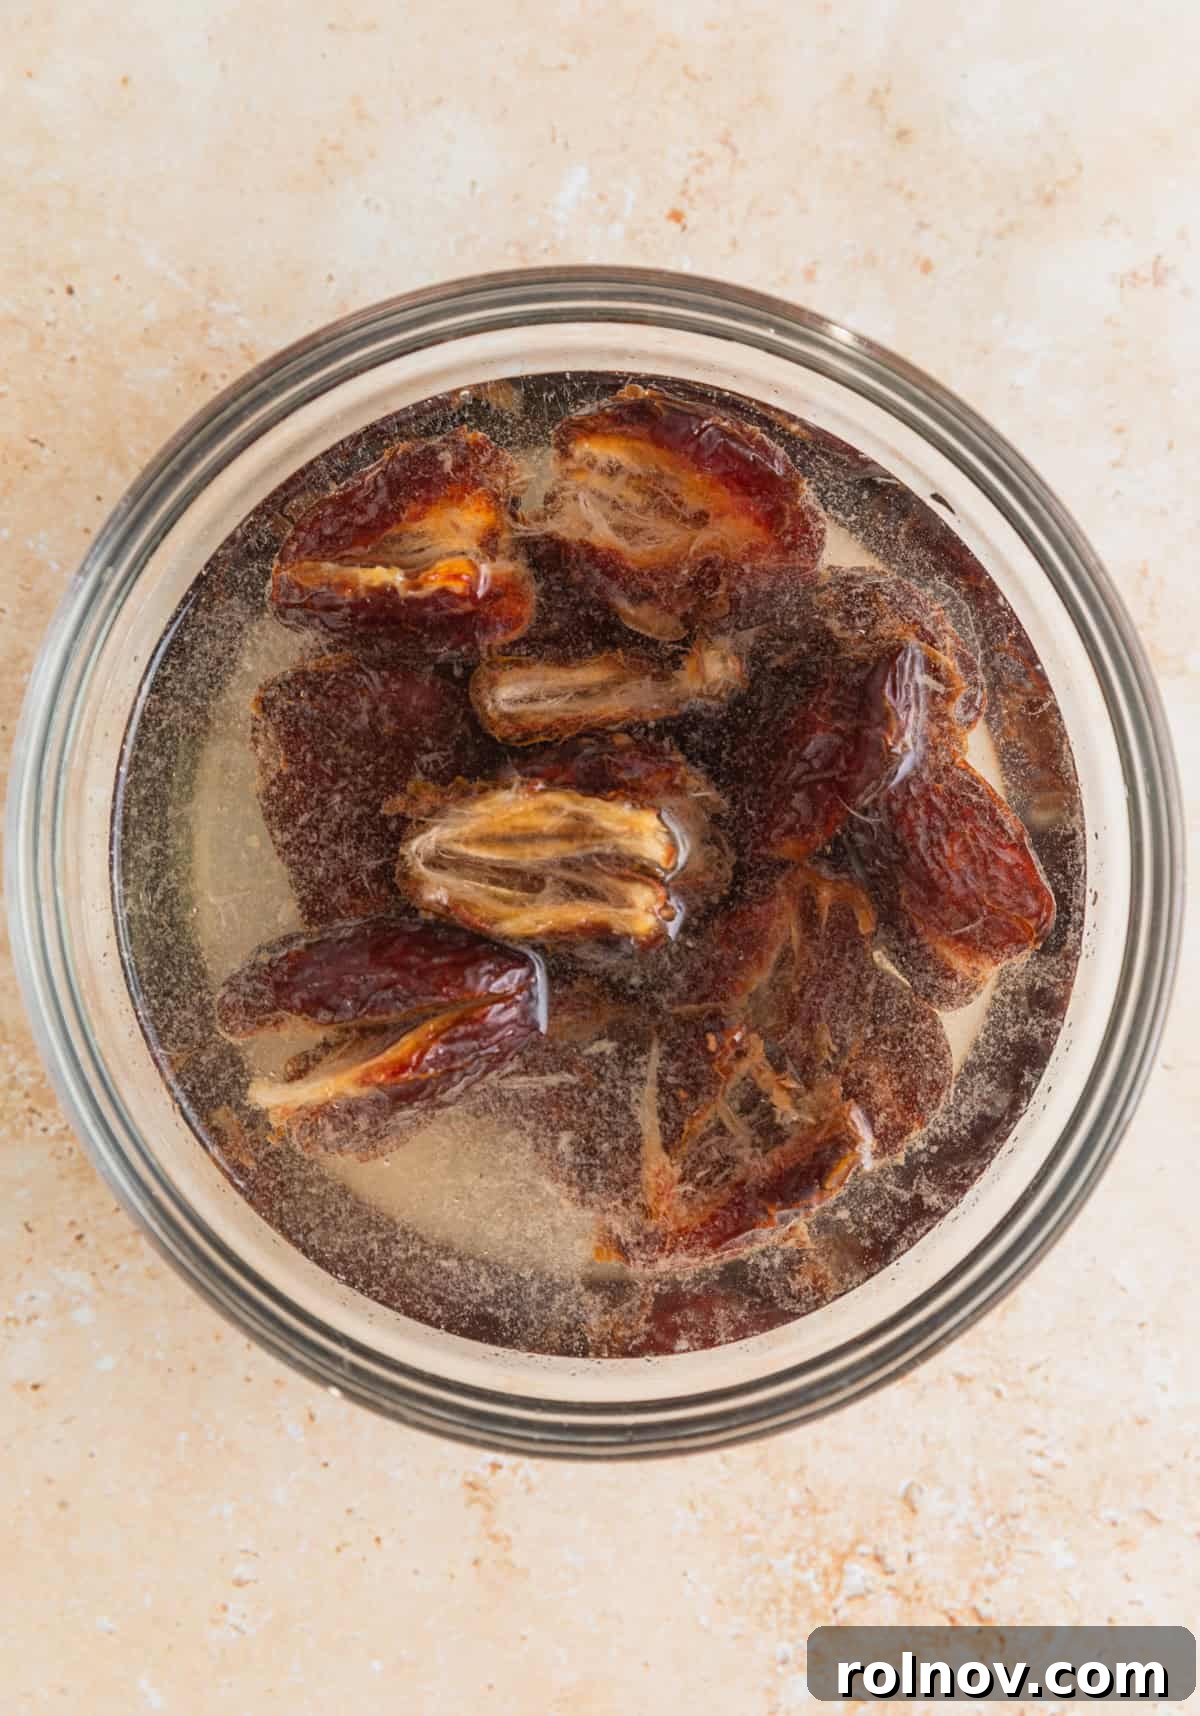
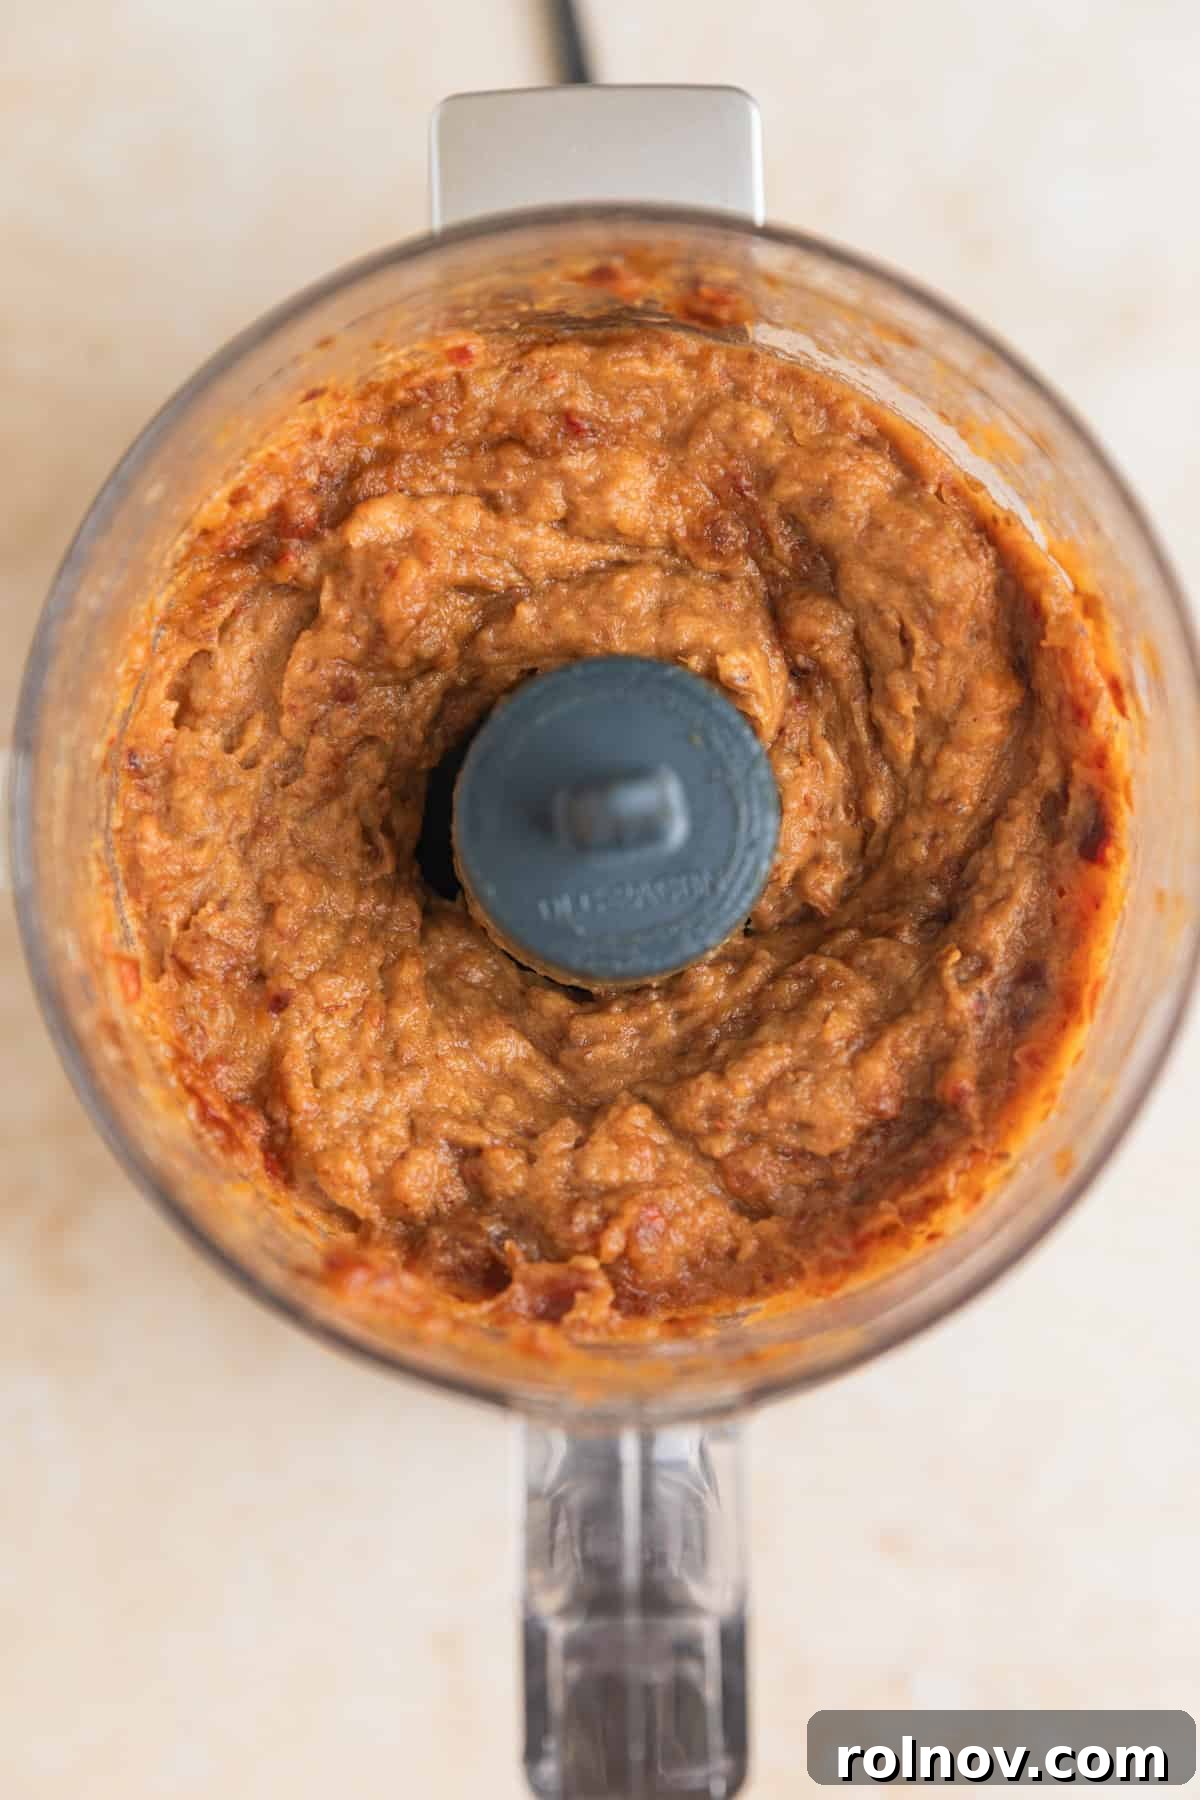
- Prepare the Dates: If your Medjool dates are not already very soft and pliable, place them in a small bowl and cover them with warm water. Let them soak for approximately 10-15 minutes. This step helps soften them, making them much easier to process into a smooth paste. Once softened, drain the water, remove the pits from the dates, and transfer the pitted dates to a food processor.
- Process Dates into a Paste: Process the dates until a thick, sticky paste forms. It doesn’t need to be perfectly smooth; small pieces of date are perfectly acceptable and add to the texture. If the mixture seems too thick or isn’t breaking down well, add a teaspoon or two of the warm water you used for soaking (or just regular water) at a time, until a workable paste is achieved. The consistency should be thick enough to bind, but not so thin it won’t hold shape.
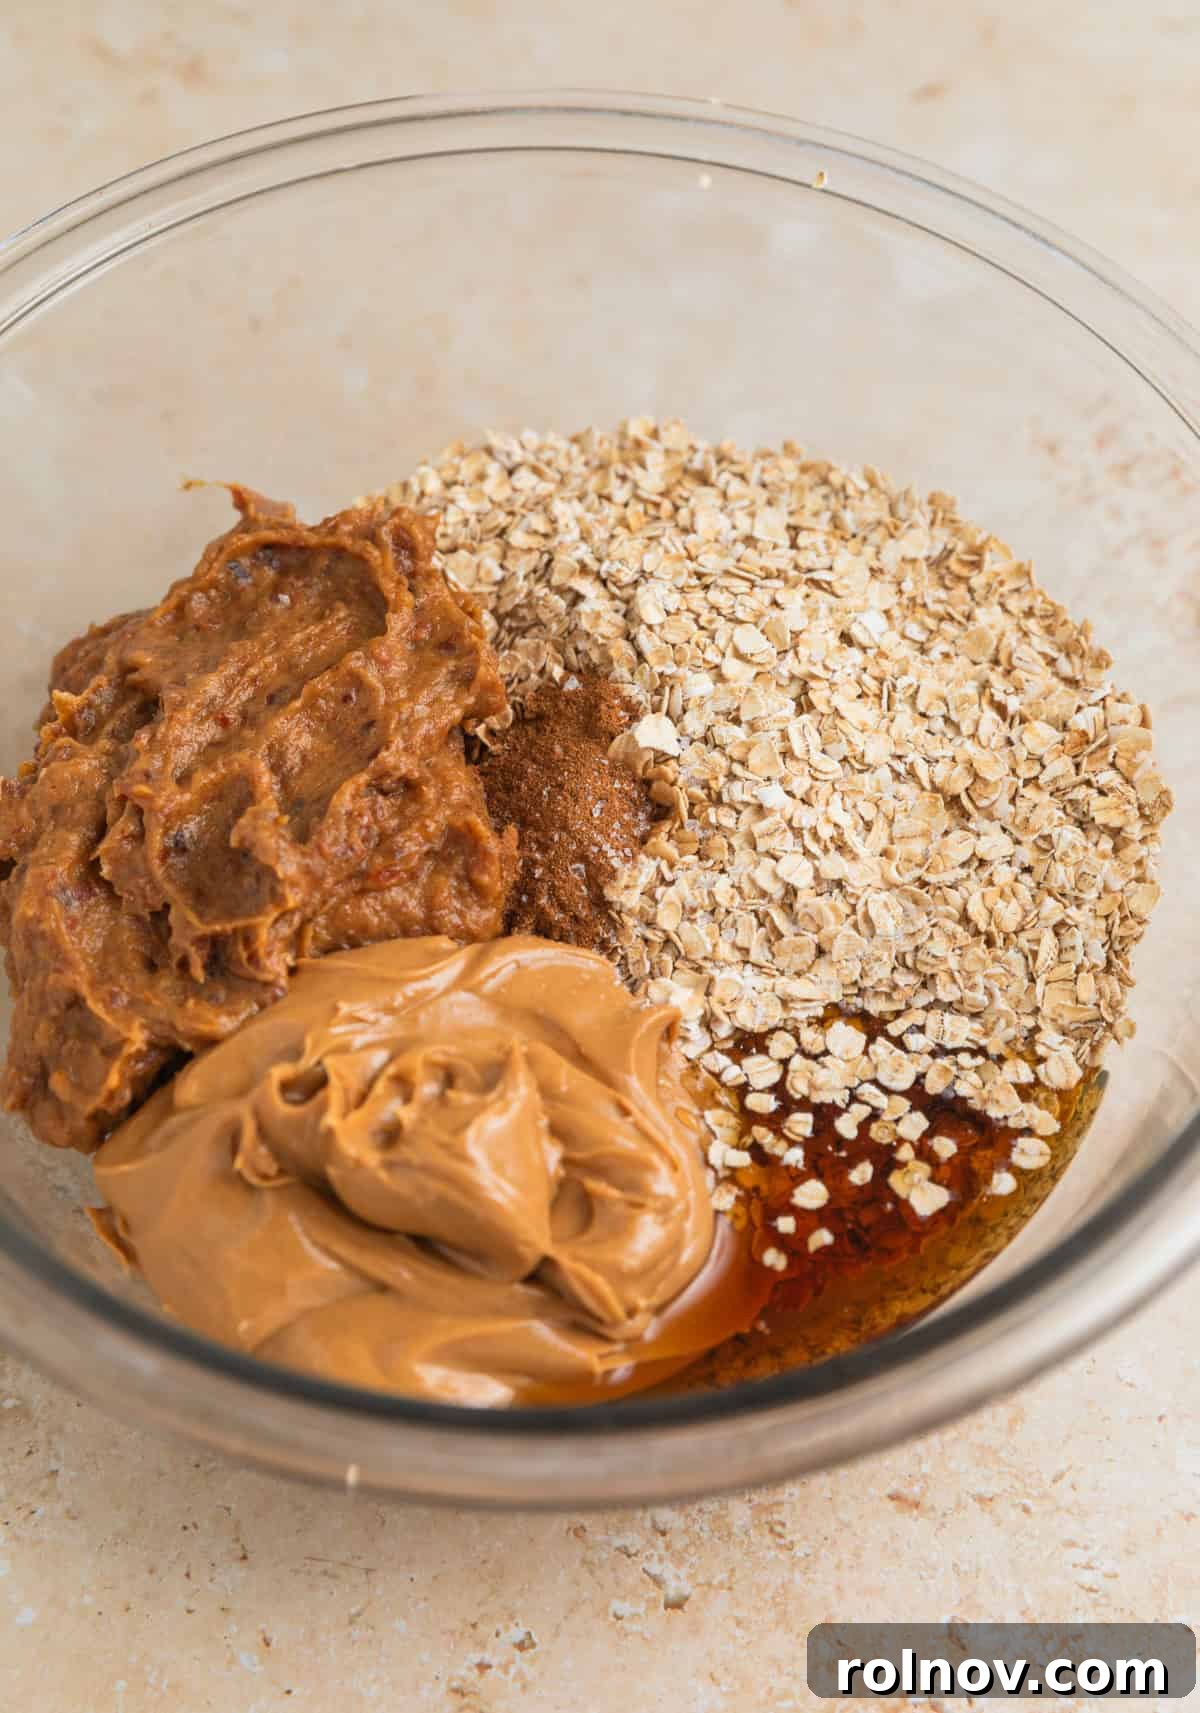
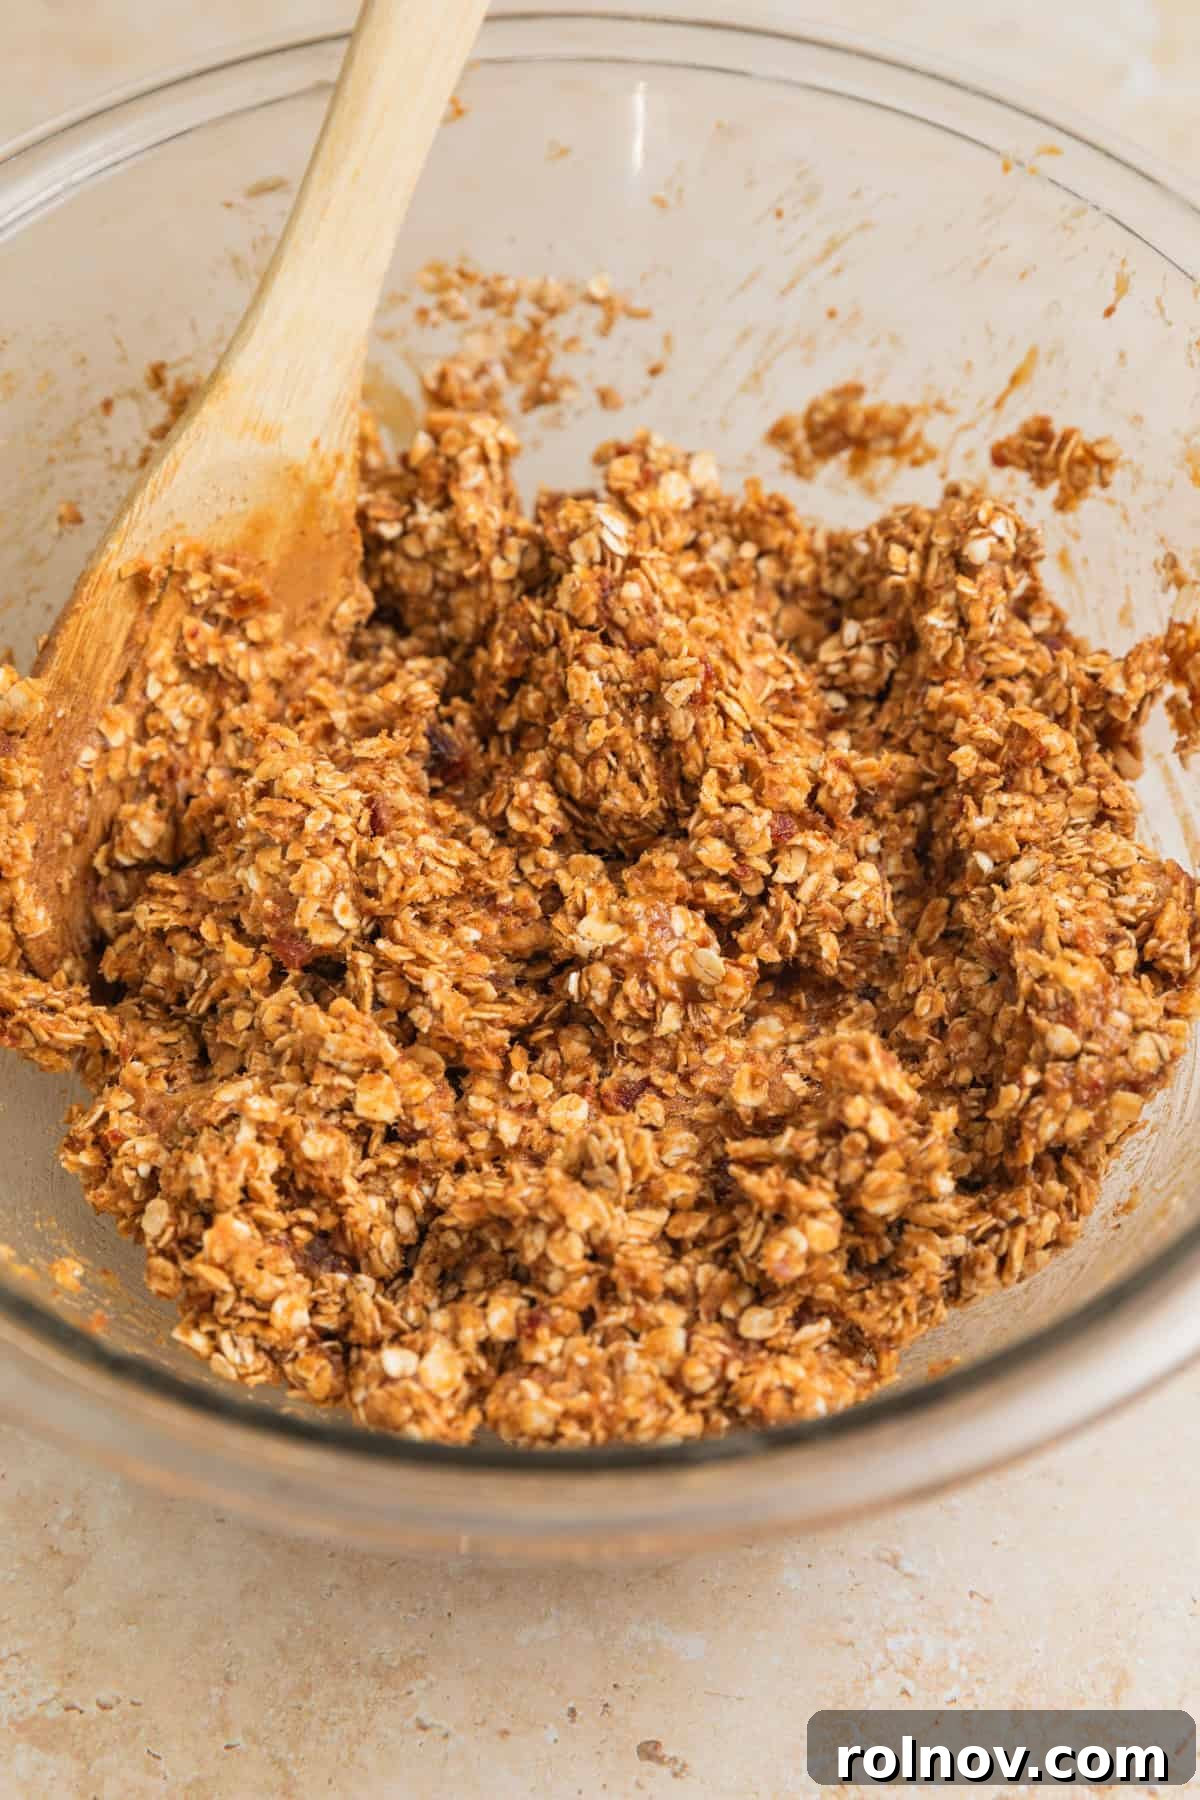
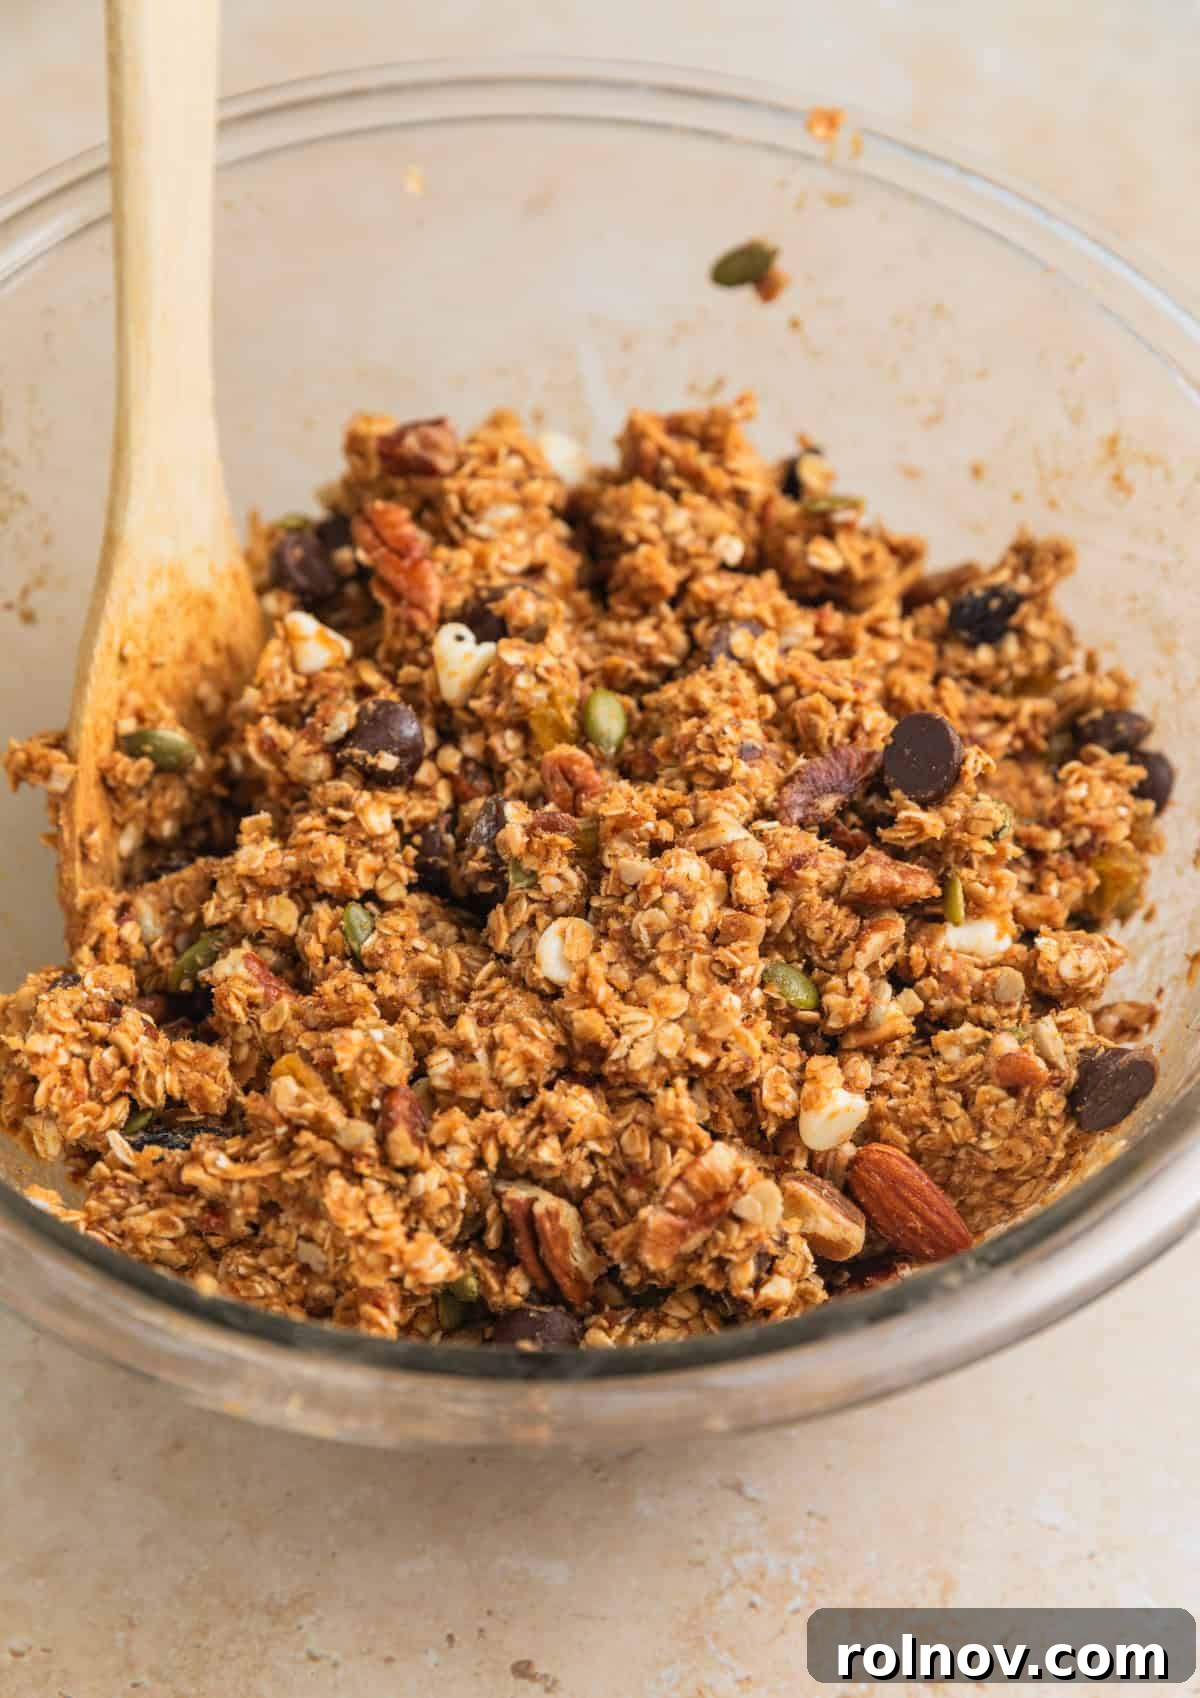
- Combine Wet and Dry Ingredients: Transfer the date paste to a large mixing bowl. Add the quick oats, maple syrup, peanut butter, vanilla extract, and sea salt. Mix thoroughly until all ingredients are well combined and the oats are evenly coated. This may require a little patience and elbow grease! If the mixture seems too thick or dry to combine, add an extra tablespoon of maple syrup or peanut butter until it reaches a sticky, manageable consistency.
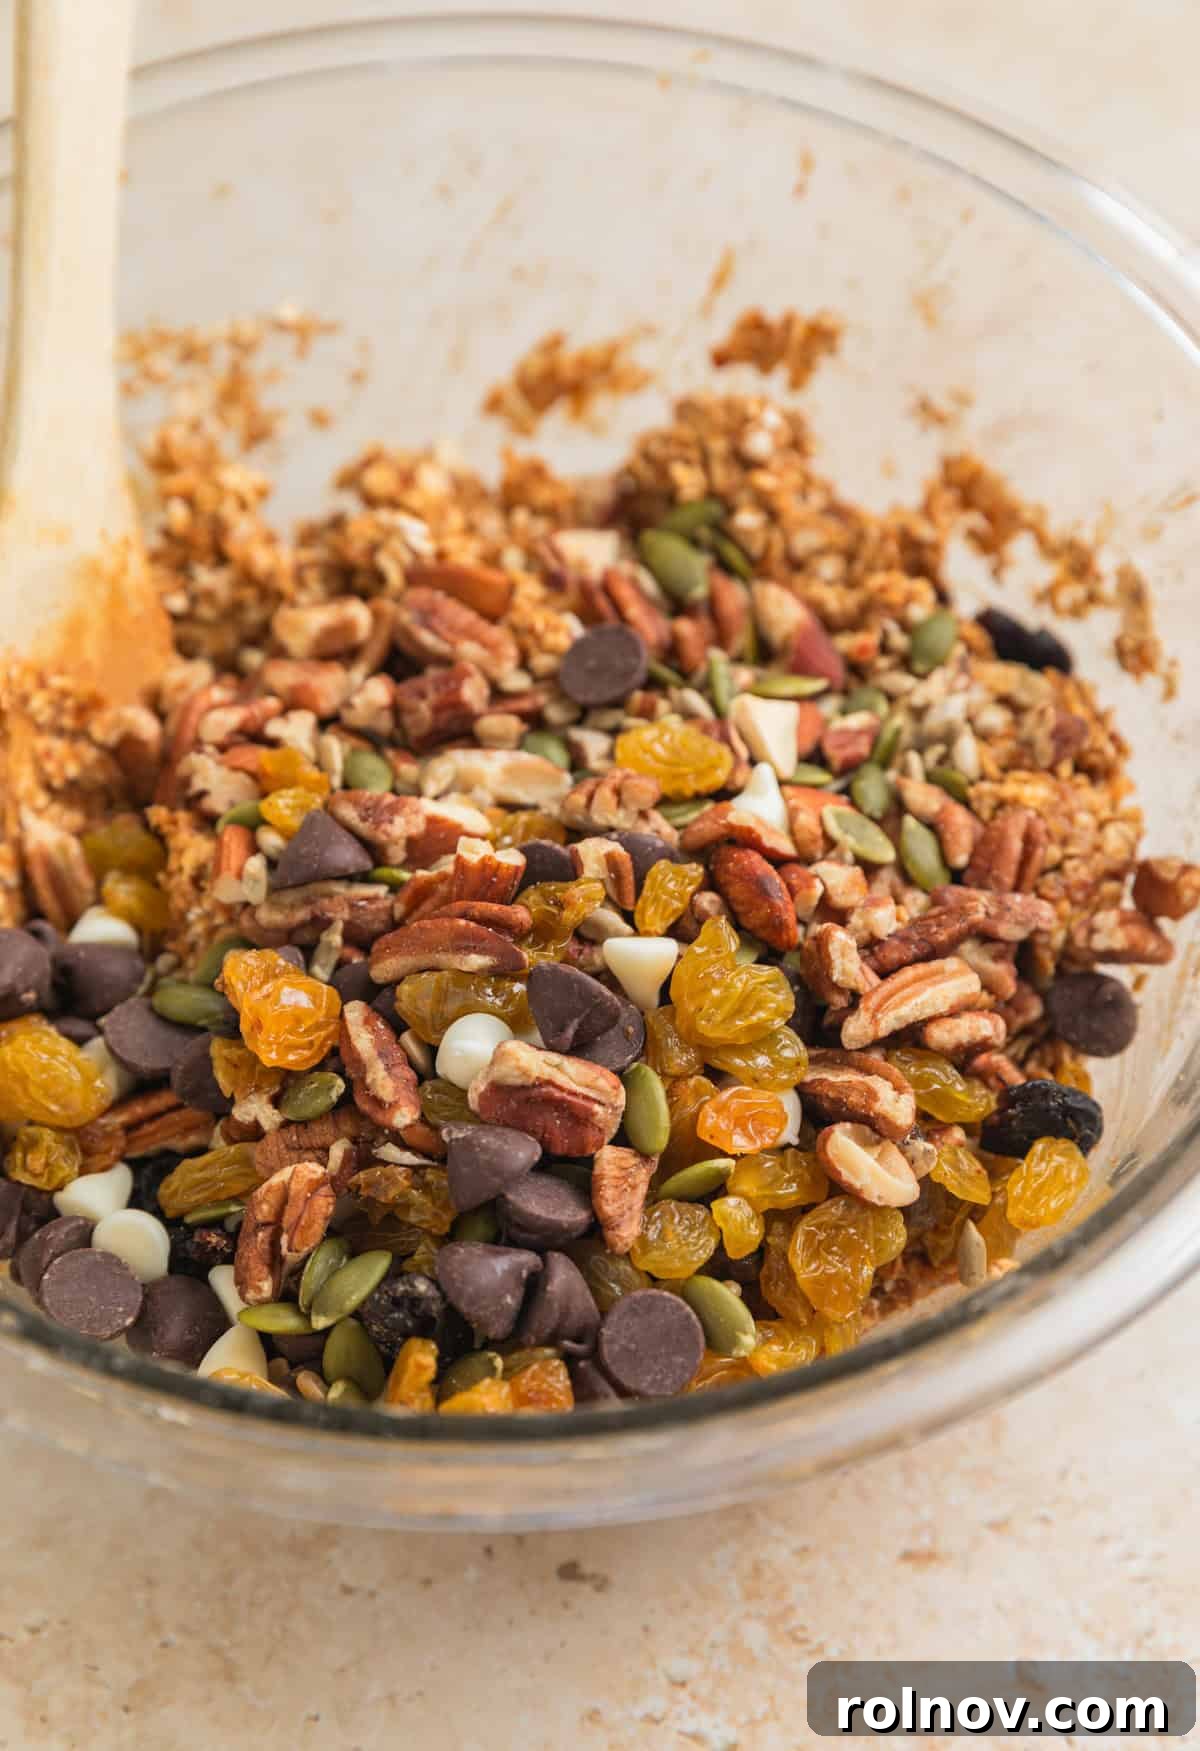
- Fold in Trail Mix Components: Now, add all of your chosen trail mix ingredients – nuts, seeds, dried fruit, chocolate chips, and optional cinnamon. Stir well to ensure these delicious additions are evenly distributed throughout the oat mixture.
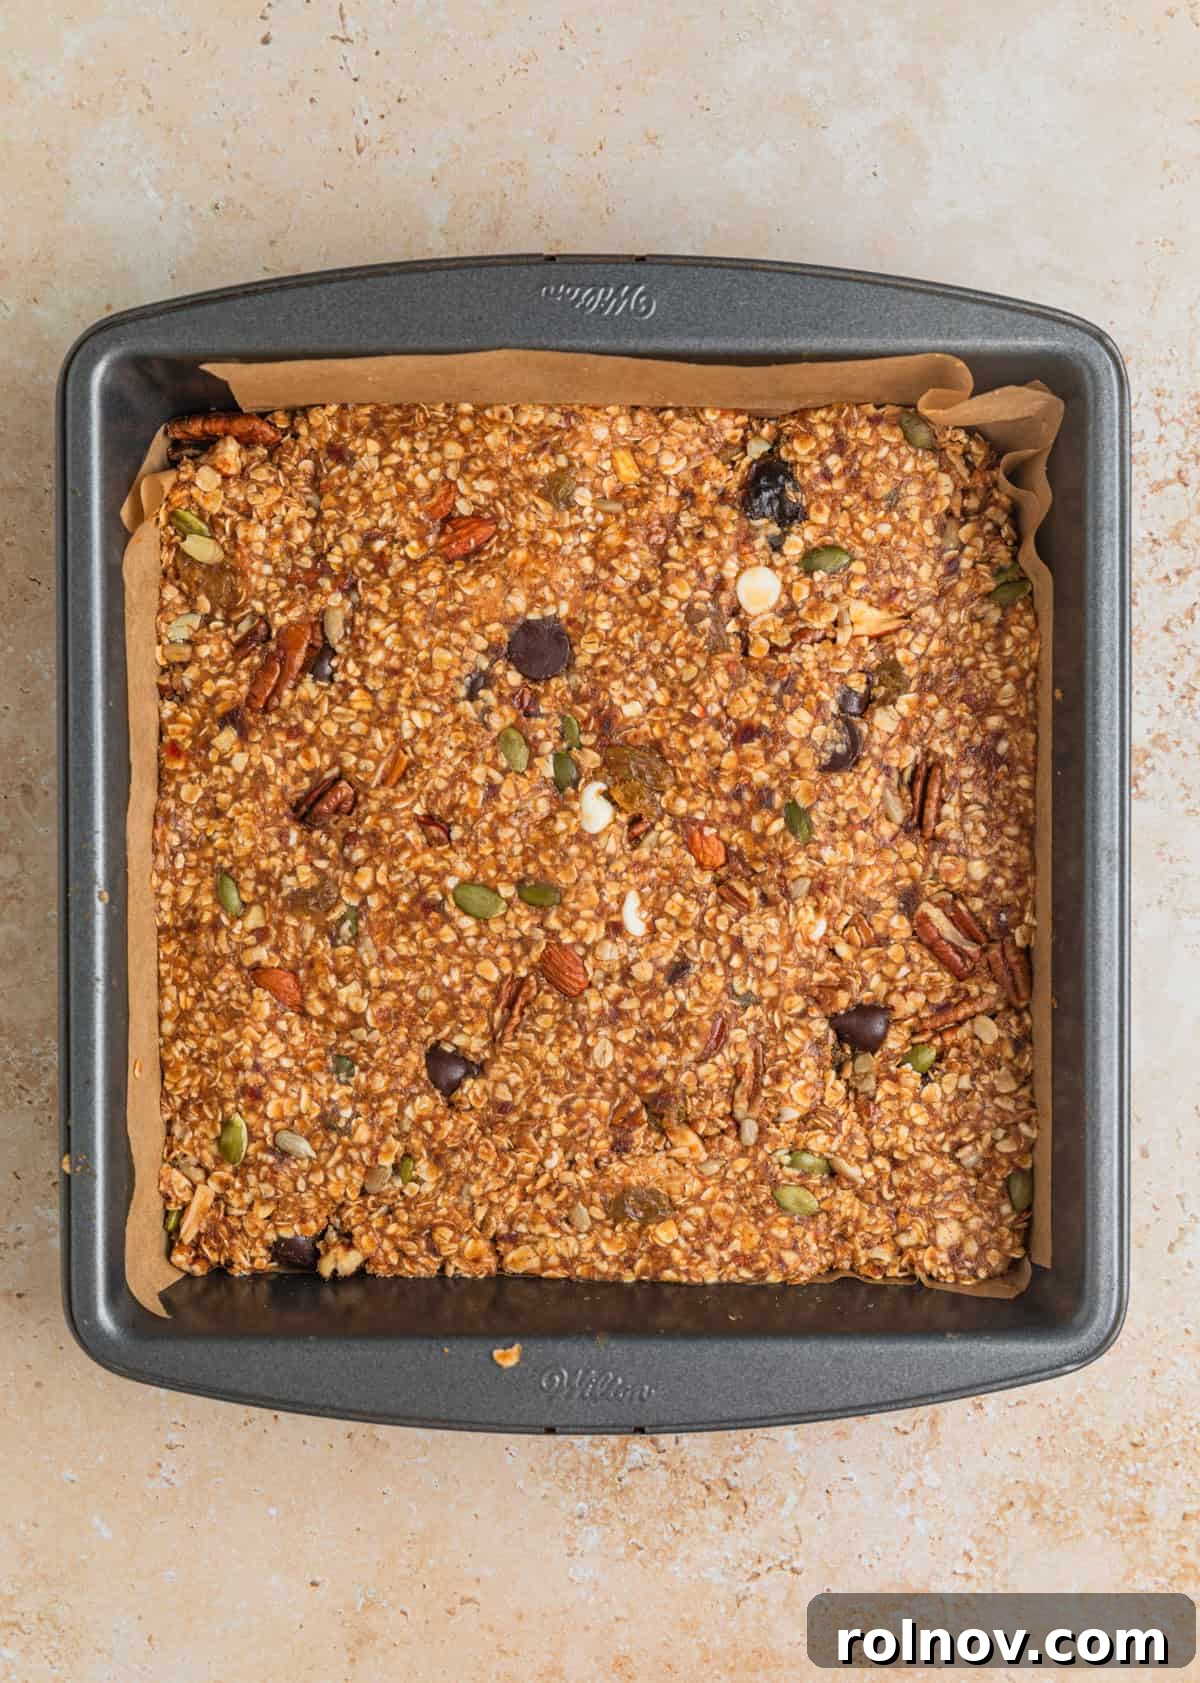
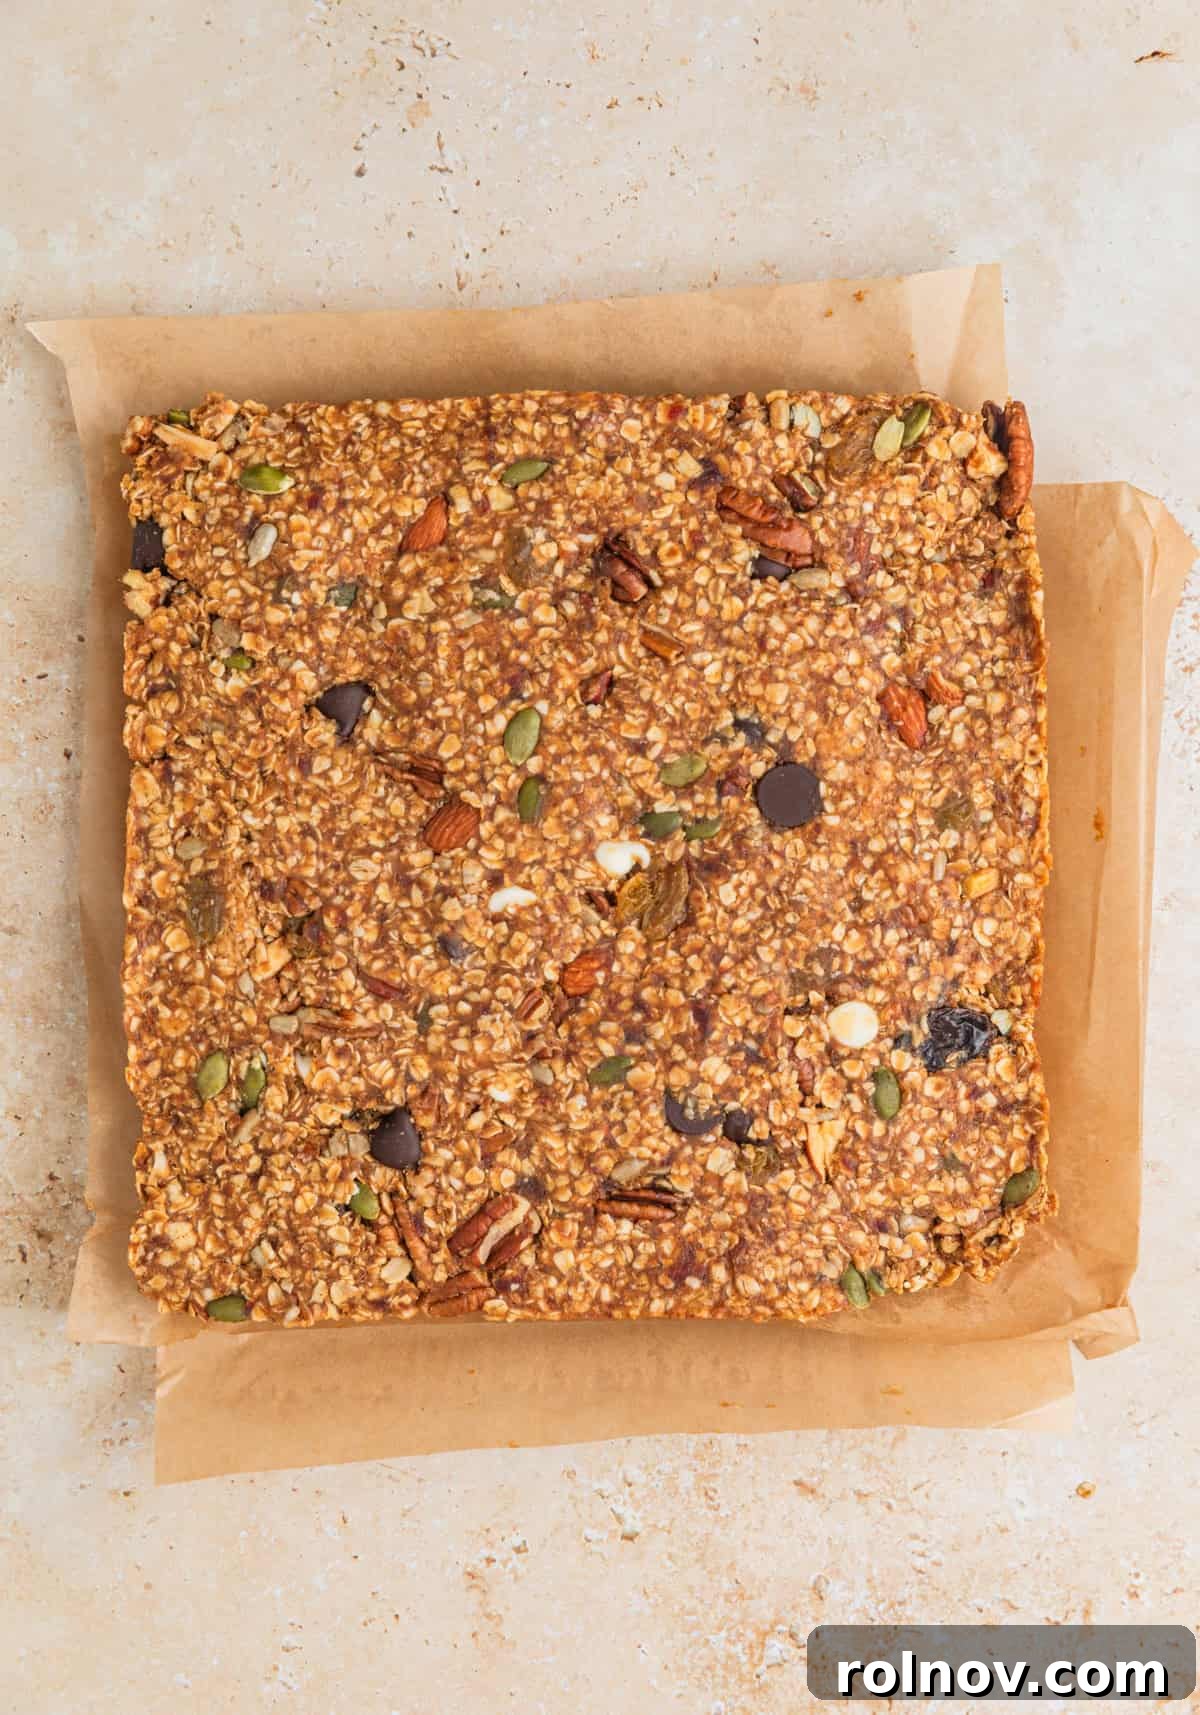
- Press into Pan: Line an 8-inch square baking pan with parchment paper, leaving an overhang on the sides to easily lift the bars out later. Transfer the mixture to the prepared pan and press it down *very firmly and evenly*. This is a critical step to prevent the bars from crumbling. Use the back of a spoon, your hands, or another piece of parchment paper to apply significant pressure across the entire surface.
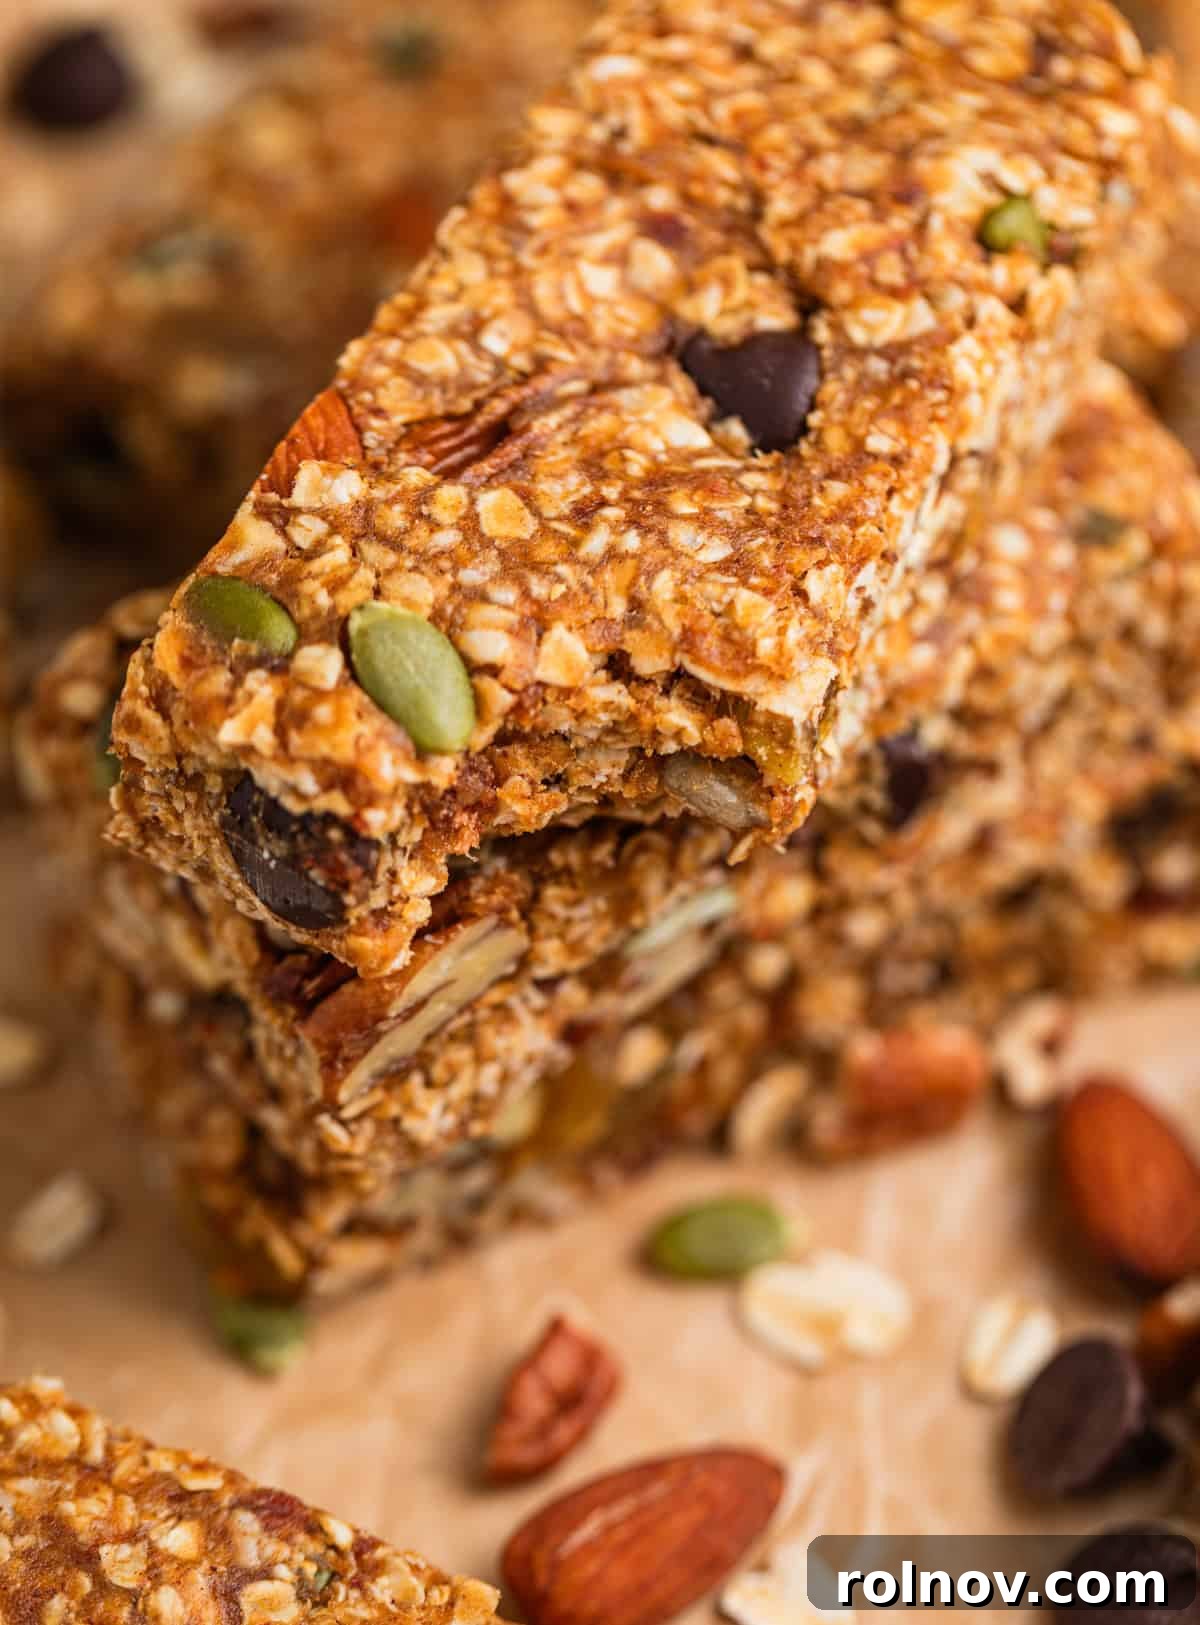
- Chill and Serve: Place the pan in the refrigerator and chill for at least 30 minutes. This allows the bars to set completely, making them easier to slice and ensuring they hold their shape. Once firm, lift the bars out using the parchment paper overhang, slice into desired serving sizes, and enjoy!
Expert Recipe Tips for Perfect Trail Mix Bars
- No Dates? No Problem! While Medjool dates contribute significantly to the sweetness and delightful chewiness, you can still make these bars without them. To compensate, increase the peanut butter to ¾ cup, add ⅓ cup of ground flax seeds (also known as flaxseed meal) to help with binding, and use a bit more maple syrup to achieve the right consistency and sweetness. You’ll still end up with a fantastic, cohesive bar!
- Bars or Bites? You Decide! These versatile mixtures don’t have to be limited to bars. Feel free to roll them into bite-sized energy balls if you prefer, perfect for smaller portions or kids’ lunchboxes. You could even press them into small, round shapes to create mini trail mix cookies. Don’t feel confined to the bar shape; embrace the flexibility! For inspiration, try these delicious Pecan Pie Energy Balls.
- Cinnamon – A Matter of Taste: The addition of cinnamon is truly optional. Sometimes its warm spice perfectly complements the chosen trail mix ingredients, while other times it might clash. I often decide whether to include it based on the specific combination of nuts, seeds, and dried fruits I’m using. Trust your palate!
- Achieving the Right Consistency: The perfect consistency is sticky enough to hold together but not overly wet. If your mixture feels too dry after adding all ingredients, add a tiny bit more maple syrup or a dash of water (1/2 teaspoon at a time) until it’s just right. If it’s too sticky, try adding a few more quick oats.
- Even Mixing is Key: Take your time when mixing in the oats and then the trail mix additions. Ensuring everything is evenly coated and distributed will result in uniform bars where every bite is packed with flavor and texture.
Storage Guidelines for Freshness
Proper storage ensures your no-bake trail mix granola bars remain fresh and delicious for longer:
- Room Temperature: These bars can be stored in an airtight container at room temperature for 2-3 days, making them perfect for quick grab-and-go snacks.
- Refrigerator: For extended freshness and a firmer texture, store the bars in an airtight container in the refrigerator for up to 2 weeks.
- Freezer: These bars freeze beautifully! For best results, I recommend wrapping individual bars tightly in plastic wrap or parchment paper, then placing them in a freezer-safe bag or container. This prevents freezer burn and makes it easy to grab one at a time. Alternatively, you can layer parchment paper between stacks of bars when freezing. They can be frozen for up to 3 months. Thaw at room temperature or in the refrigerator before enjoying.
Exciting Flavor Combinations and Variations
Get creative and transform these basic no-bake bars into a variety of gourmet flavors. Here are some fun ideas to inspire you:
- Blueberry Muffin: Combine dried blueberries, creamy almond butter, sliced almonds or pecans, and an extra teaspoon of cinnamon. The aroma alone is divine!
- Almond Joy Inspired: Blend sliced almonds, shredded coconut, dark chocolate chips, and almond butter for a classic candy bar twist.
- Cherry Chocolate Dream: Use dried cherries, rich dark chocolate chips, and chopped cashews for a sophisticated and fruity treat.
- Chunky Monkey Delight: A favorite for many! Incorporate chocolate chips, chopped peanuts, and small pieces of dried bananas. If you adore this combination, you might also love these peanut butter banana oatmeal balls.
- Tropical Escape: For a taste of the tropics, add dried mango, dried pineapple chunks, shredded coconut, white chocolate chips, and crunchy macadamia nuts.
- Spiced Apple Harvest: Mix in chopped dried apples, walnuts, a generous pinch of apple pie spice (cinnamon, nutmeg, allspice), and a drizzle of extra maple syrup.
- Pumpkin Spice Latte: Perfect for fall! Use pumpkin seeds, a blend of pumpkin pie spice, white chocolate chips, and a hint of instant coffee powder (optional) for a unique flavor.
- Cranberry Orange Zest: Combine dried cranberries, a touch of orange zest, pecans, and a few white chocolate chips for a bright and zesty bar.
Frequently Asked Questions (FAQs)
Here are answers to some common questions you might have about making and enjoying your no-bake trail mix bars:
- Can I use steel-cut oats instead of quick oats?
- While steel-cut oats are nutritious, they are much denser and require cooking to soften. For no-bake bars, quick oats (or rolled oats in a pinch) are essential because they absorb moisture and bind together without needing to be cooked, providing the desired chewy texture.
- How can I make these bars vegan?
- The original recipe is already vegan-friendly if you ensure your maple syrup is 100% pure and your chocolate chips are dairy-free. Medjool dates and quick oats are naturally plant-based. If using a nut butter, ensure it’s free from animal products.
- How can I make these bars gluten-free?
- Simply use certified gluten-free quick oats. Oats are naturally gluten-free, but cross-contamination can occur during processing, so look for a “certified gluten-free” label if you have sensitivities or celiac disease.
- Are these trail mix bars healthy?
- Yes! These bars are packed with wholesome ingredients like fiber-rich oats and dates, healthy fats from nuts and seeds, and natural sweeteners. They offer sustained energy and can be a much healthier alternative to many store-bought snack bars that often contain refined sugars and artificial ingredients. The nutritional content will vary slightly depending on your choice of add-ins.
- What kind of food processor should I use for the dates?
- Any standard food processor with a sharp blade will work well. A mini food processor can handle the dates if you don’t have a full-sized one, but you might need to process them in smaller batches. The key is to get them into a sticky paste for optimal binding.
- My mixture is too crumbly and won’t stick together. What went wrong?
- This usually happens if the dates weren’t soft enough, or if there isn’t enough binder/moisture. Make sure you soak your dates if they are firm. You can also add an extra tablespoon of peanut butter or maple syrup, or even a teaspoon or two of water, to help achieve a stickier consistency. Pressing *very firmly* into the pan is also crucial for binding.
- Can I add protein powder to these bars?
- You can certainly experiment with adding a scoop of your favorite unflavored or vanilla protein powder to the dry ingredients for an extra protein boost. Be aware that protein powder can sometimes make mixtures a bit drier, so you might need to adjust the amount of liquid (maple syrup or a tiny bit of water) to maintain the right consistency.
Discover More Delicious No-Bake Recipes
If you’ve fallen in love with the ease and flavor of these no-bake trail mix bars, you’ll be thrilled to explore our other fantastic no-bake creations. Perfect for quick snacks, healthy treats, or simply satisfying your cravings without turning on the oven:
- No Bake Blueberry Muffin Protein Bars
- No Bake Piña Colada Bites
- Peanut Butter Oatmeal Bites
- Coconut Lemon Bars
- Homemade Perfect Bars
- Mango Coconut Cashew Bars
No Bake Trail Mix Bars
Elevate your snack game with these incredibly easy, no-bake Trail Mix Bars. Prepped in minutes, infinitely customizable, naturally sweetened, and the perfect fuel to keep you energized on the go!
By: Lorie Yarro
- Prep Time: 15 minutes
- Chill Time: 30 minutes
- Total Time: 45 minutes
- Servings: 16 bars
Ingredients
- 2 cups quick oats (regular or certified gluten-free)
- ½ cup plus 2 tablespoons creamy peanut butter (or preferred nut/seed butter)
- 15 pitted Medjool dates (soaked in warm water if not already soft)
- 1 cup chopped nuts or seeds (e.g., almonds, pecans, pumpkin seeds)
- ¾ cup dried fruit and/or chocolate chips (e.g., raisins, cranberries, mini marshmallows)
- 1 teaspoon vanilla extract
- 1 teaspoon cinnamon (optional, adjust to taste)
- 3-4 tablespoons 100% pure maple syrup (or honey/agave)
- ½ teaspoon sea salt
Instructions
- Unless your Medjool dates are exceptionally soft, soak them in warm water for about 15 minutes. Drain, remove pits, and add the dates to a food processor. Process until a thick, sticky paste forms, adding a teaspoon or two of water if the mixture is too dry.
- In a large mixing bowl, combine the date paste, quick oats, peanut butter, maple syrup, vanilla extract, and sea salt. Mix thoroughly until all ingredients are well combined and the oats are evenly coated. If the mixture appears too thick or dry, add a little extra maple syrup or peanut butter (1 tablespoon at a time) to achieve a workable, sticky consistency.
- Stir in all of your chosen nuts, seeds, dried fruit, chocolate chips, and the optional cinnamon. Ensure these additions are evenly distributed throughout the mixture.
- Line an 8×8 inch baking pan with parchment paper, leaving an overhang on the sides. Transfer the mixture to the prepared pan and press it down *very firmly* and evenly across the entire surface. This is crucial for the bars to hold together.
- Refrigerate the pan for at least 30 minutes to allow the bars to set completely before cutting into 16 equal pieces and serving.
Notes
- One serving size is typically a 2-inch by 2-inch piece of the finished bars.
- For best results in mixing and texture, I recommend using a natural, creamy peanut butter that is somewhat drippy, as it combines more easily than thicker, more processed varieties.
- The cinnamon is optional; consider if its flavor will complement your specific mix of nuts, seeds, and dried fruits.
Nutrition (Approximate per serving)
- Calories: 232 kcal
- Carbohydrates: 36 g
- Protein: 5 g
- Fat: 10 g
- Saturated Fat: 2 g
- Polyunsaturated Fat: 2 g
- Monounsaturated Fat: 5 g
- Sodium: 111 mg
- Potassium: 357 mg
- Fiber: 4 g
- Sugar: 18 g
- Vitamin A: 35 IU
- Vitamin C: 0.4 mg
- Calcium: 35 mg
- Iron: 1 mg
Nutrition information is automatically calculated and should be used as an approximation only.
Hungry for more inspiring recipes and culinary adventures? Be sure to subscribe to our newsletter to get the latest delicious creations delivered straight to your inbox. You can also follow us on Facebook, Instagram, and Pinterest for daily inspiration, tips, and behind-the-scenes glimpses!
Shop This Post: Essential Tools for Your Kitchen
To help you create these amazing no-bake trail mix bars and many other recipes, here are some of our recommended kitchen tools. These are affiliate links, meaning we may earn a small commission at no extra cost to you if you make a purchase.
Food Processor
Buy Now →
Baking Pan, 8×8 Inch
Buy Now →
Mixing Bowls
Buy Now →
Medjool Dates
Buy Now →