
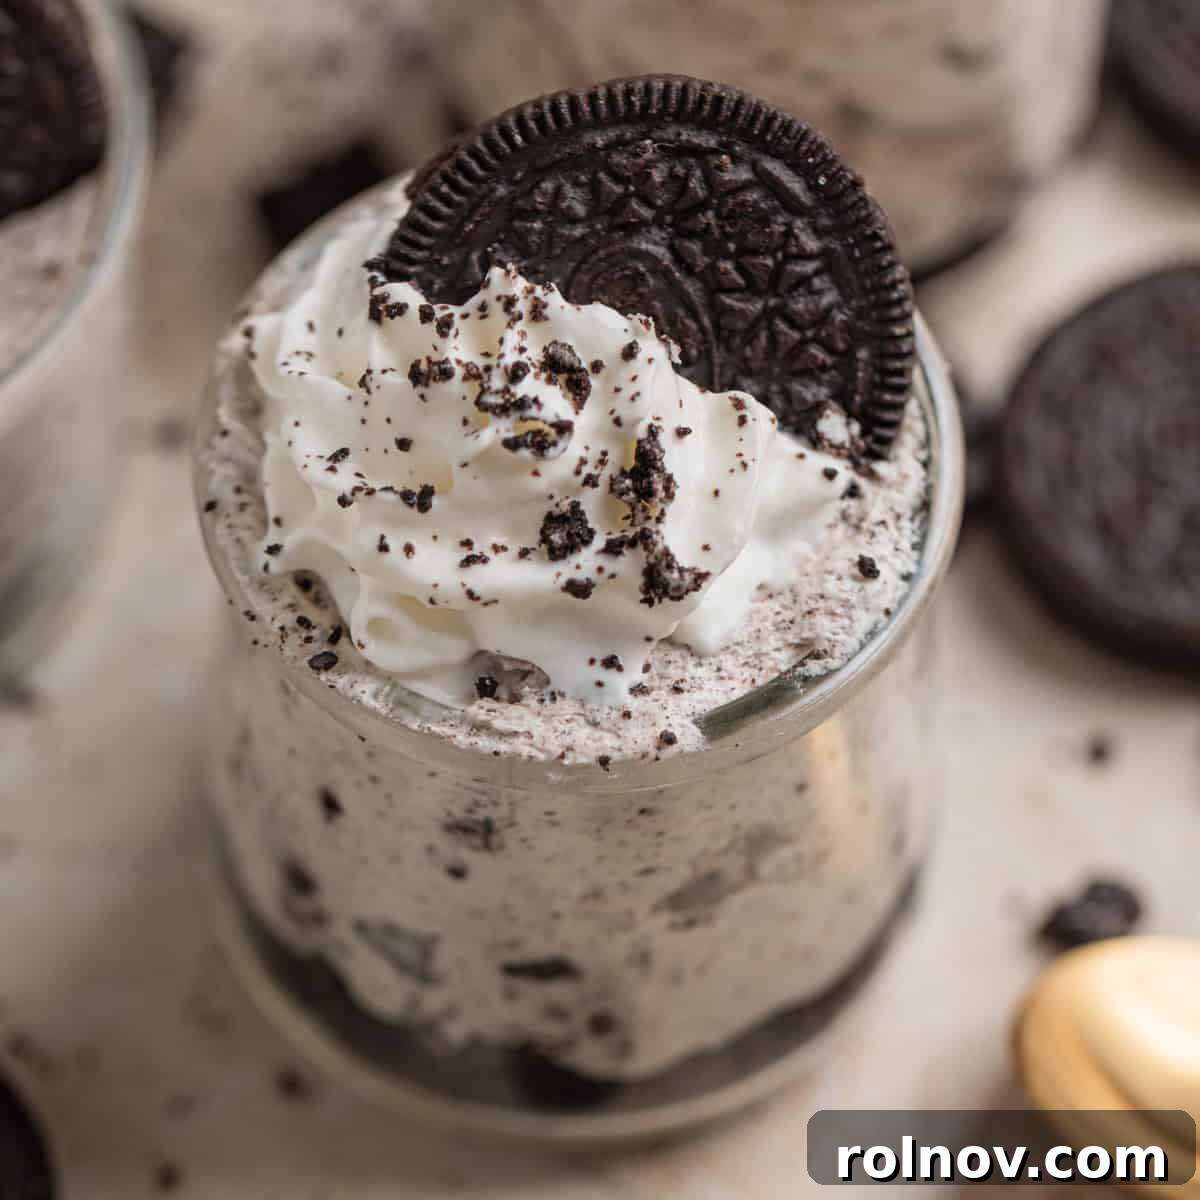
Indulge in Bliss: Easy No-Bake Oreo Cheesecake Cups for Any Occasion
Craving a sweet escape that’s effortlessly delicious? These No-Bake Oreo Cheesecake Cups are the ultimate dessert revelation. Requiring minimal effort and just five readily available ingredients, they promise a creamy, dreamy experience that will captivate everyone who tries them. Perfect for beating the summer heat or satisfying a sudden sweet tooth, these individual treats are a testament to dessert simplicity and pure indulgence.
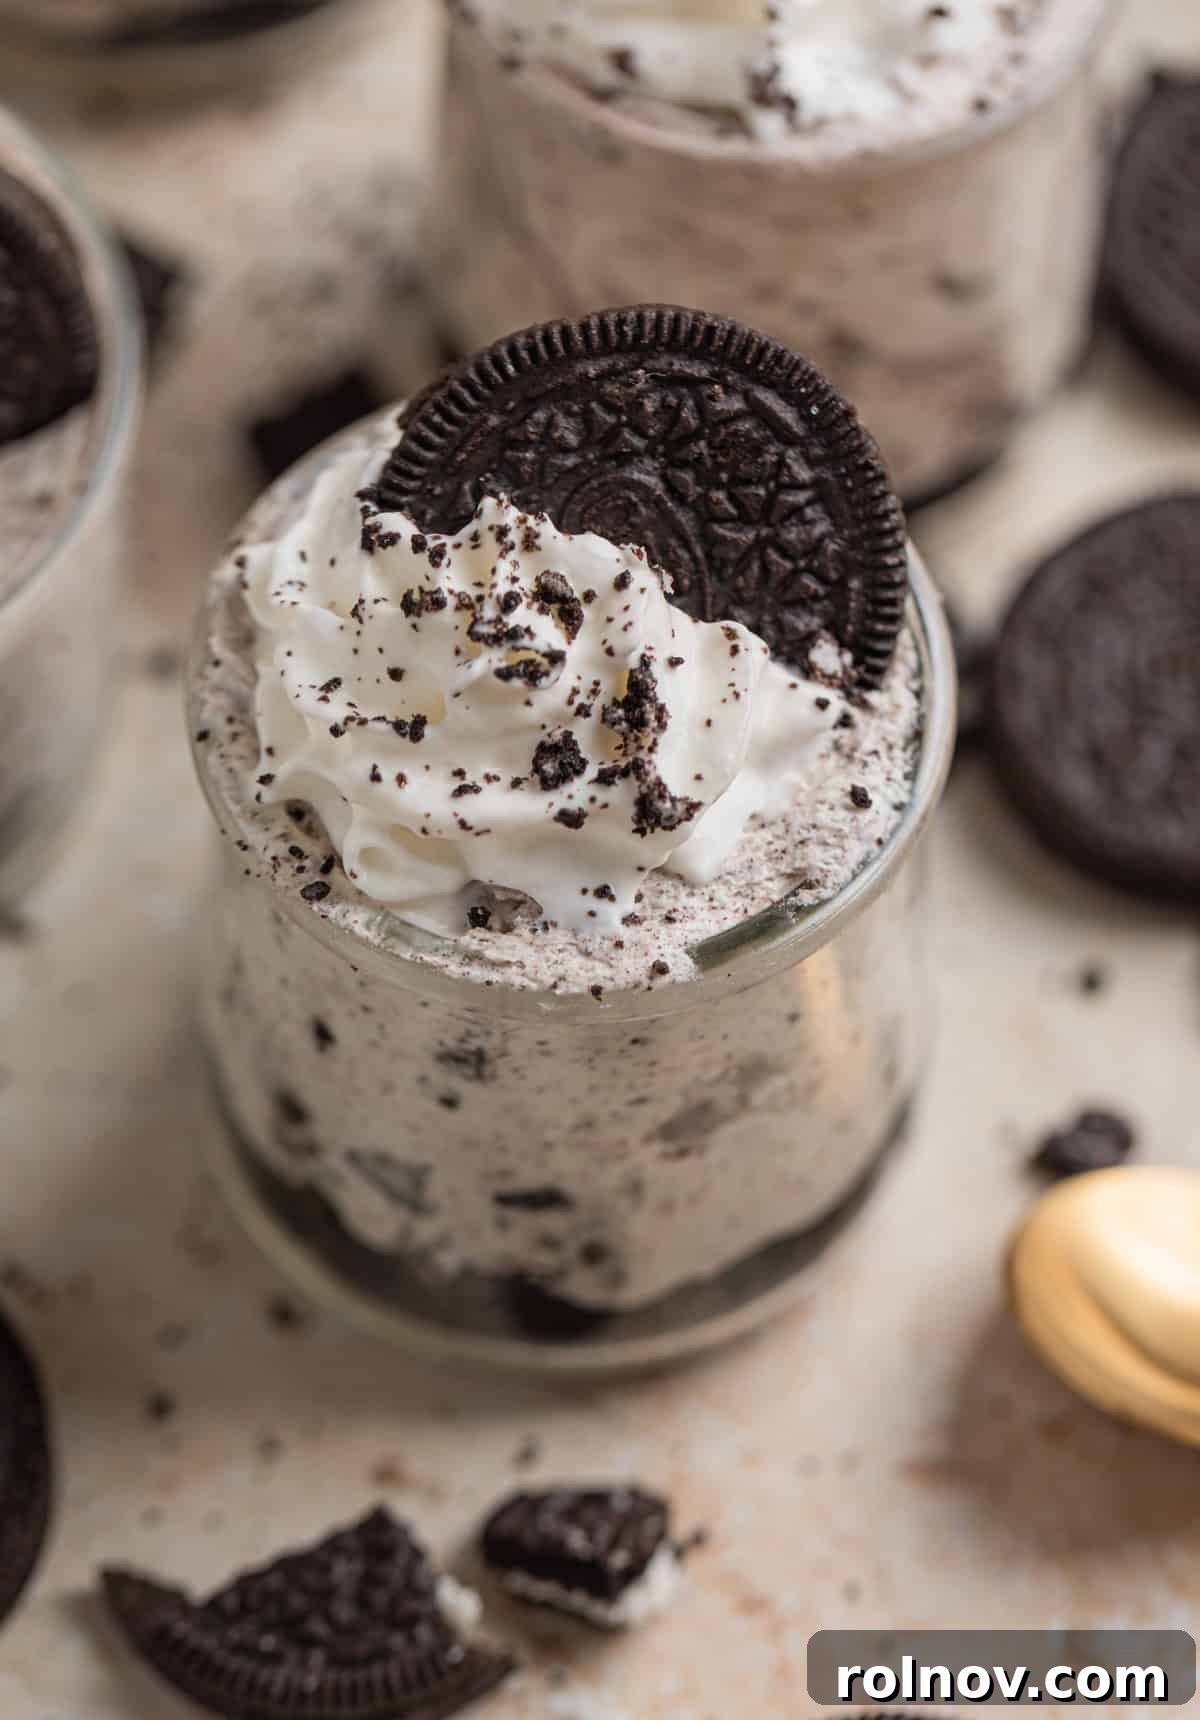
It’s hard to imagine a world without Oreos, isn’t it? Their iconic chocolatey crunch and creamy filling have secured a special place in the hearts of dessert lovers worldwide. While some adventurous flavors might raise an eyebrow, the classic Oreo, along with many of its delightful variations, remains an absolute culinary triumph.
That’s why this No-Bake Oreo Cheesecake Cups recipe is truly a dream come true. Imagine a dessert that combines the rich, tangy creaminess of cheesecake with the beloved crunch of Oreos, all while requiring only five simple ingredients and a mere 20 minutes of active prep time. This is that dessert – a heavenly concoction that’s as easy to make as it is impossible to resist.
My adoration for Oreos isn’t limited to this recipe alone; it’s a lifelong affair! If you share this passion, you’ll also adore our No-Bake Oreo Truffles and these irresistible Oreo Chocolate Chip Cookies. Currently, my pantry boasts four different Oreo flavors, a testament to their versatile appeal!
Beyond its incredible ease, this recipe shines in its versatility. Whether you prefer a casual spoonful into a simple bowl for a relaxed evening or a stunning presentation in elegant dessert dishes, complete with a perfectly piped swirl of whipped cream, these cheesecake cups adapt beautifully. The choice is yours – just promise not to forget those essential Oreos on your next grocery run, okay?!
If you’re a fan of effortless sweet treats, explore more of our fantastic no-bake dessert recipes. Don’t miss out on these other delightful options: No-Bake Mini Biscoff Cheesecakes, the refreshing No-Bake Lemon Blueberry Cheesecake, the comforting Strawberry Cream Cheese Icebox Cake, or the decadent No-Bake Chocolate Pie!
Why You Will Absolutely Love These No-Bake Oreo Cheesecake Cups
These No-Bake Oreo Cheesecake Cups aren’t just a dessert; they’re a revelation in convenience and flavor. Here’s why they’re destined to become your new favorite treat:
- Minimal Ingredients, Maximum Flavor! The magic starts with just 5 essential ingredients. This means fewer trips to the grocery store, a simpler shopping list, and less money spent. You likely have most of these items on hand already, making spontaneity for dessert nights a real possibility! Despite the simplicity, the flavor profile is incredibly rich, creamy, and utterly satisfying, delivering a gourmet experience without the fuss.
- Effortless Individual Servings! Say goodbye to messy slicing and uneven portions. This recipe is designed for individual dessert cups, making serving a breeze. Each guest gets their own perfectly portioned, beautifully presented cheesecake cup. They are ideal for parties, potlucks, or simply keeping them chilled in the fridge for a personal treat whenever a craving strikes. No cutting, no scooping, just grab and enjoy!
- No Oven Required: Your Summer Dessert Savior! When the temperatures rise, the last thing anyone wants to do is turn on the oven. These cheesecake cups are a true no-bake dessert, making them an ideal choice for summer gatherings, picnics, or anytime you want a cool, refreshing treat. All it takes is some simple mixing and a quick chill, freeing you up to enjoy your day without being tied to the kitchen.
- Easily Customizable for Gluten-Free Lifestyles. We believe everyone deserves delicious dessert! Oreos now offer several fantastic gluten-free cookie options, making it incredibly easy to adapt this recipe for those with gluten sensitivities or dietary preferences. The only substitution needed is the Oreos themselves; all other ingredients are naturally gluten-free. This ensures that no one misses out on this delightful dessert.
- Unleash Your Creativity: Simple to Vary! This recipe is a fantastic canvas for your culinary imagination. The world of Oreos is vast and exciting; feel free to experiment with different flavors like mint, peanut butter, birthday cake, or holiday-themed Oreos to create unique taste sensations. You can also play with presentation – layer them parfait-style, create a crumb crust, or top them with different garnishes. The possibilities are endless, allowing you to truly make this recipe your own.
- A Crowd-Pleaser for All Ages. From kids to adults, the combination of Oreos and cheesecake is universally loved. These cups are guaranteed to be a hit at any event, bringing smiles and satisfaction to everyone.
- Perfect Make-Ahead Option. Planning a party? Want to prep desserts in advance? These No-Bake Oreo Cheesecake Cups are perfect for making ahead of time. Their flavors deepen and textures set beautifully with a few hours (or even overnight) in the refrigerator, allowing you to focus on other preparations or simply relax before your event.
Key Ingredients for No-Bake Oreo Cheesecake Perfection
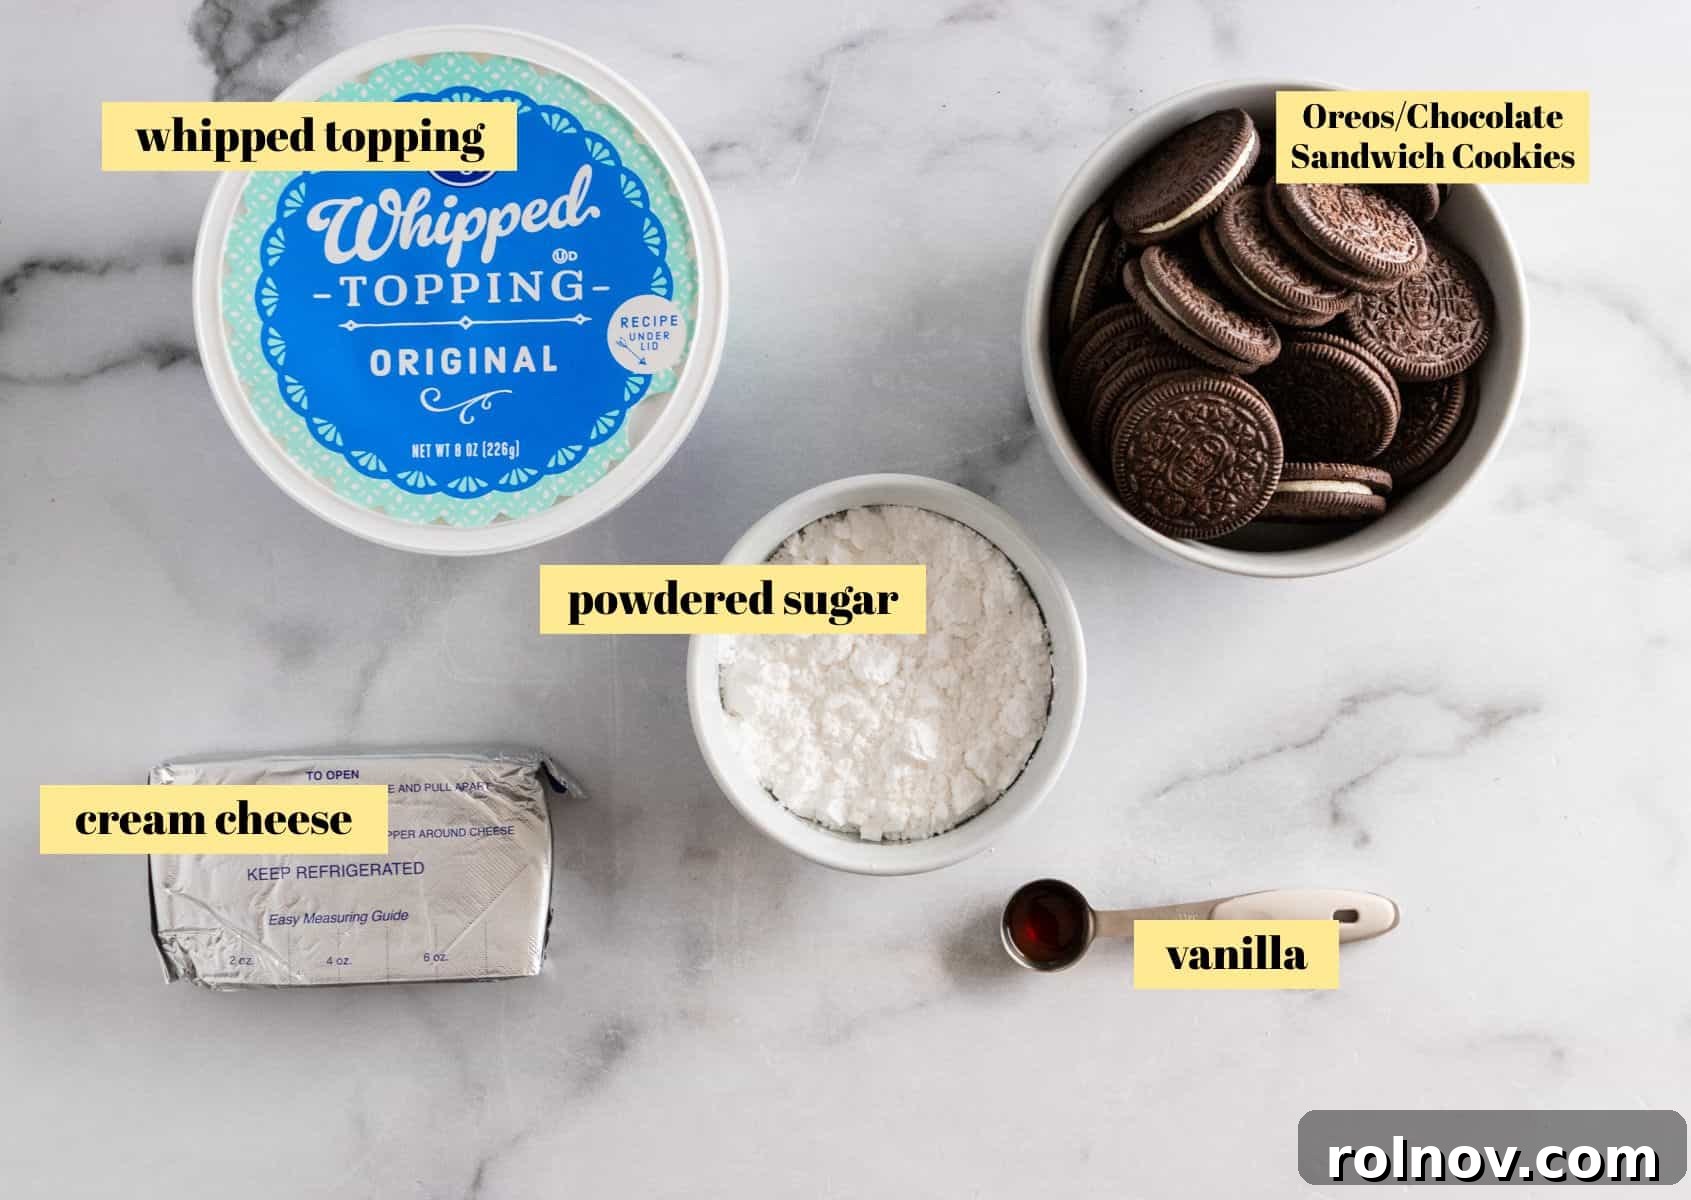
Creating these delightful cheesecake cups requires just a handful of straightforward ingredients. Each plays a crucial role in achieving that perfect creamy texture and irresistible flavor:
- Cream Cheese: For the best results and a truly luxurious texture, I strongly recommend using full-fat cream cheese. Its richness contributes significantly to the creamy consistency and overall decadent taste of the cheesecake. While reduced-fat cream cheese *could* be used, I advise against zero-fat options as they tend to alter the texture and flavor considerably, resulting in a less satisfying cheesecake. Ensure your cream cheese is softened to room temperature for smooth mixing, preventing lumps.
- Powdered Sugar (Confectioners’ Sugar): This fine sugar is key for both sweetening the cheesecake mixture and helping it achieve the desired firm, yet creamy, consistency. Unlike granulated sugar, powdered sugar dissolves seamlessly into the cold cream cheese mixture without leaving a grainy texture. It’s what gives no-bake cheesecakes their signature smooth finish.
- Vanilla Extract: A splash of high-quality vanilla extract is essential for enhancing and deepening the overall flavor profile of the cheesecake. It complements the richness of the cream cheese and the chocolatey notes of the Oreos, adding a warm, aromatic dimension that elevates the dessert from good to truly exceptional.
- Cool Whip (or Whipped Topping): For ultimate convenience and a light, airy texture, Cool Whip is my go-to. It provides a stable, sweet, and fluffy base that blends beautifully with the cream cheese. However, if you prefer a more natural option or have extra time, you can certainly make homemade whipped cream using heavy cream and a touch of sugar. Both options yield delicious results; Cool Whip simply offers a quicker path to dessert bliss.
- Oreos: The star of the show! While traditional chocolate Oreos are a classic choice and deliver that iconic cookies and cream flavor, don’t hesitate to explore the vast array of Oreo flavors available today. Golden Oreos are a fantastic alternative for a different twist, and seasonal or specialty flavors like mint, peanut butter, or even red velvet can add an exciting dimension to your cheesecake cups. Remember, for a gluten-free version, simply opt for any of the readily available gluten-free Oreo varieties – it’s the only change you’ll need to make!
Step-by-Step Guide: Crafting Your No-Bake Oreo Cheesecake Cups
This recipe is incredibly straightforward, designed for ease and enjoyment. Follow these simple steps to create your perfect no-bake treats:
1. Prepare Your Oreo Cookie Base
The first step is to prepare your Oreo cookies. There’s no single “right” way to crush Oreos; choose the method that works best for you. Some prefer a food processor for speed, but I personally opt for a low-fuss approach that saves on extra dishes!
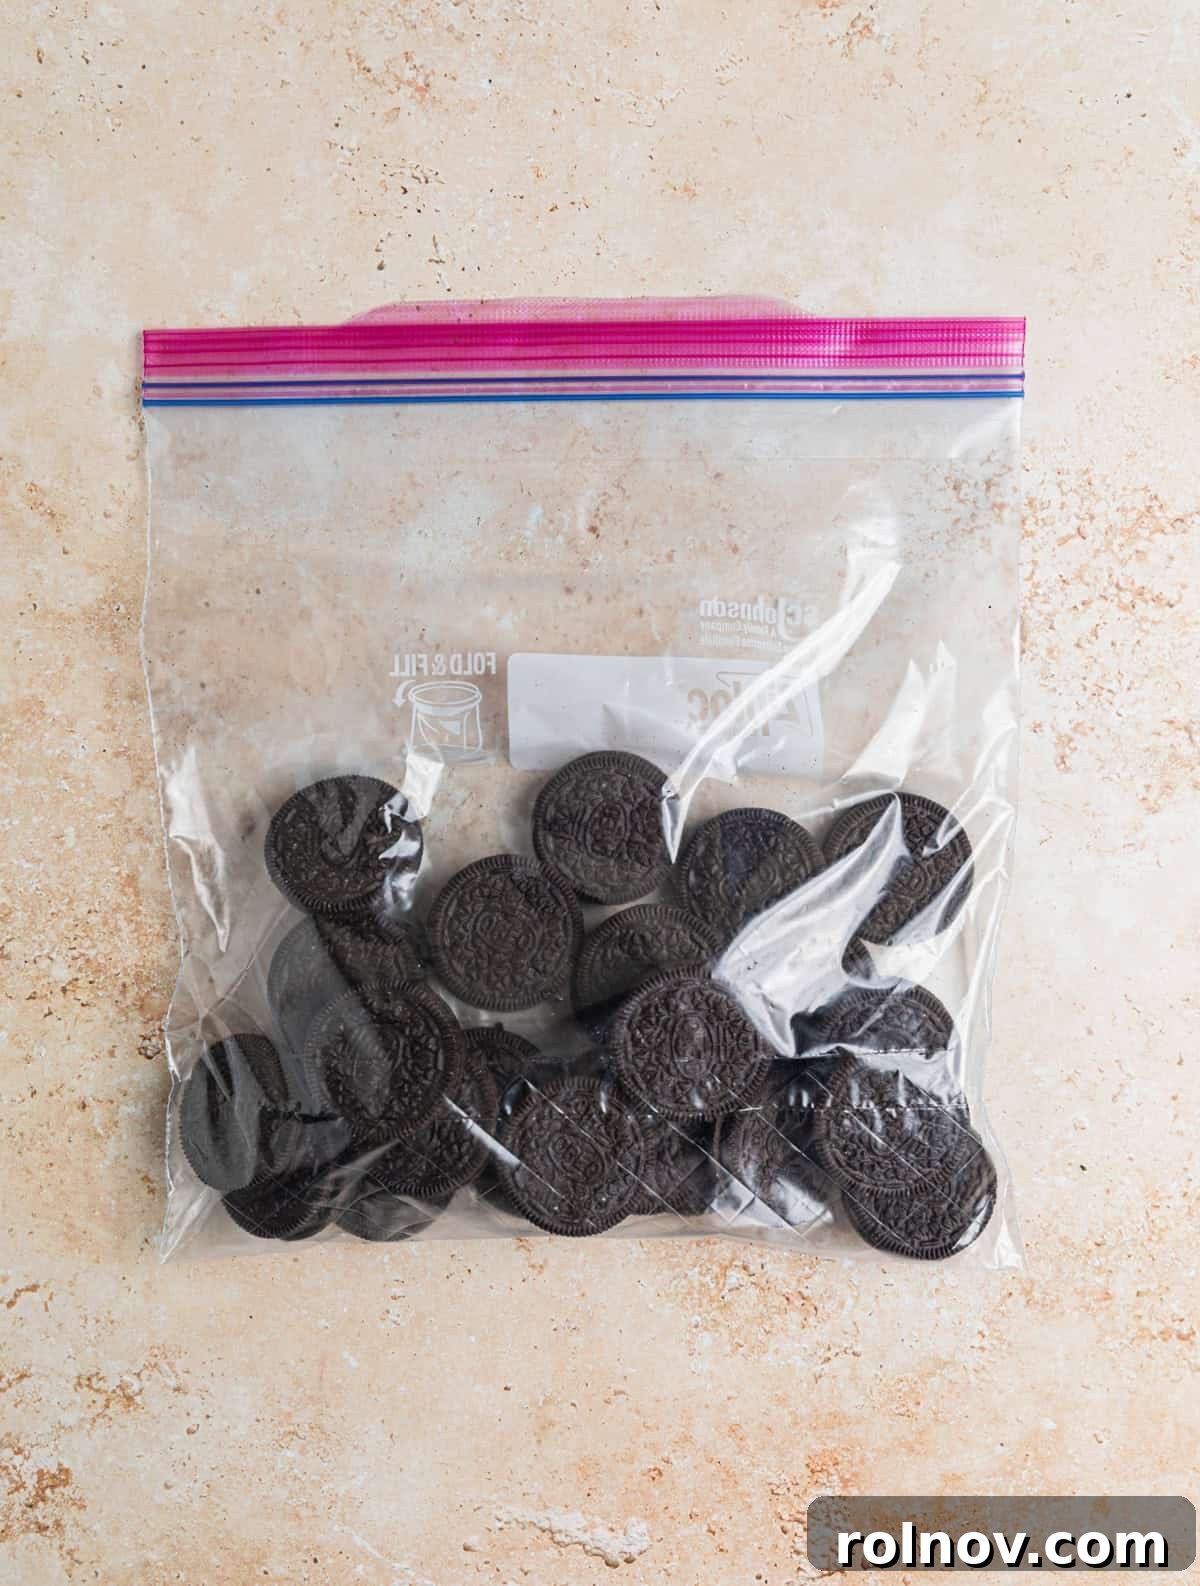
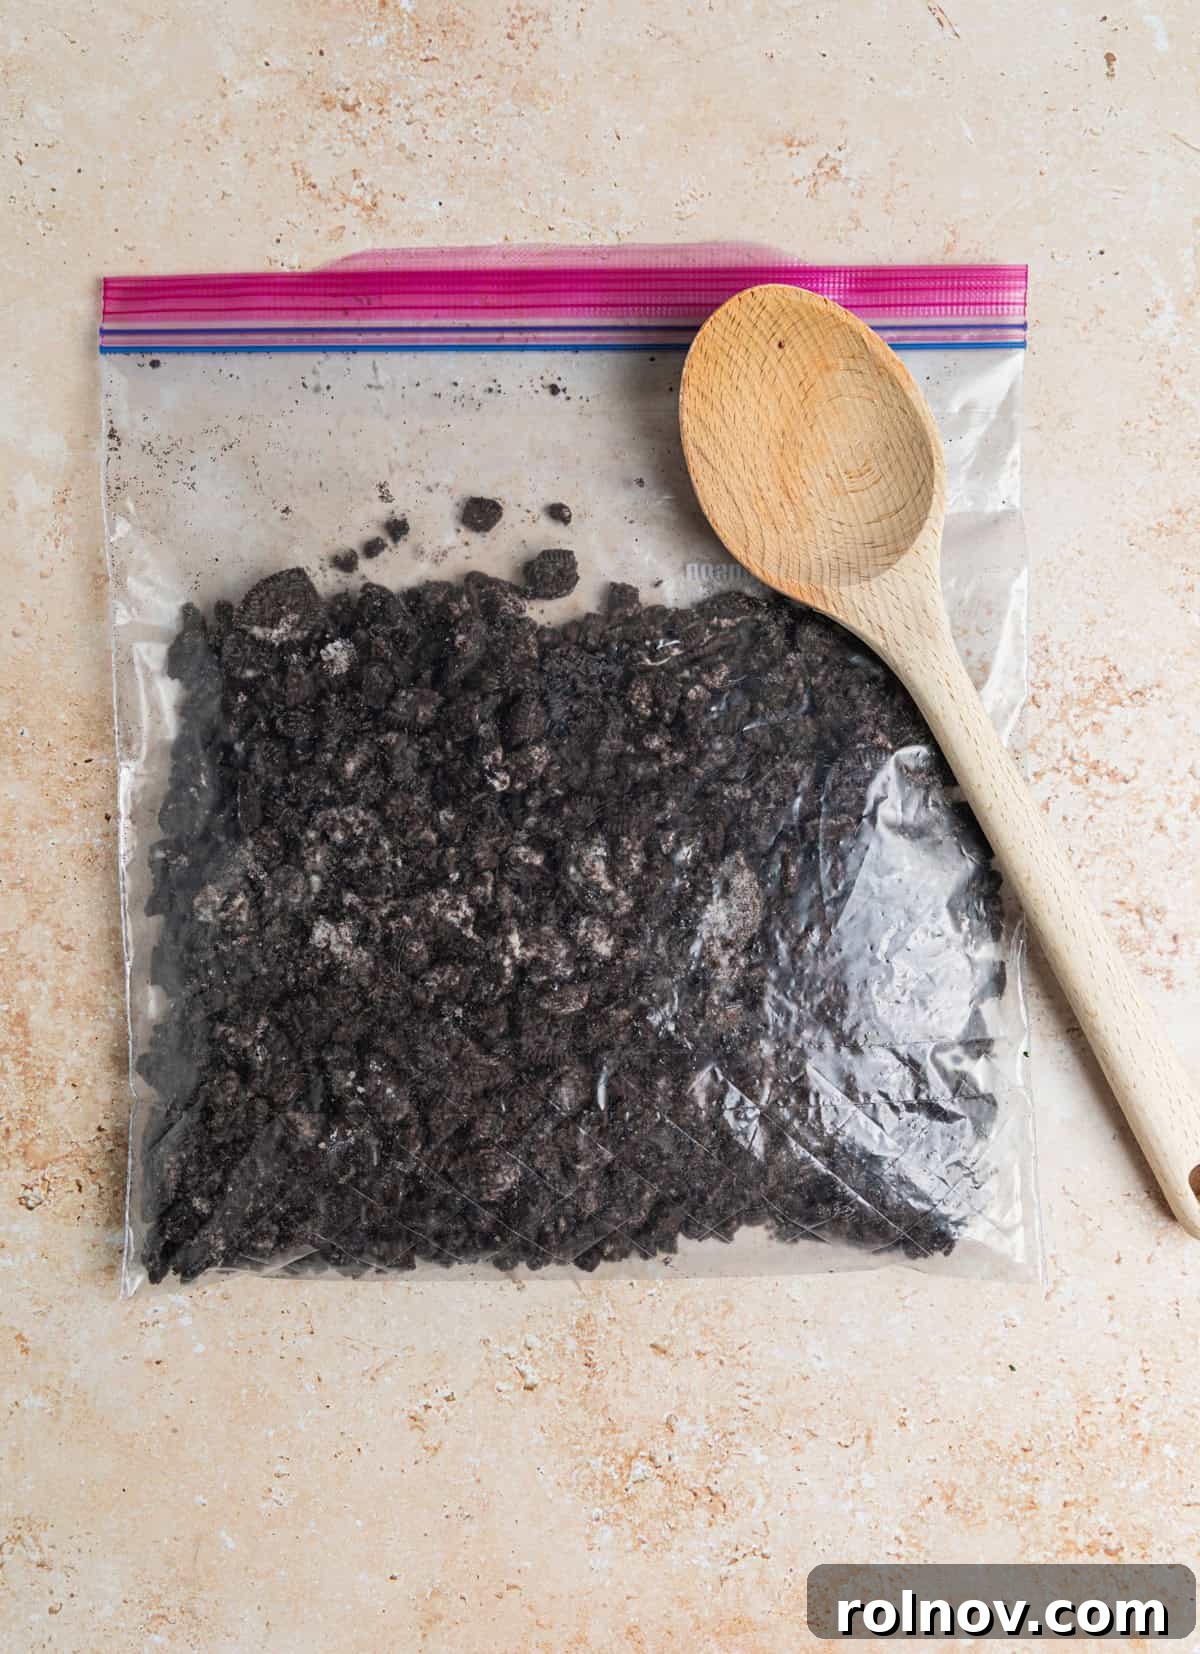
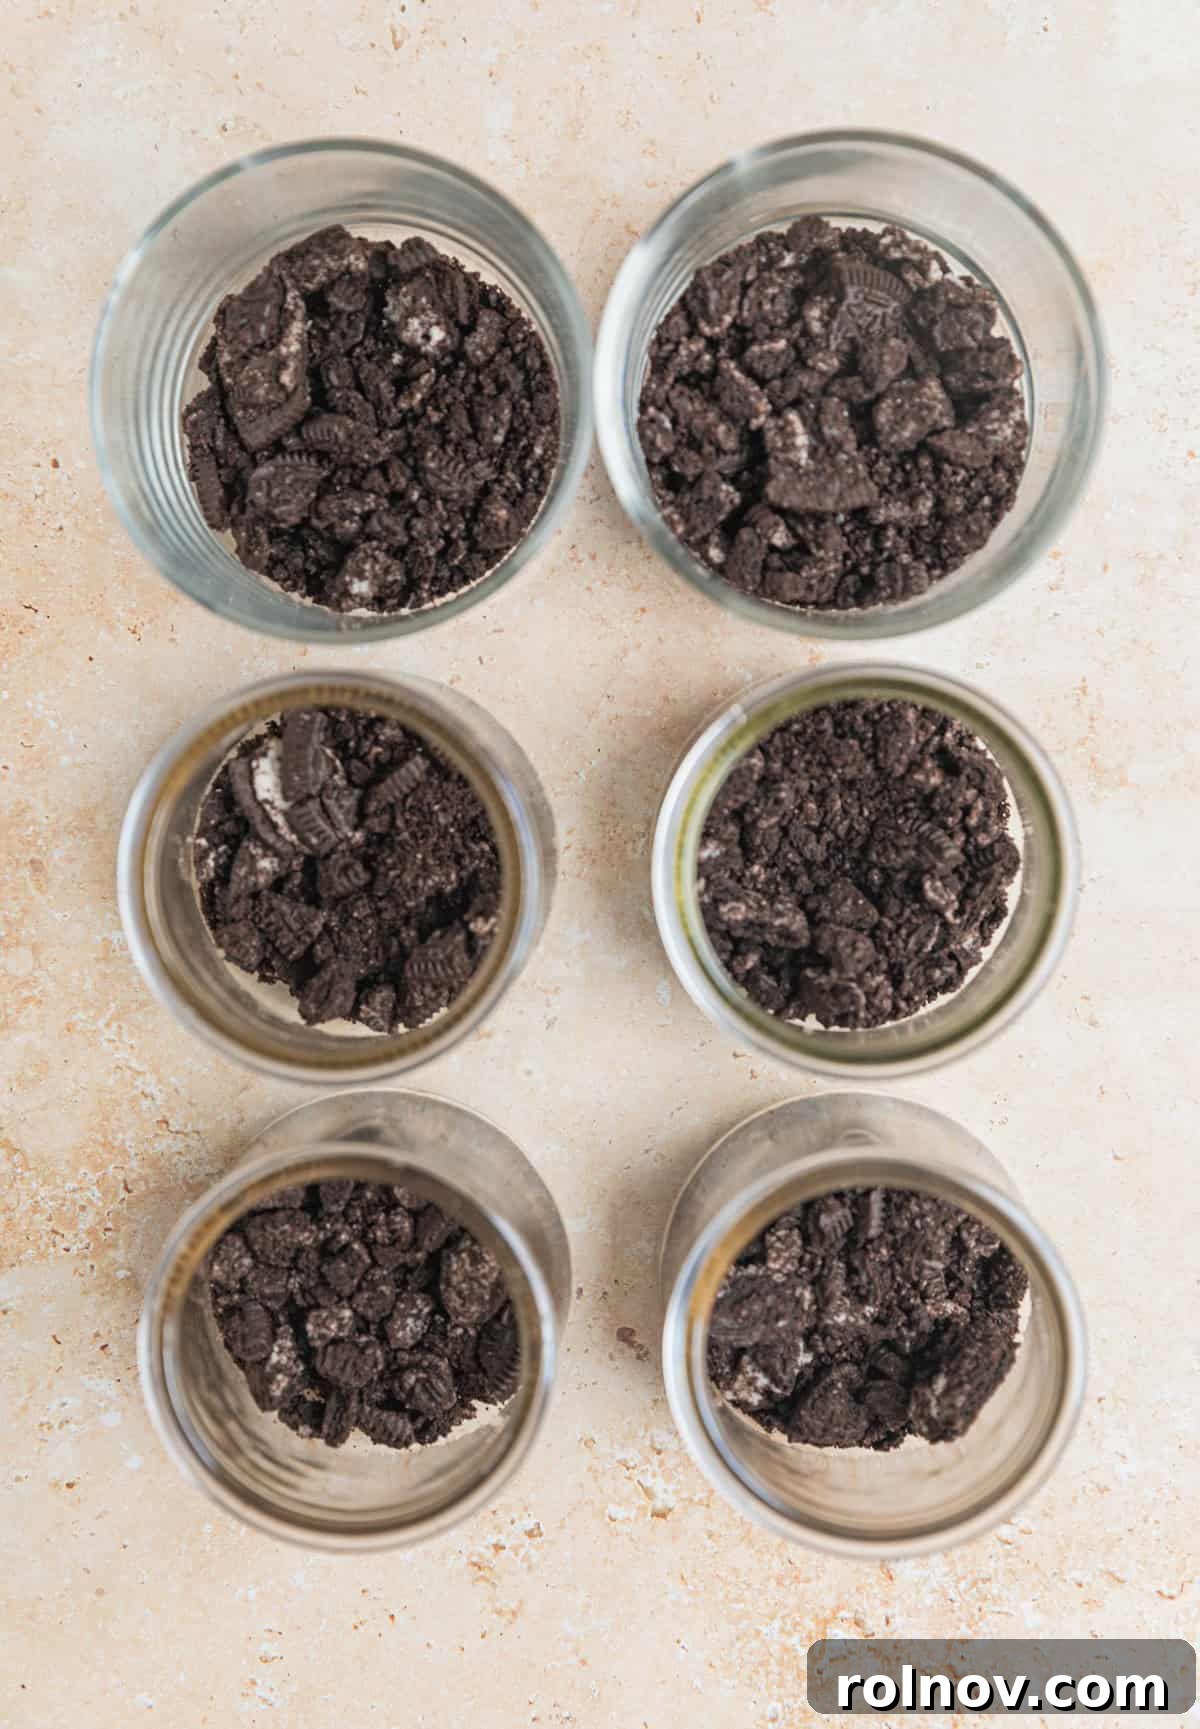
- Carefully place your chosen Oreo cookies into a sturdy plastic bag. Seal the bag, allowing some air to remain for cushioning.
- Using a rolling pin, the bottom of a heavy glass, or a robust, solid spoon, roll or gently pound the cookies until they are crushed to your desired consistency. I personally prefer my Oreos to retain some discernible cookie pieces rather than being reduced to fine crumbs, as this adds a delightful textural contrast.
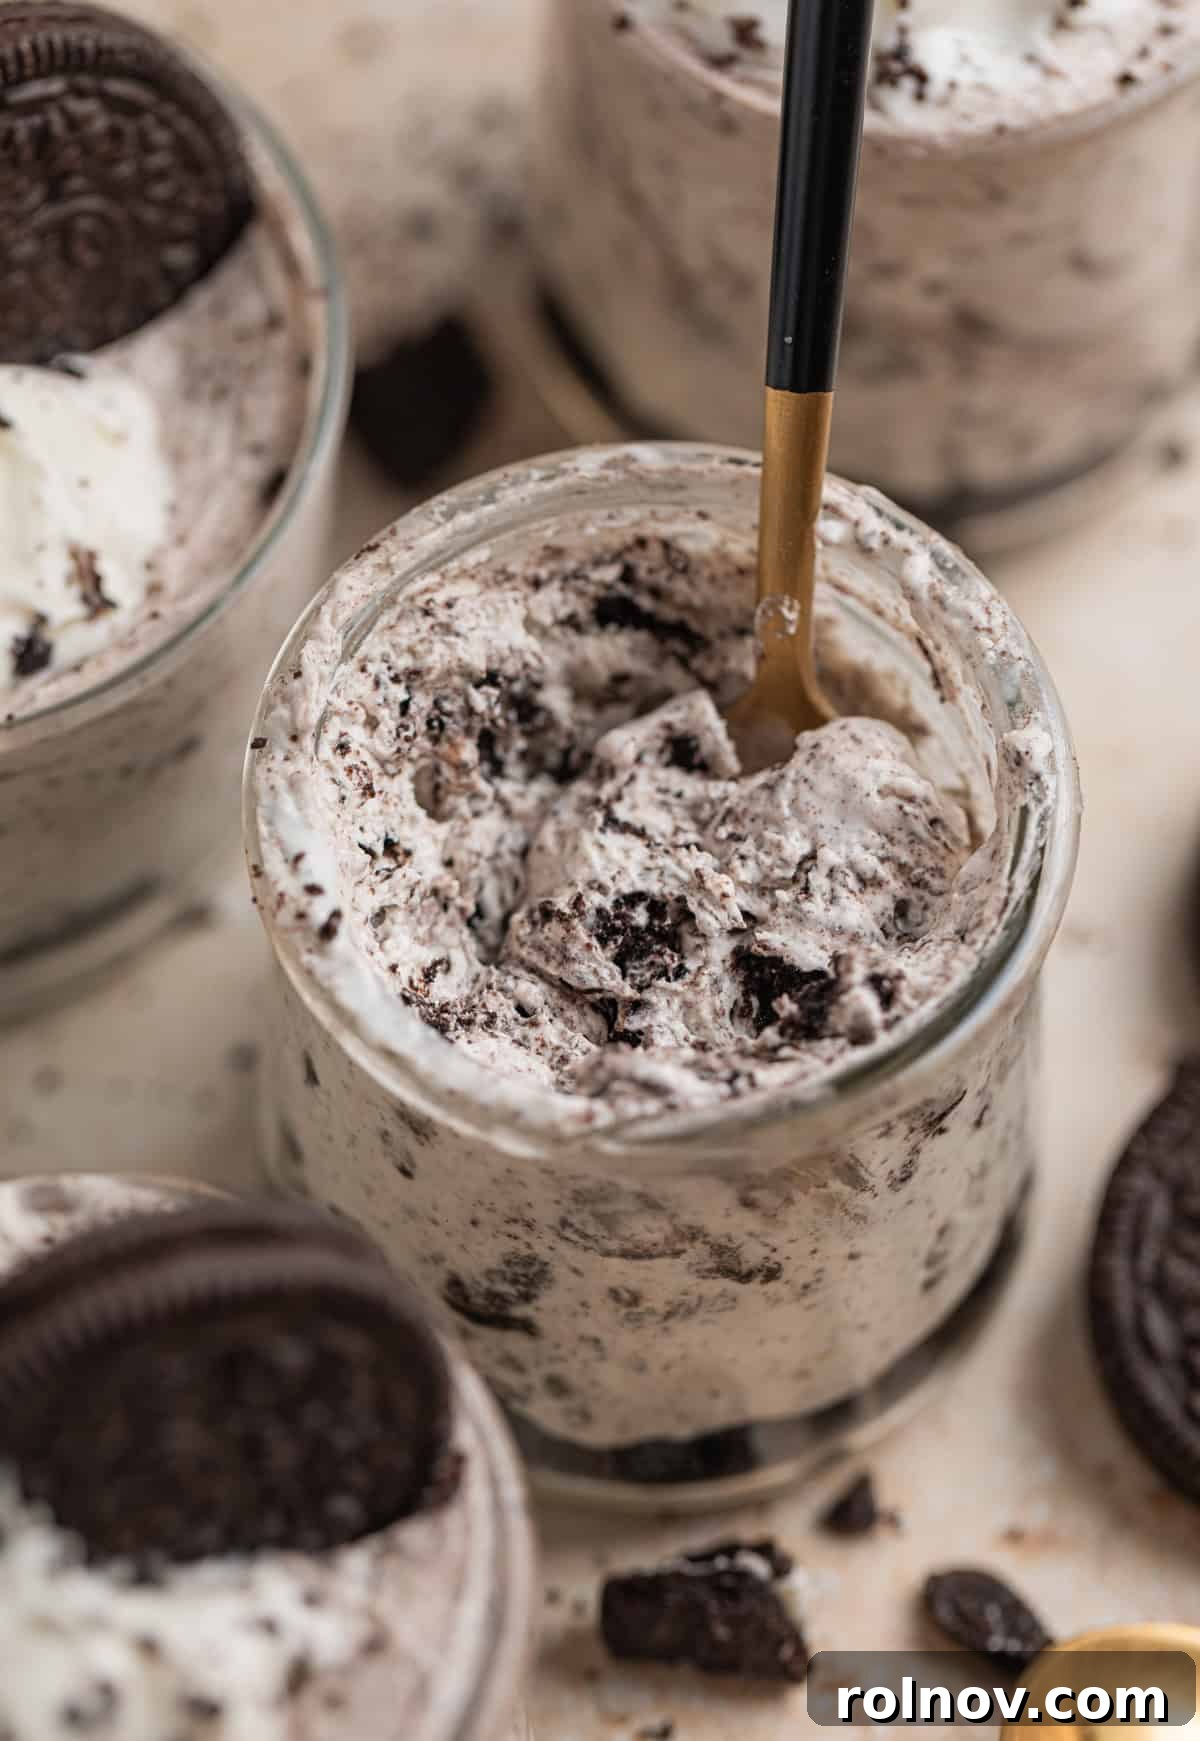
- Spoon approximately 1 1/2 to 2 tablespoons of the crushed Oreos into the bottom of each of six individual dessert cups. For this recipe, I found that old glass yogurt jars and small 1-cup dishes work perfectly. (Note: If you prefer a crust-less cheesecake, you can omit the Oreo cookie base entirely; just use about 6-8 fewer cookies in total for the filling.)
2. Prepare the Creamy Cheesecake Filling
Now, let’s create the smooth and luscious cheesecake layer that will define these delightful cups.
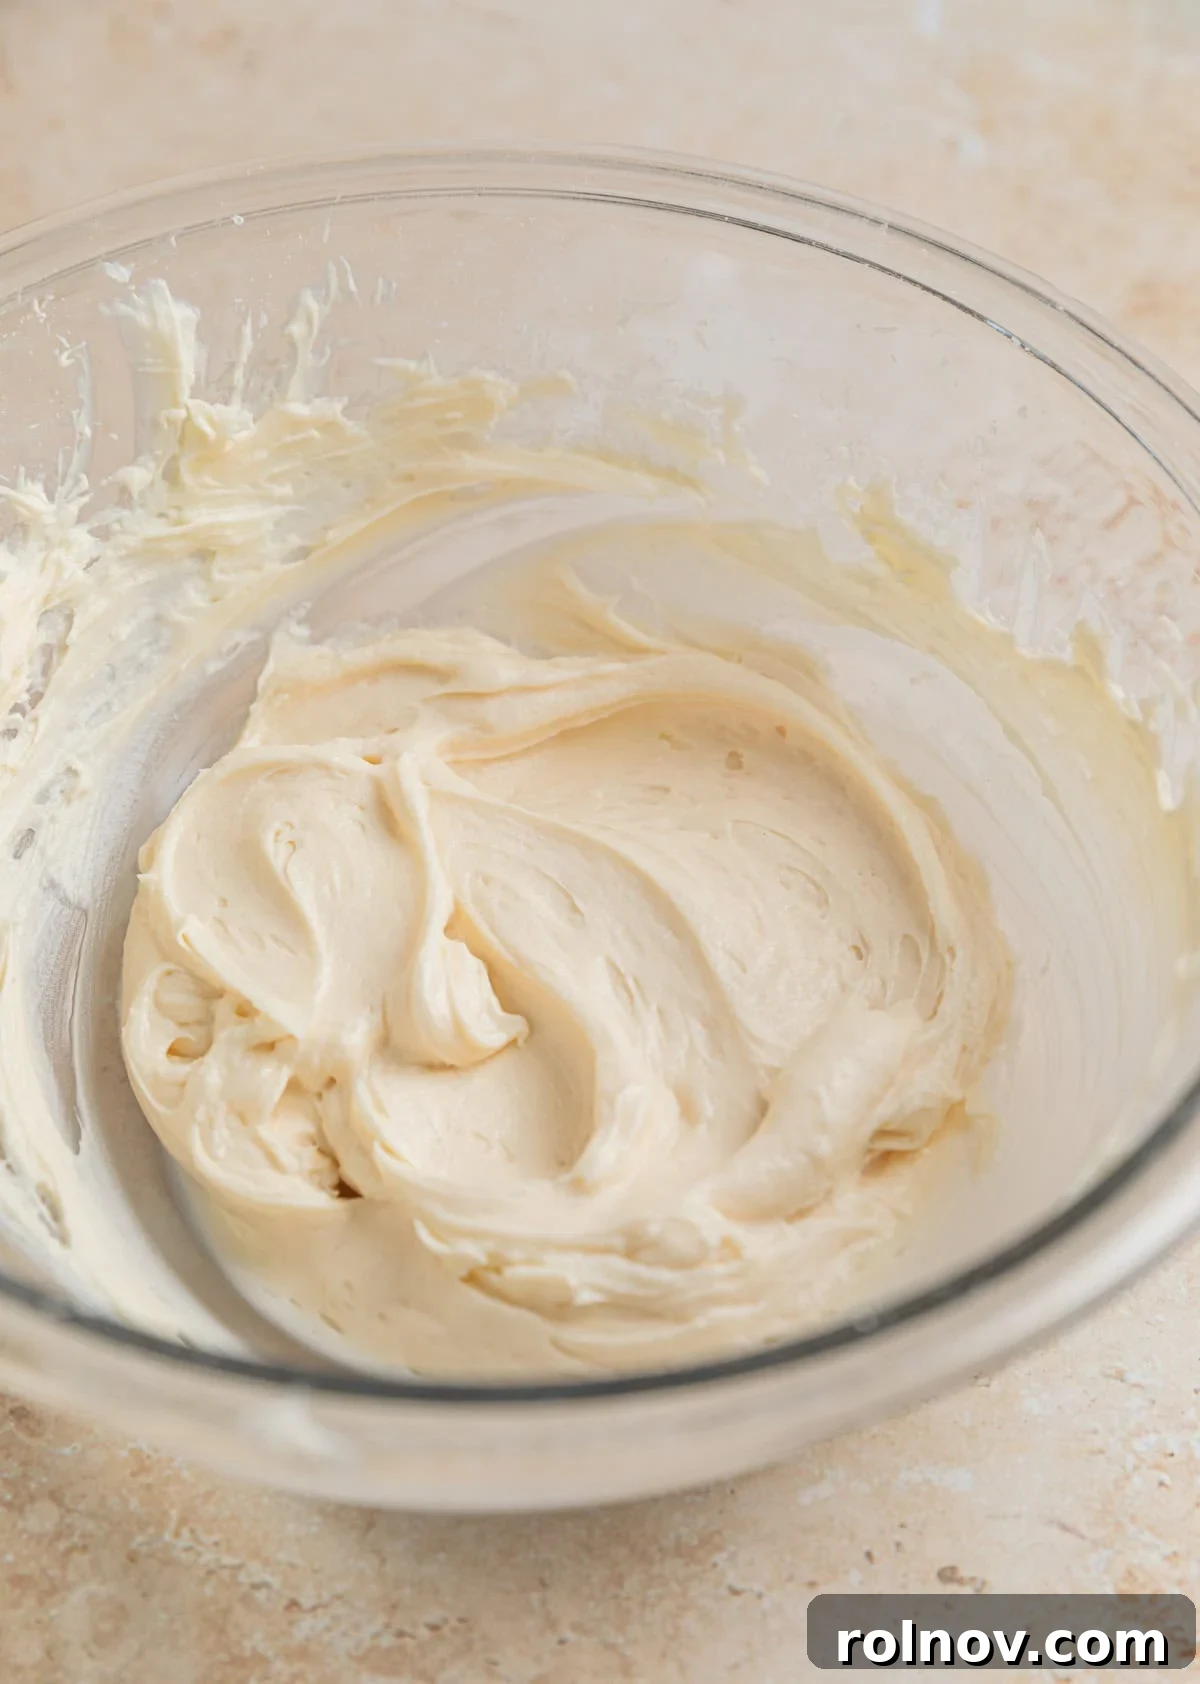
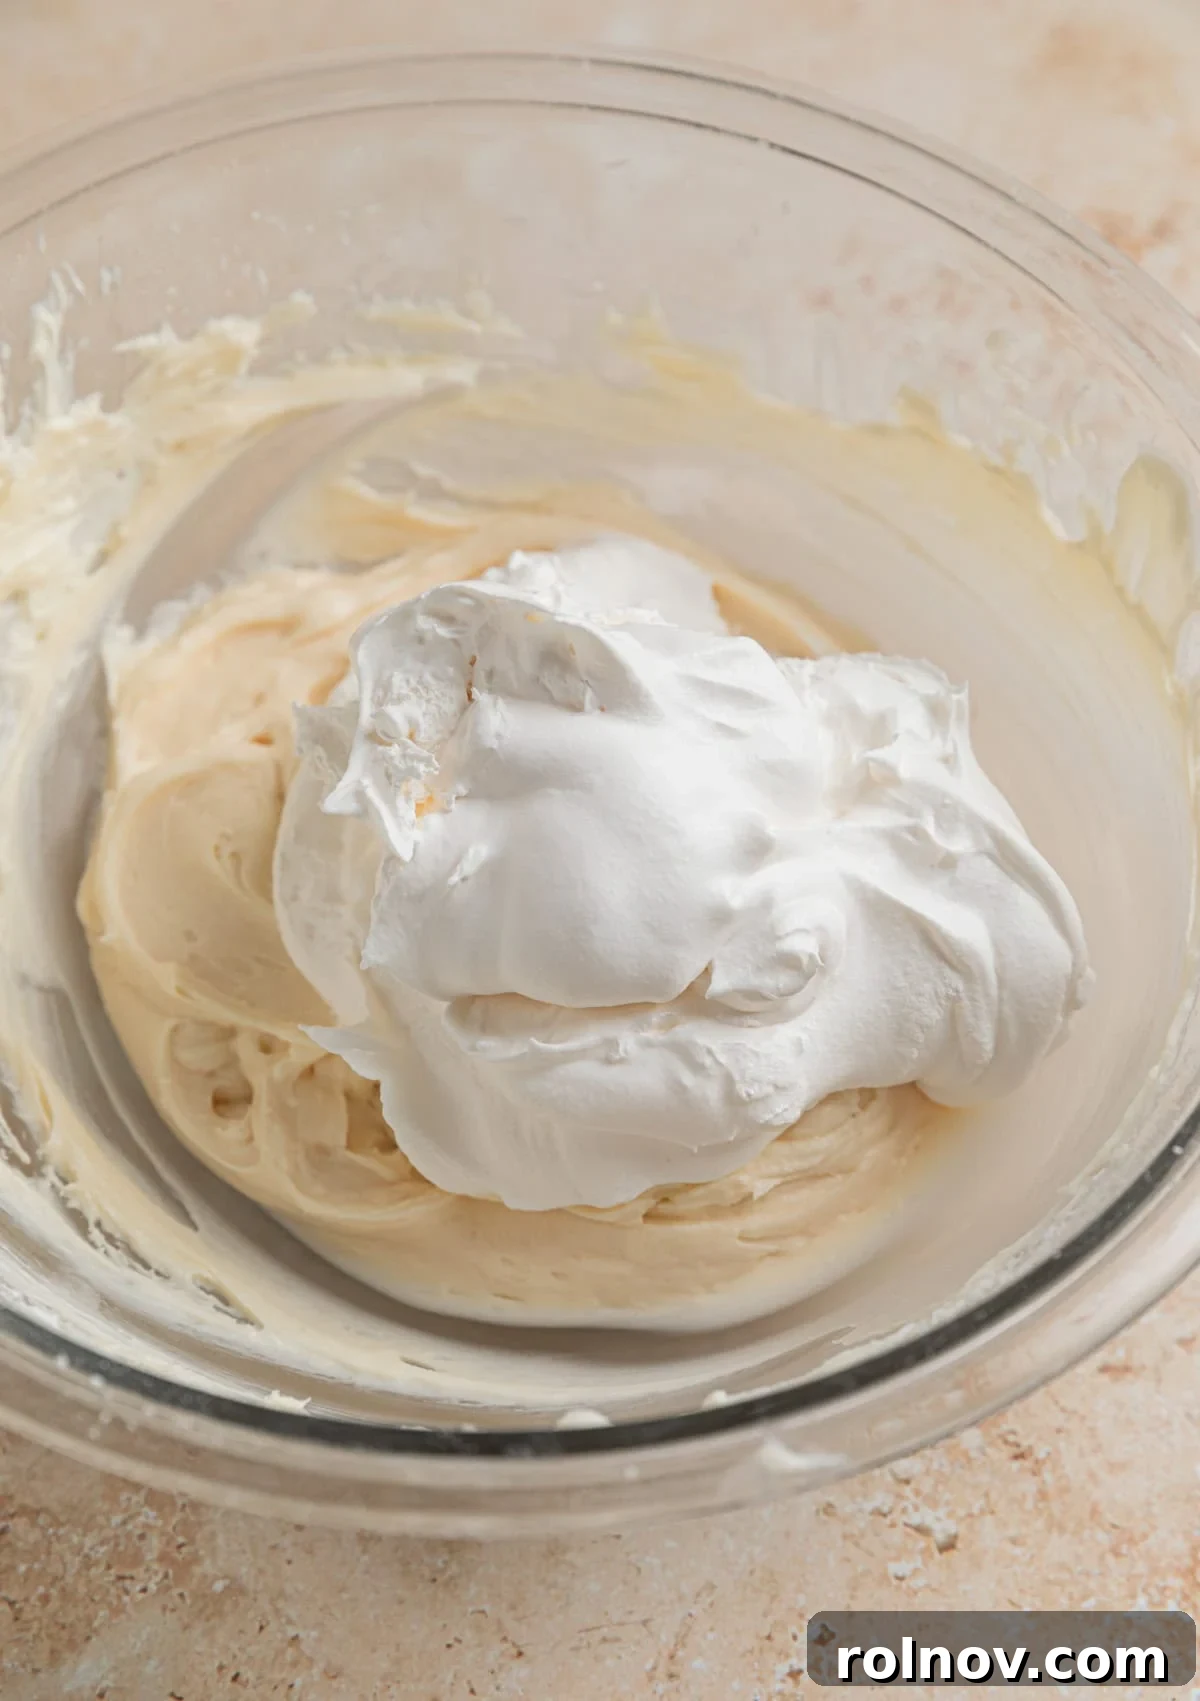
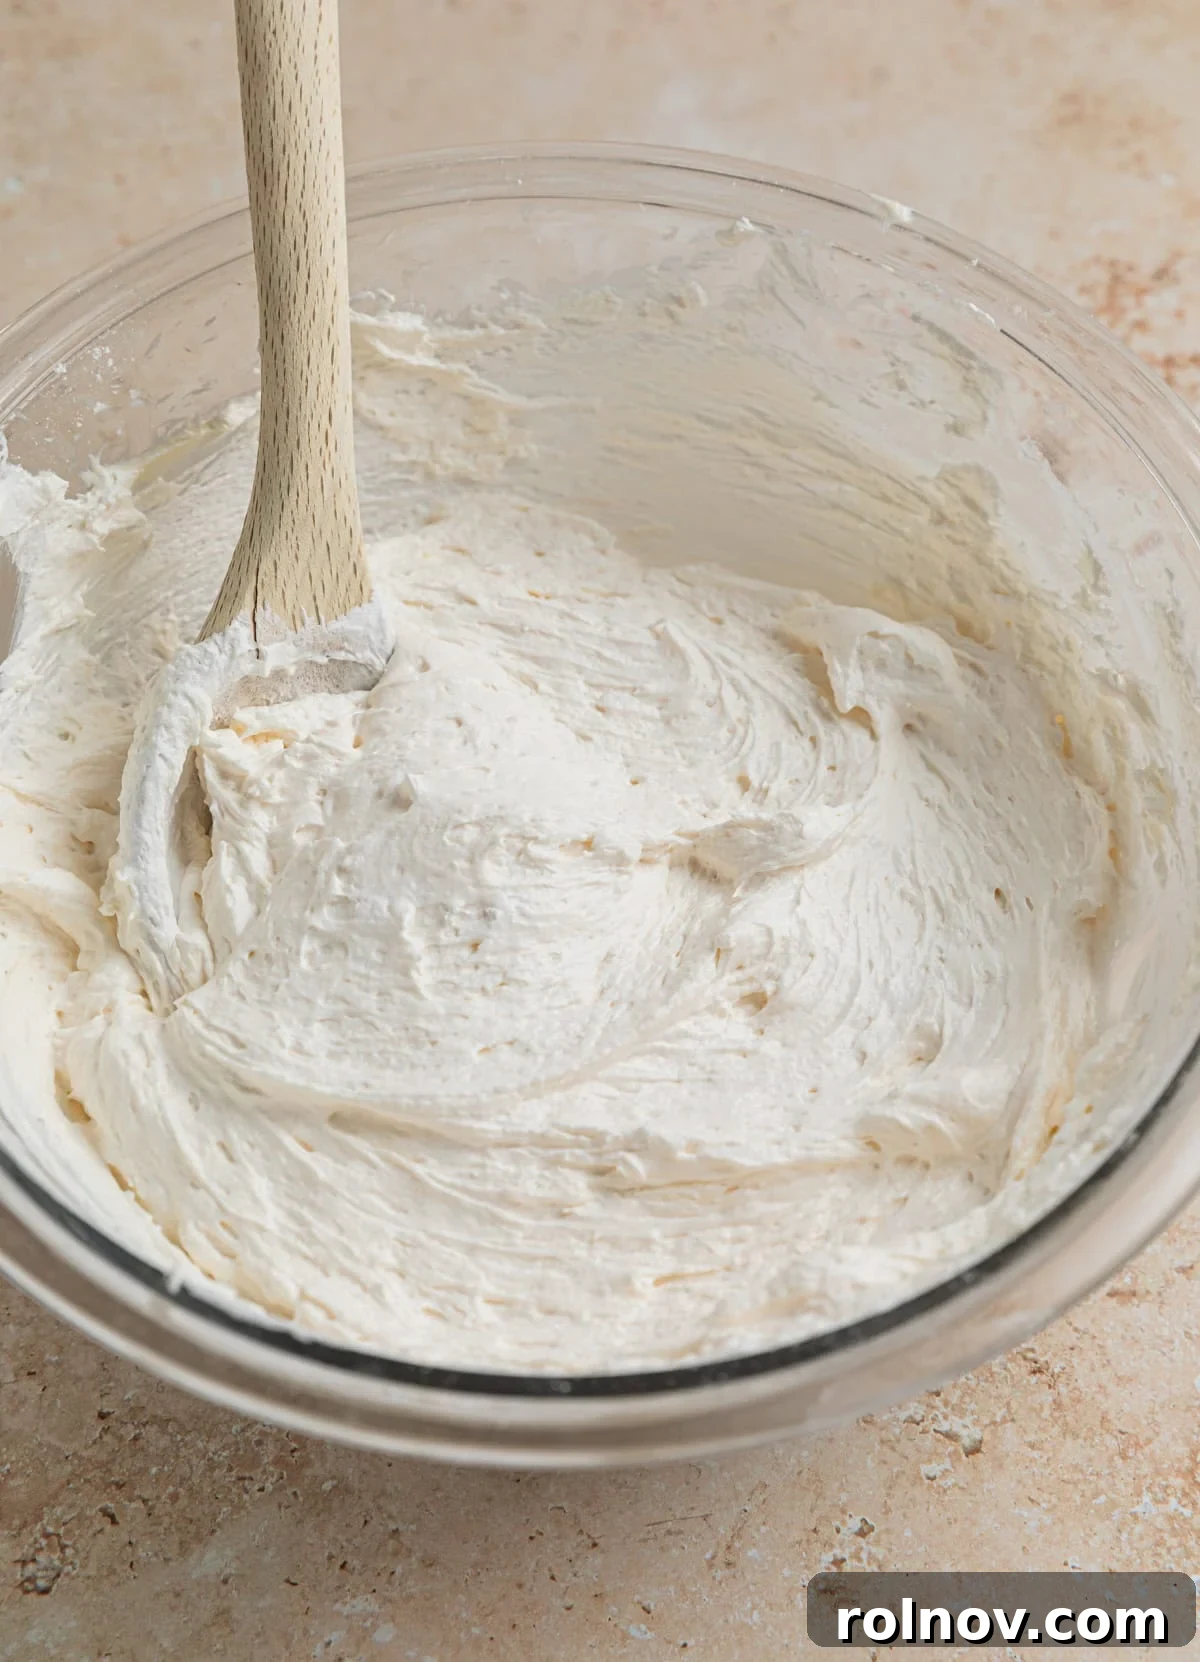
- In a spacious mixing bowl, combine the softened cream cheese and powdered sugar. Using an electric mixer (either a hand mixer or a stand mixer will work wonderfully), begin mixing on a slow speed. This initial slow approach is crucial to prevent a cloud of powdered sugar from coating your kitchen – consider this a friendly warning!
- Once the powdered sugar is incorporated, increase the speed and beat until the mixture is light, smooth, and wonderfully creamy, with no lumps remaining.
- Add the vanilla extract to the cream cheese mixture and continue to beat until it is fully incorporated, ensuring a consistent flavor throughout.
- Next, gently fold in the Cool Whip (or homemade whipped cream) using a spatula. The key here is to fold, not beat, to maintain the airy texture of the Cool Whip. Continue until the mixture is uniformly combined and beautifully fluffy.
3. Assemble and Chill Your Cheesecake Cups
The final steps involve combining the creamy filling with the remaining Oreos and preparing your cups for chilling.
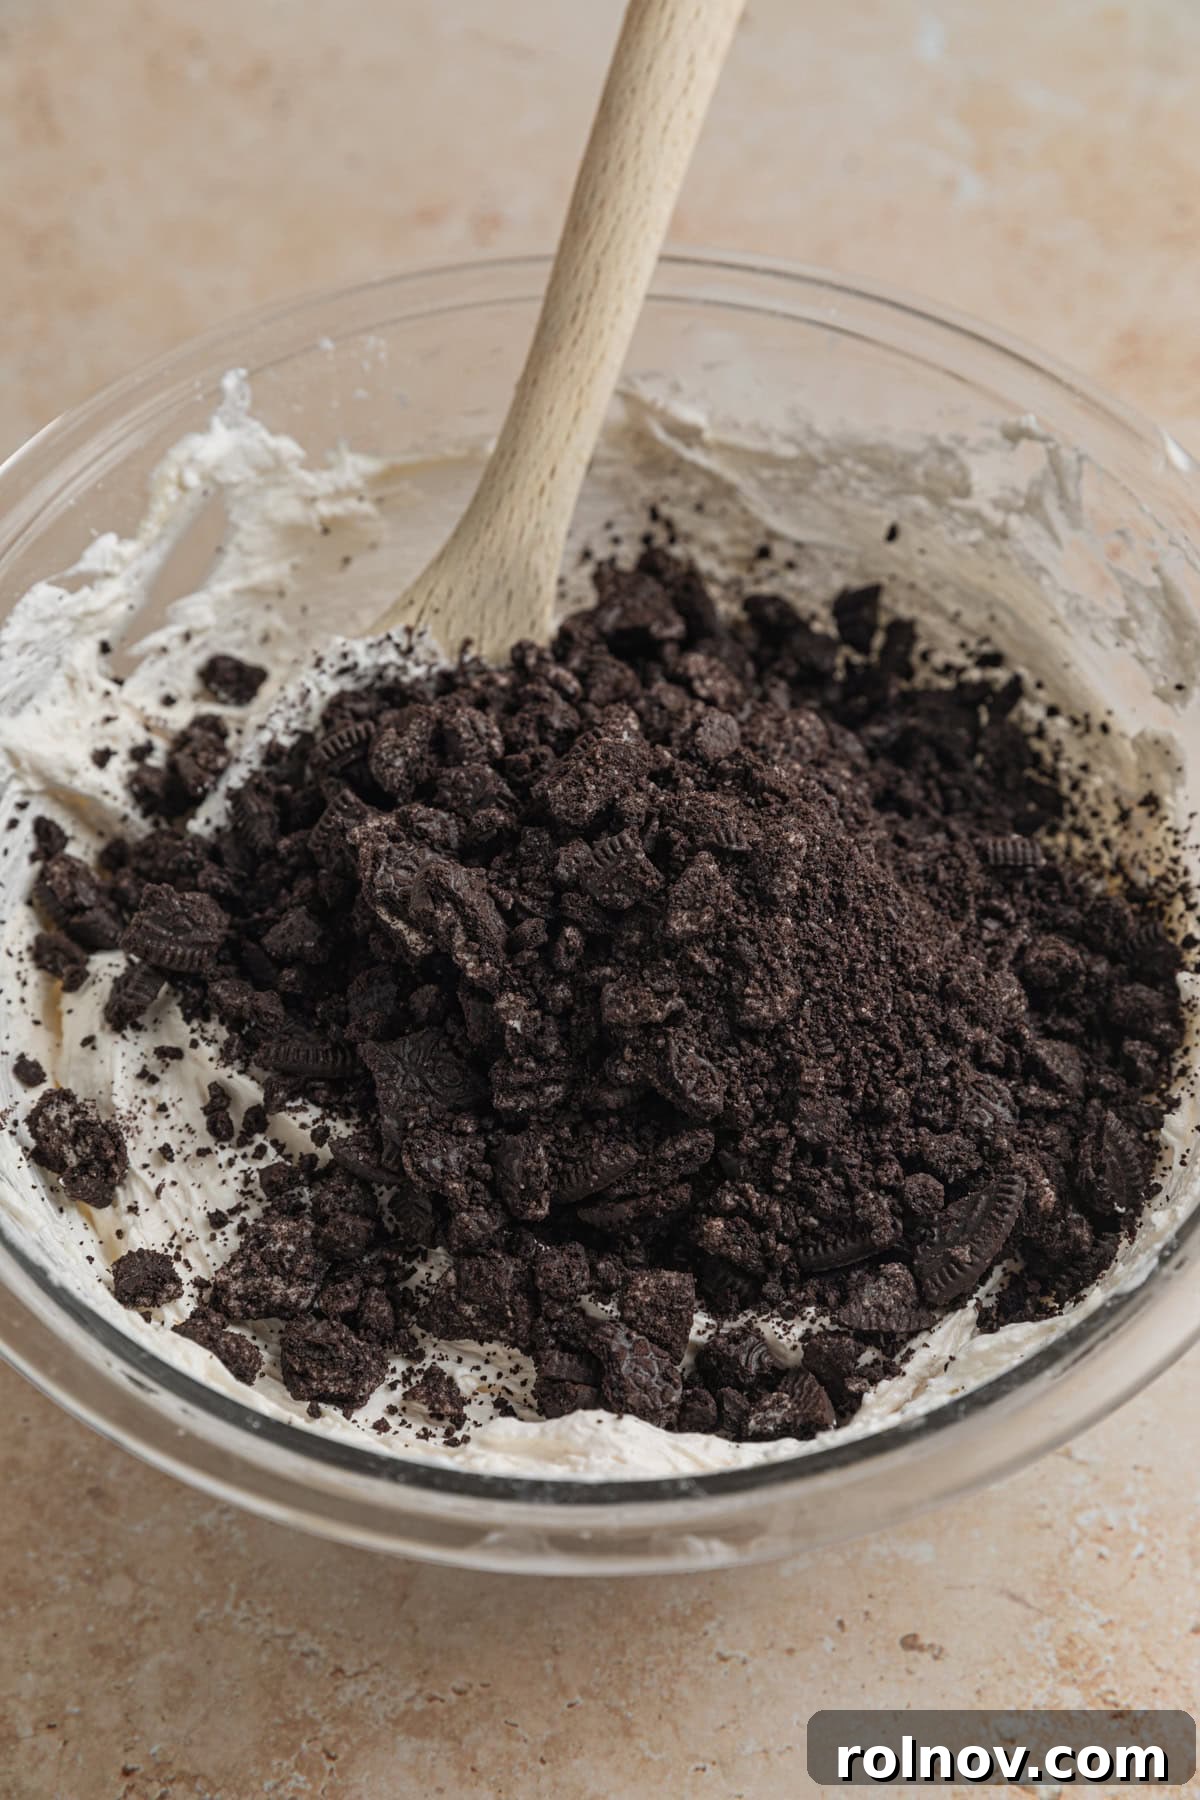
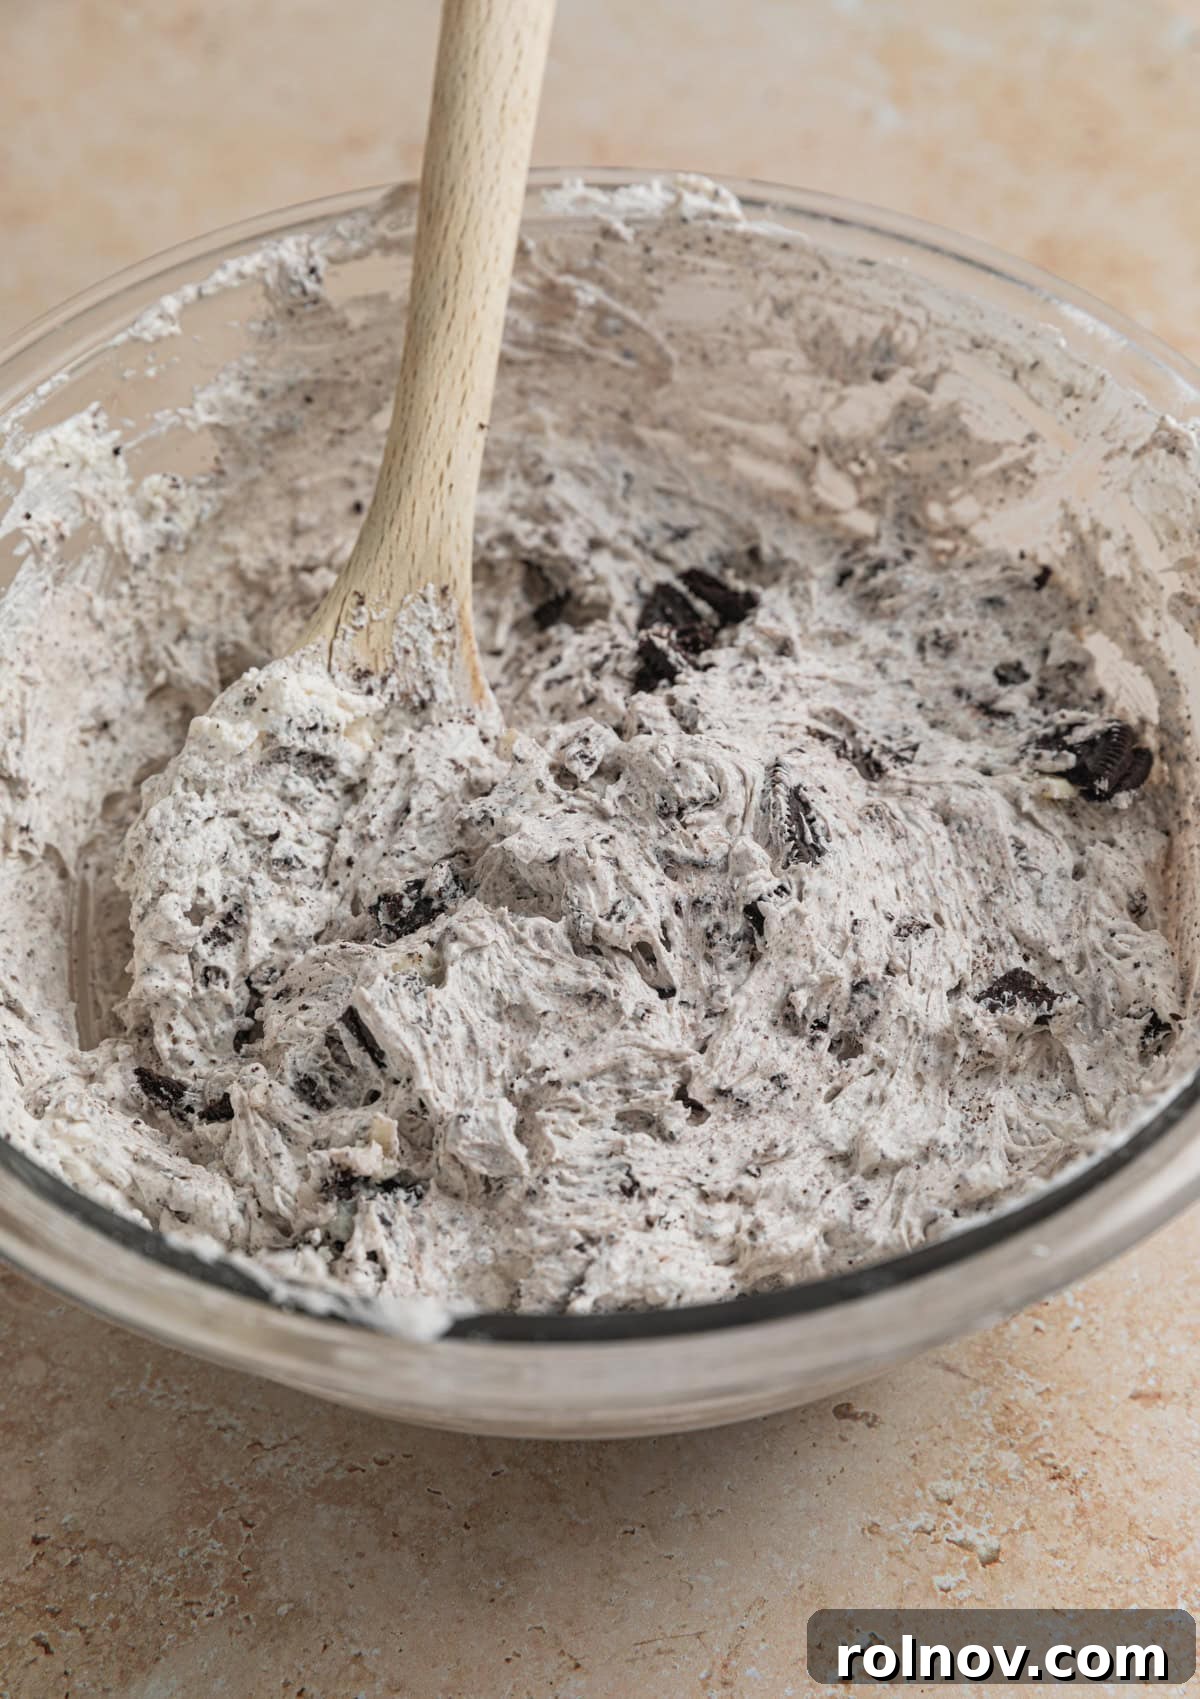
- Gently fold in the remaining crushed Oreos into the cheesecake mixture. Distribute them evenly, ensuring every bite will be bursting with Oreo goodness.
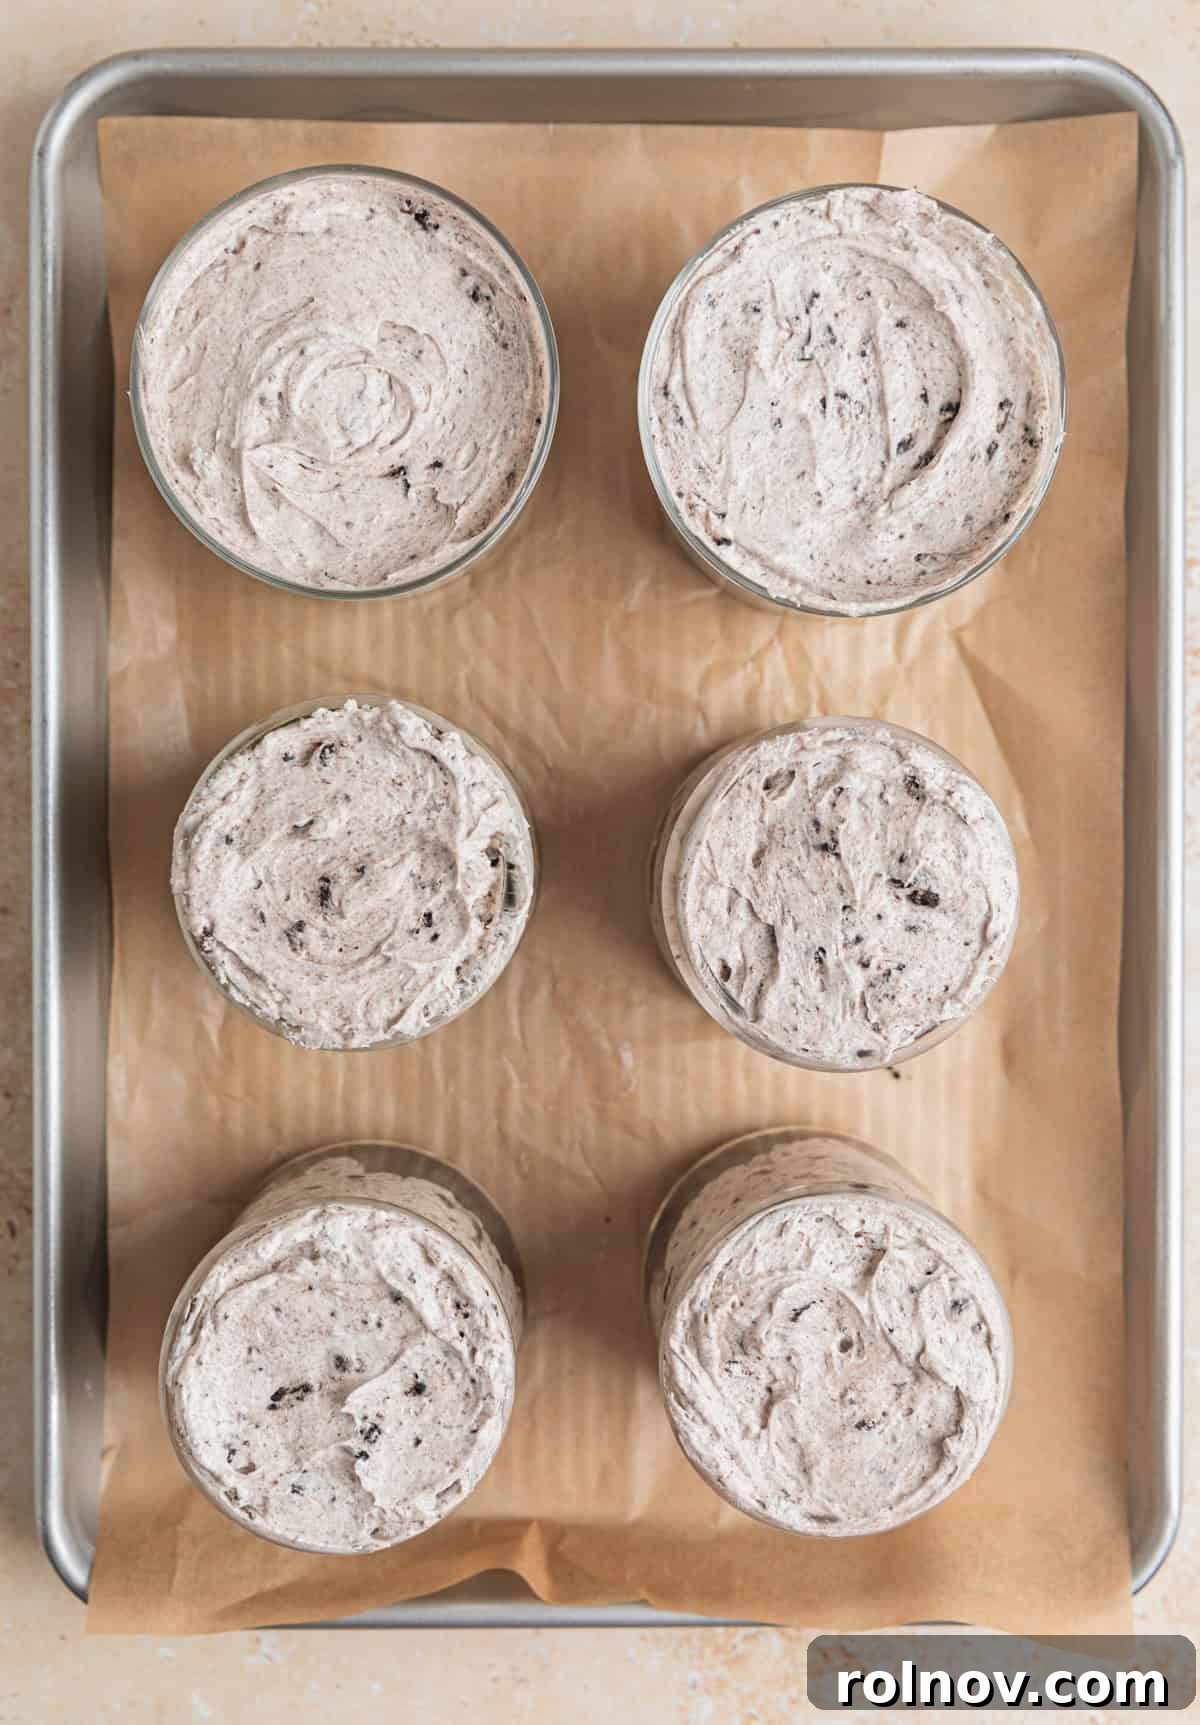
- Spoon the completed cheesecake filling evenly into your six prepared dessert dishes. Using the back of the spoon, gently press the filling down into the cups, ensuring it settles snugly around the crushed Oreo base and fills any air gaps. This creates a neat and appealing presentation.
- Once filled, transfer the cheesecake cups to the refrigerator. Chill them for at least 1 hour, or until the cheesecake mixture has firmly set. While waiting is the hardest part, this chilling time is crucial for developing the flavors and achieving that perfect cheesecake texture.
- Before serving, elevate your presentation with a generous dollop of fresh whipped cream, a mini Oreo, or half of a full-sized cookie on top. A sprinkle of additional Oreo cookie crumbs makes for the perfect garnish, adding visual appeal and extra crunch. Enjoy your homemade, utterly delicious No-Bake Oreo Cheesecake Cups!
Creative Variations & Expert Tips for Your No-Bake Oreo Cheesecake Cups
This recipe is wonderfully adaptable, allowing for many creative twists and ensuring flawless results every time:
- Layered Parfait Elegance: For a more sophisticated presentation, try layering the dessert parfait-style. Alternate layers of crushed Oreos, cheesecake filling, and perhaps some additional whipped cream or chocolate syrup in a tall glass. This creates a visually stunning dessert with delightful textural contrasts in every spoonful. Alternatively, you can make this in one larger serving dish and spoon it out for a more rustic approach.
- Mini Cheesecake Marvels: Transform these into adorable mini cheesecakes by preparing them in a muffin tin lined with cupcake liners. For a sturdier base suitable for handling, you might want to create a slightly more structured Oreo crust by mixing crushed Oreos with a touch of melted butter before pressing them into the liners. Pipe or spoon the cheesecake mixture over the crust. The exact yield may vary depending on the size of your muffin cups.
- Explore Oreo Flavors: Don’t limit yourself to the classic! The market is saturated with exciting Oreo flavors. Experiment with any Oreo flavor you adore – from Double Stuf for extra creaminess, to Golden Oreos for a vanilla twist, or even seasonal varieties for holiday-themed treats. Each flavor will impart a unique character to your cheesecake cups.
- Mint Chocolate Dream: For an invigorating twist, add about 1/2 teaspoon of peppermint extract to the cheesecake mixture and use mint-flavored Oreos. This creates a refreshing mint cookies and cream dessert that’s perfect for festive occasions or a cool palate cleanser.
- Add Zest or Citrus: A little lemon or orange zest folded into the cream cheese mixture can add a bright, fresh counterpoint to the sweetness of the Oreos.
- Chocolate Lover’s Paradise: Stir in a handful of mini chocolate chips or chocolate chunks into the cheesecake filling for an extra dose of chocolatey goodness. A drizzle of chocolate syrup on top before serving is also highly recommended.
- Coffee Infusion: For a subtle mocha flavor, dissolve 1 teaspoon of instant espresso powder in the vanilla extract before adding it to the cream cheese mixture.
- Perfecting the Texture: Ensure your cream cheese is truly softened to room temperature before mixing to achieve a lump-free, silky smooth base. When folding in the Cool Whip, do so gently to maintain its airy volume, which contributes to the cheesecake’s light texture.
- The Importance of Chilling: While it’s hard to wait, proper chilling is crucial. It allows the cheesecake mixture to firm up beautifully, intensifies the flavors, and ensures your cups hold their shape. The longer they chill, the better they will be!
Beyond Cups: How To Make This No-Bake Oreo Cheesecake in a Single Dish
While individual cups offer elegance and convenience, sometimes you need a larger, family-style dessert. This no-bake Oreo cheesecake recipe is easily adaptable to a single dish, perfect for sharing or bigger gatherings.
If you prefer a more traditional cheesecake presentation, you can prepare this recipe in an 8×8 inch square pan or a small baking dish. When making it in a larger pan, I highly recommend creating a more structured Oreo crust, similar to the one used in our No-Bake Chocolate Pie. This involves mixing crushed Oreos with melted butter and pressing them firmly into the bottom of the pan. A firmer crust will make serving and scooping much easier and cleaner.
Another delightful option is to layer this dessert in a bread loaf pan. Start with a layer of crushed Oreos, then add a layer of the creamy cheesecake filling. Repeat these layers until all ingredients are used up, creating a visually appealing and delicious layered loaf that can be sliced for serving.
It’s important to note that while this cheesecake sets beautifully, it won’t achieve the sturdy, sliceable consistency of a baked cheesecake, especially not for a springform pan. It tends to be softer and creamier, meaning beautiful, perfectly clean slices might be a bit challenging to achieve. Embrace its softer, more delicate texture, and be prepared for a slightly messier but equally delicious serving experience when made in a single dish.
Serving Suggestions and Smart Storage Solutions
Ensuring your No-Bake Oreo Cheesecake Cups stay fresh and delicious is simple with these storage tips, allowing you to enjoy them for days or even prepare them well in advance.
Storage in the Refrigerator:
These delightful cheesecake cups will maintain their optimal freshness and flavor when stored properly in the refrigerator for up to 5 days. To achieve the longest possible shelf life and prevent them from absorbing other fridge odors, ensure they are wrapped tightly. If your individual dessert cups come with lids, utilize them. Otherwise, cover each cup securely with plastic wrap, pressing it gently onto the surface of the cheesecake to prevent air exposure. For an extra layer of protection, you can then cover the plastic-wrapped cups with aluminum foil. Be aware that over time, the Oreo cookie base and crumbs will naturally soften. While still delicious, they will lose some of their initial crunch.
Freezing for Extended Enjoyment:
Yes, you absolutely can freeze this recipe for longer storage! This is a fantastic option if you’ve made a large batch or want to have emergency desserts on hand. To freeze, ensure each individual cheesecake cup is tightly wrapped, ideally twice, using plastic wrap and then aluminum foil. This double layer helps protect against freezer burn and preserves the cheesecake’s texture and flavor. When you’re ready to enjoy, simply transfer the frozen cheesecake cups to the refrigerator and allow them to thaw overnight. They will be ready to serve by the next day, offering a convenient, pre-made treat.
Frequently Asked Questions About No-Bake Oreo Cheesecake Cups
Here are some common questions to help you master this delicious no-bake dessert:
- Can I use low-fat cream cheese? While you technically can, full-fat cream cheese is highly recommended for the best texture and richness. Low-fat cream cheese might result in a less creamy and slightly firmer cheesecake. Avoid zero-fat cream cheese as it often doesn’t set properly for no-bake recipes.
- Can I use homemade whipped cream instead of Cool Whip? Absolutely! Homemade whipped cream made from heavy cream is a wonderful substitute. Beat 1 cup of heavy cream with 1-2 tablespoons of powdered sugar and 1/2 teaspoon of vanilla extract until stiff peaks form. Gently fold it into the cream cheese mixture as instructed.
- How long do these cheesecake cups need to chill? They need at least 1 hour to set properly, but for the best texture and flavor development, I recommend chilling them for 2-4 hours, or even overnight.
- Can I make these ahead of time for a party? Yes, they are an excellent make-ahead dessert! You can prepare them up to 2-3 days in advance and keep them tightly covered in the refrigerator. The flavors will meld beautifully.
- What if I don’t have individual dessert cups? No problem! You can use small jars, ramekins, or even just scoop the mixture into a single large serving bowl. For a single dish presentation, refer to the “How To Make This In One Dish” section above for tips on using an 8×8 pan or a loaf pan.
- Do the Oreos get soggy? The crushed Oreos at the bottom and folded into the mixture will soften slightly over time, especially after a day or two in the refrigerator. However, they still provide a pleasant texture and delicious Oreo flavor.
Discover More Delicious Treats:
If you’ve enjoyed these No-Bake Oreo Cheesecake Cups, you’ll love exploring these other fantastic dessert recipes:
- No-Bake Caramel Apple Cheesecake
- No-Bake Chocolate Peanut Butter Bars
- Homemade Jello Pudding Pop Recipe
- Dulce de Leche Cheesecake Brownies
- 5 Minute Cheesecake Dip
Oreo No-Bake Cheesecake Cups
15 minutes
30 minutes
45 minutes
6
Ingredients
- 1 (8 oz) block of cream cheese, softened
- 1 (8 oz) container of Cool Whip or whipped topping
- 2/3 cup powdered sugar
- 1 tsp vanilla extract
- 24-26 Oreo cookies, plus more for garnish as desired
Instructions
- Place 24-26 Oreos in a plastic bag and seal. Using a rolling pin or a sturdy wooden spoon, crush the Oreos to your desired consistency (I prefer some larger pieces). Spoon 1 1/2 – 2 tablespoons of the crushed Oreos into the bottom of 6 small dessert dishes (ensure dishes are at least 3/4 cup to 1 cup size). Set aside the remaining crushed Oreos for the filling.
- In a mixing bowl, using a hand or stand mixer, whip the softened cream cheese and powdered sugar together until creamy and smooth. Begin on low speed to prevent sugar from spraying, then increase to medium. Add the vanilla extract and beat until fully incorporated. Gently fold in the Cool Whip (or homemade whipped cream) with a spatula until just combined.
- Fold in the remaining crushed Oreos into the cheesecake filling. Divide the filling evenly across the 6 prepared dessert dishes, gently pressing down to fill any gaps around the cookie base.
- Chill the cheesecake cups in the refrigerator for at least 1 hour, or until firm. For best results, chill for 2-4 hours or overnight.
- Before serving, top each cup with an additional dollop of whipped cream and sprinkle with more crushed Oreos or place a mini Oreo/half-Oreo on top for garnish. Enjoy!
Notes
- You can layer this Oreo No-Bake Cheesecake dessert and make it more parfait-like if desired. Or you can put it in one larger dish and spoon it out to serve.
- Any Oreo flavor will work – and there are tons of options these days.
- Add about 1/2 teaspoon of peppermint extract and use mint Oreos to make this a mint cookies and cream treat.
- Ensure cream cheese is softened for a smooth mixture.
- Proper chilling is key for the cheesecake to set.
Nutrition
Nutrition information is automatically calculated and should only be used as an approximation.
Did you enjoy this recipe? Have a question? Leave a comment below!
Shop Essential Tools for This Recipe:
Gather the right tools to make your No-Bake Oreo Cheesecake Cups a breeze to prepare:
Weck Jars
Buy Now →
Hand Mixer
Buy Now →
Mixing Bowls
Buy Now →
Silicone Spatulas
Buy Now →