
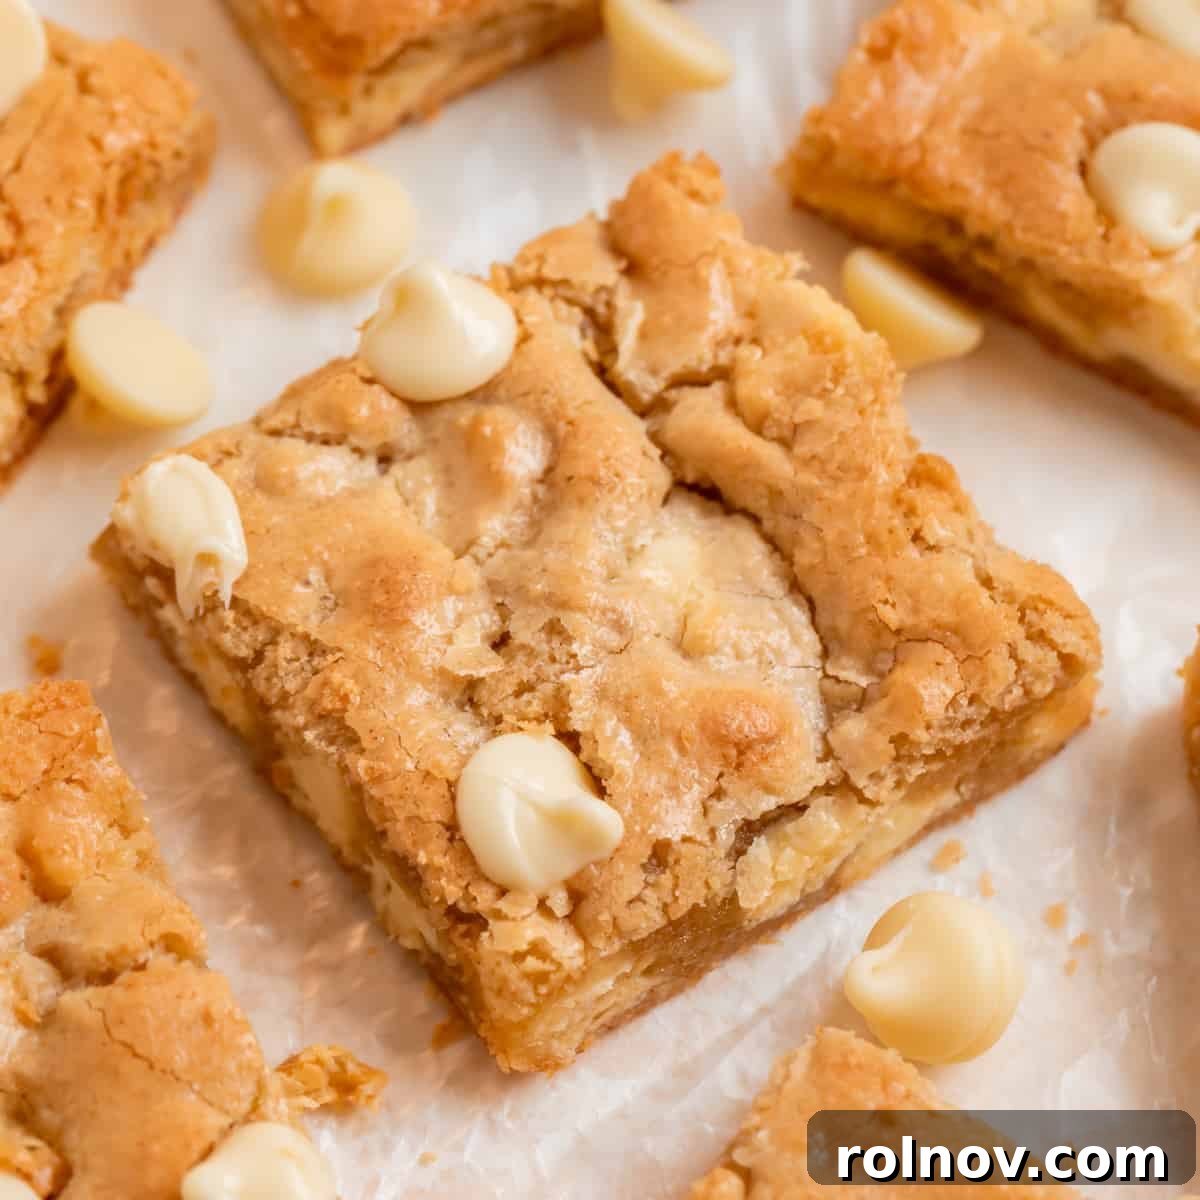
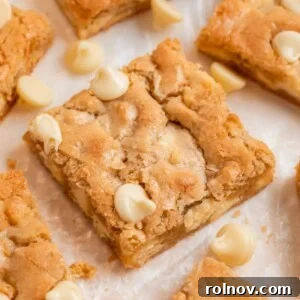
Discover the ultimate treat with these incredibly rich and gooey Gluten-Free White Chocolate Blondies! Crafted meticulously with finely ground almond flour and generously studded with decadent white chocolate chips, these blondies offer a truly satisfying experience. With a prep time of just about 10 minutes, they are the perfect quick and delightful dessert that everyone, including those with gluten sensitivities, can enjoy without compromise.
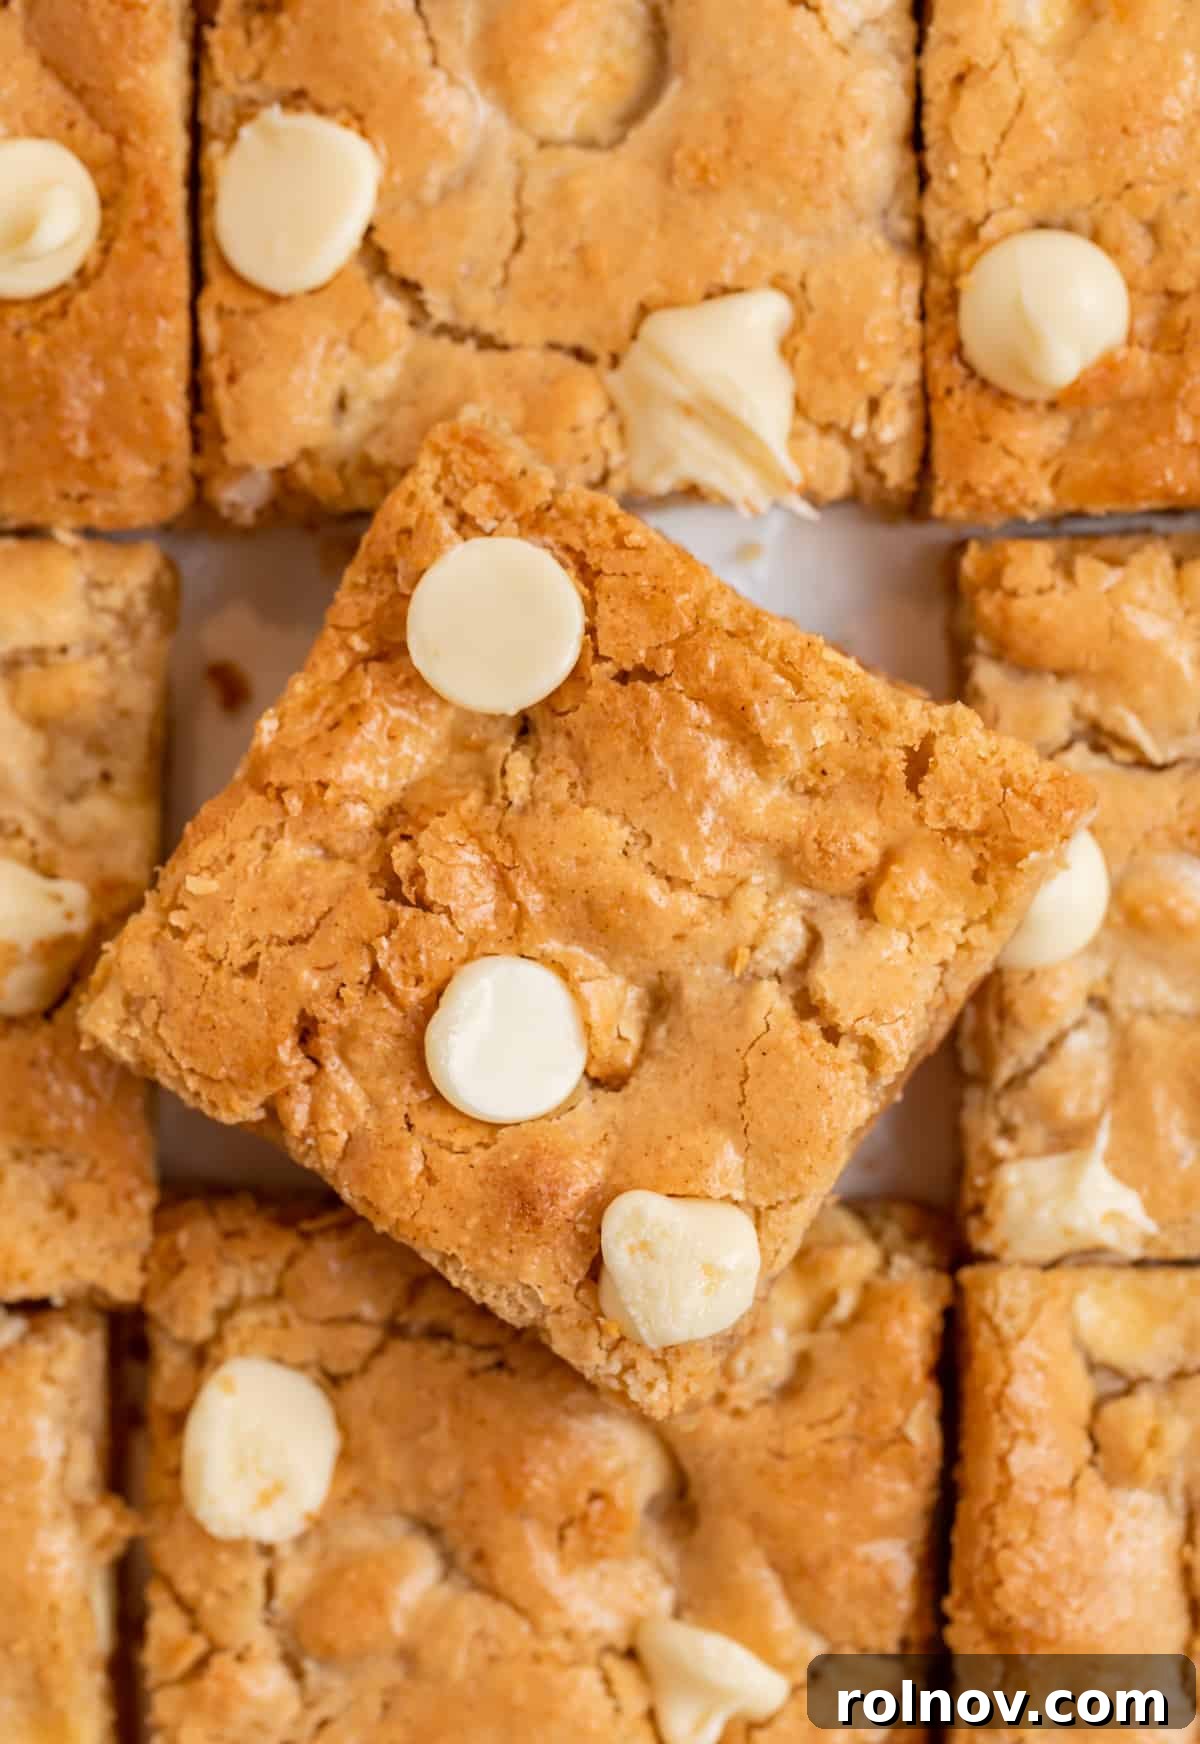
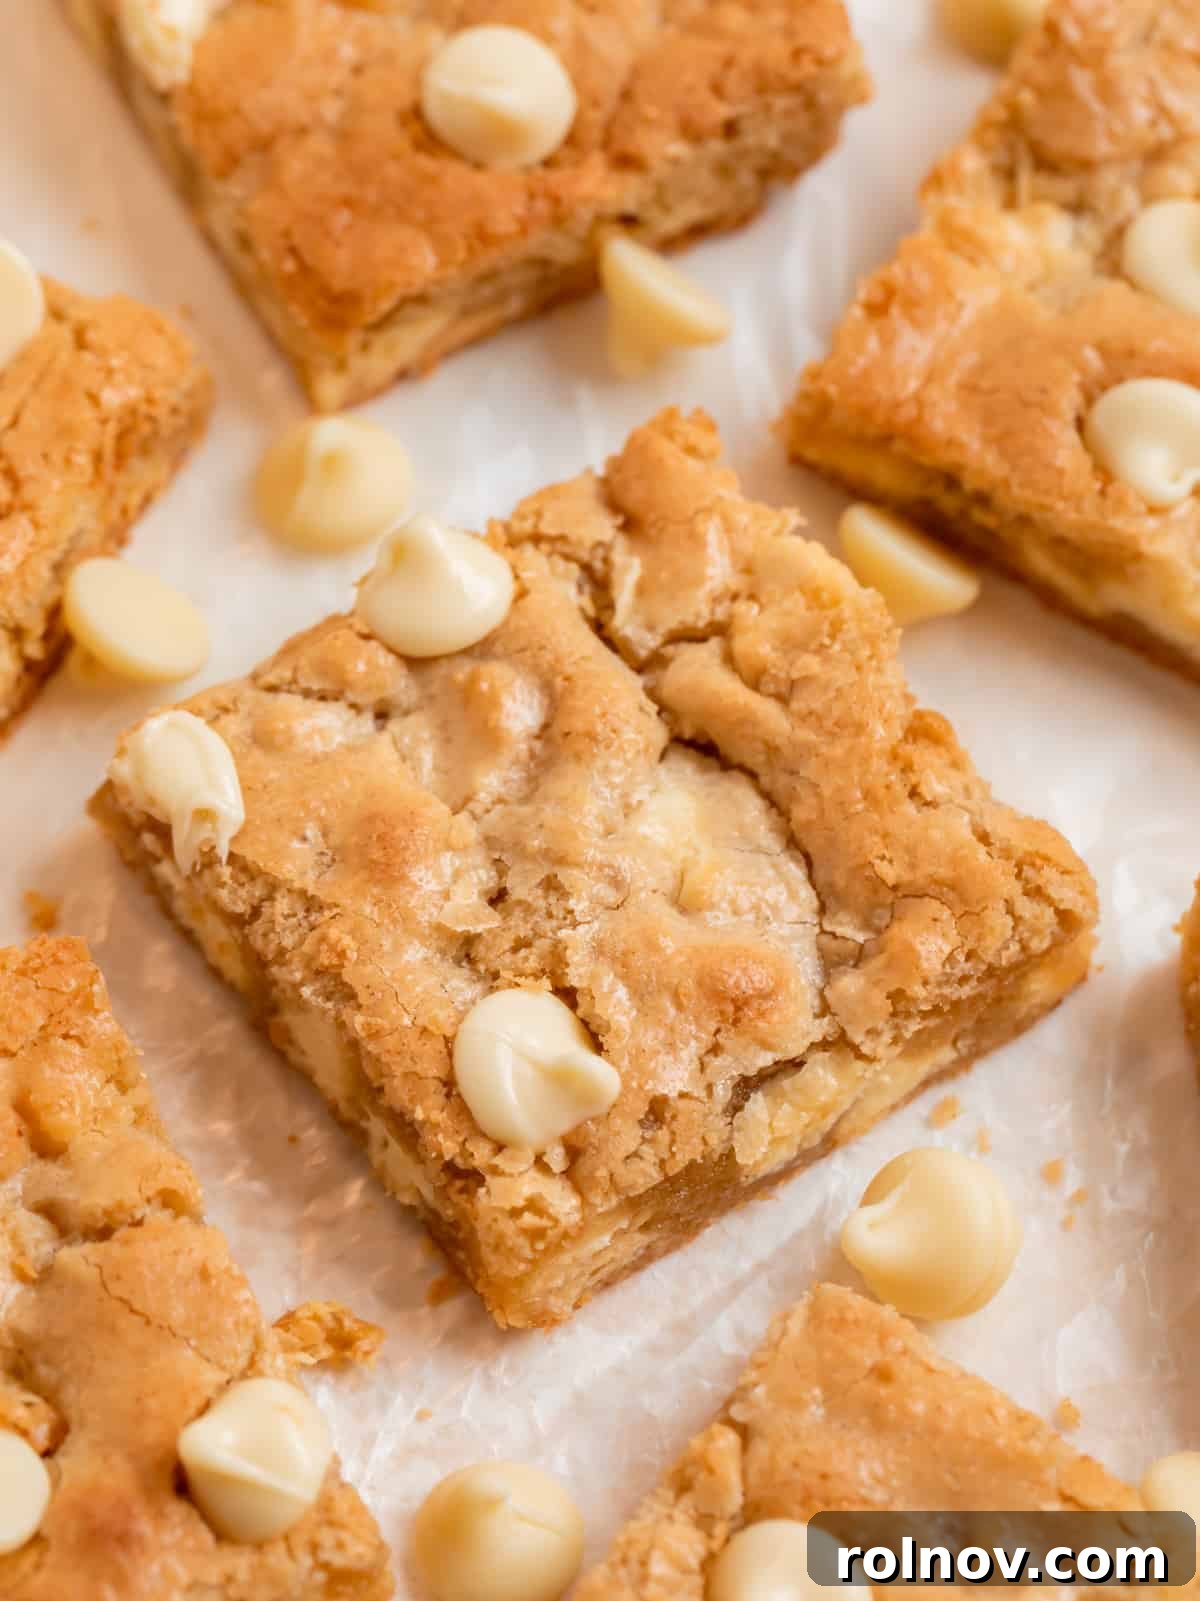
Imagine a dessert that’s wonderfully ooey, irresistibly gooey, and bursting with the sweet, creamy flavor of white chocolate. That’s precisely what these insanely delicious gluten-free almond flour white chocolate chip blondies deliver! They are a testament to the fact that you don’t need gluten to enjoy the finest, most satisfying baked goods.
For anyone who thought going gluten-free meant missing out on classic treats, think again. Our simple dessert recipe for almond flour blondies promises a perfectly chewy texture and an explosion of flavor that will leave you completely smitten. These blondies are more than just a gluten-free alternative; they are a delightful indulgence in their own right, guaranteed to satisfy even the most demanding sweet tooth.
Looking for more gluten-free baking inspiration? Don’t miss these amazing Gluten Free Oatmeal Chocolate Chip Cookies. Or, if you have ripe bananas on hand, our Almond Flour Banana Bread Muffins are another fantastic and wholesome option!
Why You Will Adore These Gluten-Free Almond Flour Blondies:
These aren’t just any blondies; they are a carefully crafted culinary experience designed to bring joy and ease to your kitchen. Here’s why these gluten-free delights will quickly become a cherished favorite:
- Unforgettable Flavor and Texture: After countless iterations and a dedicated pursuit of perfection, this recipe stands out. Almond flour can be notoriously tricky in baking, but we’ve mastered it to create blondies with a perfect chewy, moist interior and golden-brown edges. The rich notes of butter and vanilla, complemented by the creamy white chocolate, create a flavor profile that appeals to everyone. Even those who regularly consume gluten rave about these! This is truly a gluten-free recipe that bridges all taste preferences.
- Effortless Preparation: Say goodbye to complex baking projects! These blondies require minimal effort, taking only about 10 minutes of active prep time. Since the recipe calls for melted butter, there’s no need for an electric hand mixer. Simply whisk together the melted butter, sugars, eggs, and vanilla. Then, gently fold in the dry ingredients and finally, the luxurious white chocolate chips. Bake, cool, and you’re all set to enjoy a homemade treat without the fuss.
- Endless Versatility for Customization: While we’re partial to the classic charm of white chocolate chips, the beauty of this recipe lies in its adaptability. Feel free to unleash your creativity! You could toss in crunchy chopped pecans, classic semi-sweet chocolate chips, colorful sprinkles for a festive touch, tart dried cranberries, a hint of fragrant lemon zest, or even butterscotch chips. The possibilities are truly boundless, allowing you to tailor each batch to your mood or occasion!
Decoding Blondies: More Than Just a Brownie Without Chocolate
For those new to the world of blondies, envision them as the lighter, caramel-toned cousin to the classic chocolate brownie. They bridge the gap between a chewy sugar cookie and a dense, fudgy brownie, offering a unique texture and flavor experience. When prepared correctly, blondies boast that same irresistible gooey center you adore in brownies, but their taste leans more towards a buttery, rich cookie, often with notes of caramel from brown sugar. Add chocolate chips, and they transform into delightful cookie bars.
Achieving the perfect blondie texture is an art, and I’ve certainly had my share of learning experiences! This particular recipe underwent extensive testing—so many trials and adjustments—to ensure that every batch comes out just right: perfectly gooey, chewy, and utterly delicious. My meticulous efforts mean you can bake with confidence, knowing you’re on the path to blondie perfection.
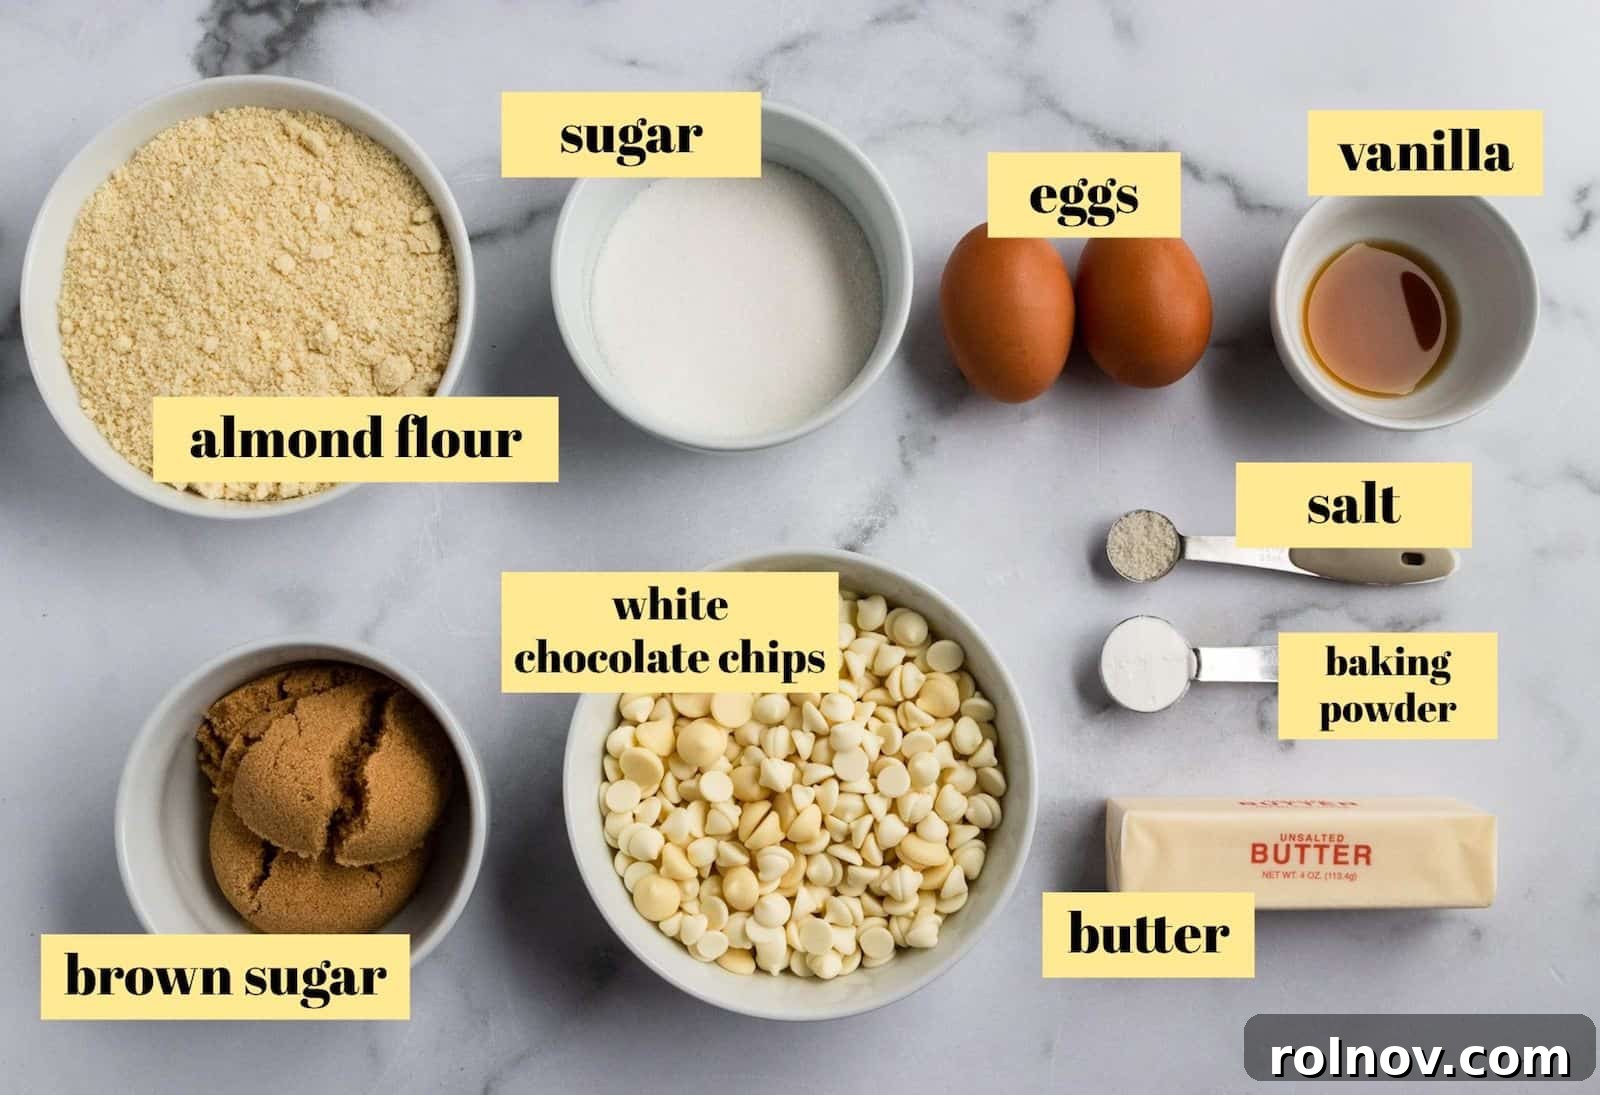
Essential Ingredients for Perfect Gluten-Free Blondies:
Each ingredient plays a crucial role in creating the exquisite taste and texture of these almond flour blondies. Here’s a detailed look at what you’ll need and why:
- Almond Flour: The star of our gluten-free show! For the best results, use a finely ground almond flour, such as the quality offerings from Bob’s Red Mill. While almond flour has evolved over the years to be much finer and more suitable for baking, it’s vital to choose “almond flour” over “almond meal.” Almond meal is coarser and will yield a different, less delicate texture. Finely ground almond flour provides a tender crumb that mimics traditional wheat flour beautifully.
- Butter: Unsalted butter, melted and then allowed to cool slightly, is key. Melting the butter creates that signature chewy texture in blondies and simplifies the mixing process. If you only have salted butter, reduce the amount of added salt in the recipe by half to maintain the perfect flavor balance.
- Eggs: Two large eggs provide structure, moisture, and help bind the ingredients, contributing to the rich, fudgy consistency that makes these blondies so appealing.
- Sugars (Brown Sugar & White Sugar): This recipe utilizes a powerful duo: light brown sugar and granulated white sugar. The brown sugar is non-negotiable for achieving that deep, caramelly flavor and the wonderfully chewy texture that distinguishes a great blondie. It also adds a layer of moisture. White sugar contributes to sweetness and helps with browning. We specifically prefer light brown sugar for its balanced flavor.
- Vanilla Extract: High-quality vanilla extract is one of the unsung heroes of blondies, infusing them with a warm, inviting aroma and flavor. Invest in pure vanilla extract over imitation for a truly superior taste experience that shines through every bite.
- Baking Powder: Ensure your baking powder is fresh and active! This leavening agent helps the blondies rise during baking, contributing to their light yet chewy structure. They will puff up slightly in the oven and then settle as they cool, resulting in a dense, bar-like consistency. For maximum success, you can easily check your baking powder’s freshness.
- Salt: A touch of salt is essential to balance the sweetness and enhance all the other flavors in the blondies. We typically use sea salt, but table salt will also work effectively in this gluten-free recipe.
- White Chocolate Chips: The star addition! These creamy, sweet chips melt beautifully into the blondie batter, creating pockets of luscious flavor. You can adjust the quantity based on your preference for sweetness, or even mix in other additions.
Crafting Your Perfect Gluten-Free Blondies: A Step-by-Step Guide
Making these delightful gluten-free white chocolate blondies is incredibly straightforward. Follow these simple steps for a perfect batch every time:
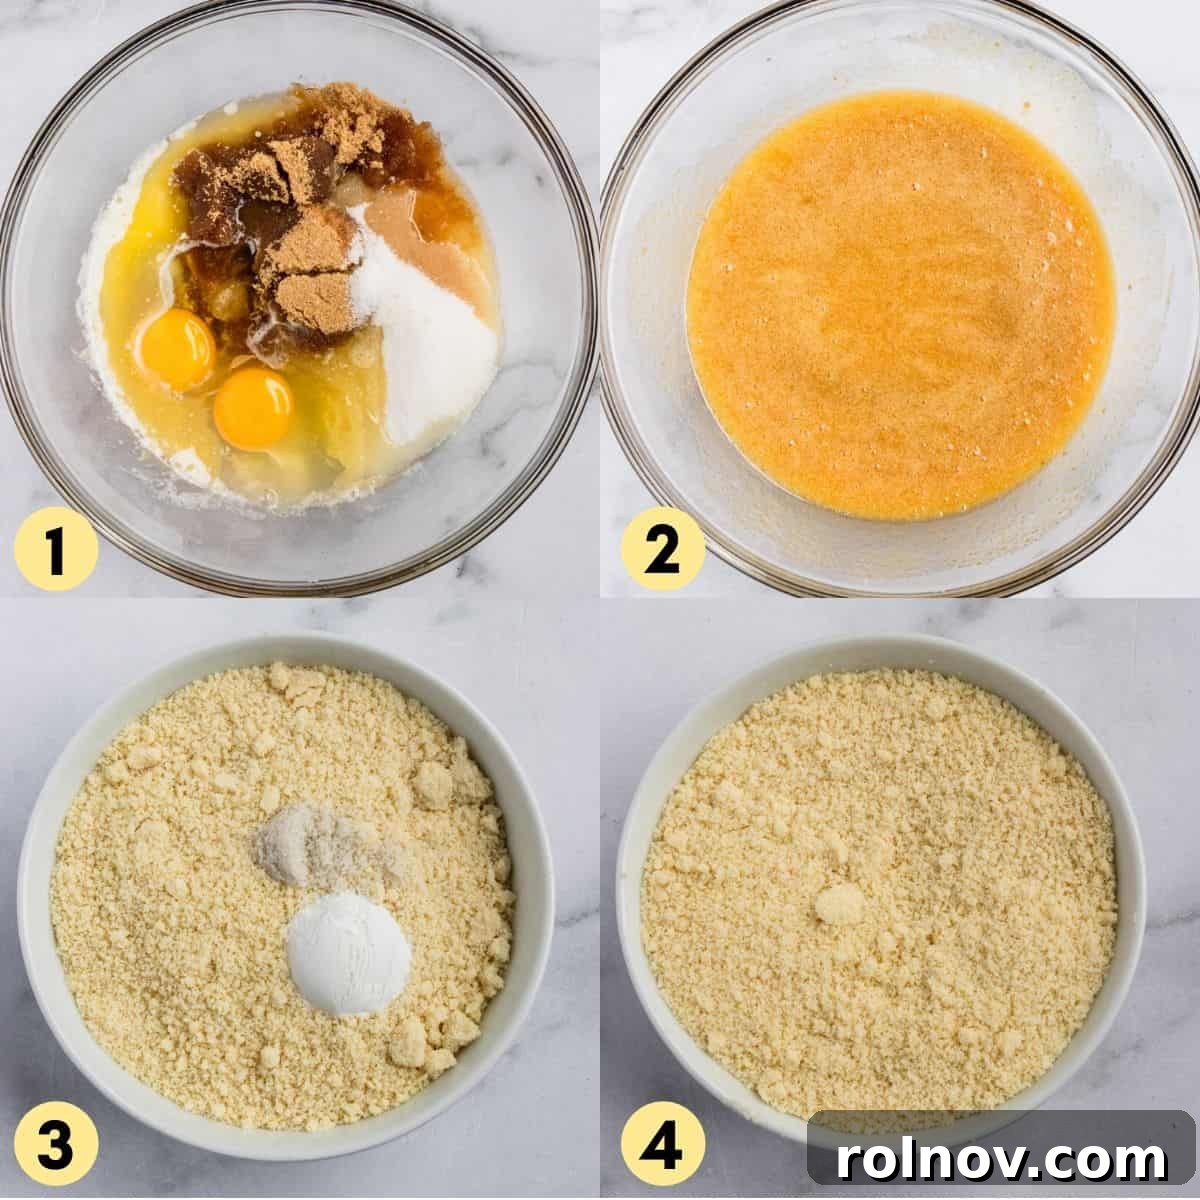
- Prepare Your Wet Ingredients: In a large mixing bowl, combine the slightly cooled melted butter with both brown sugar and granulated white sugar. Add the large eggs and the high-quality vanilla extract. Whisk these wet ingredients vigorously until they are thoroughly combined and smooth. This creates the flavorful foundation for your blondies. (Refer to images for visual guidance on steps 1 and 2 in the original context)
- Combine Dry Ingredients: In a separate, smaller bowl, measure out your finely ground almond flour, fresh baking powder, and a pinch of salt. Whisk these dry ingredients together well to ensure they are evenly distributed. This step prevents clumps and ensures consistent leavening throughout your blondies. (Refer to images for visual guidance on steps 3 and 4)
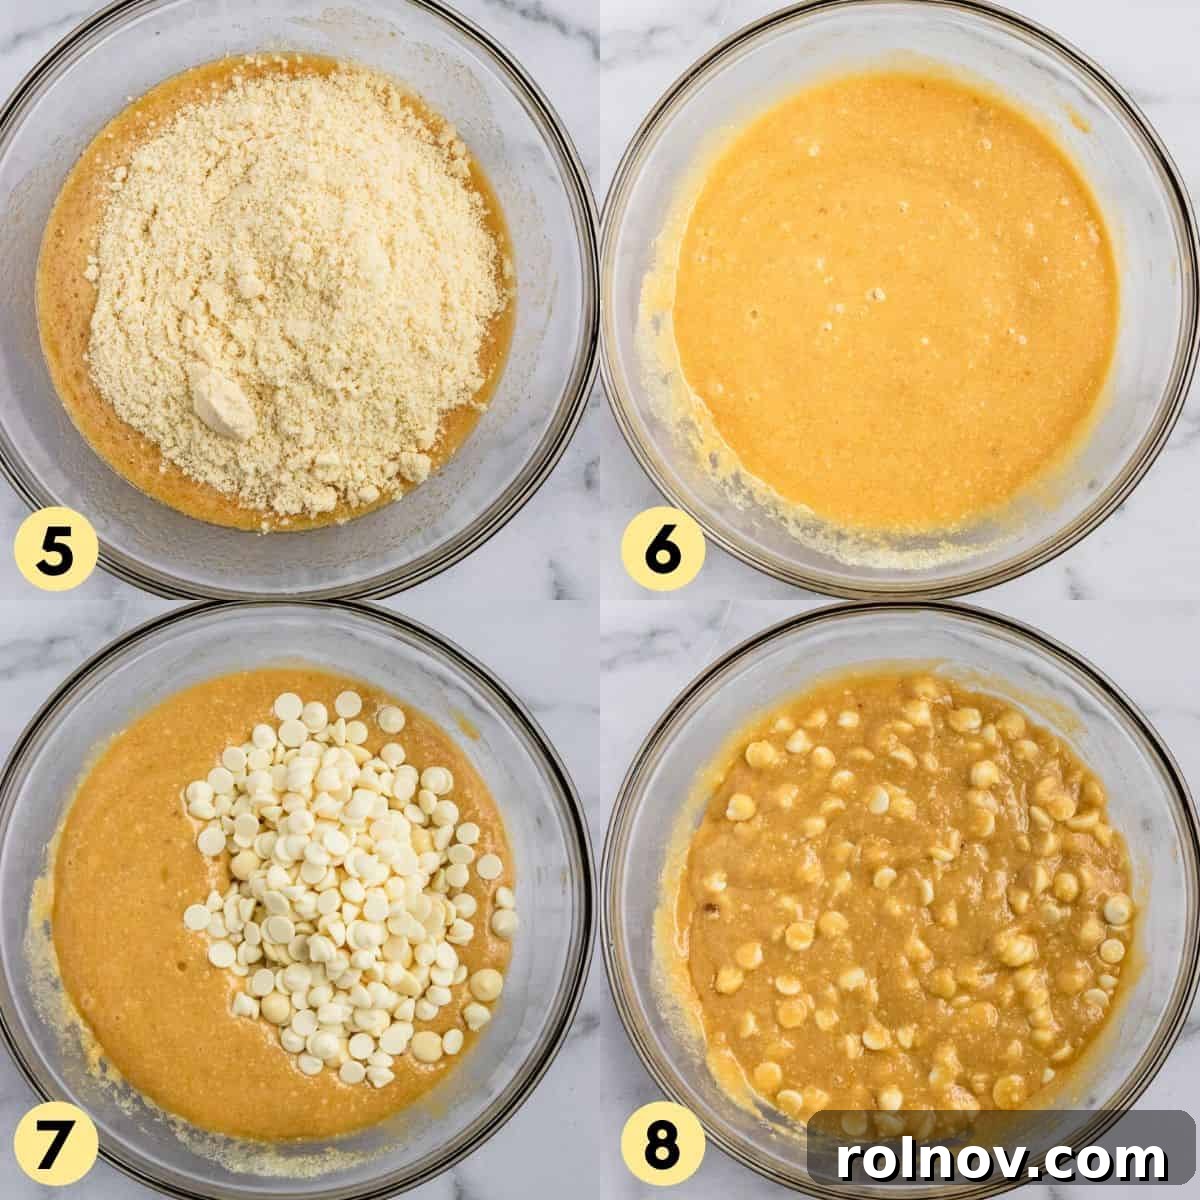
- Marry Wet and Dry: Pour the whisked dry ingredients into the bowl with the wet ingredients. Mix gently until they are just combined. It’s crucial not to overmix the batter at this stage, as overmixing can lead to tougher blondies. Stop stirring as soon as no streaks of dry flour remain. (Refer to images for visual guidance on steps 5 and 6)
- Introduce the White Chocolate: Now, it’s time for the delicious white chocolate chips! Gently fold them into the blondie batter. You can use the full amount for an intensely sweet treat, or reduce it slightly if you prefer a less sweet blondie. For an interesting contrast, consider adding some chopped nuts like pecans or walnuts at this stage to balance the sweetness. (Refer to images for visual guidance on steps 7 and 8)
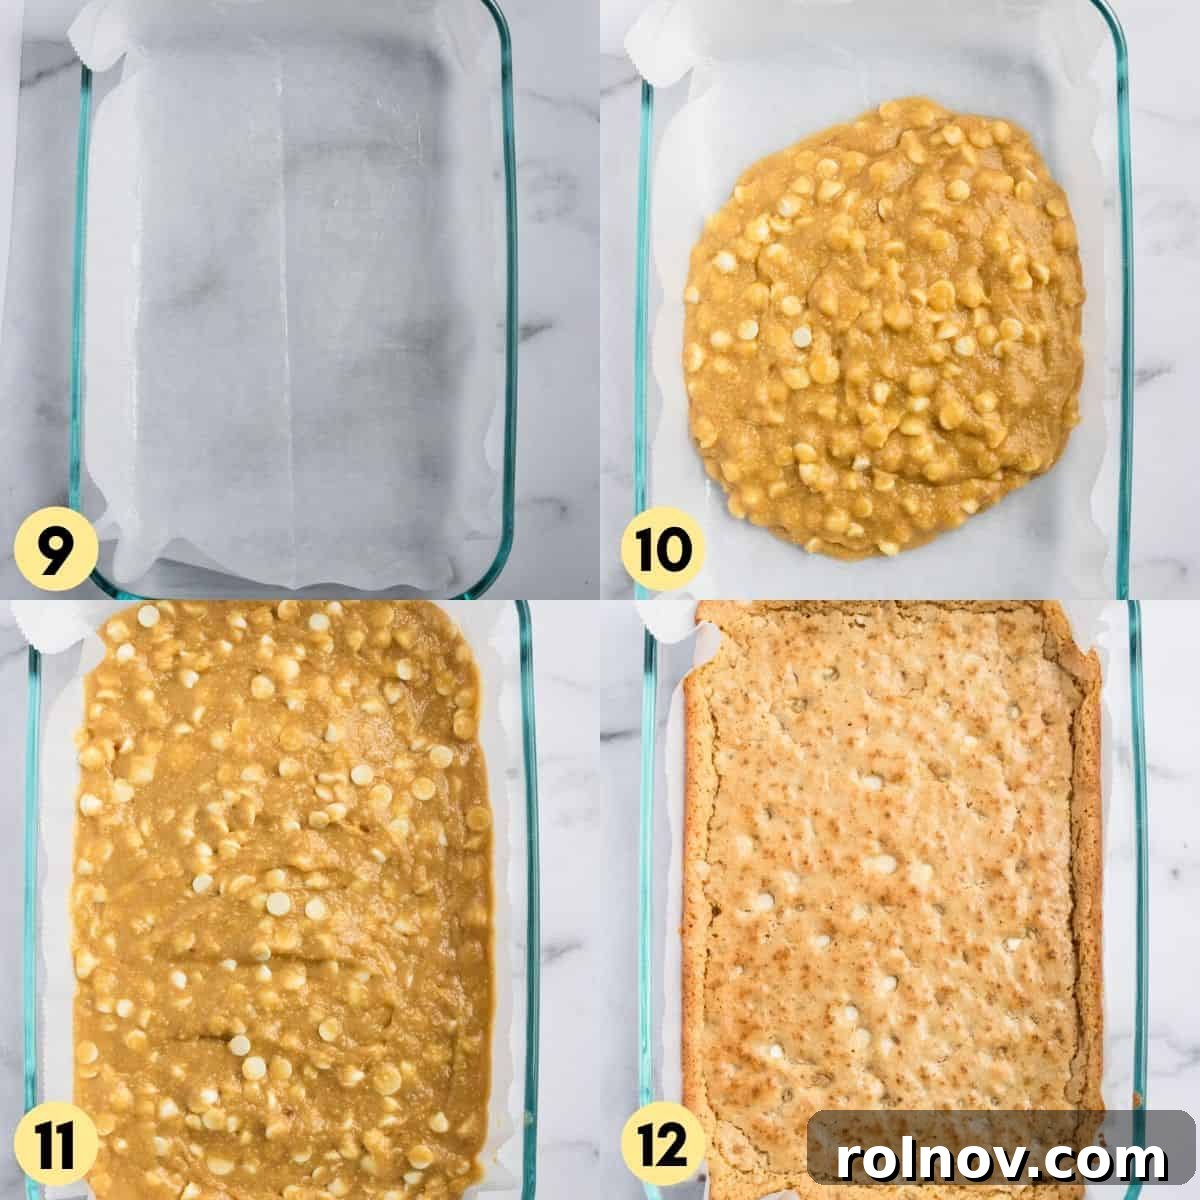
- Prepare for Baking: Preheat your oven to 350°F (175°C). Line a 9×13 inch baking pan with parchment paper, allowing some extra paper to extend over the sides. This creates “handles” for easy removal of the baked blondies. If you don’t have parchment paper, make sure to grease the pan thoroughly, paying special attention to the corners and sides, to prevent sticking. Nobody wants blondies stuck to the pan! (Refer to images for visual guidance on step 9)
- Fill the Pan: Pour the prepared blondie batter evenly into the lined or greased baking pan. Spread it out with a spatula to ensure a consistent thickness. There’s no need to reserve any white chocolate chips for sprinkling on top, as they tend to sink into the batter during baking and get delightfully hidden within. (Refer to images for visual guidance on steps 10 and 11)
- Bake to Perfection: Bake for approximately 22-25 minutes. Keep a close eye on them; the blondies are ready when the edges are lightly golden brown and the center appears just set. A slight wobble in the center is perfectly fine, as they will continue to set as they cool. My personal experience, sometimes influenced by “toddler distractions,” has taught me that a few extra minutes can lead to a slightly crispier edge, which isn’t a bad thing at all! (Refer to images for visual guidance on step 12)
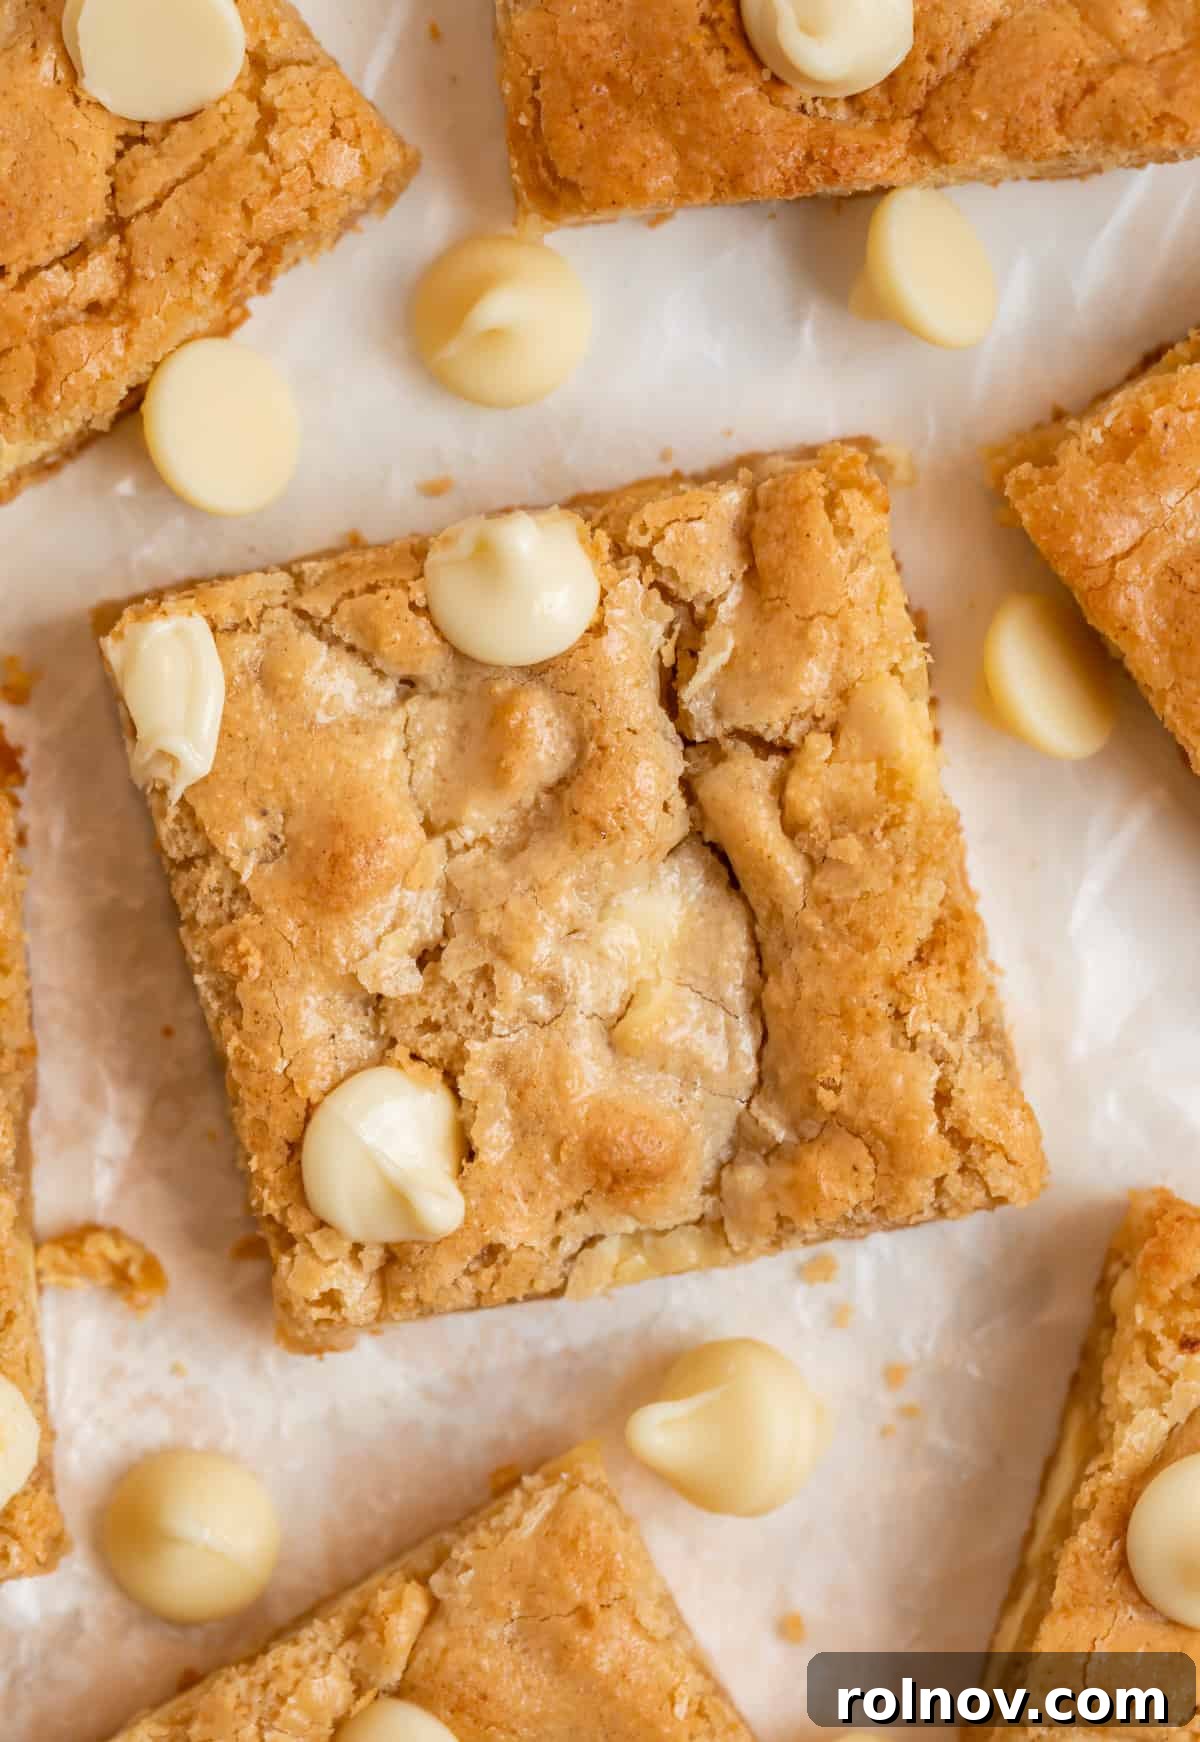
- Cool and Serve: Once baked, remove the pan from the oven and place it on a wire rack to cool completely. Allowing the blondies to cool fully is essential for them to firm up and hold their shape when sliced. If desired, sprinkle a pinch of flaky sea salt on top before serving for a delightful sweet and savory contrast. These gluten-free blondies are also incredibly delicious served warm with a generous scoop of vanilla ice cream.
Expert Tips for Irresistible Blondies:
To ensure your gluten-free blondies turn out perfectly rich, gooey, and utterly delicious every single time, keep these expert tips in mind:
- Prioritize High-Quality White Chocolate Chips: The quality of your white chocolate truly makes a difference in the final taste and texture of these blondies. Through extensive testing, I’ve found that not all white chocolate chips are created equal. Brands like Ghirardelli consistently deliver excellent results with their creamy, rich flavor and smooth melt. For a fantastic store brand option, Kroger’s Private Selection white chocolate chips are surprisingly superior. In contrast, some brands, like Nestle’s white chocolate, tend to brown or even slightly burn during baking, affecting the overall aesthetic and taste. Choose wisely for optimal flavor!
- Embrace Patience: Cool Completely Before Slicing: This is perhaps the most crucial tip for perfectly formed blondies. While tempting to cut into them warm, resist the urge! Blondies, especially those made with almond flour, need time to set and firm up as they cool. If you attempt to slice them too soon, they will be crumbly and fall apart, resulting in a bit of a gooey mess. Allow them to cool completely on a wire rack—preferably for at least an hour, or even longer—before cutting into neat squares. Patience will be rewarded with beautifully structured, irresistible bars.
- Dairy-Free and Vegan Adaptations (Work in Progress): As of now, this specific recipe has not been fully tested for dairy-free or vegan variations. However, for a dairy-free alternative, a high-quality stick-form dairy-free or vegan butter substitute should work well in place of regular butter. Remember to also use dairy-free white chocolate chips. Replacing the eggs to make these blondies fully vegan presents a greater challenge and would require dedicated testing to achieve the desired texture and binding. I plan to conduct such tests in the future, so stay tuned for potential updates!
Storage & Freezing Instructions: Keeping Your Blondies Fresh
Proper storage ensures your delicious almond flour blondies remain fresh and enjoyable for as long as possible. Here’s how to store them:
- Room Temperature: These blondies will stay wonderfully fresh for about 3-4 days when stored in an airtight container at room temperature. Ensure they are completely cool before placing them in the container to prevent condensation, which can make them soggy.
- Refrigeration: For extended freshness, you can refrigerate the blondies in an airtight container for up to one week. Chilling them can also enhance their chewy texture.
- Freezing for Long-Term Enjoyment: Blondies freeze exceptionally well, making them perfect for meal prep or enjoying a treat whenever a craving strikes.
- Before Freezing: Always ensure the blondies have cooled completely to room temperature before freezing. This prevents ice crystals from forming and preserves their texture.
- Individual Portions: For convenience, slice the blondies into individual servings. Wrap each slice tightly in plastic wrap, then place them in a freezer-safe, airtight container or a heavy-duty freezer bag.
- Entire Batch: If you prefer, you can freeze the entire pan of blondies (if the pan is freezer-safe) or transfer the whole slab (if using parchment paper) to a large freezer-safe container.
- Freezer Life: When properly stored in a freezer-safe, airtight container, these gluten-free blondies can maintain their quality for up to 3 months.
- Thawing: To enjoy, simply thaw individual servings at room temperature for an hour or two, or overnight in the refrigerator. You can gently warm them in the microwave for a few seconds if you desire that freshly baked gooeyness.
Get Creative: Exciting Blondie Recipe Variations!
While our classic gluten-free white chocolate blondies are undeniably delicious, they also serve as a fantastic base for endless creative variations. Don’t hesitate to experiment with different mix-ins and flavor combinations to find your new favorite! Here are some exciting ideas to get you started:
- Zebra Blondies: For a striking visual and delightful flavor blend, try using half milk chocolate or semi-sweet chocolate chips and half white chocolate chips. The contrasting colors create a beautiful “zebra” effect.
- White Chocolate Cranberry Blondies: Add a festive touch by tossing in some dried cranberries. Their tartness beautifully complements the sweetness of the white chocolate, creating a sophisticated flavor profile.
- Butterscotch Bliss: Swap out the white chocolate chips entirely for butterscotch chips. This will lend a rich, buttery, and caramel-like flavor that is incredibly comforting.
- Almond Joy Inspiration: Channel your inner Almond Joy! Incorporate a hint of almond extract (about 1/2 teaspoon), add dark chocolate chips, and sprinkle in some shredded coconut for a tropical twist.
- White Chocolate Churro Blondies: Introduce a warm, aromatic spice by adding about 1-2 teaspoons of ground cinnamon to the dry ingredients. This will give your blondies a delightful churro-like essence.
- Nutty Perfection: For an extra layer of texture and earthy flavor, toss in some chopped pecans or walnuts. Toasting the nuts lightly before adding them can enhance their flavor even further.
- Maple Walnut Dream: Create a cozy, autumnal treat by adding chopped toasted walnuts and a generous splash of maple extract (start with 1 teaspoon and adjust to taste).
- Rainbow Funfetti Blondies: Stir in a handful of colorful sprinkles for a fun, celebratory look and feel – perfect for birthdays or special occasions!
- Coffee Infusion: Add a teaspoon of instant espresso powder to the dry ingredients for a subtle coffee flavor that pairs wonderfully with white chocolate.
Explore More Gluten-Free Delights:
Our kitchen is a hub for delicious and accessible gluten-free baking! If you enjoyed these blondies, we invite you to explore more of our favorite gluten-free recipes that prove healthy eating can be incredibly indulgent:
- Double Chocolate White Bean Brownies: A surprisingly rich and fudgy brownie made healthier with a secret ingredient!
- Chocolate Chunk Avocado Brownies : Indulge in super moist brownies, secretly packed with healthy fats from avocado.
- Gluten Free Oatmeal Cookies: A classic comfort cookie, made gluten-free without sacrificing any chewy goodness.
- Peanut Butter Skillet Cookie: A giant, warm, and gooey peanut butter cookie, perfect for sharing (or not!).
- Funfetti Rice Krispie Treats: A colorful and playful twist on a childhood favorite, always a hit!
- Peanut Butter Chocolate Rice Krispie Treats: The perfect combination of sweet and crunchy, with a delightful peanut butter and chocolate flavor.
HUNGRY FOR MORE? Stay connected with the latest delicious recipes and baking tips! Subscribe to my newsletter and follow me on Facebook, Instagram, and Pinterest for all the newest culinary adventures!
Gluten-Free White Chocolate Blondies
By: Lorie Yarro
These Gluten-Free Blondies are rich and gooey and full of decadent white chocolate chips. Made with almond flour and only about 10 minutes to prep, these are a perfect treat that everyone can enjoy!
Print Recipe
Ingredients
Instructions
- Preheat oven to 350°F (175°C). Line a 9×13 inch baking pan with parchment paper, allowing extra to overhang the sides. This will make it easier to lift the blondies out later. You can also lightly spray the pan with non-stick cooking oil for extra assurance.
- In a large bowl, whisk together the melted butter (ensure it’s cooled slightly), brown sugar, granulated sugar, eggs, and vanilla extract until the mixture is smooth and well combined.
- In a separate medium bowl, whisk together the almond flour, salt, and baking powder. Make sure all dry ingredients are thoroughly mixed to avoid clumps.
- Gradually add the dry ingredient mixture to the wet ingredients. Stir until just combined. Be careful not to overmix the batter; a few lumps are fine.
- Gently fold in the white chocolate chips. If desired, you can reserve a small amount to sprinkle on top before baking, though they tend to sink during cooking.
- Pour the blondie batter into the prepared baking pan and spread it evenly with a spatula.
- Bake for 22-25 minutes, or until the edges are lightly golden brown and the center is just set (it may still look slightly soft).
- Remove from the oven and allow the blondies to cool completely in the pan on a wire rack before slicing. This is crucial for them to set properly and prevent crumbling.
- Once completely cooled, lift the blondies out of the pan using the parchment paper overhang, slice into squares, and serve!
Notes
- Quality White Chocolate: For the best flavor and melt, use high-quality white chocolate chips like Ghirardelli or Kroger’s Private Selection. Lower quality chips may brown or burn.
- Cool Completely: Patience is key! Blondies firm up as they cool. Cutting them warm will result in a messy, crumbly texture.
- Storage: Store in an airtight container at room temperature for 3-4 days, or refrigerate for up to a week. For longer storage, freeze individual slices or the whole pan in an airtight, freezer-safe container for up to 3 months.
Nutrition Information (Approximate Per Serving)
(Based on 24 servings)
Carbohydrates: 21g
Protein: 3g
Fat: 14g
Saturated Fat: 6g
Cholesterol: 27mg
Sodium: 103mg
Potassium: 56mg
Fiber: 1g
Sugar: 19g
Vitamin A: 142 IU
Vitamin C: 1mg
Calcium: 58mg
Iron: 1mg
Nutrition information is automatically calculated and should only be used as an approximation.
Enjoyed This Recipe? Have Questions?
We’d love to hear from you! Please leave a comment below to share your experience or ask any questions.
Shop Essential Baking Tools for This Recipe:
Equip your kitchen with the right tools and ingredients to make these gluten-free blondies a breeze. Here are some of our recommended products: