
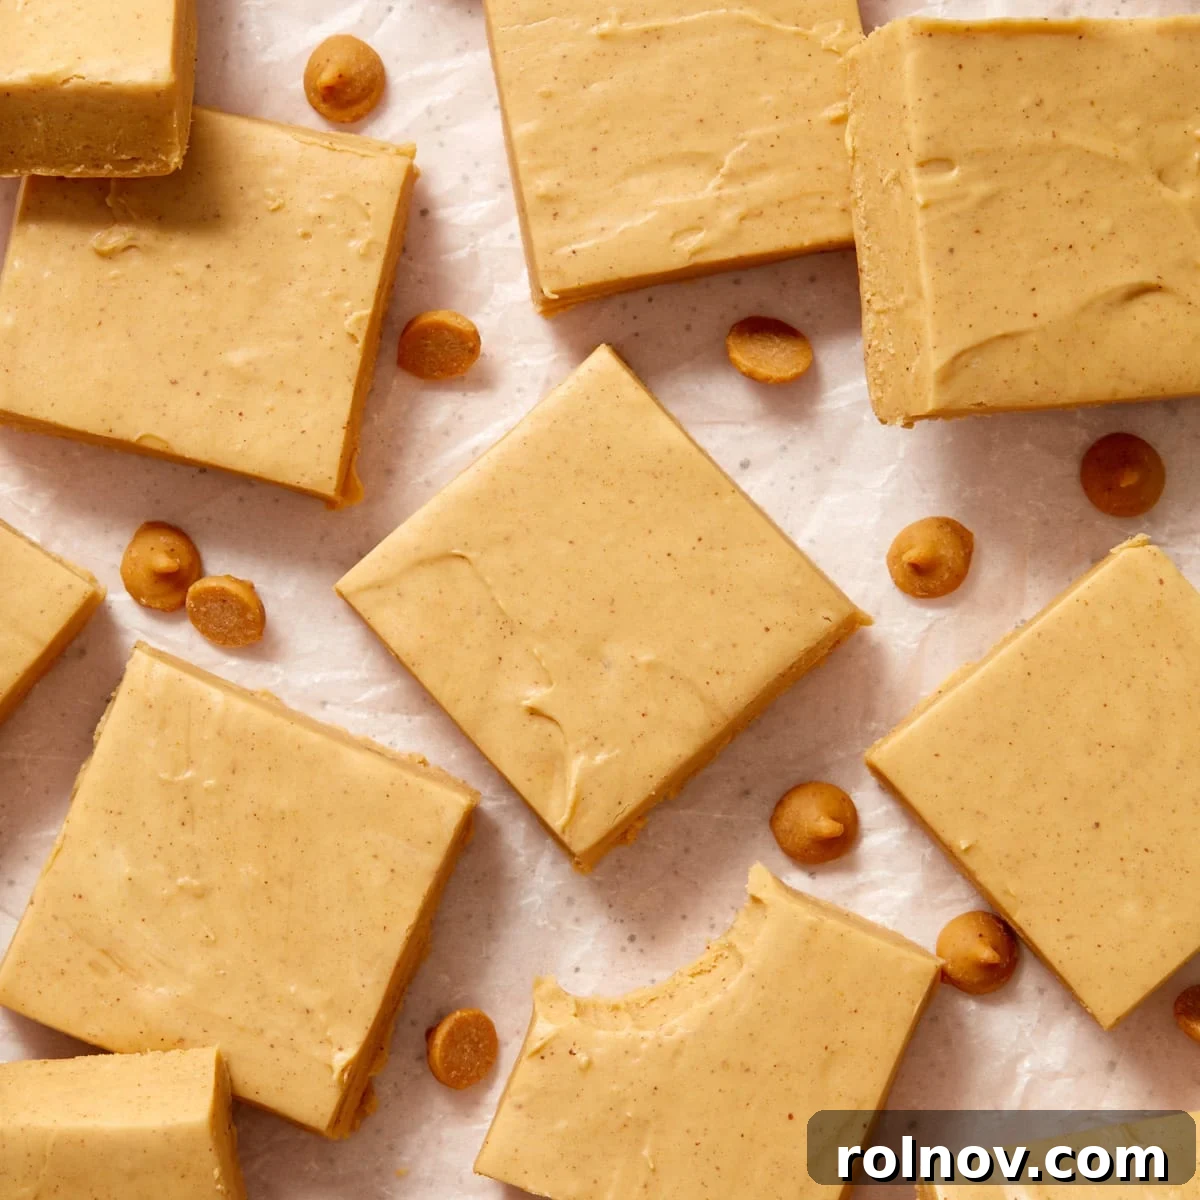
Indulge in the ultimate convenience with this effortless 5-minute Microwave Peanut Butter Fudge with Marshmallow Cream. This delightful recipe is designed to be the easiest, creamiest treat you’ll whip up this holiday season or any time a sweet craving strikes. The secret to its incredible smooth and melt-in-your-mouth texture lies in the marshmallow cream, while an optional sprinkle of extra marshmallows caters perfectly to dedicated marshmallow and peanut butter enthusiasts alike. Get ready to transform a handful of pantry staples into a decadent, irresistible dessert that everyone will adore!
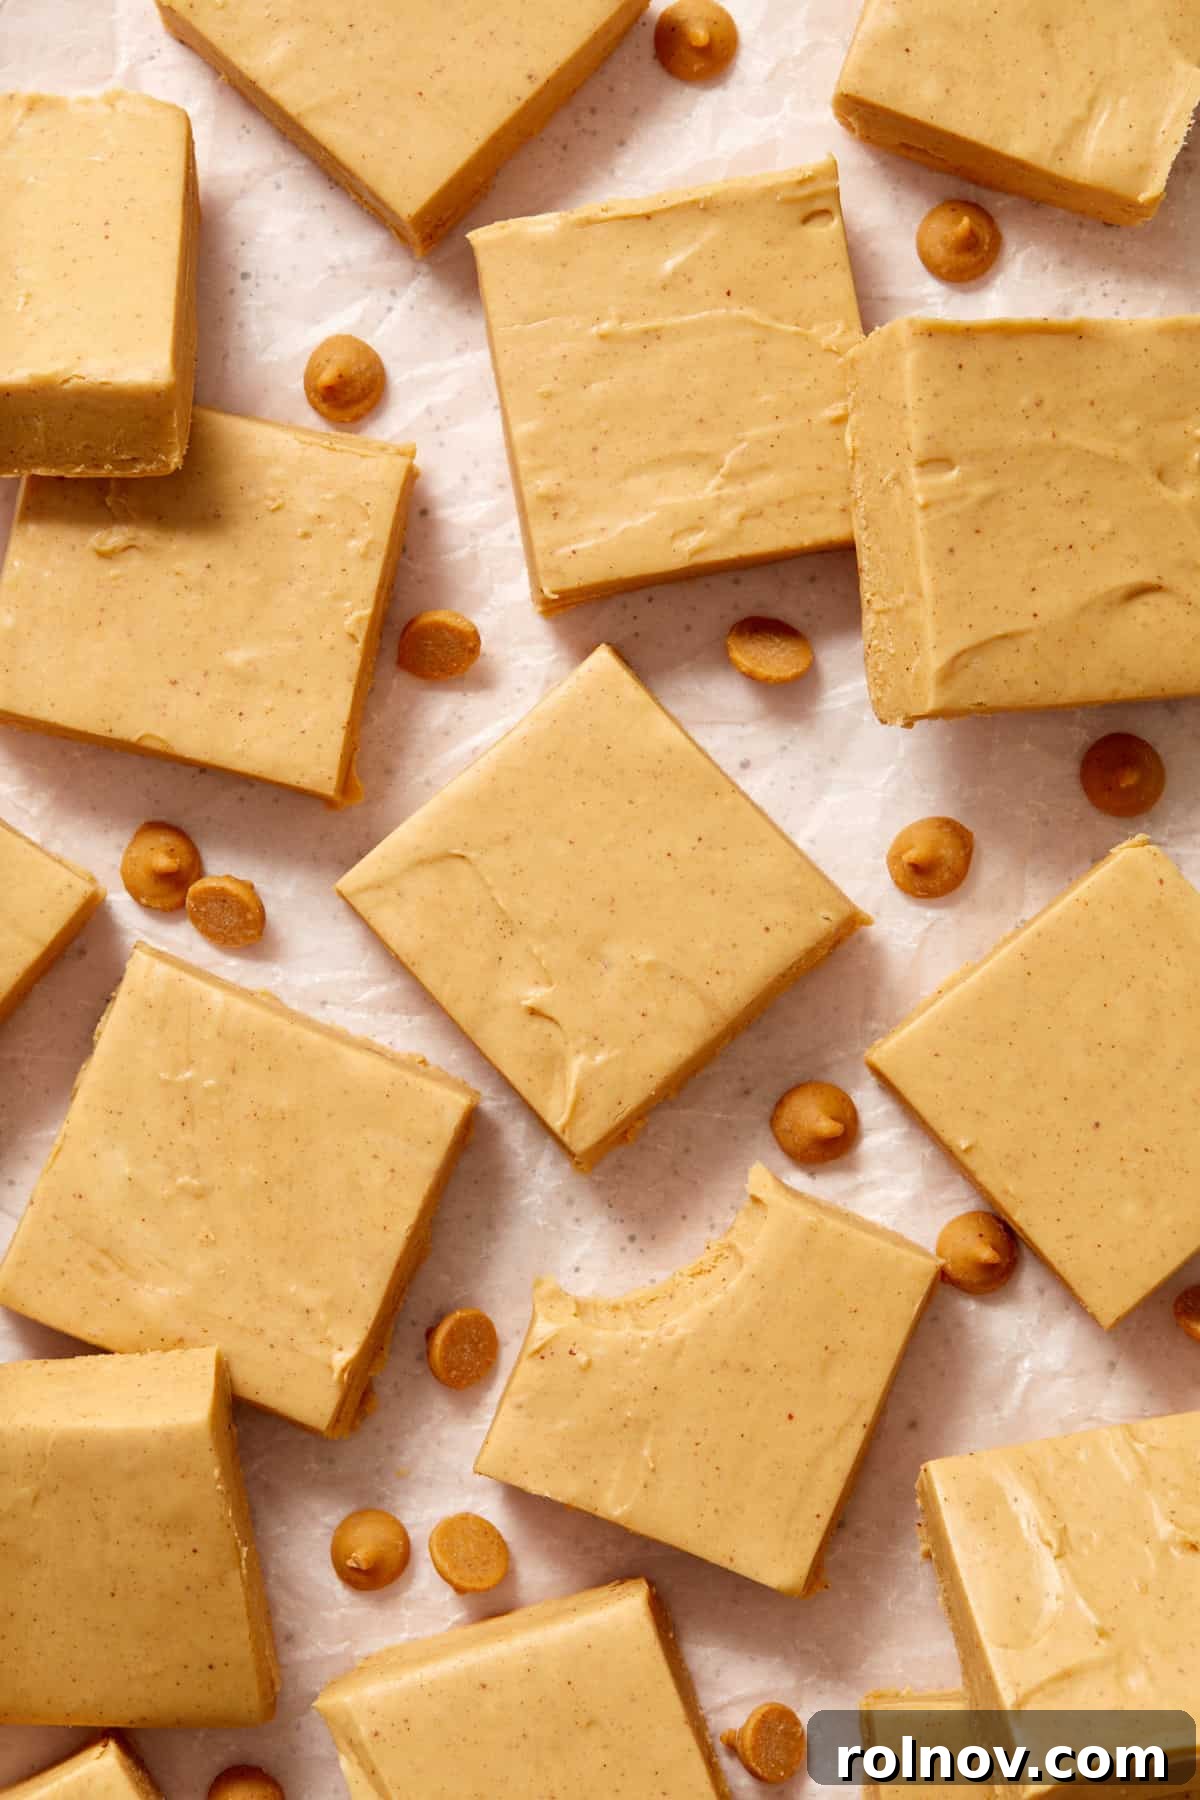
Fudge is a timeless confection, beloved for its rich flavor and satisfying texture. What if we told you it could also be incredibly easy to make, even for the most novice baker? This simple recipe for microwave peanut butter fudge takes convenience to a whole new level, requiring minimal prep time and delivering maximum deliciousness. It’s not just a wonderful dessert for your family; it’s also a fantastic homemade gift that’s always appreciated during the holidays and beyond. Imagine presenting a beautiful box of homemade fudge, a thoughtful gesture that speaks volumes.
Our easy peanut butter fudge recipe, enhanced with marshmallow cream, comes together in a mere 5 minutes of active preparation. This means you can have a batch of smooth, creamy, and utterly delicious fudge chilling in the refrigerator faster than you can say “sweet treat!” If you’re a fan of quick and delightful desserts, you might also enjoy exploring other popular recipes like this Red Velvet Oreo Fudge or a refreshing Maple Cashew Freezer Fudge for varied seasonal delights.
Why This Microwave Peanut Butter Fudge Will Be Your New Favorite Treat
- Unbelievably Quick & Easy: The highlight of this recipe is its lightning-fast preparation. You’ll spend only 5 minutes of active time getting this peanut butter marshmallow fudge ready to chill. This makes it an ideal dessert for busy weeknights, last-minute gatherings, or when you just need a quick sugar fix without the fuss. It’s homemade fudge without the traditional complexities, proving that simple recipes can taste absolutely amazing. If speed and flavor are what you crave, you’ll also adore whipping up this Peppermint Pretzel Bark.
- Minimal Ingredients: Forget long shopping lists! This incredibly simple recipe calls for just 5 (or optionally 6, if you add extra marshmallows) common ingredients. This makes it not only budget-friendly but also convenient. Chances are, you already have most of these staples in your pantry, making it the perfect go-to dessert when you’re in a pinch and need something sweet fast.
- Perfect for Planning Ahead & Freezing: Life can get hectic, especially around the holidays. This easy microwave peanut butter fudge is wonderfully freezer-friendly, allowing you to prepare it well in advance. Simply omit the optional marshmallows if you plan to freeze, as they can sometimes become a little chewier when thawed. When you’re ready to serve or gift it, just thaw the fudge at room temperature, and it will be as delicious as freshly made. This feature is a game-changer for holiday meal prep or for always having a sweet treat on hand.
- A Heartfelt Homemade Gift: Few things say “I care” like a homemade gift, and this peanut butter fudge is exceptional for gifting. Its rich flavor and creamy texture make it feel luxurious, yet it’s so simple to prepare. Package squares of this delightful fudge in festive boxes or cellophane bags tied with a ribbon, and you have a thoughtful, personalized present for friends, family, teachers, or hosts. It’s a simple way to show extra love and appreciation during any season.
Marshmallow Cream Versus Marshmallow Fluff: Understanding the Difference
It’s a common misconception that marshmallow cream and marshmallow fluff are interchangeable. Many people, including myself in the past, use these terms loosely, but they are indeed distinct products that yield different results in recipes, especially in fudge. Understanding this subtle difference is key to achieving the perfect creamy texture in your homemade peanut butter fudge.
The primary ingredient that sets them apart is cream of tartar. Marshmallow cream (or crème, as it’s sometimes spelled) typically contains cream of tartar, an acidic ingredient that helps stabilize egg whites and creates a smoother, silkier consistency. This is particularly important in fudge recipes, where a super smooth, non-grainy texture is highly desirable. Marshmallow fluff, on the other hand, usually does not contain cream of tartar, resulting in a slightly lighter, more airy, and less stable consistency.
While you certainly *can* use marshmallow fluff in this microwave peanut butter fudge recipe, be aware that it may not provide the same ultra-smooth and creamy results that marshmallow cream guarantees. The fudge might be a bit softer or have a slightly different mouthfeel. For the best outcome and the most professional-tasting fudge, I highly recommend sticking with marshmallow cream. For reference, popular brands like Jet-Puffed Marshmallow Creme are excellent choices and widely available, ensuring that signature creamy texture this fudge is famous for.
Essential Ingredients for Your Perfect Peanut Butter Fudge
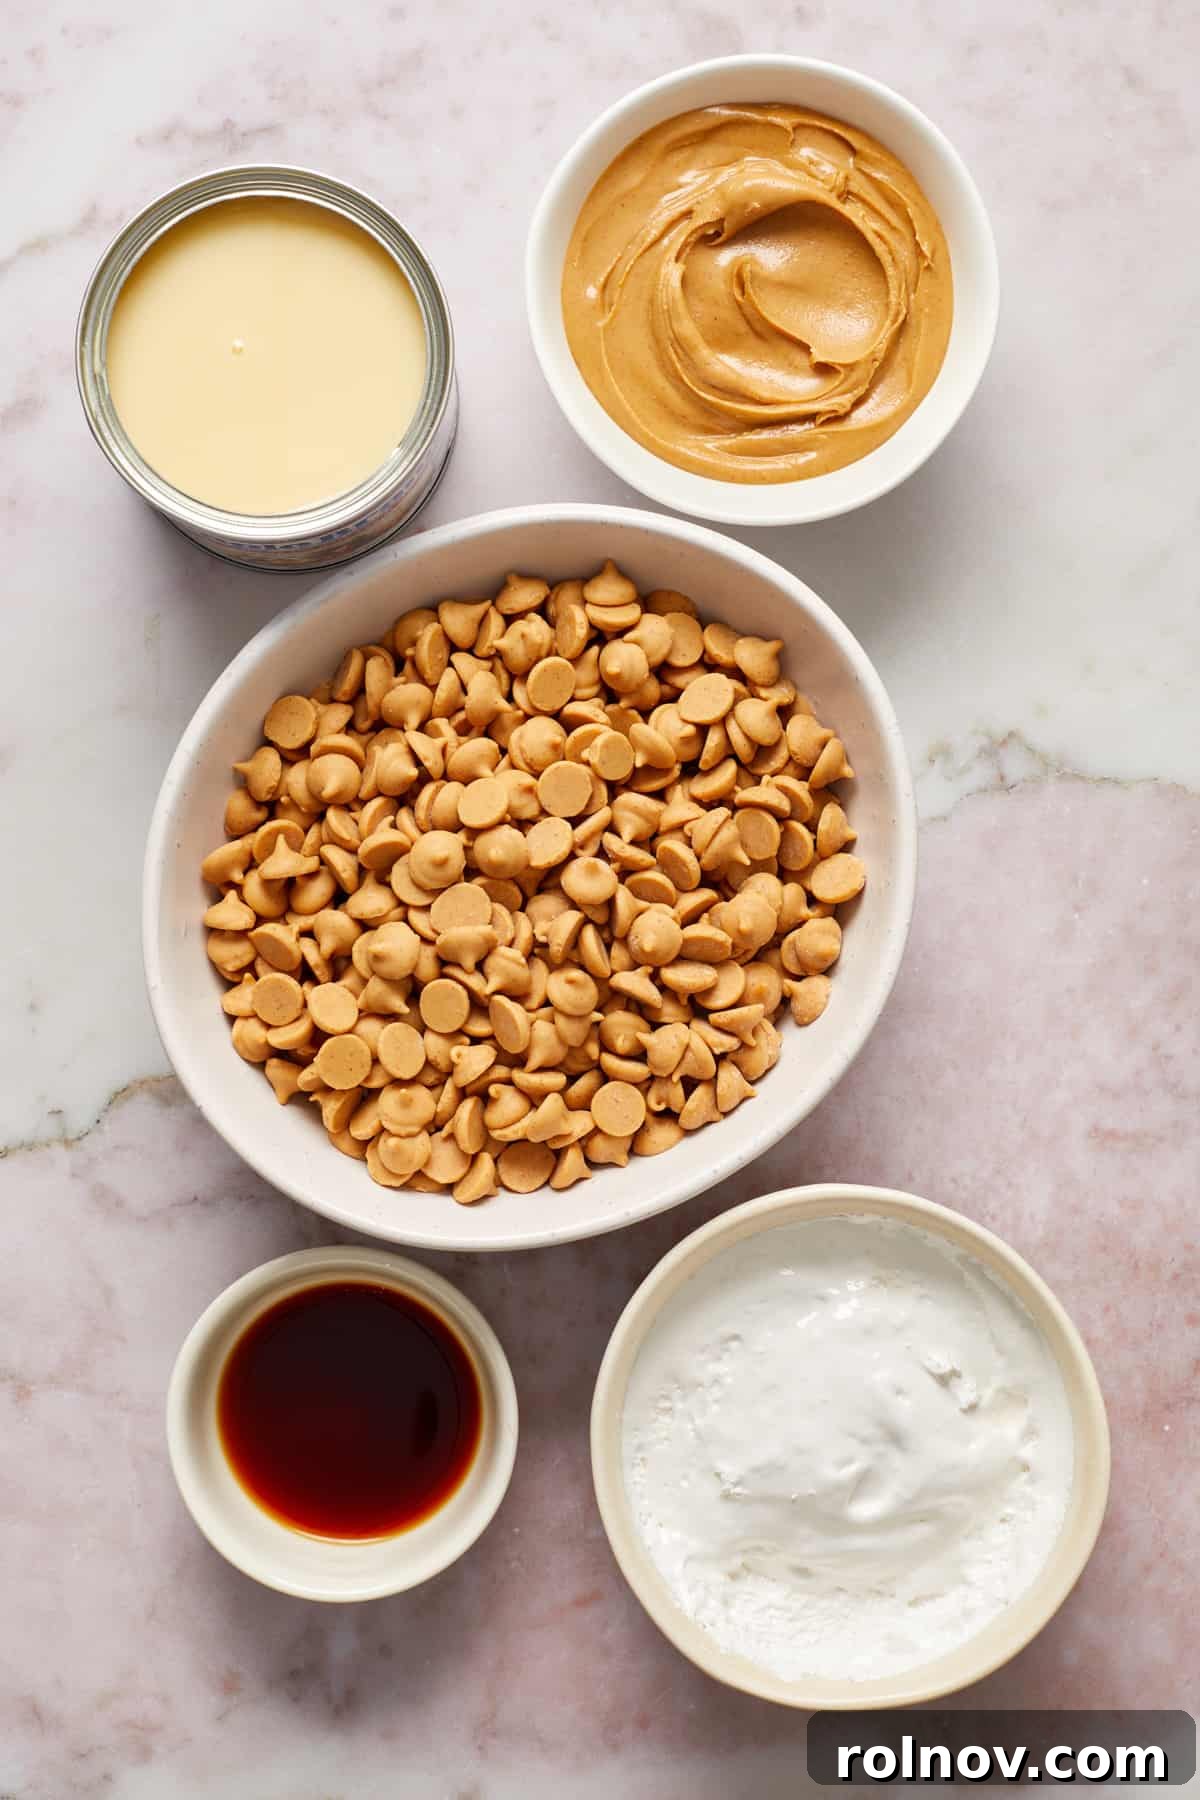
Crafting this delightful 5-minute peanut butter fudge requires only a handful of readily available ingredients. Each component plays a crucial role in achieving the rich flavor and irresistible creamy texture. Here’s a closer look at what you’ll need and why:
- Peanut Butter Chips: Many traditional fudge recipes call for white chocolate or white chocolate chips as a base. However, to amplify that beloved peanut butter flavor, I strongly recommend using peanut butter chips if you can find them. They impart a deeper, more authentic peanut butter taste that truly shines through in the final product. If peanut butter chips are unavailable, white chocolate chips can be used as a substitute, but the overall flavor profile will be milder and less intensely “peanut buttery.”
- Sweetened Condensed Milk: This ingredient is absolutely non-negotiable and critical for the success of this fudge. I cannot stress enough: ensure you are using sweetened condensed milk and NOT evaporated milk. The cans look deceptively similar, but they are fundamentally different. Sweetened condensed milk is thick, sweet, and provides the necessary body and sweetness for the fudge to set correctly. Evaporated milk is much thinner and unsweetened, and it simply will not work in this recipe, leading to a runny disaster. I always use the regular, full-fat version for the richest outcome and haven’t tested this specific peanut butter fudge recipe with low-fat condensed milk.
- Creamy Peanut Butter: For the smoothest possible fudge, creamy peanut butter is the way to go. I prefer using “no-stir” creamy peanut butter, as natural peanut butter (which often separates oil) can sometimes lead to an oilier or slightly different texture in the final fudge. The no-stir varieties typically have a more stable emulsion, contributing to a consistently creamy result. You want that classic, smooth peanut butter taste and texture to be front and center.
- Vanilla Extract: A touch of vanilla extract elevates the overall flavor profile, adding warmth and complexity that beautifully complements the peanut butter. If possible, opt for pure vanilla extract over imitation vanilla for a superior taste. It makes a subtle but noticeable difference in the depth of flavor.
- Marshmallow Cream: As discussed, marshmallow cream is vital for that signature smooth, creamy fudge texture. Its specific composition, often including cream of tartar, helps prevent graininess and ensures a luxurious mouthfeel. Double-check your label to make sure you’re grabbing marshmallow “cream” or “crème” and not “fluff,” as their differing ingredient makeups will produce varying results.
- Mini Marshmallows (Optional): This is entirely a matter of personal preference! I typically prefer my fudge to be uniformly smooth and creamy, so I often omit the extra marshmallows. However, many people, especially children and true marshmallow lovers, enjoy the soft, chewy pockets that mini marshmallows add. If you choose to include them, you can fold them into the entire batch or just sprinkle them on top of a portion of the fudge for a delightful textural contrast. My family, for instance, adores the added chewiness!
Easy Step-By-Step Guide to Microwave Peanut Butter Fudge
Making this creamy 5-minute peanut butter fudge is incredibly straightforward. Follow these simple steps for a perfect batch every time:
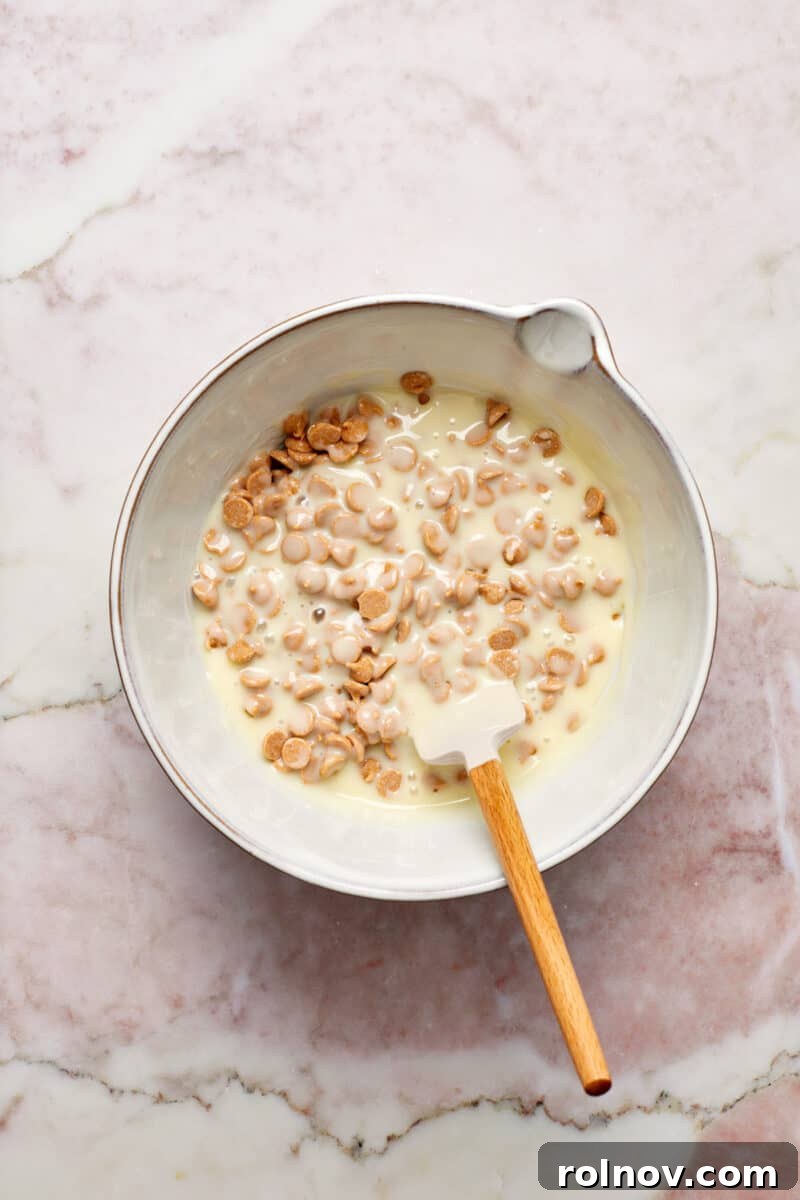
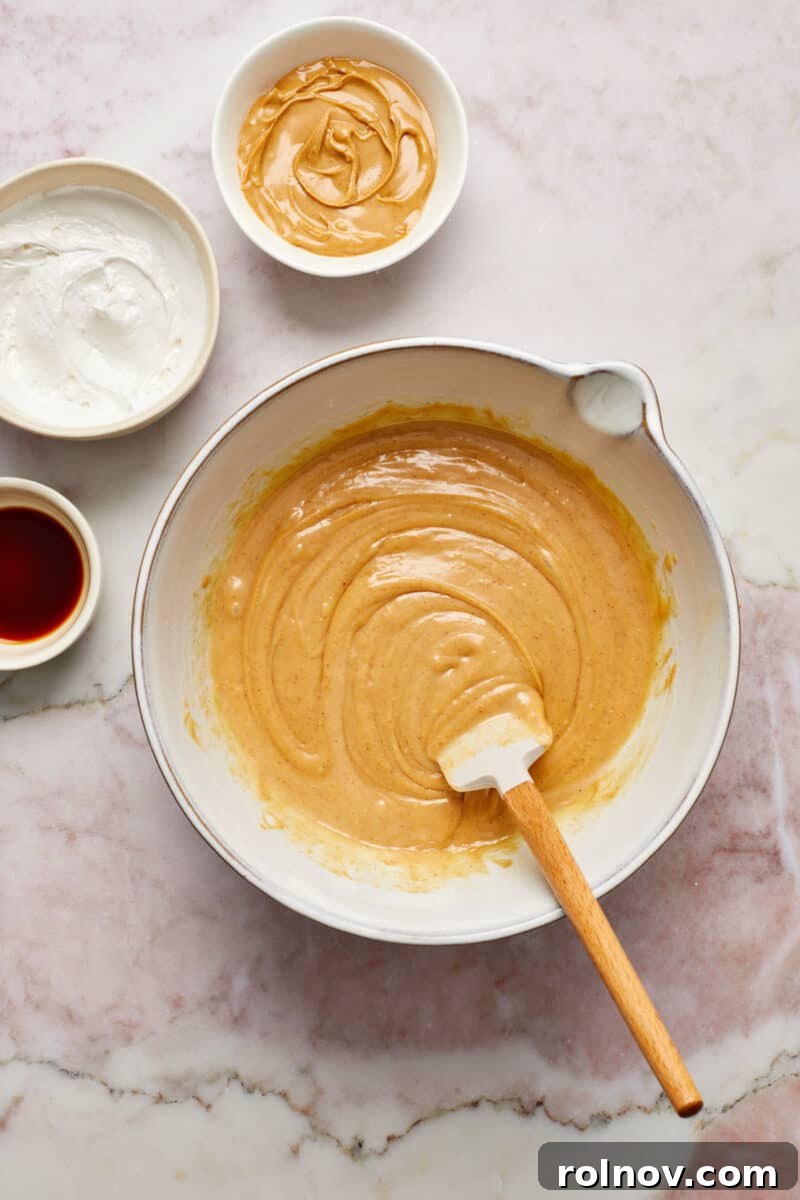
- Melt the Base: In a medium-sized microwave-safe bowl, combine the peanut butter chips and the sweetened condensed milk. Microwave on high for 20-second intervals, stirring thoroughly after each interval. Continue this process until the chips are completely melted and the mixture is smooth and glossy. This usually takes between 1 to 1½ minutes total, depending on your microwave’s power. Be patient and stir well after each burst to prevent scorching.
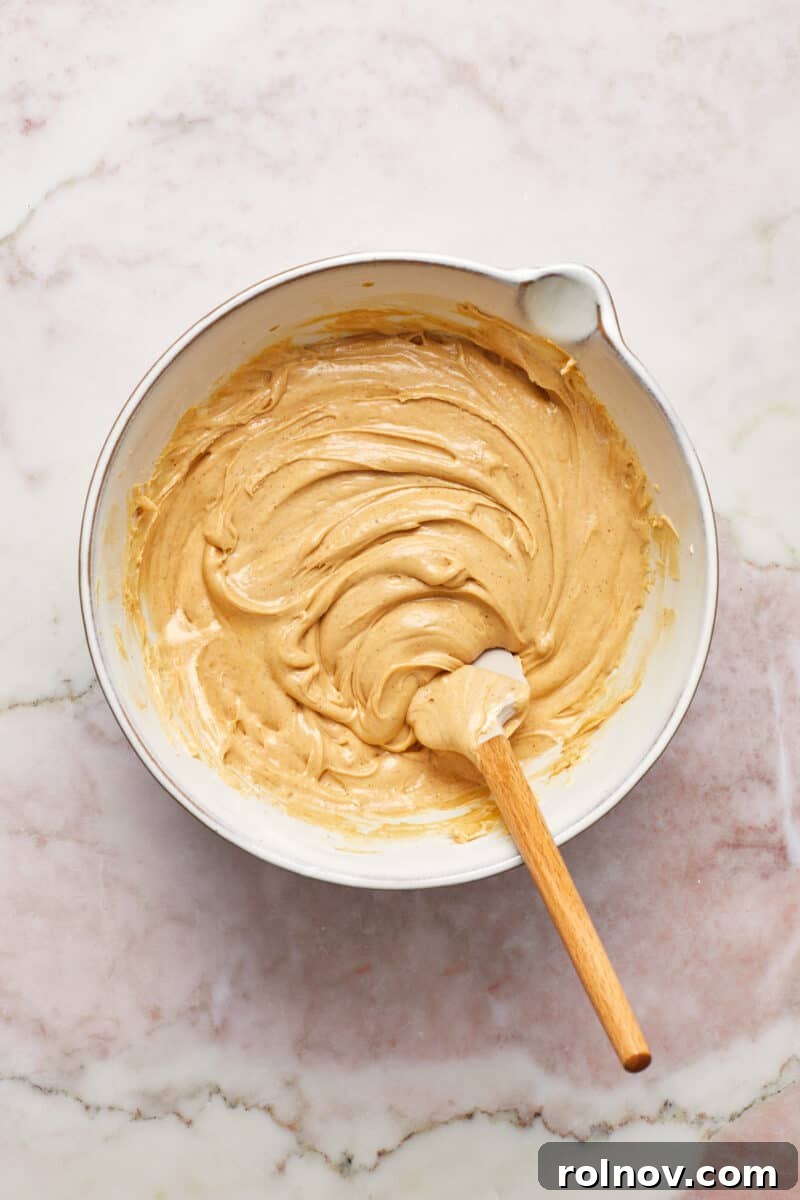
- Incorporate Flavor & Creaminess: Once your base is perfectly smooth, stir in the creamy peanut butter and vanilla extract until fully combined. Next, gently add the marshmallow cream. The key here is to stir only until it’s just incorporated. Avoid over-stirring, as this can lead to a grainy texture in your finished fudge. You can stir until the mixture is one uniform color, or if you prefer a visually appealing swirled effect, gently fold a few times to leave delicate streaks of white marshmallow throughout the peanut butter fudge. If you’re adding optional mini marshmallows, fold them in very gently at this stage as well.
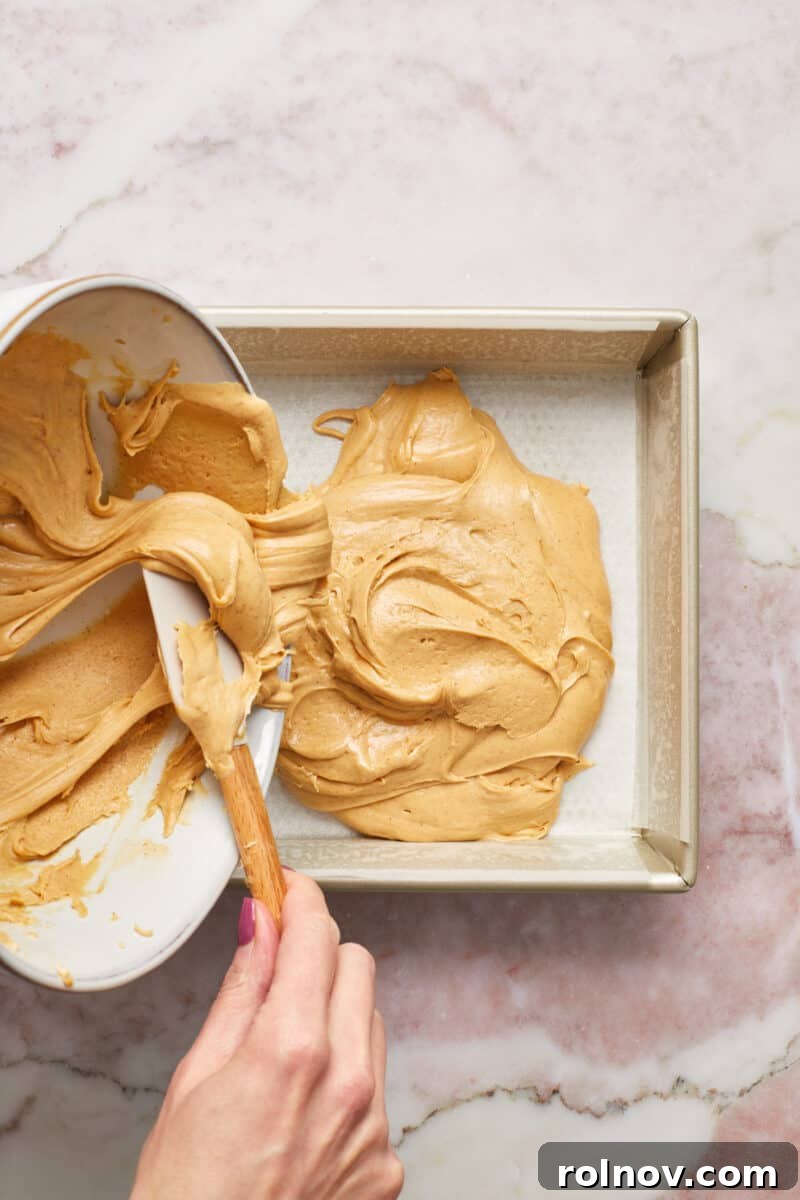
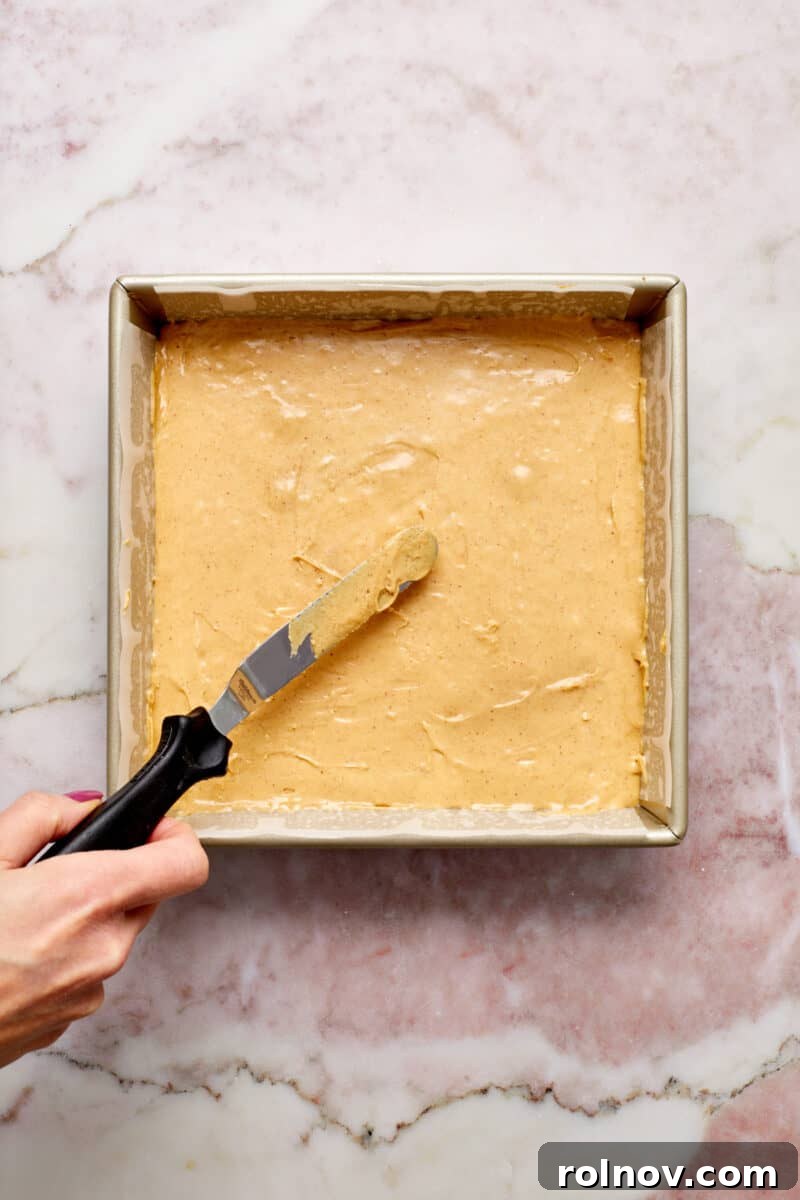
- Prepare for Chilling: Carefully transfer the warm fudge mixture into an 8×8 inch pan. For easy removal and clean slices, line your pan with parchment paper, leaving an overhang on the sides. You can also lightly grease the parchment paper or the pan itself for extra insurance against sticking. Alternatively, aluminum foil can be used if preferred. Spread the fudge evenly into one layer using a spatula.
- Chill & Serve: Place the pan in the refrigerator and chill until the fudge is completely set. This can take several hours, so plan accordingly. Once firm, use the parchment paper overhang to lift the fudge out of the pan. Cut it into small, neat squares, typically 1 to 1½ inches, for perfect bite-sized treats.
Expert Tips for Perfect Peanut Butter Fudge
- Avoid Over-Stirring and Overheating: These are the two most crucial factors for achieving smooth, creamy microwave peanut butter fudge. Over-stirring introduces too much air and can encourage sugar crystals to form, resulting in a grainy texture. Only stir until the ingredients are just combined. Similarly, overheating the fudge mixture can cause it to become dry, crumbly, and clumpy instead of smooth and luscious. Stick to short microwave increments and stir diligently in between.
- Verify Your Milk: Sweetened Condensed vs. Evaporated: I cannot emphasize this enough: TRIPLE CHECK that you have purchased sweetened condensed milk, not evaporated milk. These cans often look strikingly similar on supermarket shelves, leading to easy mix-ups. However, they are entirely different products, and only sweetened condensed milk will provide the necessary consistency and sweetness for this fudge to set properly. Using evaporated milk will result in a liquid, unset mess, and you’ll have to start over. Don’t let a simple can confuse you!
- Mastering the Cut: Achieving neat, professional-looking squares of fudge is easier than you think with these simple tricks.
- Dental Floss Method: For incredibly smooth, clean slices, use unflavored dental floss! Simply hold a piece taut and press it down through the chilled fudge, then pull it through. It cuts through the fudge like butter, preventing drag and crumbling.
- Hot Knife Technique: A super thin, sharp knife works wonderfully. Run the knife under hot water for a few seconds, then wipe it completely dry before making each cut or every few cuts. The warm blade helps slice through the fudge cleanly, preventing it from sticking and dragging.
- Proper Chilling is Key: The easiest way to cut this sweet treat is to ensure it is thoroughly chilled in the refrigerator for long enough to fully set. If the fudge is too soft, it will be difficult to cut neatly.
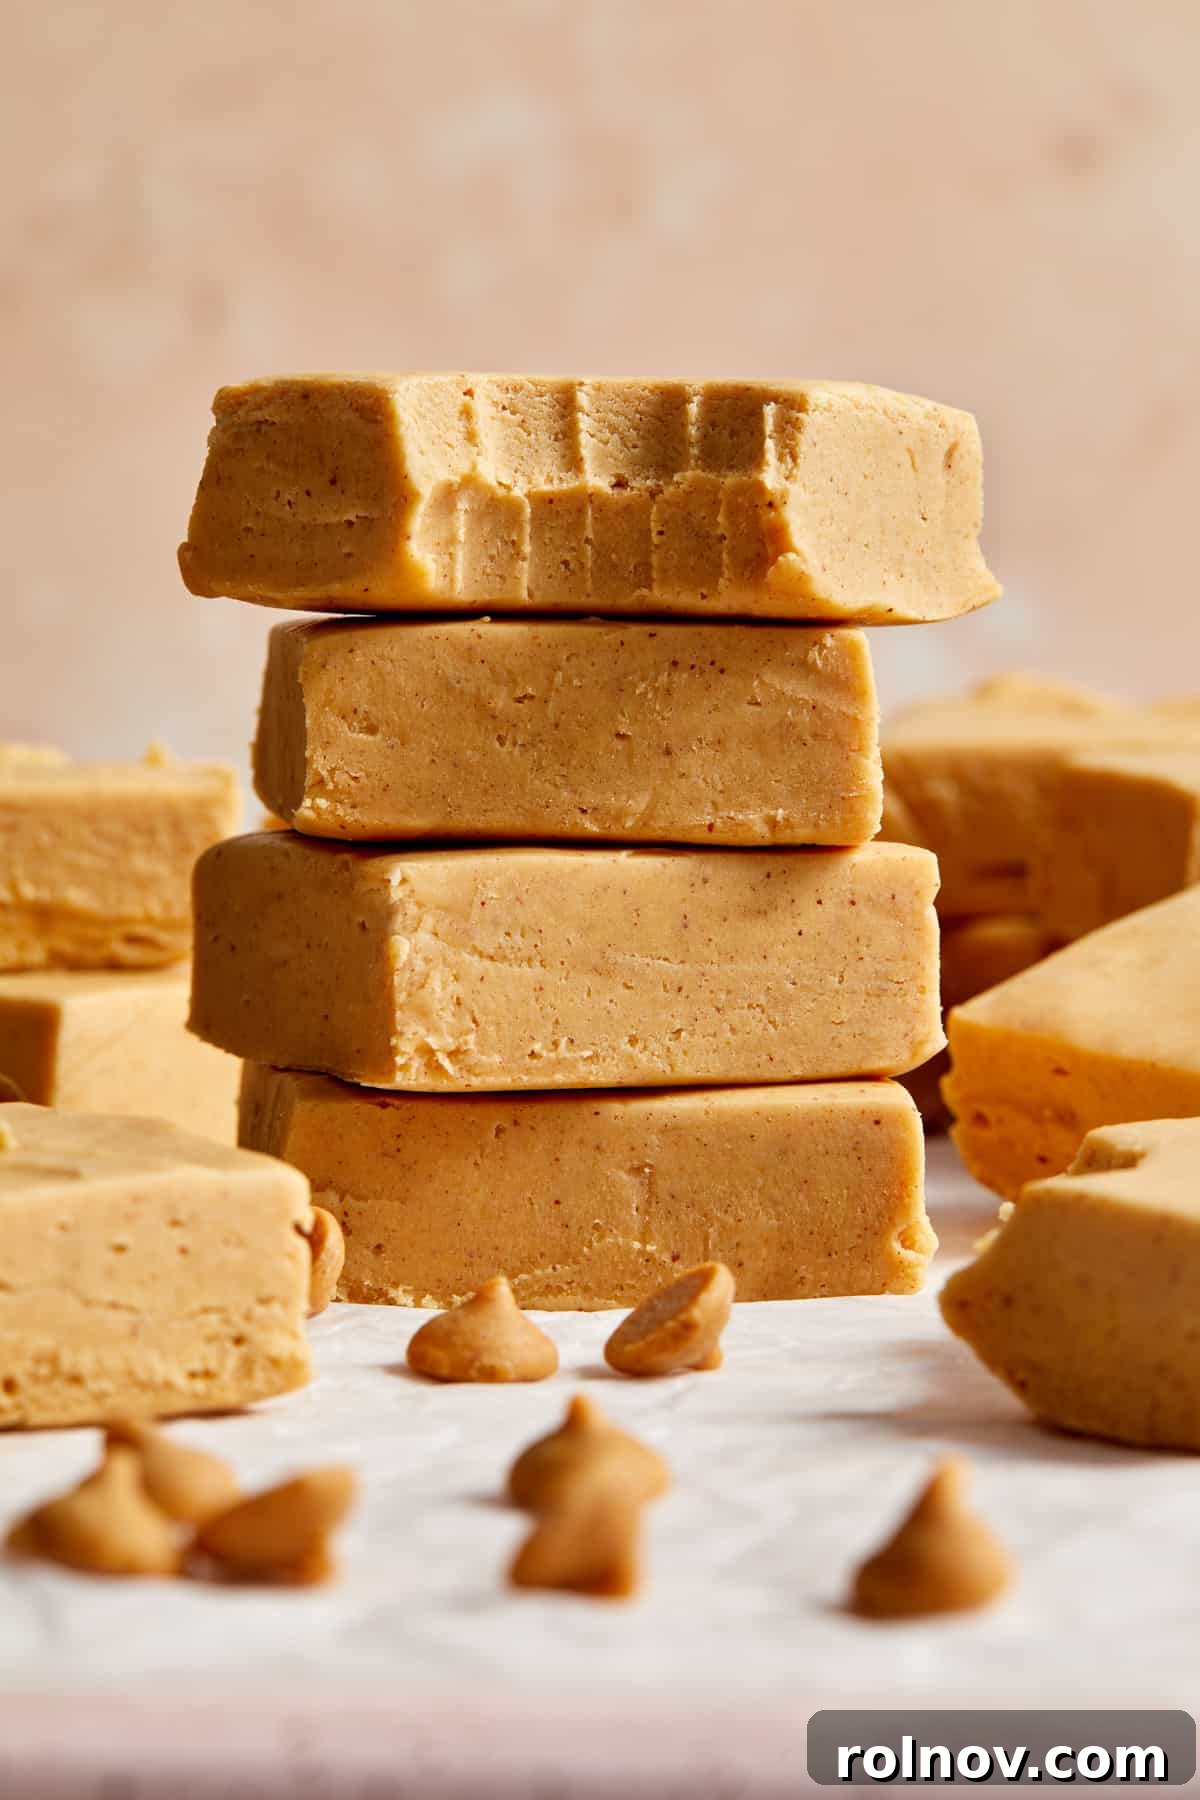
Storing Your Delicious Peanut Butter Fudge
Proper storage ensures your creamy peanut butter fudge stays fresh and delightful for as long as possible. Here are the best ways to keep your microwave fudge:
- Room Temperature: For immediate enjoyment, this fudge can be stored in an airtight container at room temperature for up to 2 weeks. Ensure it’s kept in a cool, dry place away from direct sunlight or heat, which could cause it to soften.
- Refrigerator: To extend its freshness, store the fudge in an airtight container in the refrigerator for up to a month. Chilling the fudge can make it firmer, which some people prefer, and helps it last significantly longer.
- Freezer: This fudge is wonderfully freezer-friendly, making it perfect for meal prep or saving for later cravings. Once completely cooled and set, place the fudge pieces in an airtight freezer-safe container. To prevent them from sticking together, place wax paper or parchment paper between each layer of fudge. It will keep beautifully in the freezer for up to 3 months. When your sweet tooth hits, you can grab individual pieces and let them thaw at room temperature for a quick indulgence!
Creative Add-Ins for Your Peanut Butter Fudge
While I’m a staunch advocate for the smooth and creamy simplicity of homemade peanut butter fudge, sometimes it’s incredibly fun to experiment with additional textures and flavors! Elevate this delicious treat by incorporating any of the following exciting add-ins:
- Chopped Peanut Butter Cups: Double the peanut butter delight by folding in crushed mini peanut butter cups.
- Crushed Oreos: For a cookies-and-cream twist, add finely crushed Oreo cookies.
- Chopped Peanuts: Introduce a delightful crunch and intensify the nutty flavor with coarsely chopped roasted peanuts.
- M&Ms: A pop of color and chocolatey goodness, M&Ms are always a hit, especially holiday-themed ones.
- Crushed Pretzels: For a perfect salty-sweet combination, fold in crushed pretzels for an addictive crunch.
- Caramel Swirls: Swirl in several tablespoons of warm, gooey caramel sauce just before chilling for a decadent layer of flavor.
- Nutella Swirl: A rich, chocolate-hazelnut swirl of Nutella adds an irresistible twist.
- Festive Sprinkles: Add a festive touch with holiday-themed sprinkles either mixed in or sprinkled generously on top before chilling.
- Shredded Sweetened Coconut: For a tropical hint and chewy texture, mix in shredded sweetened coconut.
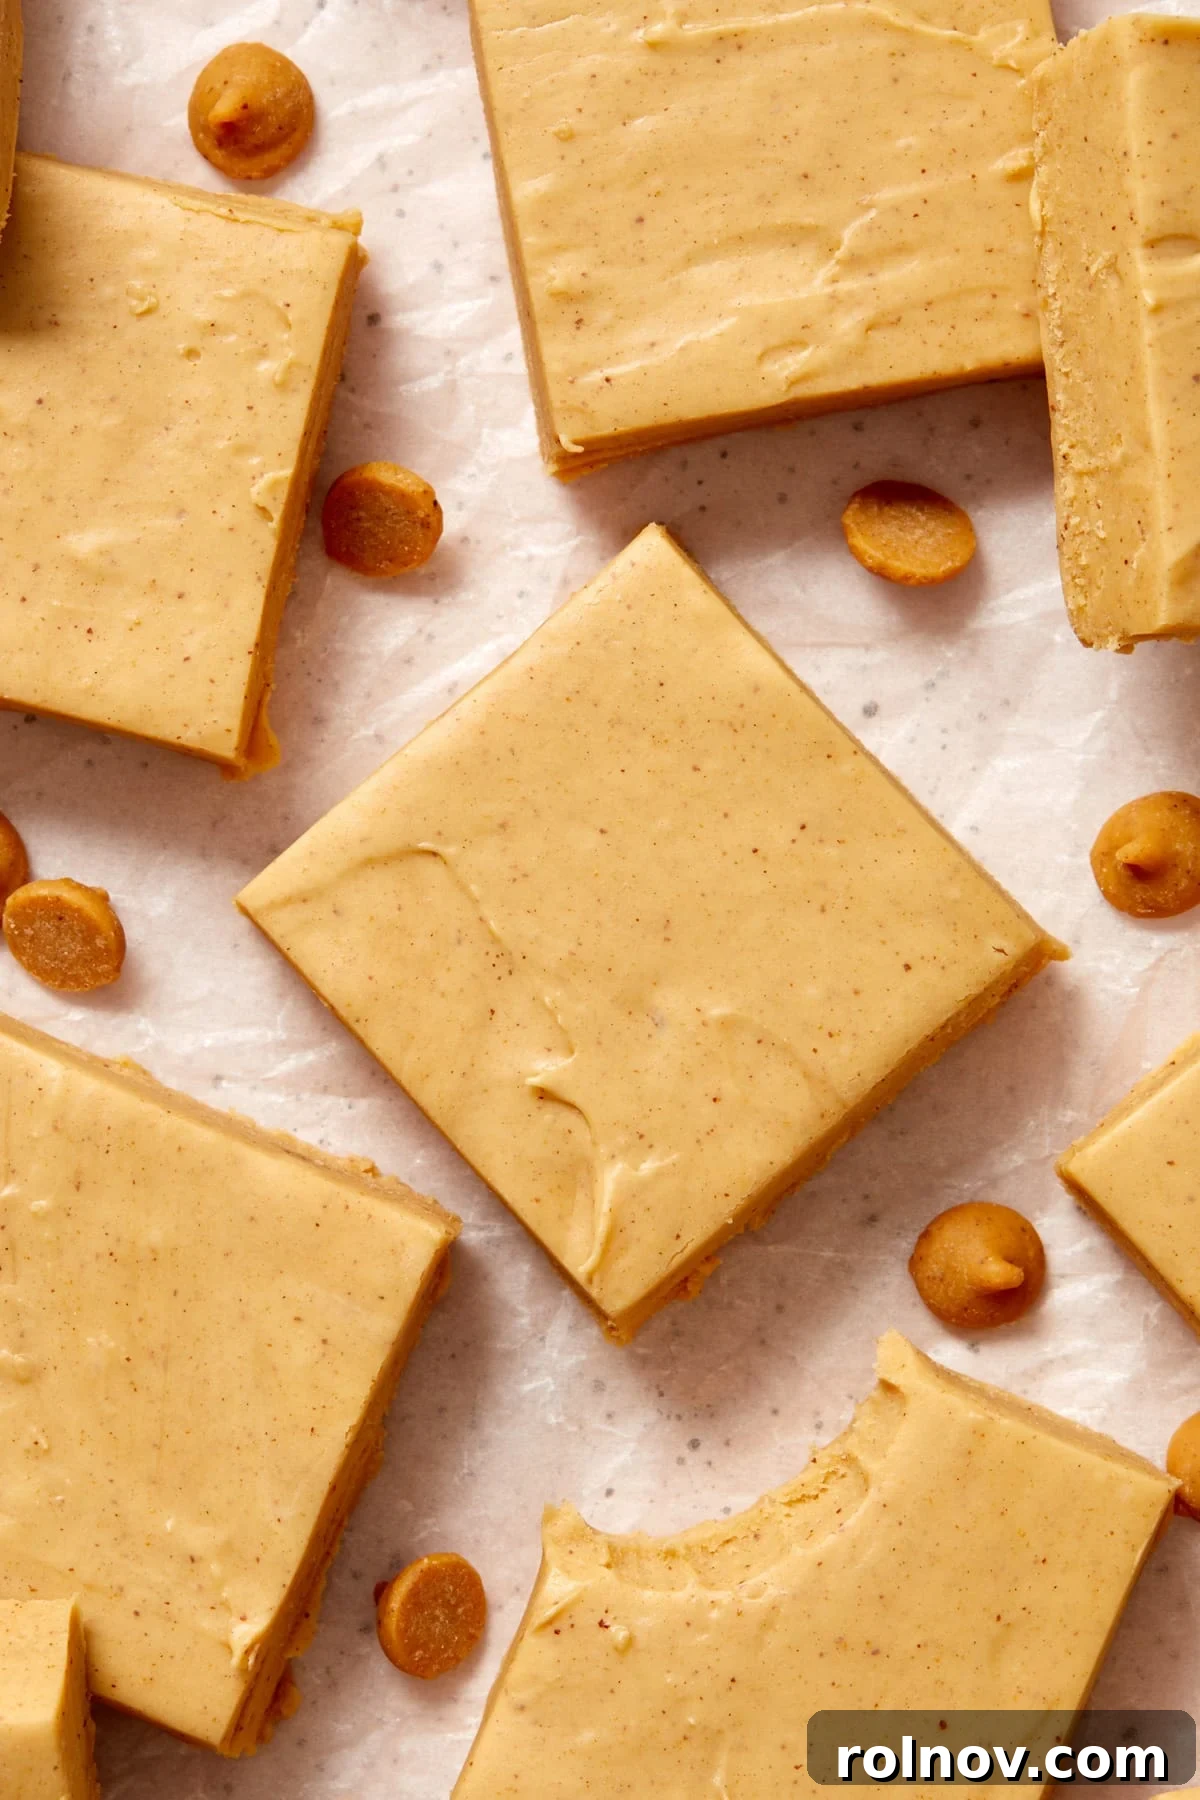
Can I Make This Peanut Butter Fudge on the Stove Top?
Absolutely! While this recipe is celebrated for its microwave convenience, you can certainly adapt it for stove-top preparation if you don’t have a microwave or simply prefer traditional methods. The stove-top method yields the same rich, creamy results with just a few minor adjustments.
To make this easy fudge recipe on the stove: In a medium saucepan, combine the sweetened condensed milk and the peanut butter chips. Place the saucepan over medium heat, stirring frequently with a spatula or whisk. Continue to heat and stir until the peanut butter chips are completely melted and the mixture is smooth and glossy. Be careful not to let the mixture scorch at the bottom of the pan; keep stirring continuously.
Once the mixture is perfectly smooth and combined, remove the saucepan from the heat. Immediately stir in the vanilla extract, creamy peanut butter, and then gently fold in the marshmallow cream until it is just incorporated. If you are adding optional mini marshmallows, fold them in at this time. Finally, transfer the warm fudge mixture to your prepared 8×8 inch square pan to cool and set, just as you would with the microwave method.
Why Is My Peanut Butter Fudge Grainy?
Encountering grainy fudge can be disappointing, especially after anticipating that smooth, melt-in-your-mouth texture. The most common culprit for grainy peanut butter fudge is over-stirring. When you stir fudge excessively, especially after the sugar has started to dissolve, you encourage the formation of sugar crystals. These tiny crystals then grow and bond together as the fudge cools, leading to a gritty or sandy texture instead of the desired silky smoothness.
To prevent this, it’s crucial to resist the urge to over-mix. When adding the marshmallow cream, and any other final ingredients, stir only until they are just combined and no visible streaks remain (unless you’re aiming for swirls, in which case a few gentle folds are sufficient). Simply mix enough to integrate the ingredients, then promptly transfer the fudge to your prepared pan to set. Minimal stirring after the initial melting phase is key to achieving that perfectly creamy consistency.
More Simple and Delicious Dessert Ideas
If you loved the ease and flavor of this microwave peanut butter fudge, you’re sure to enjoy these other hassle-free dessert recipes. Perfect for satisfying your sweet cravings without spending hours in the kitchen:
- Peppermint Chip No Bake Brownie Bites
- Golden Oreo Truffles
- Chocolate Peanut Butter Rice Krispie Treats
- No-Bake Oreo Cheesecake Cups
- Christmas Puppy Chow
- White Chocolate Dipped Nutella Ritz Crackers Cookies
HUNGRY FOR MORE? Subscribe to my newsletter and follow me on Facebook, Instagram and Pinterest for all the latest recipes and kitchen tips!
Microwave Peanut Butter Fudge with Marshmallow Cream
This 5-minute Microwave Peanut Butter Fudge with marshmallow cream is the easiest treat you make this holiday season. Marshmallow creme gives this fudge an amazing creamy texture and extra, but optional, marshmallows are for the true marshmallow lover and certainly the peanut butter lover in your life!
Prep Time: 5 minutes
Total Time: 5 minutes (plus chilling)
Yields: 36 pieces
Ingredients
- 10 oz. peanut butter chips (white chocolate chips can be used as an alternative)
- 1 can (14 oz.) sweetened condensed milk
- ⅓ cup creamy peanut butter (no-stir kind recommended)
- 1½ tsp vanilla extract (pure vanilla extract preferred)
- ⅔ cup marshmallow creme (ensure it’s “creme” not “fluff”)
- 1 cup mini marshmallows (optional, for added texture)
Instructions
- In a microwave-safe bowl, combine the peanut butter chips and sweetened condensed milk. Microwave on high for 20-second increments, stirring thoroughly after each interval, until the chips are completely melted and the mixture is smooth and creamy. This will typically take 1 to 1½ minutes in total.
- Stir in the creamy peanut butter and vanilla extract until fully incorporated. Then, gently add the marshmallow cream, stirring only until it’s just combined. Avoid over-stirring to maintain a smooth texture. If you choose to add mini marshmallows, fold them in gently at this stage.
- Transfer the fudge mixture to an 8×8 inch pan that has been lined with parchment paper (with an overhang for easy lifting) or well-greased. Spread the mixture evenly into one layer.
- Chill the fudge in the refrigerator until it is completely set and firm. This usually takes several hours. Once set, lift the fudge out of the pan using the parchment paper and cut it into 1 to 1½ inch squares. Store in an airtight container.
Notes
- Prevent Grainy Fudge: Do not over-stir or overheat the fudge mixture. Over-stirring encourages sugar crystal formation, leading to a grainy texture. Overheating can make the fudge dry and clumpy.
- Crucial Ingredient Check: Always double-check that you are using sweetened condensed milk and not evaporated milk. The cans look similar, but evaporated milk will prevent the fudge from setting.
- Cutting Perfection: For clean slices, use unflavored dental floss to cut through the chilled fudge, or use a super thin, sharp knife. Running the knife under hot water and drying it before each cut also helps achieve smooth edges.
Nutrition Information
Nutrition information is an approximation and will vary based on ingredients and portion size. Per serving (approx. 36 pieces per batch):
- Calories: 104 kcal
- Carbohydrates: 14g
- Protein: 3g
- Fat: 5g
- Saturated Fat: 3g
- Polyunsaturated Fat: 1g
- Monounsaturated Fat: 1g
- Cholesterol: 5mg
- Sodium: 42mg
- Potassium: 57mg
- Fiber: 1g
- Sugar: 12g
- Vitamin A: 29IU
- Vitamin C: 1mg
- Calcium: 32mg
- Iron: 1mg
Disclaimer: Nutrition information is automatically calculated and should only be used as an approximation.
Did you enjoy this recipe? Have a question?
Leave a comment below! I’d love to hear from you.