
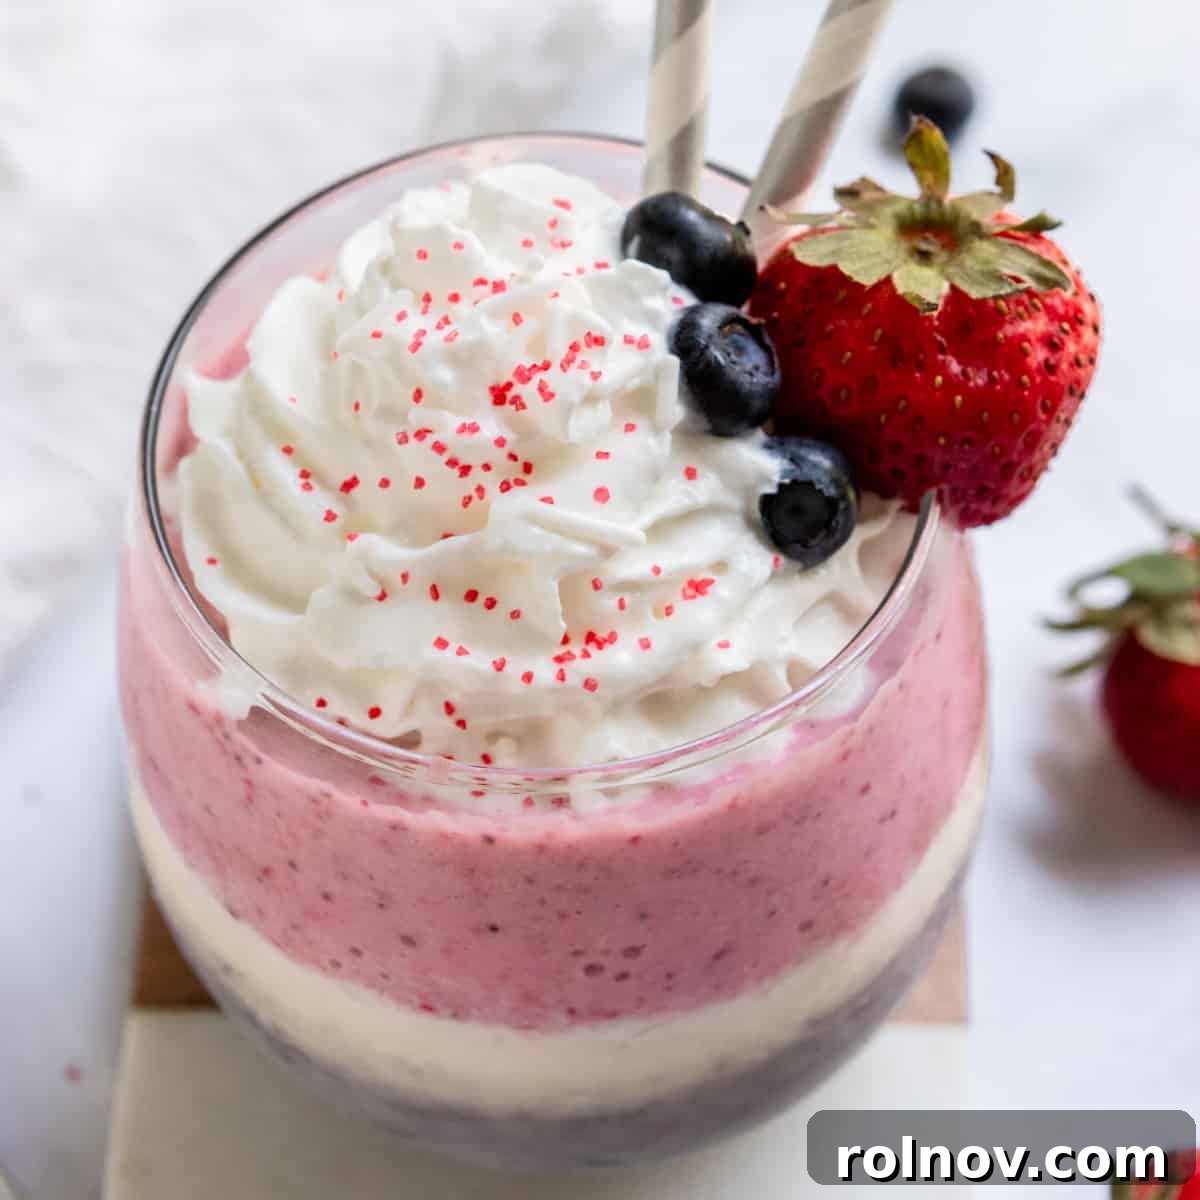
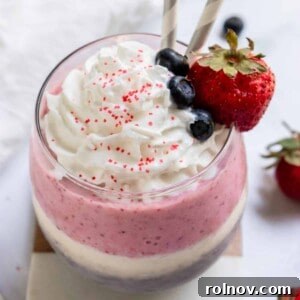
Indulge in a delightful patriotic treat with this vibrant Red, White, and Blue Milkshake – a visually stunning and incredibly simple recipe perfect for celebrating special occasions!
This recipe was originally published in June 2018 and received an update in June 2020 to enhance clarity and detail.
Festive Red, White, and Blue Milkshake: A Simple Patriotic Treat
There’s something truly special about a dish that not only delights the taste buds but also evokes cherished memories and celebrates significant moments. This Red, White, and Blue Milkshake recipe is precisely that for me. It was originally crafted to honor my beloved grandpa, whose birthday always fell on Flag Day, June 14th. Every year, without fail, I’d call him to playfully remind him of the special day, always ensuring he knew I hadn’t forgotten his birthday amidst the patriotic fanfare. His laughter was a cherished sound, a warm memory that makes this frosty treat all the more meaningful.
The year this recipe was first shared, my grandpa suffered a stroke shortly after his birthday and passed away not long after. Though I miss him dearly, creating and enjoying this vibrant Red, White, and Blue Milkshake fills my heart with warmth. It’s a delicious way to revisit those special moments we shared, keeping his memory alive with every refreshing sip. Beyond the sentimental value, this milkshake is a fantastic concoction for everyone – a sweet, creamy, and wonderfully refreshing drink that both adults and kids will adore. It’s the perfect blend of fun and flavor, ideal for any occasion that calls for a touch of patriotic spirit.
So, here’s to the red, white, and blue – and to celebrating life’s precious moments, one delicious, layered milkshake at a time!
Why You Will Love This Patriotic Milkshake
This Red, White, and Blue Milkshake isn’t just a dessert; it’s an experience. Here’s why it’s bound to become a favorite for your festive gatherings:
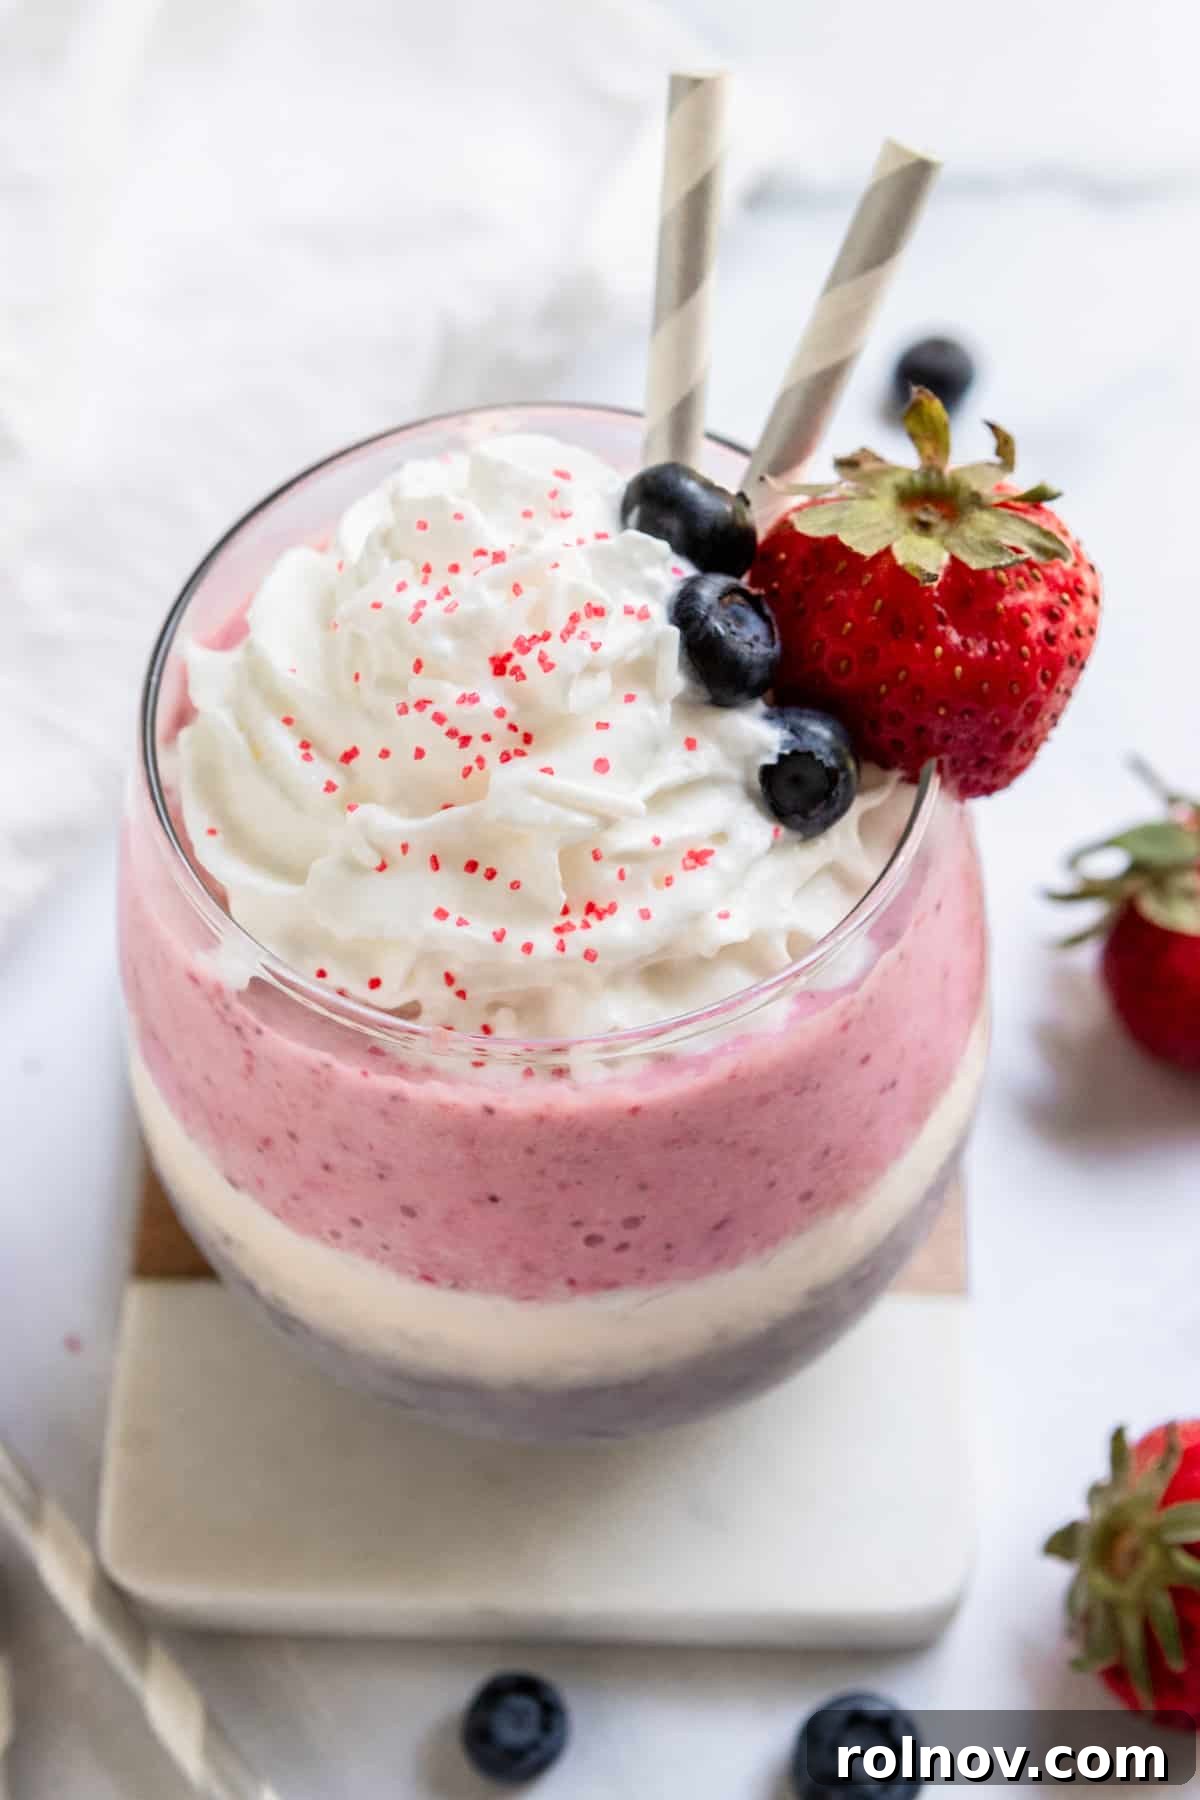
- Visually Stunning: The distinct layers of red, white, and blue create an eye-catching presentation that instantly signals celebration. It’s perfect for impressing guests without extensive effort.
- Incredibly Delicious: Combining the creamy richness of vanilla ice cream with the fresh, fruity notes of strawberries and blueberries results in a perfectly balanced and utterly delightful flavor profile.
- Simple to Make: Despite its impressive appearance, this milkshake is surprisingly easy to prepare. Each layer comes together quickly in a blender, making it a stress-free option for entertaining.
- Perfect for All Ages: Kids love the vibrant colors and sweet taste, while adults appreciate the refreshing quality and festive spirit. It’s a treat that truly brings everyone together.
- Versatile for Many Occasions: While iconic for the 4th of July, Flag Day, or Memorial Day, its refreshing nature makes it an excellent choice for any summer gathering, barbecue, or even a themed birthday party.
- Customizable: Easily adjust the sweetness, thickness, or even the fruit combinations to suit your personal preferences or dietary needs.
Ingredients: Crafting the Perfect Patriotic Layers
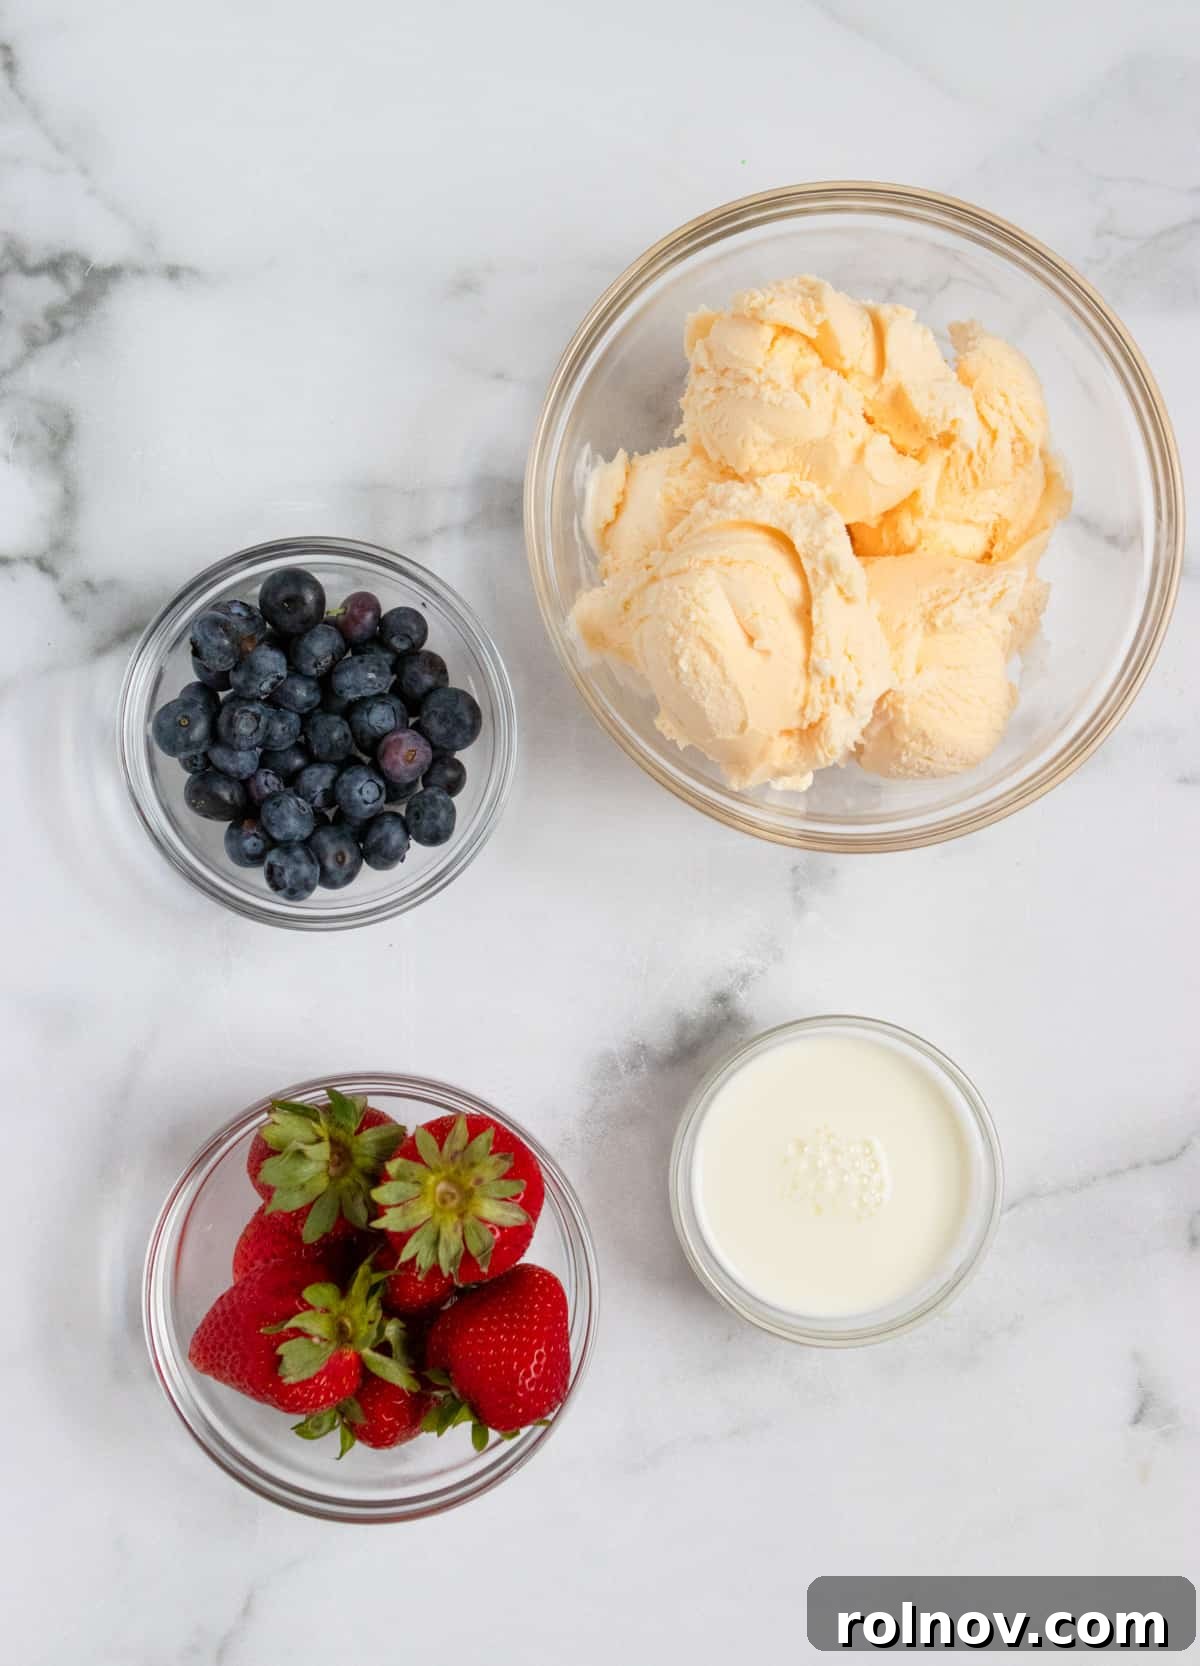
Creating this stunning layered milkshake requires just a few simple ingredients. The key is quality and the right balance to ensure each layer is distinct, vibrant, and utterly delicious. For the best results, opt for premium vanilla ice cream as the base, which will contribute to the creamy texture and pristine white layer.
Here’s a detailed look at what you’ll need:
- Generous Scoops of Vanilla Ice Cream: This forms the base for all three layers and is crucial for the “white” layer. I recommend being quite generous with your scoops to achieve a thick, decadent shake. While you might be tempted to use strawberry or blueberry ice cream for the colored layers, I’ve found that using a single, high-quality vanilla ice cream throughout ensures a cohesive flavor profile and allows the fruit to truly shine.
- Milk: A splash of milk is necessary to help blend the ice cream and fruit into a smooth consistency. Start with a small amount (around 2-3 tablespoons per layer) and add more only if needed. The goal is a thick shake that holds its shape, not a runny one that will cause the layers to blend prematurely. Whole milk tends to yield the creamiest result, but any milk will work.
- Fresh Blueberries: For the vibrant blue layer. Fresh blueberries provide a natural color and a sweet-tart flavor that complements the vanilla beautifully. Ensure they are ripe for the best taste and color.
- Fresh Strawberries: For the bright red layer. Hulled and quartered strawberries will blend easily and impart a lovely pinkish-red hue and classic summer flavor. You can use frozen strawberries, but fresh ones will give a brighter taste.
- Whipped Cream (Optional, but Highly Recommended): A dollop of whipped cream on top adds an extra touch of indulgence and makes for a beautiful garnish, especially when paired with a few extra berries.
- Food Coloring (Optional Alternative): If you desire a more intensely vibrant red and blue, or if you prefer to avoid fruit, you can opt for a few drops of red and blue food coloring in separate portions of the vanilla milkshake base. This provides a very consistent and vivid color.
Step-by-Step Guide: How to Create Your Layered Milkshake
Achieving those distinct, beautiful layers is simpler than it looks! The trick is to prepare each color separately and ensure they are thick enough to prevent immediate mixing. Follow these instructions carefully for a picture-perfect patriotic treat:
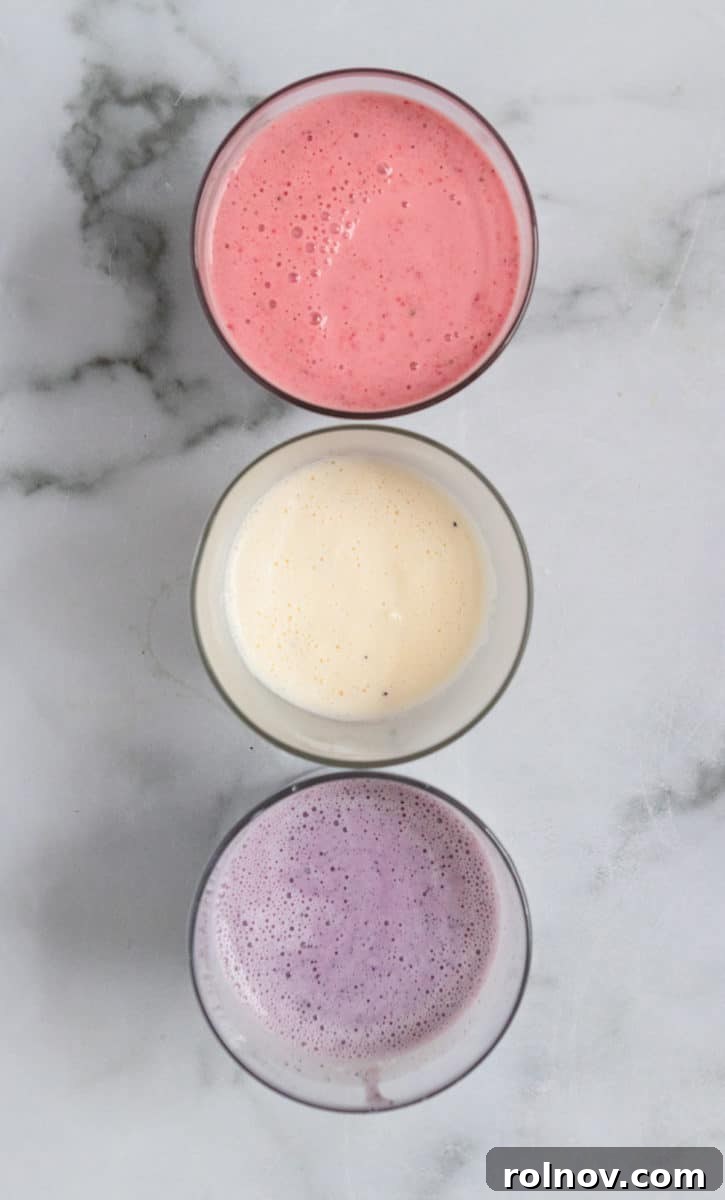
- Prepare the Blue Layer: In your blender, combine 1 cup of fresh blueberries, two generous scoops of vanilla ice cream, and start with about 2-3 tablespoons of milk. Blend on high until the mixture is completely smooth and thoroughly combined. The consistency is key here; it should be thick, almost like soft-serve ice cream, to ensure it doesn’t immediately sink into subsequent layers. If your blender struggles, add milk in half-tablespoon increments until it blends smoothly, but avoid making it too thin. Pour this blue milkshake into a separate glass or a small bowl and place it in the freezer to chill for about 15-20 minutes. This chilling period is crucial for setting the layer.
- Prepare the White Layer: Next, rinse your blender. Add two generous scoops of vanilla ice cream and 2-3 tablespoons of milk to the blender. Blend until you achieve a thick, smooth, and creamy white milkshake. Again, adjust the milk quantity as needed to maintain a very thick consistency. Pour this vanilla shake into another separate glass or bowl and also place it in the freezer to chill for 15-20 minutes alongside the blue layer.
- Prepare the Red Layer: Finally, clean your blender once more. Combine 7 hulled strawberries (or about 1 cup of chopped strawberries), two generous scoops of vanilla ice cream, and 2-3 tablespoons of milk. Blend until smooth and vibrant red. Like the previous layers, ensure this red shake is thick. Pour it into a third separate glass or bowl and freeze it for 15-20 minutes.
- Assemble Your Milkshakes: Once all three layers have chilled and thickened, it’s time for assembly. Retrieve your serving glasses. Carefully pour the blue layer evenly into the bottom of each serving glass. Then, gently spoon or pour the white vanilla layer over the blue, taking care not to disturb the layer beneath. Finally, add the red strawberry layer on top. The chilling should prevent the colors from immediately bleeding into each other.
- Garnish and Serve: Top each milkshake with a generous swirl of whipped cream. For an extra festive touch, garnish with a few fresh berries (strawberries, blueberries) or patriotic sprinkles. Insert a straw and serve immediately to enjoy the distinct, refreshing layers before they begin to merge.
Pro Tips for a Perfect Layered Milkshake
Even with a simple recipe, a few insider tips can elevate your Red, White, and Blue Milkshake from good to absolutely spectacular. These insights come from experience, ensuring your festive treat is a resounding success every time.
- Mastering the Thickness: This is the absolute golden rule for layered milkshakes. If your shakes are too thin, gravity will win, and your beautifully distinct layers will swiftly meld into a single, less impressive color. Start with minimal milk, adding just enough to get your blender blades moving. The ideal consistency is thick enough that it barely pours and holds its shape in the glass. It should be spoonable rather than easily sippable initially.
- The Power of Pre-Freezing: The 15-20 minute freezing time for each individual layer is not optional; it’s essential. This brief chill period allows the milkshake mixture to firm up slightly, preventing the layers from immediately mixing when stacked. Don’t skip this step, or you’ll lose the visual appeal. For best results, use shallow containers for freezing the layers, as they will chill faster.
- Chill Your Glasses: For an extra edge against melting, place your serving glasses in the freezer for 10-15 minutes before assembling the milkshakes. A cold glass will help maintain the firmness of the layers for longer.
- Gentle Layering Technique: When pouring or spooning one layer onto another, do so gently. Tilt the glass slightly and pour slowly against the side, or use the back of a spoon to guide the new layer evenly over the previous one. This minimizes disturbance and helps maintain crisp lines between the colors.
- Make Ahead Option: This milkshake is wonderfully adaptable for advance preparation. You can make each individual colored layer and freeze them in separate, airtight containers for up to a few days. When ready to serve, pull them from the freezer and let them thaw for 10-15 minutes until they are slightly softened but still thick. Then, assemble as directed and top with whipped cream and garnishes. If they are too firm, enjoy them with a spoon like a delightful layered ice cream treat!
- Sweetness Adjustment: Depending on the ripeness of your fruit and your personal preference, you might want to add a teaspoon or two of sugar or a natural sweetener to the fruit layers during blending. Taste and adjust before freezing.
Variations and Customizations for Your Patriotic Treat
While the classic Red, White, and Blue Milkshake is delightful, there’s plenty of room for creativity. Here are some ideas to customize your patriotic masterpiece:
- Fruit Alternatives:
- For Red: Instead of strawberries, try raspberries or pitted cherries for a slightly different flavor profile. A mix of berries can also be fantastic.
- For Blue: Blackberries can be used in place of blueberries for a deeper purple-blue hue and a richer taste.
- Flavor Enhancers:
- Add a few drops of vanilla extract or almond extract to the white layer for an extra boost of flavor.
- A tiny pinch of salt can actually enhance the sweetness of the fruit layers.
- Dairy-Free Version: For those with dietary restrictions, this recipe can be easily adapted. Use your favorite dairy-free vanilla ice cream (such as almond milk or coconut milk-based) and a dairy-free milk alternative (almond milk, oat milk, or soy milk) for blending. Top with coconut whipped cream for a completely vegan treat.
- Adult Twist: For an adult-only version, consider adding a splash of a complementary liqueur to each layer. A touch of raspberry liqueur or cherry brandy in the red layer, or a hint of blueberry liqueur in the blue layer, could add a sophisticated depth of flavor. (Please drink responsibly.)
- Texture Boosters: Mix in a spoonful of cream cheese or Greek yogurt to the white layer for an extra tangy and rich flavor, enhancing its creaminess.
- Garnish Extravaganza: Beyond whipped cream and fresh berries, consider adding patriotic sprinkles, a drizzle of chocolate sauce, mini marshmallows, or even a small cookie on the rim of the glass for an extra festive flair.
When to Serve This Festive Drink
This Red, White, and Blue Milkshake is a versatile delight, perfect for a multitude of occasions where a splash of color and cheer is welcome:
- 4th of July Celebrations: The most obvious choice! It’s an iconic and refreshing treat for Independence Day picnics, barbecues, and fireworks viewing parties.
- Flag Day: A wonderful way to honor the national flag, just as I’ve done for my grandpa’s birthday.
- Memorial Day: A respectful and refreshing dessert for remembering and honoring those who served.
- Summer Parties & Barbecues: Regardless of a specific holiday, any summer gathering benefits from a cool, fruity, and visually appealing drink like this.
- Patriotic Themed Birthdays: Especially fitting for birthdays near national holidays or for those who simply love a themed celebration.
- Everyday Treat: Sometimes, you don’t need a special occasion. On a hot summer afternoon, this milkshake is a fantastic way to cool down and enjoy a moment of sweet indulgence.
More Fun Recipes to Try
If you loved this patriotic milkshake, be sure to explore some of these other delightful recipes perfect for any occasion:
- Red, White and Blue Funfetti Cake Dip! (A sweet, dippable treat that’s just as festive.)
- Golden Oreo Truffles (Easily transform these into a patriotic delight by adding red, white, and blue sprinkles!)
- Homemade Lemon Ice Cream (A refreshingly zesty and simple no-churn recipe for summer.)
- Homemade Butter Pecan Ice Cream – No Churn (Rich, creamy, and nutty – a classic favorite without the ice cream machine.)
- Dairy Free Lemon + Toasted Coconut Ice Cream Sandwiches (A tropical twist on a beloved classic.)
- Cherry Chocolate Milkshake (A decadent and flavorful milkshake for chocolate and cherry lovers.)
Red, White and Blue Milkshake Recipe Card
Here’s the complete recipe for your convenience, structured for easy following and to ensure you have all the details at your fingertips. This static recipe card provides all the necessary information, removing any interactive elements for a clean, printable reference.
Red, White and Blue Milkshake
Lorie Yarro
15
20
35
2
Ingredients
- 6 large scoops vanilla ice cream
- ¾ c milk
- 1 c blueberries
- 7 strawberries
- whipped cream, optional
Instructions
-
In a blender combine blueberries, 2 scoops of ice cream and about 2-3 tablespoons of milk. Blend until smooth. Add more milk if too thick that the blender won’t blend.
-
Pour into a glass and place in the freezer.
-
Add 2 scoops of vanilla and 2 tablespoons of milk to blender and blend until smooth. Again, adjust milk if needed and then pour into a glass and place in the freezer.
-
Combine 2 scoops of ice cream and 2-3 tablespoons of milk along with strawberries to blender and blend until smooth. Pour into a cup and freeze. After about 15-20 minutes, pour the “blue” shake evenly into serving cups. Pour the vanilla layer on top of that and then the strawberry. Top with whipped cream and enjoy!
Notes
- You will want the shakes to be thick. If you make them too thin, the top layer will just fall right into the layer underneath. Trust me, I learned that lesson reallllly quick.
- You can make these Red, White and Blue Milkshakes ahead of time and then pull them from the freezer and top with whipped cream when you are ready. Just let them thaw for a bit or eat them with a spoon.
Nutrition
Calories:
385
kcal
Carbohydrates:
49
g
Protein:
8
g
Fat:
18
g
Saturated Fat:
11
g
Cholesterol:
67
mg
Sodium:
146
mg
Potassium:
505
mg
Fiber:
4
g
Sugar:
42
g
Vitamin A:
744
IU
Vitamin C:
33
mg
Calcium:
279
mg
Iron:
1
mg
Nutrition information is automatically calculated, so should only be used as an approximation.
Did you enjoy this recipe? Have a question or a special memory to share?
Leave a comment below and connect with us!
We love seeing your creations! If you make one of our recipes, please share it on social media and tag us @LEMONSANDZEST on INSTAGRAM or FACEBOOK! Your feedback and photos inspire us.