
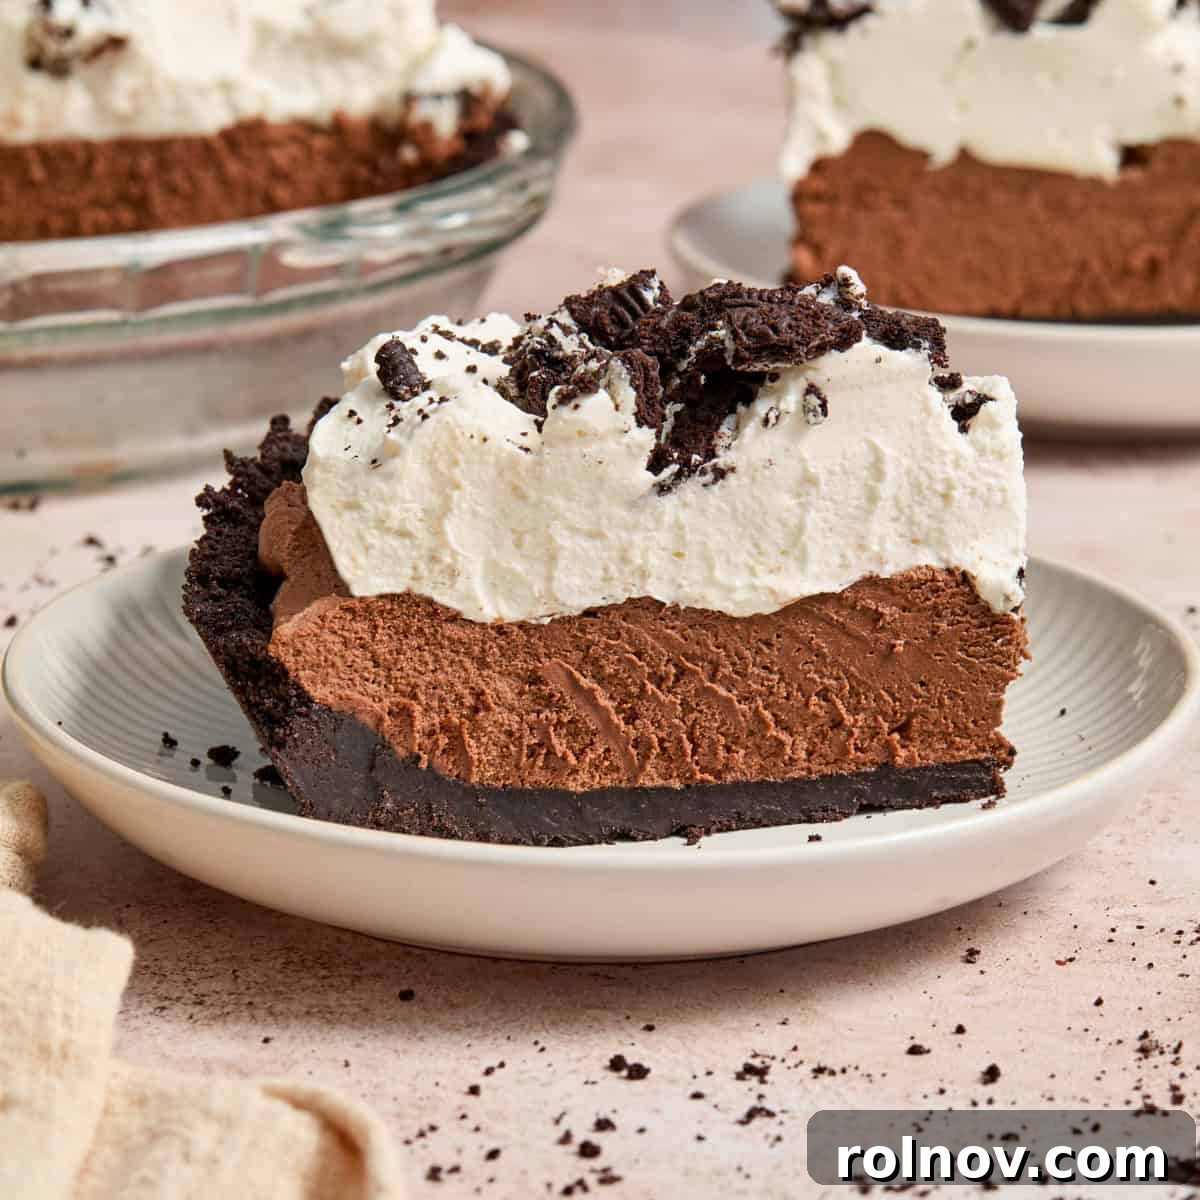
Discover your new go-to dessert with this incredibly easy No Bake Chocolate Pie recipe! Featuring a rich, dark chocolate ganache expertly folded into a fluffy chocolate whipped cream, all nestled within a perfectly crunchy Oreo cookie crust and crowned with a generous layer of freshly whipped cream. No oven required, and every slice promises a decadent, thick, and wonderfully creamy experience.
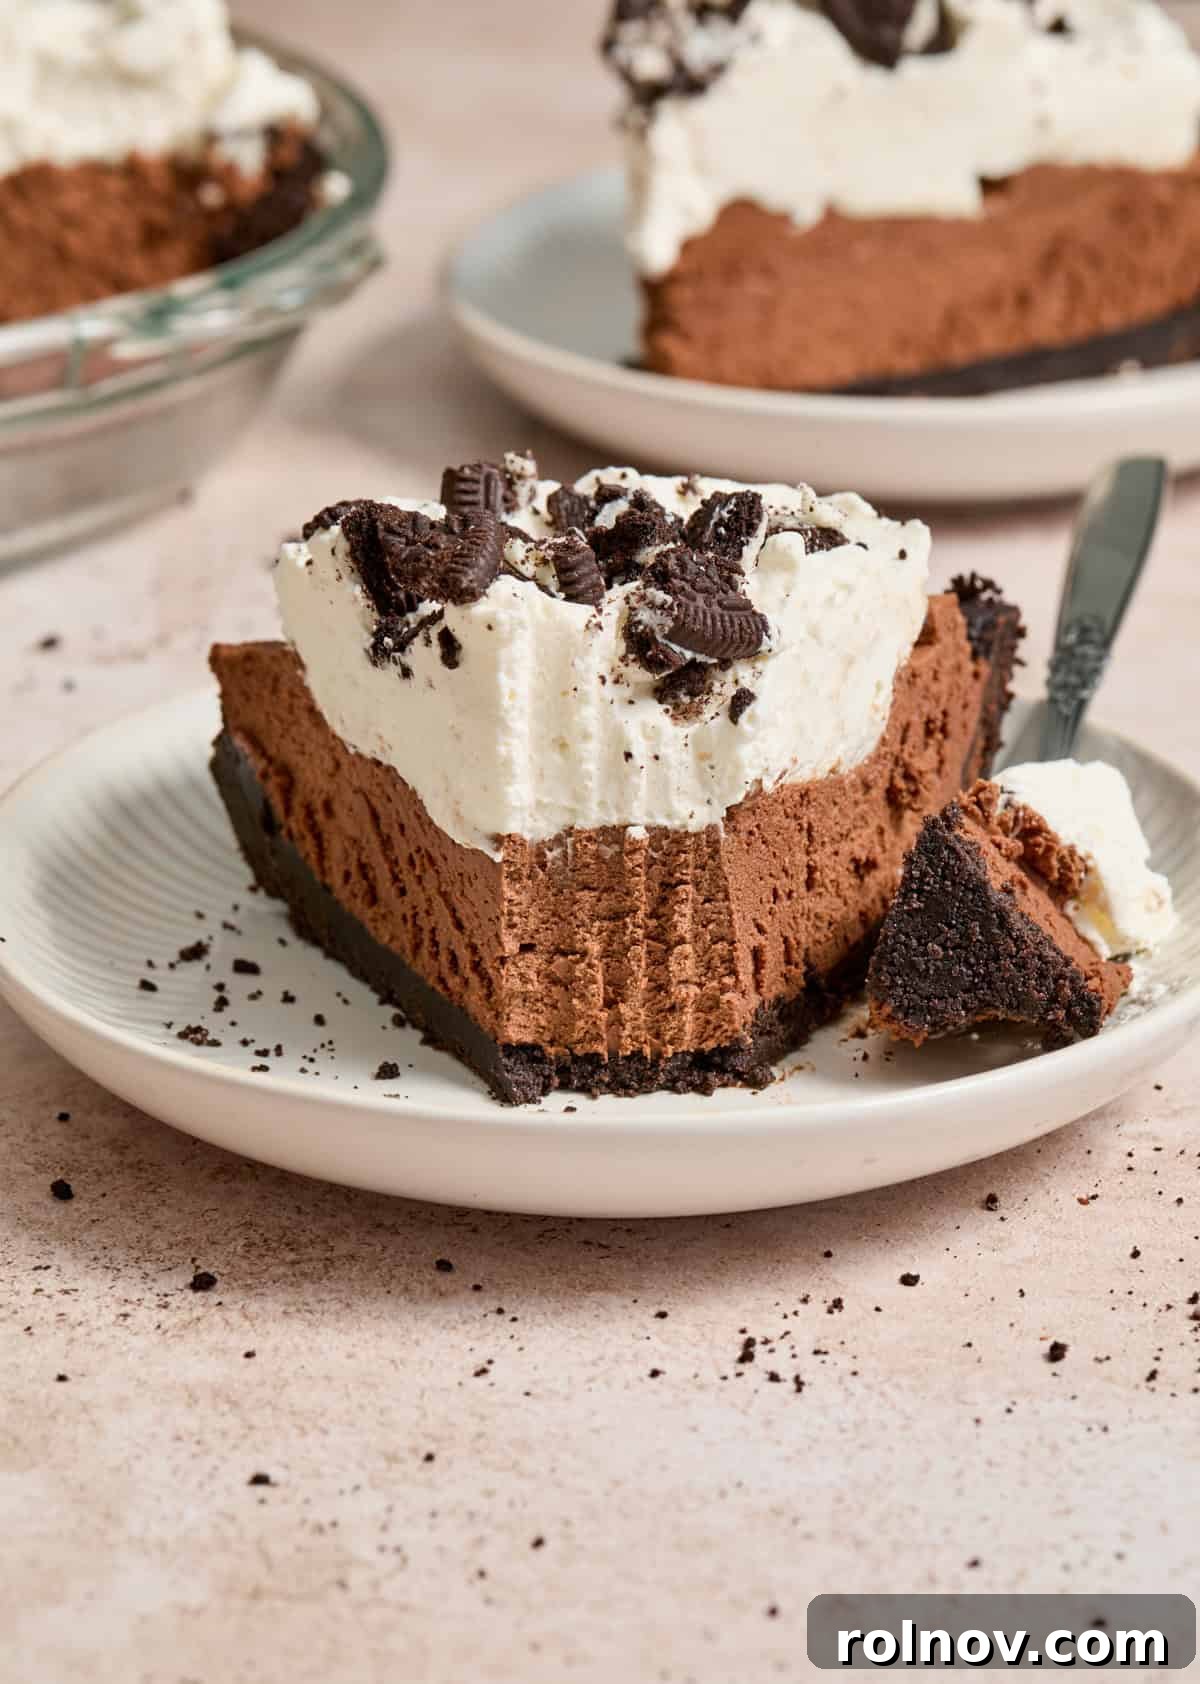
The allure of a no-bake dessert is truly unmatched, especially when it’s as spectacular as this Chocolate Pie. Forget the fuss of turning on the oven; this recipe delivers pure chocolate bliss any time of year. Whether you’re celebrating a special occasion or simply craving a rich, homemade treat, this pie is guaranteed to satisfy even the most fervent chocolate lovers. It’s a dessert that consistently earns rave reviews and disappears quickly at gatherings.
Drawing inspiration from classic chocolate whipped cream and a deep appreciation for effortless sweets, this pie is designed to impress with minimal effort. It’s quickly become a cherished family favorite, standing proudly alongside other beloved no-bake creations. If you’re exploring the delightful world of chilled desserts, you might also adore Oreo No Bake Cheesecake Cups for a cream cheese twist, or delve into other simple dessert recipes like Condensed Milk Brownies, Chocolate Cake Mix Cookies, or these indulgent Dark Chocolate Cherry Brownies.
Why This No-Bake Chocolate Pie Will Become Your New Obsession
Prepare to fall in love with this chocolate pie for a multitude of compelling reasons. Its simplicity, combined with its luxurious flavor and texture, makes it an unparalleled choice for any dessert spread.
- Minimal Effort, Maximum Flavor: This recipe demands just 7 core ingredients, many of which are likely already in your pantry. This means less shopping, less complexity, and more time to enjoy the fruits of your labor. It’s designed to be approachable for home bakers of all skill levels, ensuring a successful and delicious outcome every time.
- Effortlessly Elegant – No Baking Required: The magic of a no-bake dessert cannot be overstated. By eliminating the oven, you bypass common baking pitfalls like uneven cooking or dry crusts. This pie simplifies the process, making it significantly harder to “ruin” and drastically reducing overall preparation time. It’s the perfect solution for hot summer days when you want a decadent treat without heating up your kitchen, or for busy holidays when oven space is precious.
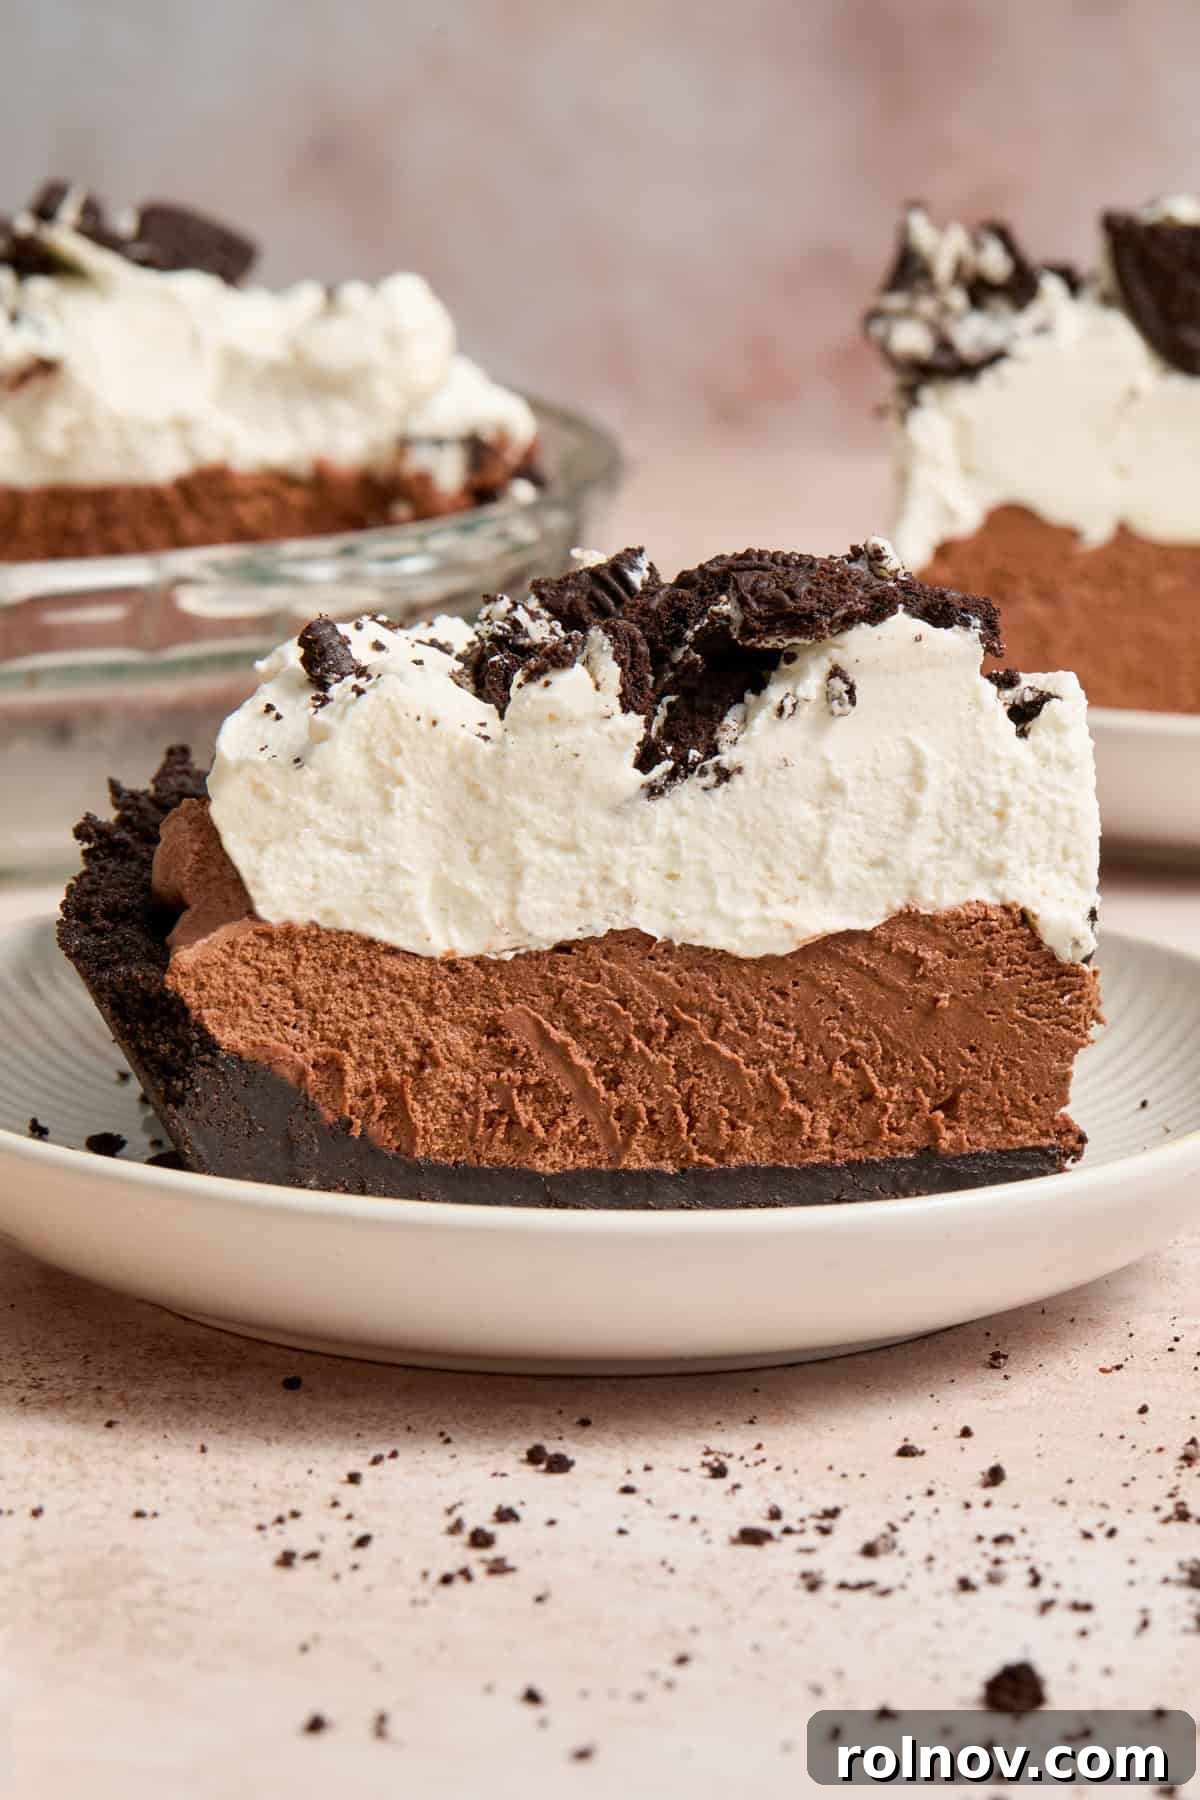
- Unforgettably Rich and Luxurious Texture: Imagine the silkiest chocolate ganache, infused with deep cocoa notes, gracefully folded into a light and airy chocolate whipped cream. This masterful combination results in a thick, opulent chocolate layer that is both intensely flavorful and incredibly creamy. It sets beautifully, holding its shape for picture-perfect slices. Coupled with the sweet crunch of the Oreo crust and the ethereal topping of fresh whipped cream, this dessert offers three distinct layers of pure heaven in every bite. If you’re a fan of the iconic Oreo crust, you’ll also adore this No Bake Peppermint Oreo Cheesecake.
- The Ultimate Make-Ahead Dessert: This chocolate pie is a dream come true for hosts and busy individuals. Since it requires several hours of chilling time to properly set, it’s an ideal candidate for preparing the night before you plan to serve it. This thoughtful planning liberates your schedule on the day of your party or gathering, allowing you to focus on other preparations or simply relax and enjoy the anticipation.
Essential Ingredients for Your Perfect Chocolate Pie
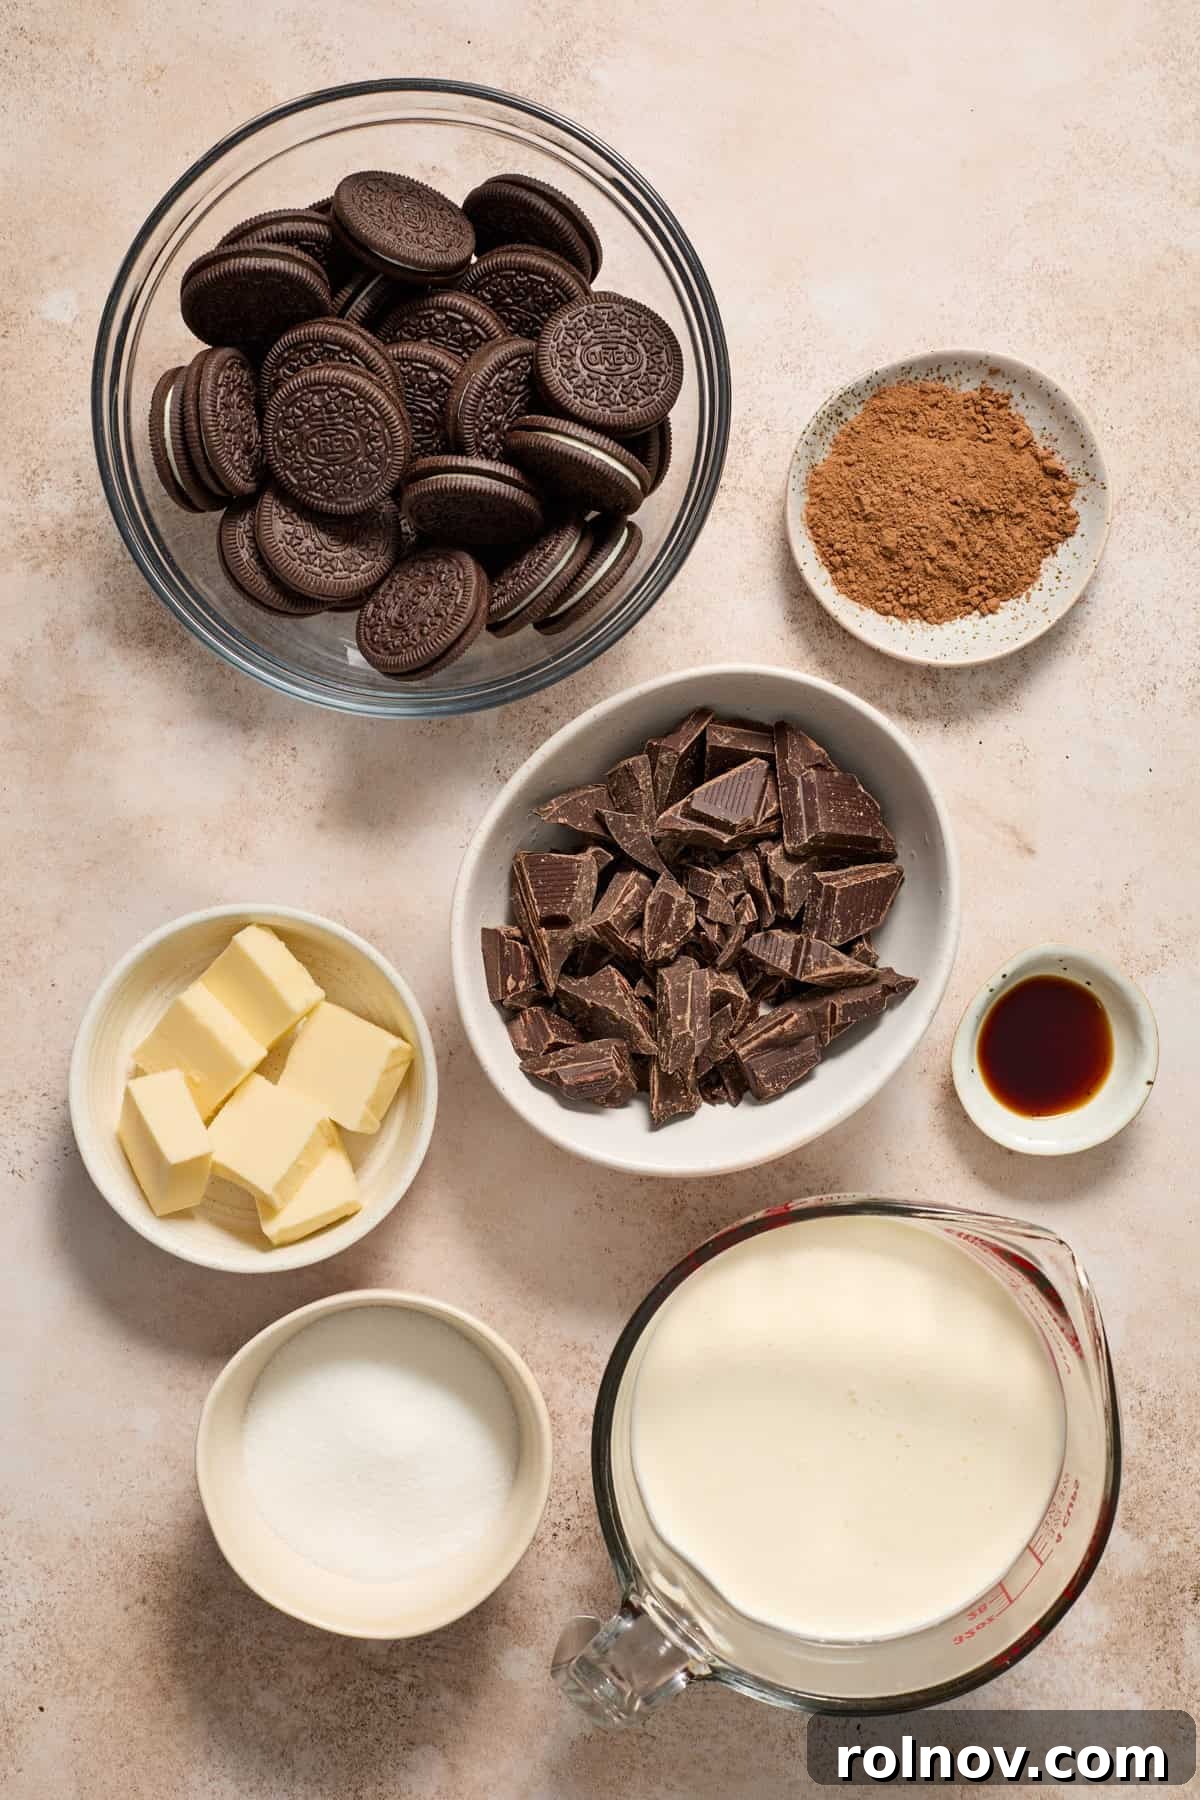
Creating this irresistible no-bake chocolate pie starts with selecting the right ingredients. Here’s a closer look at what you’ll need and why each component is crucial for achieving that signature rich and creamy texture.
- Oreos: The foundation of our pie is a classic Oreo crust. For the best texture and flavor balance, standard Oreos are ideal. Double Stuf varieties contain too much cream, which can alter the crust’s consistency. For those with dietary restrictions, gluten-free Oreos can be seamlessly substituted to make this pie accessible to everyone without compromising taste.
- Butter: Melted butter is the binding agent that transforms crushed Oreos into a cohesive, sturdy crust. While unsalted butter is generally preferred in baking to control sodium levels, salted butter can also be used, adding a subtle depth of flavor that complements the chocolate beautifully. Ensure it’s melted and slightly cooled before mixing.
- Heavy Whipping Cream: This is the star ingredient for both the ganache and the whipped cream layers. For optimal results, always opt for heavy whipping cream or heavy cream over regular whipping cream. Heavy cream boasts a higher fat content, which allows it to whip up thicker, achieve firmer peaks, and maintain its shape more effectively. This is crucial for a pie that sets well and holds its structure when sliced.
- Bittersweet Chocolate: To achieve a truly sophisticated and balanced chocolate flavor that isn’t overly sweet, high-quality bittersweet chocolate is essential. Brands like Ghiradelli are excellent choices for their consistent quality and rich cocoa notes. Bittersweet chocolate beautifully counters the sweetness of the Oreo crust and the whipped cream topping, creating a harmonious flavor profile where all layers shine. Feel free to adjust to a semi-sweet chocolate if you prefer a slightly sweeter filling, but note the bittersweet chocolate provides a fantastic depth.
- Granulated Sugar: Just a touch of sugar is added to both the chocolate whipped cream and the final whipped topping. This enhances their natural sweetness without overpowering the deep chocolate flavors, ensuring a perfectly balanced dessert.
- Unsweetened Cocoa Powder: This provides an additional layer of intense chocolate flavor to the chocolate whipped cream, which forms the base for our folded ganache. Using unsweetened cocoa powder allows the bittersweet chocolate ganache to truly stand out.
- Vanilla Extract: Used in both whipped cream components of this recipe, real vanilla extract makes a significant difference. Its warm, aromatic notes enhance the overall flavor profile, adding complexity and depth that imitation vanilla simply cannot replicate.
- Optional Espresso Powder: For those seeking to deepen the chocolate experience, a teaspoon of espresso powder can be added to the ganache. Espresso is a natural flavor enhancer for chocolate, intensifying its richness without imparting a coffee taste. While not a pantry staple for everyone, it’s a wonderful addition for an even more profound chocolate flavor.
Crafting Your No-Bake Chocolate Pie: A Step-By-Step Guide
Follow these detailed steps to create your own show-stopping no-bake chocolate pie. Each stage is designed for ease and perfection, ensuring a delicious result.
Prepare the Irresistible Oreo Crust
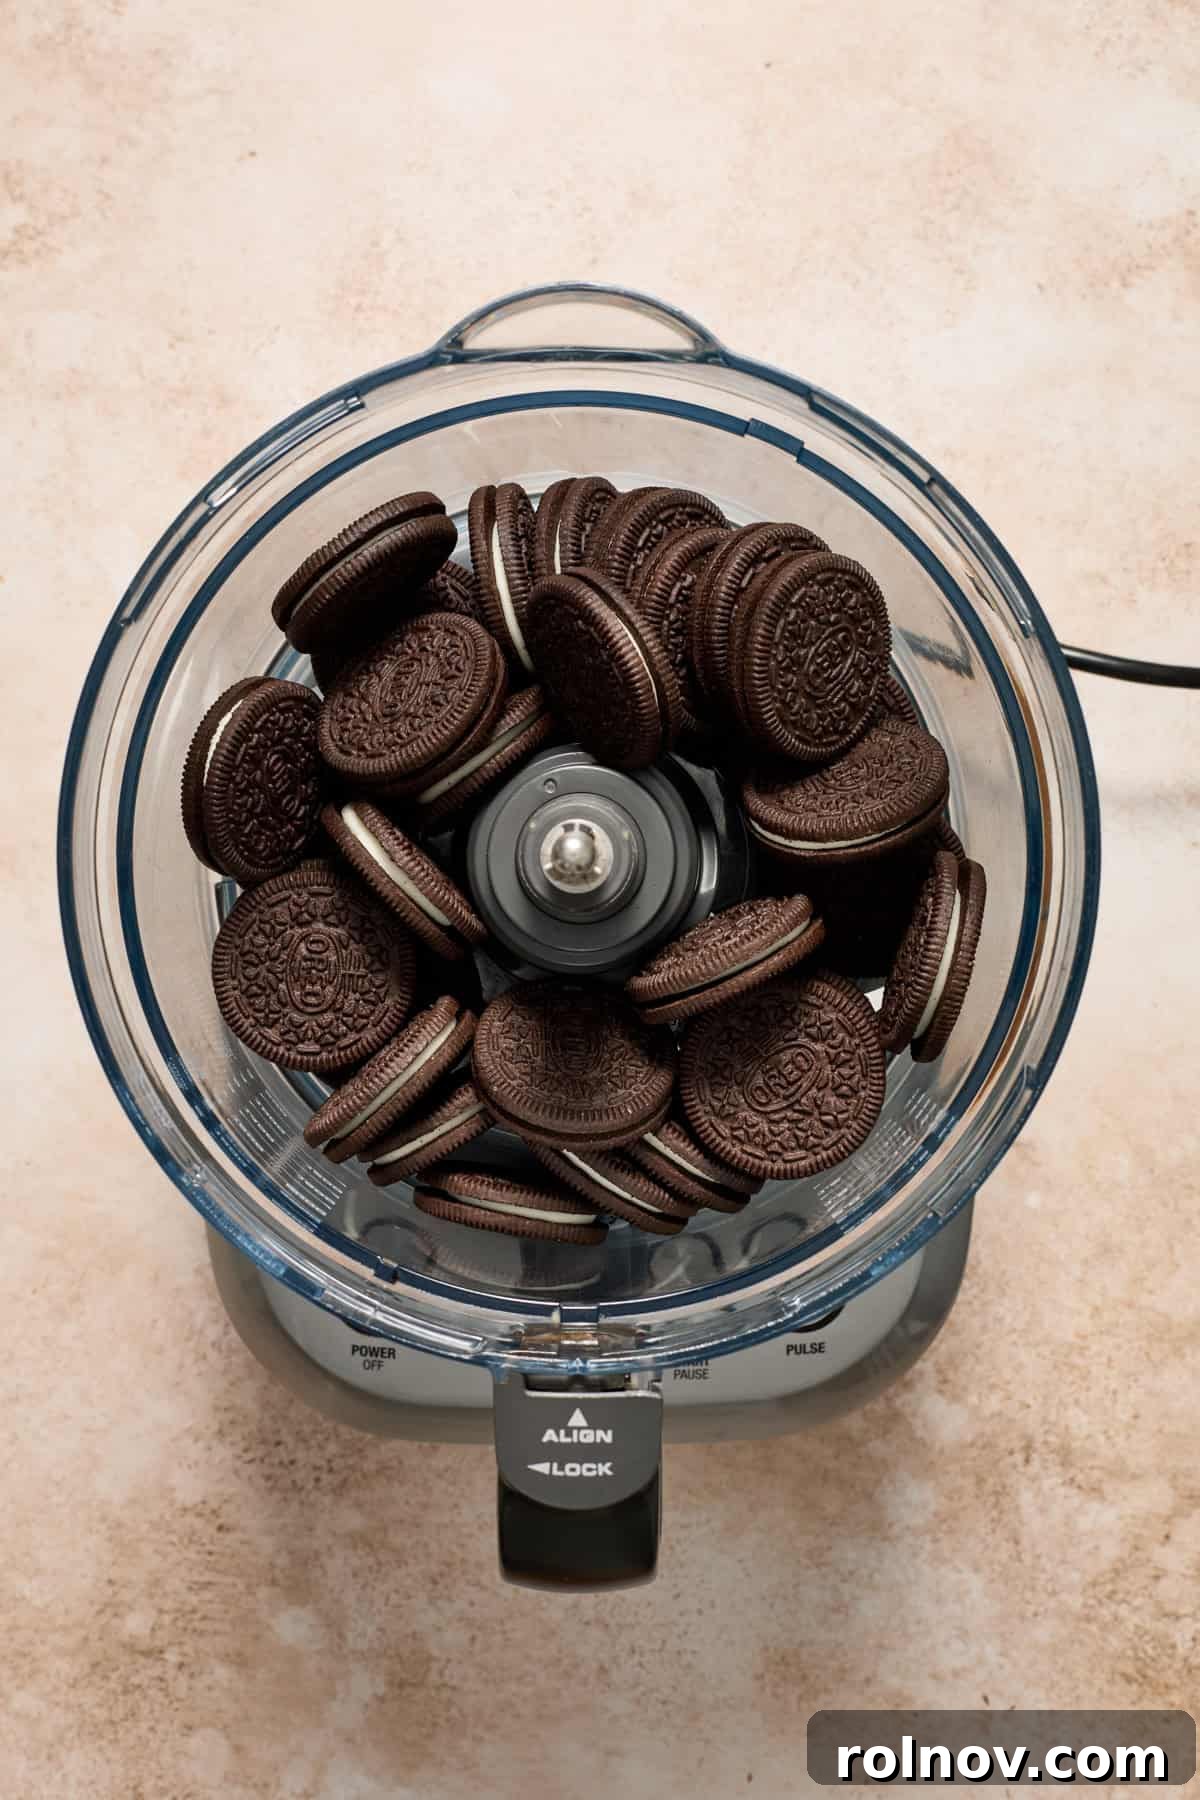
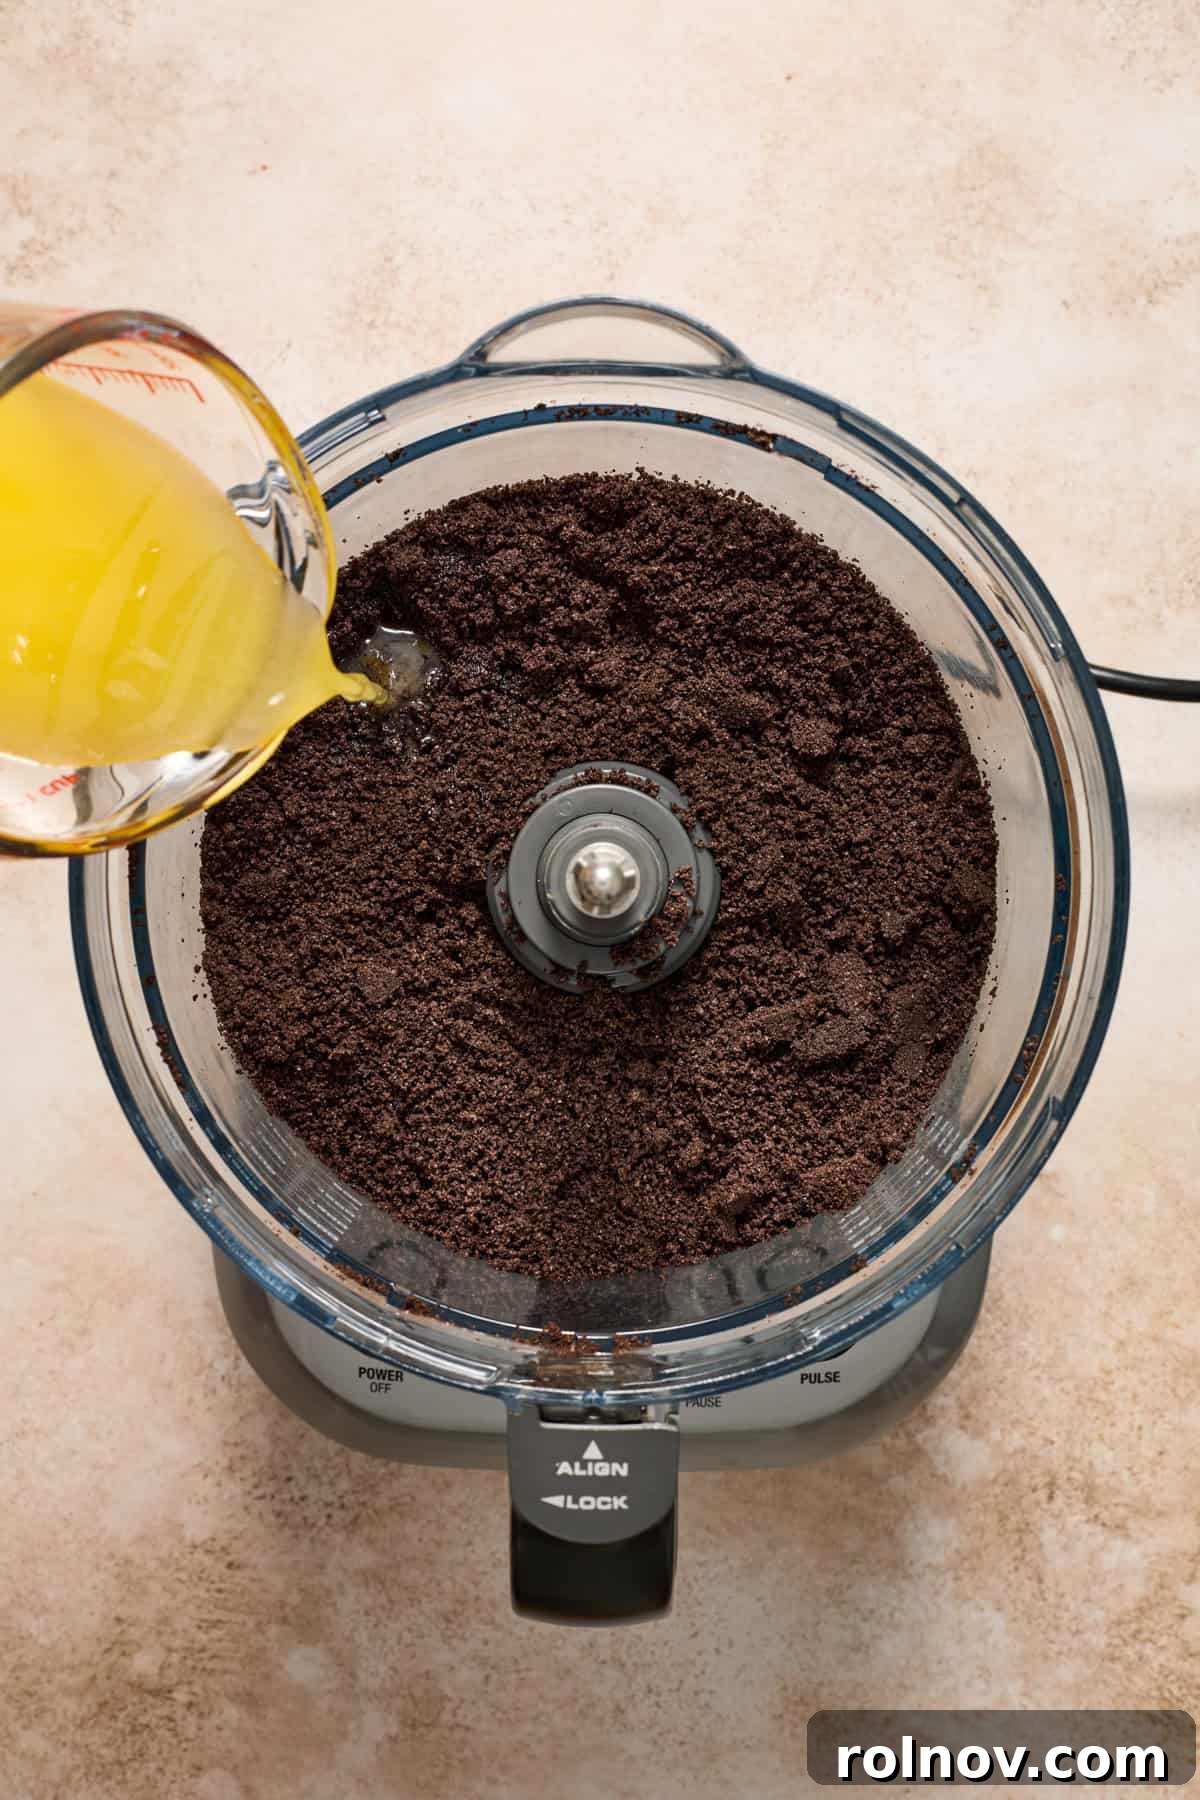
- Prepare the crumbs: Begin by melting your butter and setting it aside to cool slightly. While the butter cools, place the entire package of Oreos into a food processor. Process them until they form very fine, grain-like crumbs. It’s crucial to ensure all cookies are thoroughly broken down, with no large chunks remaining. This finer texture will contribute to a smoother crust that is easier to slice later on.
- Crust Quantity: This recipe yields a generous amount of crust, perfectly suited for a thick, satisfying base in a standard 9 to 9 1/2-inch pie pan. If you’re using a smaller 8-inch pan, you might find you have a bit extra; conversely, it will still provide a lovely crust for a 10-inch pan.
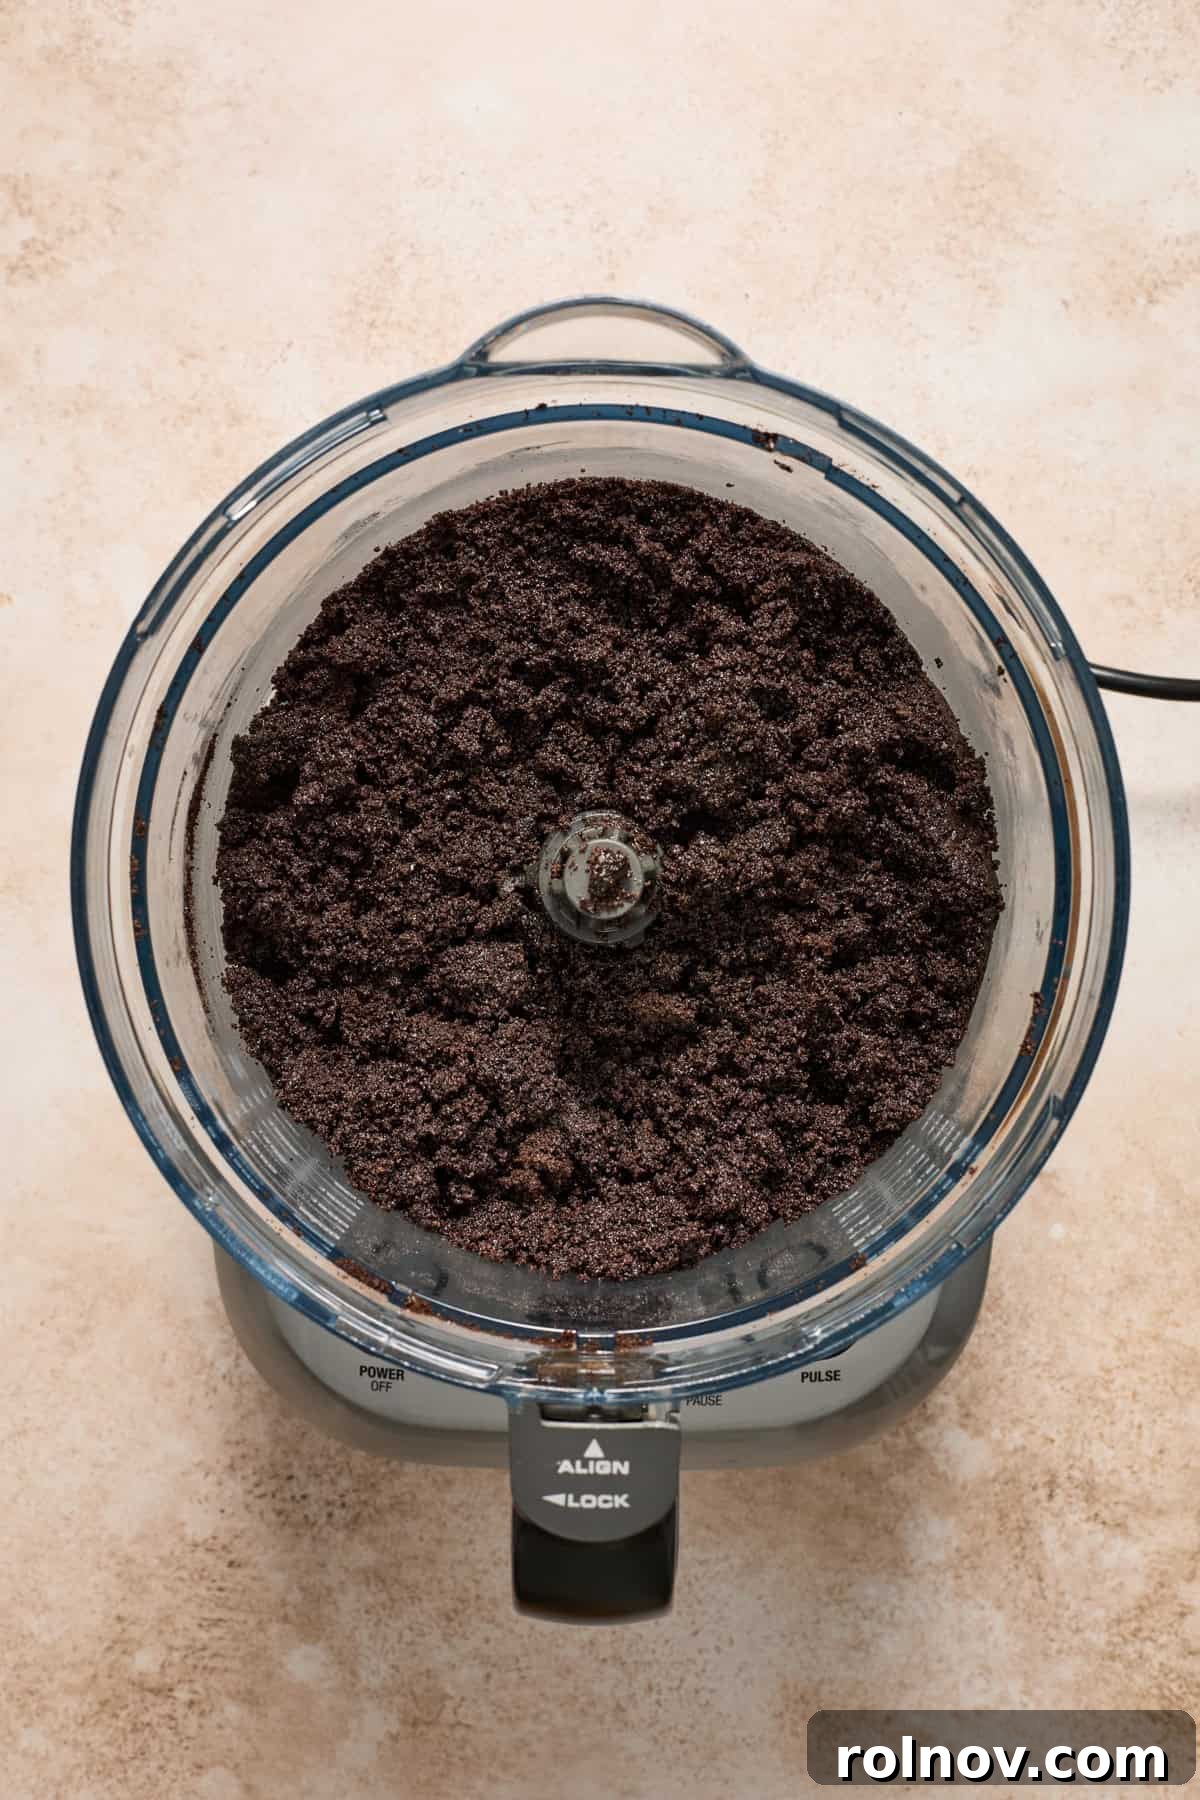
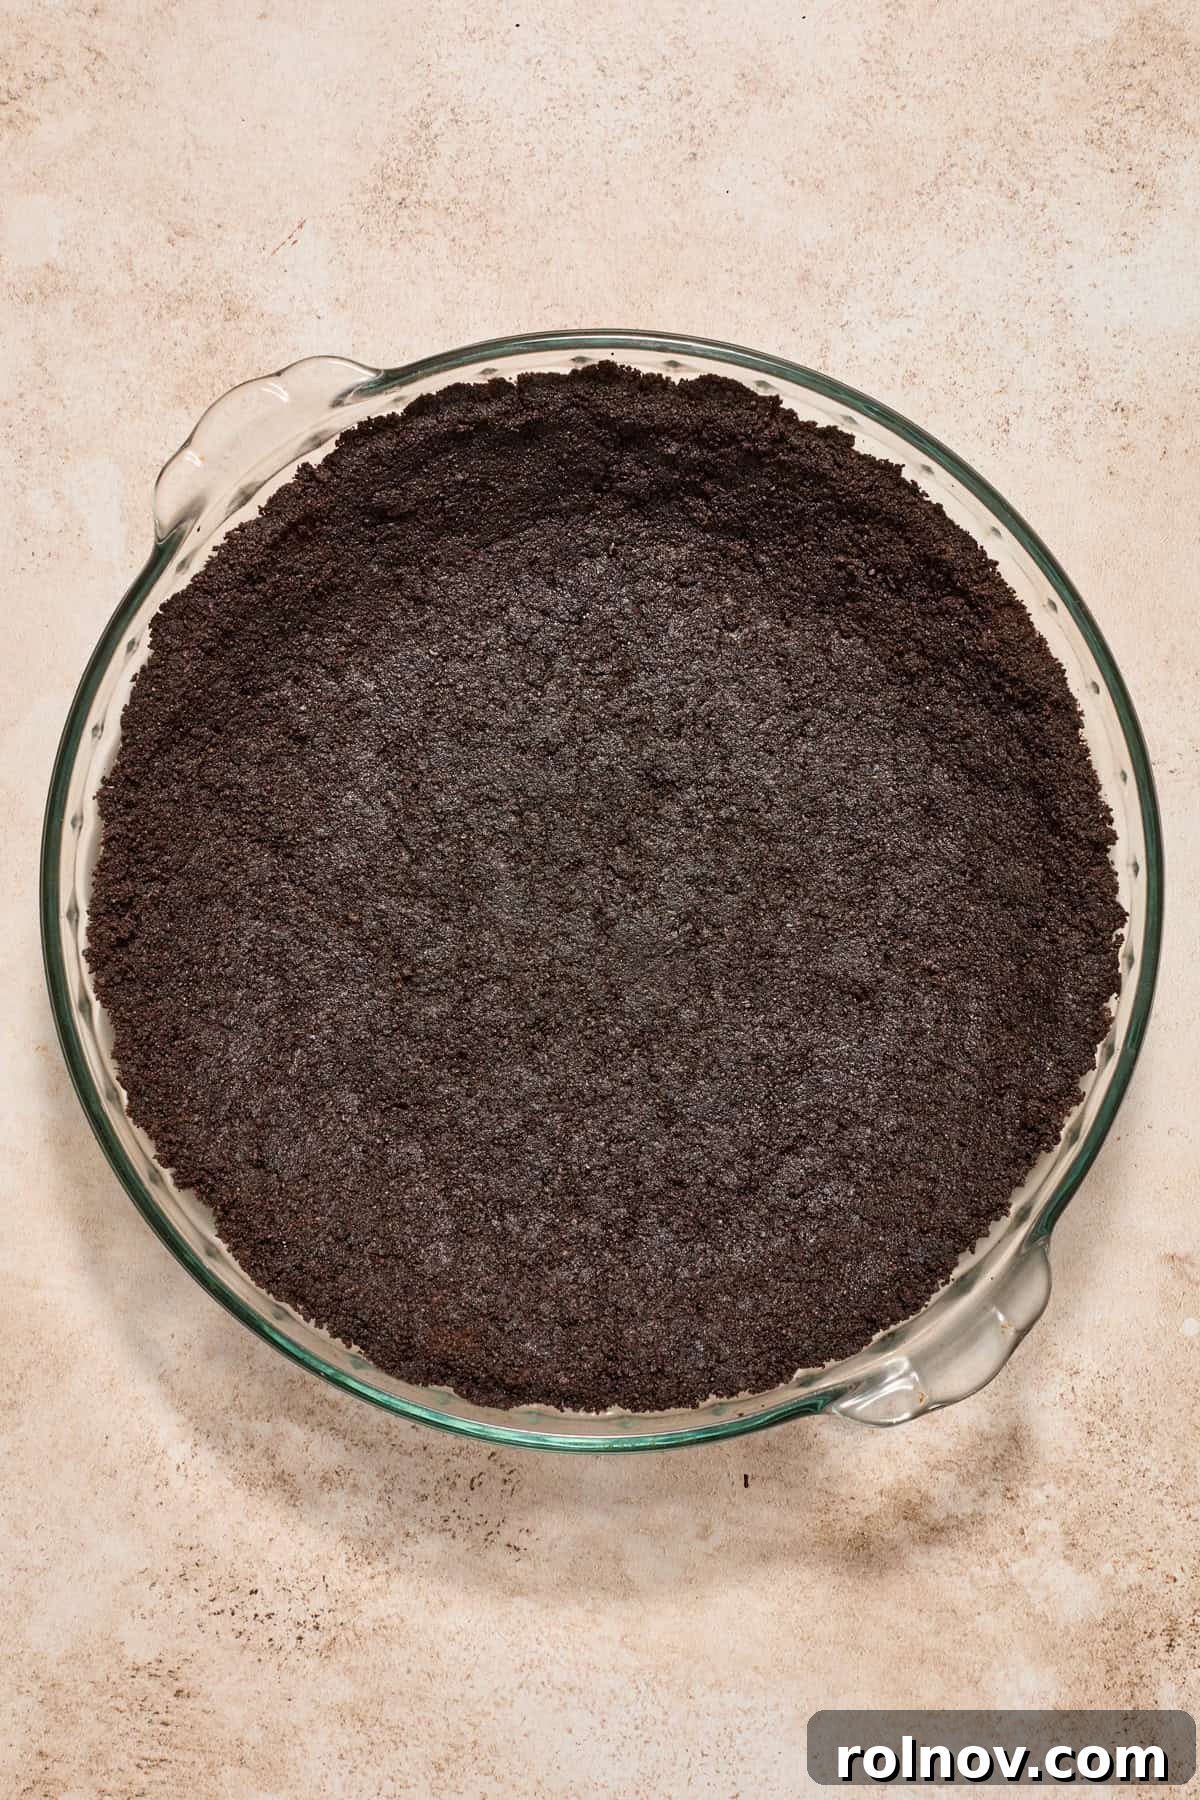
- Combine and Press: In a mixing bowl, combine the finely crushed Oreo crumbs with the slightly cooled melted butter. Stir thoroughly until the mixture resembles wet sand. Transfer this mixture into your pie pan. Using the bottom of a flat-bottomed glass or a measuring cup, firmly and evenly press the mixture into the bottom and up the sides of the pie pan. This creates a compact and sturdy crust.
- Chill the Crust: Place the prepared crust into the freezer for approximately 30 minutes. This crucial step helps the butter solidify and binds the crumbs together, ensuring a firm, stable base for your chocolate filling.
Crafting the Luxurious Chocolate Layer
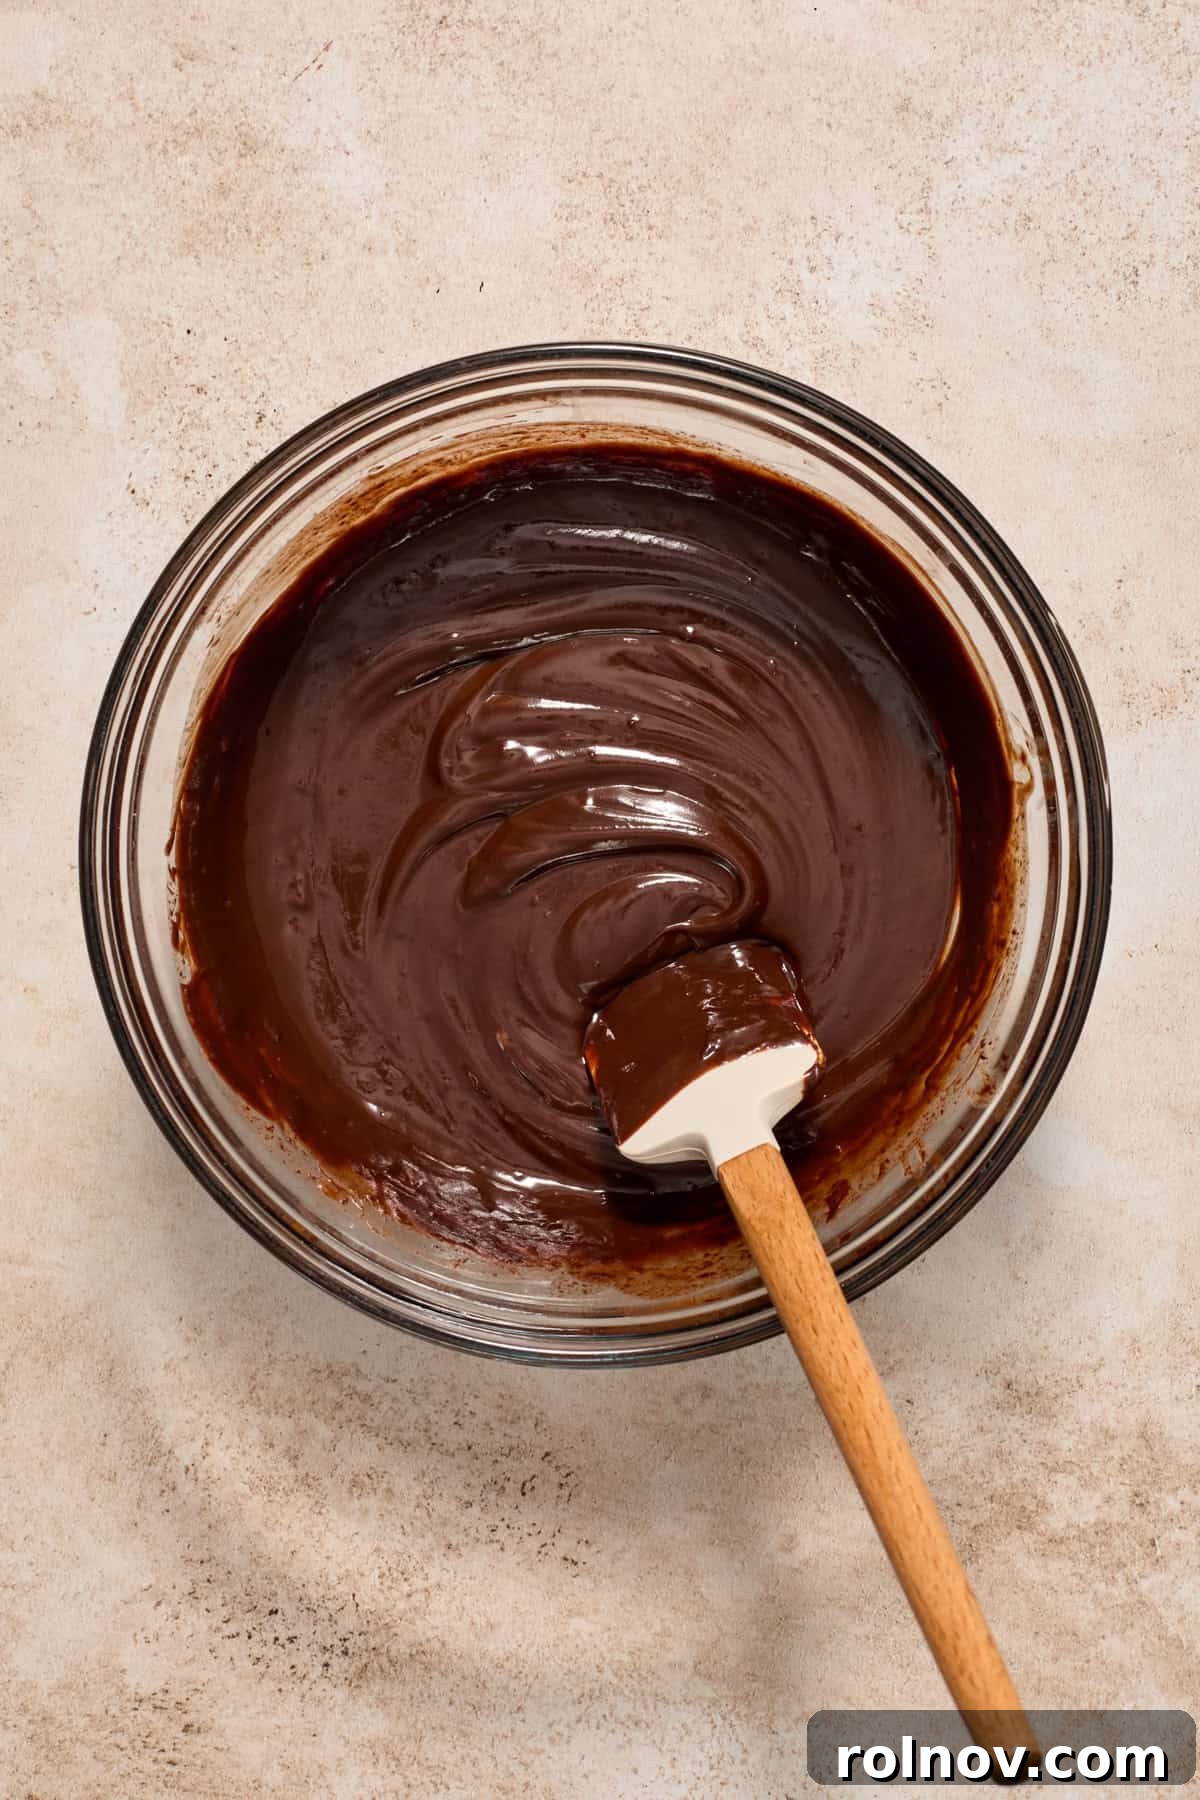
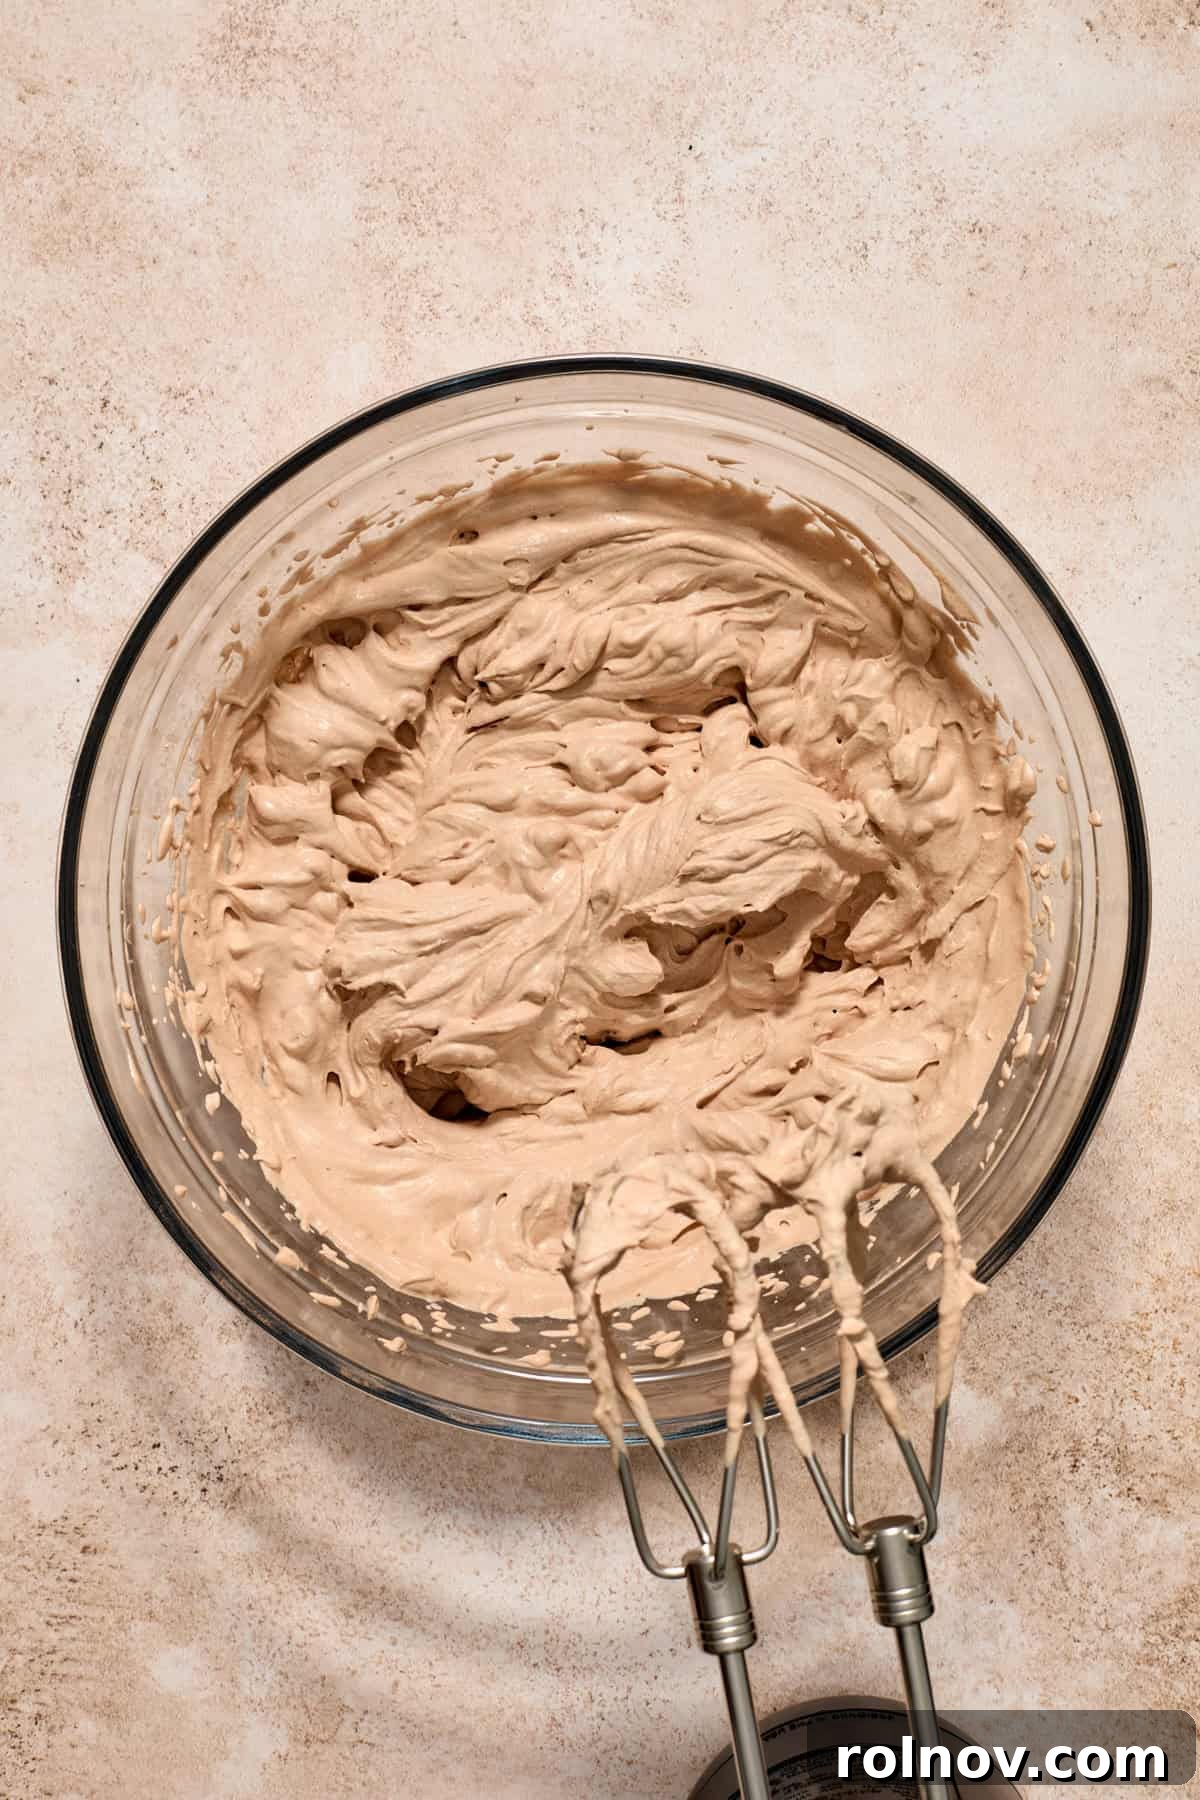
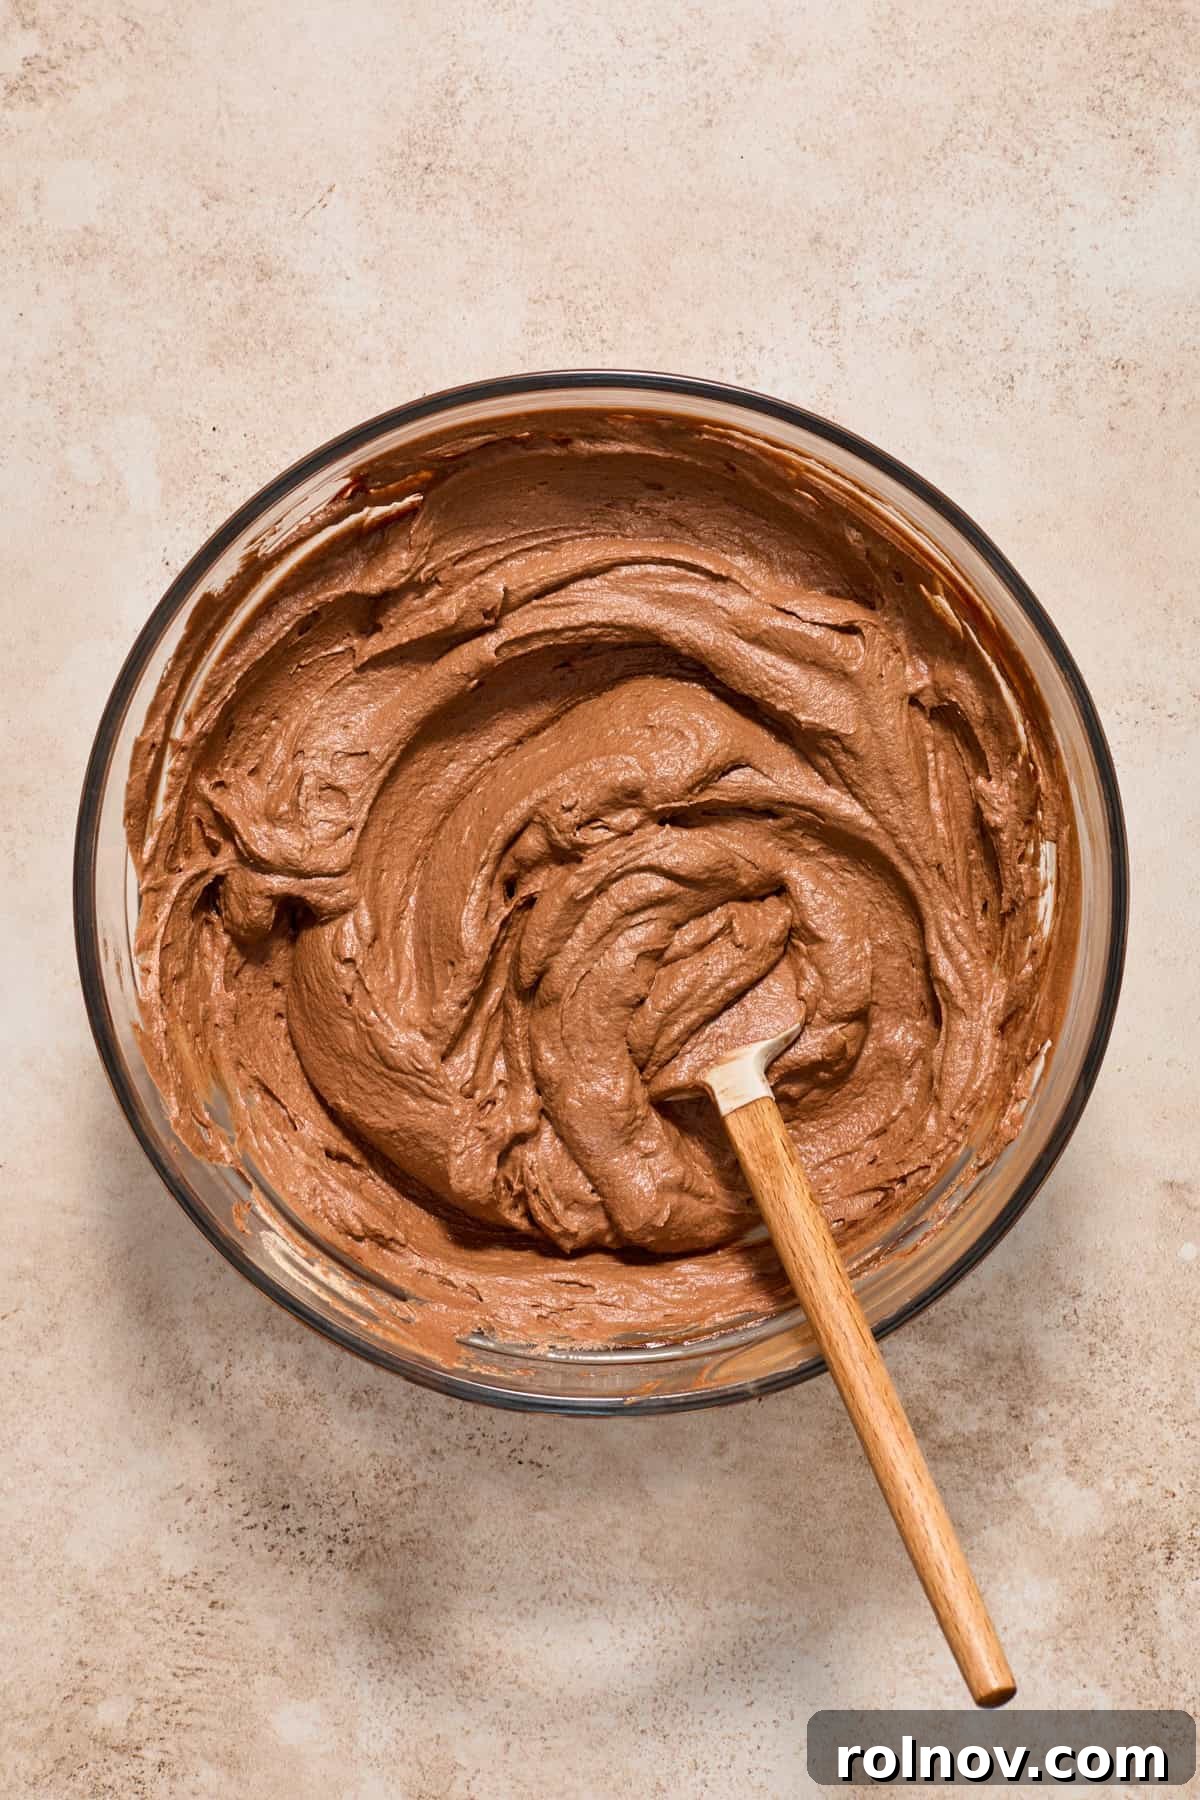
- Prepare the Ganache: While your Oreo crust is chilling, it’s the perfect time to prepare the chocolate ganache. For simplicity, this ganache recipe is straightforward. Combine the finely chopped bittersweet chocolate and 3/4 cup of heavy cream in a microwave-safe bowl. Heat in short bursts of approximately 25 seconds, stirring thoroughly after each interval. Continue this process until almost all the chocolate is melted, then stir vigorously to completely melt any remaining chocolate pieces, ensuring a smooth, glossy consistency. Set this decadent mixture aside and allow it to cool completely, which typically takes about 15-20 minutes. It’s vital that the ganache is not hot when you fold it into the whipped cream, as this could cause the cream to deflate. For maximum cooling time, you can even prepare the ganache before you start on the crust.
- Whip the Chocolate Cream: In a large, chilled mixing bowl (you can place your bowl in the freezer for 10-15 minutes prior for best results), combine 1 1/3 cups of very cold heavy cream, 2 tablespoons of granulated sugar, 1 teaspoon of vanilla extract, and 2 tablespoons of unsweetened cocoa powder. Using an electric hand mixer or a stand mixer fitted with a whisk attachment, beat the ingredients on medium-high speed. Continue beating until stiff peaks begin to form. This means when you lift the beaters, the whipped cream stands up rigidly. Be careful not to over-beat, as this can lead to a clumpy, butter-like texture. Conversely, if your peaks don’t hold their shape, the mixture hasn’t been beaten enough and your pie may not set properly.
- Gently Fold for Perfection: Once both the ganache has cooled and your chocolate whipped cream has reached stiff peaks, it’s time to combine them. Very gently, fold the cooled chocolate ganache into the chocolate whipped cream. Use a spatula and a light hand, folding just until the ganache is fully incorporated and no streaks are visible. Overmixing at this stage can deflate the airy whipped cream.
Assembling Your Masterpiece
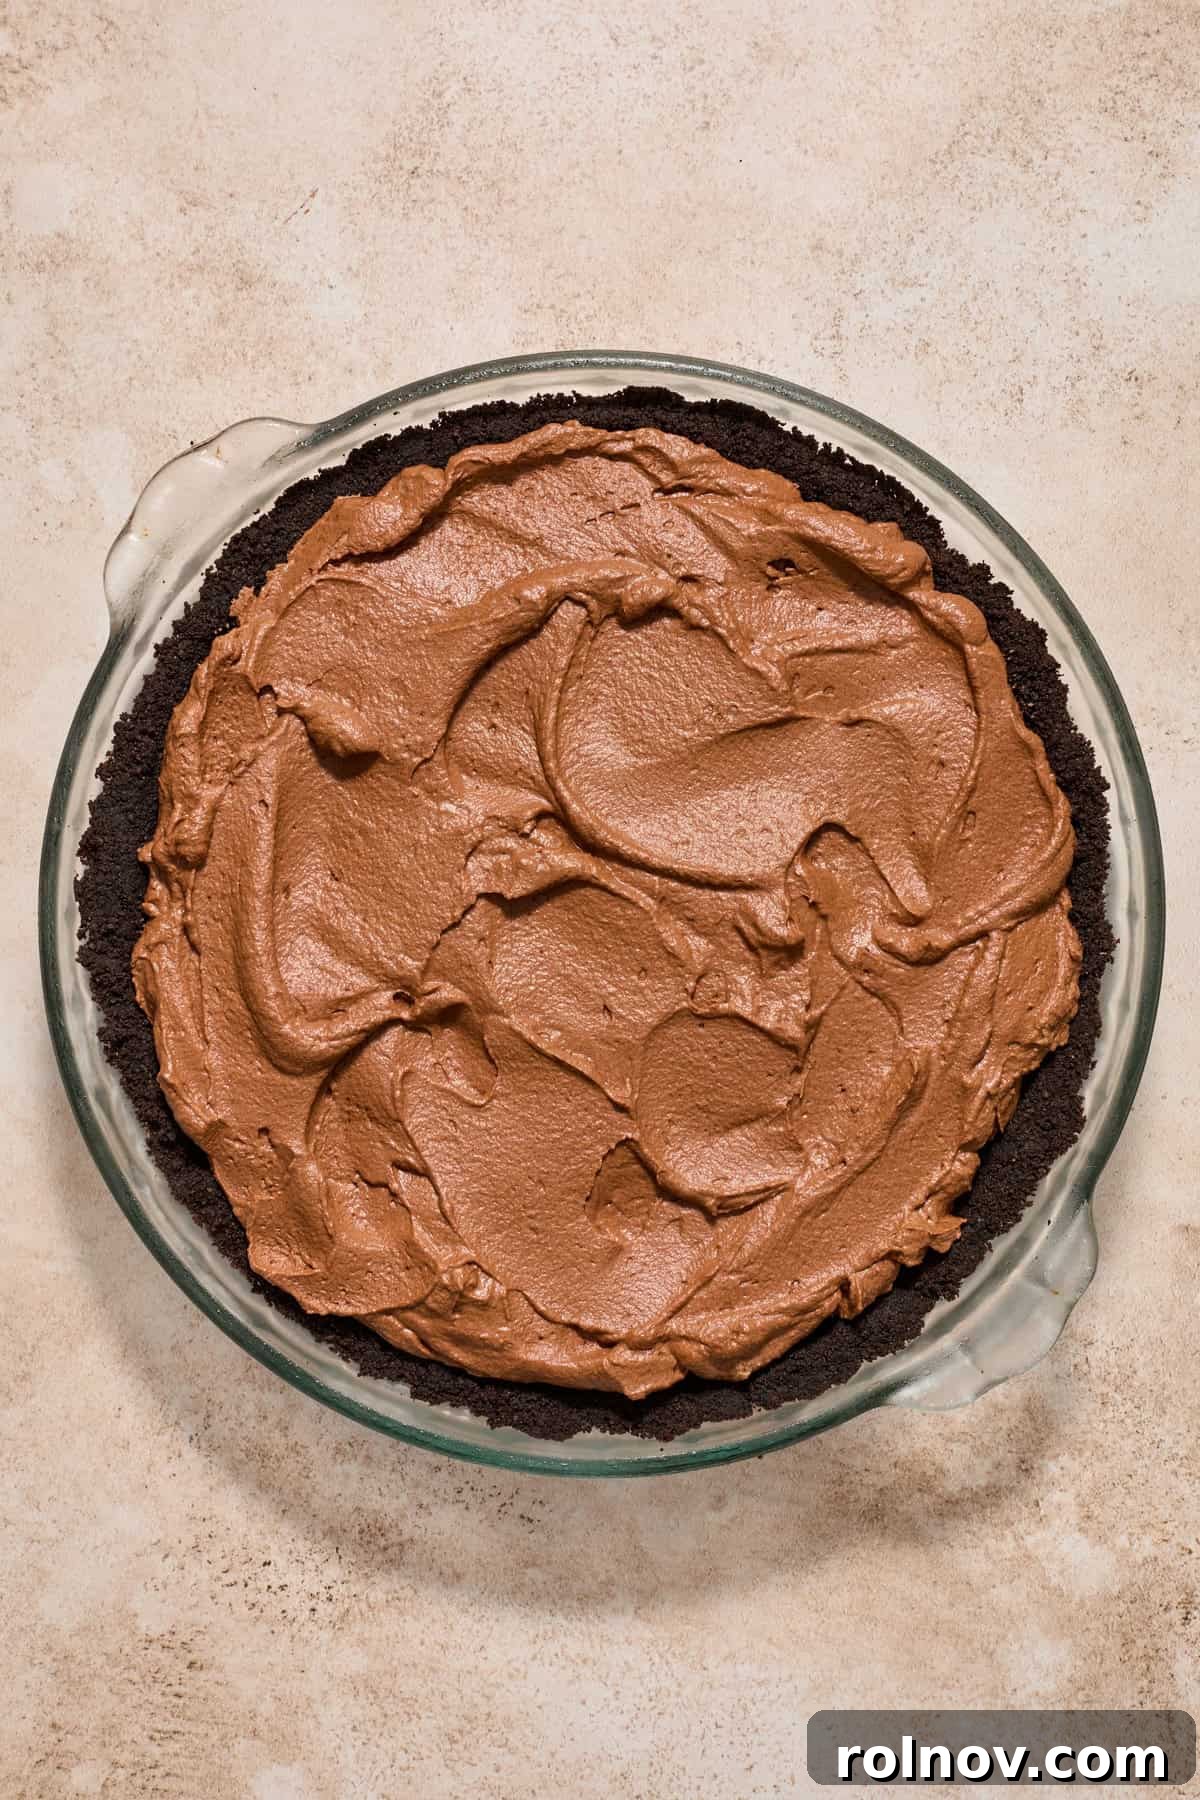
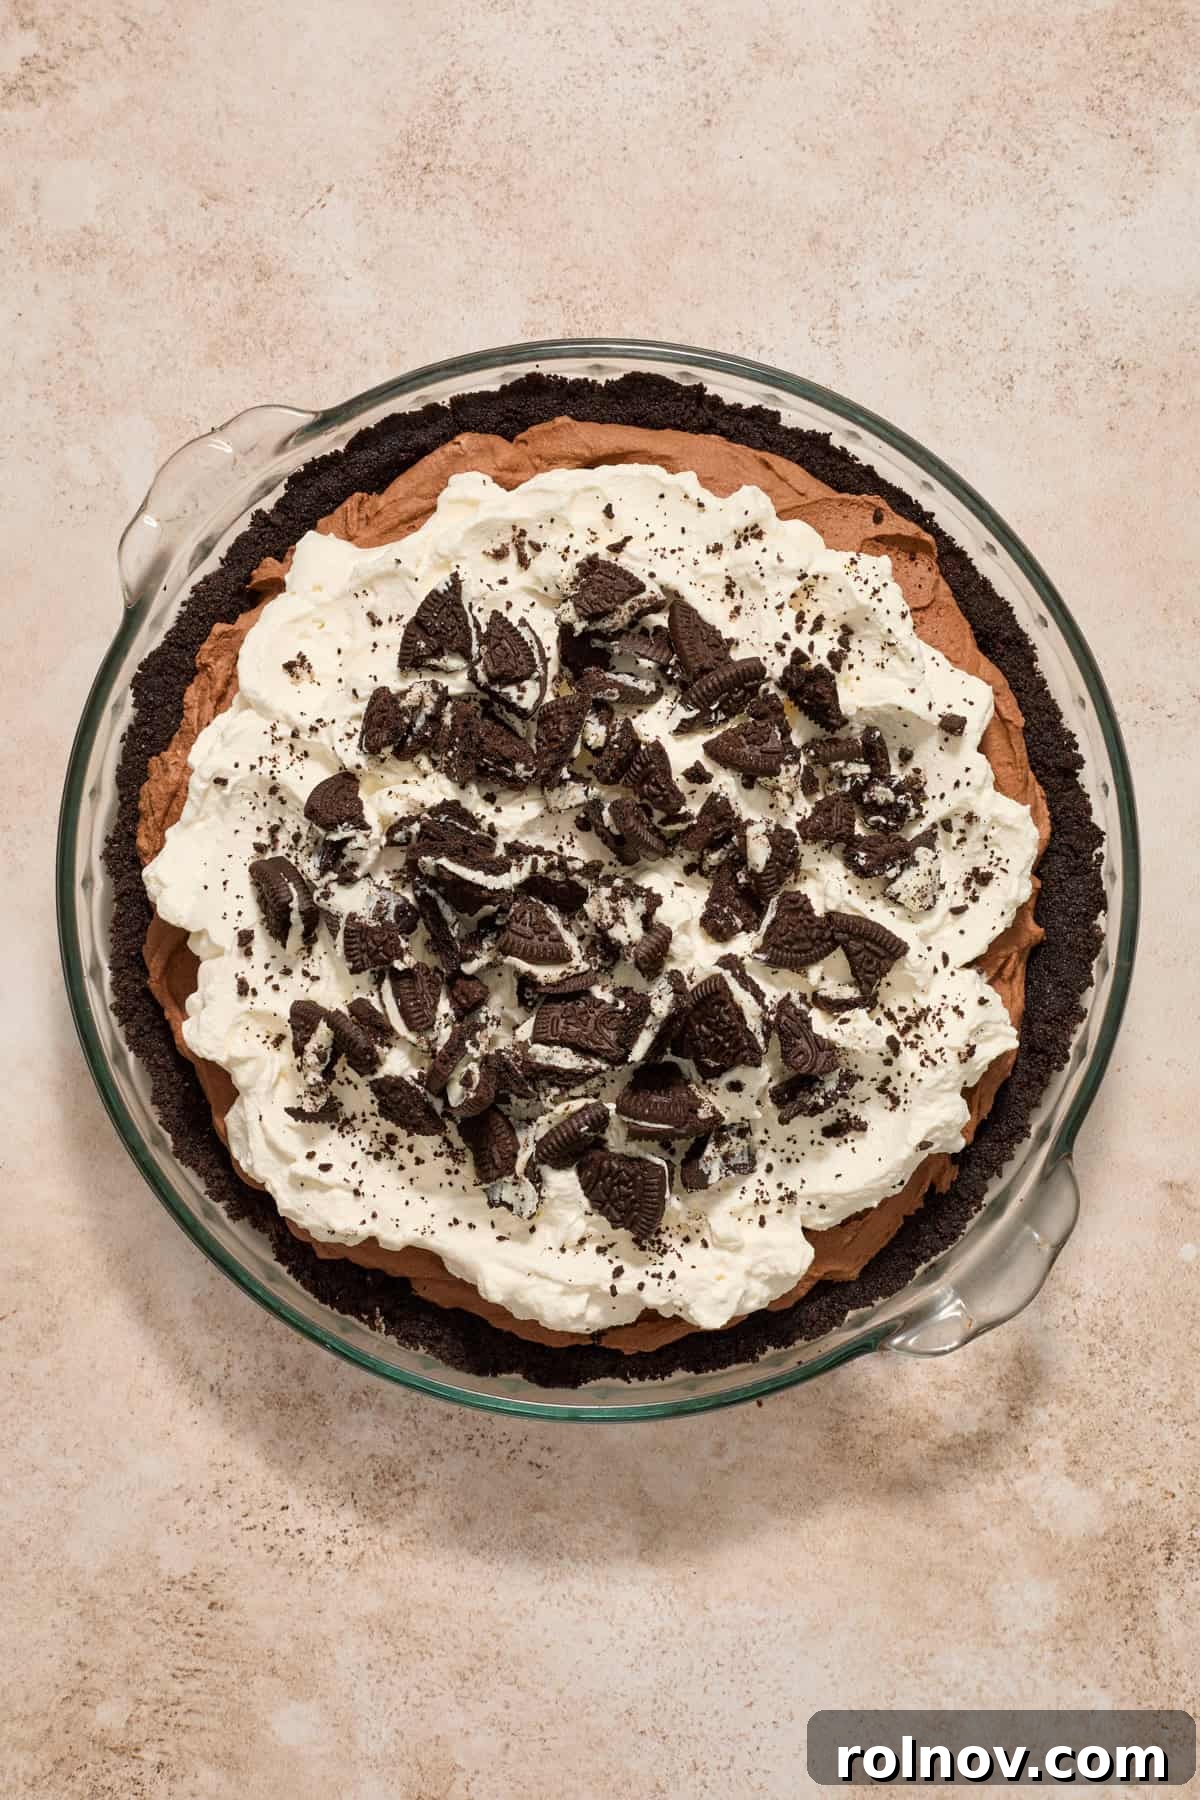
- Fill the Crust: With your chocolate cream layer perfectly mixed (don’t forget to taste a spoonful or two – for quality control, of course!), carefully pour it into the chilled Oreo crust. Use an offset spatula or the back of a spoon to gently spread the filling evenly across the entire surface.
- Crucial Chilling Time: Place the pie in the refrigerator for at least 3-4 hours. This extended chilling period is absolutely essential to allow the chocolate layer to firm up completely, ensuring clean, beautiful slices when served. For best results, overnight chilling is highly recommended.
- Prepare the Whipped Topping: While you technically *could* add the whipped cream topping immediately after filling the pie, it’s much better to wait until the chocolate layer has fully set. This prevents the layers from mingling and ensures a crisp, defined separation. Once your chocolate pie has thoroughly chilled and set, it’s time to prepare the final flourish.
- Whip the Topping: In a clean, chilled bowl, combine 1 1/4 cups of very cold heavy whipping cream, 1.5 tablespoons of granulated sugar, and 1/2 teaspoon of vanilla extract. Beat with an electric mixer until the mixture thickens and forms stiff peaks.
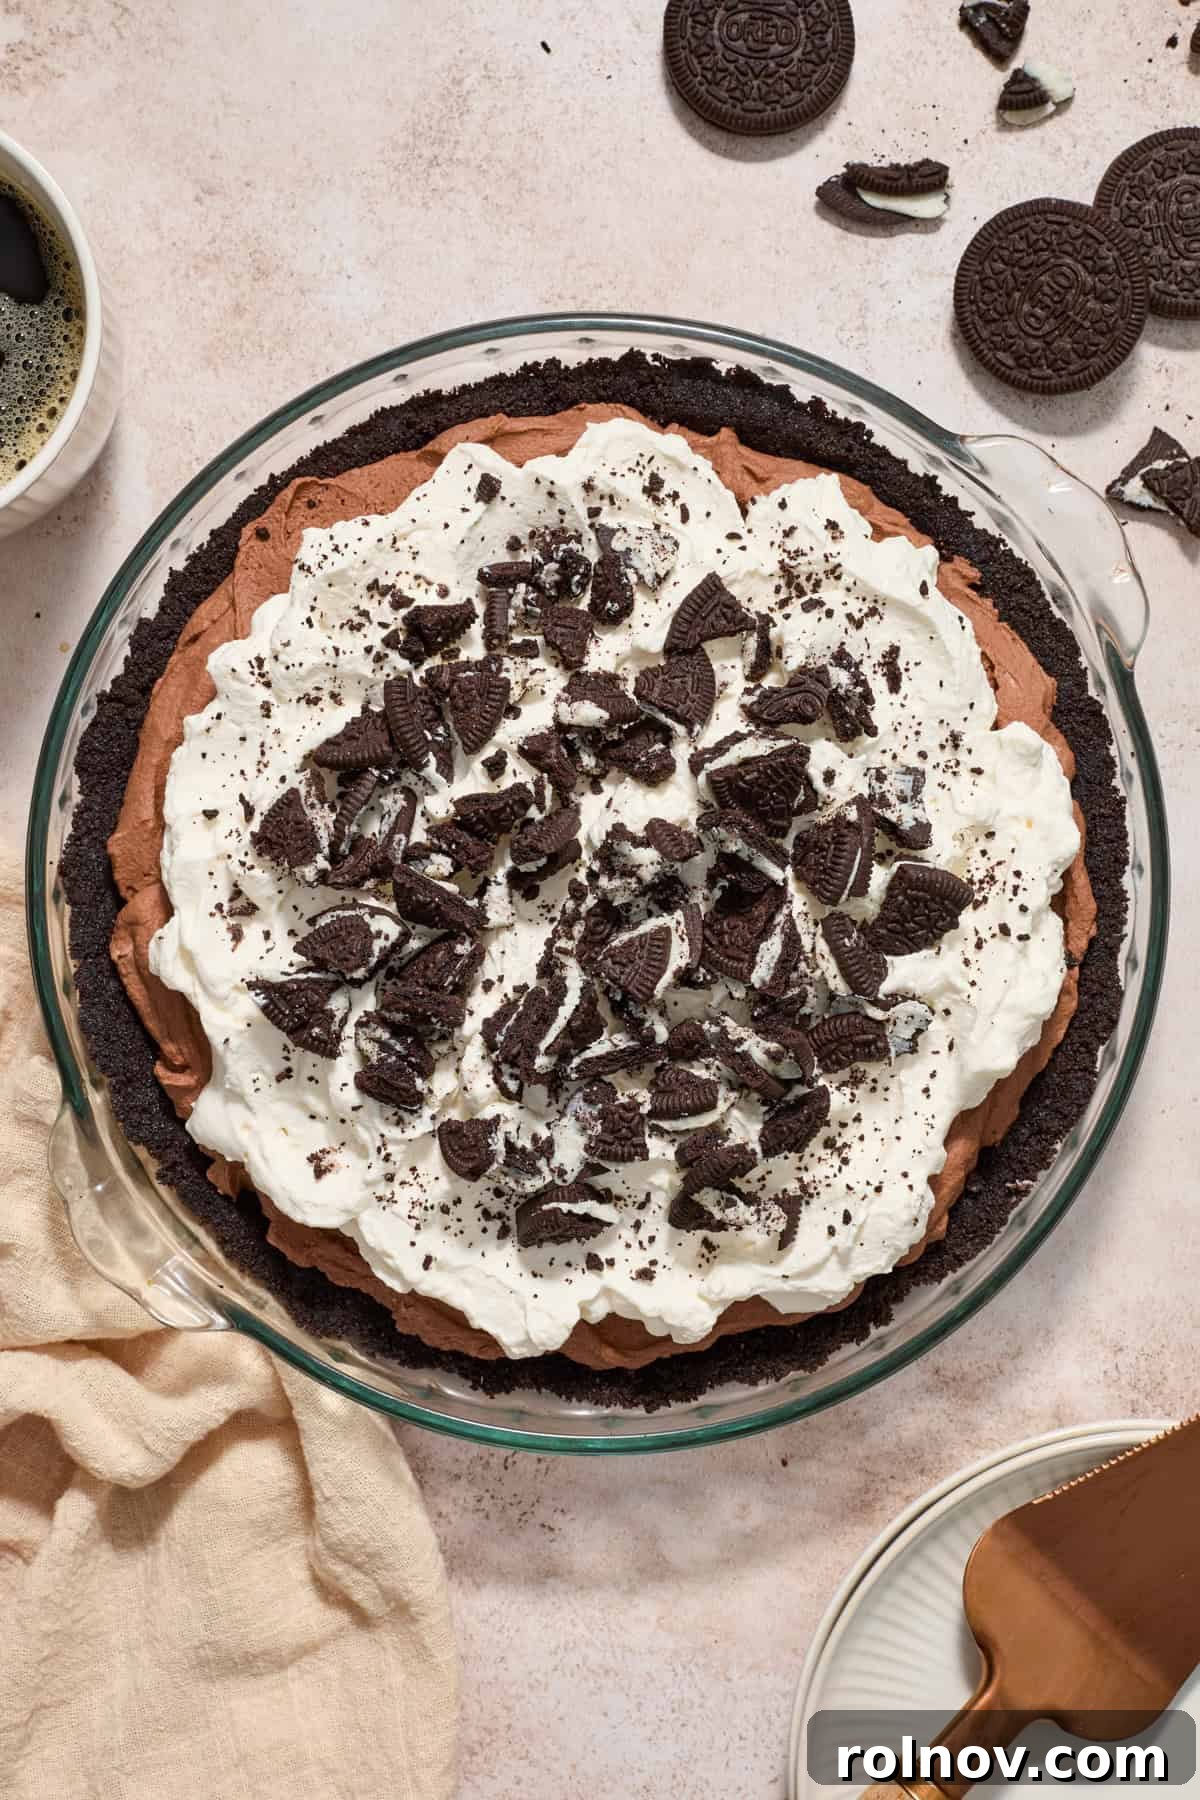
- Finish and Garnish: Spoon the freshly whipped cream onto the center of the set chocolate layer and gently spread it out evenly to cover the entire top of the pie. For a delightful final touch, garnish your pie with chocolate sprinkles, elegant chocolate shavings, or, my personal favorite, a generous sprinkle of crushed Oreos for added crunch and visual appeal.
Expert Tips for a Flawless No-Bake Chocolate Pie
Achieve perfection with your no-bake chocolate pie every time by incorporating these expert tips and tricks:
- For Easier, Cleaner Slicing: This rich no-bake chocolate cream pie slices best when cold. To get pristine, neat slices, run your knife under hot water for about 30 seconds before each cut. Wipe the blade clean with a warm, wet paper towel between each slice to remove any residue. Reheat the knife as needed. Slicing directly from the refrigerator will also greatly assist in achieving clean edges.
- Making Pie Removal a Breeze: While greasing the pie dish might seem helpful, it typically doesn’t make serving any easier with this type of crust. If you desire the most beautiful, unbroken slices or wish to easily transfer the entire pie, consider these options: line your pie pan with parchment paper or a double layer of plastic wrap, leaving an overhang on the sides. This allows you to effortlessly lift the entire pie out of the pan once chilled. Alternatively, a 9 or 10-inch springform pan is an excellent choice, as its sides can be easily removed, leaving your pie perfectly intact on its base. Otherwise, a few broken crust pieces are a small price to pay for such deliciousness!
- Short on Time? Opt for Cool Whip: If your schedule is tight and you need a quick shortcut for the topping, store-bought Cool Whip can be a convenient alternative to making fresh whipped cream. While it might not achieve quite the same firm texture as homemade whipped cream, it will still provide a delightful, creamy finish to your pie.
- Choosing a Store-Bought Oreo Crust: While homemade is always recommended, a pre-made Oreo crust can save time. Be aware that most store-bought crusts are smaller than the 9-inch pan specified in this recipe. The generous filling amount in this recipe may overflow a single store-bought crust. To be safe, consider having two on hand or adjusting the filling quantity slightly. Alternatively, you can easily substitute the Oreo crust with a homemade graham cracker crust, similar to the one used in this delicious no-bake caramel apple cheesecake recipe.
- Serving Size Matters: Given the rich and decadent nature of this chocolate pie, smaller slices are often preferred. The recipe is listed to yield 10 slices, which are moderately sized. You can certainly cut the pie into 8 larger pieces, or even smaller portions, depending on your preference and the richness you desire for each serving. Starting with smaller slices is always a good idea, as guests can always opt for a second serving!
Storing Your Decadent Dessert
This no-bake chocolate cream pie is not only a fantastic make-ahead dessert but also freezes beautifully, ensuring you can enjoy its rich flavors long after preparation.
- To Refrigerate: To keep your pie fresh, loosely cover it with plastic wrap. If your whipped cream topping is tall, you can insert a few toothpicks into the pie before covering to prevent the plastic wrap from smashing the delicate topping. Store the pie in an airtight container or simply covered in the refrigerator for up to 4-5 days.
- To Freeze: This pie can be frozen successfully both before or after the whipped cream topping has been added.
- Freezing without topping: Once the chocolate filling has fully set, cover the pie tightly with plastic wrap, then an additional layer of aluminum foil.
- Freezing with topping: While you can wrap it the same way, there’s a higher risk of smashing the whipped cream. For better preservation of the topping, I recommend placing the entire pie (or individual slices) into a large, freezer-safe plastic container that can accommodate its height without compressing the whipped cream.
Properly stored, the pie can be safely frozen for approximately 2 months. Thaw overnight in the refrigerator before serving.
Explore More Irresistible No-Bake Recipes
If you’ve fallen in love with the ease and deliciousness of this no-bake chocolate pie, you’re in for a treat! Discover more effortless desserts that require no oven time, perfect for any season or occasion:
- No Bake Peppermint Oreo Cheesecake
- No Bake Cookie Butter Cookies
- No Bake Samoa Bars
- No Bake Caramel Apple Cheesecake
- No Bake Cheesecake Bites
- Funfetti Rice Krispie Treats
HUNGRY FOR MORE? Subscribe to our newsletter and follow us on Facebook, Instagram and Pinterest for all the latest delicious recipes!
No Bake Chocolate Pie
By: Lorie Yarro
This easy No Bake Chocolate Pie is going to be your new favorite dessert! Chocolate ganache folded into chocolate whipped cream in an Oreo cookie crust and topped with freshly whipped cream. No baking required and so rich, thick and creamy!

- Prep Time: 25 minutes
- Chill Time: 4 hours
- Total Time: 4 hours 25 minutes
- Servings: 10 slices
Ingredients
Crust:
- 32 Oreos
- 6 T butter, melted
Filling:
- 8 oz bittersweet chocolate, chopped
- 3/4 c heavy whipping cream, for the ganache
- 1 tsp vanilla extract
- 1 1/3 c heavy whipping cream, for the chocolate whipped cream
- 2 T cocoa powder, unsweetened
- 2 T granulated sugar
Whipped Cream Topping:
- 1 1/4 c heavy whipping cream, very cold
- 1.5 T granulated sugar
- 1/2 tsp vanilla extract
Instructions
- Prepare the Ganache: For best results, prepare the ganache before the crust to allow ample cooling time. Combine the chopped bittersweet chocolate and 3/4 cup heavy whipping cream in a microwave-safe bowl. Microwave in 25-second increments, stirring well after each interval, until the chocolate is almost entirely melted. Continue stirring until all remaining chocolate pieces are smooth and fully incorporated. Set aside to cool completely to room temperature.
- Prepare the Oreo Crust: Place the Oreos in a food processor and process until very fine, grain-like crumbs are formed, ensuring no large chunks remain. In a mixing bowl, combine the crushed Oreos with the melted butter and stir until well combined, resembling wet sand. Press this mixture firmly and evenly into a 9-inch pie pan, using the bottom of a glass to compact it. Place the crust in the freezer for about 30 minutes to firm up.
- Prepare the Chocolate Layer: In a large mixing bowl (preferably chilled), combine 1 1/3 cups of very cold heavy whipping cream, 2 tablespoons of unsweetened cocoa powder, 2 tablespoons of granulated sugar, and 1 teaspoon of vanilla extract. Beat with an electric mixer on medium-high speed for several minutes, or until stiff peaks begin to form. Be careful not to over-beat.
- Gently fold the cooled ganache into the chocolate whipped cream using a spatula. Fold just until the ganache is fully combined and no streaks are noticeable. Pour this luscious chocolate mixture into the chilled Oreo crust and spread it evenly. Refrigerate the pie for a minimum of 4 hours, or ideally overnight, to allow the chocolate layer to set completely and firm up.
- Prepare Whipped Cream Topping: Once the chocolate layer has set (or just before serving, if preferred), prepare the whipped cream topping. In a clean, chilled bowl, beat 1 1/4 cups of very cold heavy whipping cream, 1.5 tablespoons of granulated sugar, and 1/2 teaspoon of vanilla extract until thickened and stiff peaks form. Spoon the whipped cream onto the center of the set chocolate layer and gently spread it out evenly to cover the entire top of the pie.
- Garnish your pie with chocolate curls, chocolate sprinkles, or crushed Oreos for an added touch of elegance and crunch. Chill the pie until you are ready to serve.
Notes
- For easier slicing, use a warm knife. Run your knife under hot water for about 30 seconds before slicing. Wipe clean between each slice with a warm, wet paper towel. You can reheat the knife several times. Slicing directly from the refrigerator will also make for easier slicing.
- You can line your pie pan with parchment or plastic. For the most beautiful cut slices, you can line your pie pan with parchment paper or a double layer of plastic wrap, allowing you to easily lift the pie out when ready. A 9 or 10-inch springform pan also works well, as the sides can be removed.
- Running low on time? Opt for cool whip on top. If you’re short on time, spread store-bought Cool Whip on top of the pie instead of fresh whipped cream. It’s a convenient alternative.
- If opting for a store-bought Oreo Crust, grab two. Store-bought Oreo crusts are often smaller than the pan recommended for this recipe. The filling quantity may overflow a single pre-made crust. Having a second crust on hand is a good precaution. You could also make a graham cracker crust if preferred.
- Small slices are the way to go! Since this pie is quite rich, we recommend cutting it into 10 slices for a perfectly satisfying portion. You can, of course, adjust to 8 pieces or more, as desired.
Nutrition
Nutrition information is an approximation.
- Calories: 552 kcal
- Carbohydrates: 45g
- Protein: 5g
- Fat: 40g
- Saturated Fat: 23g
- Polyunsaturated Fat: 3g
- Monounsaturated Fat: 12g
- Trans Fat: 1g
- Cholesterol: 73mg
- Sodium: 218mg
- Potassium: 282mg
- Fiber: 3g
- Sugar: 30g
- Vitamin A: 924 IU
- Vitamin C: 1mg
- Calcium: 57mg
- Iron: 6mg
Did you enjoy this recipe? Have a question?
Leave a comment below!
Shop This Post: Essential Tools for Your Kitchen
To help you create this delectable No-Bake Chocolate Pie and other culinary delights, here are some recommended kitchen tools that will make your cooking experience easier and more enjoyable:
Hand Mixer
Buy Now →
Pie Dish – 9 Inch
Buy Now →
Mixing Bowls
Buy Now →
Food Processor
Buy Now →