

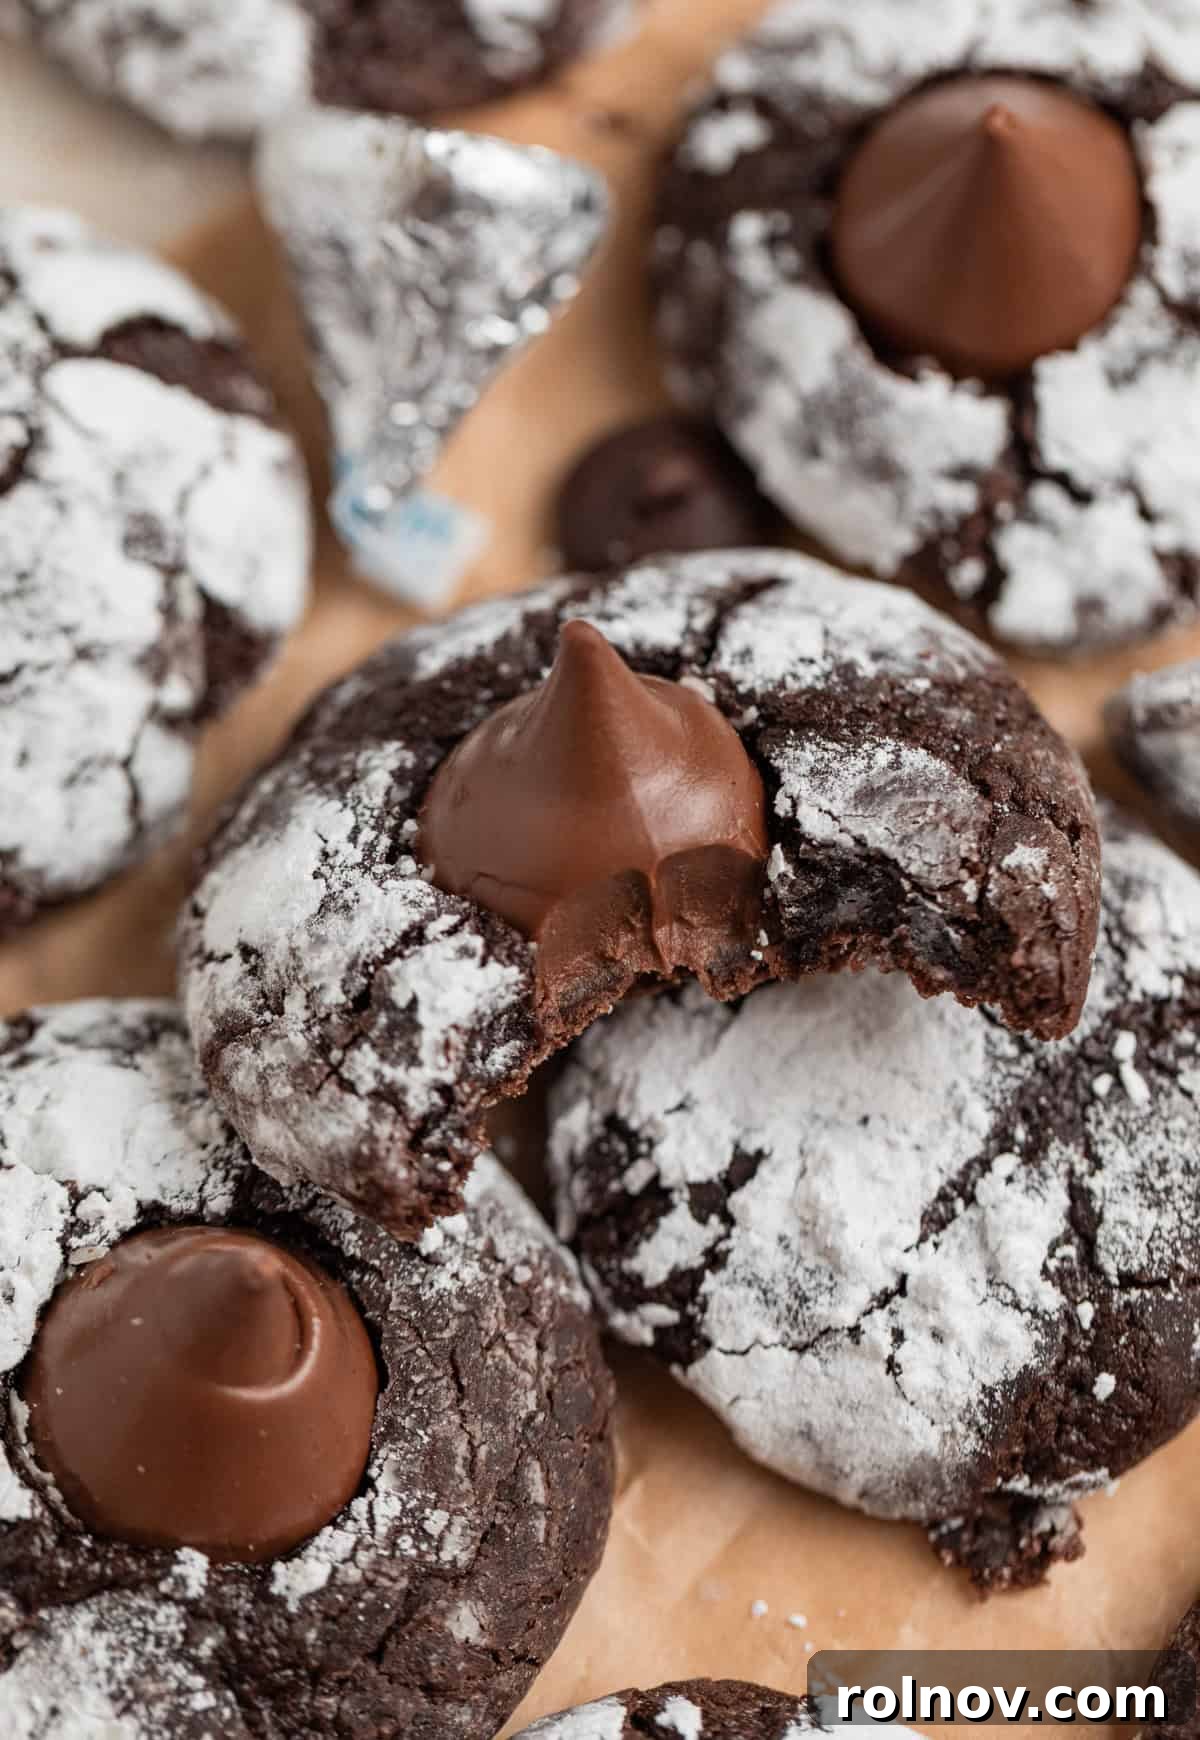
Discover the ultimate easy-to-bake delight: these sensational crinkle chocolate blossom cookies! Crafted from a simple box of brownie mix, they promise a quick 10-minute prep time, minimal cleanup with a one-bowl method, and the irresistible fudgy flavor of a rich brownie. Imagine a perfect brownie in chewy cookie form, generously coated in powdered sugar, and crowned with a decadent chocolate kiss pressed into its warm center. While they make an ideal festive treat for holiday gatherings, their sheer simplicity and deliciousness mean you’ll want to bake them all year long!
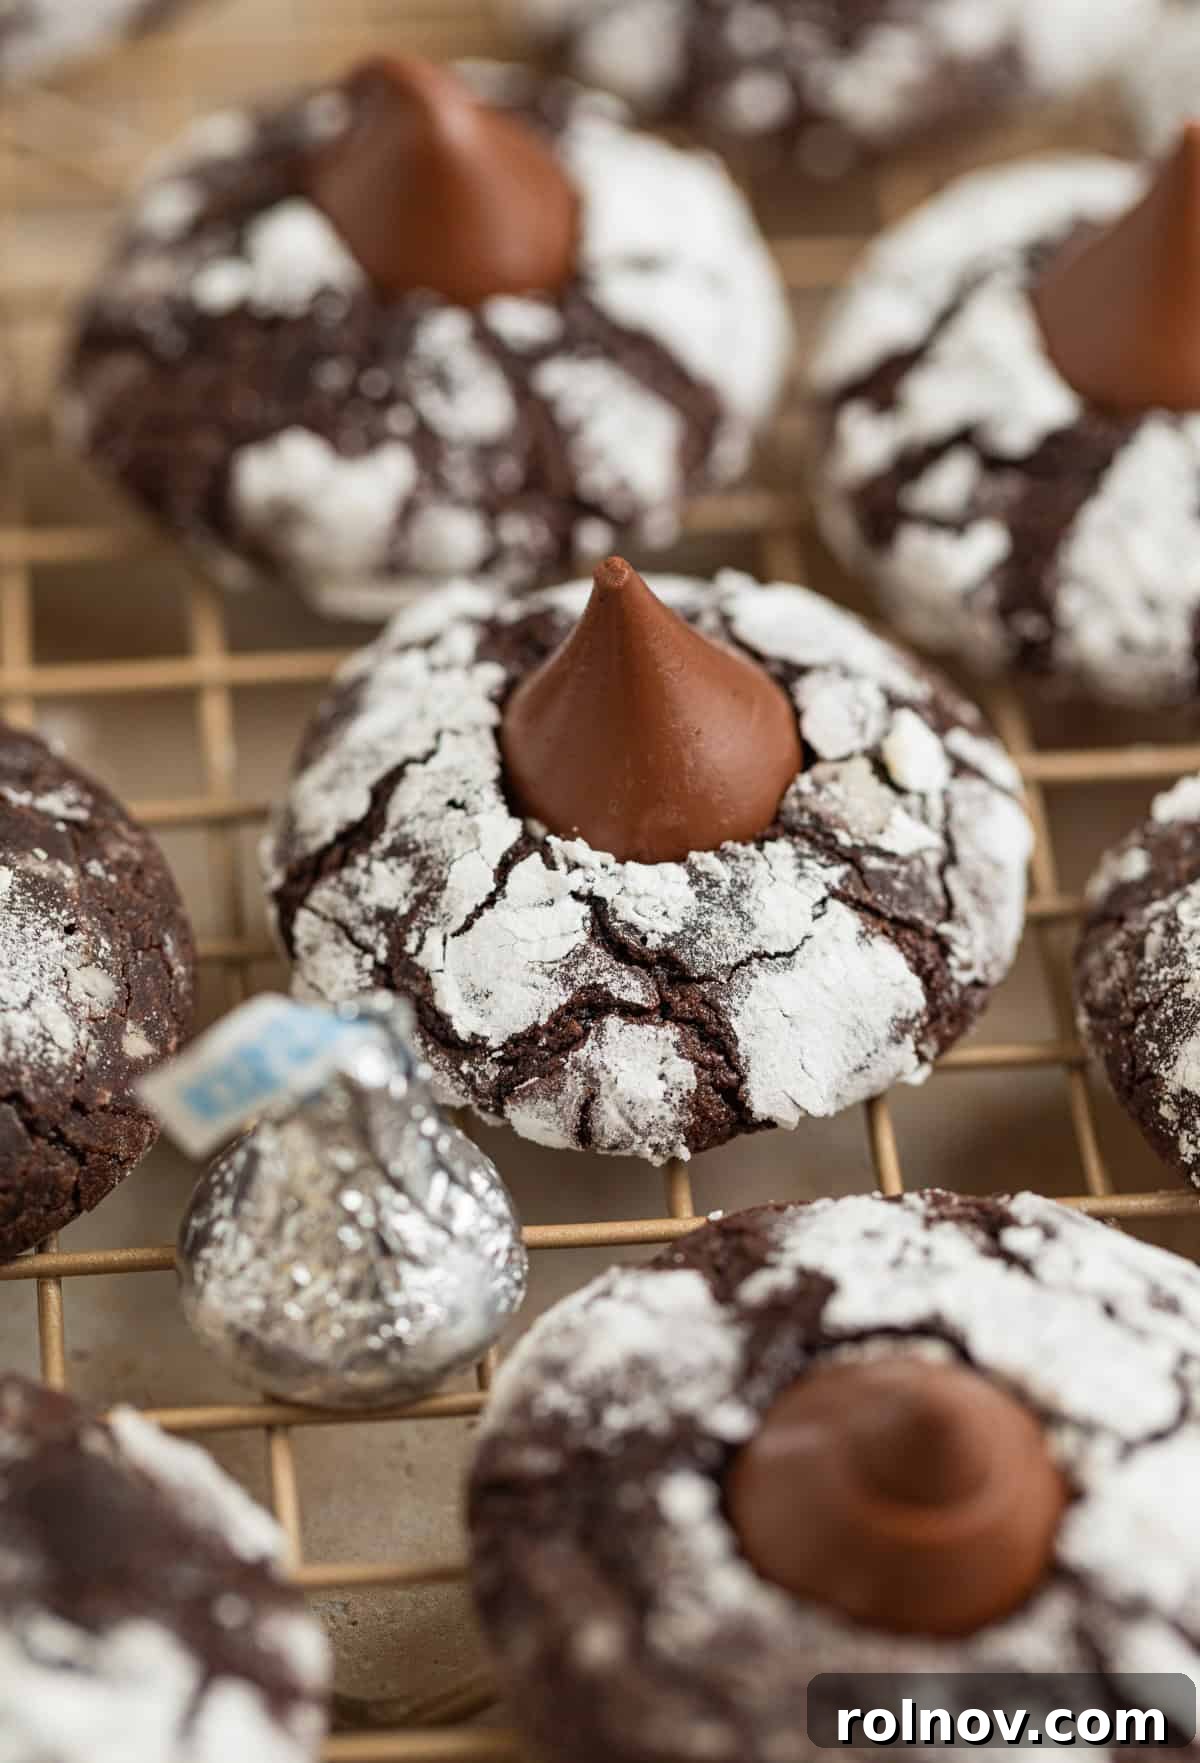
Transforming a humble brownie mix into extraordinary cookies has become a passion of mine! After perfecting the classic Brownie Mix Cookies and the delightful Brownie Crinkle Cookies, I’m thrilled to introduce you to the second masterpiece in this series: these charming chocolate blossom cookies. They’re a playful and indulgent twist on the beloved peanut butter blossom cookie, offering deep chocolate flavor and a beautiful crinkled finish.
If your cookie cravings extend beyond these beauties, be sure to explore more of our fantastic cookie recipes. Indulge in the comforting warmth of Ginger Cream Cookies, the unique crunch of Pistachio Chocolate Chip Cookies, the melt-in-your-mouth goodness of Cream Cheese Pecan Snowball Cookies, the refreshing zing of Mint Chocolate Chip Cookies, or the ultimate shortcut with Chocolate Cake Mix Cookies. There’s a perfect cookie for every occasion and every palate!
Why These Chocolate Blossom Cookies Will Be Your New Favorite

For anyone who appreciates a delightful treat without the fuss, these chocolate brownie blossom cookies are an absolute dream. As a huge fan of dessert recipes that offer clever shortcuts, I can confidently say these cookies deliver on both ease and impressive results. Turning one brownie mix into multiple amazing cookie recipes has been an exciting journey, and these blossom cookies truly stand out.
Here’s why these fudgy chocolate crinkle blossom cookies deserve a permanent spot in your baking repertoire:
- Festive and Fun: With their beautiful crinkled exterior and chocolate kiss center, these cookies are inherently festive. They bring a joyful, homemade touch to any gathering, making them perfect for celebrations or simply brightening an ordinary day.
- Endlessly Customizable: The beauty of these cookies lies in their versatility. While classic milk chocolate kisses are always a hit, you can easily swap them for a wide array of flavors to suit any season or preference. Think mint, caramel, or even specialty holiday kisses!
- Incredibly Simple Preparation: Starting with a brownie mix significantly cuts down on prep time and complexity. This one-bowl recipe means less measuring, less mess, and more time enjoying the delicious results. Even beginner bakers will find these a breeze.
- Kid-Friendly Baking Project: Get the whole family involved! Rolling the dough in powdered sugar and pressing in the chocolate kisses are fun, simple steps that kids absolutely adore. It’s a wonderful way to create lasting baking memories.
- Freezer-Friendly Convenience: Bake a big batch and freeze them for later! These cookies hold up beautifully in the freezer, making them perfect for meal prepping desserts or having a quick treat on hand for unexpected guests or sudden cravings.
- Universally Loved: From the youngest to the oldest, everyone adores these fudgy chocolate blossom cookies. Their rich chocolate flavor, soft texture, and sweet chocolate kiss topping make them an irresistible crowd-plepleaser every single time.
While these cookies are undeniably a fantastic choice for your Christmas cookie exchange, don’t limit them to just the holiday season. They are truly perfect for any time of year you feel that delightful urge to bake something special and utterly delicious.
Essential Ingredients for Perfect Chocolate Blossom Cookies
The full list of ingredients, along with precise measurements, can be found in the comprehensive recipe card below. Here are some key notes to help you achieve the best results:
- Hershey’s Kisses: Your Canvas for Creativity
The chocolate kiss is the iconic topping of these blossom cookies, and it offers incredible flexibility. Feel free to use any variety of Hershey’s Kisses you prefer! For a festive holiday twist, consider candy cane kisses or mint chocolate truffle kisses—they create an absolutely amazing mint chocolate flavor profile. Classic milk chocolate kisses, of course, are always a delightful and universally loved choice. Dark chocolate kisses can add an extra layer of richness, while white chocolate or even flavored caramel kisses can introduce exciting new dimensions. - Brownie Mix: The Foundation of Fudginess
For the cookies pictured, I specifically used a 20-ounce package of Ghirardelli Dark Chocolate Brownie Mix. Ghirardelli often includes chocolate chips, which may contribute to its slightly heavier weight compared to other brands, but in my experience, it consistently yields the very best texture and deep chocolate flavor for these brownie mix cookies. While other brownie mixes will certainly work, Ghirardelli tends to produce a more intensely fudgy and moist cookie. Ensure your brownie mix is within the 18-20 ounce range for optimal results. - Espresso Powder: The Secret Flavor Enhancer
This small but mighty ingredient is the unsung hero of many chocolate desserts. Espresso powder is the secret ingredient that dramatically intensifies the chocolate flavor in these cookies, making them taste richer and more complex without adding any coffee flavor. I highly recommend including it if at all possible—it truly elevates the chocolate experience to another level! - Cream Cheese: For Unmatched Softness
The addition of softened cream cheese is crucial for achieving that wonderfully soft, chewy, and moist texture that makes these blossom cookies so irresistible. It contributes to the fudginess and helps keep the cookies from drying out. - Butter and Eggs: Binding and Richness
Melted unsalted butter provides essential moisture and richness, while large eggs act as a binding agent, ensuring the cookies hold their shape and have a consistent texture. - Powdered Sugar: The Crinkle Effect
Generously rolling the cookie dough in powdered sugar is what creates that signature crinkled, snow-dusted appearance. It adds a lovely sweetness and a soft texture to the exterior of the cookie.
Exciting Ways to Customize Your Chocolate Blossom Cookies
These brownie blossom cookies are wonderfully adaptable, allowing you to get creative with flavors and presentations. Here are some fantastic ways to vary this recipe:
- Experiment with Hershey’s Kisses: Beyond the classic milk chocolate, the possibilities are endless! Try Hershey’s Hugs for a white chocolate swirl, dark chocolate kisses for a richer experience, or seasonal flavors like snickerdoodle, hot cocoa, or even strawberry cream. Match them to holidays (e.g., pastel colored kisses for Easter, red/green for Christmas).
- Swap the Center Candy: Not a fan of Hershey’s Kisses, or simply want to try something different? A mini Reese’s peanut butter cup pressed into the center creates a delightful chocolate-peanut butter fusion. Rolos are another excellent choice, adding a gooey caramel surprise. You could also use small truffles or mini chocolate bars.
- Decorate with Festive Sprinkles: For an extra pop of color and festivity, you can roll the cookie dough balls in holiday sprinkles, rainbow sprinkles, or chocolate sprinkles instead of (or in addition to, for a double coating effect) powdered sugar. Keep in mind that using only sprinkles won’t create the same crinkle effect, as the crinkles come from the powdered sugar resisting the spread. However, it will make them undeniably more festive and fun!
- Infuse with Extract Flavors: Elevate the flavor profile by adding a touch of extract to the cookie dough. A few drops of peppermint extract will transform them into sensational mint chocolate blossom cookies, perfect for winter. Almond extract can add a sophisticated nutty note, while orange extract can brighten the chocolate flavor beautifully.
- Add Chocolate Chips or Nuts to the Dough: Stir in a half cup of extra chocolate chips (milk, dark, or white) or chopped nuts like pecans or walnuts to the cookie dough for added texture and flavor.
- Drizzle with Glaze: Once cooled, you could drizzle the cookies with a simple powdered sugar glaze, melted white chocolate, or even a contrasting chocolate for an elegant touch.
Step-By-Step Baking Guide: Chocolate Blossom Cookies
Making these fudgy brownie blossom cookies is a straightforward and enjoyable process. Follow these detailed steps for perfect results every time:
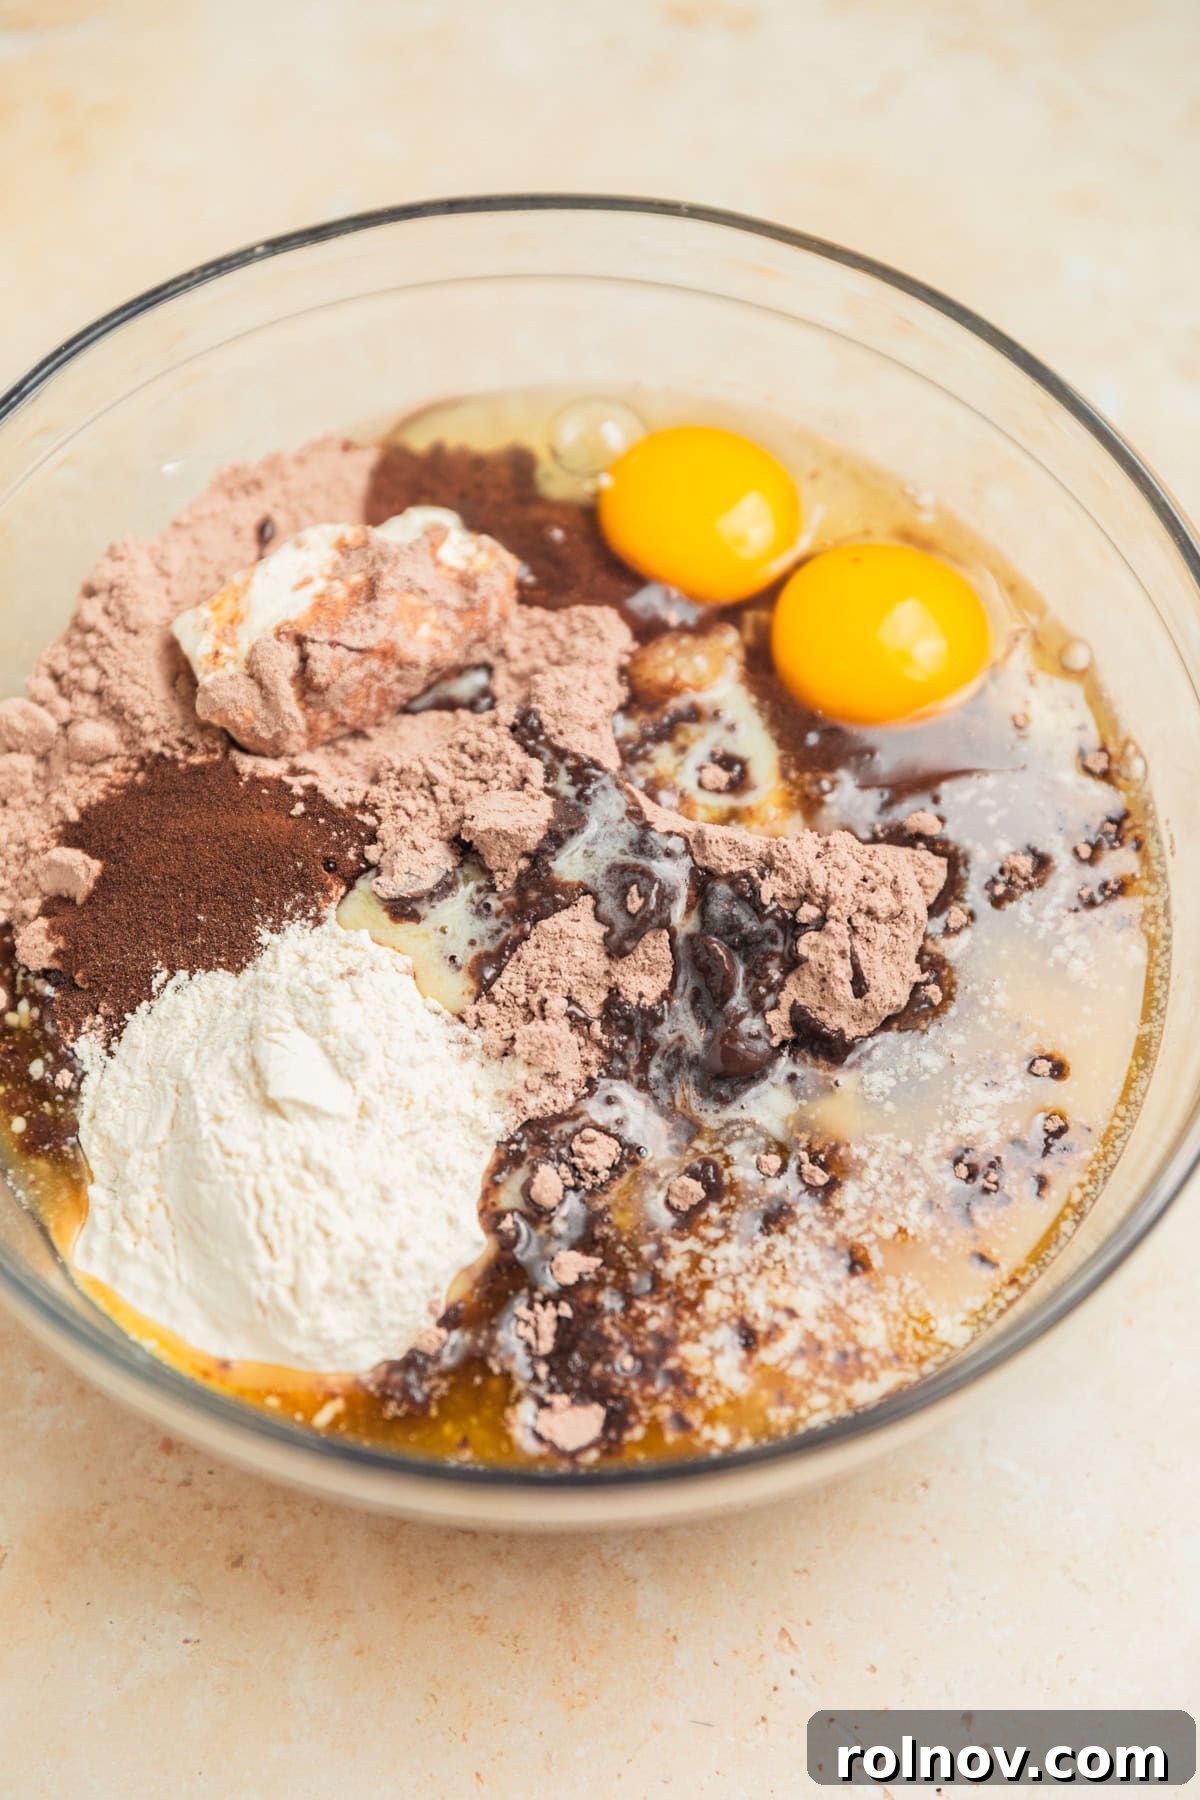
Step 1: Combine the Ingredients. Begin by adding all the core cookie ingredients – the brownie mix, flour, softened cream cheese, espresso powder, melted butter, and large eggs – into a single large mixing bowl. This one-bowl method keeps cleanup to a minimum.
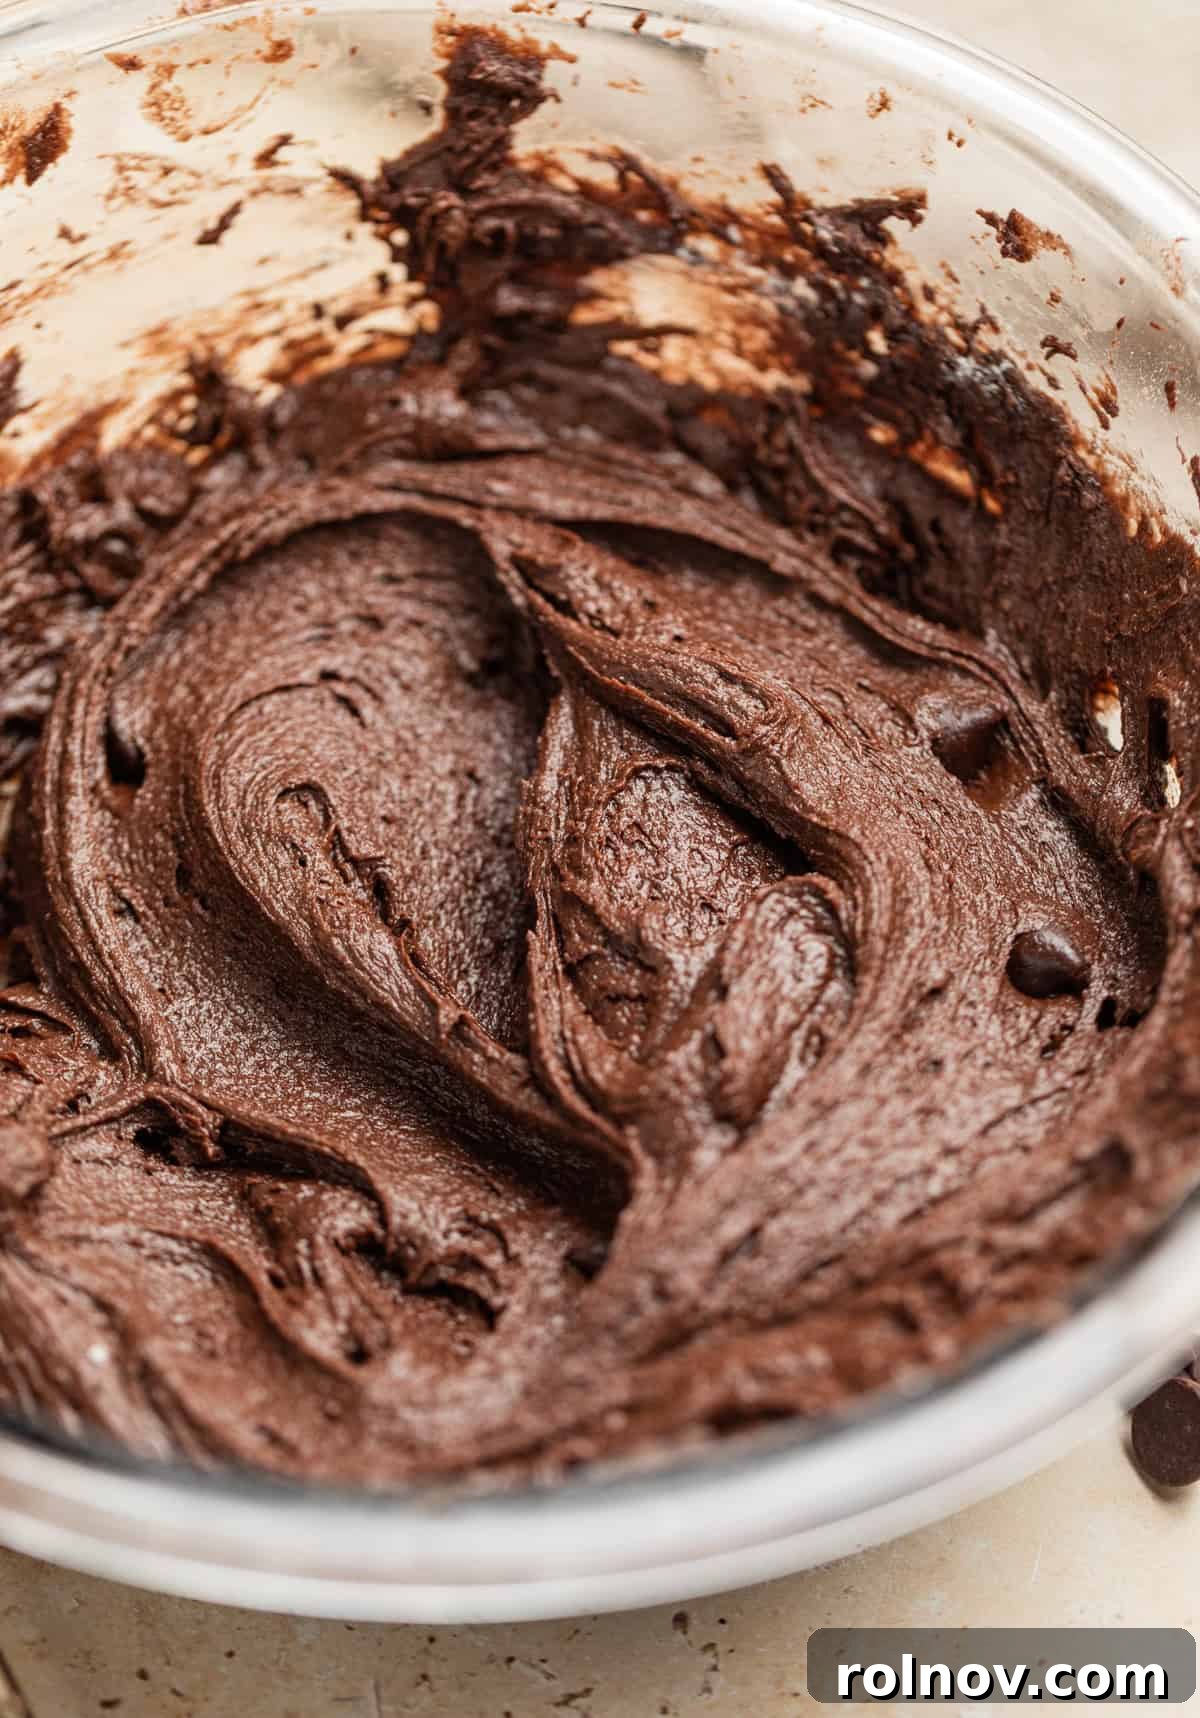
Step 2: Mix and Chill the Dough. Using an electric mixer (handheld or stand mixer), beat the mixture on medium speed until all ingredients are fully incorporated and the dough is smooth and uniform. This should only take a couple of minutes. Once mixed, cover the bowl and chill the cookie dough in the refrigerator for at least 30 minutes, or up to an hour. Chilling is crucial for making the dough easier to handle and preventing excessive spreading during baking, which helps maintain those beautiful crinkles.
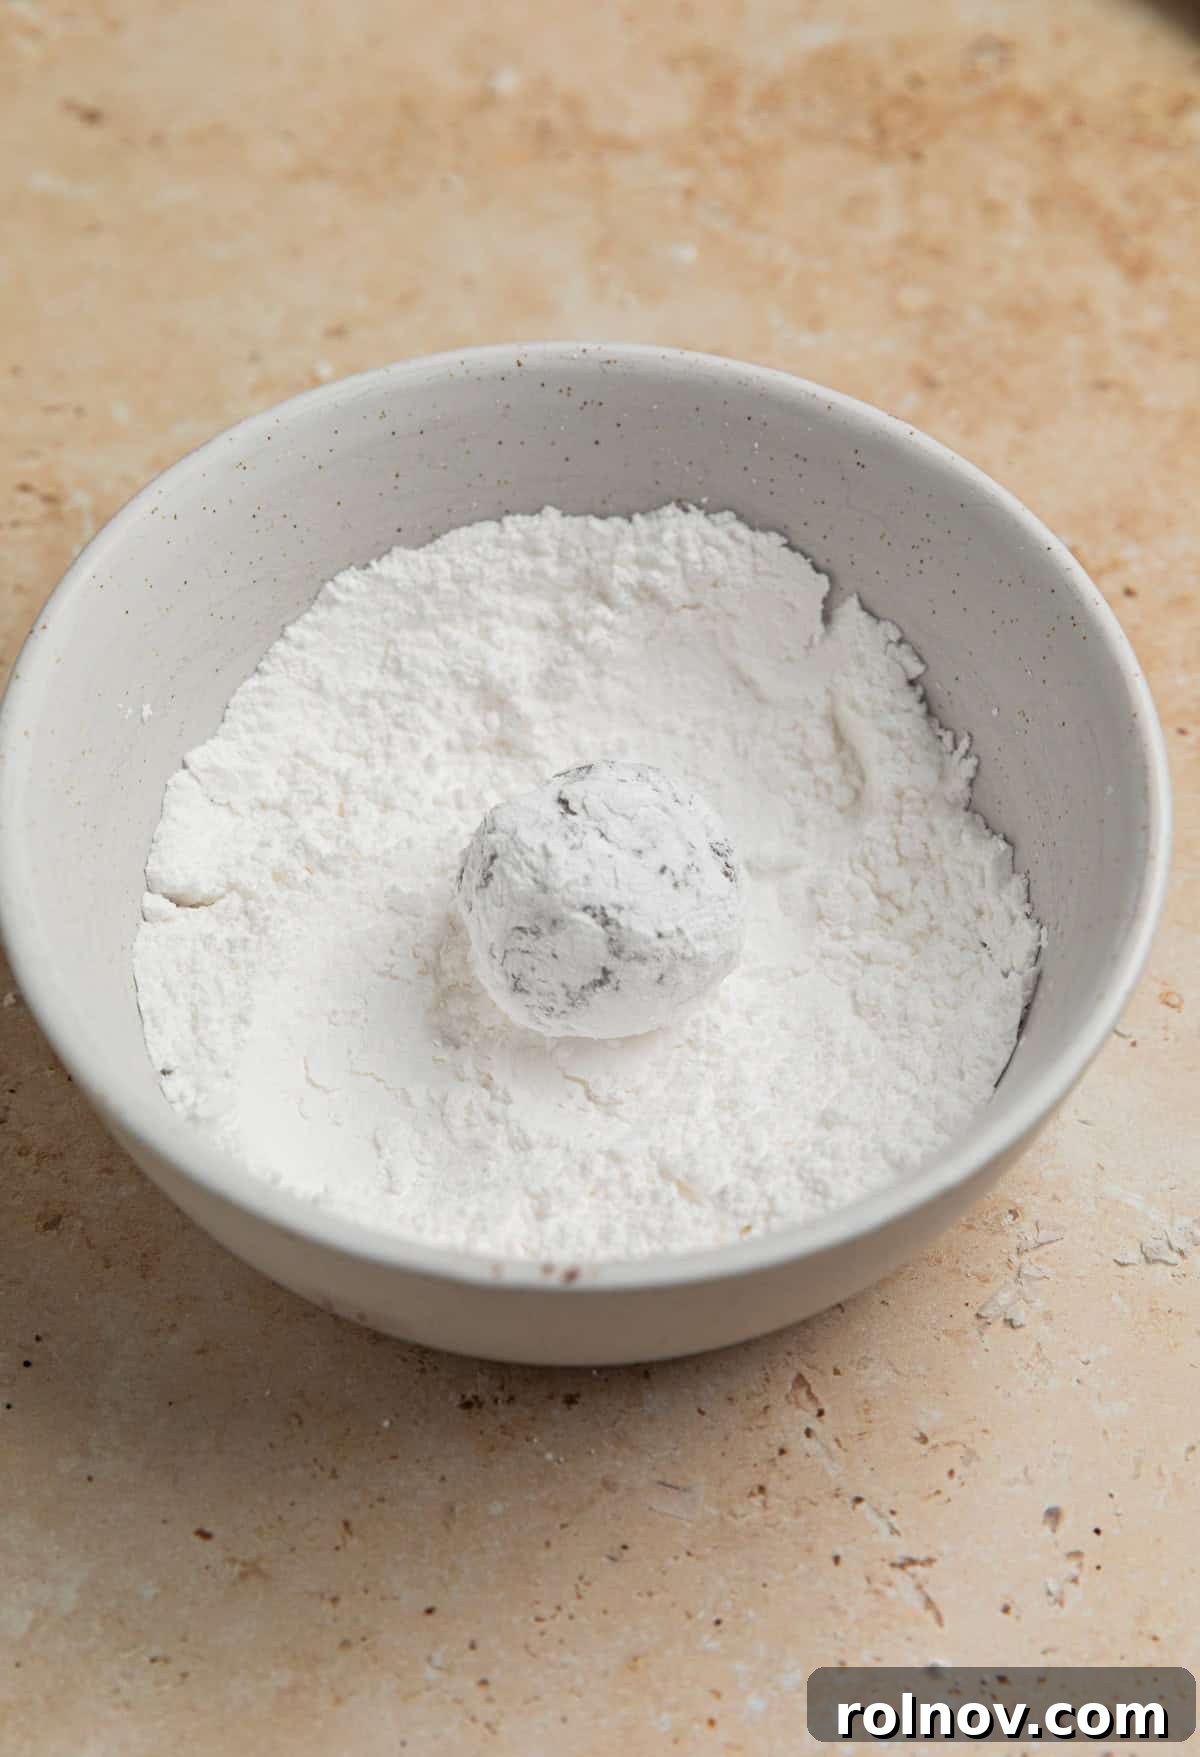
Step 3: Roll in Powdered Sugar. Preheat your oven to 350°F (175°C). Once the dough is adequately chilled and easy to work with, scoop and roll it into uniform balls, approximately 1 to 1.5 inches in diameter. Pour a generous amount of powdered sugar into a shallow bowl. Roll each cookie dough ball thoroughly in the powdered sugar, ensuring it’s completely and thickly coated on all sides. This generous coating is what creates the iconic crinkled effect as the cookies bake.
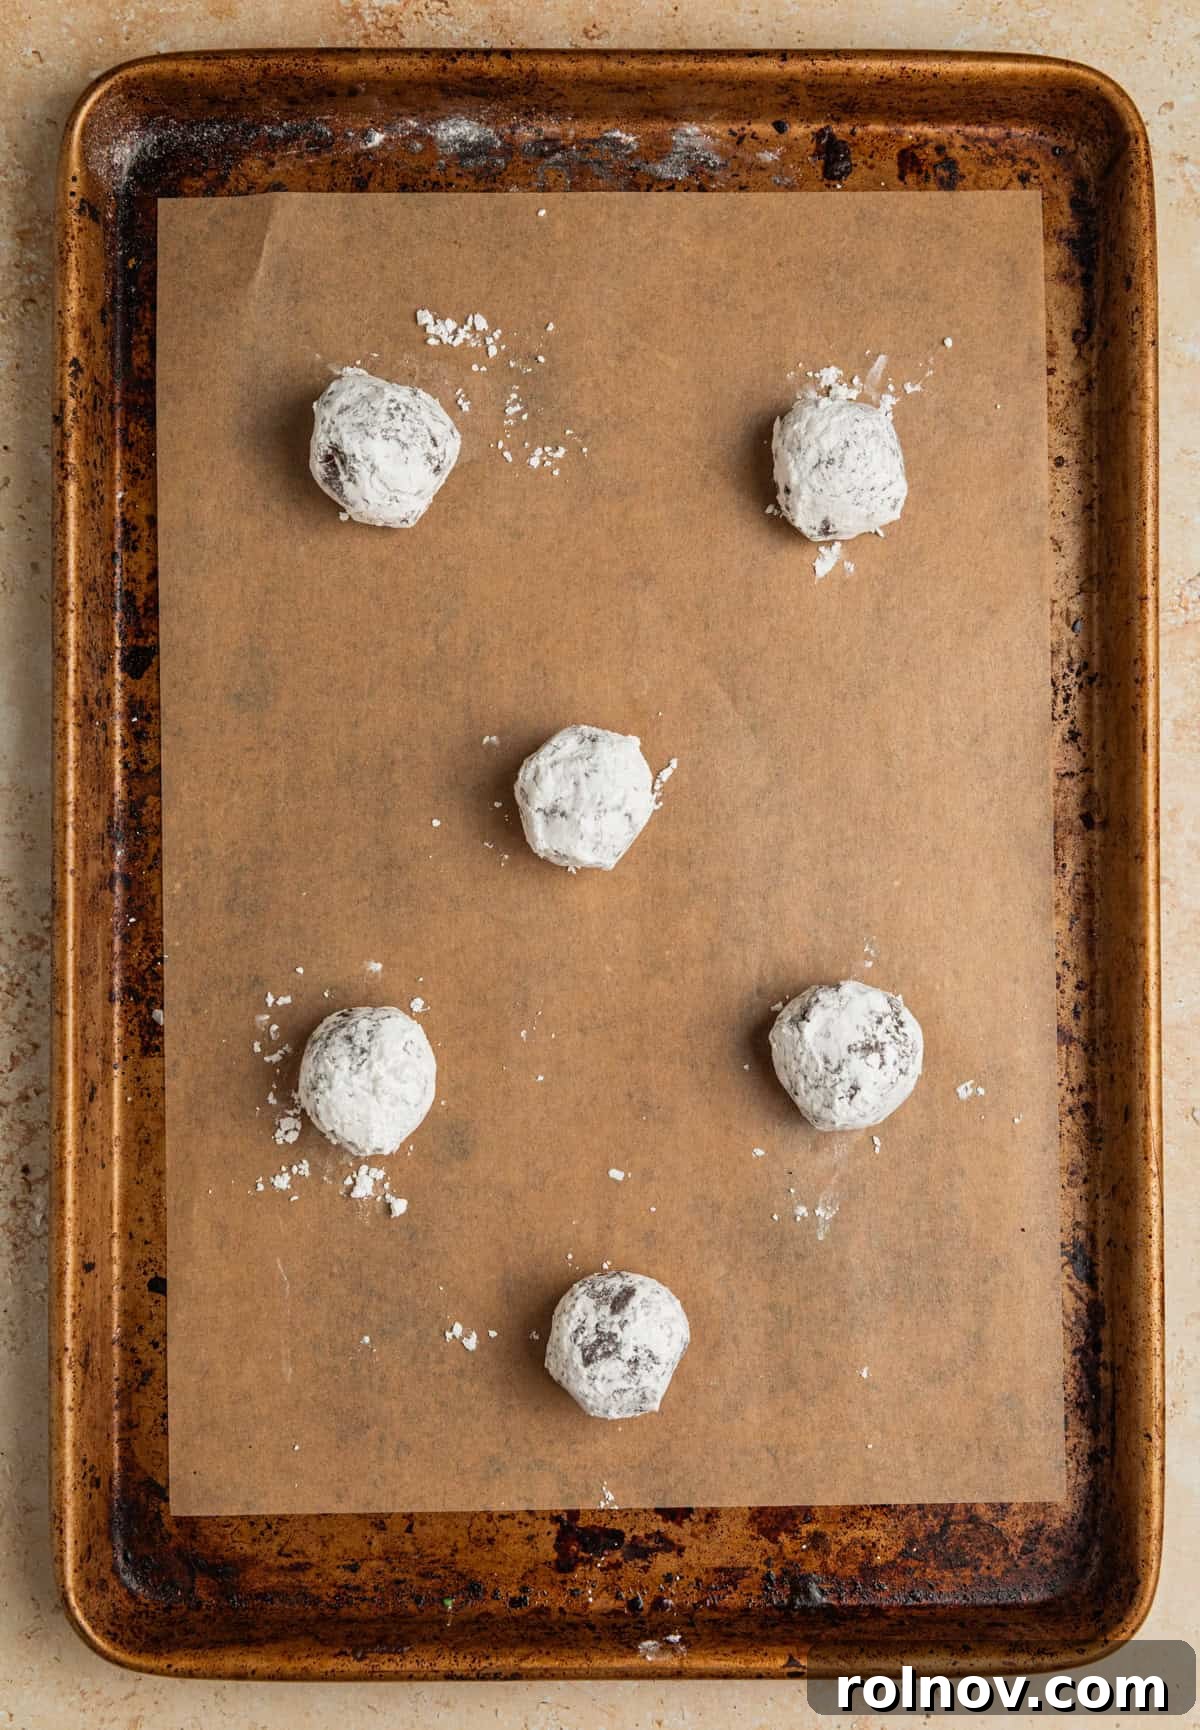
Step 4: Bake to Perfection. Arrange the generously coated cookie dough balls on a parchment-lined baking sheet, leaving about 2 inches between each cookie to allow for spreading. Bake in the preheated oven for approximately 7-9 minutes. It’s crucial not to overbake these cookies; they should still look slightly soft or a touch wet in the very center when you pull them out. They will appear slightly puffed up and set around the edges. This underbaking ensures a wonderfully fudgy and chewy center.
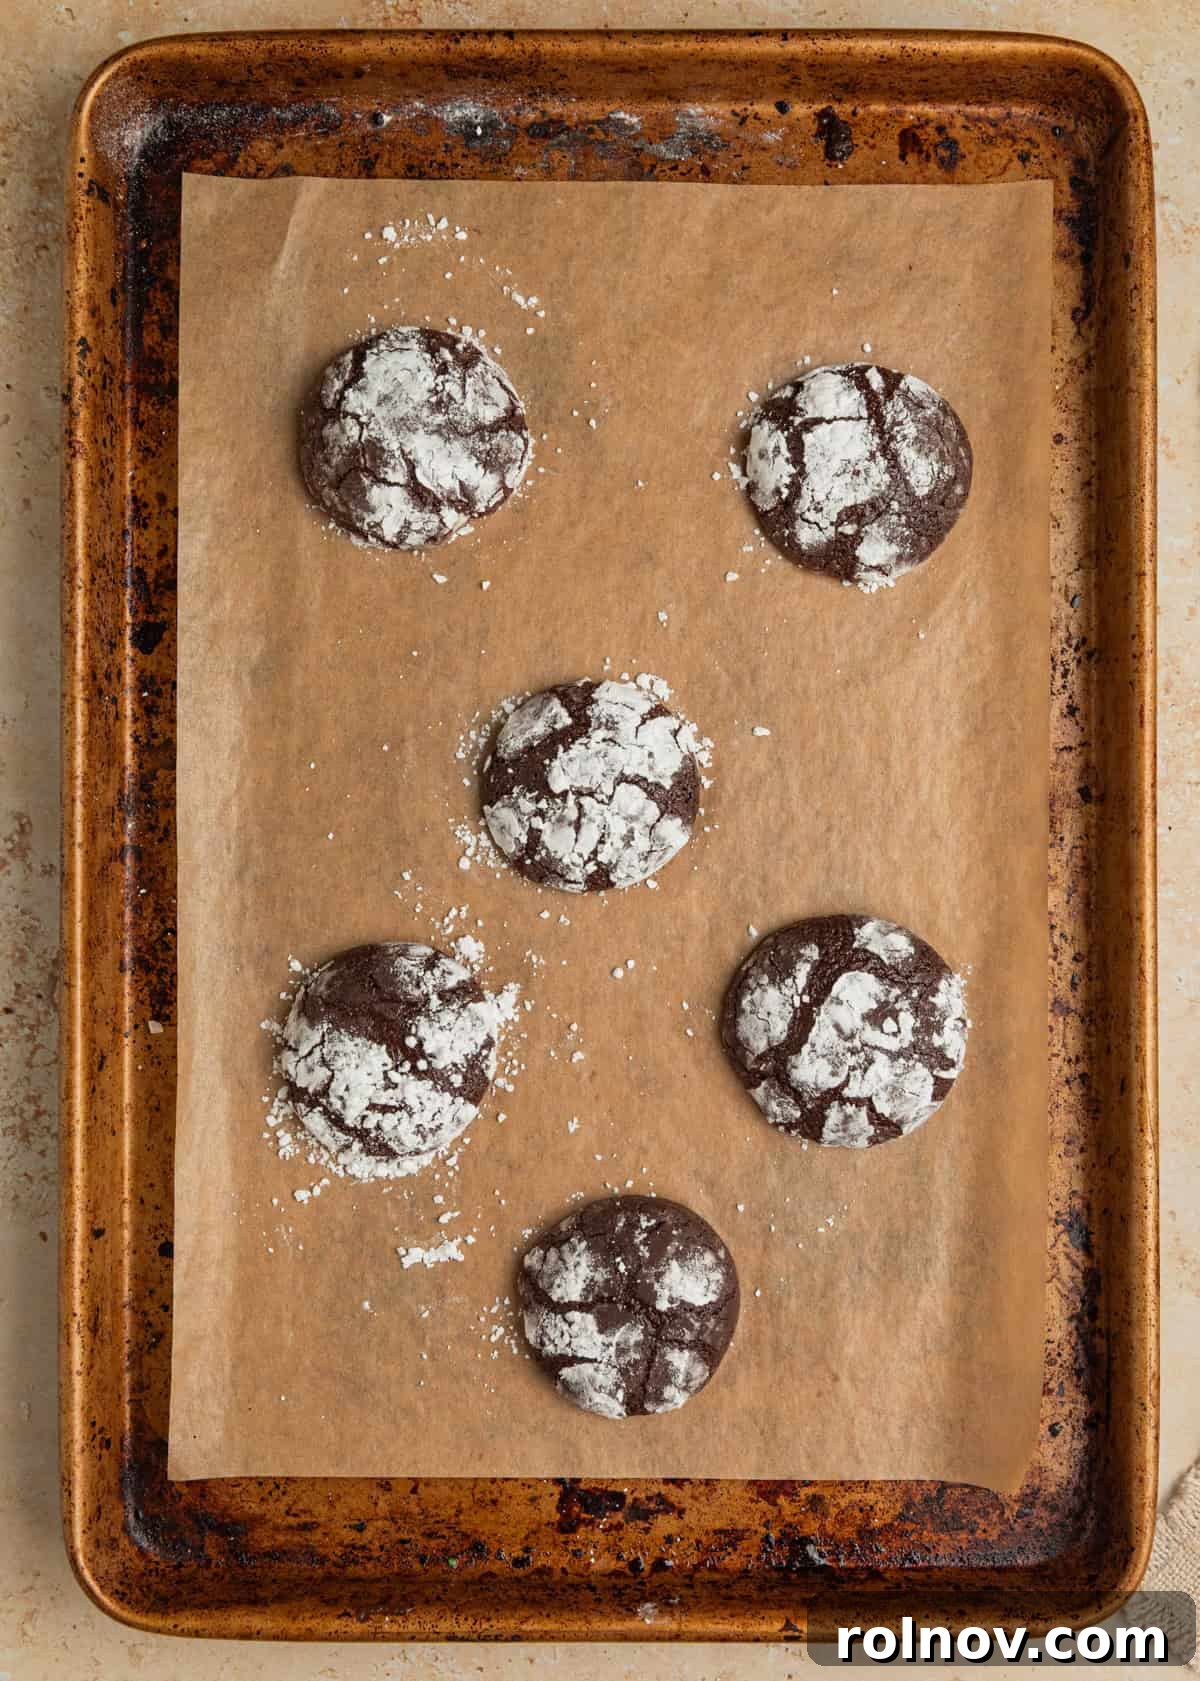
Step 5: Shape (Optional). Immediately after removing the cookies from the oven, if you desire perfectly round cookies, use a large round biscuit cutter or the rim of a glass (larger than your cookie) to gently “shuffle” the warm cookies into neat circles. Place the cutter around the hot cookie and swirl it around a few times. This step can be a little messy as some powdered sugar may scatter, but it helps create a more uniform appearance while preserving the beautiful crinkles.
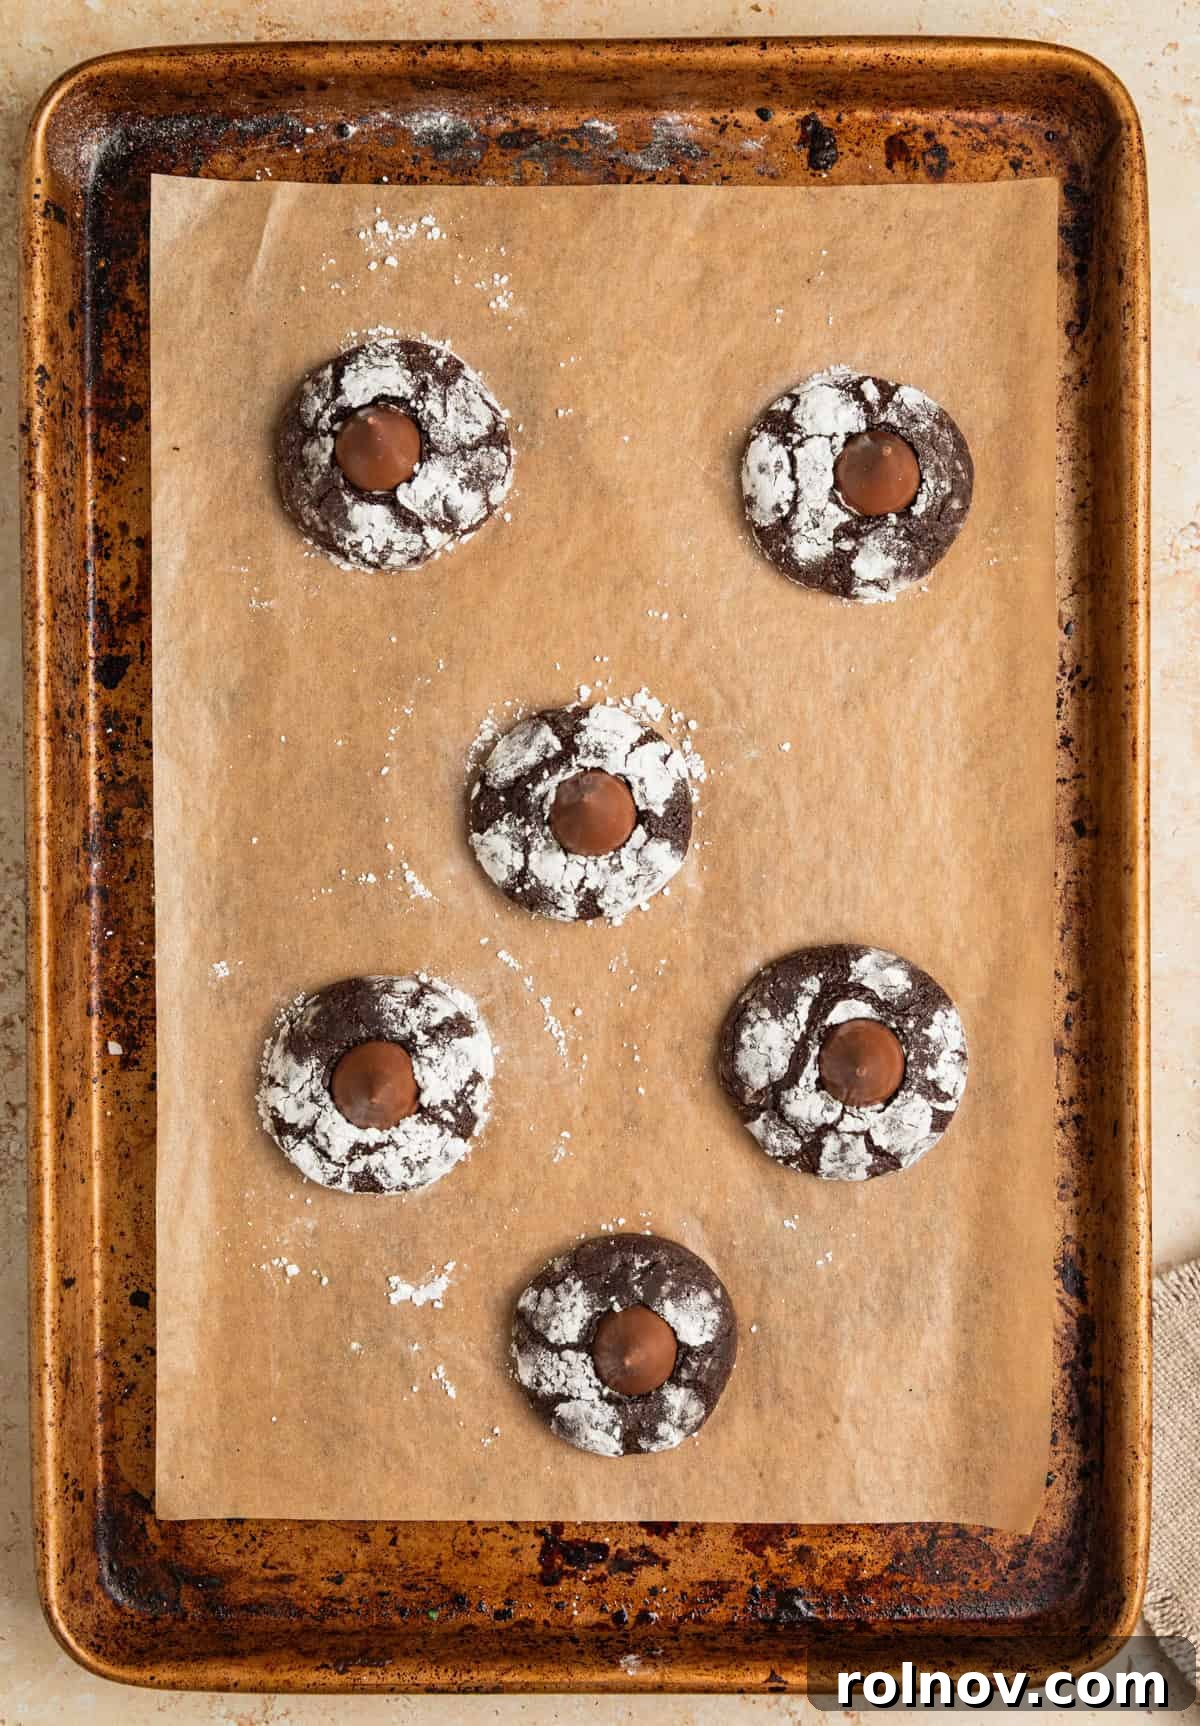
Step 6: Add the Kisses and Cool. While the cookies are still warm from the oven (but not piping hot), gently press one chocolate kiss into the center of each cookie. The residual heat will slightly soften the chocolate, allowing it to adhere and slightly melt into the cookie. Allow the cookies to cool on the baking sheet for about 3-5 minutes before carefully transferring them to a wire rack to cool completely. For the best results and to ensure the kisses fully solidify and hold their shape, let them cool for several hours or until completely firm.
Expert Tips for Fudgy Chocolate Blossom Cookies
Achieving perfectly fudgy and crinkly chocolate blossom cookies is easier than you think with these expert tips:
- Chill the Dough Thoroughly: This is a non-negotiable step for the best results! Definitely chill this brownie cookie dough for at least 30 minutes, or up to an hour. Cold dough is much easier to handle and roll, and it helps prevent the cookies from spreading too much in the oven, ensuring those beautiful, defined crinkles. Don’t skip it!
- Don’t Overbake: For that irresistible fudgy center, it’s better to slightly underbake these cookies than to overbake them. They will dry out quickly if left in the oven too long. The edges should be set, but the center might still look a touch soft or moist when you remove them. They will continue to set as they cool on the baking sheet.
- Let Kisses Solidify: If you want the chocolate kisses to hold their distinct shape, do not move the cookies until the kisses have completely solidified. This can take several hours at room temperature. If you transfer them too soon, the warm cookie will cause the kiss to sink deeper or lose its pointed shape. Some people prefer this slightly melted, gooey look, which is perfectly fine too!
- Generous Powdered Sugar Coating: Don’t be shy with the powdered sugar! A thick, even coating is essential for prominent crinkles. Roll the dough balls until they are completely covered. If the dough feels a bit sticky, you can re-roll them in more powdered sugar just before baking.
- Use a Cookie Scoop for Uniformity: For consistently sized cookies that bake evenly, use a cookie scoop to portion out the dough. A 1-tablespoon scoop is ideal for 1 to 1.5-inch balls.
- Parchment Paper is Your Friend: Always bake these on a parchment-lined baking sheet. It prevents sticking, promotes even baking, and makes cleanup a breeze.
- High-Quality Brownie Mix Matters: As mentioned, a high-quality brownie mix like Ghirardelli can make a noticeable difference in the final texture and flavor. It’s worth the small investment for superior results.
Storage and Freezing Instructions
These delicious chocolate blossom cookies are fantastic fresh, but they also store well for future enjoyment:
- Room Temperature Storage: Store any leftover chocolate blossoms at room temperature in an airtight container for approximately 3-4 days. Placing a slice of bread in the container can help keep them soft, though the texture of the kiss might change slightly over time.
- Freezing for Longer Freshness: These cookies are wonderfully freezer-friendly! Once baked, allow the cookies to cool completely and ensure the chocolate kisses have fully solidified. Then, layer them in a freezer-safe airtight container with parchment paper between layers to prevent sticking. They can be frozen for up to 3 months. When ready to enjoy, simply thaw them at room temperature for an hour or two.
Serving Suggestions
These fudgy chocolate blossom cookies are a treat on their own, but here are some ideas to make them even more special:
- With a Glass of Milk: The classic pairing! The richness of the chocolate cookie is perfectly balanced by a cold glass of milk.
- Coffee or Tea Companion: Enjoy them alongside your morning coffee or an afternoon cup of tea for a delightful indulgence.
- Dessert Platter: Arrange them on a festive dessert platter with other holiday cookies for a stunning presentation.
- Ice Cream Topping: Crumble a warm cookie over a scoop of vanilla ice cream for an instant decadent dessert.
- Gift Giving: Package them in pretty boxes or bags tied with a ribbon for a thoughtful homemade gift during the holidays or for special occasions.
More Irresistible Cookie Recipes
Christmas
White Chocolate Dipped Nutella Ritz Crackers Cookies
Christmas
Peppermint Chocolate Chip Cookies
Cookies
Oreo Chocolate Chip Cookies
Cookies
Funfetti Birthday Cake Cookies
HUNGRY FOR MORE? Subscribe to our newsletter and follow us on Facebook, Instagram and Pinterest for all the latest and greatest recipes!
Chocolate Blossom Cookies
Lorie Yarro

10 minutes
30 minutes
1 hour
24 cookies
Ingredients
- 1 box brownie mix (18-20oz.), I used Ghirardelli dark chocolate mix
- ½ cup flour, 60 grams
- 1 oz. cream cheese , softened
- 1 ½ tsp espresso powder
- ½ cup unsalted butter, melted
- 2 large eggs
- 1 cup powdered sugar
- 24 Hershey kisses, any flavor!
Instructions
-
Add brownie mix, flour, melted butter, espresso powder, eggs, and cream cheese to a mixing bowl. Using an electric mixer, beat the mixture until fully incorporated and smooth. Chill for about 30 minutes to 1 hour.
-
Once chilled and easy to work with, roll into about 1 to 1 1/2 inch balls. Roll into powdered sugar and generously coat. Place on parchment lined baking sheet about 2 inches apart.
-
Bake in oven preheated to 350°F (175°C) for about 7-9 minutes. You don’t want to overbake; they may look like they are still a touch wet in the very center, and that is okay. They will be puffed up a bit and set around the edges when done.
-
Remove from oven and use a biscuit or cookie cutter to shuffle into nice even circles if desired. This can be a bit tricky as some of the powdered sugar will scatter, but it still should look okay for the crinkles.
-
Gently press a chocolate kiss into the center of each cookie. Allow the cookies to cool for about 3-5 minutes before transferring to a wire rack to cool completely.
Notes
Definitely chill this brownie cookie dough for best results at least for 30 minutes if possible. This will make it so much easier to work with!
Don’t overbake these cookies. They will dry out easily, so it’s better to slightly underbake versus overbaking. They will have a nice fudgy center that is irresistible!
Nutrition
Carbohydrates: 23g,
Protein: 2g,
Fat: 9g,
Saturated Fat: 4g,
Polyunsaturated Fat: 0.4g,
Monounsaturated Fat: 3g,
Trans Fat: 0.2g,
Cholesterol: 26mg,
Sodium: 82mg,
Potassium: 13mg,
Fiber: 0.2g,
Sugar: 14g,
Vitamin A: 154IU,
Calcium: 14mg,
Iron: 1mg
Nutrition information is automatically calculated, so should only be used as an approximation.
Did you enjoy this recipe? Have a question?Leave a comment below!
Shop This Post
Cookie Scoop
Buy Now →
Sheet Pan
Buy Now →
Espresso Powder
Buy Now →
Hand Mixer
Buy Now →