
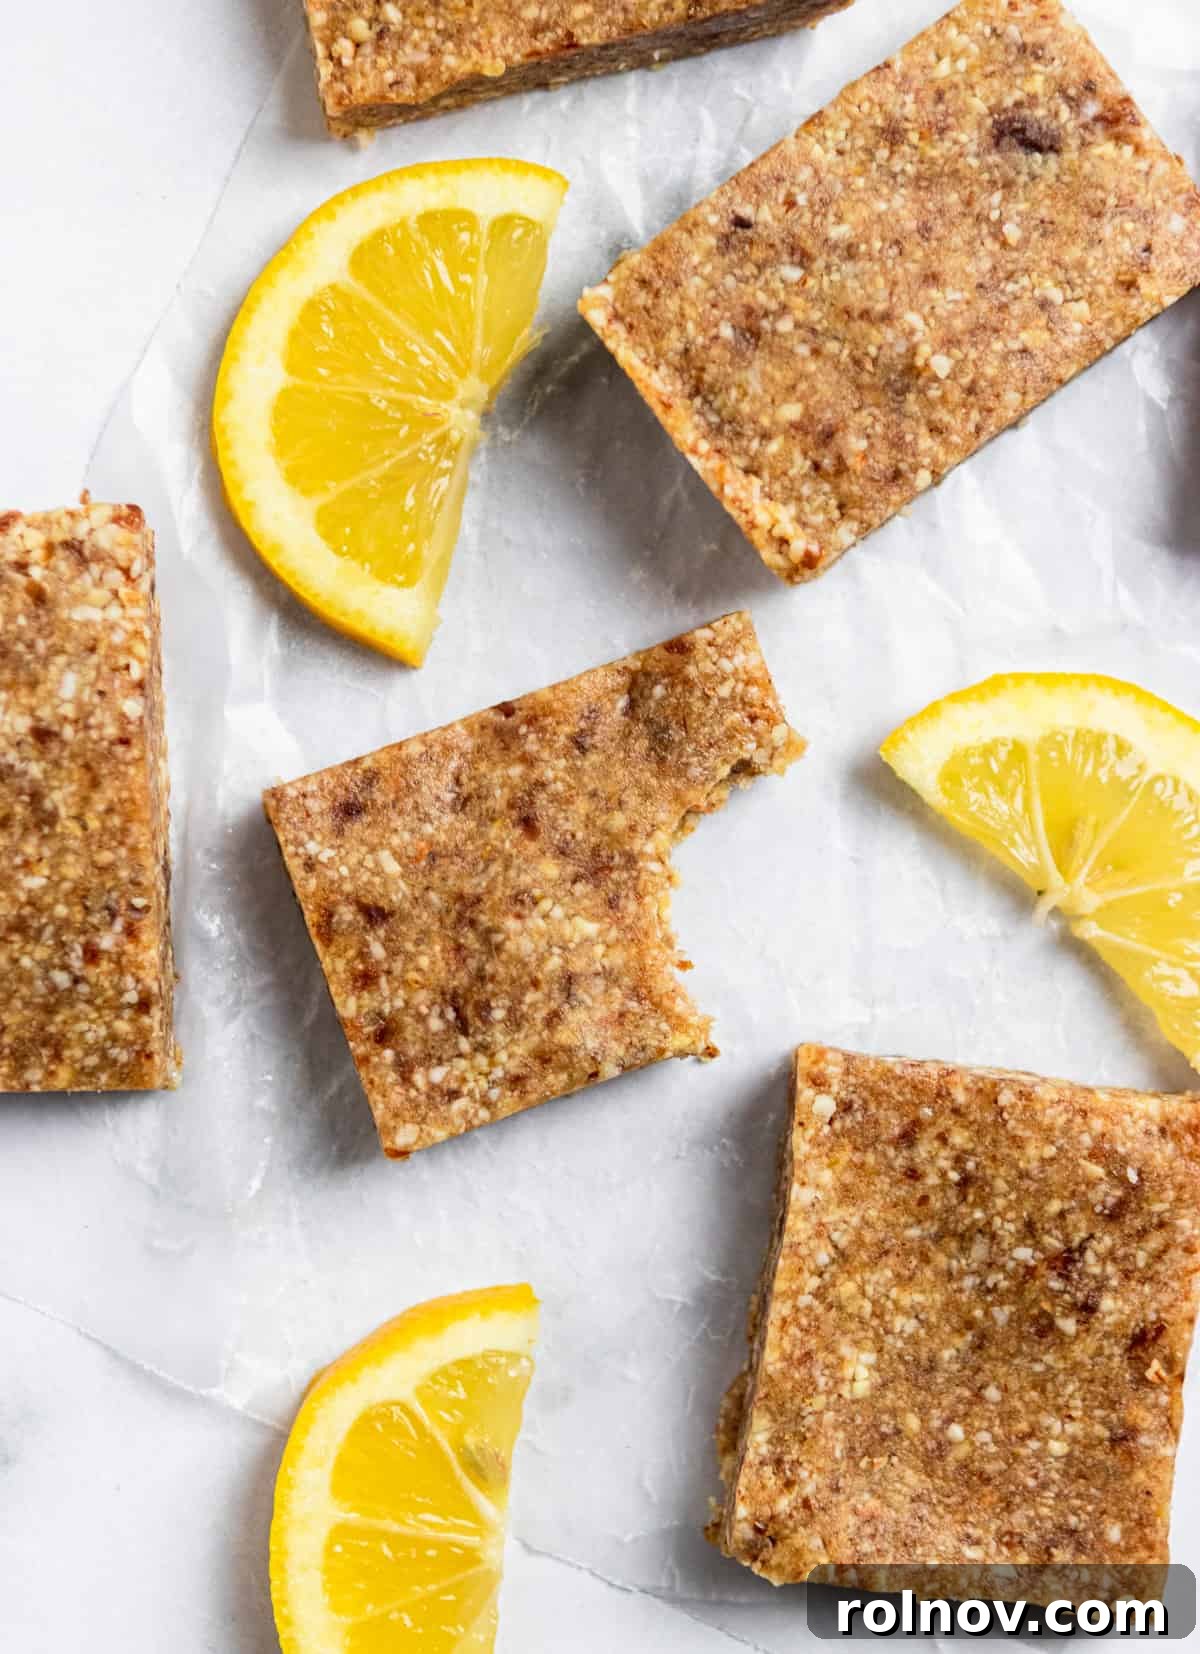
Brighten Your Day with Homemade No-Bake Lemon Coconut Energy Bars
Craving a vibrant, healthy snack that’s incredibly easy to make? Look no further than these delightful no-bake lemon coconut bars. Bursting with fresh citrus flavor and the tropical essence of coconut, these homemade energy bars are a true game-changer. Forget expensive, sugar-laden store-bought options; you can whip up a batch of these wholesome treats in just about 10 minutes of active prep time, saving you money and ensuring you know exactly what goes into your body. Made with simple, natural ingredients like fresh lemon, unsweetened coconut, Medjool dates, almonds, and cashews, they offer a perfect balance of energy, healthy fats, and natural sweetness.
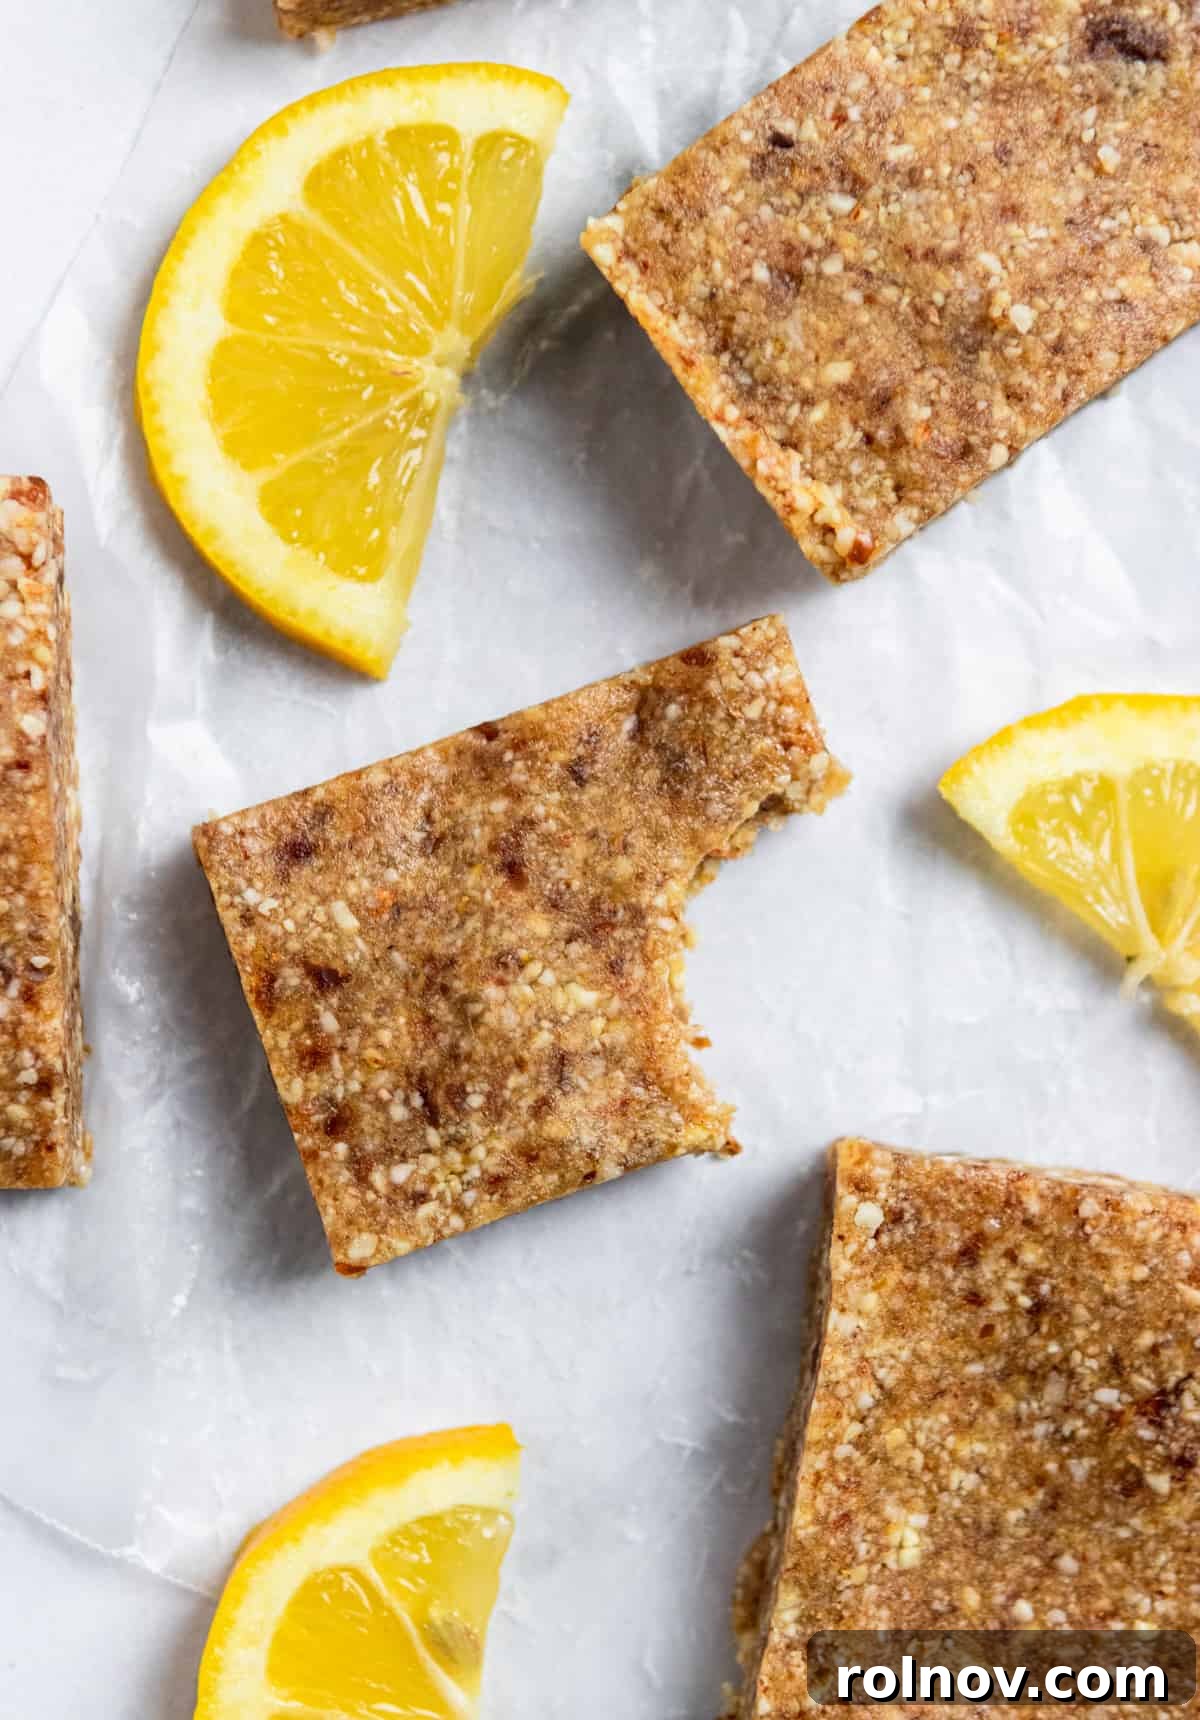
I wholeheartedly believe in the power and convenience of food in bar form. Whether it’s a hearty granola bar, a satisfying energy bar, or a decadent cookie bar, there’s something inherently appealing about a portable, pre-portioned treat. However, the convenience of pre-packaged snacks often comes with a hefty price tag and a list of ingredients you might not recognize. That’s precisely why I’m a firm believer in keeping a collection of reliable homemade energy bar recipes close at hand – and these lemon coconut bars are consistently at the top of my list.
Opting for homemade snacks like these not only puts you in control of the ingredients but also allows you to enjoy fresh, flavorful options without breaking the bank. If you share my love for effortlessly delicious, no-bake recipes, you’ll adore these lemon coconut bars, and likely many of my other favorites. Be sure to explore some of these other fantastic no-bake delights: No-Bake Banana Bread Bites, No-Bake Piña Colada Energy Bites, Peanut Butter Oatmeal Balls, and these incredibly versatile Trail Mix Bars!
Why You Will Adore These No-Bake Lemon Coconut Energy Bars
These lemon coconut energy bars aren’t just a snack; they’re a revelation in convenience, flavor, and healthy eating. Here’s why they’re destined to become a staple in your kitchen:
- Effortless Preparation in Minutes: You won’t believe how quickly these bars come together. From gathering your ingredients to chilling them, the hands-on time is truly minimal – often less than 10 minutes. The magic of a food processor does most of the work, transforming simple whole foods into a cohesive, delicious mixture with incredible speed. It’s the perfect solution for busy schedules or when you need a wholesome snack without a lot of fuss.
- Significant Cost Savings Compared to Store-Bought Options: Regularly buying pre-made energy bars can quickly add up, turning your healthy snacking habit into an expensive endeavor. By making your own lemon coconut bars at home, you’ll dramatically reduce your grocery bill. Using bulk ingredients and avoiding the premium placed on convenience means more money stays in your pocket, allowing you to enjoy a delicious and nutritious snack for a fraction of the price.
- Naturally Gluten-Free, Dairy-Free, and Vegan-Friendly: For those with dietary restrictions or preferences, these bars are a dream come true. They are inherently free from gluten and dairy, making them suitable for a wide range of diets. As a plant-based recipe, they are also completely vegan, offering a delicious and inclusive snack option for everyone. You can enjoy these tart and sweet bars knowing they align with your health goals.
- Superior Fresh Taste and Texture: Prepare yourself for a flavor experience that far surpasses anything you’ll find on a store shelf. These homemade energy bars taste incredibly fresh, vibrant, and are bursting with the natural zest of lemon and the rich sweetness of coconut. Unlike some store-bought varieties that can be dry, hard, or near their expiration date, these bars are perfectly moist, chewy, and full of life. They offer a delightful pick-me-up that truly satisfies.
- Wholesome Ingredients You Can Trust: With these bars, there are no hidden additives, artificial flavors, or excessive sugars. Every ingredient is a whole food, contributing to a snack that fuels your body with sustained energy and essential nutrients. You’ll feel good knowing exactly what you’re nourishing yourself and your family with.
- Perfectly Portable and Versatile: These bars are ideal for on-the-go snacking. Pack them in lunchboxes, take them to the gym, enjoy them during a hike, or simply keep them in the fridge for a quick and easy bite whenever hunger strikes. Their sturdy, compact nature makes them an excellent travel companion for any adventure.
Essential Ingredient Insights
Achieving the perfect flavor and texture for these lemon coconut bars starts with understanding your ingredients. Here’s a closer look at what you’ll need and why:
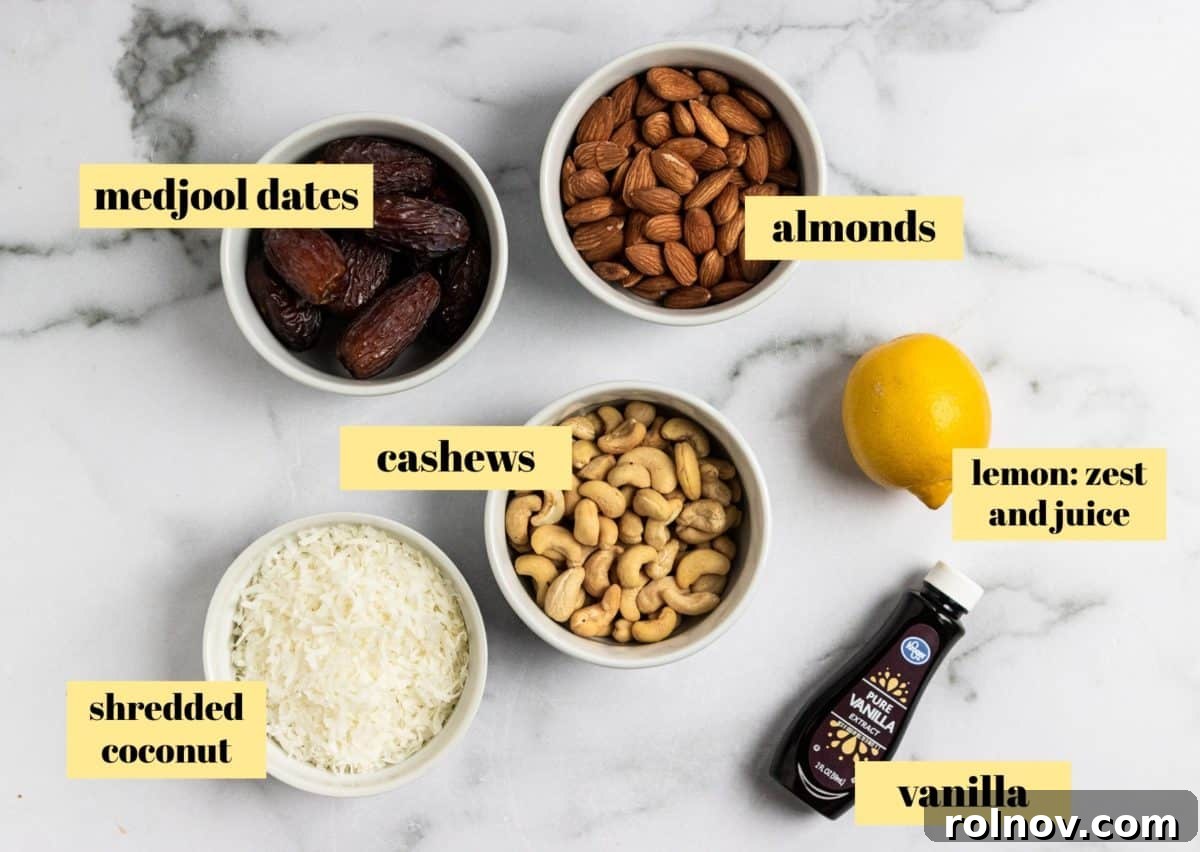
- Medjool Dates: These large, soft, and naturally sweet dates are the backbone of this recipe. Their inherent stickiness acts as a superb natural binder, holding the bars together without the need for additional syrups or oils. They also provide a rich, caramel-like sweetness that complements the lemon and coconut beautifully. Always remember to remove the pits before adding them to your food processor. If Medjool dates aren’t available, you might find other varieties like Deglet Noor dates, but they are typically smaller and drier, so you’ll need a larger quantity (and possibly benefit from soaking them first) to achieve the right consistency.
- Raw Nuts (Almonds and Cashews): The combination of almonds and cashews provides a fantastic textural base and a boost of healthy fats and protein. Almonds offer a slightly firmer crunch and earthy flavor, while cashews lend a creamy, buttery note. The beauty of this recipe is its flexibility: feel free to use any combination of pecans, walnuts, almonds, or cashews based on your preference or what’s on sale. Nuts can be a bit pricey, so checking the bulk section of your grocery store for good deals is always a smart move. You can also experiment with a single type of nut if you prefer.
- Fresh Lemon Juice and Zest: This is where the vibrant, tangy magic happens! Using fresh lemon juice and its zest is absolutely crucial for achieving that bright, invigorating lemon flavor that makes these bars so irresistible. Bottled lemon juice simply doesn’t compare in terms of freshness and aromatic quality. The zest, in particular, contains essential oils that deliver an intense burst of citrus.
- Shredded Coconut: Unsweetened shredded coconut is preferred here to control the overall sweetness and let the natural flavors shine. It adds a delightful chewiness and tropical aroma that pairs perfectly with the lemon. Make sure it’s finely shredded for best integration into the dough.
- Vanilla Extract: Just a touch of vanilla extract deepens the overall flavor profile, adding a warm, subtle sweetness that rounds out the bright lemon and coconut notes. Use a good quality pure vanilla extract for the best results.
- Pinch of Sea Salt (Optional but Recommended): A small pinch of sea salt works wonders to enhance and balance all the flavors in the bars. It helps to cut through the sweetness of the dates and brighten the lemon, creating a more complex and satisfying taste experience.
Effortless Step-by-Step Instructions
Making these no-bake lemon coconut bars is incredibly straightforward. Follow these simple steps for perfect results every time:
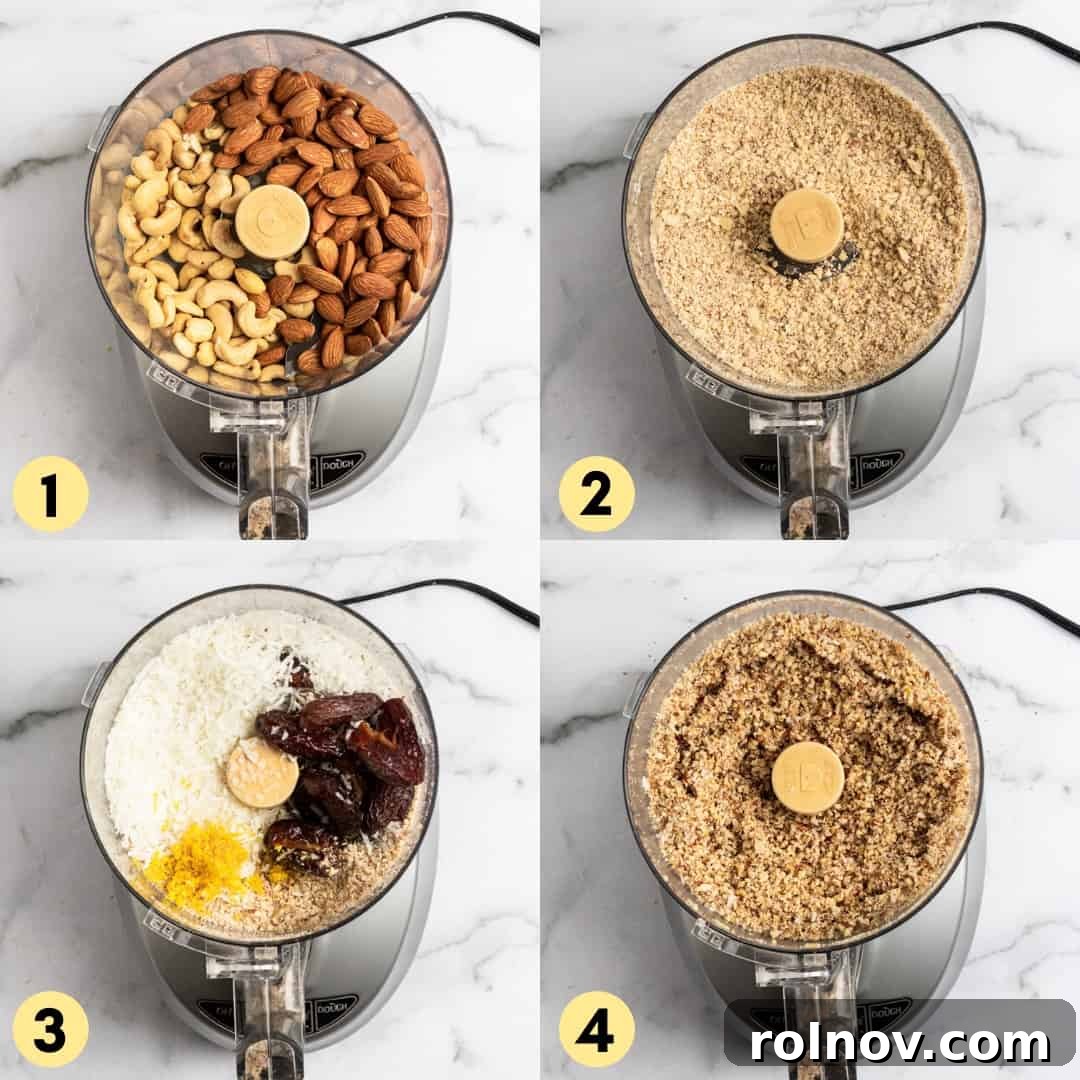
- Step 1: Process the Nuts. Begin by adding your raw almonds and cashews (or your chosen nut combination) to the bowl of a high-powered food processor. Process the nuts until they reach a fine, grain-like consistency. It’s okay if a few small chunks remain; in fact, they can add a nice texture. However, the goal is to break down the nuts thoroughly to help bind the bars together and provide a smooth base. Avoid over-processing to the point of turning them into nut butter, as this can make the bars too oily.
- Step 2: Combine Remaining Ingredients. Once your nuts are processed, add the pitted Medjool dates, shredded coconut, vanilla extract, fresh lemon juice, and lemon zest to the food processor. Now, process everything together. This step requires a bit of patience. You might need to stop the food processor occasionally to scrape down the sides of the bowl with a spatula, ensuring all ingredients are evenly incorporated. Continue processing until the mixture starts to come together and resembles a thick, sticky dough. This could take a few minutes, depending on your food processor’s power and the moisture content of your dates.
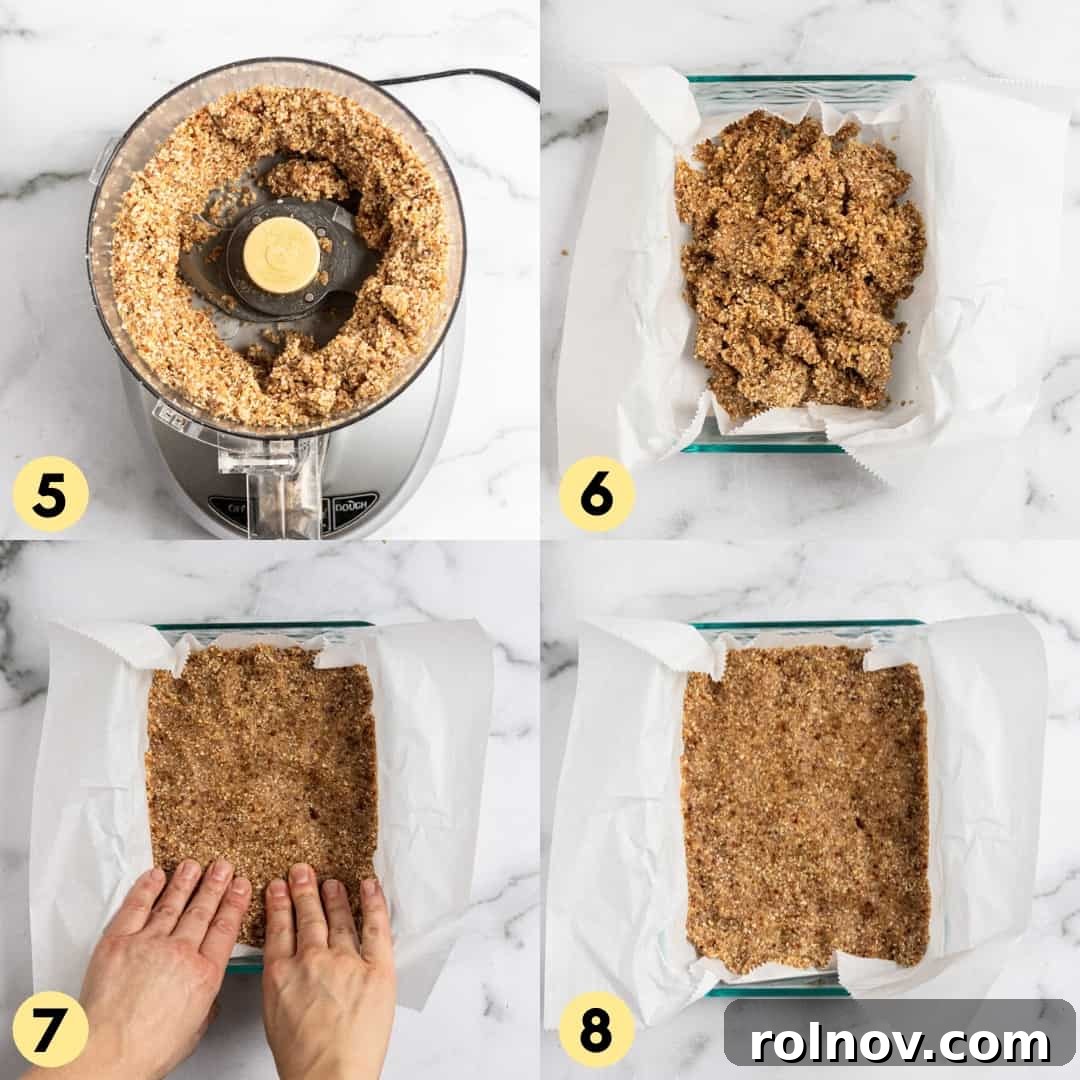
- Step 3: Achieve the Right Dough Consistency. Continue processing until the mixture visibly starts to clump together and form a single, cohesive dough. You’ll notice it beginning to pull away from the sides of the food processor bowl. If you process it for long enough, it will eventually form a large ball. I personally prefer my bars with a slightly less uniform texture, so I stop just as it starts to come together and press firmly against the sides, before it forms a perfect ball. This leaves a pleasant, slightly rustic texture.
- Step 4: Prepare the Pan for Pressing. Line a rectangular baking dish (a 6×8-inch Pyrex dish works perfectly for the indicated servings, or an 8×8 or 9×9-inch if you want thinner bars – just press to one side if it’s too large) with parchment paper. This step is absolutely essential! Trust me, trying to remove and cut these bars without parchment paper can be a frustrating experience. The parchment paper acts as a sling, allowing you to easily lift the entire slab of bars out of the pan once chilled.
- Step 5: Press the Dough Firmly. Pour the sticky dough into your parchment-lined pan. Now comes the critical part: press, press, PRESS the mixture down firmly and evenly into the pan. And I mean truly press hard! Use your hands, the bottom of a glass, or a flat spatula to compact the mixture as much as possible. You want these bars to be incredibly sturdy and dense, so don’t be shy with the pressure. This ensures they hold their shape beautifully when cut.
- Step 6: Chill and Enjoy! Once firmly pressed, place the pan in the refrigerator to chill and allow the bars to set. This usually takes about 30-45 minutes. Chilling is crucial for achieving that firm, sliceable texture. After they’re sufficiently chilled, lift the parchment paper from the pan, place the slab on a cutting board, and cut into individual bars of your desired size. Now, they’re ready to enjoy!
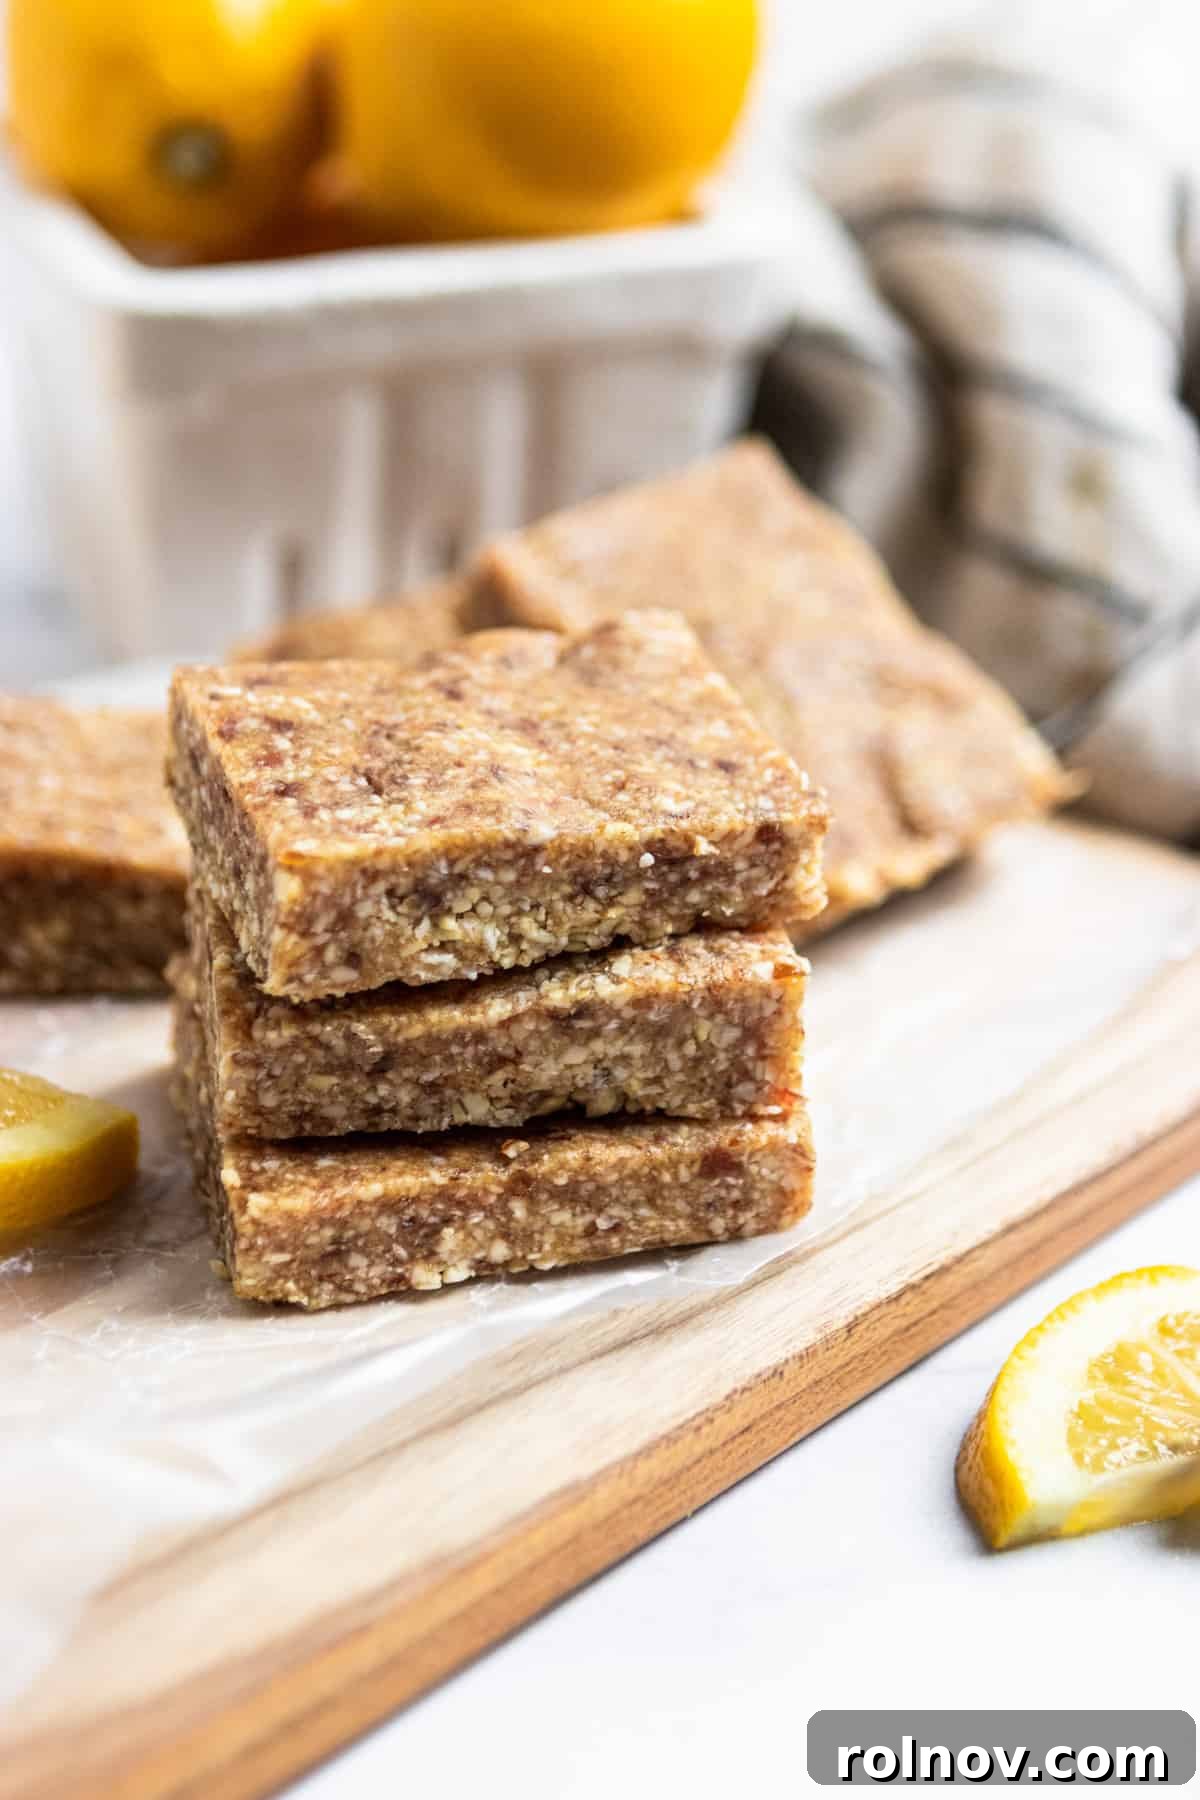
Pro Recipe Tips for Perfect Lemon Coconut Bars
To ensure your homemade lemon coconut energy bars are nothing short of perfect, keep these helpful tips in mind:
- Adjusting Dry Dough Consistency: If, after processing for several minutes, your dough still appears too dry, crumbly, or isn’t coming together to form a cohesive mass, don’t despair! Add a teaspoon of extra lemon juice or even plain water, one teaspoon at a time. Process again after each addition to see if it reaches the desired sticky, dough-like consistency. The moisture content of dates can vary, so minor adjustments are sometimes necessary.
- Dealing with Dry Medjool Dates: While Medjool dates are typically moist, sometimes you might encounter a drier batch. If your dates feel particularly firm or dry, you can easily rehydrate them. Simply soak them in warm water for about 5-10 minutes before adding them to the food processor. After soaking, drain the water thoroughly and pat the dates dry with a paper towel before proceeding with the recipe. This will restore their natural softness and stickiness, ensuring optimal binding.
- Optimal Storage for Freshness: These lemon coconut bars store wonderfully. Keep them in an airtight container at room temperature for up to 3-4 days, or for extended freshness, store them in the refrigerator for up to 2 weeks.
- Freezing for Long-Term Enjoyment: For a truly make-ahead snack, these bars freeze beautifully! Once cut, place them in a single layer on a baking sheet lined with parchment paper and freeze until solid. Then, transfer the frozen bars to an airtight freezer-safe container or bag, separating layers with parchment paper to prevent sticking. They will maintain their quality in the freezer for up to 3 months, ready for a quick thaw and healthy snack anytime.
- Don’t Skip the Parchment Paper: Seriously, don’t! It makes removing the bars from the pan and cutting them an absolute breeze. Without it, you might find yourself wrestling with a sticky situation.
- Press, Press, Press! The firmness of your bars depends entirely on how well you compact the mixture into the pan. The harder you press, the more cohesive and less crumbly your bars will be. This is key for creating sturdy, portable snacks.
Exciting Substitutions and Creative Variations
One of the best things about making your own energy bars is the freedom to customize them. This lemon coconut bar recipe is a fantastic base for endless delicious possibilities!
- Explore Different Nut Combinations: As mentioned, the recipe is incredibly forgiving when it comes to nuts. While almonds and cashews offer a balanced flavor and texture, feel free to experiment with equal parts pecans, walnuts, or even macadamia nuts. Each will impart a slightly different flavor profile and texture, but the core deliciousness will remain. Consider toasting the nuts lightly before processing for a deeper, richer flavor!
- A Versatile Base Recipe: Think of this lemon coconut mixture as your blank canvas for a homemade energy bar. You can easily adapt it to create entirely new flavors. For instance, skip the lemon entirely and fold in some dark chocolate chips for a rich coconut chocolate chip variation. Or, for a fruity twist, incorporate dried cranberries, chopped dried apricots, or even dried cherries instead of or in addition to the coconut. A sprinkle of cinnamon or cardamom can also add a warm, inviting spice note. The possibilities are truly abundant!
- Alternative Citrus Flavors or Extracts: If lemon isn’t your only citrus love, or if you’re out of fresh lemons, feel free to swap it out. Limes will give you a similarly zesty, tropical flavor, while oranges will offer a sweeter, milder citrus note. For an extra boost of flavor without fresh fruit, you can also use a bit of lemon extract or even coconut extract to intensify the core flavors.
- Add Protein Powder: For an extra protein boost, consider adding a scoop of your favorite vanilla or unflavored protein powder (plant-based options work great here). You might need to add an extra splash of liquid (water or lemon juice) to maintain the desired dough consistency.
- Incorporate Seeds for Extra Nutrition: Enhance the nutritional profile by adding a tablespoon or two of chia seeds, flax seeds, or hemp seeds to the mix. They blend in seamlessly and provide extra fiber, omega-3s, and nutrients.
- Boost with Superfoods: For an antioxidant punch, mix in a teaspoon of spirulina powder (it might change the color but adds nutrients) or a sprinkle of goji berries.
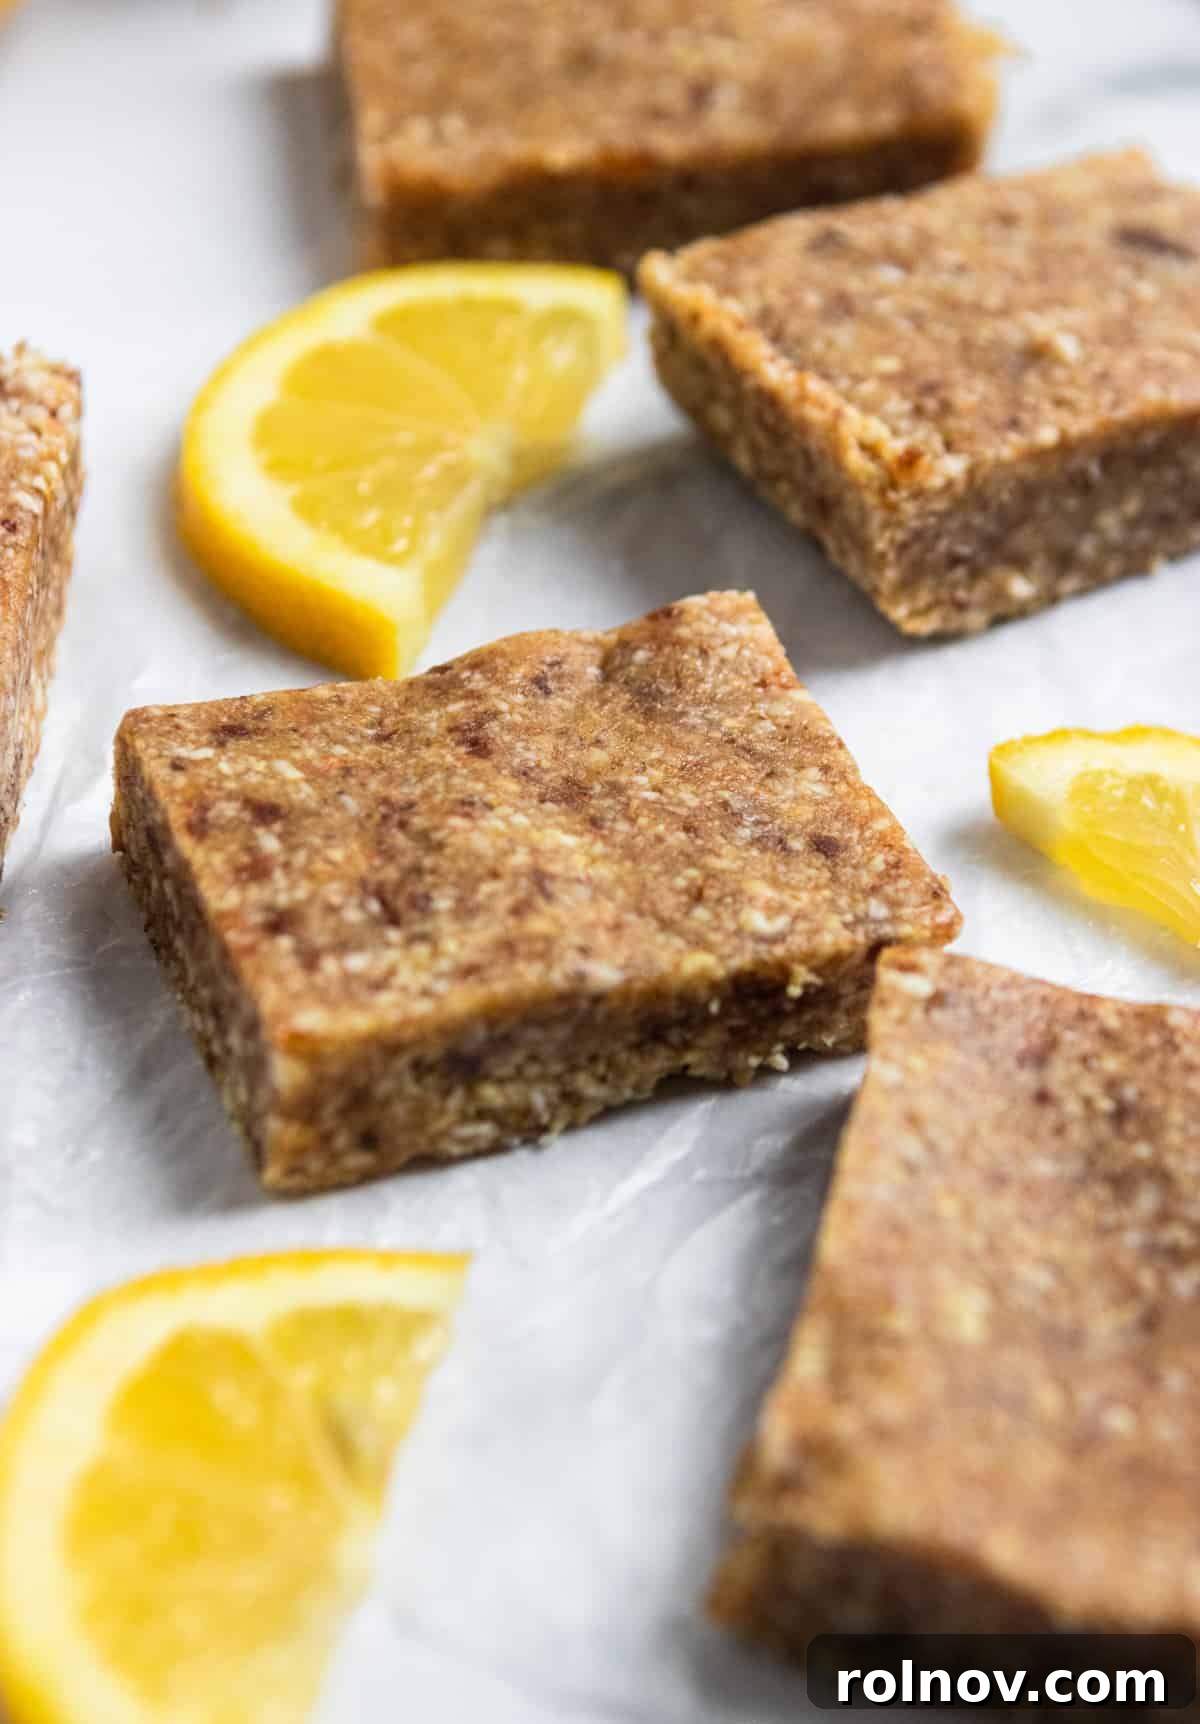
More Irresistible No-Bake Recipes to Explore
If you’ve fallen in love with the simplicity and deliciousness of these no-bake bars, you’re in luck! Here are even more fantastic recipes that require no oven, perfect for quick snacks and healthy treats:
- Homemade Birthday Cake Perfect Bars
- Mango Coconut Cashew Bars
- Copycat Peanut Butter Chocolate Chip Perfect Bars
- Pecan Pie Energy Bites
- Peanut Butter Oatmeal Energy Bites
- No Bake Piña Colada Bites
HUNGRY FOR MORE? Subscribe to my newsletter and follow me on Facebook, Instagram and Pinterest for all the latest recipes and healthy eating inspiration!
No Bake Lemon Coconut Bars
Lorie Yarro
10 minutes
30 minutes
40 minutes
12
Ingredients
- 1 cup raw almonds
- 1 cup raw cashews
- 10-12 medjool dates, pitted
- 1 cup shredded coconut
- 1 tsp vanilla extract
- Juice of 1/2 of a lemon (about 1 tablespoon)
- Zest of one lemon
- Pinch of sea salt, optional
Instructions
-
In a food processor, combine the cashews and almonds. Process until they reach a fine, grain-like consistency.
-
Add in the pitted dates, shredded coconut, vanilla extract, lemon juice, and lemon zest. Process again until a sticky dough forms. You may need to stop and scrape down the sides of the food processor bowl after about a minute to ensure even blending.
-
Firmly press the dough into a pan lined with parchment paper. A 6×8-inch rectangular dish works perfectly. If using an 8×8 or 9×9-inch pan, simply press the mixture to one side, leaving it thicker. Ensure you PRESS these bars very hard into the pan to make them sturdy.
-
Chill the pressed mixture in the refrigerator for about 30-45 minutes to allow it to set. Once firm, cut into individual bars and enjoy!
Notes
If your dough seems a bit dry or is not really starting to come together, add a teaspoon more lemon juice or even water, just one at a time. Then process again to see if it will achieve the right consistency.
The Medjool dates should be pretty moist. If they are really dry, you can soak them in warm water for 5-10 minutes before making these homemade energy bars. Just drain the water thoroughly and pat them dry before adding them into the food processor.
Storage: Store these bars in an airtight container at room temperature for about 3-4 days or in the refrigerator for up to 2 weeks. You can also freeze these coconut lemon bars for up to 3 months.
Nutrition
Calories: 222kcal,
Carbohydrates: 24g,
Protein: 5g,
Fat: 13g,
Saturated Fat: 4g,
Sodium: 21mg,
Potassium: 319mg,
Fiber: 3g,
Sugar: 18g,
Vitamin A: 30IU,
Calcium: 49mg,
Iron: 1mg
Nutrition information is automatically calculated, so should only be used as an approximation.