
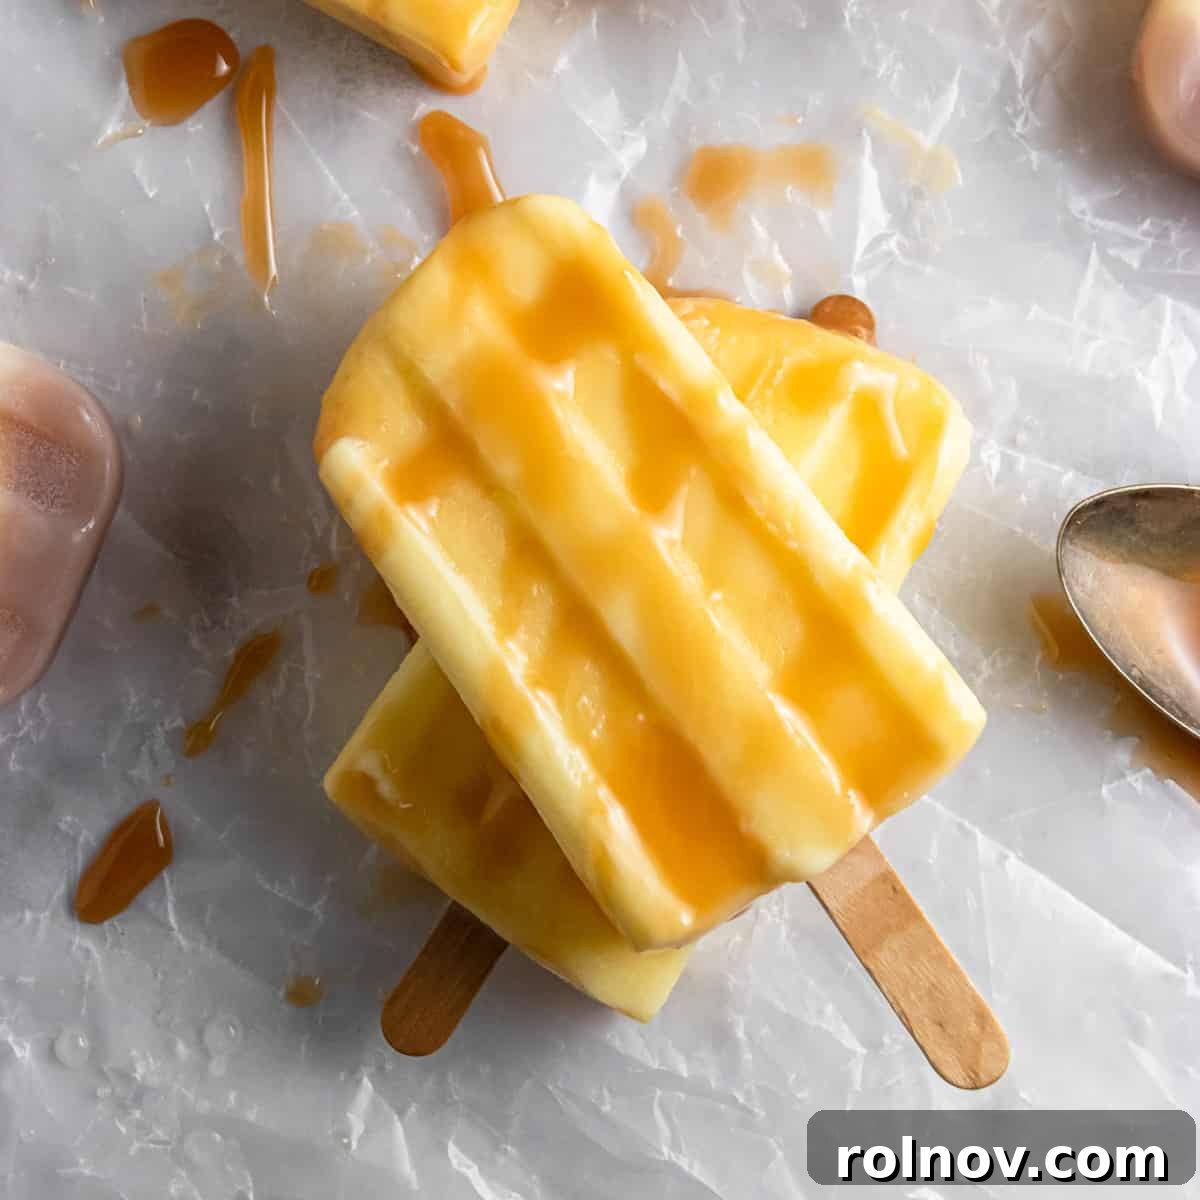
Step back in time with this incredibly simple Jello Pudding Pop recipe! If you grew up enjoying those classic creamy frozen treats, this recipe is your ticket to a delicious blast from the past. With only a handful of ingredients, you can have these nostalgic pops ready for the freezer in less than ten minutes. Get ready to discover a perfect, customizable dessert that promises a delightful variety of flavors for everyone to enjoy.
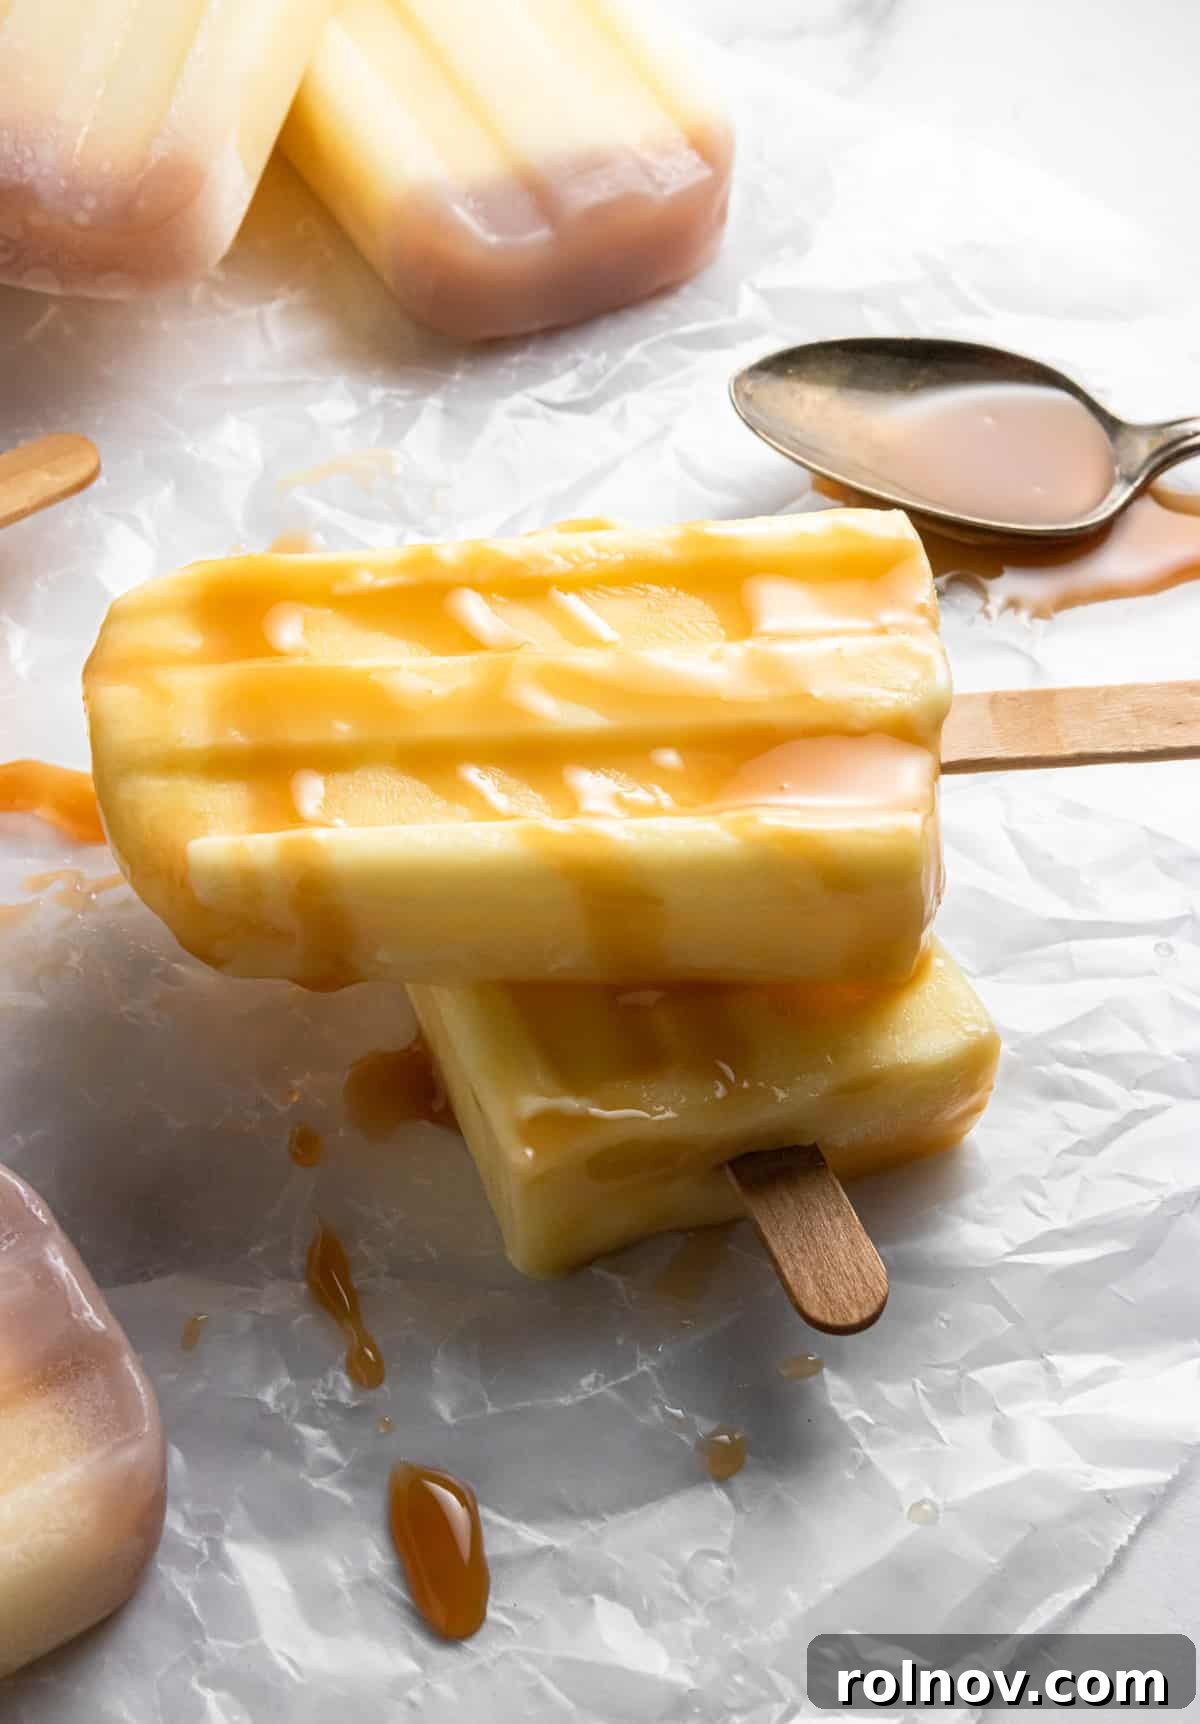
Classic Jello Pudding Pops: An Easy Homemade Recipe for Nostalgic Frozen Treats
For many of us who remember the vibrant decades of the 80s and 90s, the mention of Jello Pudding Pops instantly brings a smile. These iconic frozen delights were more than just a snack; they were a staple of summer afternoons, a sweet reward after a day of play, and a beloved treat that perfectly straddled the line between ice cream and a fruit pop. Their unique creamy texture and satisfying chill made them an unforgettable part of childhood for an entire generation.
I distinctly recall my absolute adoration for pudding pops. They were my go-to frozen indulgence, a perfect balance of rich flavor and refreshing coolness. Yet, like many beloved childhood favorites, they became increasingly difficult to find. While I occasionally stumbled upon them at a grocery store a few years back, they’ve since vanished from shelves, leaving a void that only a true pudding pop enthusiast can understand. The solution? To recreate that magic right in my own kitchen!
Making your own homemade Jello Pudding Pops isn’t just about satisfying a craving; it’s about reclaiming a piece of culinary history and experiencing the joy of a truly simple, yet utterly delicious, frozen dessert. This recipe isn’t just a stand-in for the original; it’s an opportunity to create something even better, tailored precisely to your tastes and preferences. Get ready to embark on a sweet journey that’s surprisingly easy and incredibly rewarding.
The Enduring Appeal of Jello Pudding Pops
What was it about Jello Pudding Pops that captured the hearts of so many? It wasn’t just clever marketing or the star power of Bill Cosby; it was the product itself. Unlike a traditional ice pop, which could be icy and somewhat bland, pudding pops offered a smooth, creamy consistency that melted delightfully in your mouth. They weren’t quite as heavy as ice cream, making them a lighter, yet equally satisfying, option for a hot day. Their sweetness was balanced, and the range of flavors meant there was always something new to try.
This unique texture, coupled with the convenient popsicle format, made them ideal for kids and adults alike. They were less messy than a bowl of pudding and more substantial than a plain ice pop. The joy of slowly savoring a chocolate or vanilla pudding pop on a warm evening is a core memory for many, evoking a simpler time when small pleasures brought immense happiness.
Why This Homemade Jello Pudding Pop Recipe Shines
Creating your own pudding pops at home offers several compelling advantages, and this particular recipe stands out for its undeniable charm and simplicity:
- Effortless Preparation: This recipe is astoundingly straightforward. You literally whisk a few ingredients together and pour them into molds. If you opt for thawed Cool Whip instead of whipping heavy cream from scratch, the process becomes even faster, making it a perfect quick fix for a dessert craving or a last-minute summer treat.
- Unleash Your Inner Flavor Creator: The beauty of homemade lies in customization. With instant pudding mixes available in a vast array of flavors, the possibilities are virtually endless. Craving classic chocolate or vanilla? Absolutely. Feeling adventurous with butterscotch, cheesecake, or even pistachio? Go for it! This recipe is a blank canvas for your favorite tastes.
- A Journey Back to Childhood: Beyond the delicious taste, these pudding pops deliver a powerful dose of nostalgia. Food has an incredible ability to transport us through time, and biting into one of these creamy delights is like stepping straight back into the innocent joys of youth. It’s more than just a dessert; it’s an experience.
- Control Over Ingredients: When you make treats at home, you know exactly what goes into them. You can choose high-quality milk, your preferred brand of pudding, and even adjust the sugar content slightly to your liking.
- Cost-Effective: Compared to store-bought frozen treats, making your own pudding pops is often much more economical, especially when you can make a larger batch to enjoy throughout the week.
Essential Ingredients for Your Pudding Pop Masterpiece
The magic of this recipe lies in its minimal ingredient list. Here’s a closer look at what you’ll need and some helpful considerations:
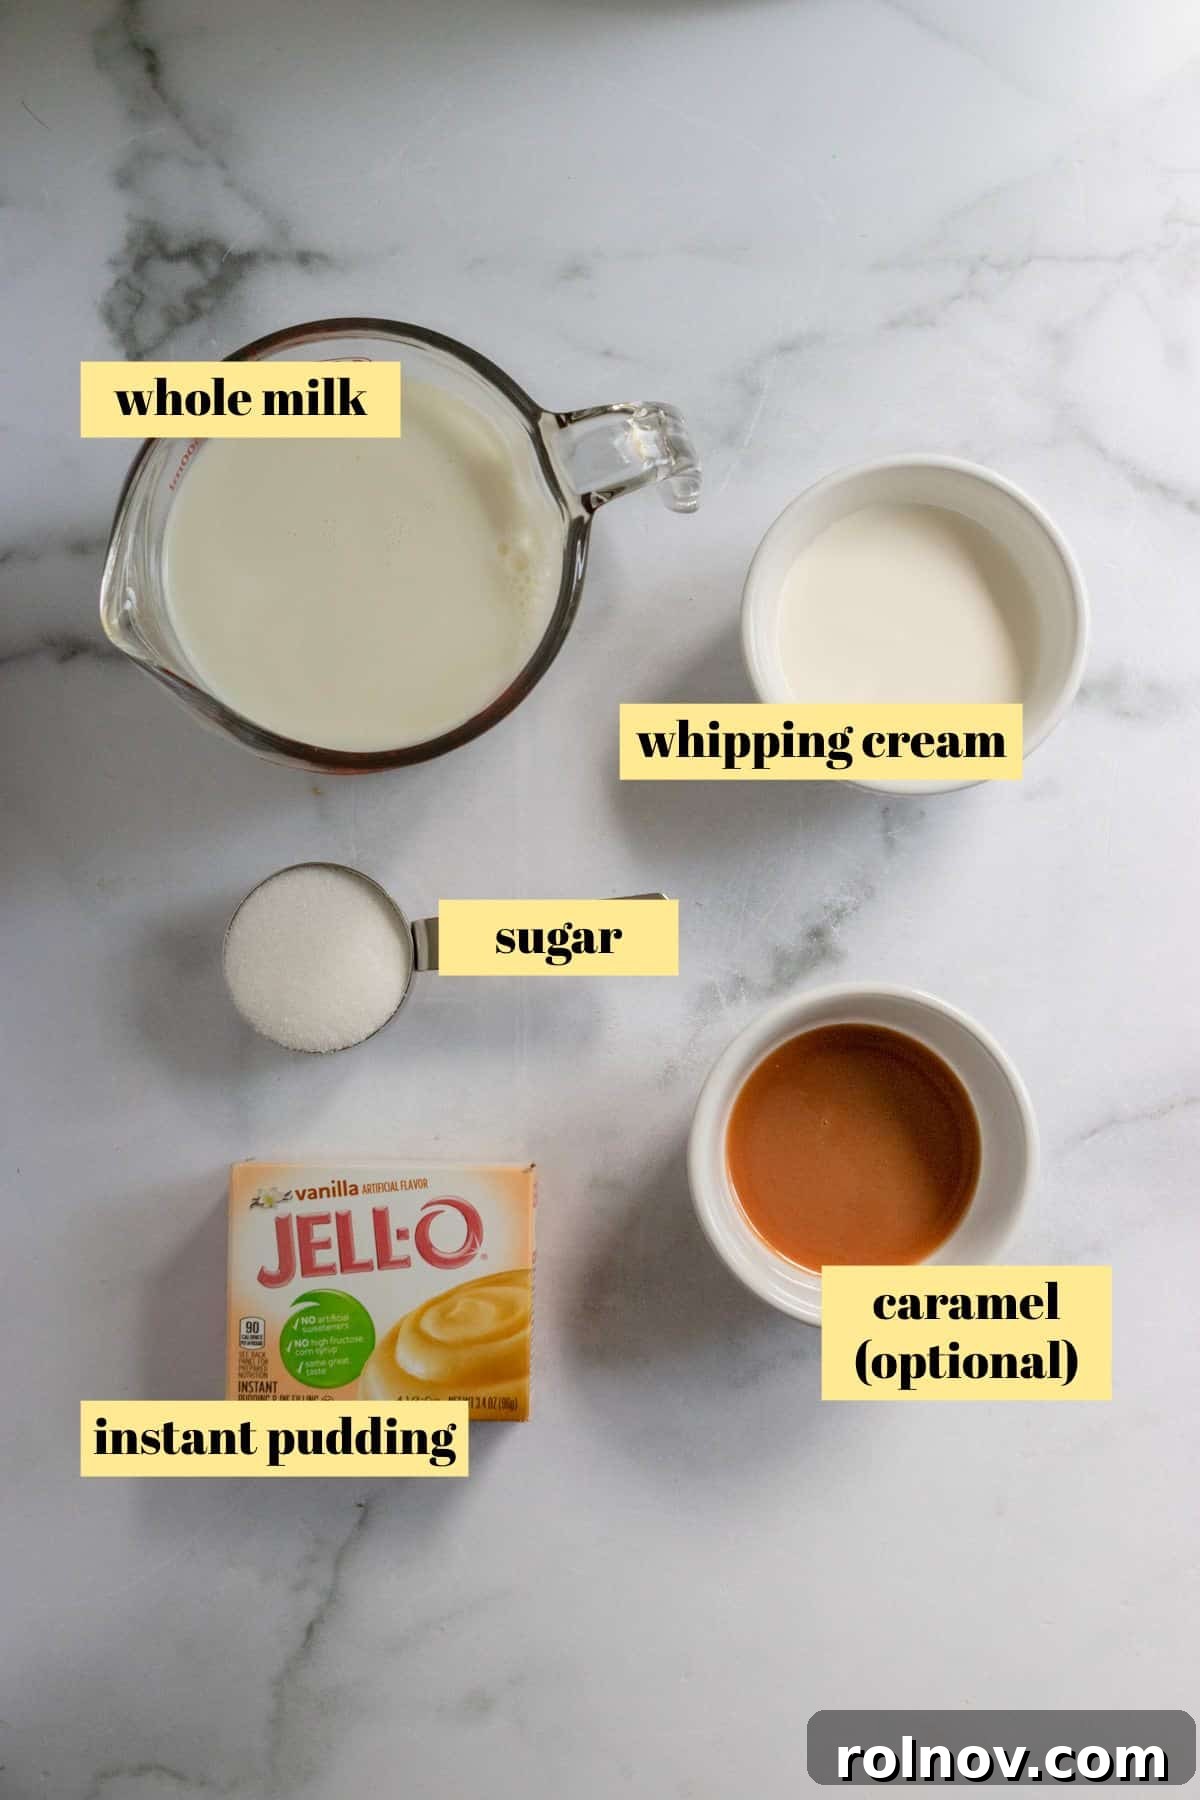
- Instant Pudding Mix (3.4 oz box): This is the star of the show. Choose your favorite flavor – chocolate, vanilla, butterscotch, strawberry, banana cream, pistachio, or even lemon. Ensure it’s an instant pudding mix, not the cook-and-serve variety, as this is crucial for the no-cook preparation method.
- Whole Milk (2 cups, cold): I’ve personally found whole milk to yield the creamiest, most authentic pudding pop texture. Its higher fat content contributes significantly to the richness and prevents an icy consistency. While I haven’t extensively tested other milk varieties, be aware that lower-fat milks might result in a slightly icier or less luxurious pop. If you experiment with alternatives like 2% milk or non-dairy milks, results may vary in terms of creaminess and set time.
- Heavy Whipping Cream (½ cup) OR Thawed Cool Whip (1 cup): This is where you can tailor the richness and effort.
- Heavy Whipping Cream: Whipping heavy cream yourself results in a truly decadent, rich, and airy texture that elevates these pops to a gourmet level. It takes a few minutes but is well worth the effort for the “real deal” experience.
- Cool Whip (Thawed): For an even faster and simpler approach, substitute the heavy cream with 1 cup of thawed Cool Whip. This still delivers a wonderful creamy texture with less prep time.
- Granulated Sugar (¼ cup): This adds a touch of extra sweetness to complement the pudding mix. Depending on your pudding flavor and personal preference, you can slightly adjust this amount.
- Vanilla Extract (½ tsp, optional): A splash of vanilla can enhance the overall flavor, especially in vanilla, butterscotch, or chocolate pudding pops. I’ve made them both with and without, and while both versions are delicious, it’s not strictly necessary, so feel free to omit it if you prefer.
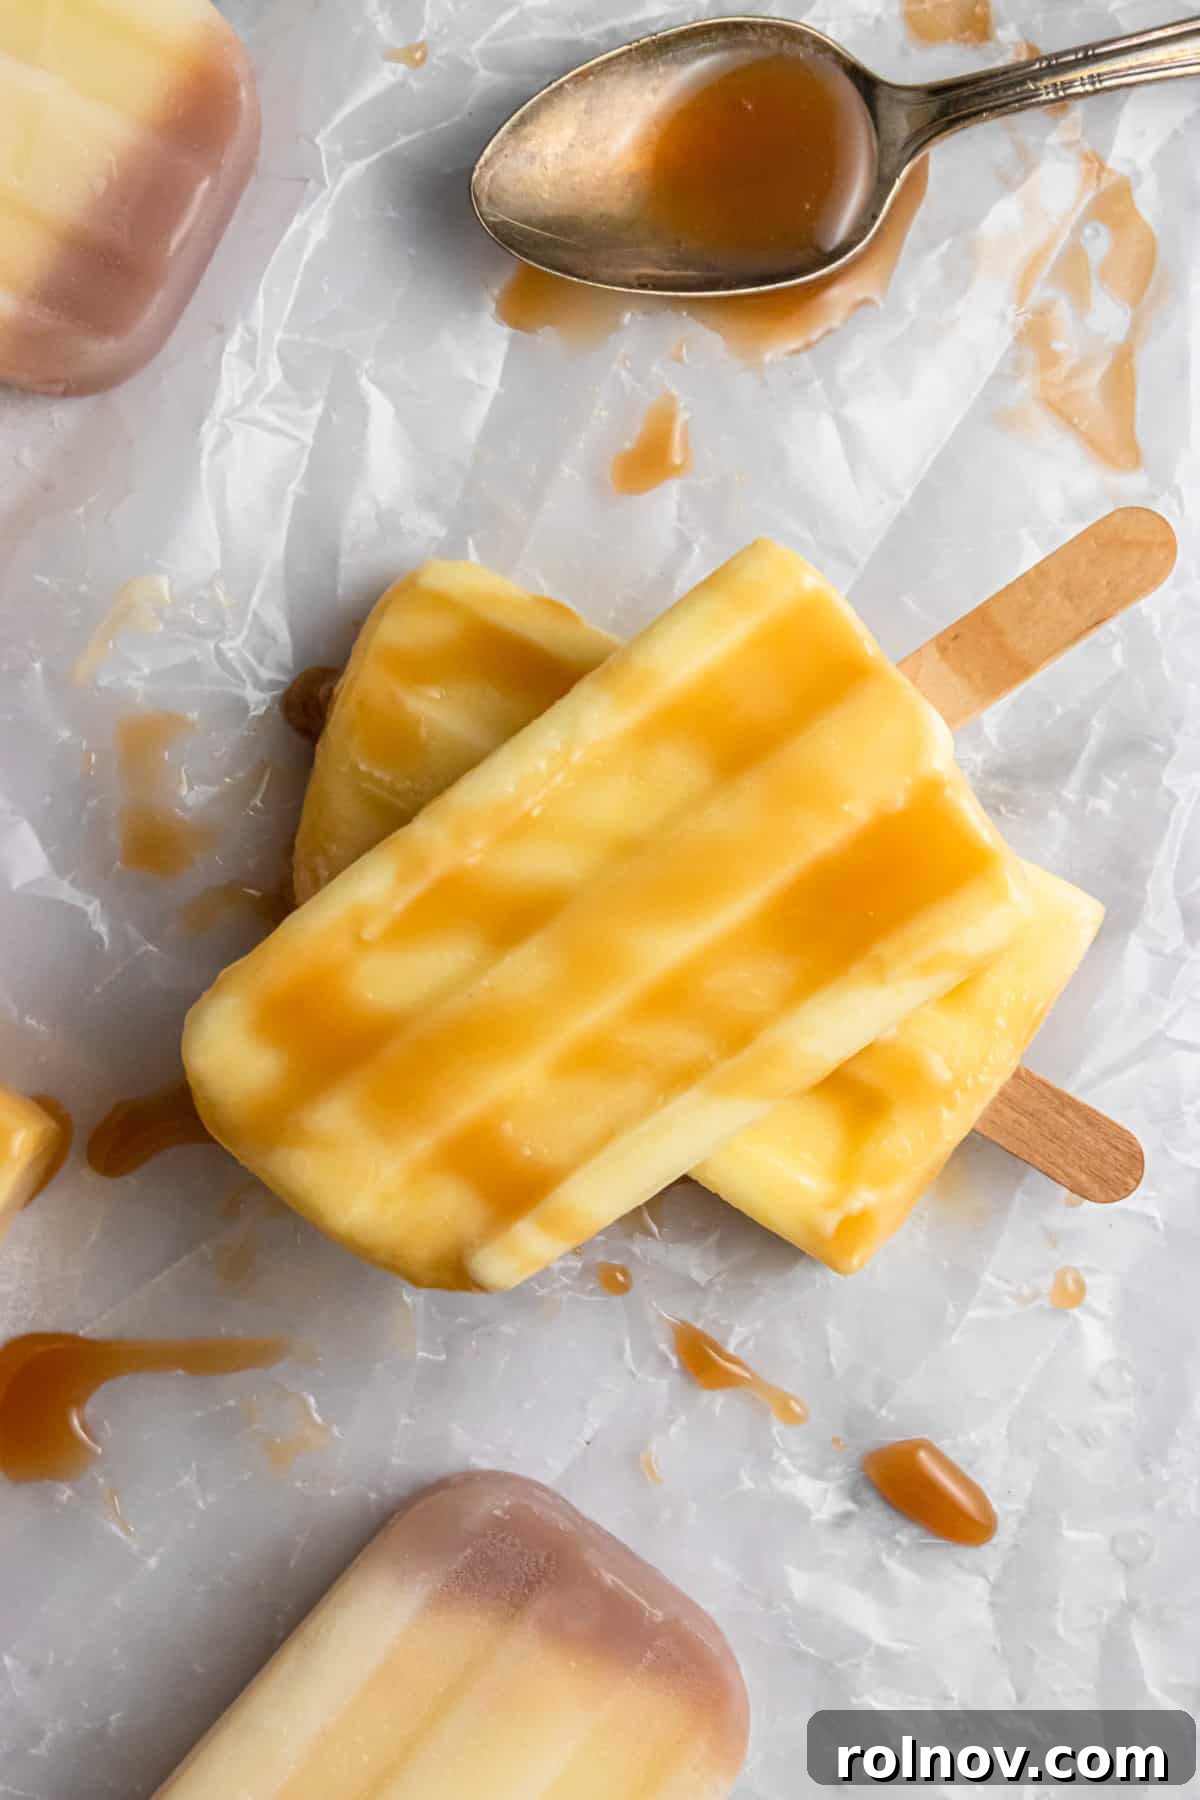
- Optional Embellishments: Get creative! A drizzle of caramel (which I highly recommend!), chocolate syrup, sprinkles, mini chocolate chips, or crushed cookies can transform your basic pudding pop into an extraordinary dessert.
Step-by-Step Guide to Crafting Your Own Jello Pudding Pops
Ready to bring these delightful treats to life? The process is wonderfully straightforward:
- Whip the Cream (if using heavy cream): In a clean, dry mixing bowl, pour in the ½ cup of cold heavy whipping cream. Using an electric mixer on medium-high speed, whip the cream until stiff peaks begin to form. This usually takes about 3 to 5 minutes. The cream should be light, fluffy, and hold its shape. If using thawed Cool Whip, you can skip this step.
- Combine the Pudding Mixture: In a separate, larger bowl, add the 2 cups of cold whole milk, the 3.4 oz box of instant pudding mix, and the ¼ cup of granulated sugar. If you’re using optional vanilla extract, add the ½ teaspoon now. Whisk thoroughly for about 2-3 minutes until the mixture is completely smooth and the pudding starts to thicken slightly. Ensure there are no dry pudding pockets remaining.
- Fold in the Whipped Cream: Gently fold the prepared whipped cream (or thawed Cool Whip) into the pudding mixture. Use a spatula to carefully incorporate it until everything is fully combined and the mixture is light and airy. Be careful not to deflate the whipped cream too much.
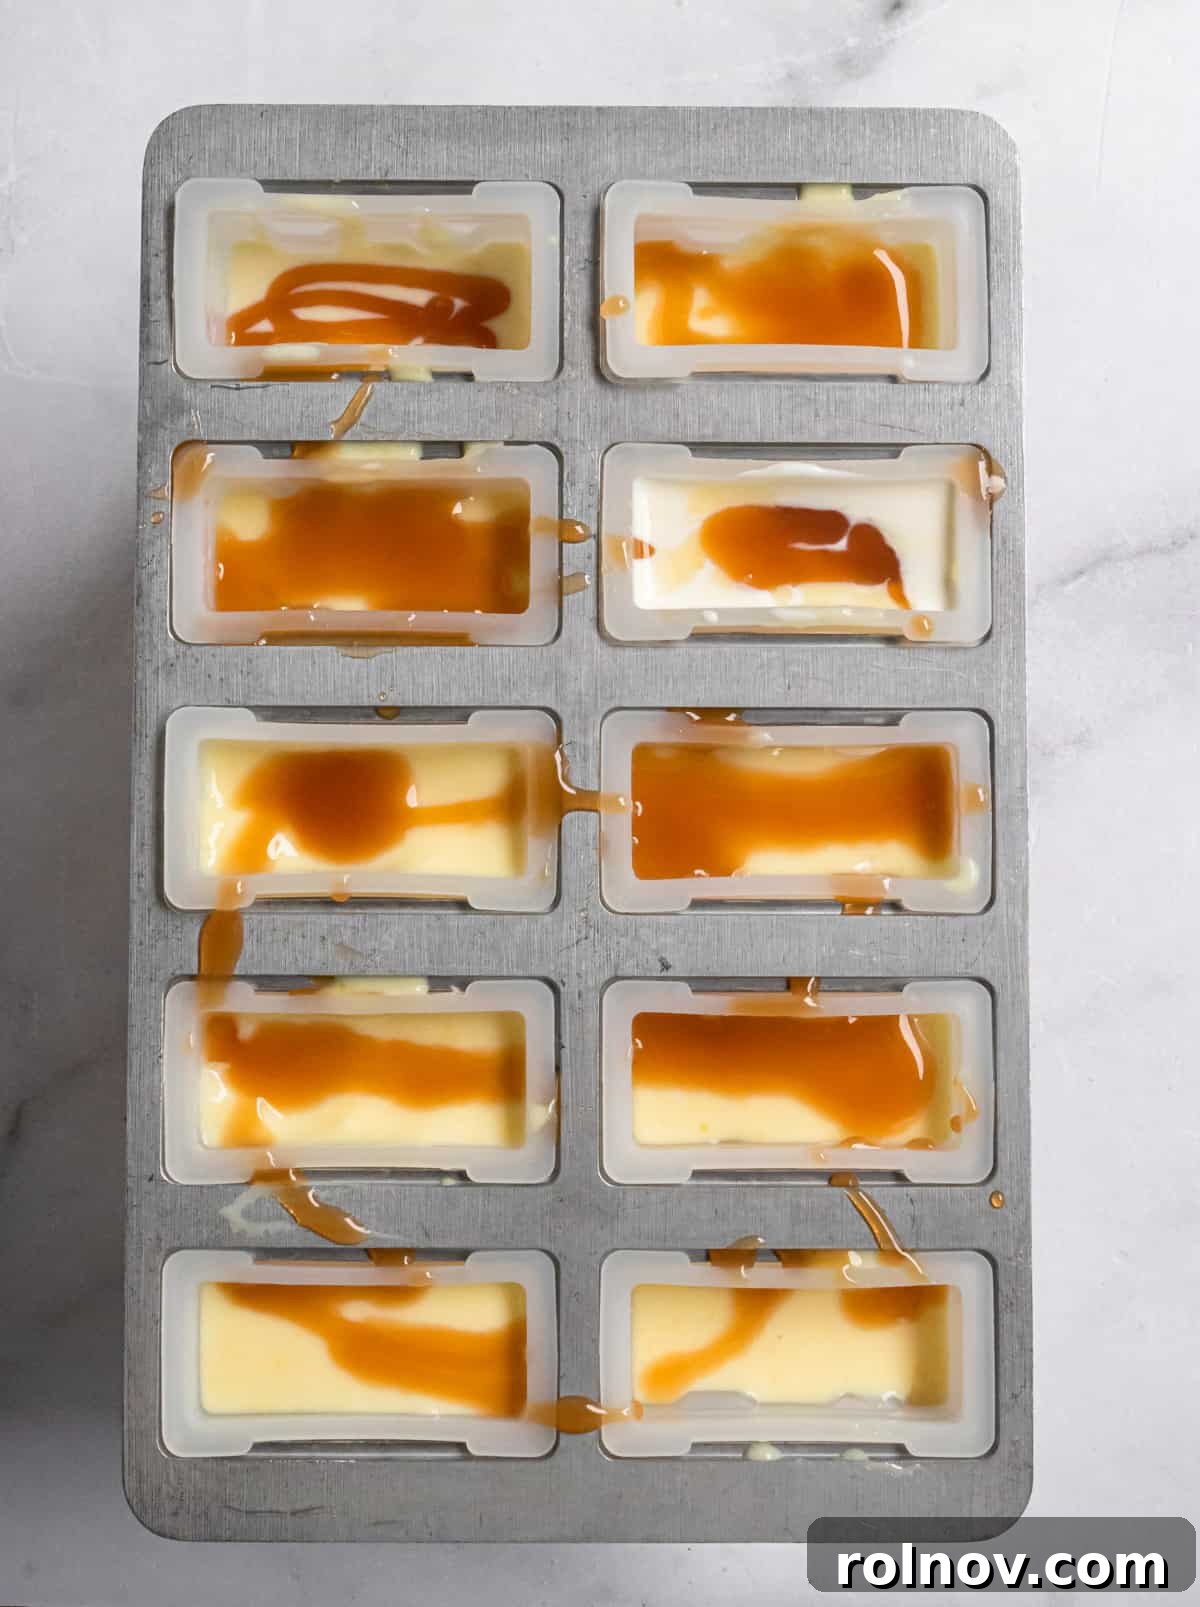
- Fill the Molds and Freeze: Carefully pour the creamy pudding pop mixture into your popsicle molds. If you desire a caramel swirl, you can drizzle a small amount into the bottom of each mold before filling, and/or add another drizzle over the top of the mixture before inserting the popsicle sticks. Fill the molds, leaving a small amount of space at the top for expansion. Insert the popsicle sticks firmly.
- Chill for Perfection: Place the filled molds in the freezer for a minimum of 4 hours, or preferably overnight, to ensure they are completely frozen solid. The longer they freeze, the firmer and less prone to melting they will be.
- Enjoy Your Nostalgic Treat: Once fully frozen, run the molds under warm water for a few seconds to easily release the pudding pops. Serve immediately and savor every creamy, dreamy bite!
Tips for Perfect Homemade Pudding Pops
- Popsicle Mold Considerations: The number of pudding pops you yield will depend on the size and capacity of your specific popsicle molds. My molds have 10 slots, and I typically get around 9 full pops from this recipe. Adjust your expectations or consider making a slightly larger batch if your molds are particularly large.
- Easy Release from Molds: To ensure your pudding pops slide out effortlessly, run the bottom of the molds under warm water for 15-30 seconds. Don’t overdo it, or your pops will start to melt.
- Storage: Once frozen, you can remove the pops from their molds and store them individually wrapped in plastic wrap or parchment paper in a freezer-safe bag or container. This prevents freezer burn and allows for easy access. They typically last well for up to 2-3 weeks in the freezer.
- Preventing Icy Pops: Using whole milk and heavy whipping cream contributes to a creamier texture. Ensure your ingredients are cold when you start, and don’t skimp on the freezing time.
- Vanilla Extract: As mentioned, vanilla extract is optional. While it adds a lovely depth of flavor to many pudding mixes, it’s not strictly essential for a delicious outcome, especially if your chosen pudding flavor is already strong.
Endless Flavor and Topping Ideas for Your Jello Pudding Pops
This recipe is designed for creativity! The “sky is the limit” truly applies when it comes to customizing your Jello Pudding Pops. Here are some fantastic ideas to inspire your next batch:
Flavor Variations:
- Classic Chocolate or Vanilla: You can’t go wrong with the originals. Use dark chocolate, milk chocolate, or French vanilla pudding mixes.
- Fruity Fun: Strawberry, banana cream, lemon, or even orange cream pudding mixes make bright and refreshing pops.
- Nutty & Rich: Butterscotch, peanut butter (using peanut butter instant pudding mix), or add a swirl of a nut butter.
- Dessert Inspired: Cheesecake, s’mores, or even cookies and cream pudding mixes can create incredible dessert pops.
- Layered Pops: Get fancy by making two different pudding mixtures and layering them in the molds, freezing each layer partially before adding the next for beautiful stripes.
Creative Toppings & Mix-Ins:
- Caramel Swirl: As in the recipe, a touch of caramel sauce (store-bought or homemade) swirled into the mixture or drizzled on top before freezing is divine.
- Chocolate Shell Dip: After freezing, dip your pops into melted chocolate (or a magic shell-type chocolate) for a delightful crunchy coating.
- Sprinkle Magic: Immediately after dipping in chocolate (or if you just want to stick them onto the pop itself), coat with your favorite sprinkles for a festive touch.
- Crushed Cookies & Candy: Mix in crushed Oreos, graham crackers, or chopped candy bars (like Snickers or Butterfingers) into the pudding mixture before freezing, or press them onto the outside after dipping in chocolate.
- Mini Chocolate Chips: A handful of mini chocolate chips stirred into the pudding mixture adds a lovely texture and extra chocolatey goodness.
- Nutty Crunch: Add chopped nuts like pecans, walnuts, or almonds for a satisfying crunch.
- Fruit Puree Swirl: Swirl a small amount of fruit puree (raspberry, blueberry, mango) into a vanilla or cheesecake pudding base for a fresh flavor.
More Simple & Delicious Frozen Treats to Explore
If you’ve fallen in love with the ease and enjoyment of making your own frozen desserts, you’ll surely want to try these other fantastic recipes:
- Lemon Basil Ice Cream (No Ice Cream Maker Required!) – A refreshing and unique flavor combination.
- Peaches and Cream Popsicles – Sweet, creamy, and bursting with fruity goodness.
- Homemade Butter Pecan Ice Cream – A classic, rich, and nutty delight.
- Homemade Mocha Frappuccino – For those who love a coffee-infused treat.
- No Churn Peanut Butter Cookies and Cream Ice Cream – A decadent and easy ice cream creation.
Did you whip up a batch of these amazing Jello Pudding Pops? I’d absolutely love to hear about your experience! Leave a comment below and let me know your favorite flavor combination or any creative toppings you added. Don’t forget to share your delicious creations on social media and tag me @lemonsandzest on Instagram or Facebook! Your feedback and photos truly make my day!
Jello Pudding Pop Recipe
Lorie Yarro
Rating: 5 out of 5 stars (from 4 votes)
10 minutes
4 hours
4 hours 10 minutes
8
Ingredients
- 1 instant pudding mix (3.4 oz)
- 2 c whole milk, cold
- ½ c heavy whipping cream (or 1 cup thawed Cool Whip)
- ¼ c sugar
- ½ tsp vanilla (optional)
- Optional ingredients: caramel drizzle, sprinkles, chocolate shell, etc.
Instructions
-
In a mixing bowl, whip the heavy whipping cream with an electric mixer until stiff peaks start to form. This will take approximately 3-5 minutes. (Skip this step if using thawed Cool Whip.)
-
In another bowl, add the cold whole milk, instant pudding mix, granulated sugar, and optional vanilla extract. Whisk thoroughly for 2-3 minutes until the mixture is smooth and begins to thicken.
-
Gently fold the whipped cream (or thawed Cool Whip) into the pudding mixture until fully incorporated and the mixture is light and airy.
-
Pour the mixture into popsicle molds. If desired, drizzle a touch of caramel into the molds before filling and/or on top of the mixture before inserting popsicle sticks.
-
Freeze for at least 4 hours, or preferably overnight, until completely solid. Run molds under warm water briefly to release. Enjoy!
Notes
- The number of pops will vary based on your popsicle mold size. My molds typically yield about 9 pops from this recipe.
- Vanilla extract is optional but can enhance certain pudding flavors.
- Feel free to experiment with different pudding flavors, drizzles, sprinkles, or mix-ins like chocolate chips for endless variations!
Nutrition
Carbohydrates: 21g,
Protein: 2g,
Fat: 8g,
Saturated Fat: 5g,
Cholesterol: 26mg,
Sodium: 108mg,
Potassium: 92mg,
Fiber: 1g,
Sugar: 19g,
Vitamin A: 317IU,
Calcium: 79mg
Nutrition information is automatically calculated, so should only be used as an approximation.
Did you enjoy this recipe? Have a question?
Leave a comment below!