
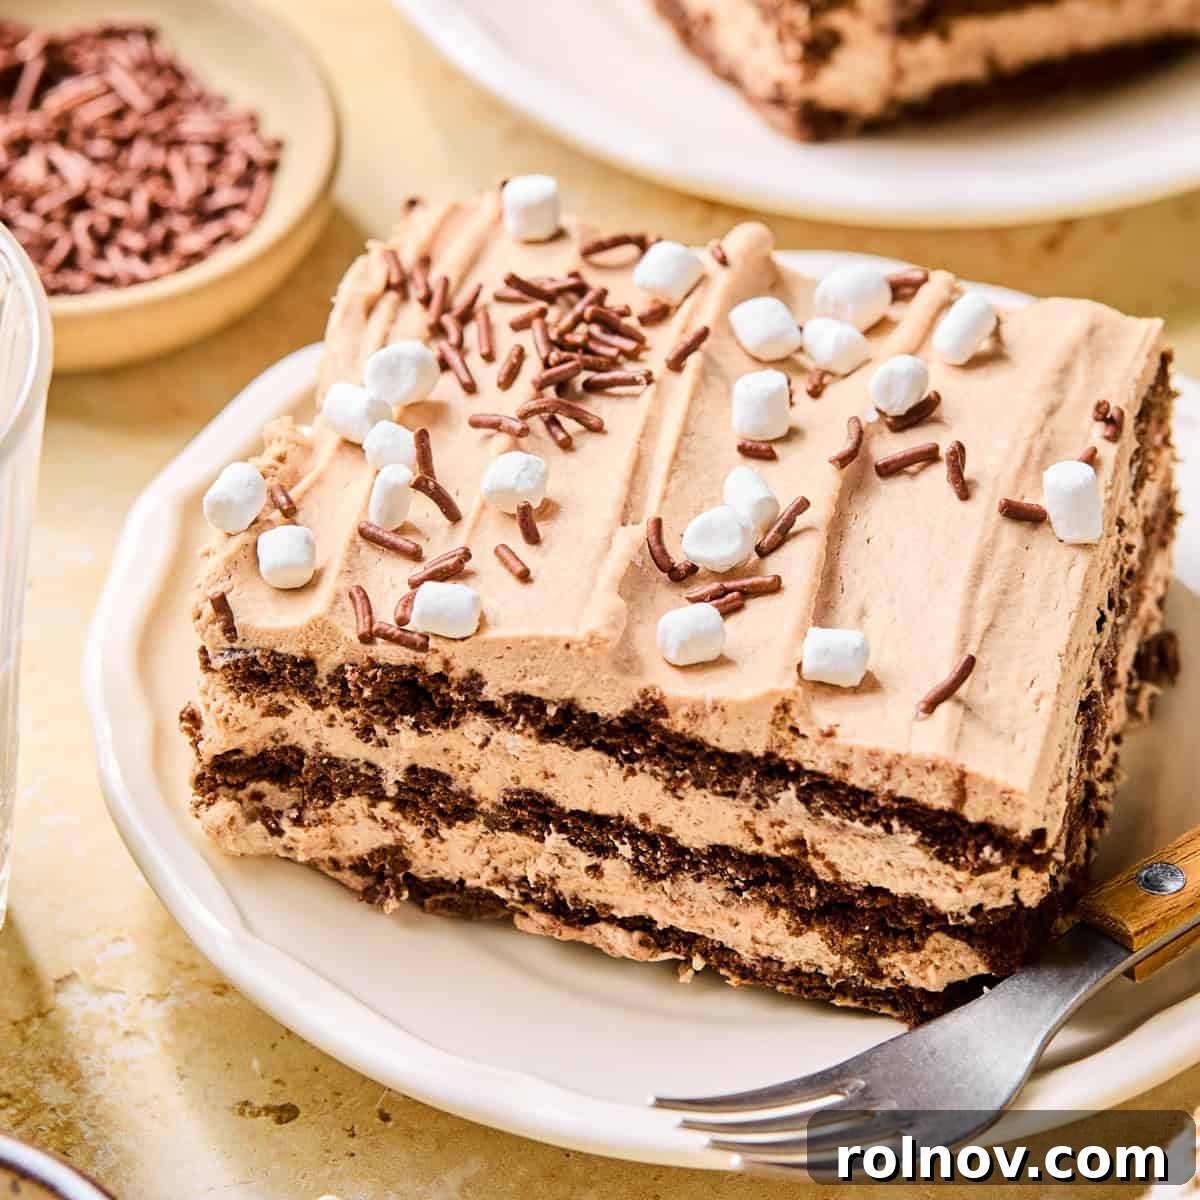
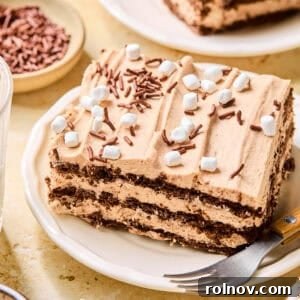
Welcome, fellow chocolate enthusiasts! Prepare to be captivated by this incredibly simple, yet exquisitely rich and creamy Hot Chocolate Icebox Cake. It’s the ultimate no-bake dessert that masterfully transforms the comforting warmth of a steaming cup of hot cocoa into a decadent, spoon-worthy treat. Requiring only about 20 minutes of active preparation time, this dessert is not just easy but also perfect for making ahead, allowing the flavors to meld beautifully. Each luscious slice boasts alternating layers of tender, softened chocolate graham crackers or wafers, nestled between generous spreads of a velvety, rich chocolatey cream. What truly elevates this to a genuine “hot chocolate experience” is the luxurious addition of marshmallow creme, infusing every bite with that classic sweet, melt-in-your-mouth goodness.
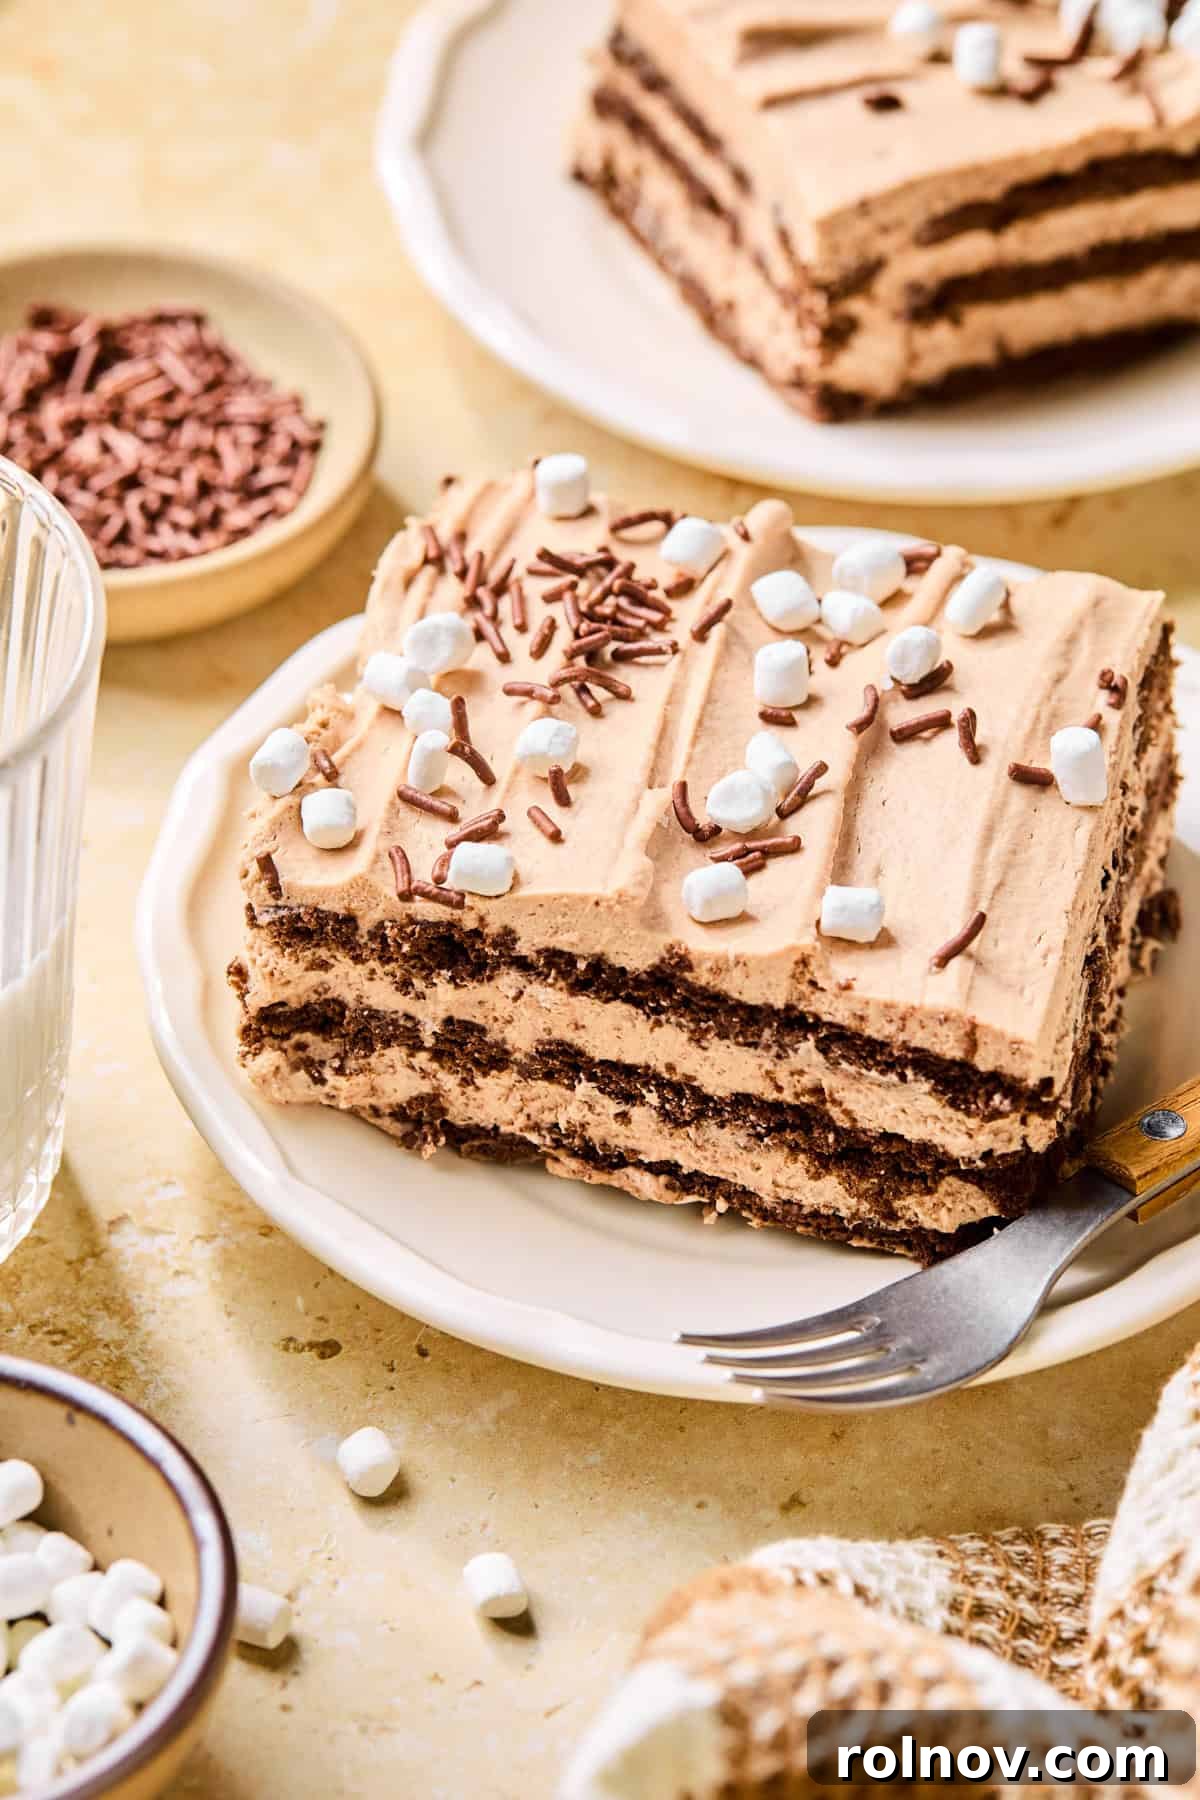
As an avid baker (and non-baker!), I’ve always held a special affection for no-bake desserts. They offer all the satisfaction of a homemade confection without the fuss of turning on the oven, making them ideal for any season or occasion. This sensational Hot Chocolate Icebox Cake has quickly become an instant, resounding hit with my family and friends, earning rave reviews and frequent requests.
If you share my passion for effortless yet spectacular no-bake recipes, you’ll undoubtedly adore some of our other cherished favorites. Be sure to explore these delightful creations: the intensely rich No Bake Chocolate Pie, the delightfully sweet and tangy No Bake Caramel Apple Cheesecake, or the bright and refreshing No-Bake Lemon Blueberry Cheesecake! Each offers a unique flavor profile and the same coveted ease of preparation.
Why This Hot Chocolate Icebox Cake Will Become Your New Favorite

The inspiration for this phenomenal dessert struck during my annual post-winter pantry clean-up. Faced with a half-used box of hot chocolate mix and a strong aversion to wasting food, I decided to channel that cozy cocoa flavor into something truly extraordinary. The result, I’m thrilled to report, is nothing short of a “WOW” dessert recipe!
This incredible Hot Chocolate Icebox Cake stands out for several compelling reasons:
- Effortless Preparation: It’s genuinely so simple to put together, making it an ideal choice for busy schedules or impromptu gatherings. Minimal fuss, maximum impact!
- Under 10 Core Ingredients: You won’t need a lengthy shopping list. This recipe utilizes common pantry staples to create something truly magical.
- No Baking Required: Keep your kitchen cool and your oven free! This is the perfect dessert for warm weather, or when you just don’t feel like baking.
- A Chocolate Lover’s Dream: With rich chocolate graham crackers and a decadent hot chocolate cream, every bite is a symphony of cocoa perfection. It’s a truly indulgent experience for any chocoholic.
- Make-Ahead Marvel: This cake actually improves with time as the crackers soften, making it an excellent option for entertaining as you can prepare it the day before.
- Crowd-Pleasing Potential: Its comforting flavors and creamy texture appeal to almost everyone, from kids to adults, ensuring it disappears quickly at any event.
I simply cannot wait for you to experience the sheer delight of this dessert for yourself! It’s a game-changer for anyone who loves easy, impressive, and utterly delicious treats.
Essential Ingredient Insights for Success
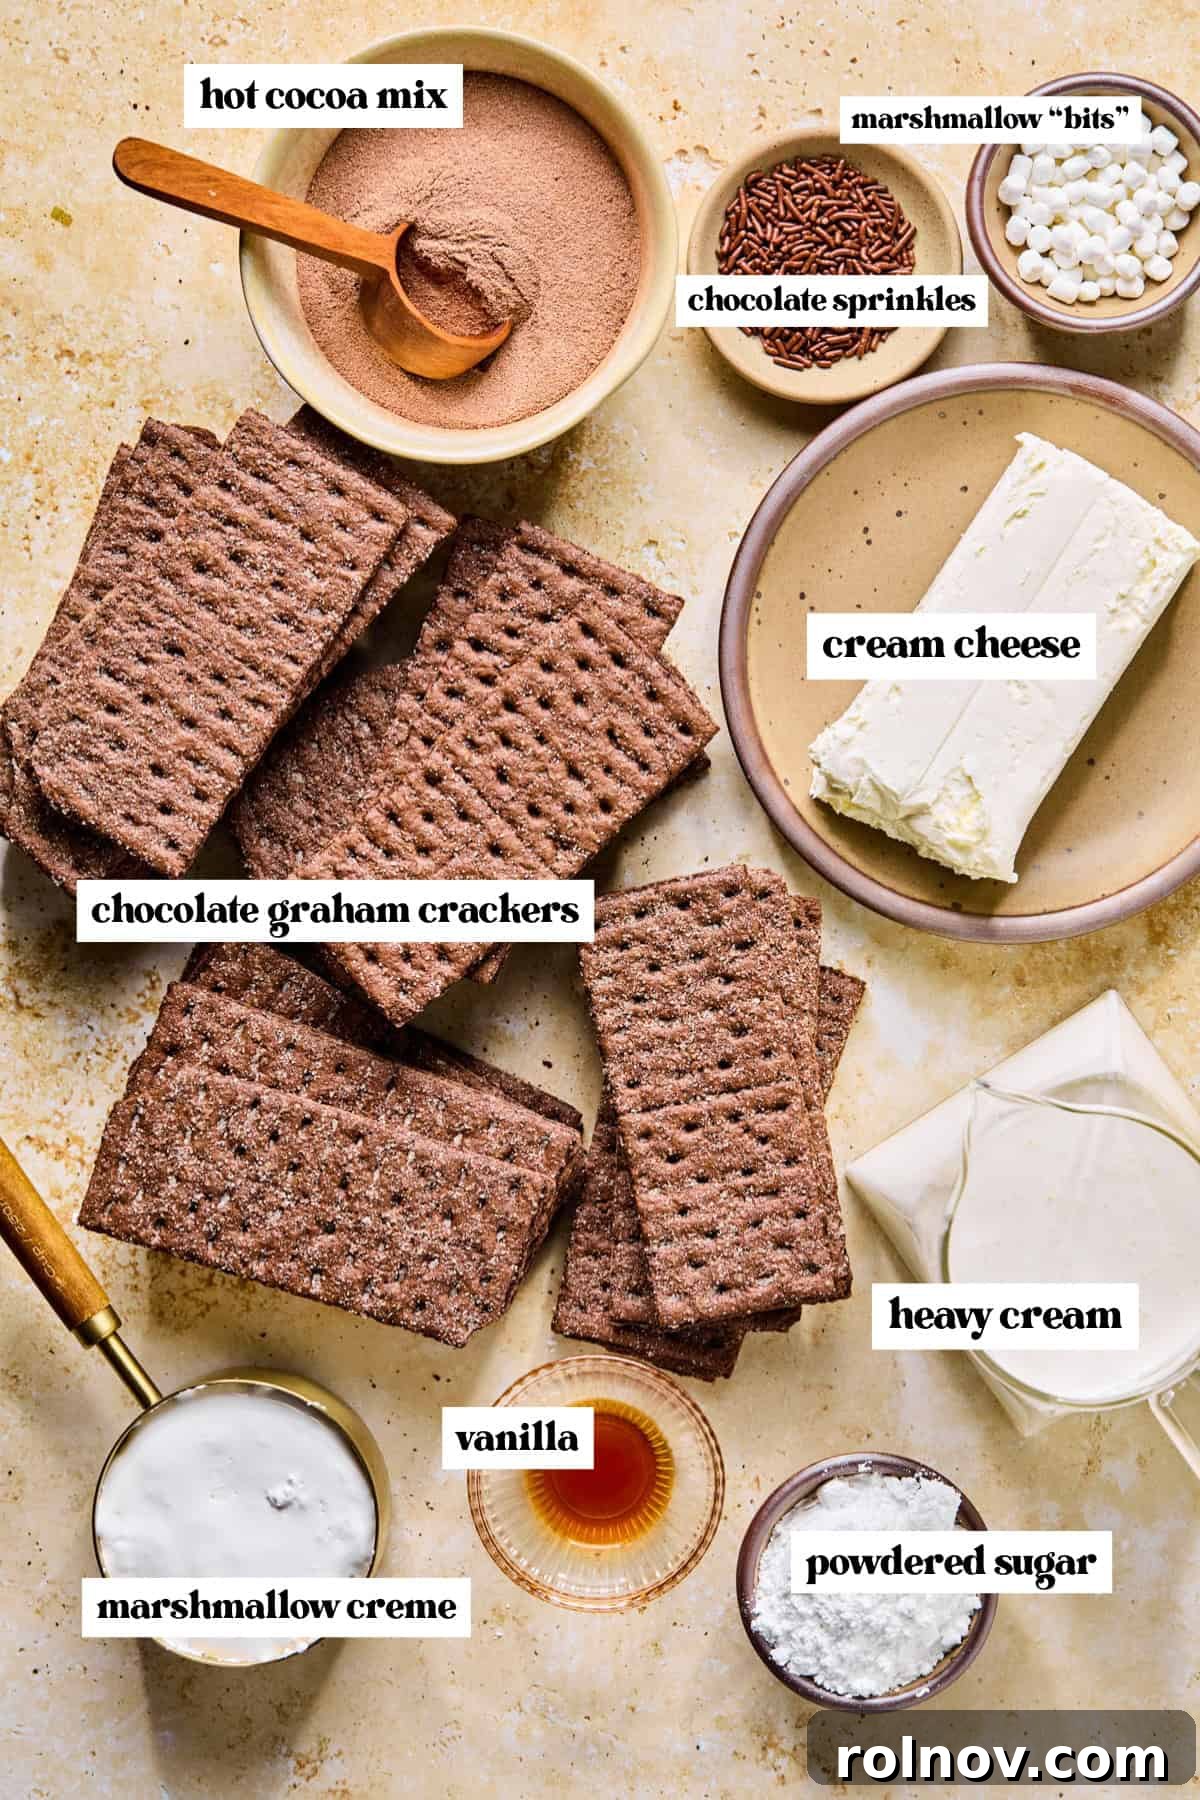
The quality and type of your ingredients play a crucial role in achieving the perfect texture and flavor for this icebox cake. Here are some detailed notes to guide you:
- Hot Cocoa Mix (not just cocoa powder): This is a critical distinction. While plain cocoa powder offers pure chocolate flavor, hot cocoa mix is specifically formulated to dissolve beautifully and typically contains sugar, milk solids, and sometimes other flavor enhancers. These additional components contribute to a richer, sweeter, and more complex chocolate flavor in the cream layer, giving it an unmatched taste and depth that plain cocoa powder simply can’t replicate. Feel free to use your favorite brand of hot chocolate mix, whether it’s a classic milk chocolate blend or a more intense dark chocolate variety. Just ensure it’s a mix designed to be prepared with water or milk, not baking cocoa.
- Powdered Sugar (Confectioners’ Sugar): The inclusion of powdered sugar is vital for both sweetness and structure. Beyond its fine texture which contributes to a silky-smooth cream, powdered sugar contains a small amount of cornstarch. This cornstarch acts as a stabilizer, helping the icebox cake set firmer and hold its shape beautifully once chilled and sliced. Granulated sugar would not provide the same smooth consistency or stabilizing effect.
- Full-Fat Heavy Whipping Cream: For a truly luxurious and stable whipped cream, always opt for full-fat heavy whipping cream. Its higher fat content allows it to whip into firm, airy peaks that hold their structure without deflating easily. Avoid light or lower-fat cream options, as they contain less fat and will result in a less stable, runnier whipped cream that won’t set as well in the cake.
- Cream Cheese: A block of full-fat cream cheese is highly recommended for the best flavor and texture. Ensure it is fully softened to room temperature before beating, as this prevents lumps and ensures a smooth, creamy base for your chocolate filling. While a reduced-fat cream cheese *can* be used in a pinch, it might slightly affect the richness and overall firmness of the cake. However, fat-free cream cheese is not recommended at all, as it lacks the necessary fat content to create the desired creamy texture and structure.
- Marshmallow Creme: This ingredient is the secret to truly capturing the “hot chocolate” essence. Marshmallow creme (or fluff) adds a unique sweetness, a subtle vanilla note, and a wonderfully airy, sticky texture that mimics the melting marshmallows atop a hot beverage. It integrates seamlessly into the cream mixture, providing that distinctive, cozy flavor.
- Chocolate Graham Crackers: These form the “cake” layers and are essential for the classic icebox cake experience. They soften beautifully as they absorb moisture from the cream, transforming into a tender, cake-like consistency. If chocolate graham crackers are hard to find, plain graham crackers can be used, though they will yield a less intensely chocolatey flavor.
Exciting Ways To Customize This Hot Chocolate Icebox Cake
One of the many joys of this Hot Chocolate Icebox Cake is its versatility. While it’s perfect as is, it also serves as an excellent canvas for creative variations. Here are some ideas to inspire your culinary adventures:
- Infuse a Touch of Mint: Transform this into a refreshing mint chocolate icebox cake! You can achieve this by using a mint-flavored hot cocoa mix for your cream layers. Alternatively, add about 1/2 to 1 teaspoon of pure peppermint extract to the chocolate cream mixture during step 3. For an extra festive touch, garnish with crushed peppermint candies, candy canes, or even a drizzle of green white chocolate before serving.
- Vary the Graham Cracker Layer: The base of any icebox cake is crucial, and you have several delicious options here. While chocolate graham crackers are fantastic, you’re welcome to use classic plain graham crackers for a more subtle chocolate contrast. For a different texture and flavor, consider using other thin chocolate cookies like thin chocolate wafers (such as Nabisco Famous Wafers), digestive biscuits, or even the incredibly popular thin Oreos (no need to remove the cream filling!). Each option will offer a slightly different taste and how quickly it softens.
- Add an Extra Sweet Drizzle: Elevate the decadence with a delightful drizzle! Once the cake is fully chilled and set, you can generously drizzle caramel sauce, hot fudge sauce, or even a simple chocolate ganache over the top. For an even more intense flavor, you could add a very thin layer of one of these sauces in between the cream and cracker layers during assembly. Remember to apply drizzles just before serving to maintain their fresh appearance.
- Boost with Coffee Flavor: For coffee and chocolate lovers, add 1-2 teaspoons of instant espresso powder or strong instant coffee granules to the hot cocoa mix and cream cheese mixture. This will deepen the chocolate flavor and add a sophisticated coffee note, creating a “mocha” icebox cake.
- Introduce a Nutty Crunch: For added texture and flavor, sprinkle a thin layer of finely chopped toasted nuts (like pecans, walnuts, or almonds) over one or more of the cream layers before adding the next cracker layer. This adds a lovely crunch that contrasts beautifully with the soft cream.
- A Boozy Adult Version: For an indulgent adult twist, consider adding 1-2 tablespoons of your favorite liqueur to the chocolate cream mixture. Kahlúa, Irish cream (like Baileys), or a chocolate liqueur would all complement the flavors wonderfully.
- Top with More Marshmallows: Beyond mini marshmallows, try toasting some larger marshmallows with a kitchen torch just before serving for a gourmet s’mores-like experience.
Easy Step-By-Step Instructions for Your Hot Chocolate Icebox Cake
Creating this magnificent no-bake dessert is a straightforward process. Follow these detailed steps to ensure a perfect Hot Chocolate Icebox Cake every time.
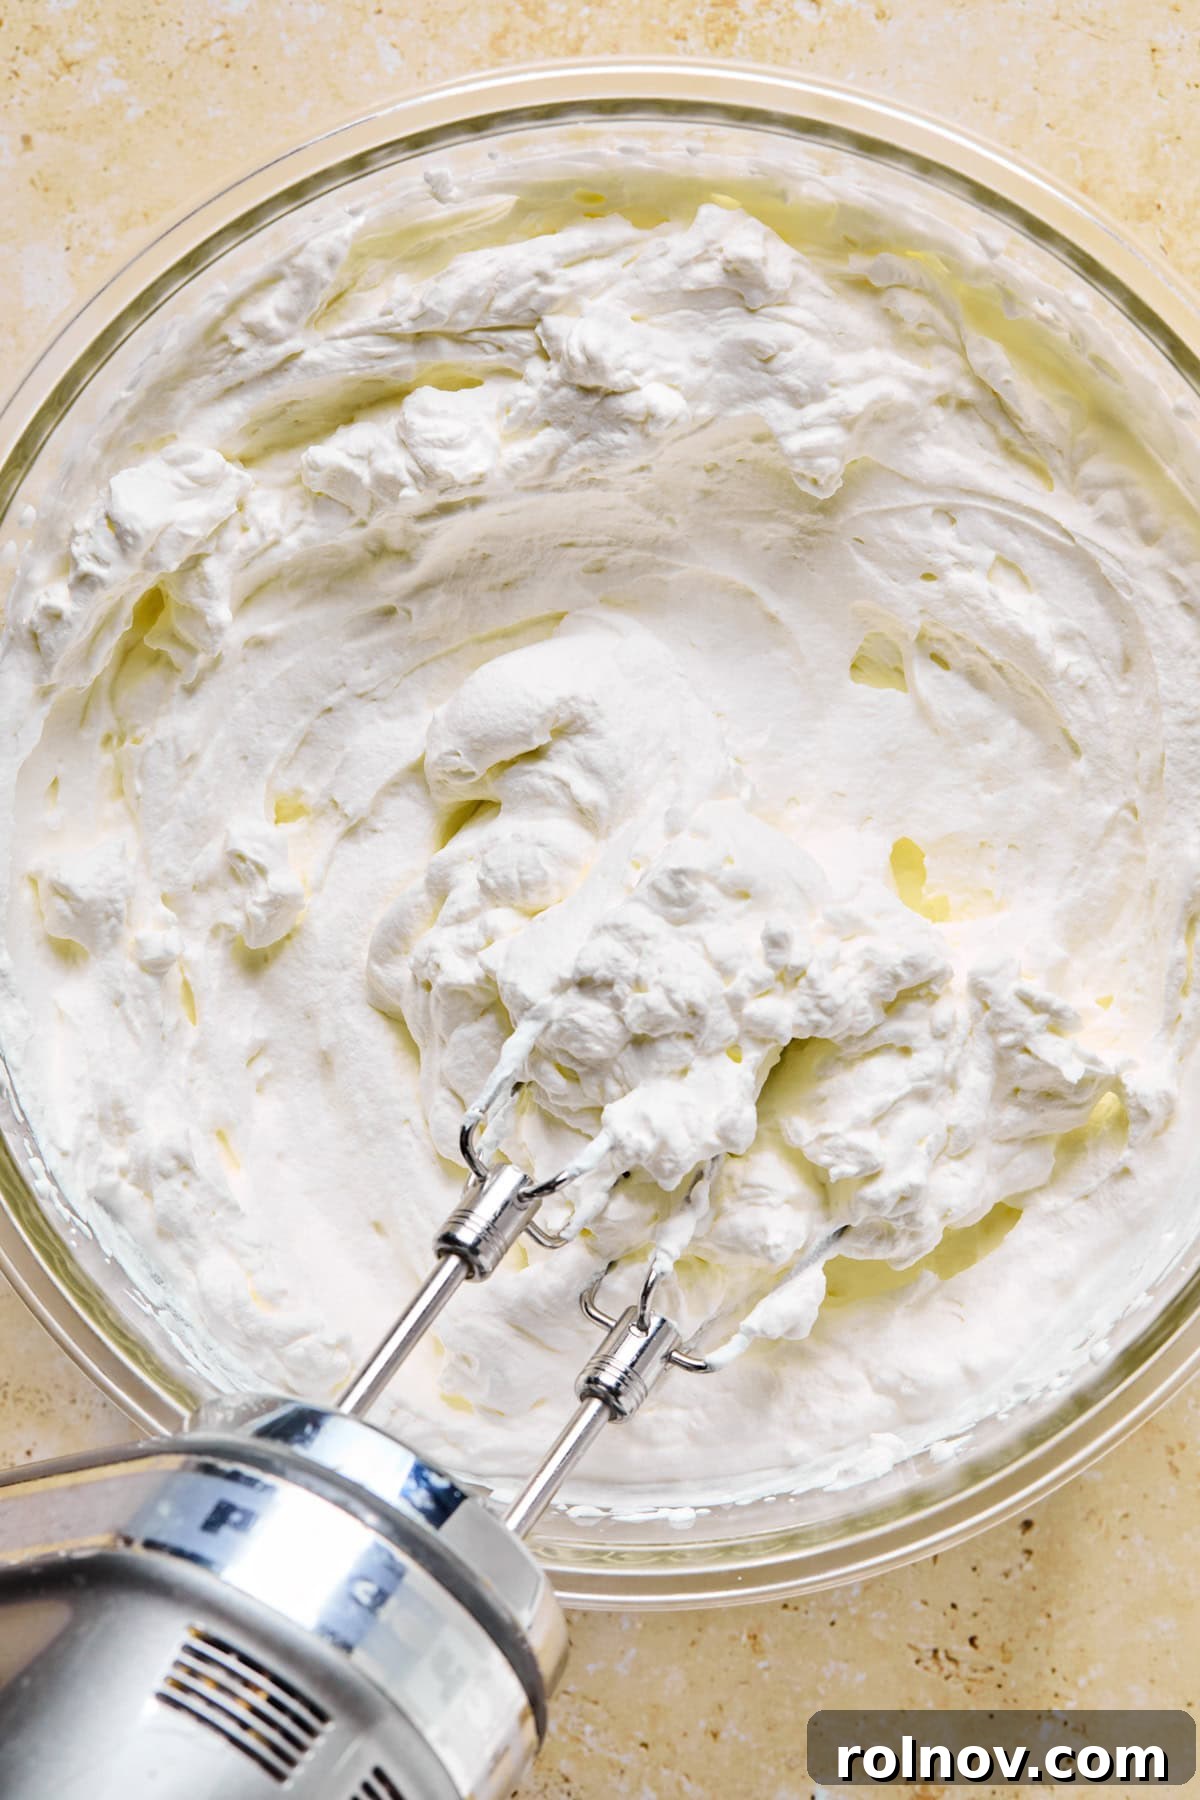
Step 1: Whip the Heavy Cream. Begin by pouring the cold heavy cream into the bowl of a stand mixer fitted with a whisk attachment, or into a large bowl if using an electric hand mixer. Beat the cream on medium-high speed until it transforms into stiff peaks. The peaks should hold their shape firmly when the whisk is lifted. Carefully transfer this whipped cream to a separate bowl and set it aside, or simply set your mixing bowl aside if you’re using a hand mixer and have another bowl available for the next step.
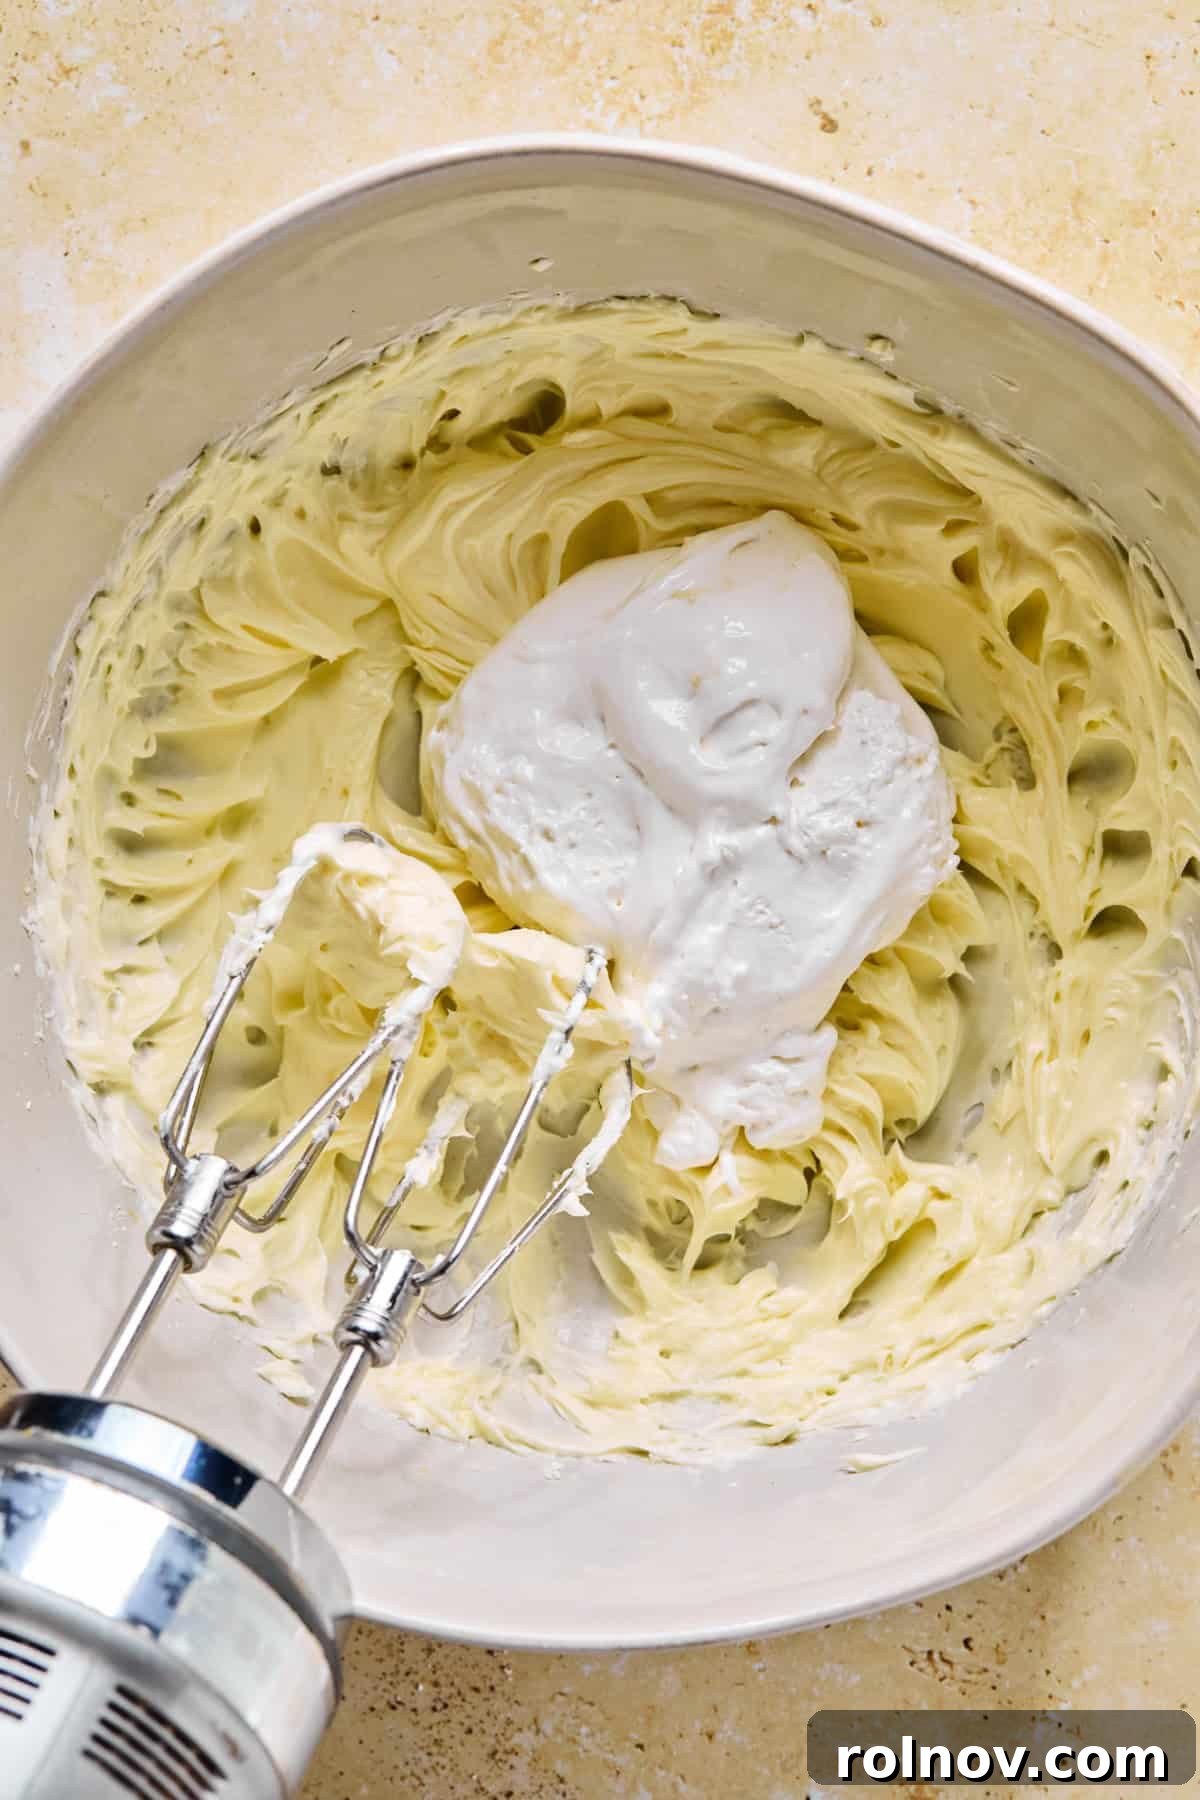
Step 2: Prepare the Cream Cheese Base. In a large, clean mixing bowl (or the stand mixer bowl after transferring the whipped cream), combine the softened cream cheese, vanilla extract, and powdered sugar. Beat these ingredients on medium-high speed until the mixture is perfectly smooth, light, and creamy, with no lumps remaining. Next, add the marshmallow creme to this mixture and continue to beat until it is fully incorporated and the mixture is uniformly smooth and fluffy.
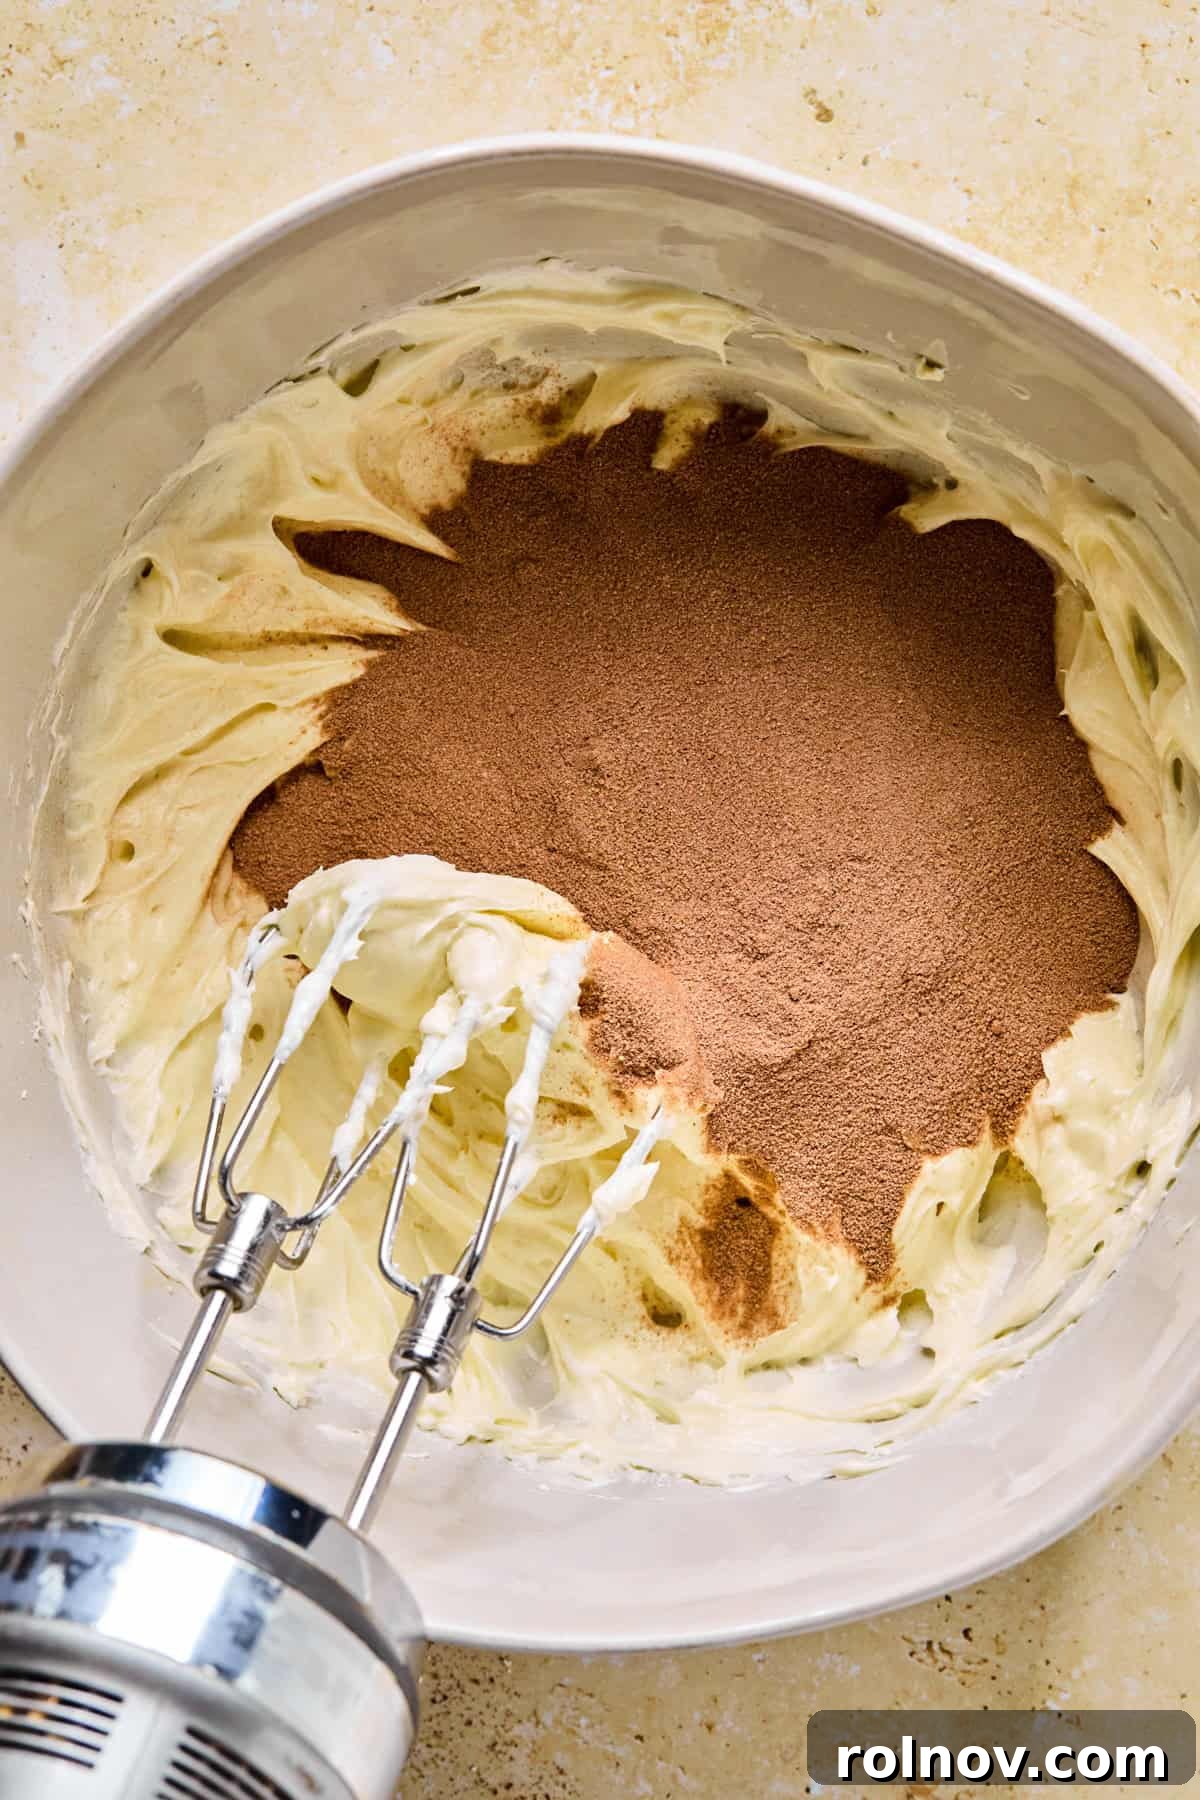
Step 3: Introduce the Hot Cocoa. Add the hot cocoa mix to the cream cheese and marshmallow mixture. Beat on medium speed until the hot cocoa powder is completely dissolved and the mixture is smooth, uniformly chocolate-colored, and perfectly incorporated. Scrape down the sides of the bowl as needed to ensure everything is well combined.
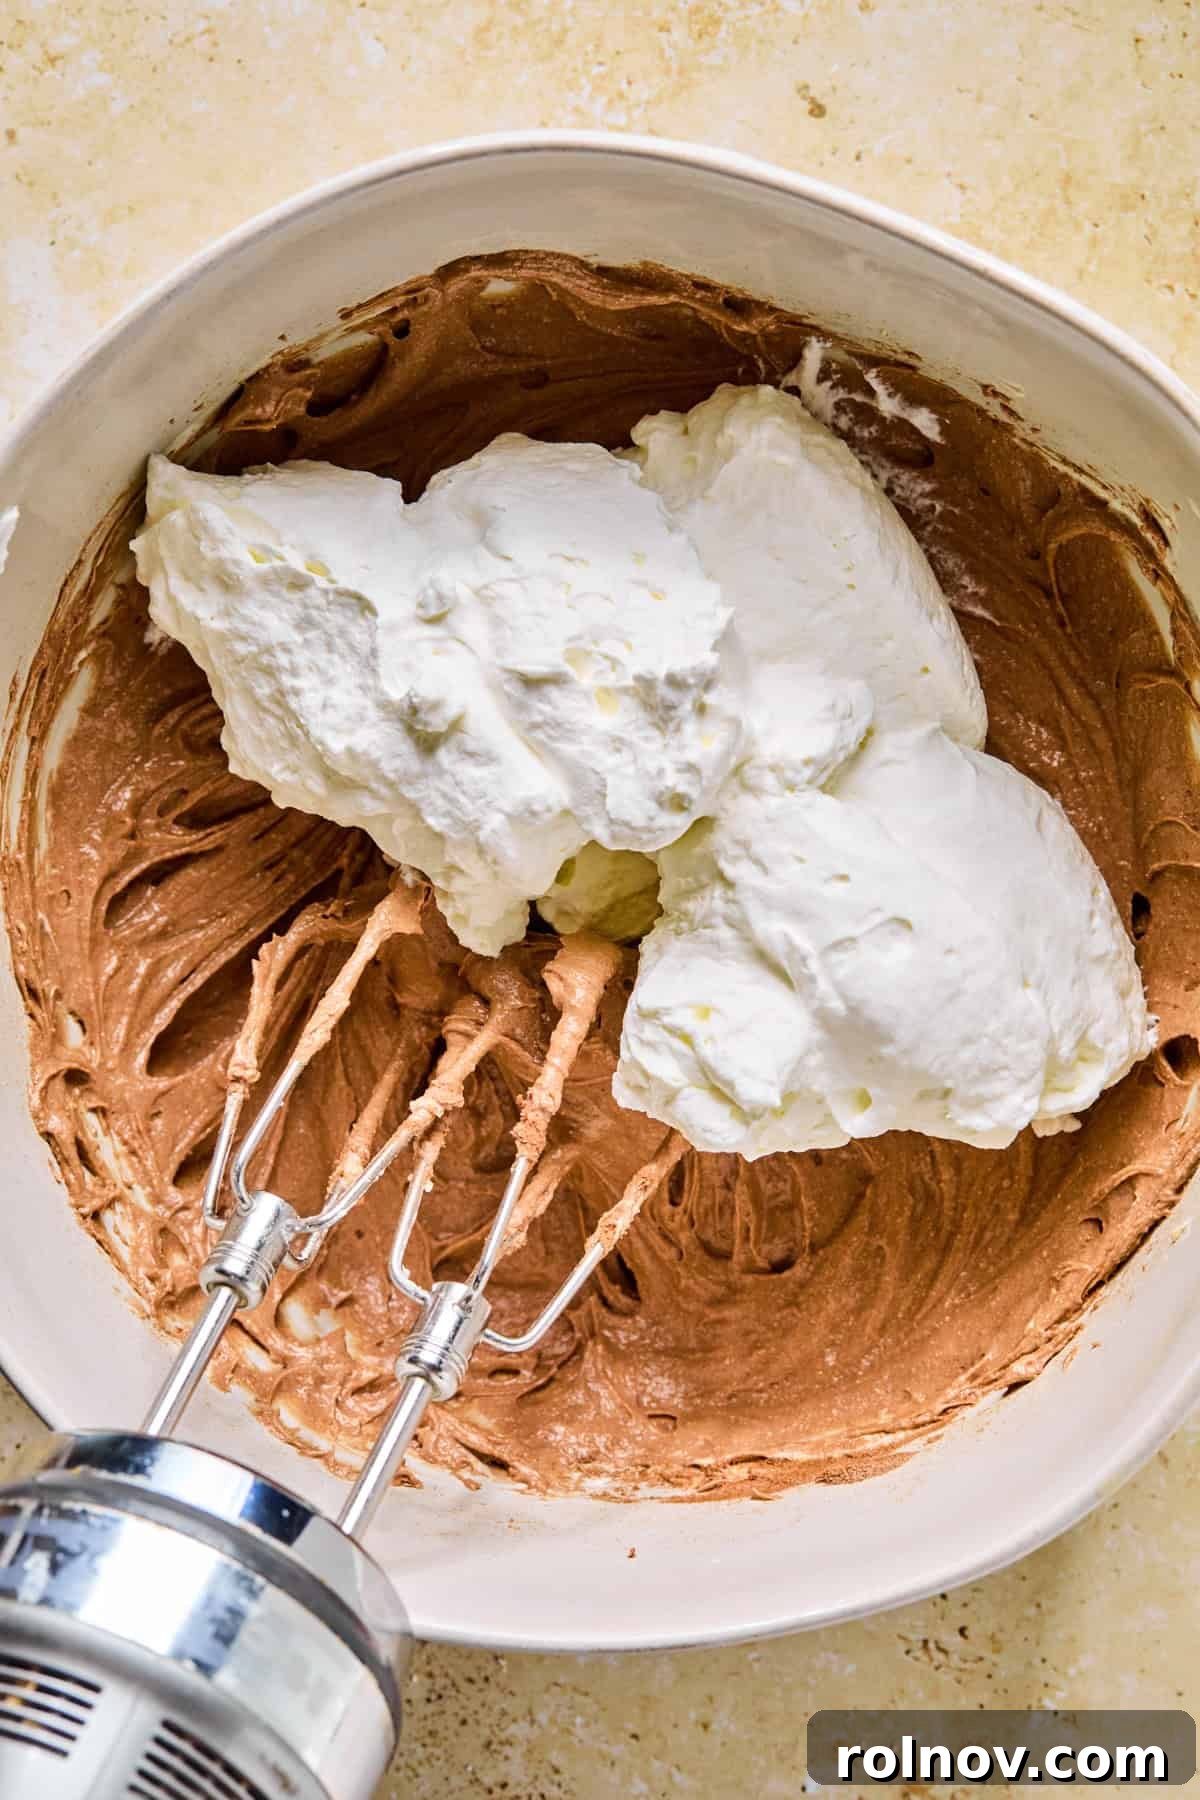
Step 4: Combine with Whipped Cream (First Addition). Gently add about 2 to 3 cups of the previously whipped heavy cream to the chocolate cream cheese mixture. This initial addition helps to lighten the base before folding in the rest, making the final incorporation smoother.
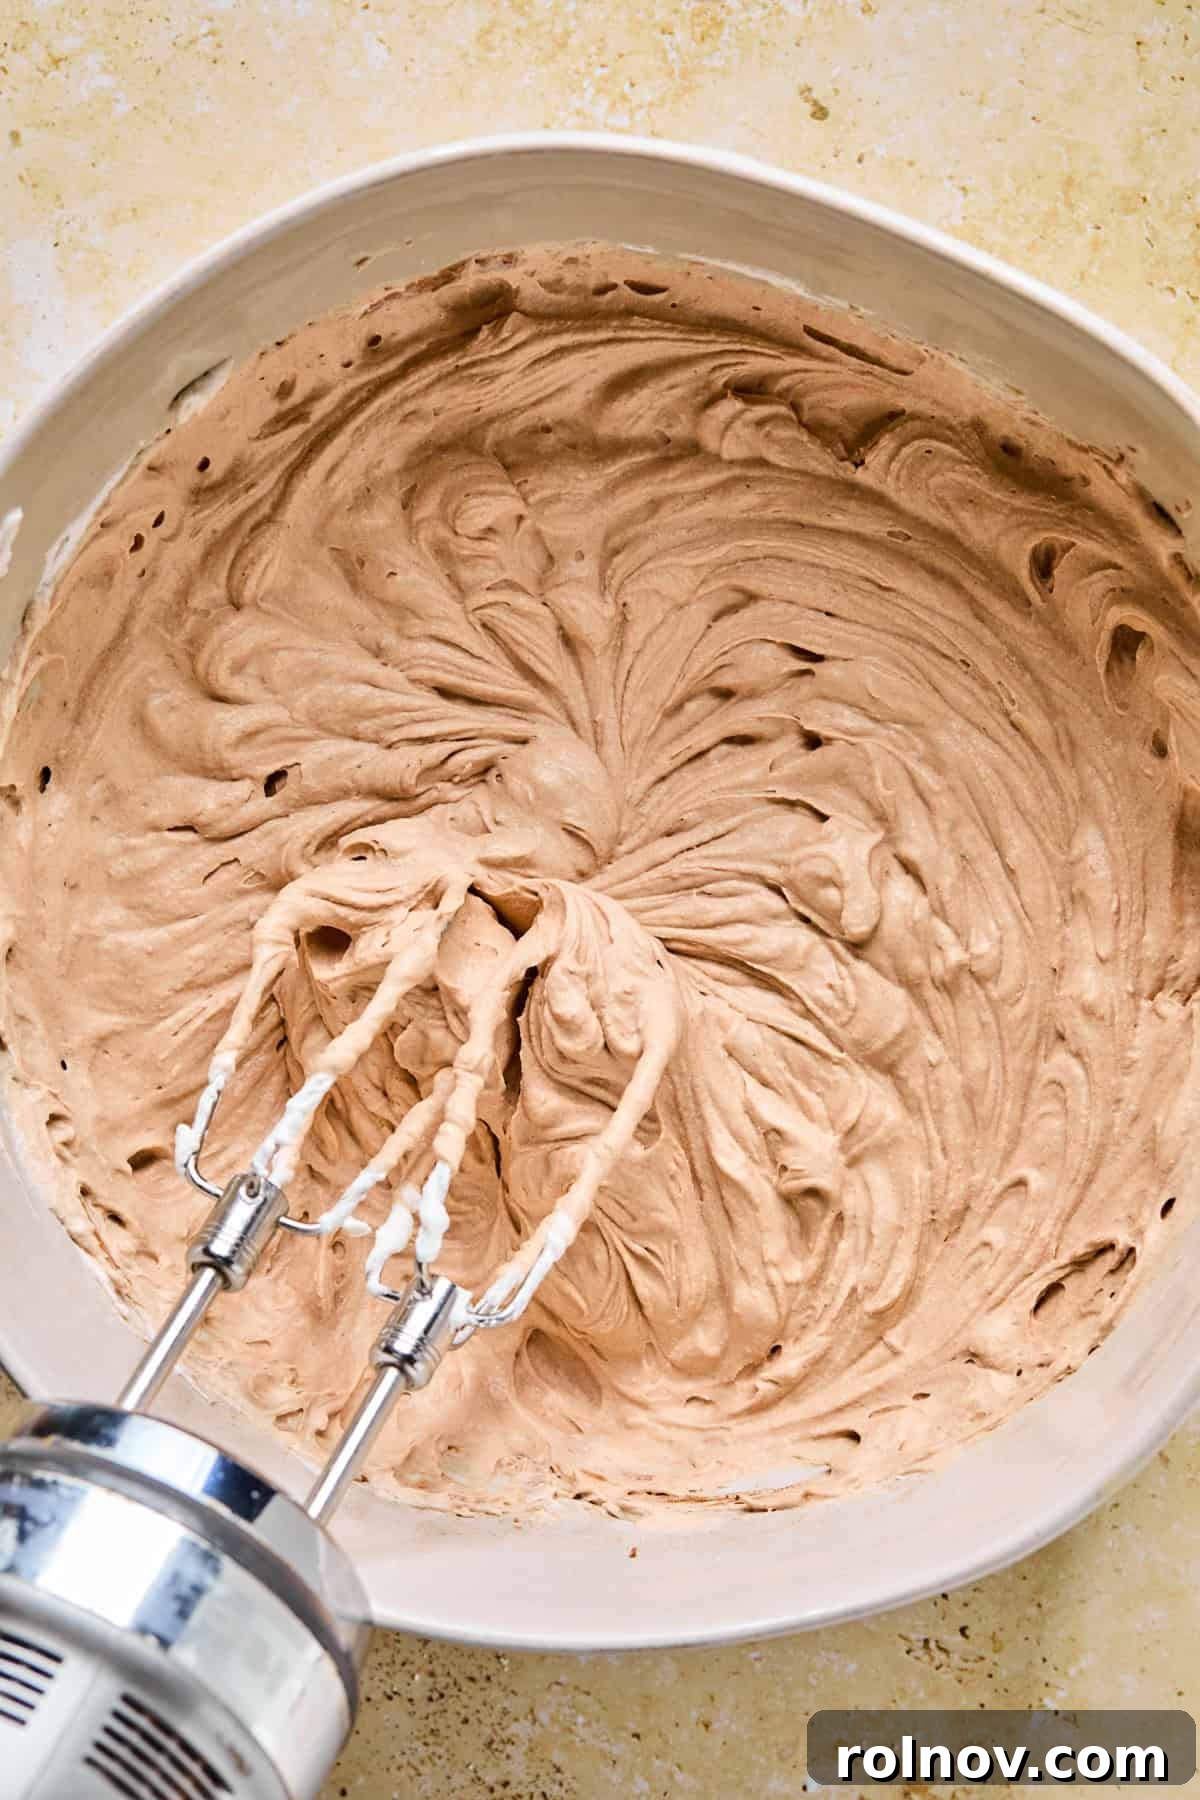
Step 5: Incorporate Gently. Beat the mixture on a very low speed, just enough to incorporate the initial dollops of whipped cream into the chocolate base. The goal is to combine them without deflating the airiness of the whipped cream, which contributes to the cake’s light texture. This step ensures a smooth transition before folding in the remaining cream.
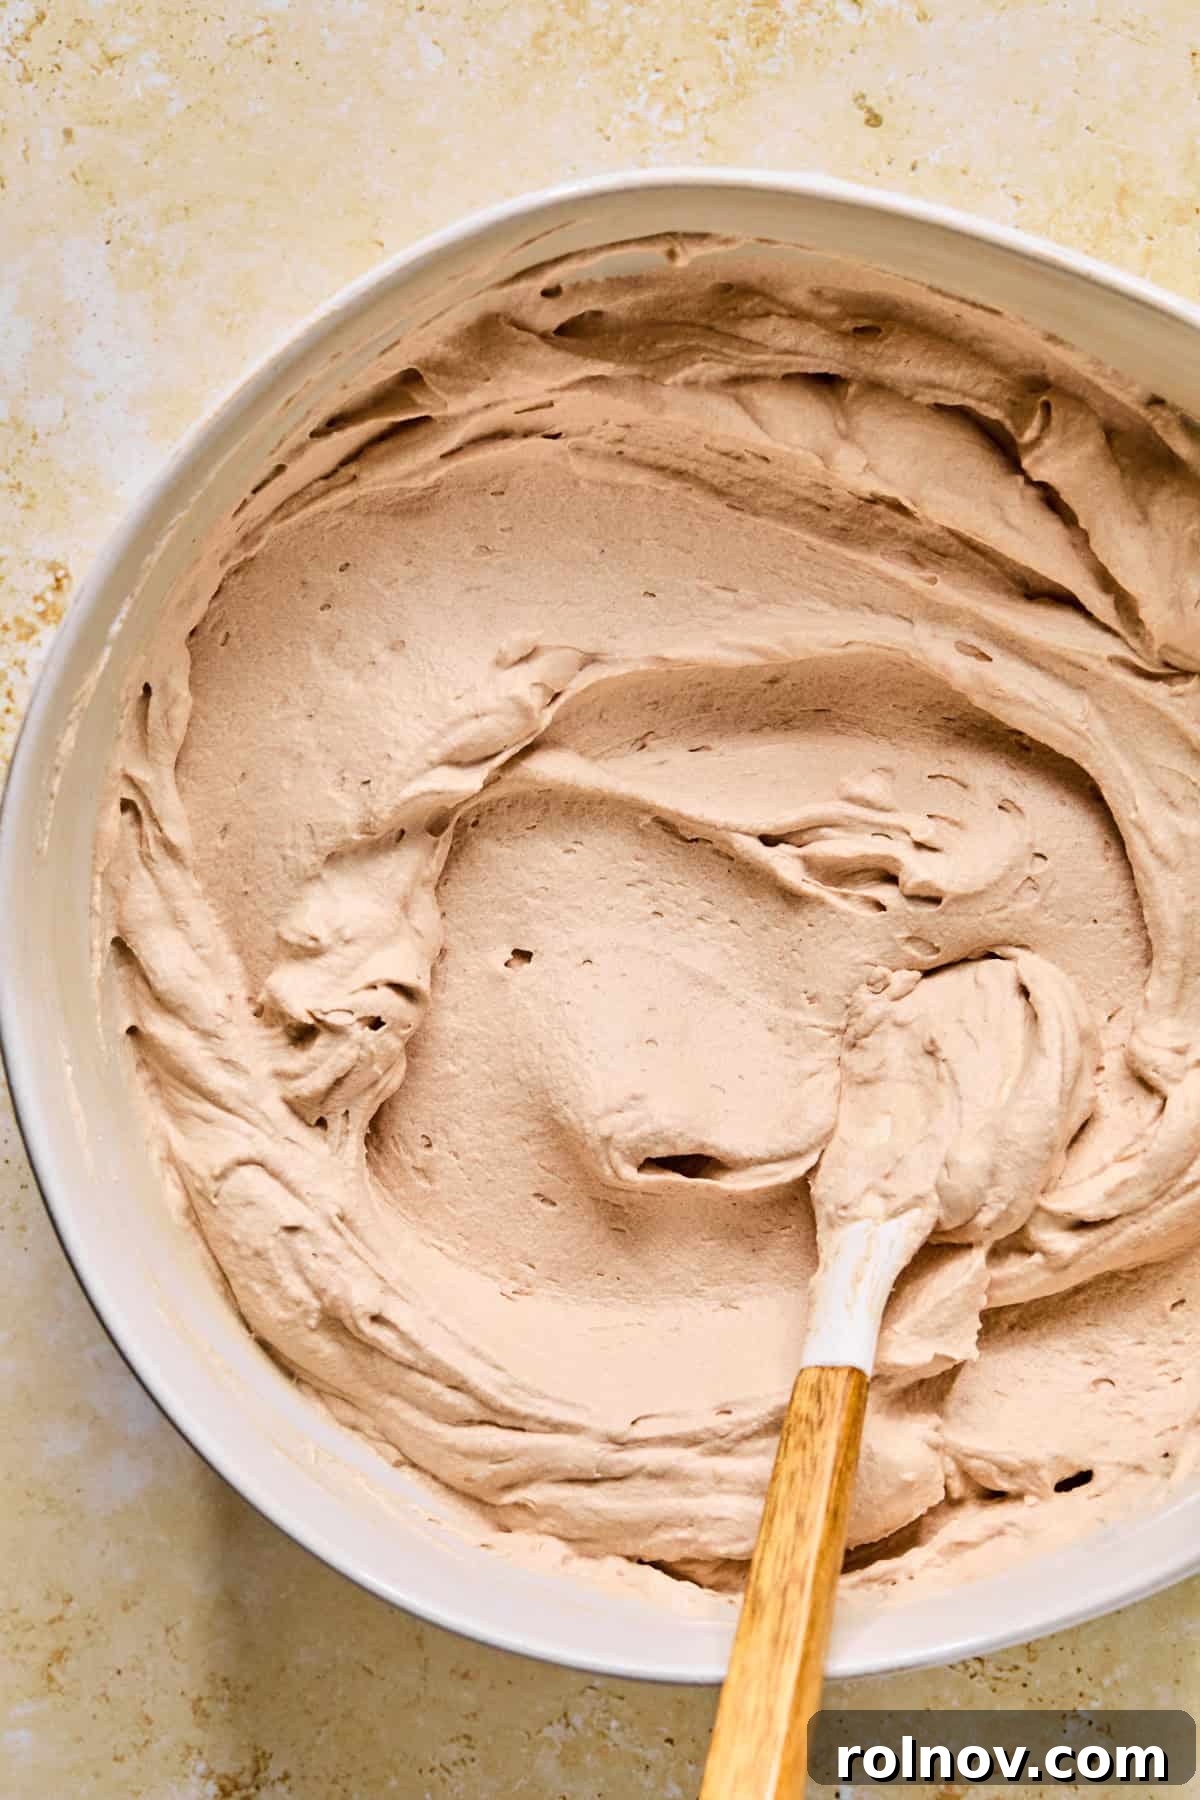
Step 6: Fold in Remaining Whipped Cream. Gently fold in the remaining whipped cream using a spatula. Use a “cut and fold” motion, carefully lifting the heavier chocolate mixture over the lighter whipped cream to combine without deflating it. Continue until no white streaks of whipped cream are visible and the mixture is uniformly light, airy, and creamy. This delicate step is crucial for the final texture of your icebox cake.
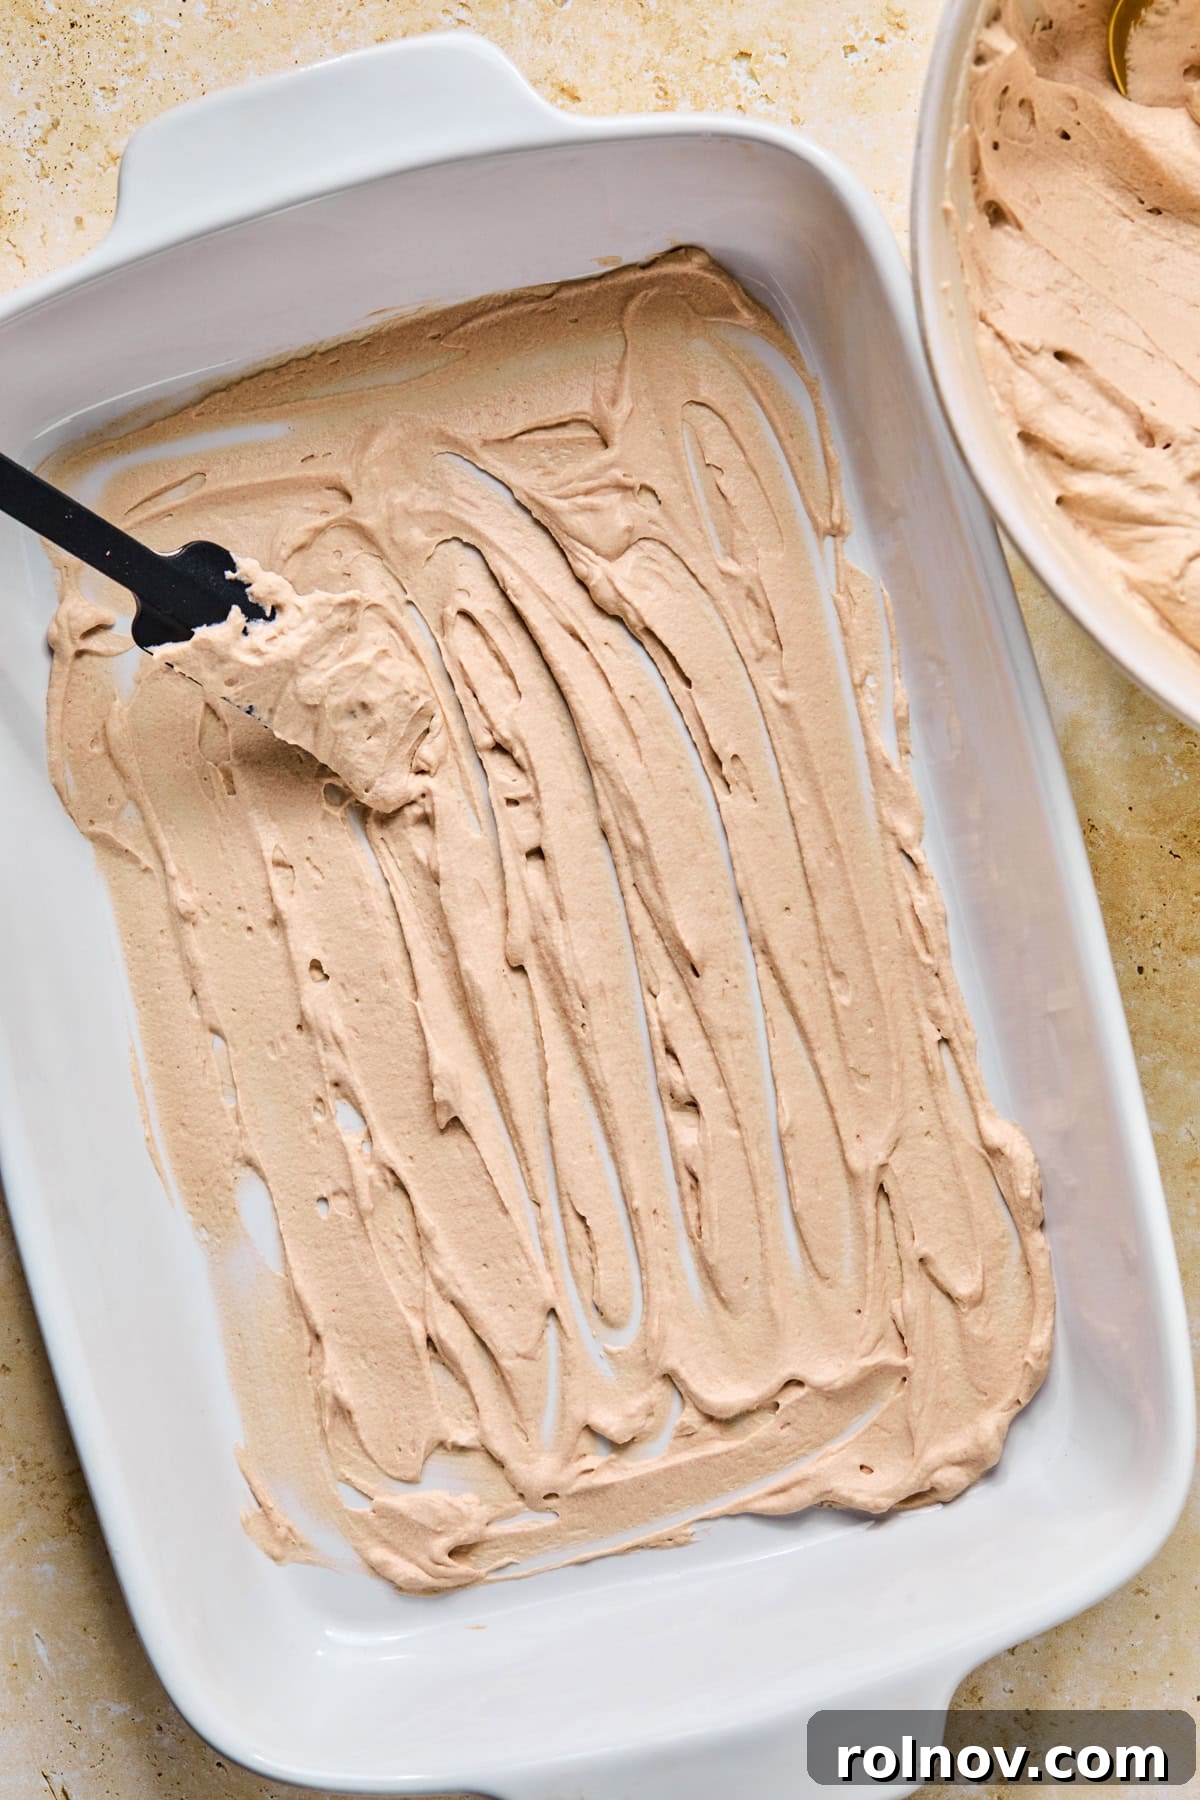
Step 7: Prepare the Pan Base. To assemble your icebox cake, spread a very thin layer of the hot cocoa cream mixture on the bottom of a 9×13 inch pan. Approximately 3-4 tablespoons should suffice. This thin base layer acts as an adhesive, helping the first layer of graham crackers stay in place and preventing them from sliding around. Ensure it’s spread evenly across the entire bottom surface.
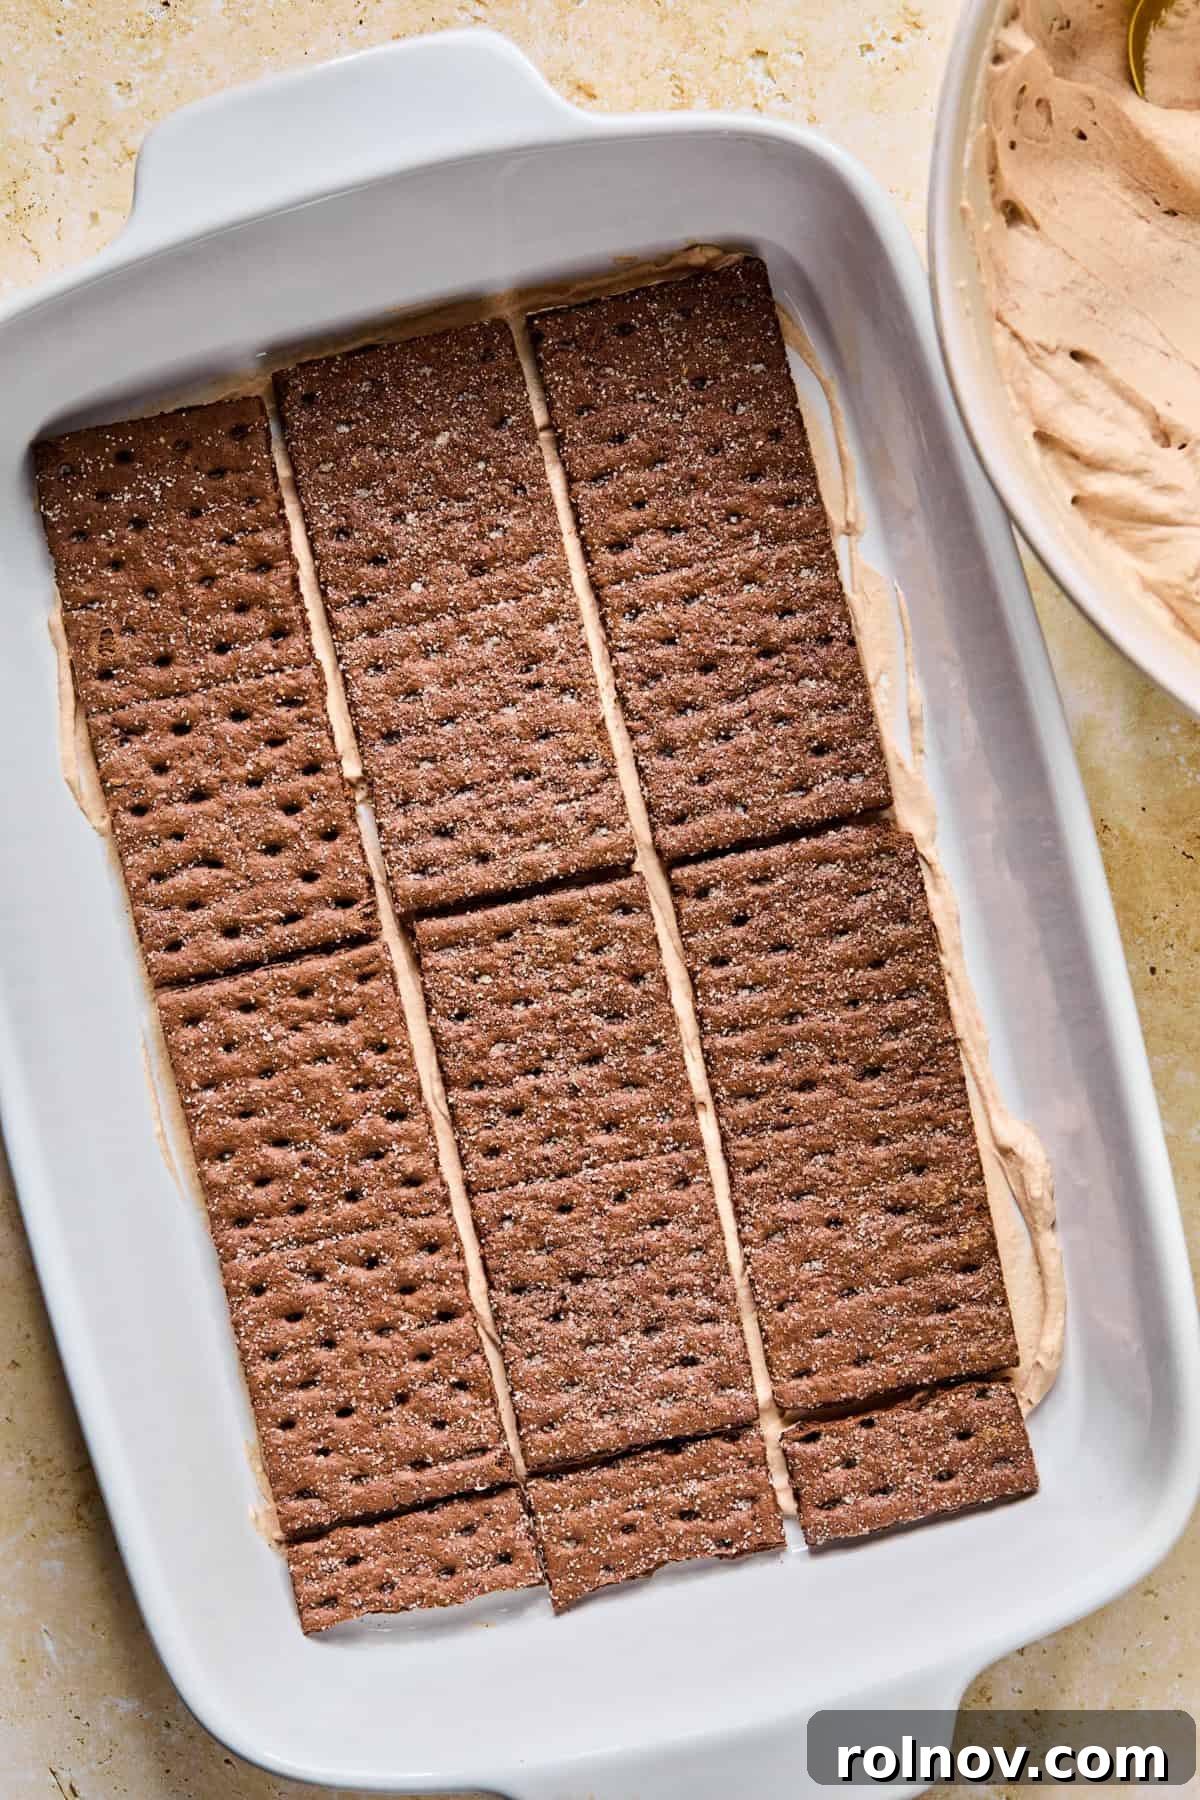
Step 8: First Layer of Crackers. Carefully arrange a single layer of chocolate graham crackers (or your chosen wafer) over the thin cream base, covering the entire bottom of the pan. You may need to break some crackers into smaller pieces to fill any gaps and achieve full coverage. The exact number of sheets required will depend on the brand and size of your graham crackers, but it typically takes about 7-8 full sheets per layer for a standard 9×13 inch pan.
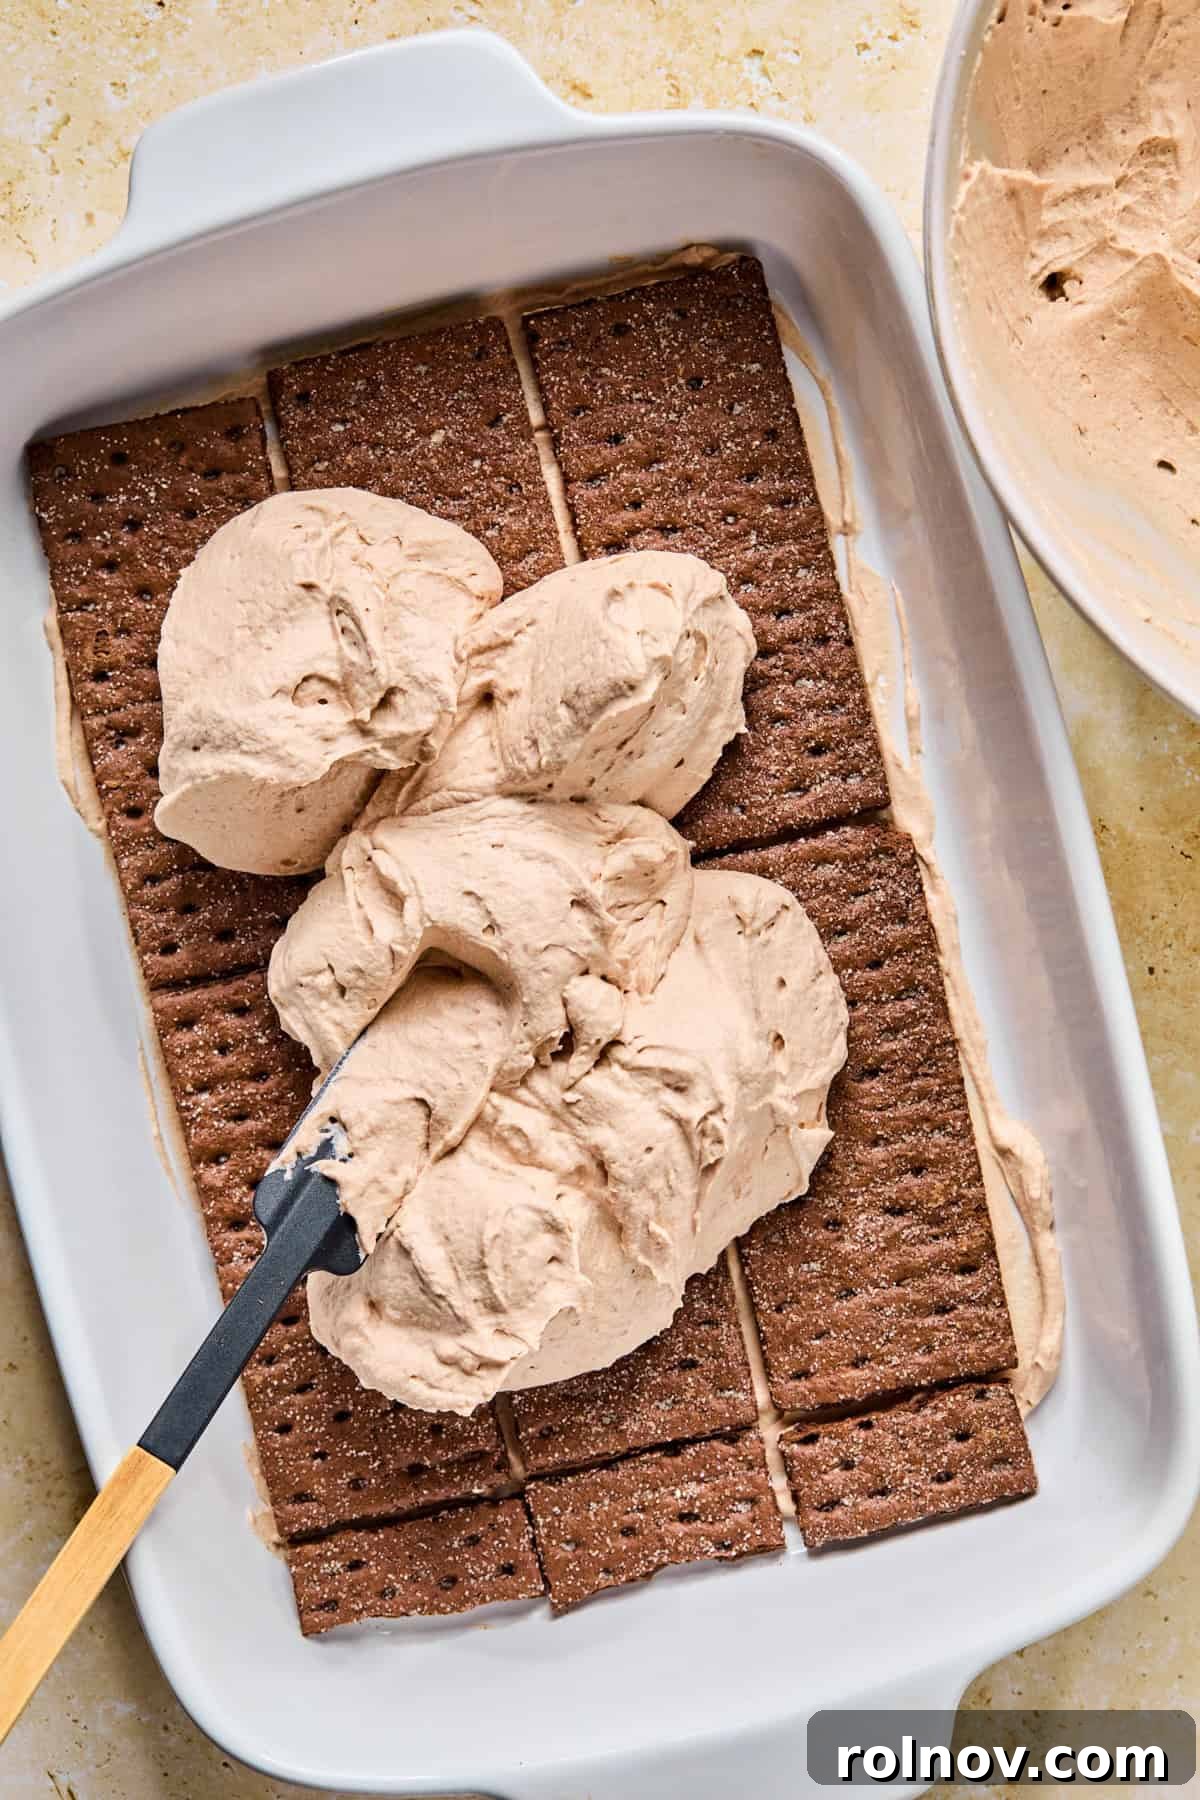
Step 9: First Cream Layer. Spread approximately 2 ½ cups of the creamy hot cocoa mixture evenly over the layer of graham crackers. Use an offset spatula or the back of a spoon to gently spread the cream all the way to the edges, ensuring every cracker is fully covered. Aim for a consistent thickness for even softening of the crackers.
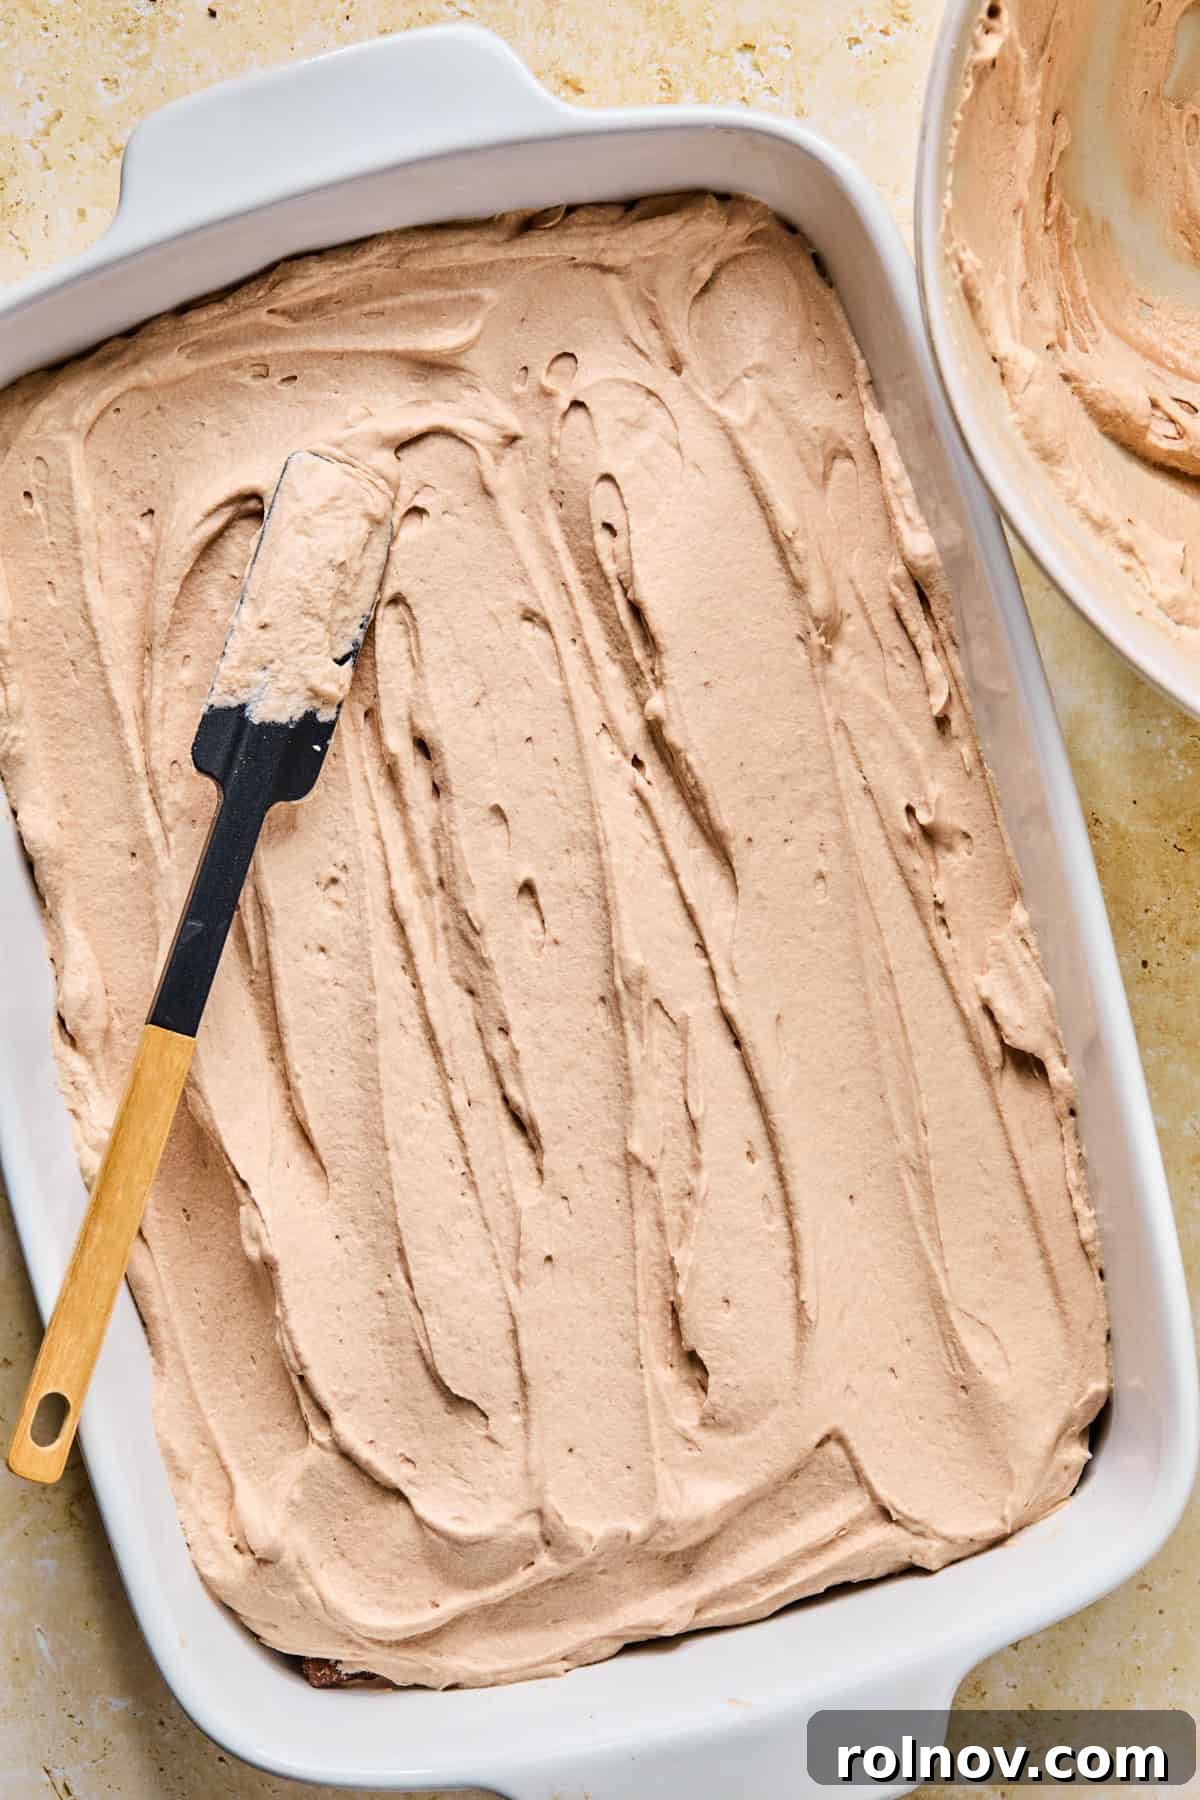
Step 10: Second Cracker and Cream Layers. Cover the first cream layer with another single layer of chocolate graham crackers, breaking them as needed to fit. Then, spread a second layer of approximately 2 ½ cups of the hot cocoa mixture over these graham crackers, ensuring it’s spread evenly and completely covers the crackers beneath.
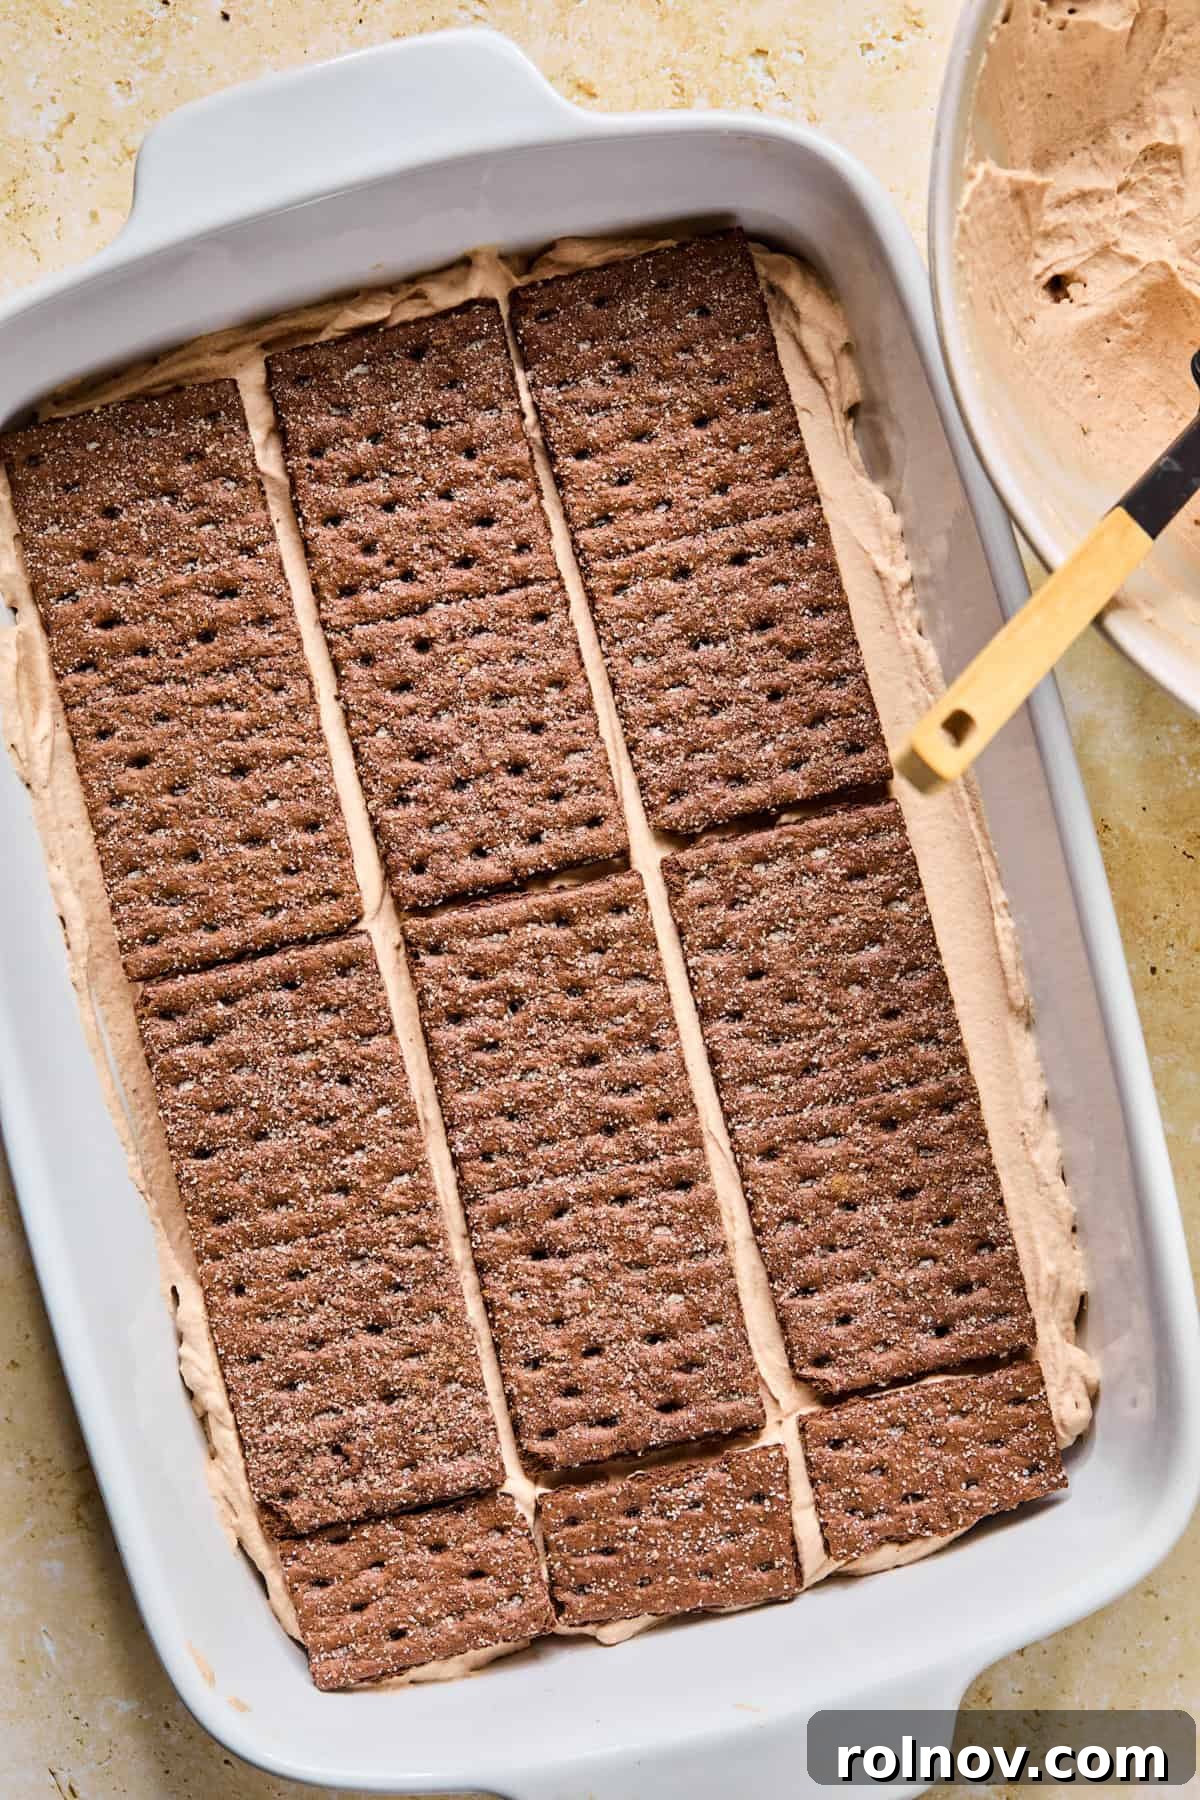
Step 11: Final Cracker and Cream Layers. Place a final layer of graham crackers over the second cream layer. Then, gently spread the remaining creamy hot cocoa mixture over this top layer of crackers. Ensure the surface is as smooth and even as possible, as this will be the visible top layer of your cake. This completes the layering process.
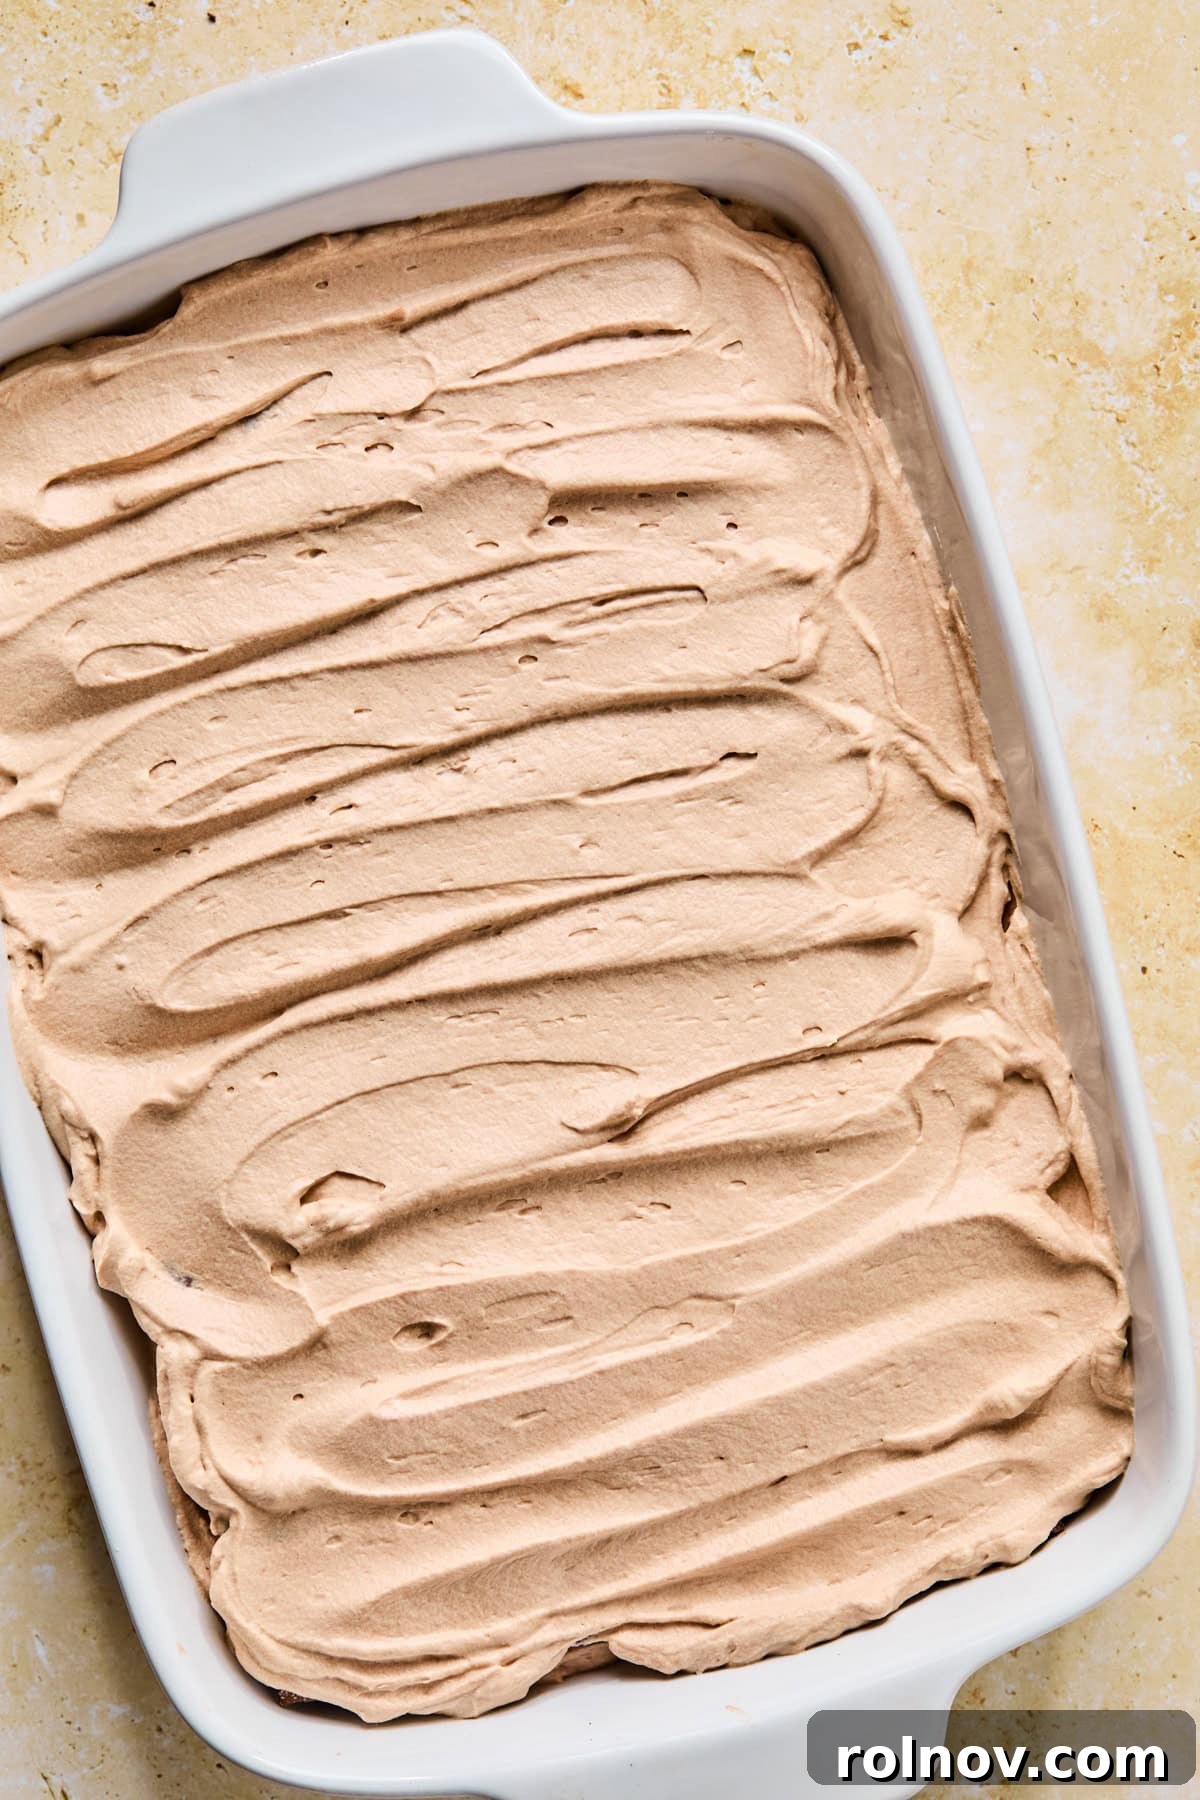
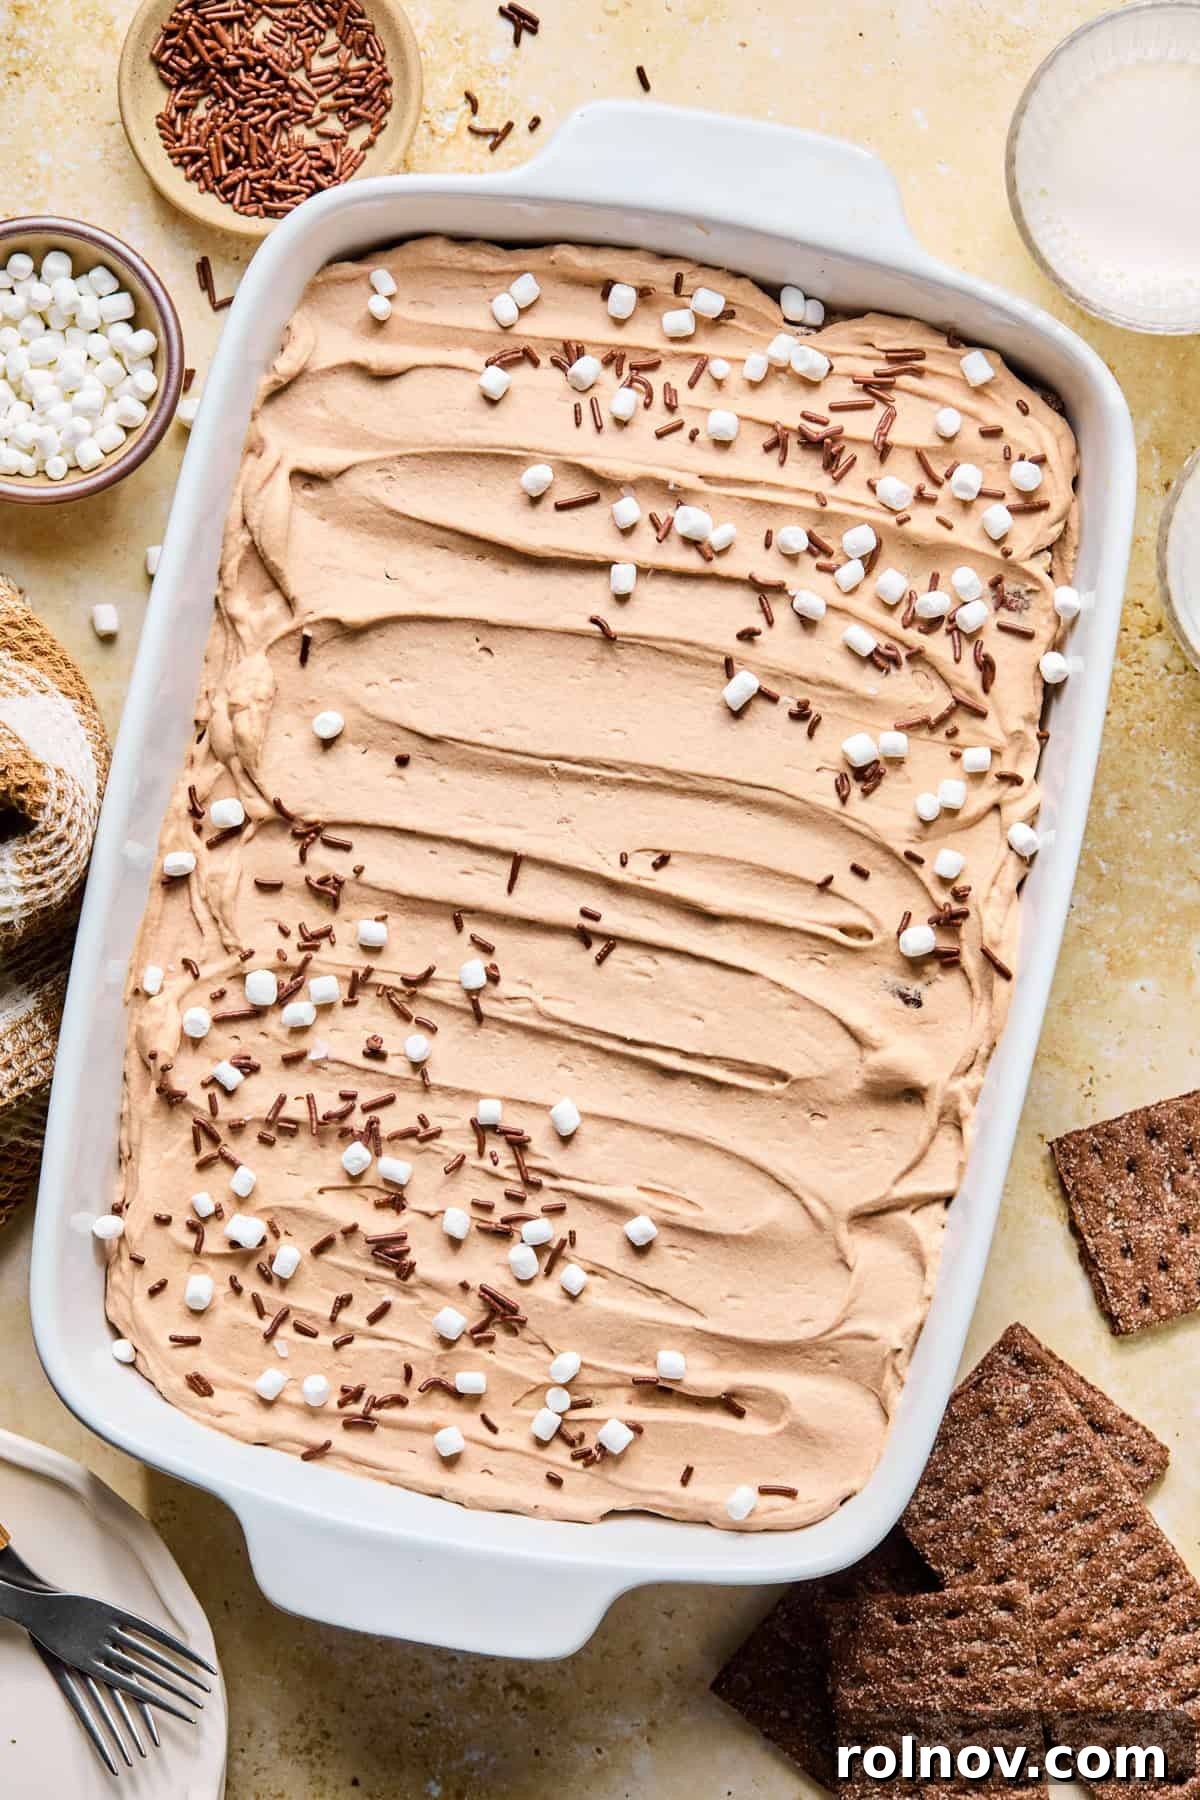
Step 12: Chill Thoroughly and Garnish. Cover the pan tightly with plastic wrap and refrigerate for at least 4-5 hours. This minimum chilling time is crucial for the graham crackers to soften and absorb the moisture from the cream, transforming them into a delightful cake-like texture that’s easy to cut through. For the absolute best results, however, I highly recommend chilling the cake overnight, or for a minimum of 12 hours. This extended chill time allows the crackers to fully soften and the flavors to deepen and meld beautifully. Before serving, remove the plastic wrap and generously garnish your Hot Chocolate Icebox Cake with chocolate sprinkles, miniature marshmallow bits, or any other desired toppings.
Pro Tips for the Perfect Hot Chocolate Icebox Cake
Achieving the ideal slice and serving experience for your icebox cake is all about the details. Here are some invaluable tips to make your dessert preparation and presentation flawless:
For Easier Slicing: Icebox cakes can sometimes be a bit soft, especially when freshly chilled. To make slicing much cleaner and easier, place the dessert in the freezer for about 20-30 minutes just before you plan to serve it. This brief chill will firm up the layers slightly. When ready to cut, use a sharp, thin-bladed knife. For perfectly clean slices, run the knife under hot water for a few seconds, then wipe it completely dry with a paper towel between each slice. This technique prevents the cream from sticking to the knife, ensuring beautifully defined layers in every piece.
Optimal Chilling Time is Key: While this icebox cake can technically be served after about 4-6 hours of refrigeration, you’ll find that patience truly pays off. I’ve consistently observed that waiting at least about 12 hours, or ideally chilling overnight, allows the chocolate graham crackers to reach a magnificent, almost cake-like texture without becoming soggy. This extended chill time allows the flavors to fully develop and the layers to set perfectly, resulting in a more cohesive and delicious dessert. Plan your preparation accordingly to allow for this optimal setting period.
Ensure Ingredients are at the Right Temperature: For the best results, make sure your cream cheese is fully softened at room temperature. This ensures it beats smoothly without lumps, creating a silky base for your chocolate cream. Conversely, your heavy whipping cream should be very cold directly from the refrigerator to achieve stiff, stable peaks when whipped.
Don’t Overmix the Whipped Cream: When whipping heavy cream, stop as soon as stiff peaks form. Over-whipping can turn it grainy or even into butter, which will compromise the light and airy texture of your cake. Similarly, when folding it into the chocolate mixture, be gentle to maintain its volume.
Consider Your Pan Size: This recipe is designed for a 9×13 inch pan. If you use a different size, you may need to adjust the number of graham cracker sheets per layer and the thickness of your cream layers to ensure the cake has good structure and proportions.
Creative Toppings: Beyond chocolate sprinkles and mini marshmallows, consider dusting with a light layer of cocoa powder, adding chocolate shavings or curls, crushed cookie crumbs, or even a few dollops of extra whipped cream just before serving for an elegant finish.
Storage Solutions for Your Icebox Cake
Proper storage is key to enjoying this delicious Hot Chocolate Icebox Cake for as long as possible. Here’s how to keep it fresh and flavorful:
Refrigeration: Store any leftover hot chocolate icebox cake in an airtight container in the refrigerator for up to 3-4 days. While we have enjoyed it on day 5, the texture began to noticeably change, becoming softer and less defined. For the best possible texture and freshest flavor, aim to consume the cake within the first 2 days. The graham crackers will be perfectly softened and the cream will be beautifully set during this period.
Freezing: This dessert also freezes exceptionally well, making it an excellent option for long-term storage or meal prepping for future events. To freeze, ensure the cake is well-chilled and firm. Wrap individual slices or the entire remaining cake tightly in plastic wrap, then place it in a freezer-safe airtight container. It can be stored in the freezer for up to 3 months. When you’re ready to enjoy it again, allow the dessert to thaw slowly overnight in the refrigerator for the best texture and taste. Avoid thawing at room temperature, as this can affect the cream’s consistency.
HUNGRY FOR MORE? Subscribe to my newsletter and follow me on Facebook, Instagram and Pinterest for all the latest delicious recipes and cooking inspiration!
Hot Chocolate Icebox Cake
Ingredients
- 1, 14.4 oz box chocolate graham crackers
- 3 ½ cups cold heavy cream
- 1 cup marshmallow creme
- 8 oz block cream cheese, softened
- 1 ½ tsp vanilla extract
- ¼ cup powdered sugar
- 3-4 packets hot cocoa mix ¾ -1 cup
- Chocolate sprinkles and mini marshmallows to garnish
Instructions
-
Prepare the Hot Cocoa Cream Mixture: Using a stand mixer with a whisk attachment or an electric hand mixer, beat the heavy cream until stiff peaks begin to form. Transfer the whipped cream to a separate bowl if using an electric mixer or set mixing bowl aside.
-
Add the cream cheese, vanilla extract and powdered sugar to a large bowl and beat on medium-high speed until smooth and creamy. Add the marshmallow cream and beat to incorporate. Add the hot cocoa and beat until smooth and incorporated. Add in about 2-3 cups of the whipped cream and beat at low speed to incorporate.
-
Fold in the remaining whipped cream gently, trying not to deflate the whipped cream and stir until combined and no white streaks are seen.
-
Assemble The Icebox Cake: Spread a very thin layer of the hot cocoa mixture on the bottom of a 9×13 inch pan, approx. 3-4 Tbsp. is what I use. Add a single layer of graham crackers to cover the bottom of the pan. You can break them as needed to cover the entire surface. It usually takes about 7-8 sheets per layer.
-
Spread approximately 2 ½ cup of the creamy hot cocoa mixture over top of the crackers in an even layer to cover. Cover the mixture with another layer of chocolate graham crackers.
-
Spread a second layer of approx. 2 ½ cups of the hot cocoa mixture over the grahams. Spread evenly. Cover with a final layer of graham crackers and then cover those with the remaining creamy hot coca layer.
-
Chill and Serve: Chill for at the very least for about 4-5 hours or until the graham crackers are softened and easy to cut through. I prefer chilling overnight for at least about 12 hours to allow the grahams to really soften and become more cake like. You can garnish with chocolate sprinkles and miniature marshmallow bits.
-
For ease in slicing, you can freeze for about 30 minutes before serving. Run a sharp knife under hot water and then slice, wiping clean each time and then using a thin metal spatula to scoop slices out. It will get messy though–promise! Refrigerate leftovers for about 3-4 days.
Notes
Nutrition
Carbohydrates: 34g,
Protein: 6g,
Fat: 23g,
Saturated Fat: 13g,
Polyunsaturated Fat: 1g,
Monounsaturated Fat: 6g,
Trans Fat: 0.001g,
Cholesterol: 65mg,
Sodium: 315mg,
Potassium: 147mg,
Fiber: 1g,
Sugar: 16g,
Vitamin A: 824IU,
Vitamin C: 0.3mg,
Calcium: 113mg,
Iron: 1mg
Nutrition information is automatically calculated, so should only be used as an approximation.
Did you enjoy this recipe? Have a question?Leave a comment below!