
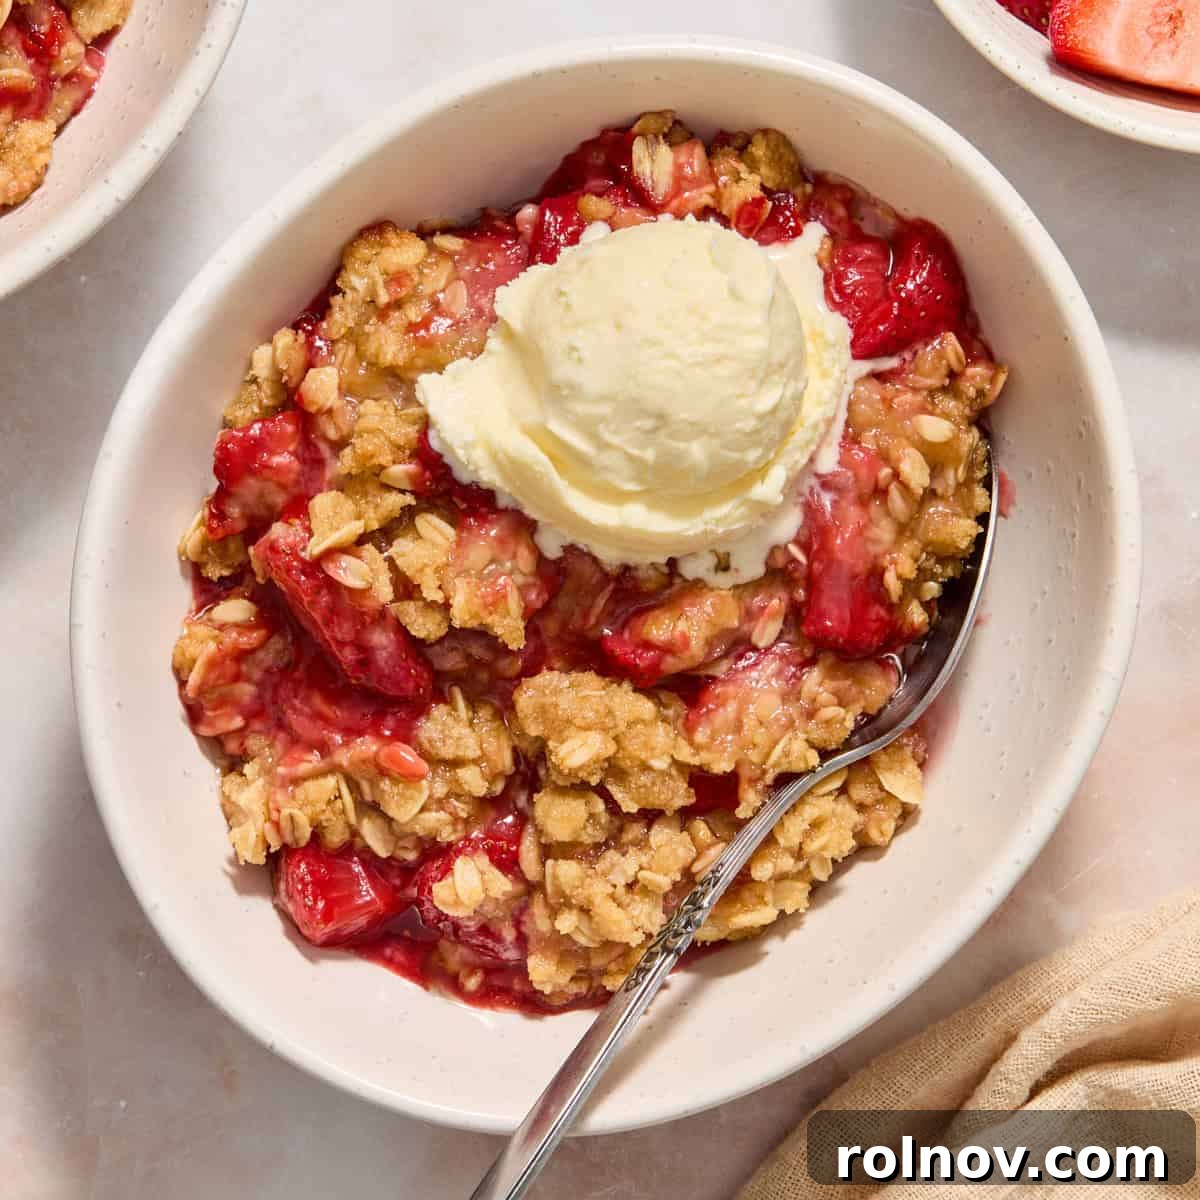
Embrace the vibrant flavors of berry season with this incredibly simple and satisfying Strawberry Crumble! Whether you prefer to call it a strawberry crisp or a crumble, this delightful dessert features a generous layer of fresh, sweetened berries crowned with a buttery, oat-filled, crumbly topping. With only about 10 minutes of prep time, it bakes to a golden, crispy perfection, making it the ideal treat. Serve it warm with a generous scoop of creamy vanilla ice cream, and prepare to indulge!
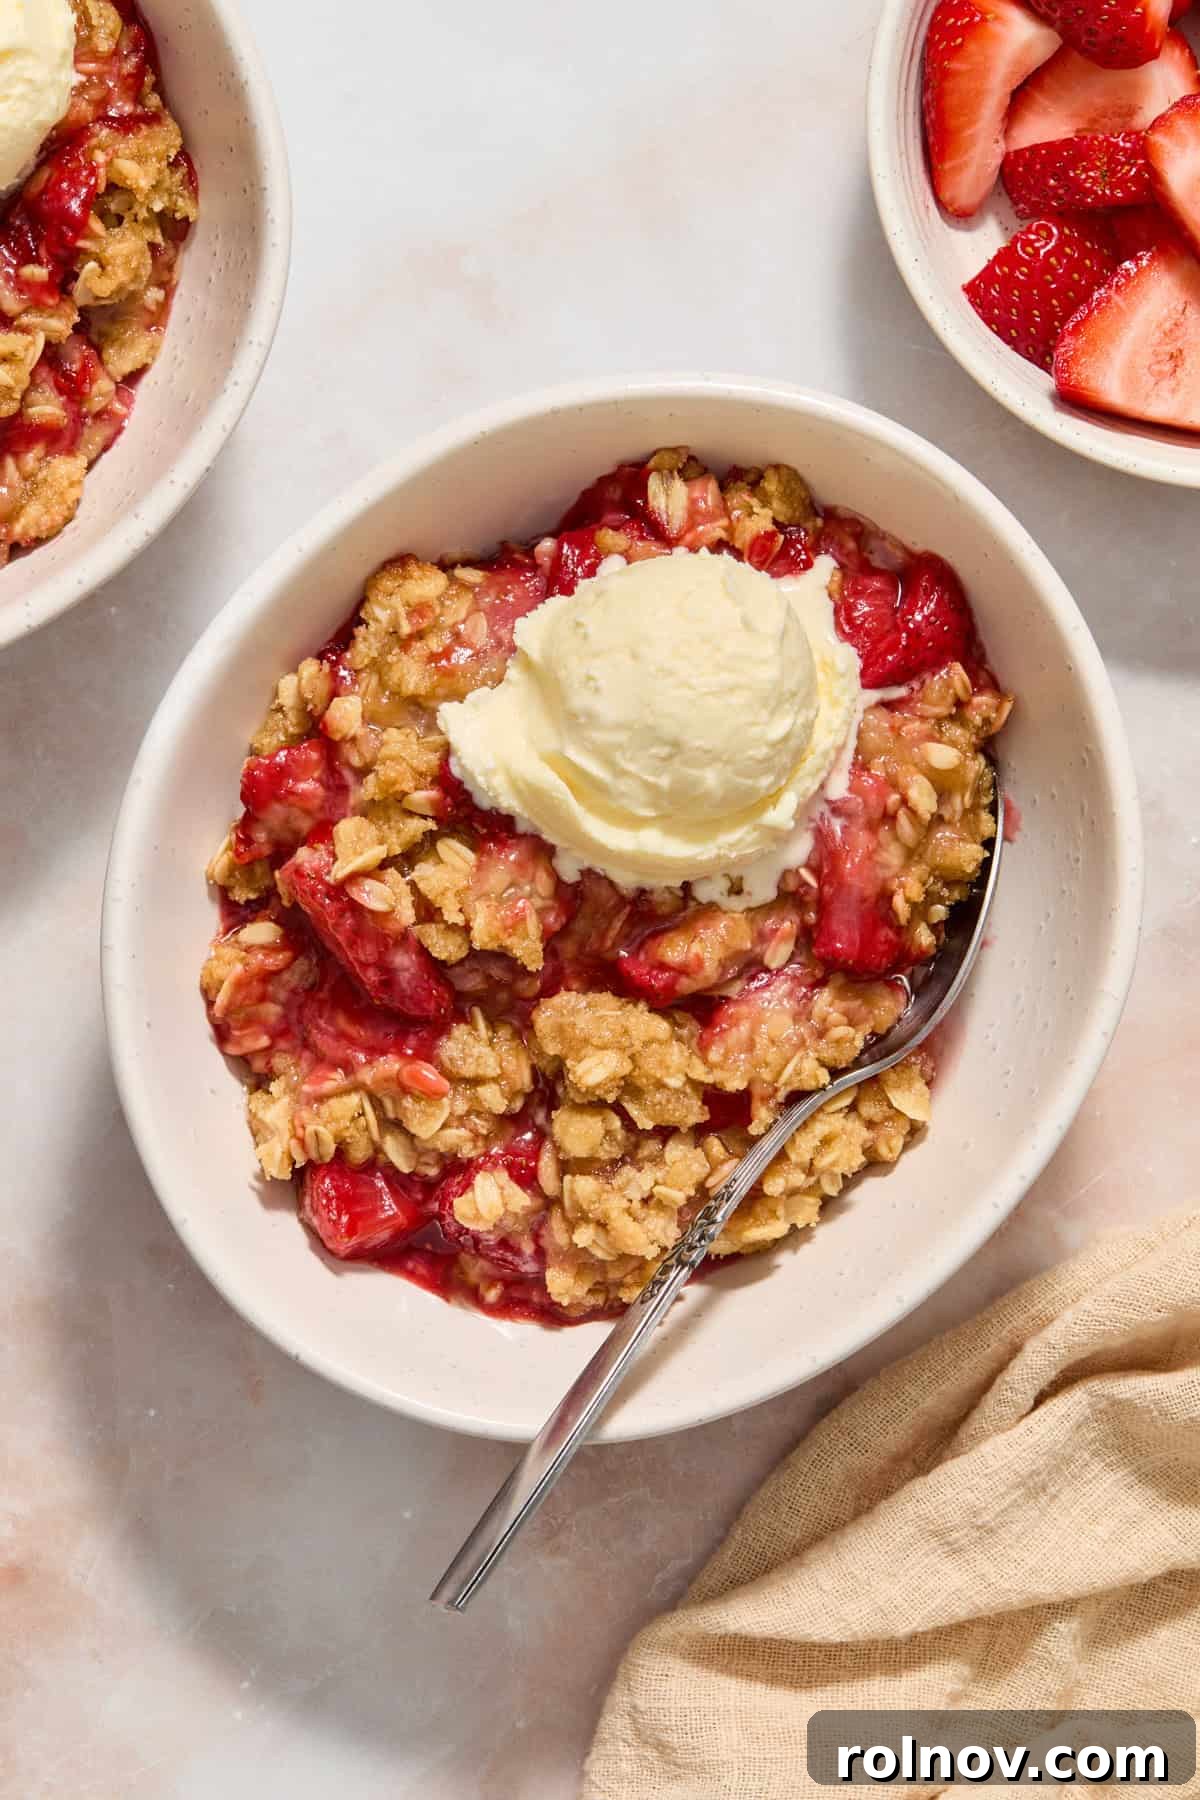
There’s nothing quite like the joy of berry season, and it truly calls for an abundance of delicious desserts. This Strawberry Crumble (or Strawberry Crisp, as many prefer to call it) draws inspiration from some beloved favorites, including our popular Strawberry Crumble Muffins. The comforting textures and flavors found in our Mixed Berry Crumble Bars and Apple Crumble Bars also played a significant role in perfecting this recipe, ensuring it’s a winner every time.
Any dessert that combines rich, buttery oats with fresh, juicy fruit is an instant classic in our kitchen. This recipe stands out for its remarkable simplicity, allowing you to whip it up quickly and easily. So, grab your apron, get that vanilla ice cream ready, and prepare for a dessert experience that will delight your senses without demanding hours in the kitchen.
If you’re a fan of strawberries and looking for more ways to enjoy them, don’t miss these other fantastic strawberry recipes: Strawberry Cream Cheese Icebox Cake, Strawberry Peach Shortcake, Homemade No-Churn Strawberry Ice Cream. For those who appreciate a savory twist, our Strawberry Poppy Seed Pecan Chicken Salad is an unexpected delight.
Why You’ll Adore This Easy Strawberry Crumble Recipe
This Strawberry Crumble isn’t just a dessert; it’s an experience designed for ease and enjoyment. Here are several reasons why this recipe will quickly become a cherished favorite in your household:
- Effortless Preparation: We all love a recipe that minimizes fuss, and this strawberry crumble truly delivers. You can prepare the luscious strawberry filling directly in the baking dish, eliminating the need for extra bowls and saving you precious cleanup time. Once the berries are seasoned, simply mix the crumble topping and spread it evenly over the fruit. It’s a straightforward process that gets you from prep to oven in mere minutes, making it an ideal choice for busy weeknights or spontaneous dessert cravings.
- Utilizes Common Kitchen Staples: One of the greatest advantages of this recipe is its reliance on ingredients you likely already have on hand. Beyond the fresh strawberries, most components for both the fruit filling and the oat crumble are pantry essentials. This means less planning and fewer last-minute trips to the grocery store. It’s truly a testament to simple, wholesome ingredients coming together to create something extraordinary.
- Perfect for Any Time of Year: While fresh, seasonal strawberries are undeniably a highlight, this crumble isn’t confined to just summer. The warm, comforting nature of the oat topping makes it equally appealing during cooler months. Thanks to the widespread availability of frozen berries in grocery stores year-round, you can effortlessly enjoy this delightful dessert whenever the craving strikes, making it a versatile staple for all seasons.
Crumble vs. Crisp: What’s the Difference?
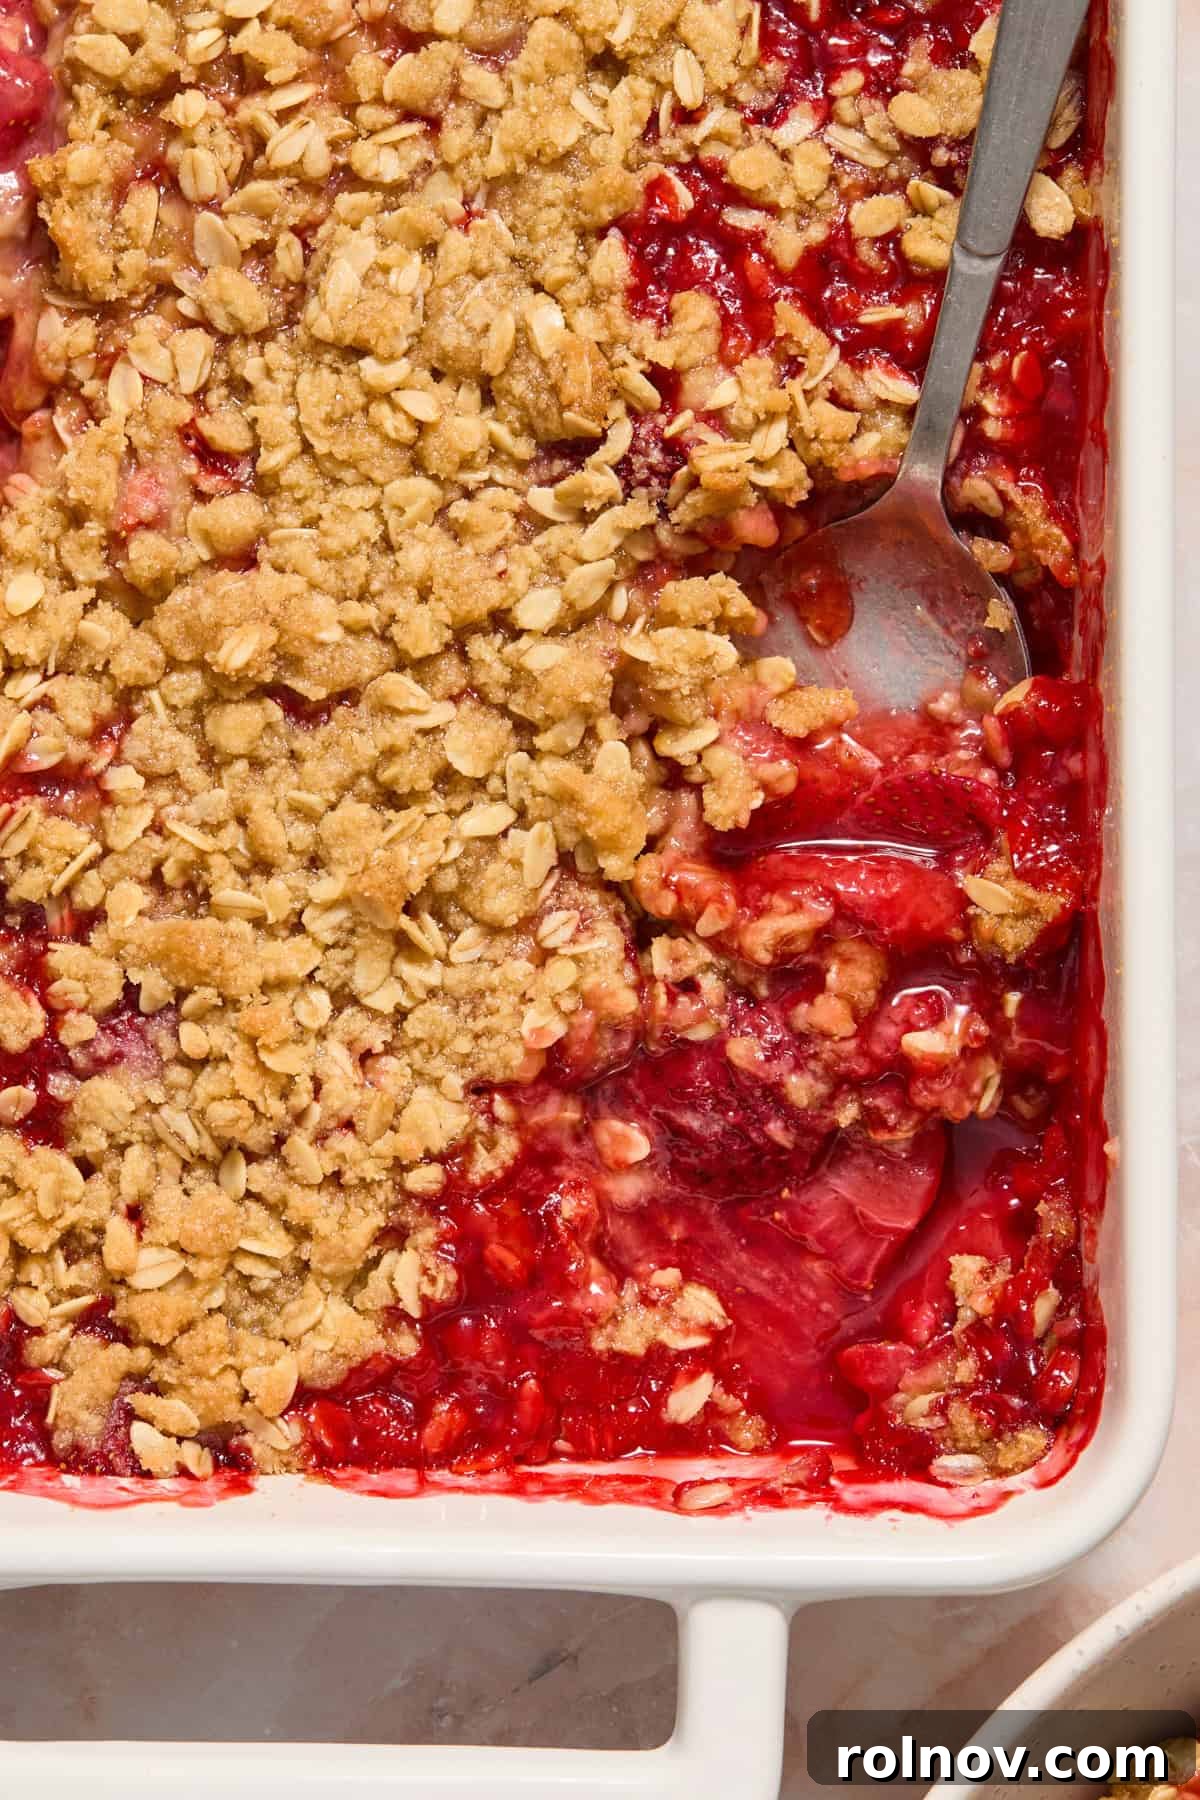
The terms “crumble” and “crisp” are often used interchangeably, and while they are very similar, there’s a subtle distinction that can clarify things for baking enthusiasts. Both desserts feature a baked fruit filling topped with a streusel-like mixture. The main difference lies in the topping itself:
- A crumble topping typically consists of flour, sugar (often brown sugar), and butter, rubbed together to form coarse crumbs. It bakes into a denser, cake-like texture with a beautiful golden crust.
- A crisp topping, on the other hand, includes oats, which toast during baking, giving it a lighter, crunchier, and more “crisp” texture.
Our recipe, with its delightful addition of oats, technically leans towards being a “strawberry crisp.” However, “strawberry crumble” is a widely recognized and beloved term, and we use it here to ensure everyone can find and enjoy this fantastic recipe. Regardless of what you call it, the outcome is a warm, fruity, and irresistibly textured dessert.
Essential Ingredients and Smart Substitutions
Crafting the perfect Strawberry Crumble begins with understanding each ingredient’s role and knowing how to make smart substitutions if needed. Here’s a detailed look:
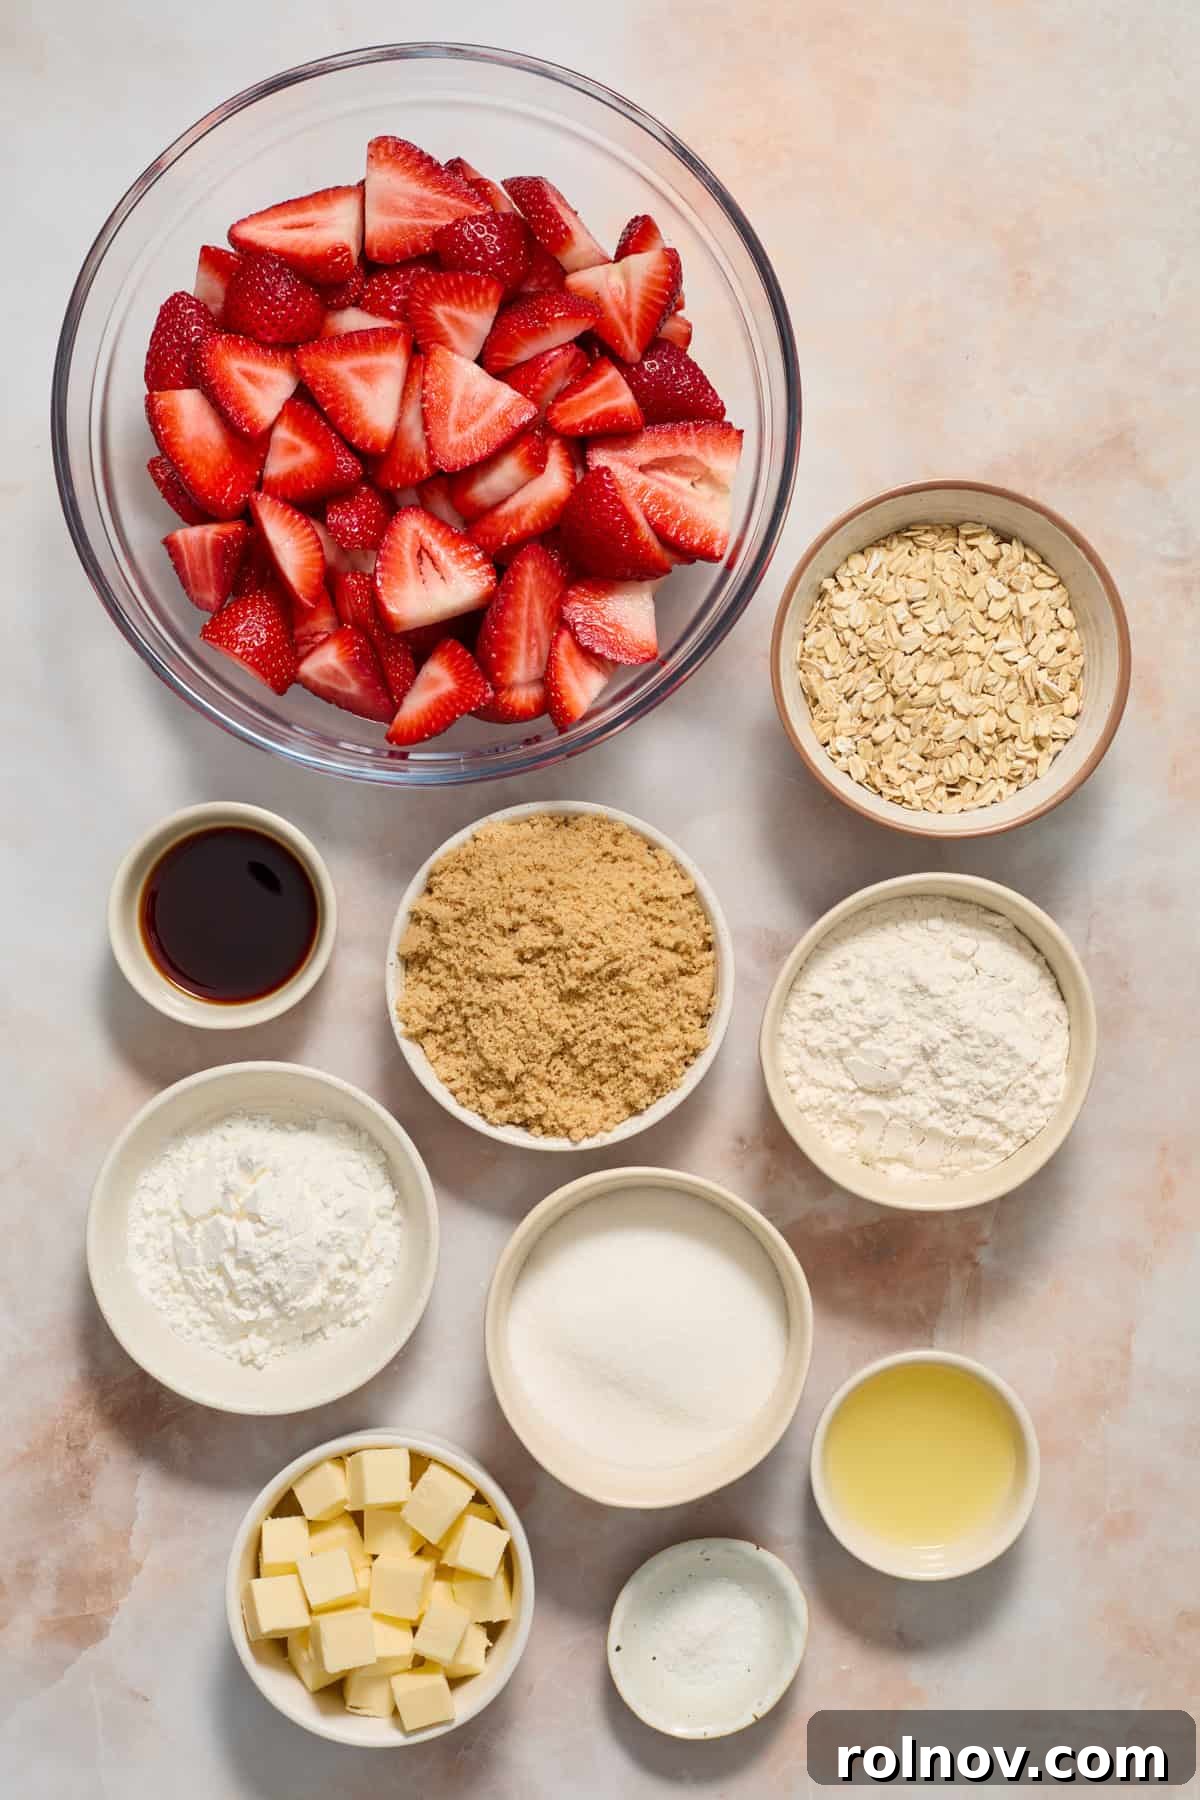
- Strawberries: Fresh strawberries, especially when they are in peak season, offer unparalleled flavor and aroma. If using frozen berries, it’s crucial to thaw them completely and drain any excess liquid before mixing. Skipping this step will result in a watery, soupy strawberry layer rather than the rich, gooey consistency we’re aiming for. Remember, we want a delightful strawberry crisp, not a soggy disappointment!
- Corn Starch: This acts as our thickening agent for the strawberry layer, creating that luxurious, slightly sticky, and wonderfully gooey texture. We tested with flour, but found corn starch delivered a superior, more consistent thickness, while flour tended to yield a thinner, more “soupy” result. If you need a substitute, arrowroot powder is a common and effective alternative.
- Sugar: The amount of sugar can be adjusted based on the natural sweetness of your strawberries. If your berries are particularly tart or sour, feel free to add a little extra sugar to achieve your desired balance of sweetness. Always taste a small piece of your fruit first!
- Lemon Juice: A splash of lemon juice is a secret weapon in fruit desserts. Its acidity beautifully balances the sweetness of the fruit, preventing the dessert from tasting overly sugary. More importantly, it brightens and amplifies the natural, vibrant flavor of the strawberries. Freshly squeezed lemon juice is always best, but bottled lemon juice from the produce section works perfectly well. For an extra burst of zesty flavor, consider stirring in a bit of lemon zest as well.
- Oats: For the crumble topping, both rolled oats (old-fashioned) and quick-cooking oats can be used. Our personal preference for this Strawberry Crumble leans towards rolled oats, as they provide a more substantial chew and a wonderfully rustic texture. If you need a gluten-free option, ensure your package of oats is specifically labeled “gluten-free” to avoid cross-contamination.
- Flour: All-purpose flour forms the structural base of our crumble topping. For those requiring a gluten-free version, a 1:1 gluten-free all-purpose flour blend is highly recommended for the best results. We haven’t extensively tested other specific gluten-free flours, so a blend designed for baking is your safest bet.
- Butter: Cold butter is key for a truly crumbly topping. You have two excellent options: you can cube very cold butter and then use a pastry cutter to break it down into the dry ingredients, or for an even easier method, grate frozen or very cold butter using a cheese grater directly into the mixture. This creates tiny butter pieces that distribute evenly with minimal effort. If you only have salted butter on hand, simply reduce or omit the added sea salt in the crumble topping to prevent it from becoming too salty.
- Brown Sugar: We typically use light brown sugar for its delicate caramel notes, but dark brown sugar can also be used if you prefer a richer, deeper molasses flavor in your topping. Both will yield delicious results.
- Vanilla Extract: The warmth and depth that real vanilla extract brings to both the fruit filling and the crumble topping are unmatched. While imitation vanilla can be used in a pinch, investing in good quality pure vanilla extract will significantly elevate the overall flavor of your dessert. Use what you have, but know the difference it makes!
Effortless Step-By-Step Instructions
Making this Strawberry Crumble is remarkably straightforward. The beauty of this recipe is that you can start with either the fruit filling or the crumble topping – the order won’t impact the delicious outcome!
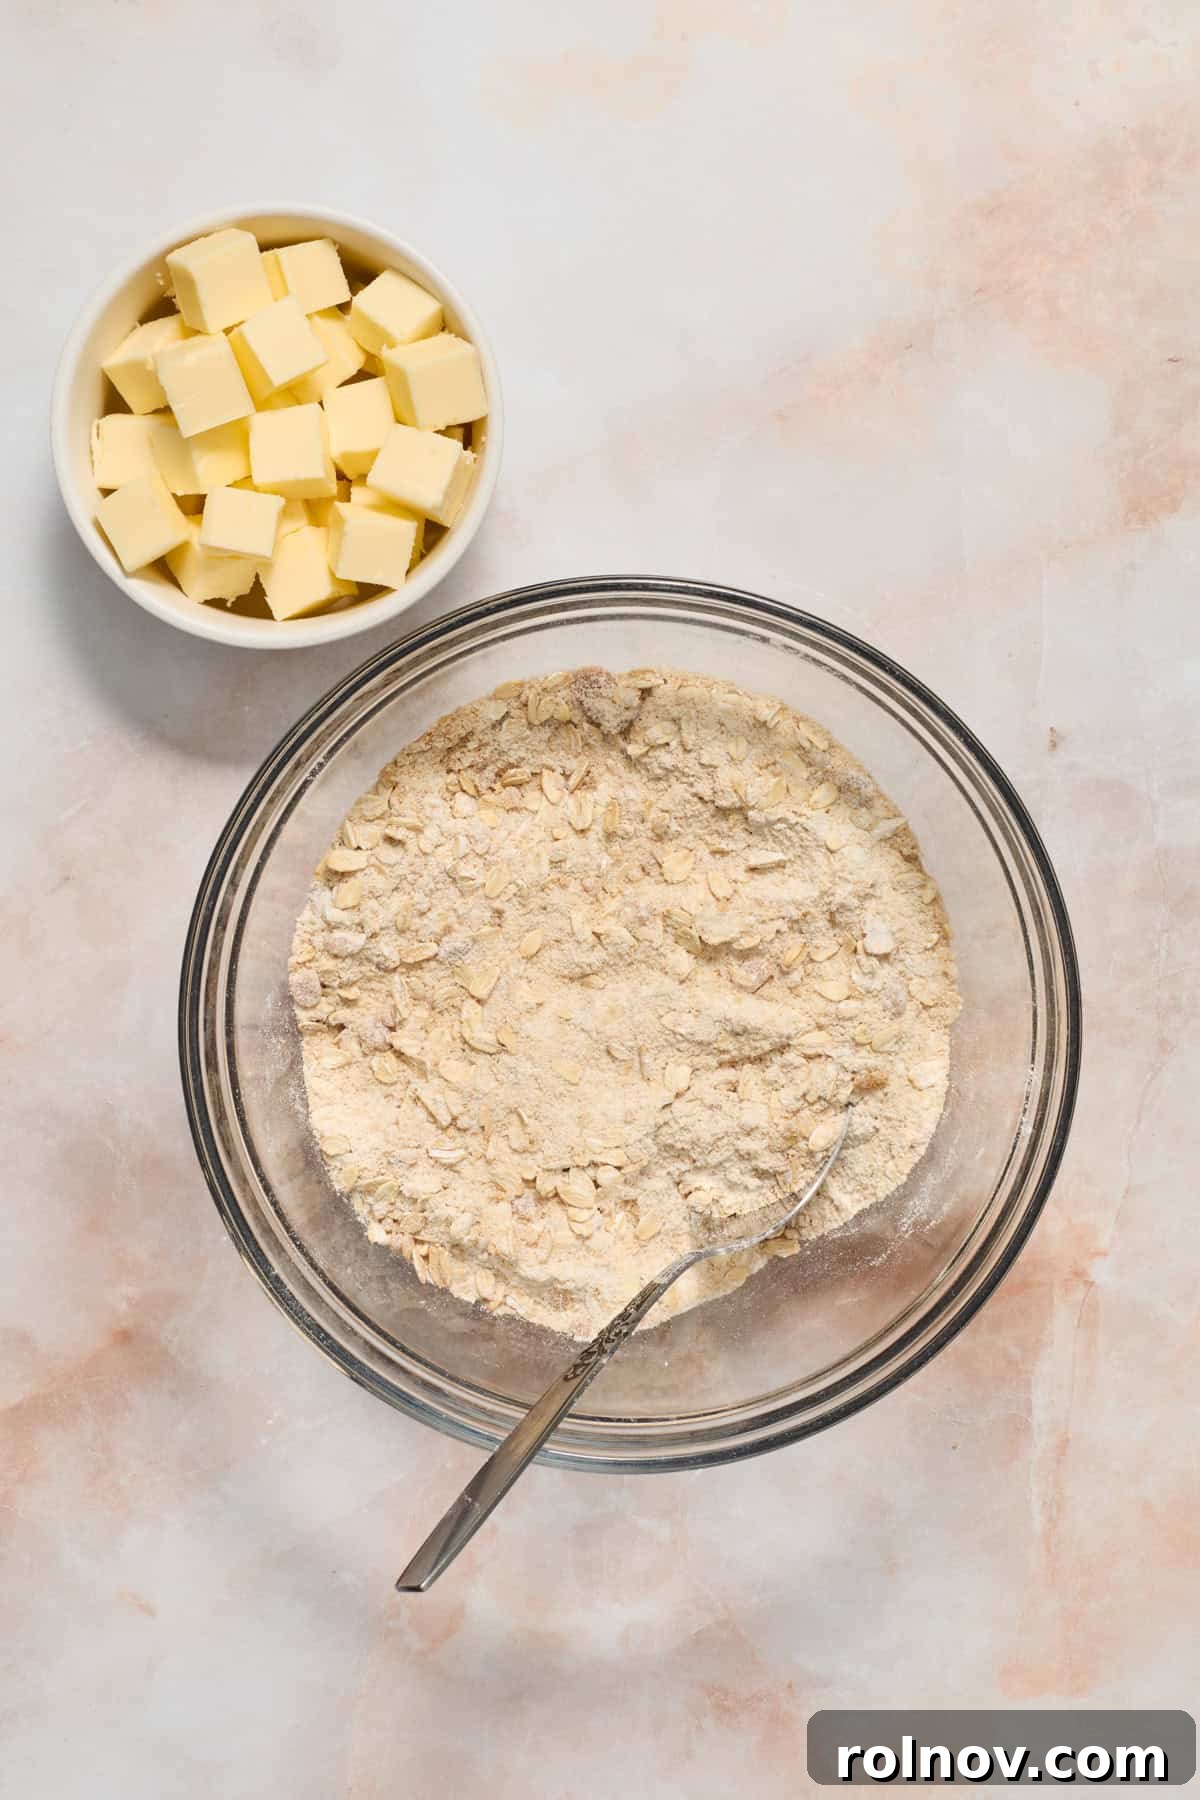
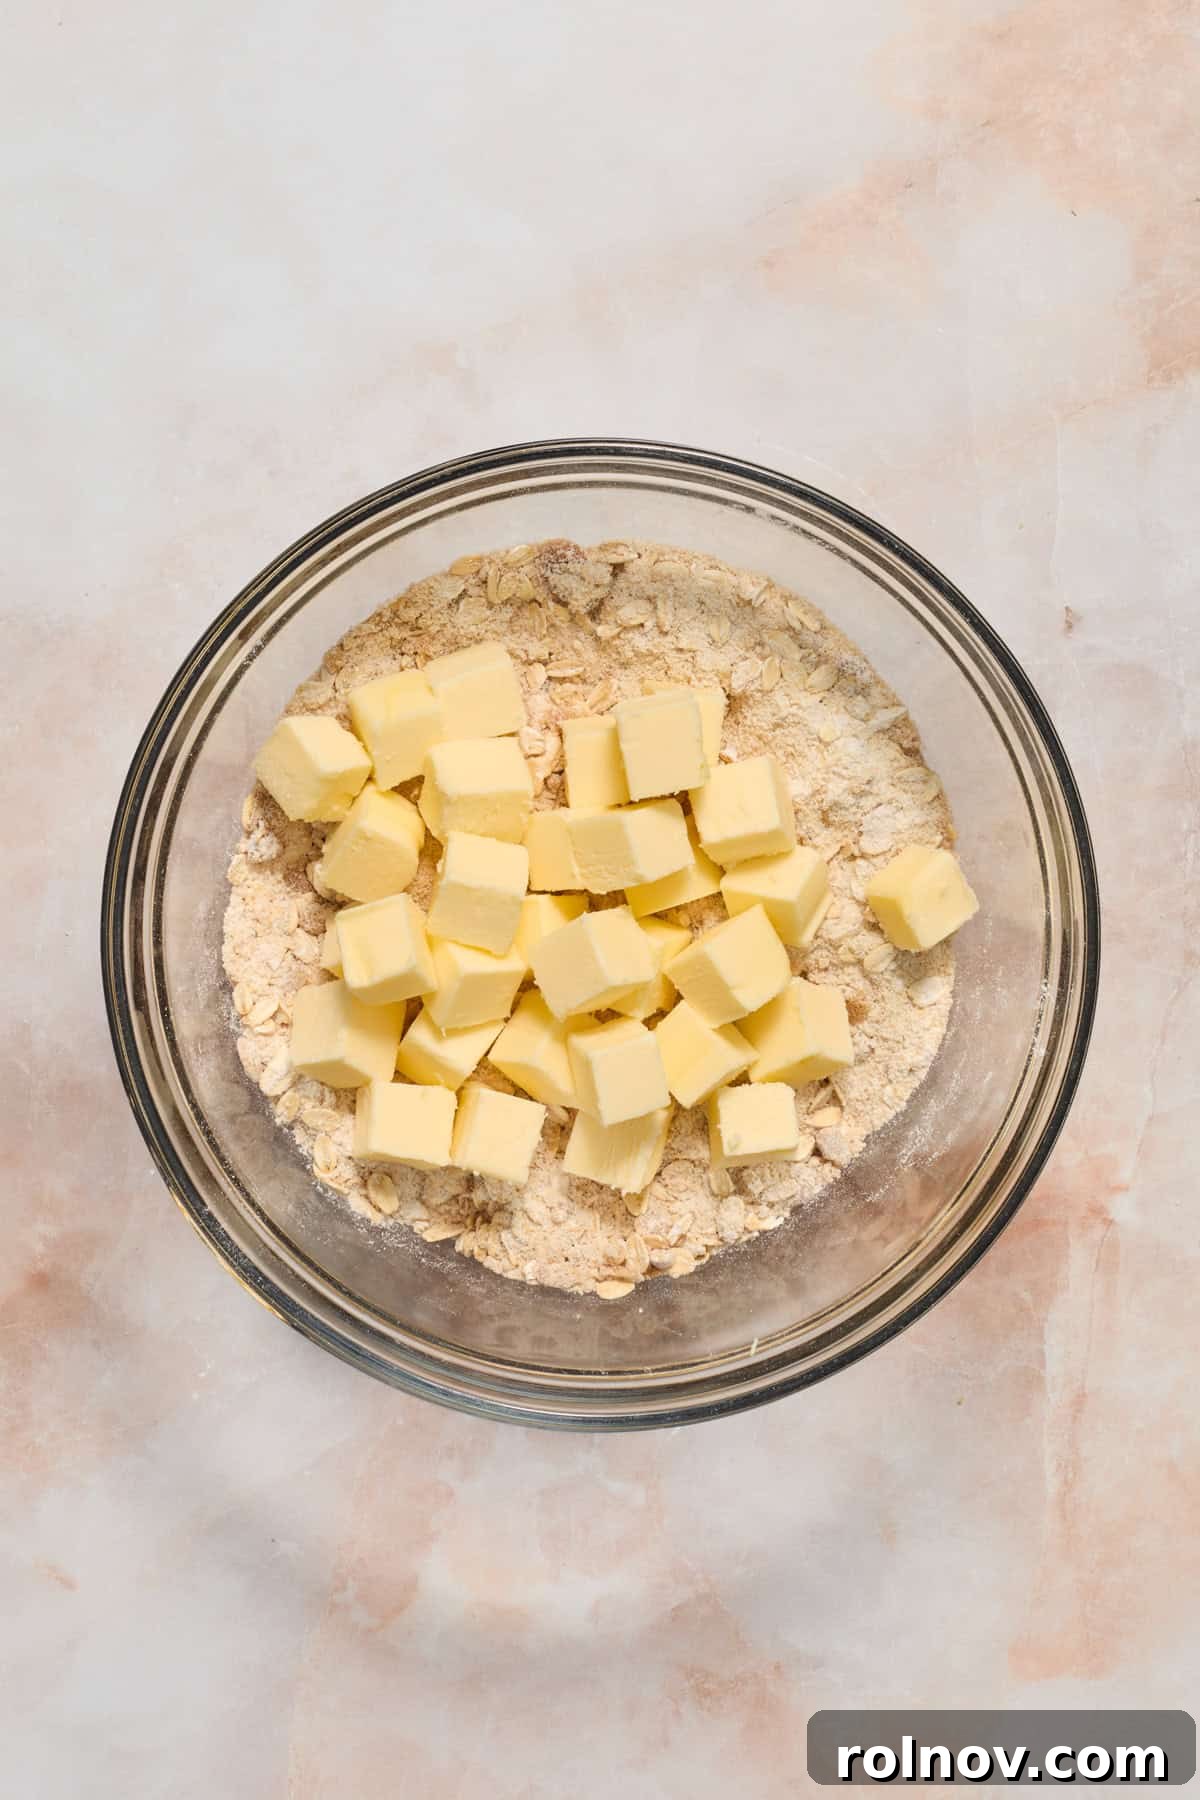
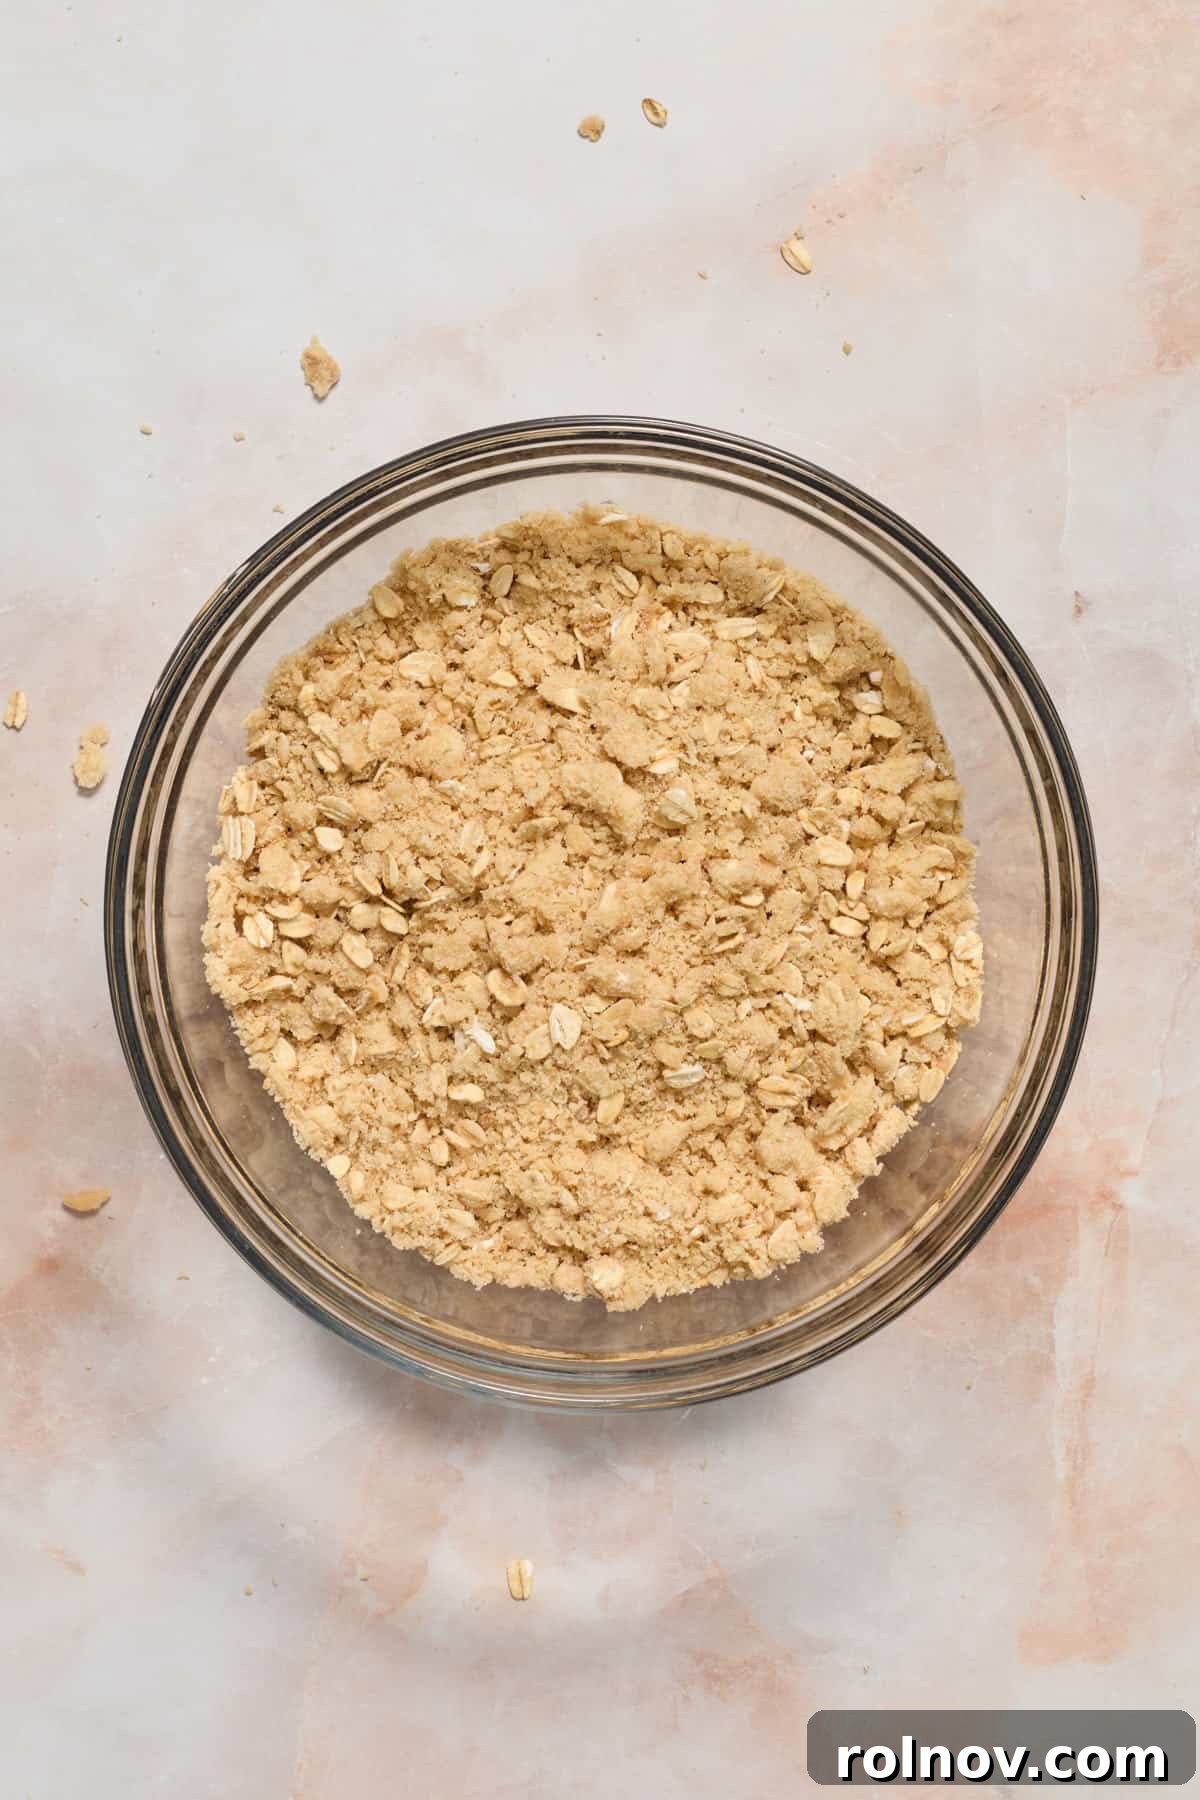
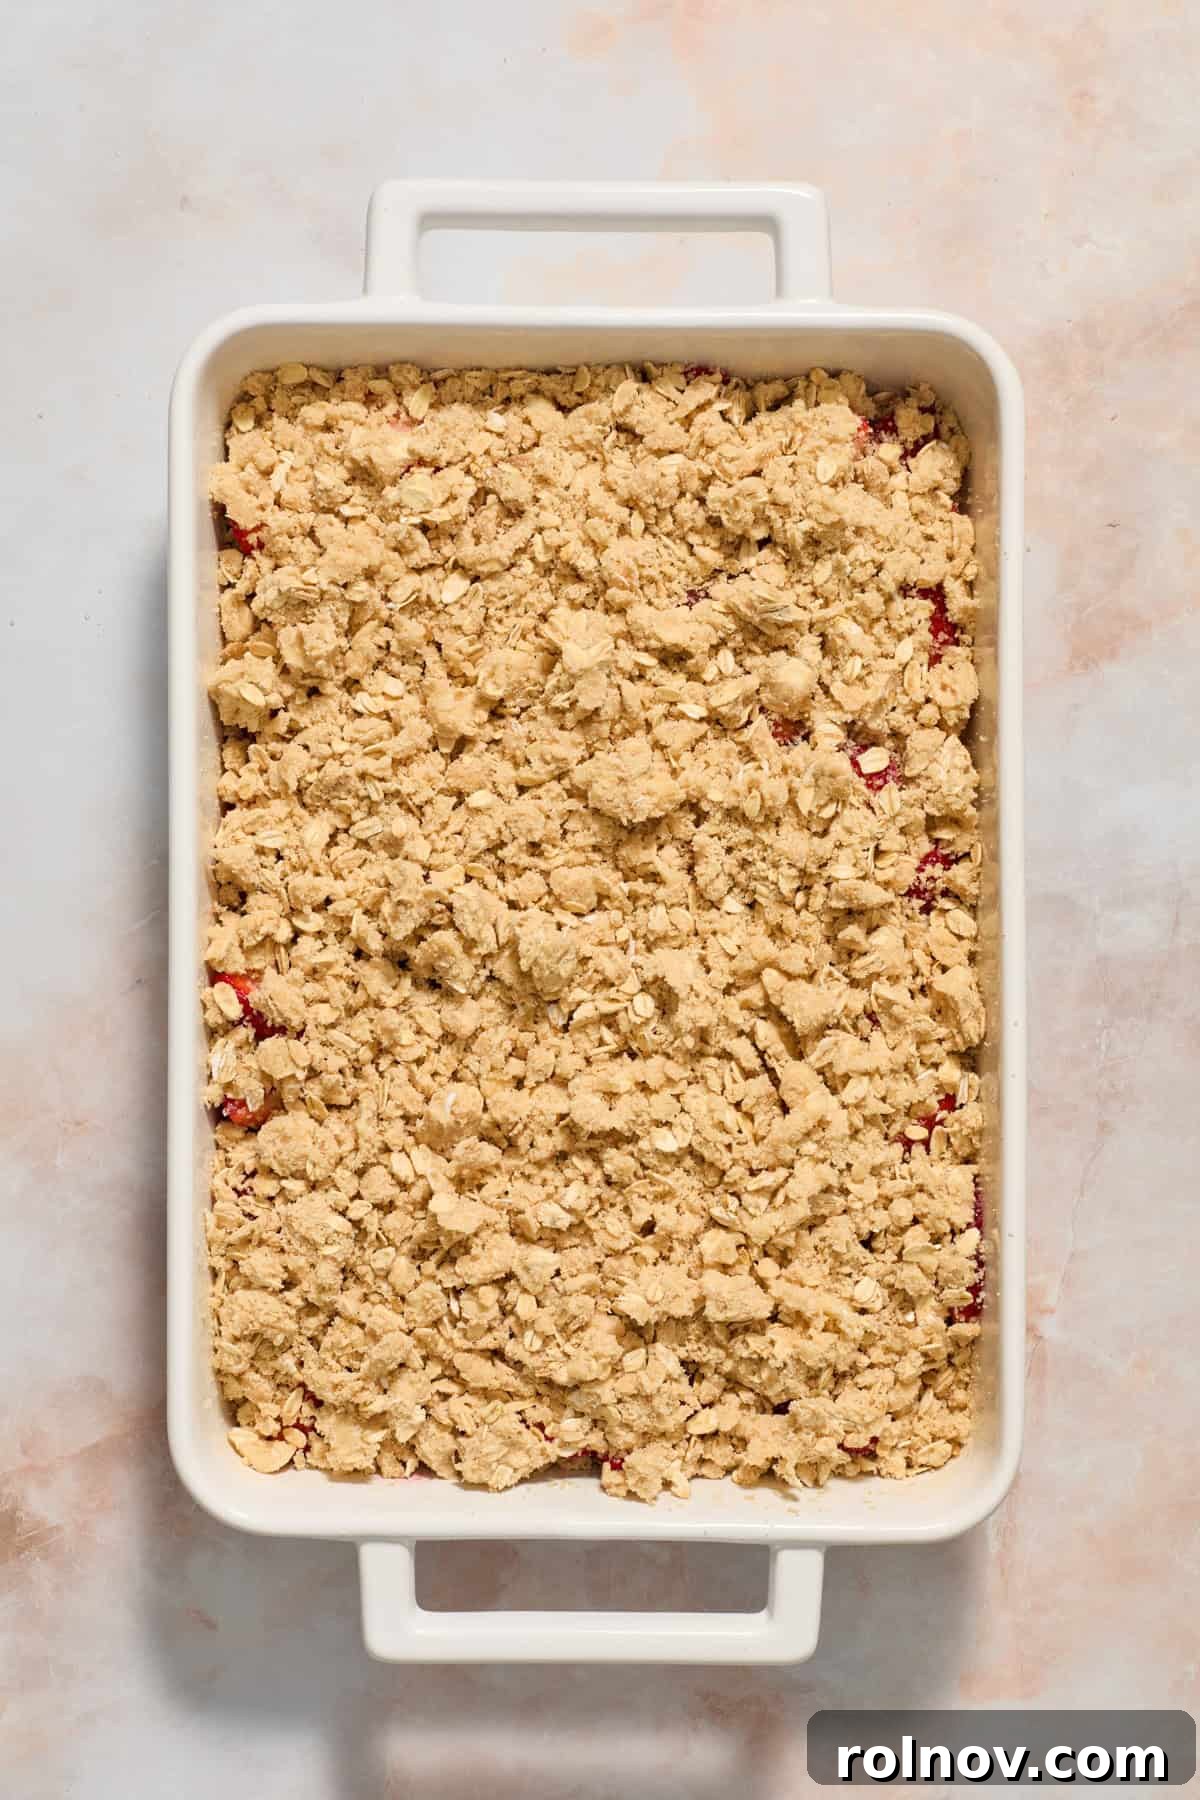
- Prepare the Crumble Topping: In a medium bowl, combine the oats, flour, brown sugar, vanilla, and sea salt. Stir these dry ingredients thoroughly until well mixed. Next, add your very cold butter. You can either cube the butter into small pieces or, for an easier method, grate the frozen or very cold butter directly over the dry mixture. Using your fingertips, a pastry cutter, or a fork, work the butter into the dry ingredients until the mixture resembles coarse crumbs, with the butter evenly coated and roughly pea-sized.
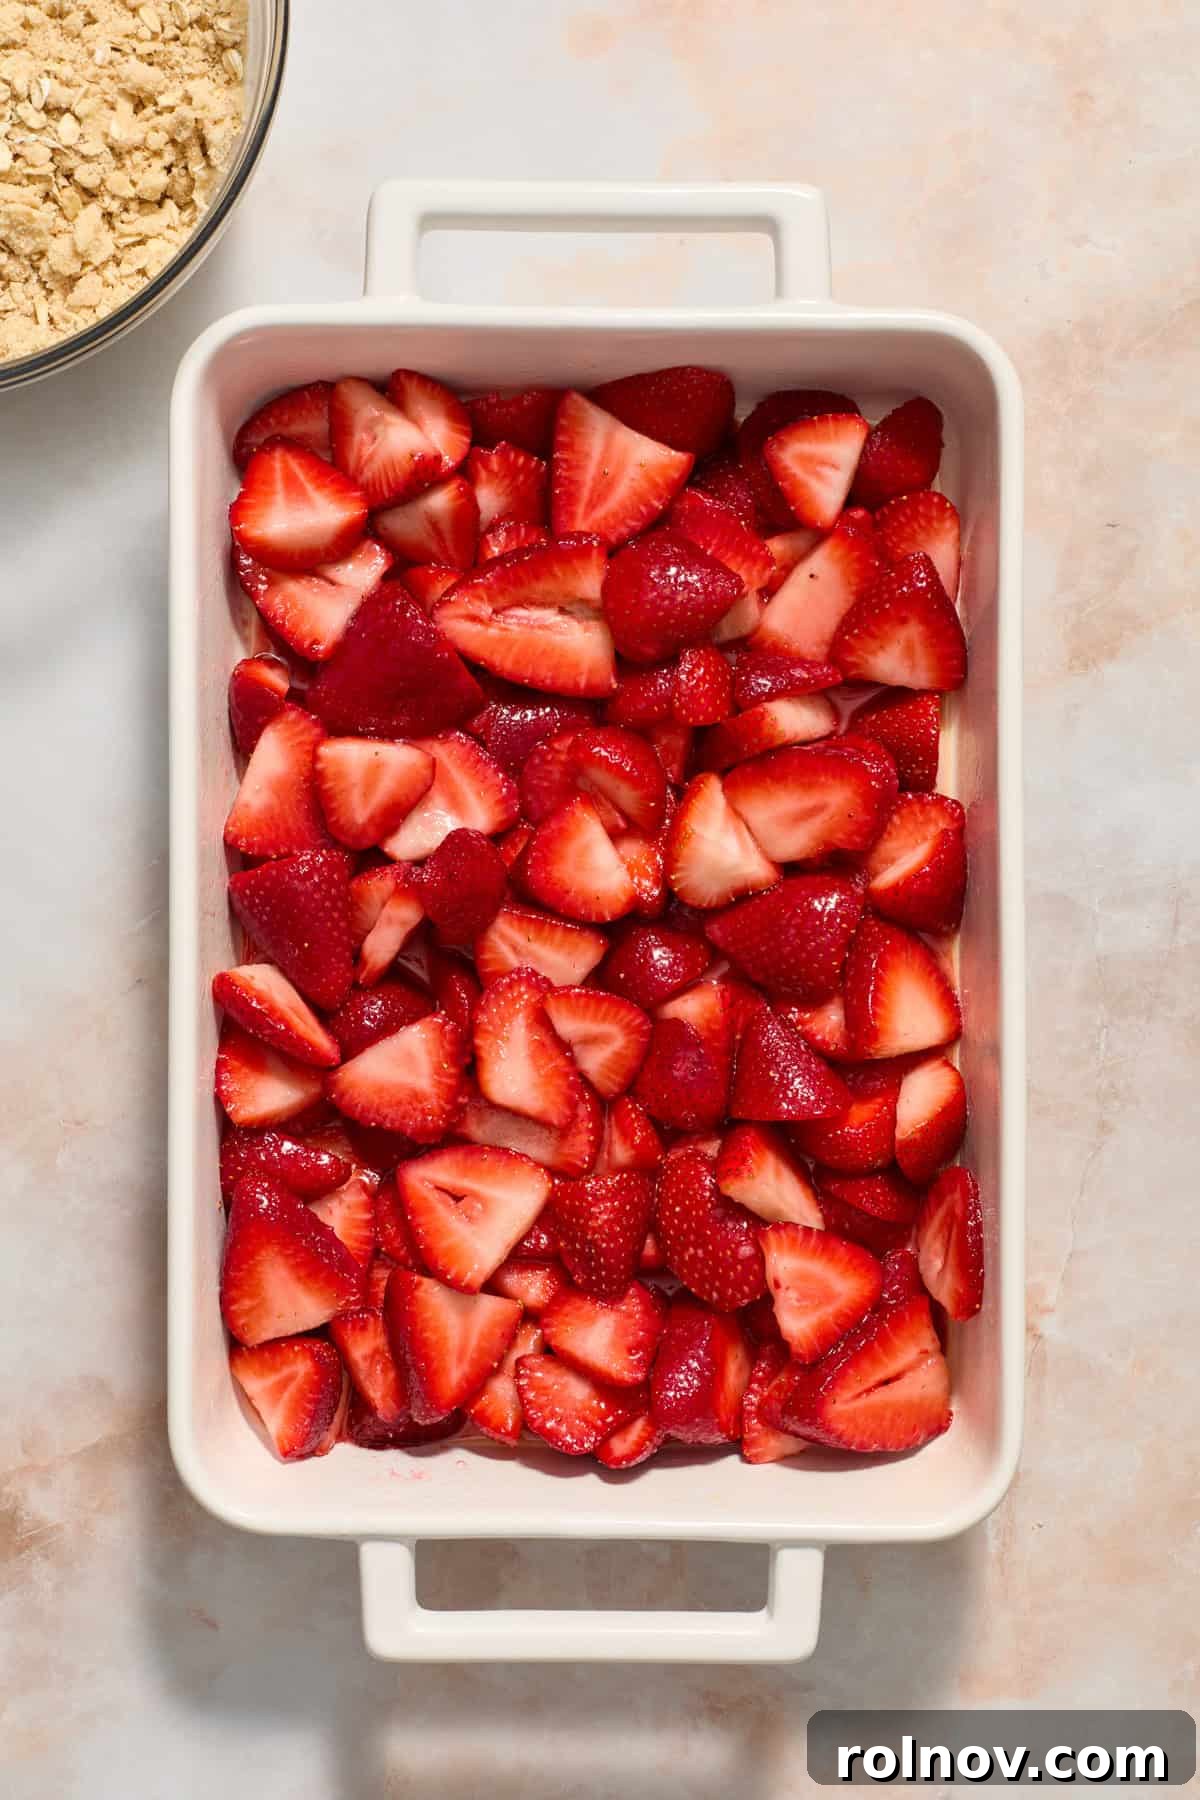
- Assemble the Strawberry Filling: Preheat your oven to 350°F (175°C). Lightly grease the bottom and sides of a 9×9 inch baking pan. In the greased pan, or a separate bowl if preferred, combine the sliced strawberries, sugar, vanilla, lemon juice, and corn starch. Toss gently but thoroughly until the strawberries are evenly coated. Spread this berry mixture evenly across the bottom of the prepared baking pan.
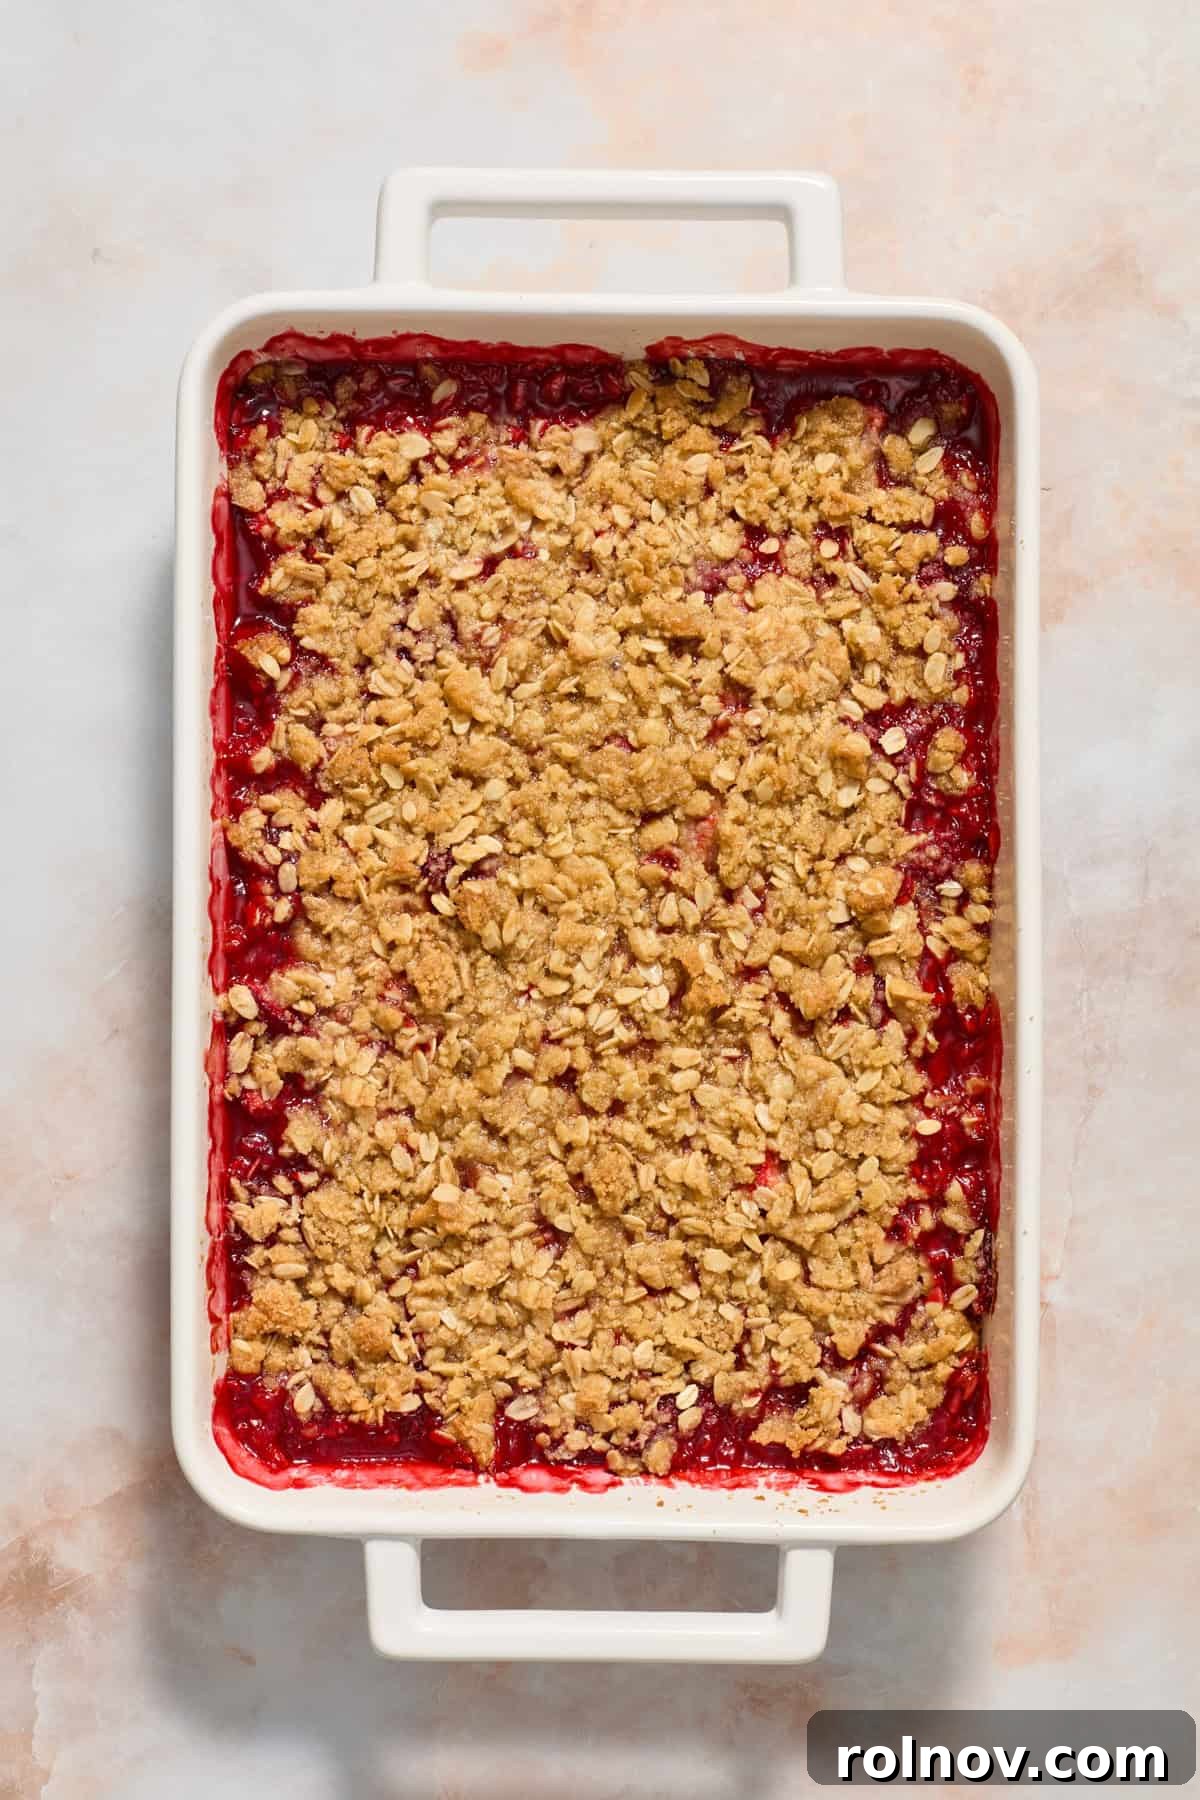
- Layer and Bake: Evenly sprinkle the prepared oat crumble topping over the strawberry layer. For optimal results, leave a very small gap around the edges of the pan; this can help any excess liquid from the fruit evaporate during baking, ensuring a thick, perfectly set strawberry layer rather than a watery one. Bake in the preheated oven for approximately 45-50 minutes, or until the crumble topping is beautifully golden brown and the strawberry mixture is visibly bubbling around the edges.
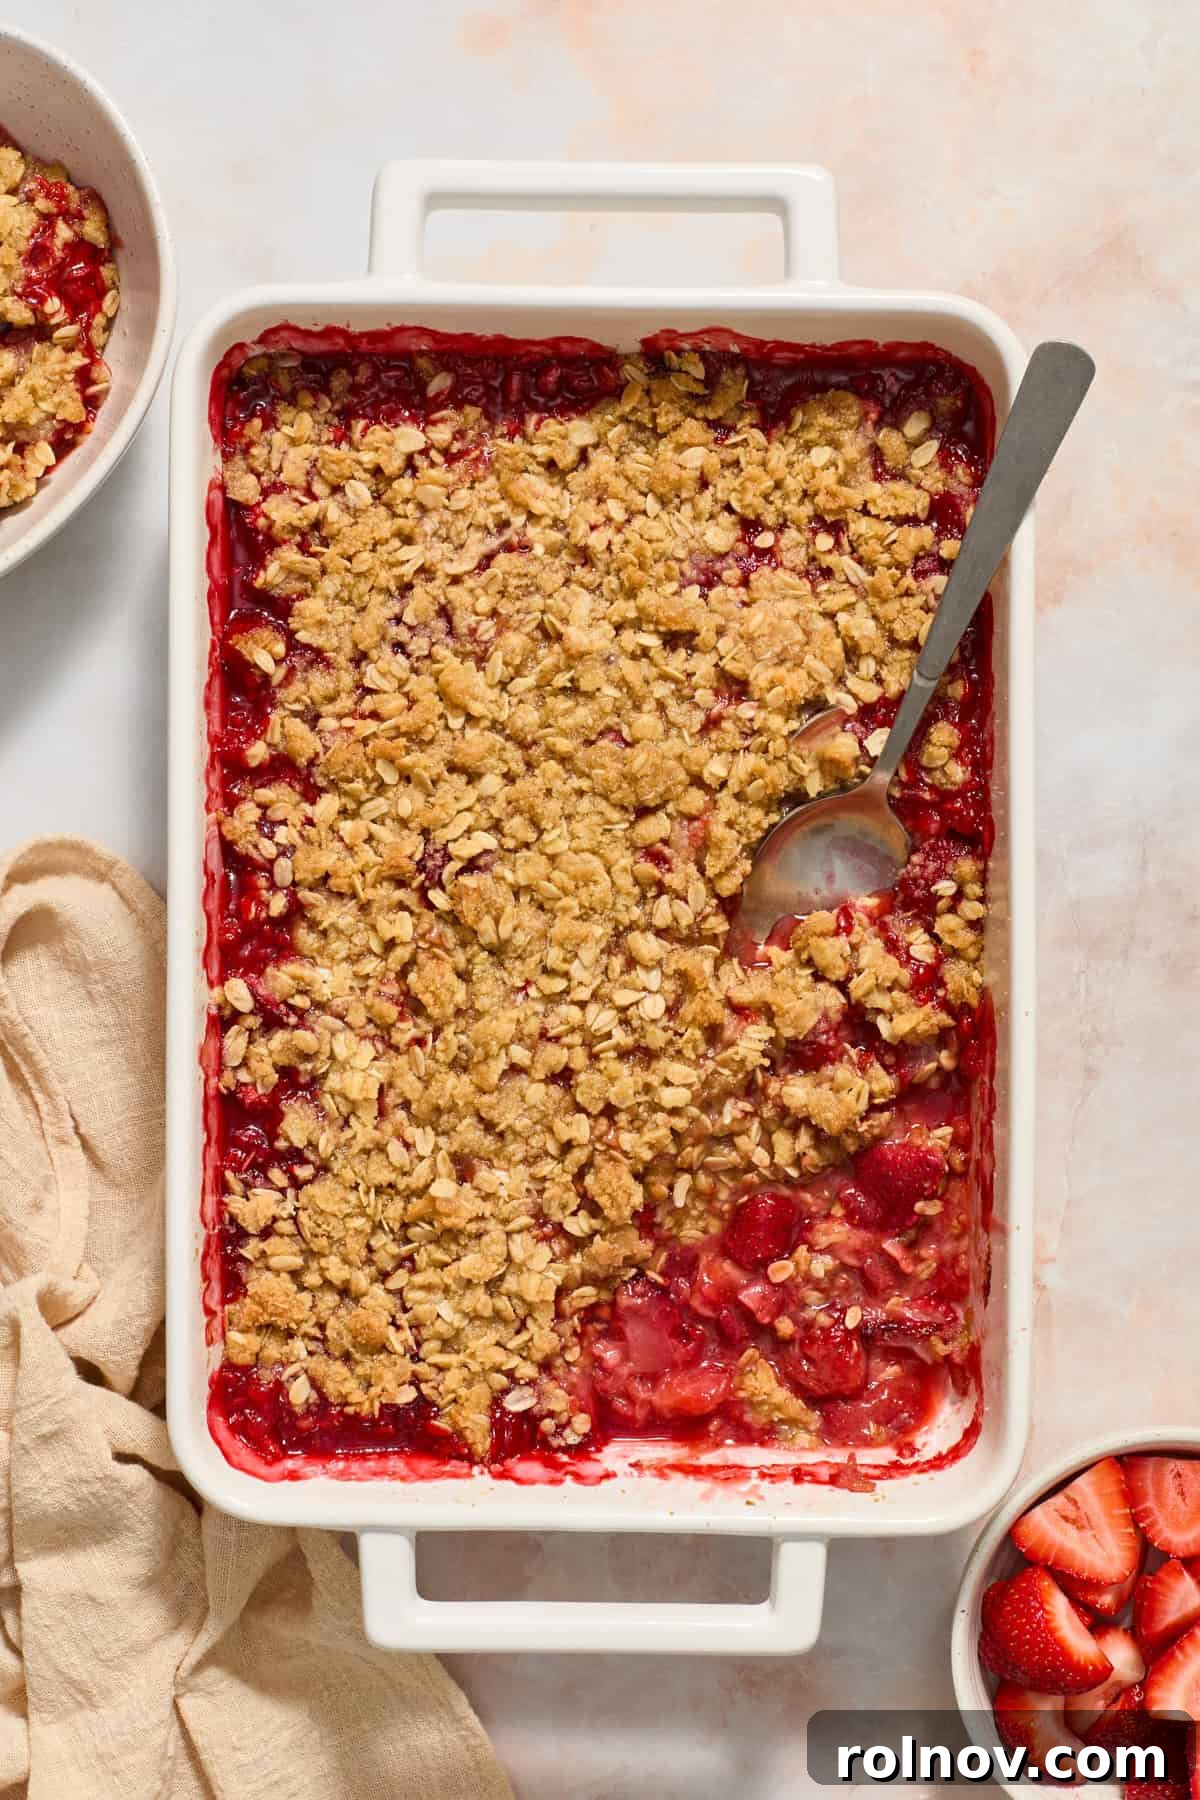
- Cool and Serve: Once baked, remove the crumble from the oven and let it cool for about 10-15 minutes before serving. This cooling period allows the fruit filling to set properly, ensuring a delightful texture. Serve warm with your favorite accompaniments!
Expert Tips for the Perfect Strawberry Crumble
- Grating Butter Made Easy: If you opt for the grating method for your butter, a pro tip is to place the stick of butter in the freezer for about 15-20 minutes (or even longer) before grating. This solidifies it, making it much easier to grate into fine, consistent pieces, which are ideal for a tender, flaky crumble topping.
- Serving Temperature and Reheating: This Strawberry Crumble is incredibly versatile! Enjoy it warm straight from the oven, or savor it chilled from the refrigerator. If you prefer to warm up leftovers, bake at 350°F (175°C) for about 15 minutes, or simply microwave in 20-30 second intervals until heated through.
- Choosing the Right Baking Dish: A 9×9 inch baking pan is ideal for this recipe, or any dish that can hold approximately 2-2.5 quarts, providing ample space for both the fruit and the topping. If you’re planning to double the recipe for a larger crowd, a 9×13 inch baking pan will work perfectly.
- Don’t Overmix the Crumble: When incorporating the butter into the dry ingredients for the topping, avoid overmixing. The goal is to create distinct, coarse crumbs, not a smooth dough. Overmixing can lead to a tougher, less crumbly topping.
- Testing for Doneness: Beyond the golden-brown topping, look for visible bubbling of the fruit mixture, especially around the edges of the pan. This indicates that the fruit is cooked through and the thickener has activated, creating that luscious filling.
Don’t forget to explore our collection of favorite berry recipes for even more fruity inspiration. If you find yourself with an abundance of fresh strawberries, consider making this refreshing Strawberry Goat Cheese Salad, delightful Strawberry Crumb Muffins, or a revitalizing Strawberry Peanut Butter Smoothie!
Storing Your Strawberry Crumble
Knowing how to properly store your Strawberry Crumble ensures that you can enjoy its deliciousness for days to come. Whether you have leftovers or want to prepare it ahead, these tips will help maintain its quality:
- Room Temperature: If serving the same day, a freshly baked crumble can sit at room temperature for a few hours. However, due to the fruit content, it’s best to refrigerate any leftovers.
- Refrigerator: Once cooled completely, transfer any leftover crumble to an airtight container. Store it in the refrigerator for up to 5-7 days. The topping may soften slightly, but the flavors will still be fantastic. Reheat as desired.
- Freezer (Baked): To freeze a baked crumble, allow it to cool completely. Wrap the entire dish (if freezer-safe) tightly with plastic wrap, then with aluminum foil, or transfer individual servings to freezer-safe containers. It can be frozen for up to 3 months. Thaw overnight in the refrigerator before reheating.
- Freezer (Unbaked): You can also prepare the crumble and freeze it unbaked. Assemble the fruit filling and top with the crumble in a freezer-safe baking dish. Wrap tightly as described above. When ready to bake, remove from the freezer, unwrap, and bake from frozen at 350°F (175°C), adding about 15-20 minutes to the baking time, or until golden and bubbling.
Frequently Asked Questions About Strawberry Crumble
Here are answers to some common questions you might have about making this delicious strawberry crumble:
- Can I use other berries? Absolutely! This recipe is incredibly versatile. Feel free to substitute or combine other berries like blueberries, raspberries, or blackberries. Just ensure any frozen berries are thawed and drained as instructed for strawberries. Mixed berry crumble is a fantastic variation!
- Can I make this gluten-free? Yes! As mentioned in the ingredients section, you can easily make this crumble gluten-free. Simply use certified gluten-free rolled oats and a 1:1 gluten-free all-purpose flour blend for the topping. The fruit filling is naturally gluten-free.
- Can I make this vegan? Yes, with a few adjustments. Replace the butter in the crumble topping with a cold, solid plant-based butter alternative (like Miyoko’s Kitchen or Earth Balance sticks). Ensure your vanilla extract is vegan-friendly (most are, but always check).
- Why is my crumble topping soggy? A soggy topping can occur if the butter wasn’t cold enough when mixed, if the fruit released too much liquid and wasn’t properly thickened, or if the crumble was spread too thickly. Ensuring cold butter, draining thawed fruit, and leaving a small gap around the edges for steam to escape can help prevent this.
- How do I know when the crumble is done? The crumble is ready when the topping is golden brown and appears crisp, and the fruit filling underneath is visibly bubbling around the edges of the pan. The bubbling indicates that the fruit juices have thickened properly.
More Delicious Desserts to Try
If you loved this Strawberry Crumble, you’ll surely enjoy these other comforting and easy-to-make desserts:
- One Dish Apple Dump Cake
- Strawberry Peach Shortcake
- Strawberry Crumble Muffins
- Blueberry Lemon Dump Cake
- Nutella Crumble Bars
Strawberry Crumble Recipe Card
Strawberry Crumble
Ingredients
For the Strawberry Layer:
- 6 c strawberries, sliced, approx. 2 pounds
- 1/2 c sugar
- ½ tsp vanilla extract
- 1 T lemon juice
- 1/4 c corn starch
For the Crumble Topping:
- 3/4 c rolled oats
- 3/4 c flour
- 3/4 c brown sugar
- 1 tsp vanilla extract
- 1/2 c unsalted butter, very cold
- 1/2 tsp sea salt
Instructions
- Preheat the oven to 350°F (175°C). Lightly grease the bottom and sides of a 9×9 inch baking pan. In the bottom of the pan or in a medium bowl, toss together the ingredients for the strawberry filling (sliced strawberries, sugar, ½ tsp vanilla, lemon juice, corn starch). Mix well to combine and then spread the mixture evenly in the bottom of the pan.
- In a separate bowl, add the oats, brown sugar, flour, 1 tsp vanilla, and sea salt. Stir together to combine. Add either cubed butter or grate the very cold butter directly over the oat mixture. Combine the butter evenly into the crumble mixture using your fingertips or a pastry cutter. The goal is to have butter pieces about pea-sized or slightly smaller.
- Sprinkle the oat crumble mixture evenly over top of the strawberries. Place in the preheated oven and bake for about 45-50 minutes or until the crumble layer is golden brown and the strawberries are bubbling vigorously. Cool for about 10-15 minutes before serving.
- Store any leftovers in an airtight container in the refrigerator for about 5-7 days.
Notes
- If you decide to grate your butter, place it in the freezer for about 15-20 minutes, or even longer, before grating it. This will make it much easier to work with.
- Serve this Strawberry Crumble warm or chilled—whatever your preference. If warming up after it has been chilled, bake at 350°F (175°C) for about 15 minutes. You can microwave it as well in 20-30 second increments.
Nutrition
Calories: 313kcal, Carbohydrates: 52g, Protein: 3g, Fat: 11g, Saturated Fat: 7g, Trans Fat: 1g, Cholesterol: 27mg, Sodium: 138mg, Potassium: 213mg, Fiber: 3g, Sugar: 34g, Vitamin A: 327IU, Vitamin C: 57mg, Calcium: 39mg, Iron: 1mg
Nutrition information is automatically calculated, so should only be used as an approximation.
Did you enjoy this recipe? Have a question?
Leave a comment below!
Shop This Post: Essential Tools for Your Kitchen
To help you create this delicious Strawberry Crumble and other culinary delights, here are some recommended kitchen tools and ingredients:
Buy Now →
Buy Now →
Buy Now →
Don’t forget to check out our Web Story for this recipe for a quick visual guide!
HUNGRY FOR MORE? Subscribe to our newsletter and follow us on Facebook, Instagram, and Pinterest for all the latest recipes and culinary inspiration!