
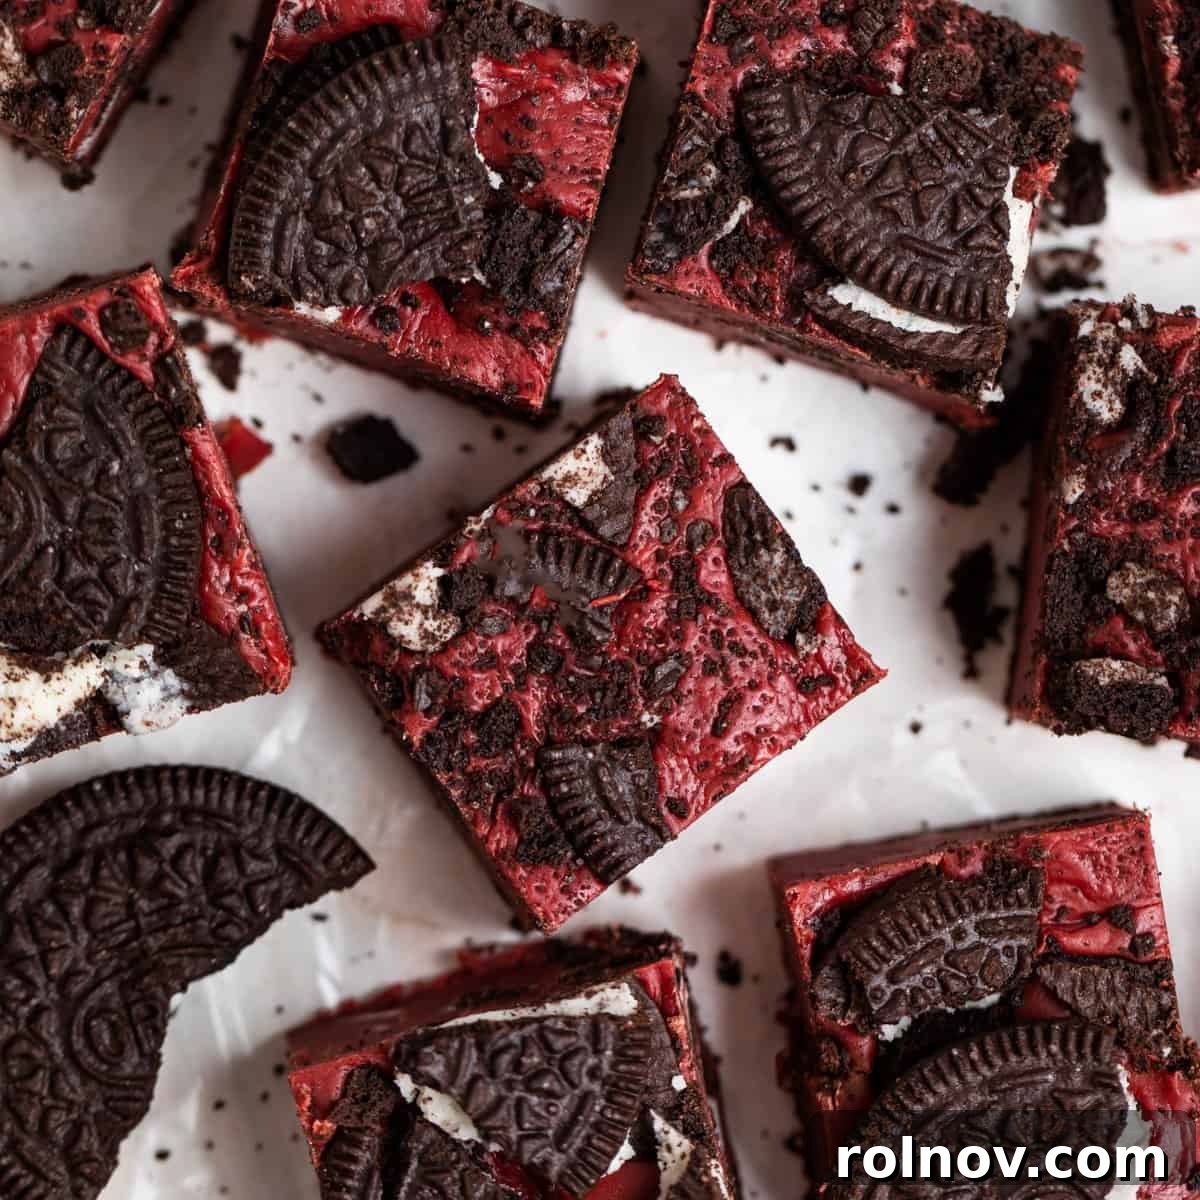
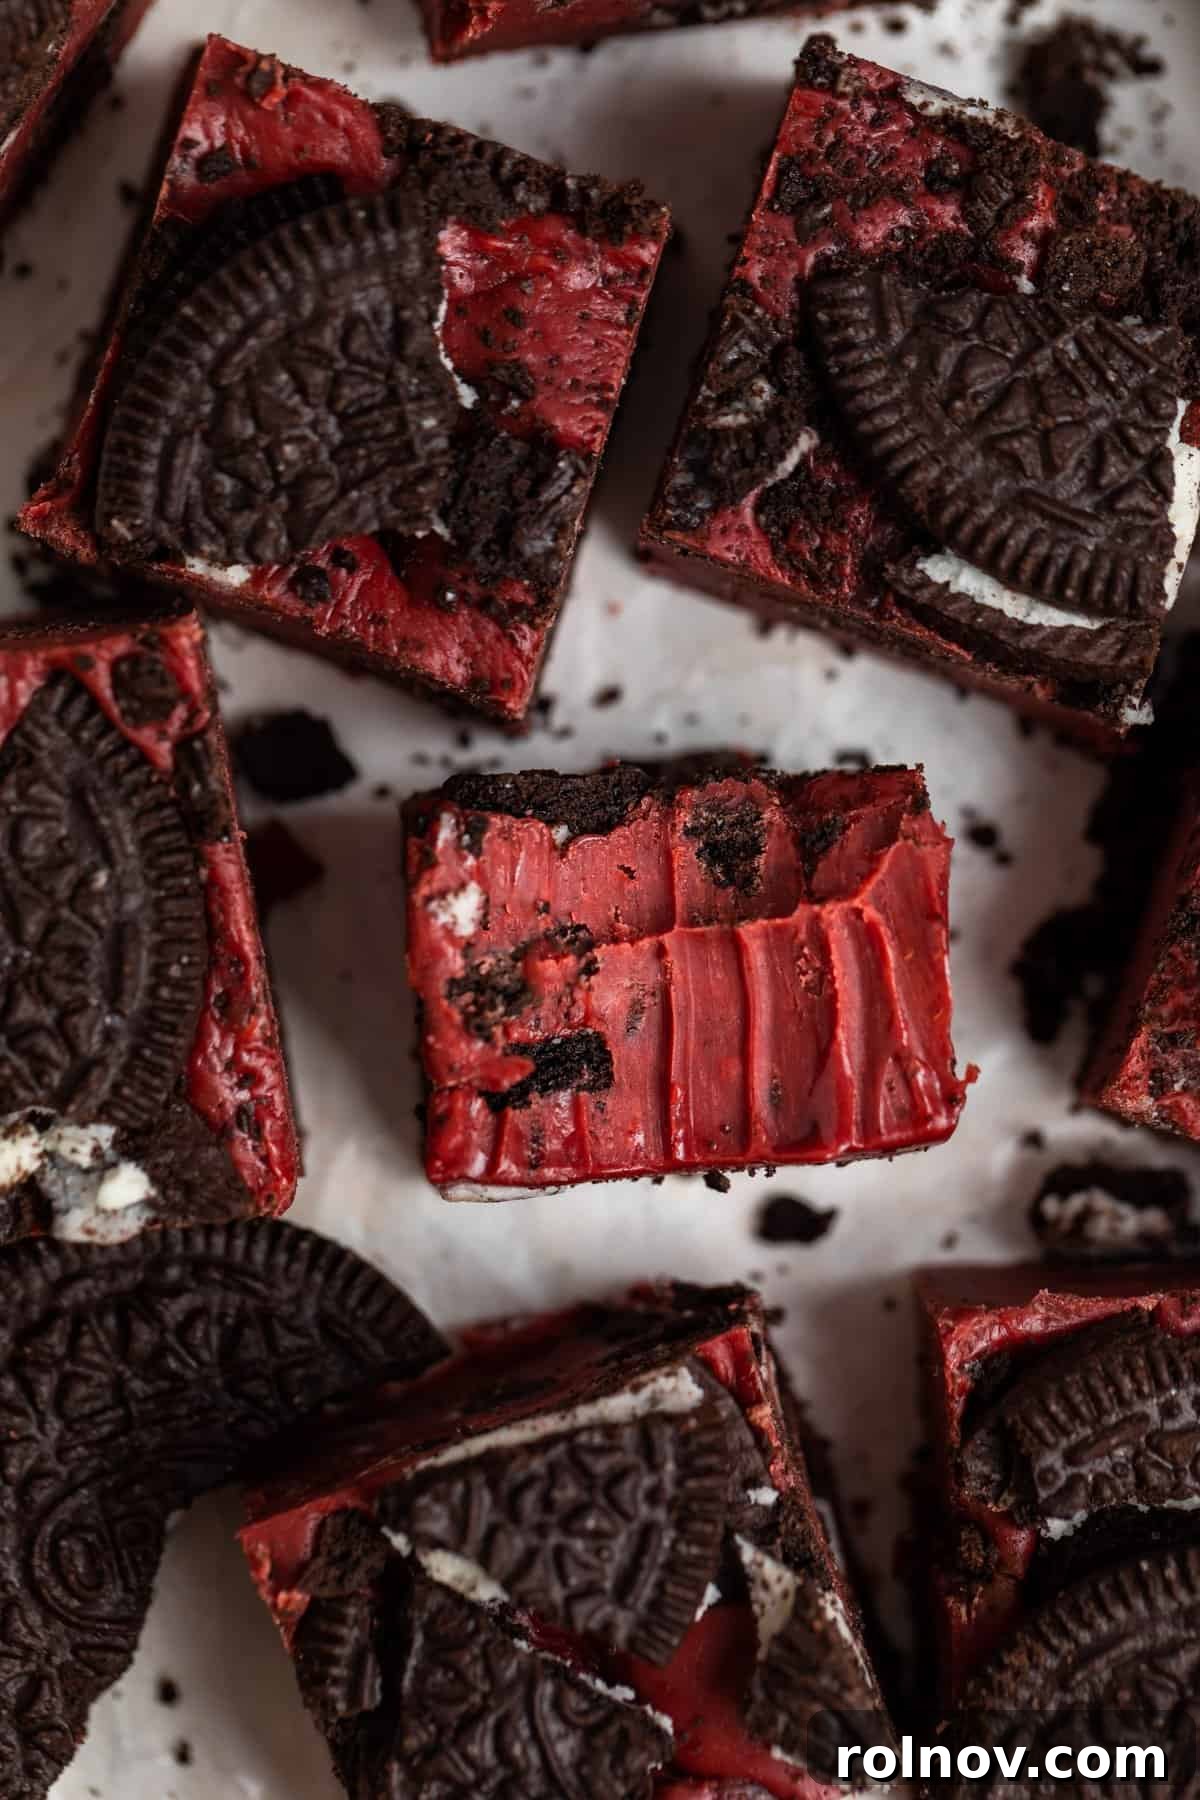
Indulge in the irresistible allure of this **Oreo Red Velvet Fudge**, a truly simple yet incredibly decadent treat that promises to delight everyone who tastes it. Requiring **only 10 minutes of active preparation**, its vibrant red hue instantly adds a festive touch, making it perfect for any celebration, from holiday gatherings to a romantic Valentine’s Day surprise. Whether you’re looking for a thoughtful homemade gift or a delightful dessert to share with friends and family, this fudge recipe is your go-to!
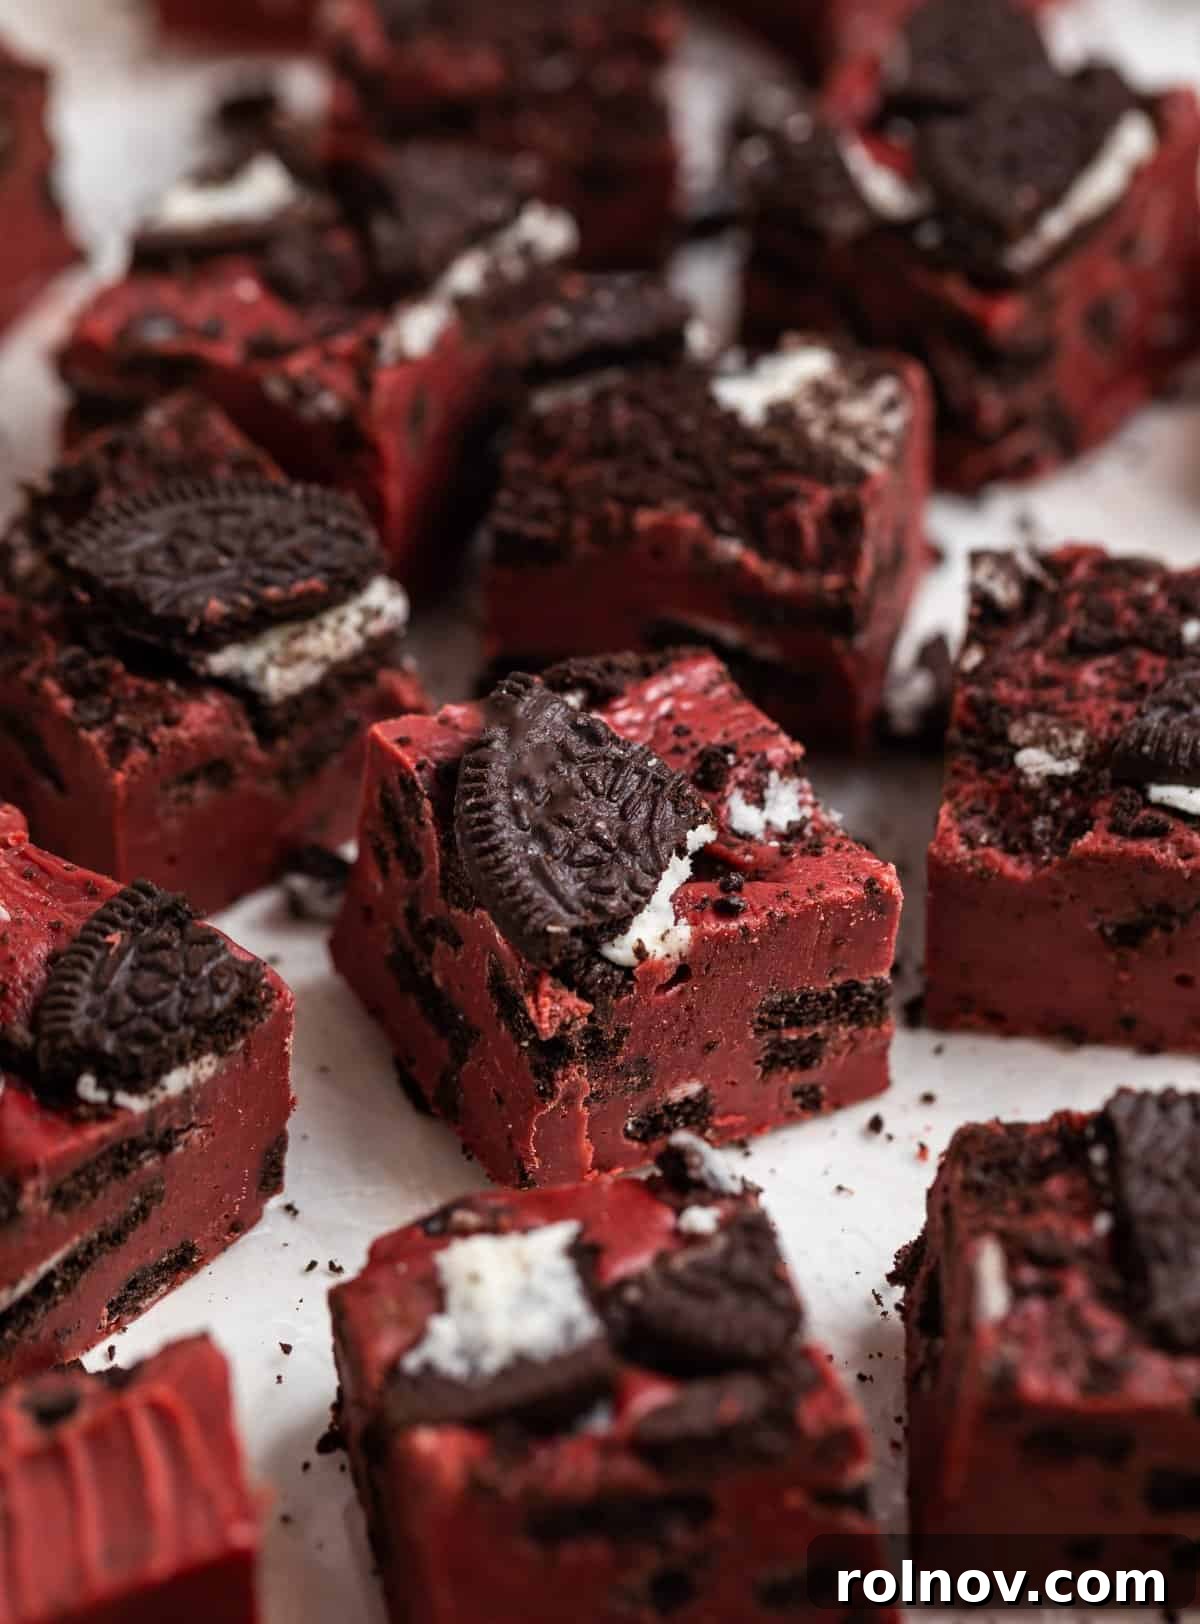
While fudge often makes its grand appearance exclusively around the holiday season, I wholeheartedly believe it’s a delightful confection to be savored all year long. This particular Red Velvet Fudge, generously studded with crunchy crushed Oreos, has swiftly become a cherished family favorite, and it’s remarkably easy to understand why. Its rich, creamy texture combined with the iconic red velvet flavor and the satisfying crunch of Oreos creates a symphony of taste that’s simply unforgettable.
Imagine the smiles this vibrant fudge could bring on Valentine’s Day! It’s an ideal sweet gesture that your loved one is sure to adore. If your palate leans more towards nutty notes, you might also enjoy exploring our Microwave Peanut Butter Fudge with Marshmallow Cream for another quick and easy option. For more delightful Oreo-infused creations, don’t miss our collection of Holiday Oreo Recipes. And if you’re seeking other effortless treats for any festive occasion, be sure to try this wonderfully simple Pretzel Toffee.
For those who can’t get enough of the classic red velvet flavor, we have more tempting recipes for you! Dive into these soft and chewy Red Velvet Cake Mix Cookies with Cream Cheese Icing or indulge in the luscious Red Velvet Cheesecake Dip for a truly decadent experience.
Why You Will Adore This Red Velvet Oreo Fudge
This Red Velvet Oreo Fudge isn’t just a recipe; it’s an invitation to effortlessly create a show-stopping dessert that everyone will rave about. Here are compelling reasons why this fudge will become a staple in your recipe collection:
- No Baking Required: Say goodbye to hot ovens and complex baking steps! No-bake recipes are an absolute lifesaver, especially when it comes to desserts. I personally cherish the convenience of whipping up a delectable sweet treat without the usual time commitment or fuss. This fudge offers all the flavor and satisfaction of a baked good but with significantly less effort. It’s perfect for warm weather or when you simply want a quick dessert fix. For another fantastic no-bake option, our Golden Oreo Truffles are always a hit.
- Incredibly Simple to Make: While preparing this red velvet fudge, you’ll need to give your saucepan your undivided attention, but the actual process is as straightforward as stirring. That’s essentially it! This makes it an excellent recipe for involving the whole family; everyone can take turns stirring the pot, turning dessert-making into a fun, collaborative activity. It’s a foolproof method that even novice cooks can master with ease, yielding professional-looking results every time.
- Impressively Long-Lasting Treat: Unlike many desserts that spoil quickly, this fudge boasts a fantastic shelf life. Stored correctly, it can remain delicious for several weeks in the refrigerator, making it perfect for preparing ahead of time for parties or gifting. And for even longer enjoyment, this fudge freezes beautifully, staying fresh for several months. It’s an ideal make-ahead dessert that simplifies entertaining and satisfies cravings whenever they strike.
- Unquestionably Delicious: Let’s be honest, taste is paramount, and this fudge truly delivers! This Oreo-packed, rich, and wonderfully creamy fudge is the ultimate indulgence. The luxurious texture melts in your mouth, while the distinct red velvet flavor, complemented by crunchy Oreo pieces, creates an explosion of taste that perfectly satisfies any sweet tooth. It’s a delightful balance of sweetness and rich chocolate, elevated by the unique twist of red velvet and America’s favorite cookie.
Essential Ingredients for Your Red Velvet Oreo Fudge
Crafting the perfect red velvet fudge begins with selecting quality ingredients. Each component plays a vital role in achieving that rich flavor, vibrant color, and irresistible creamy texture.
- High-Quality White Chocolate: This is the foundation of our fudge, so I strongly recommend using a premium white chocolate if possible. In a straightforward fudge recipe like this one, distinct from traditional old-fashioned methods, the quality of your chocolate profoundly impacts both the flavor and the creamy texture. Opting for a high-quality brand like Ghirardelli can make a noticeable difference, contributing to a smoother, richer, and more luxurious final product.
- Chocolate Chips (Semi-Sweet or Milk Chocolate): Beyond white chocolate, you’ll need a good quality semi-sweet or milk chocolate chip. I personally lean towards semi-sweet for the beautiful depth of color it lends to the fudge, but I confess a slight preference for the sweeter, milder flavor profile of milk chocolate chips. I tested this recipe with dark chocolate, but found that it tended to overpower the delicate red velvet notes and did not allow the vibrant red color to truly shine through as desired.
- Mini Marshmallows: A classic and indispensable ingredient in many fudge variations, marshmallows are, in my opinion, a non-negotiable for all fudge recipes! They are the secret weapon for achieving an unbelievably smooth, soft, and creamy texture that simply cannot be replicated by other ingredients. As the marshmallows melt, they blend seamlessly into the mixture, creating that signature melt-in-your-mouth consistency.
- Unsalted Butter: A small amount of unsalted butter is added to enhance the overall richness and creaminess of the fudge. While technically you could omit it, I find that butter significantly contributes to a more luxurious mouthfeel and depth of flavor, elevating the fudge from good to absolutely divine.
- Sweetened Condensed Milk: This magical ingredient is crucial for creating so many wonderful sweet treats, including delectable Condensed Milk Brownies! It provides the essential sweetness and liquid base that allows this fudge to set without baking. It is absolutely vital to use full-fat sweetened condensed milk, and to double-check that you have not accidentally picked up evaporated milk. Evaporated milk has a different consistency and sugar content, and unfortunately, it will not work for this recipe.
- Red Food Coloring: Historically, beet juice was the natural source of the iconic red hue in traditional red velvet cake recipes. You could certainly explore natural red food dyes derived from beets if you prefer. The exact amount of food coloring you’ll need will depend on its type (liquid versus gel) and your desired intensity of red. I typically use liquid food coloring, which I usually have on hand, but gel food coloring can provide a more intense color with less quantity.
- Oreos: The star of the show! I generally opt for classic Oreos over the double-stuffed variety to ensure a balanced cookie-to-cream ratio within the fudge. A fantastic bonus: Oreo now offers gluten-free cookies, making it incredibly easy to adapt this recipe into a delicious gluten-free variation so everyone can enjoy this delightful treat! Crush them coarsely for satisfying chunks or finer for a more integrated texture.
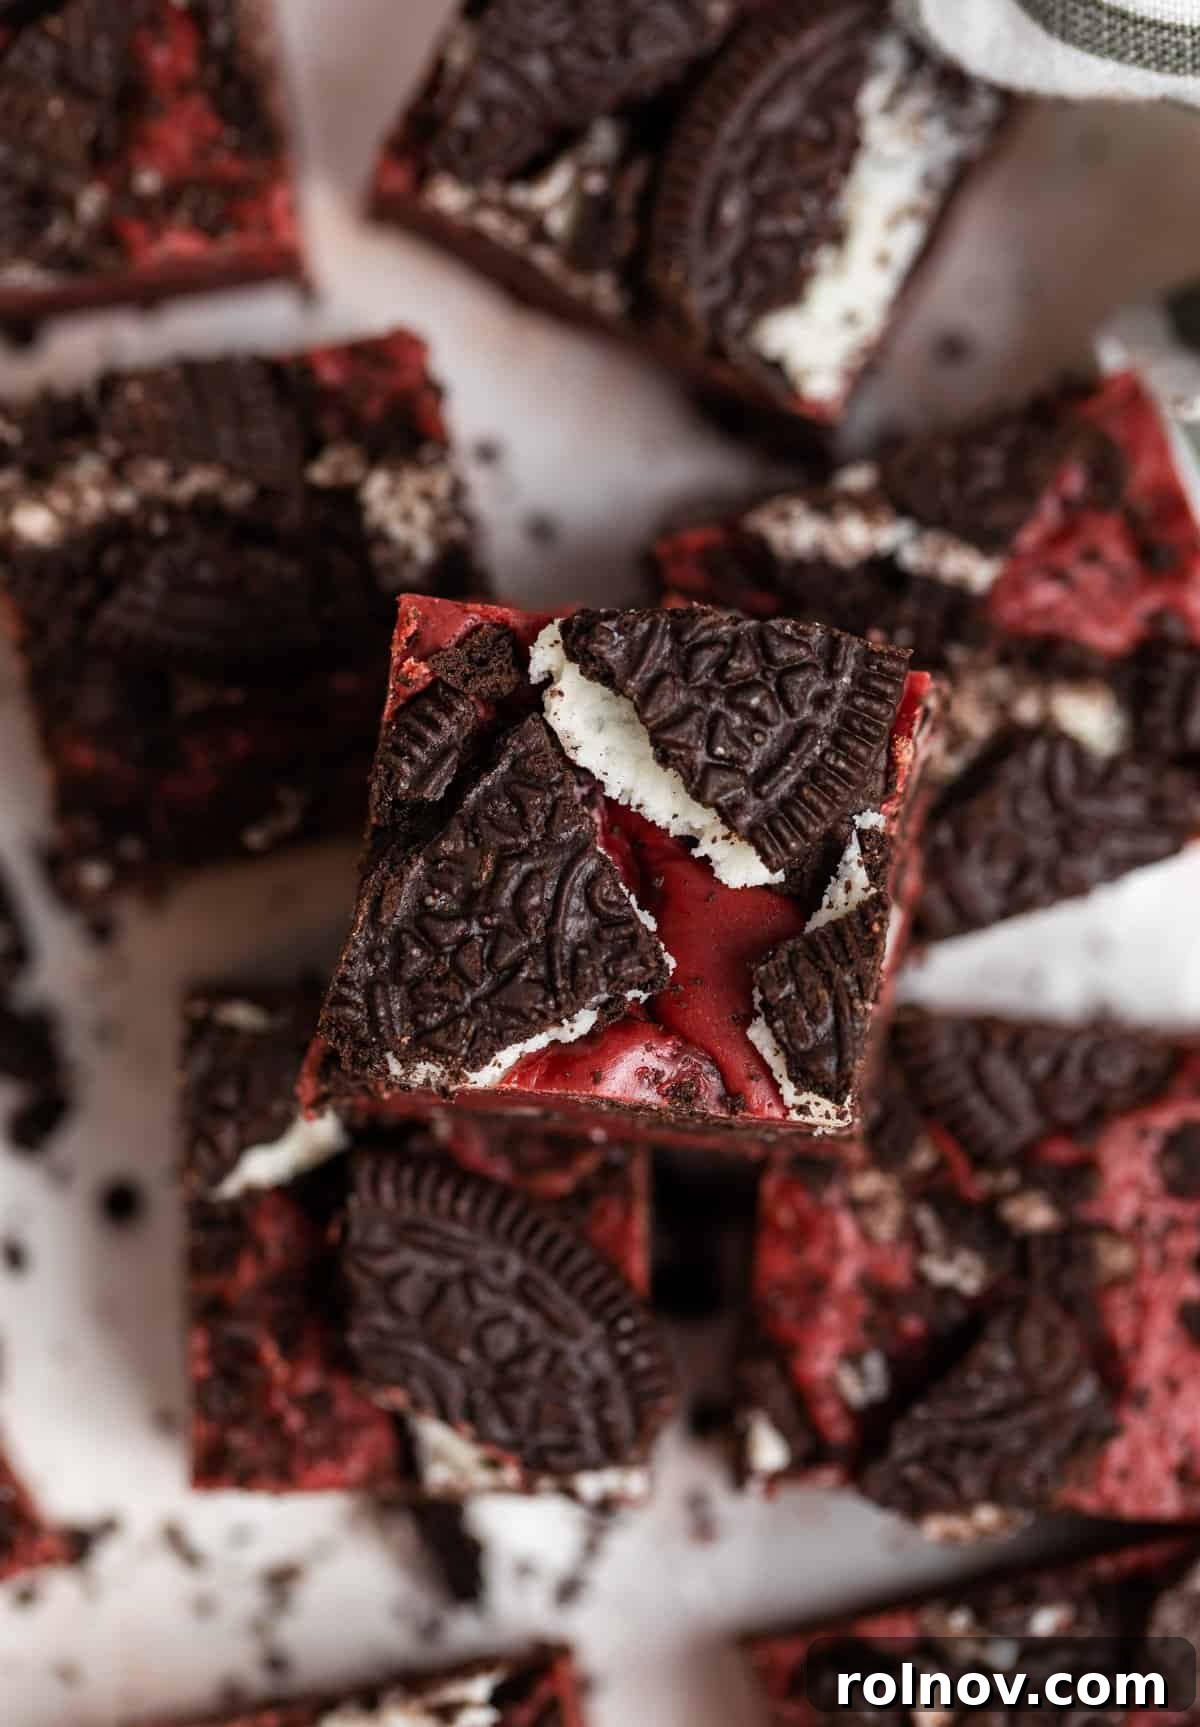
How to Make This Dreamy Red Velvet Oreo Fudge
While making this red velvet fudge is incredibly easy, precision and constant attention are key to ensuring a perfect, smooth, and creamy outcome. Follow these directions explicitly for the best results.
Before you begin cooking, prepare an 8×8 inch baking pan by lining it with parchment paper. Allow a generous overhang on all sides; this will make it much easier to lift the cooled fudge out of the pan later. Next, place your Oreos in a sturdy plastic bag and crush them using a rolling pin or the back of a large spoon until you have a mix of fine crumbs and small chunks. This adds wonderful texture to the fudge.
- Combine Ingredients in Saucepan: In a medium-sized, heavy-bottomed saucepan, combine the 14 oz can of sweetened condensed milk, two cups of white chocolate chips, one cup of semi-sweet chocolate chips, two cups of mini marshmallows, and two tablespoons of unsalted butter (sliced into smaller pieces to help it melt more evenly).
- Heat and Stir Constantly: Place the saucepan over low to medium-low heat. The key here is to maintain a slow and steady temperature to prevent the chocolate from seizing or burning. As the ingredients begin to warm and the chocolate starts to melt, begin stirring constantly with a sturdy wooden spoon or a heat-resistant spatula. This mixture will become quite thick and require some muscle to stir effectively. It’s crucial to keep the chocolate from settling at the bottom or clinging to the sides of the pan for too long, as this can cause it to scald, resulting in a thick, chalky, and unpleasant texture. Continue this constant stirring for approximately 7-9 minutes, or until all the chocolate and butter are completely melted and the mixture appears smooth, glossy, and perfectly fudgy. Patience is your best friend during this step.
- Remove from Heat and Flavor: Once the mixture reaches the desired smooth and creamy consistency, immediately remove the saucepan from the heat. Stir in ½ teaspoon of vanilla extract, which will enhance the overall flavor, and 1 teaspoon of red food coloring. You can adjust the amount of food coloring to achieve your preferred shade of red. Finally, gently fold in about 3/4 of your crushed Oreos, distributing them evenly throughout the warm fudge.
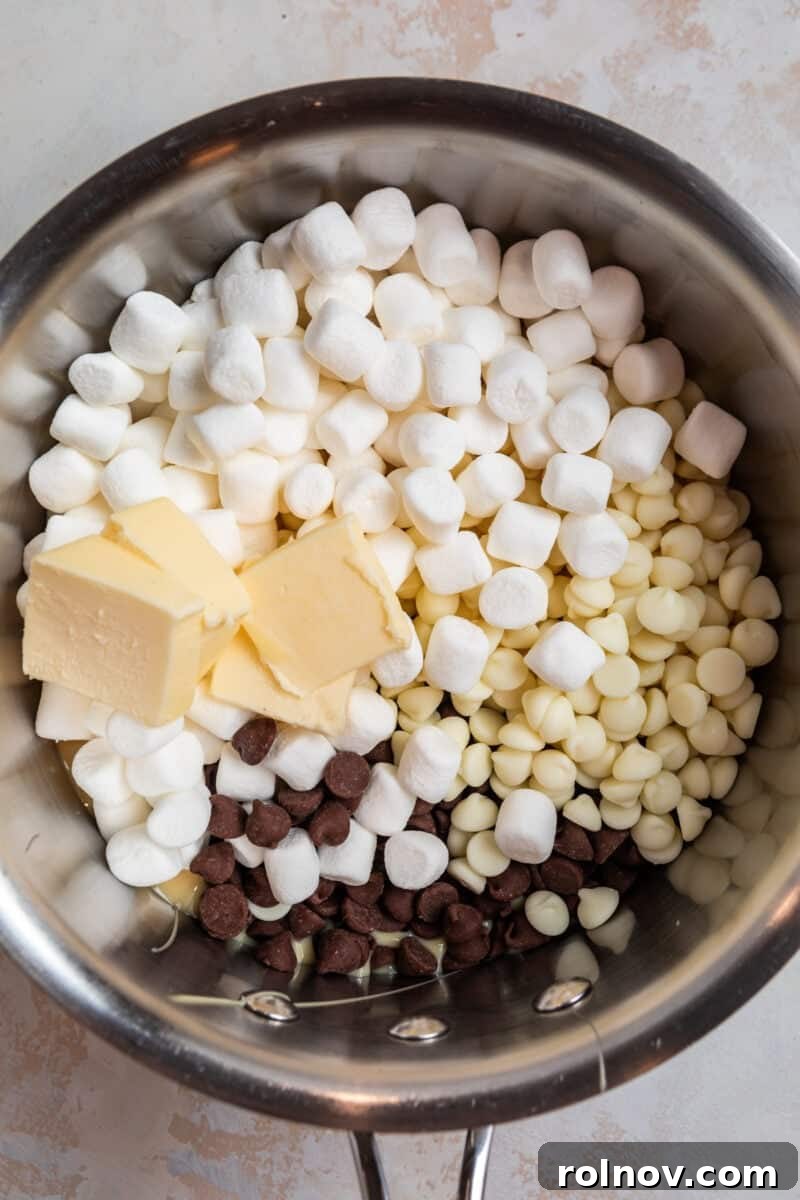
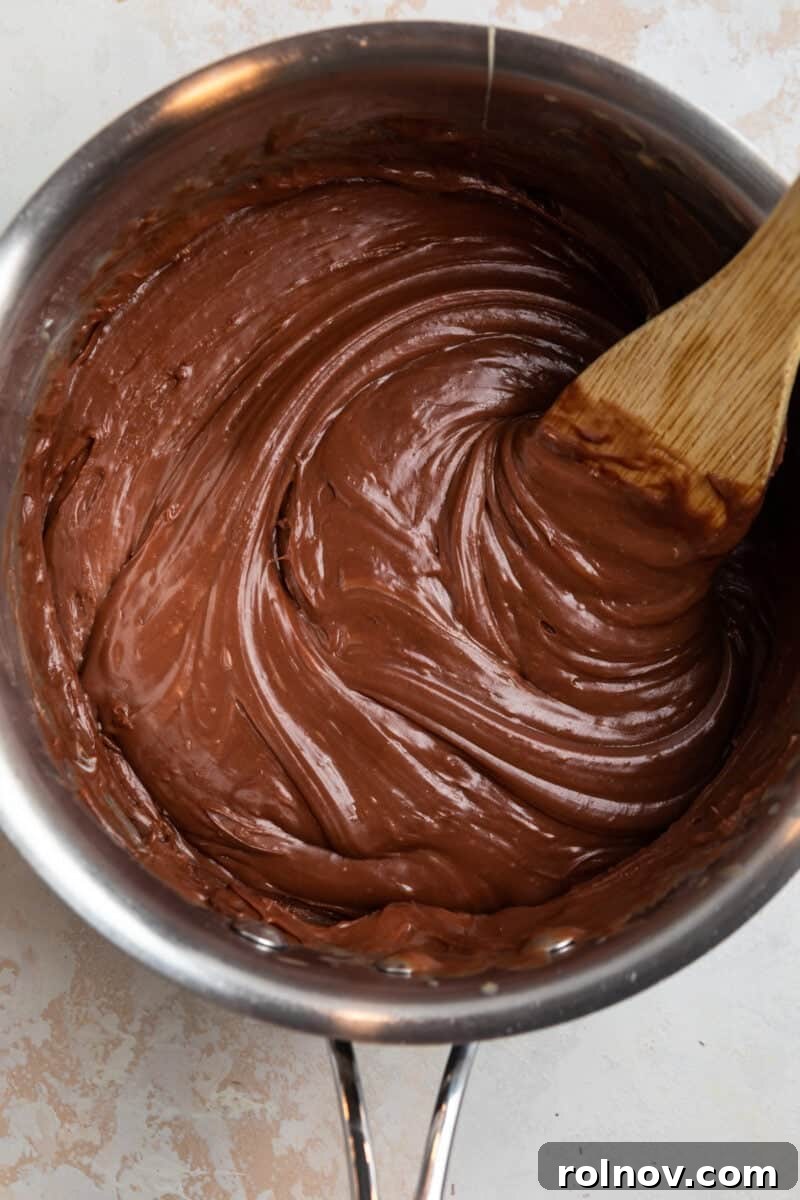
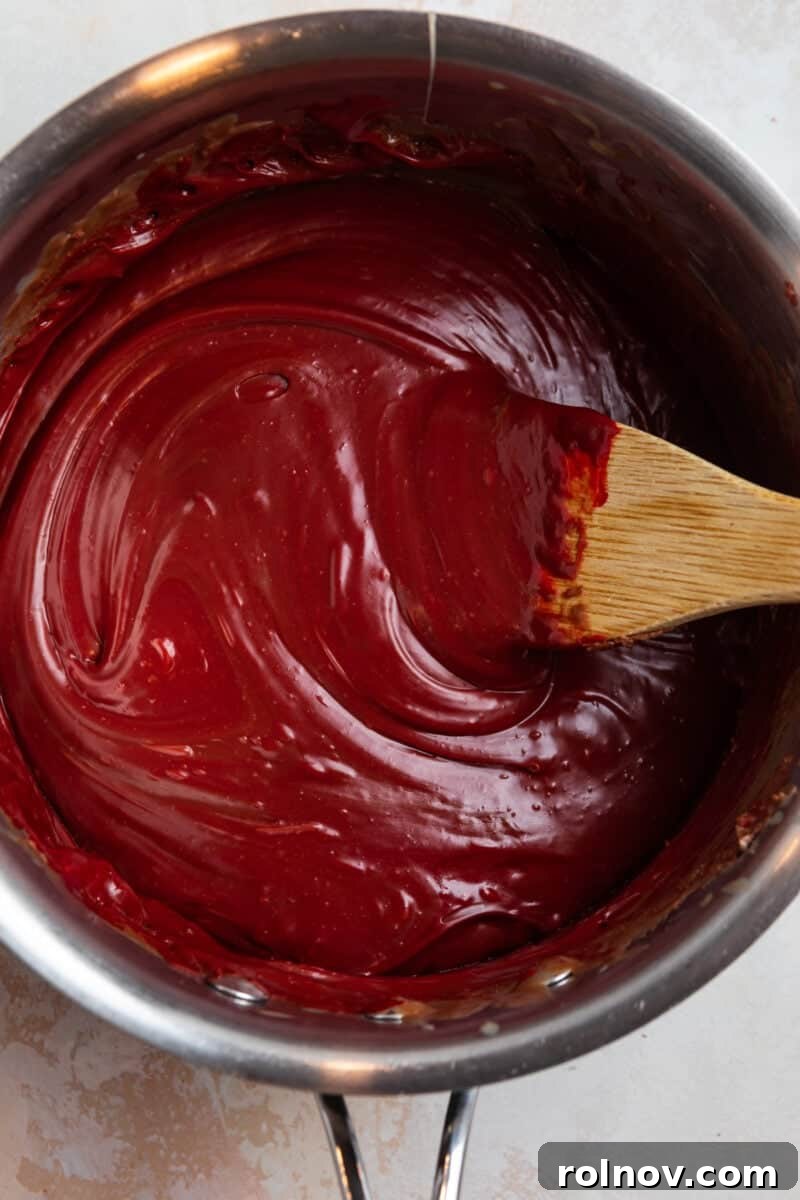
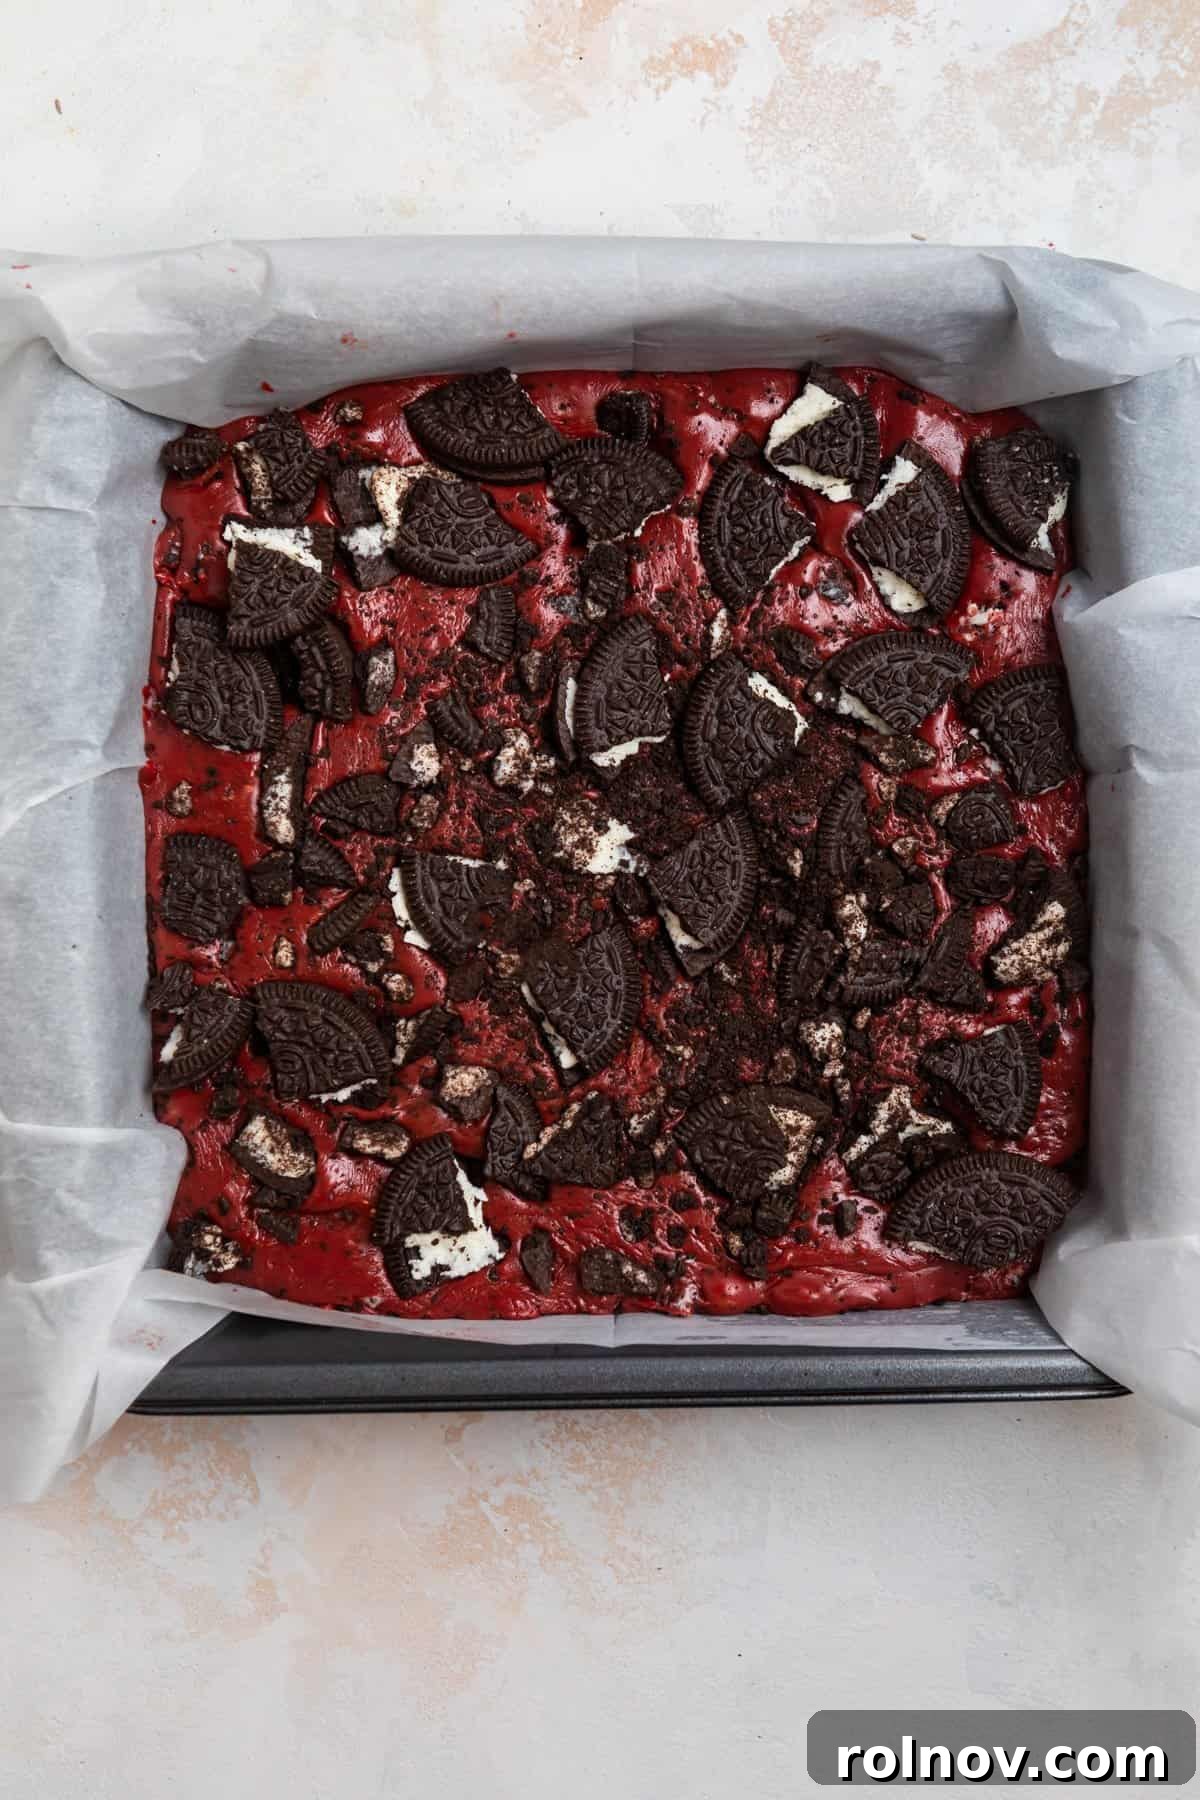
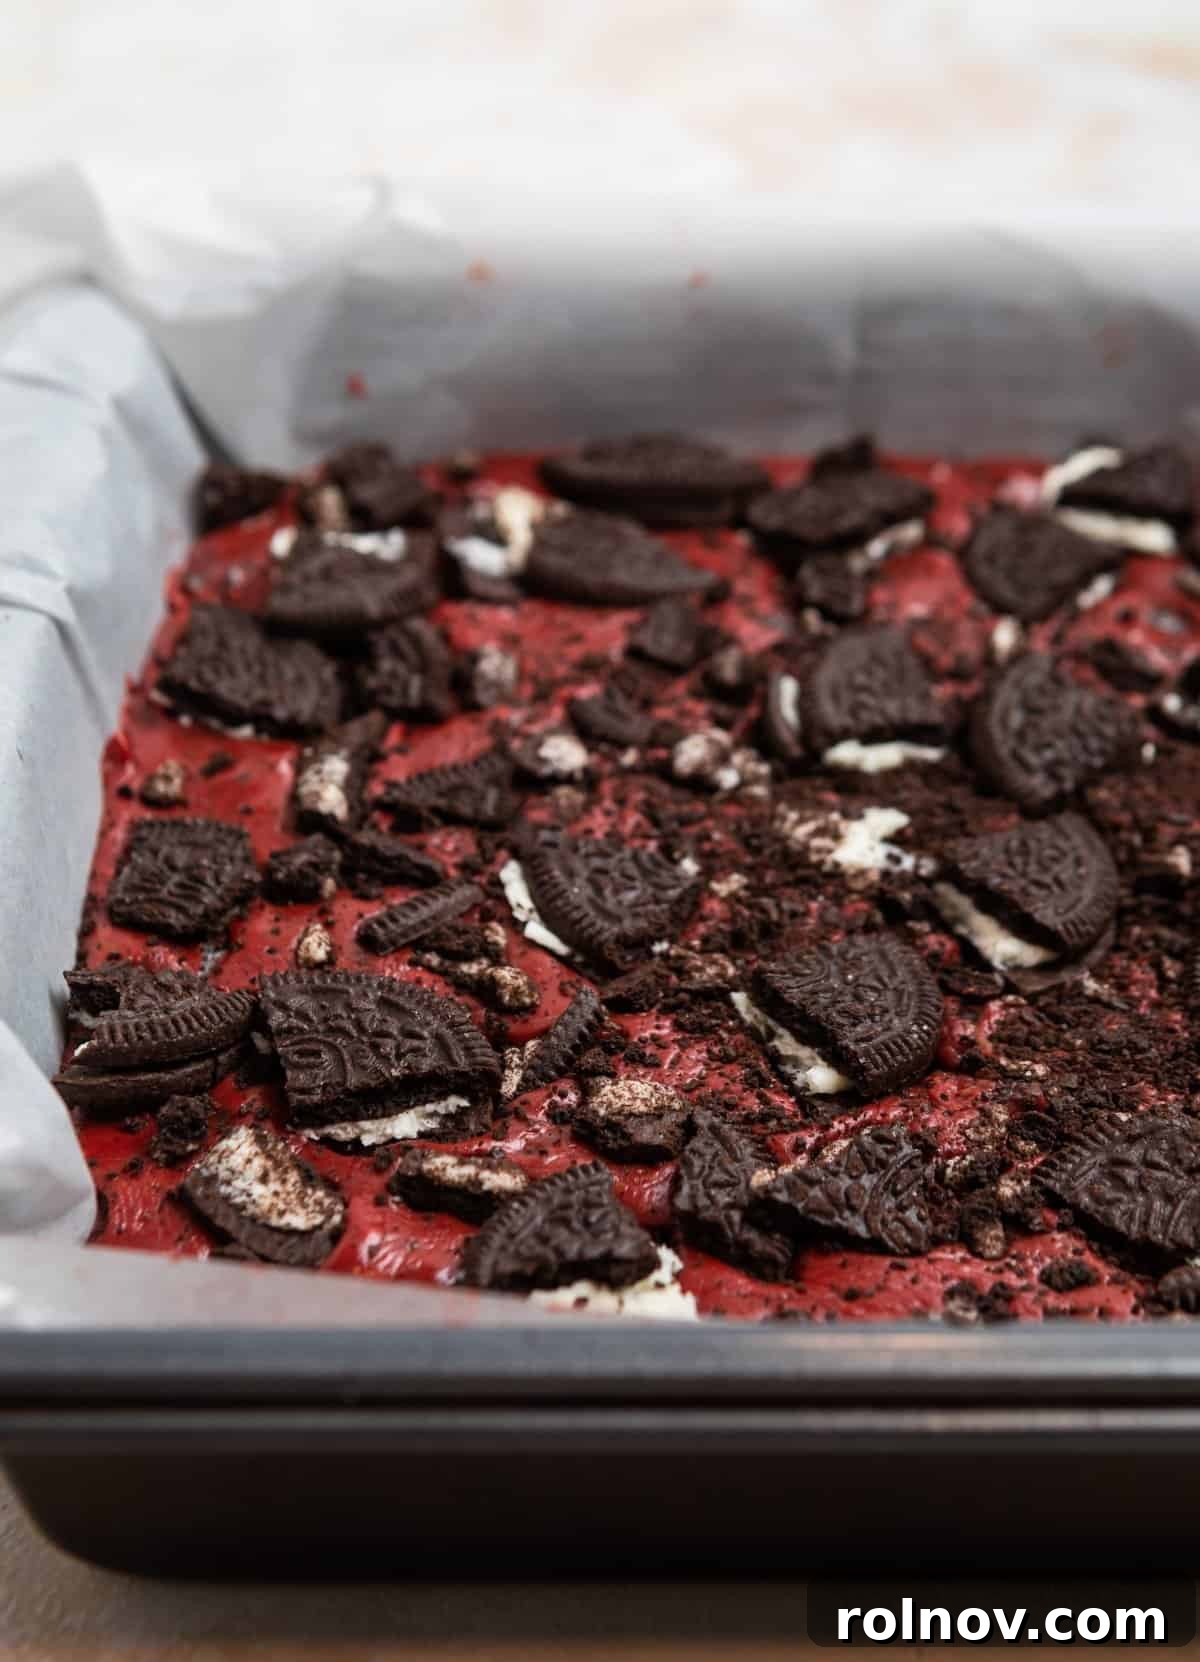
- Transfer and Top: Carefully transfer the warm fudge mixture into your prepared 8×8 inch baking pan. Use your spatula to spread it evenly into all corners. To help the fudge settle and eliminate any air pockets, gently tap the pan a few times on your counter or table. Now, sprinkle the remaining chopped Oreos generously over the top of the fudge, pressing them gently into the surface. Feel free to add more if you desire an extra crunchy topping!
- Chill and Serve: Place the pan in the refrigerator and chill for at least 2 hours, or until the fudge is completely firm and set. Once firm, use the parchment paper overhang to carefully lift the entire slab of fudge out of the pan. Place it on a cutting board and slice it into your desired size pieces. Small 1-inch squares are perfect for bite-sized indulgence, yielding up to 64 pieces. Serve and enjoy this delightful homemade treat!
Recipe Notes and Expert Tips for Perfect Fudge
Achieving perfectly smooth, creamy, and flavorful fudge is easy with a few key considerations and expert tips. Keep these in mind as you prepare your Red Velvet Oreo Fudge:
- Always Use High-Quality Chocolate Chips for Superior Results: When chocolate is the star of a recipe, its quality truly shines through. Opting for better quality white and semi-sweet chocolate chips will result in a significantly creamier texture and a much richer, more complex flavor in your fudge. While regular chocolate chips will certainly work, investing in premium brands will elevate your fudge from good to absolutely exceptional. The difference in taste and mouthfeel is worth the extra effort.
- Never Step Away from the Stove: This red velvet Oreo fudge recipe is generally foolproof, but leaving it unattended on the stove is playing with fire – literally! If the chocolate mixture gets too hot or isn’t stirred consistently, it is highly likely to scald, seize up, and become grainy or chalky. To prevent this culinary disaster, stay by the saucepan and stir the mixture constantly from the moment it begins to melt until it reaches a smooth, fudgy consistency. This continuous stirring ensures even heat distribution and prevents any burning.
- Stovetop Method is Recommended Over Microwave: While many quick fudge recipes suggest using a microwave, I personally do not recommend it for this particular recipe. There are certainly fudge variations that work well in the microwave, typically by heating in 25-second bursts and stirring thoroughly in between each interval. However, with the specific combination of chocolates and marshmallows in this recipe, using a microwave increases the risk of overcooking or uneven melting, leading to a less desirable texture. The stovetop method, with its controlled, low heat and constant stirring, offers a much safer and more reliable way to achieve consistently smooth and creamy fudge.
- Crushing Your Oreos: For the best texture, aim for a mix of fine crumbs and small, recognizable chunks of Oreos. This provides both a wonderful flavor integration and a satisfying crunch. You can achieve this by placing Oreos in a sturdy zip-top bag and crushing them with a rolling pin, or by using a food processor for a more consistent crumb (just be careful not to over-process them into a powder).
- Even Spreading is Key: Once transferred to the pan, spread the fudge mixture quickly and evenly. Tapping the pan on the counter helps to remove any air bubbles and ensures a smooth, flat top, which makes for easier and more attractive cutting later.
- Cutting Techniques: For clean, precise cuts, use a sharp knife that has been lightly oiled or run under hot water and wiped dry before each slice. This prevents the fudge from sticking to the blade and creates beautiful, neat squares or rectangles.
Red Velvet Fudge Storage Instructions
Proper storage is essential to maintain the freshness, texture, and deliciousness of your homemade Red Velvet Oreo Fudge. Follow these guidelines to enjoy your treat for longer:
For the absolute best taste and texture, keep this fudge stored in the refrigerator. It’s best served at a slightly cooler than room temperature, so I recommend taking it out about 15 minutes before you plan to serve it. This allows it to soften just slightly, enhancing its creamy consistency.
When stored in an airtight container in the refrigerator, this red velvet fudge will remain wonderfully fresh and delicious for approximately 2-3 weeks. In my experience, however, it rarely lasts that long due to its irresistible nature!
If you wish to extend the enjoyment of your red velvet fudge, it freezes exceptionally well. Place the fudge pieces in an airtight freezer-safe container, separating layers with parchment paper to prevent sticking. It can be kept in the freezer for up to 3 months. Ideally, you might want to “flash freeze” individual pieces on a baking sheet for about 30 minutes before transferring them to the container. This prevents them from sticking together, allowing you to easily grab a single piece whenever a craving strikes. Thaw frozen fudge in the refrigerator overnight or on the counter for a few hours before serving.
Explore More Delightful No-Bake Treats
If you loved the ease and deliciousness of this no-bake fudge, you’re in for a treat! Discover more fantastic no-bake recipes that are perfect for any occasion, offering maximum flavor with minimal effort:
- No Bake Cookie Butter Cookies
- Golden Oreo Truffles
- No Bake Cheesecake Bites
- Chocolate Mint Puppy Chow
- 5 Ingredient Amaretto Truffles
- No Bake Chocolate Pie
- No Bake Peppermint Oreo Cheesecake
HUNGRY FOR MORE? Subscribe to my newsletter and follow me on Facebook, Instagram and Pinterest for all the latest recipes and culinary inspiration!
Red Velvet Fudge With Oreos Recipe
This Oreo Red Velvet Fudge is a simple, delicious treat the whole crew will love. Only 10 minutes to prepare, the red color gives it a fun and more festive feel for any celebration. Perfect to gift to someone special, enjoy with your friends and family and so much more!

Prep Time: 15 minutes
Chill Time: 4 hours
Total Time: 4 hours 20 minutes
Servings: 36 pieces
Ingredients
- 1 can sweetened condensed milk, 14 oz.
- 2 c white chocolate chips
- 1 c semi-sweet chocolate chips
- 2 c mini marshmallows
- 2 T unsalted butter, sliced into smaller pieces
- ½ tsp vanilla extract
- 1 tsp red food coloring, more or less as desired
- 2½ c crushed Oreos (about 24-28 Oreos), more as desired
Instructions
- Prepare an 8×8 inch baking pan by lining with parchment, making sure there is plenty of overhang to go up the sides. In a plastic bag, crush the Oreos with a large spoon or rolling pin.
- In a medium saucepan, combine the condensed milk (ensure it’s NOT evaporated milk), white and semi-sweet chocolate chips, butter, and mini marshmallows. Heat over low to medium-low heat, aiming for a lower temperature for better results. Stir constantly until smooth and all ingredients are fully melted. This process can take about 8-10 minutes.
- Once everything is melted, remove from the heat and stir in the vanilla extract and red food coloring. Fold in about 2 cups of the crushed Oreos.
- Transfer the mixture to the parchment-lined pan and spread evenly. Tap the pan several times on a counter or table to help it settle. Sprinkle the remaining Oreos over the top and gently press them into the fudge.
- Chill for about 4 hours, or until fully set and firm. Remove from the pan using the parchment paper overhang and slice into desired size pieces. If you cut into 1-inch pieces, you can yield up to 64 pieces! Enjoy!
Notes
- Use high quality chocolate chips for best results. When chocolate is the main event of a recipe, higher quality is ideal. The texture will be creamy and the flavor richer. Regular chocolate chips will work, but premium ones make for the best outcome.
- Do not step away from the stove. This red velvet Oreo fudge is fairly foolproof, but if you walk away from it, you risk the chocolate burning or seizing up. Stay by the stove and stir constantly so that the chocolate melts evenly and smoothly.
- While you could make this in the microwave, I don’t recommend it. Many fudge recipes use the microwave to melt ingredients, but it’s easier to overcook or scorch the chocolate this way. The stovetop method provides more control and consistent results.
Nutrition Facts
Calories: 170kcal, Carbohydrates: 22g, Protein: 2g, Fat: 8g, Saturated Fat: 5g, Polyunsaturated Fat: 1g, Monounsaturated Fat: 3g, Trans Fat: 0.03g, Cholesterol: 8mg, Sodium: 57mg, Potassium: 117mg, Fiber: 1g, Sugar: 19g, Vitamin A: 55IU, Vitamin C: 0.3mg, Calcium: 56mg, Iron: 1mg
Nutrition information is automatically calculated and should only be used as an approximation.
Did you enjoy this recipe? Have a question?
Leave a comment below!
Shop This Post
Baking Pan, 8×8 Inch
Buy Now →
Silicone Spatulas
Buy Now →
White Chocolate Chips
Buy Now →