
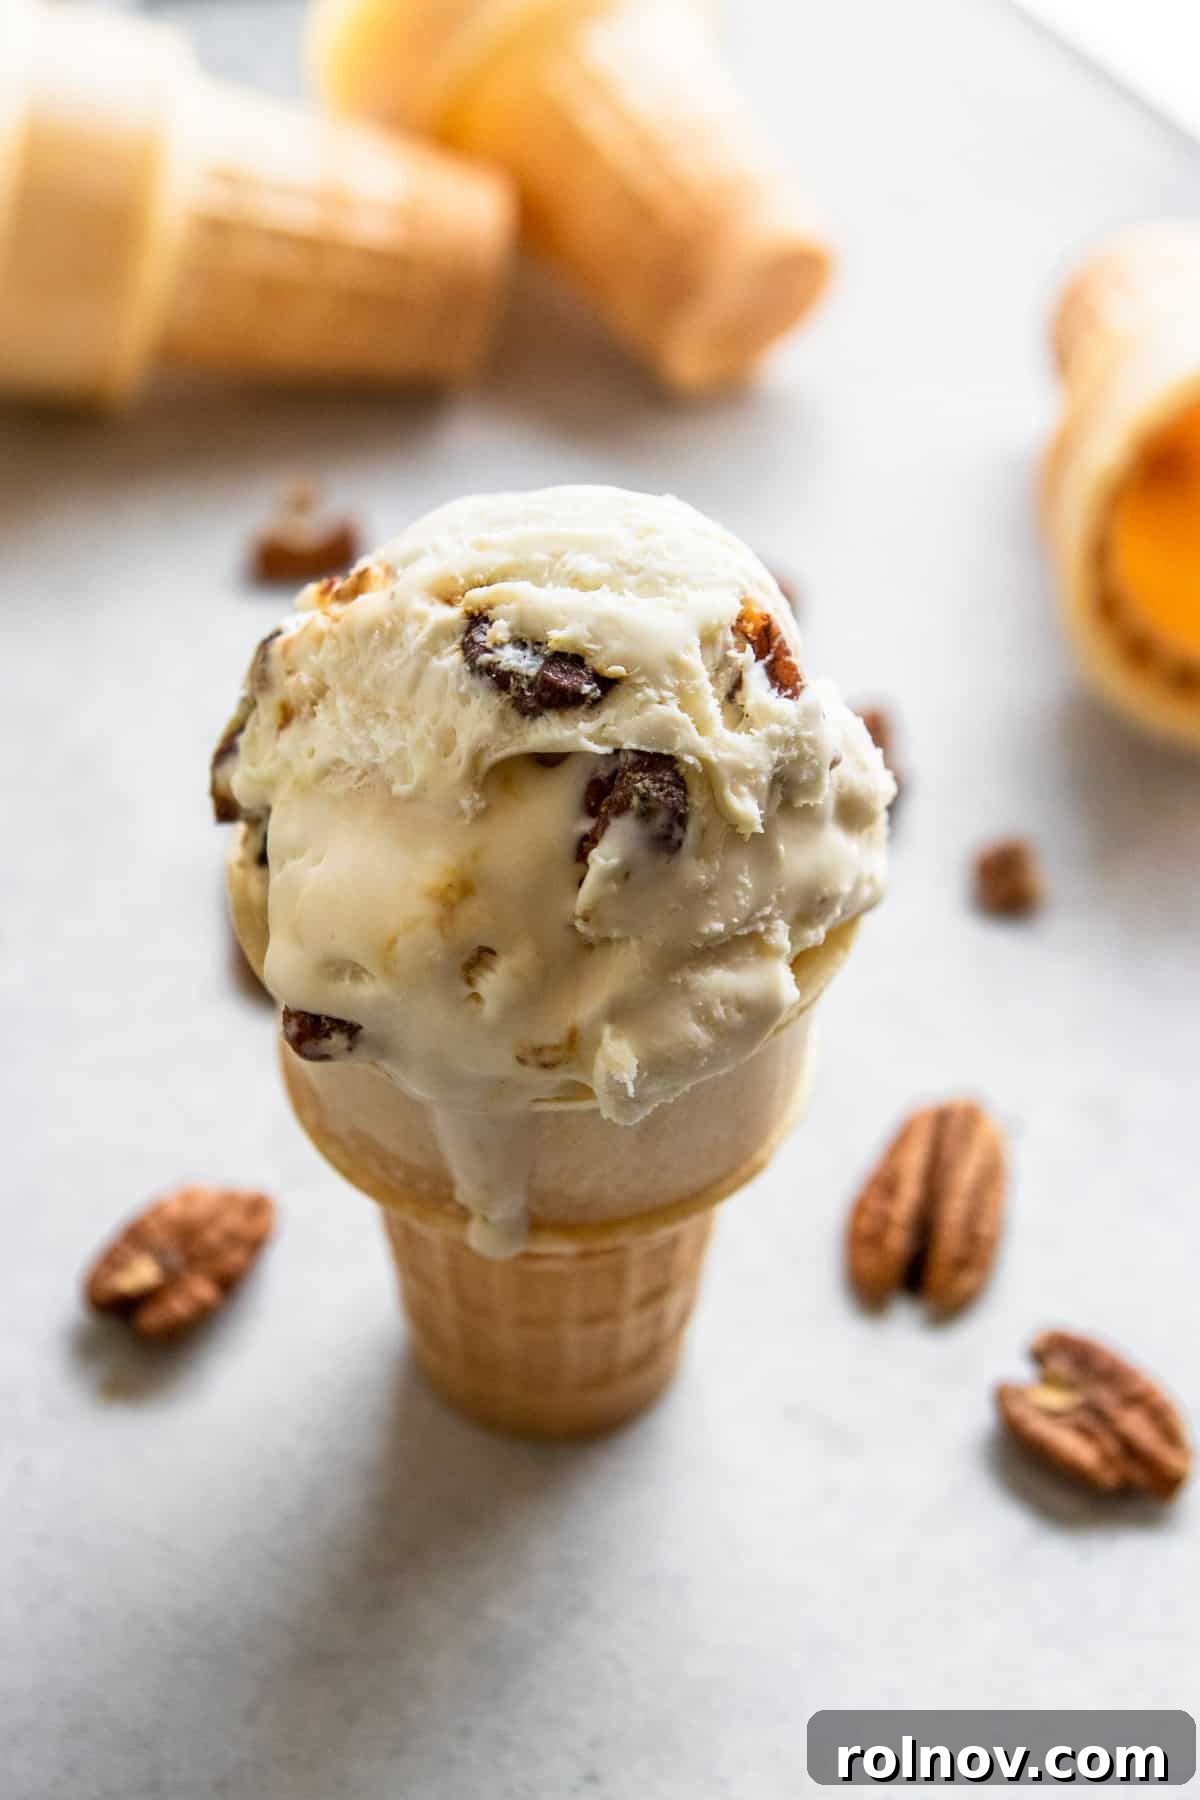
Indulge in Creamy Bliss: The Ultimate No-Churn Homemade Butter Pecan Ice Cream Recipe
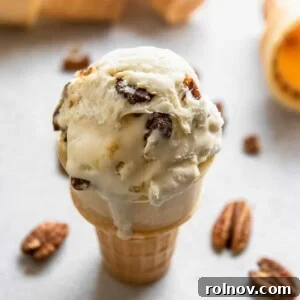
Prepare to elevate your dessert game with this incredible Homemade Butter Pecan Ice Cream recipe! The best part? No ice cream maker required for this velvety smooth, no-churn delight. Bursting with the irresistible crunch of buttery, maple-infused pecans, this ice cream is a perfect summer treat that promises to be even more delicious than anything you’d find at an ice cream parlor. It’s astonishingly simple to whip up, making it an ideal choice for effortless entertaining or a spontaneous sweet craving.
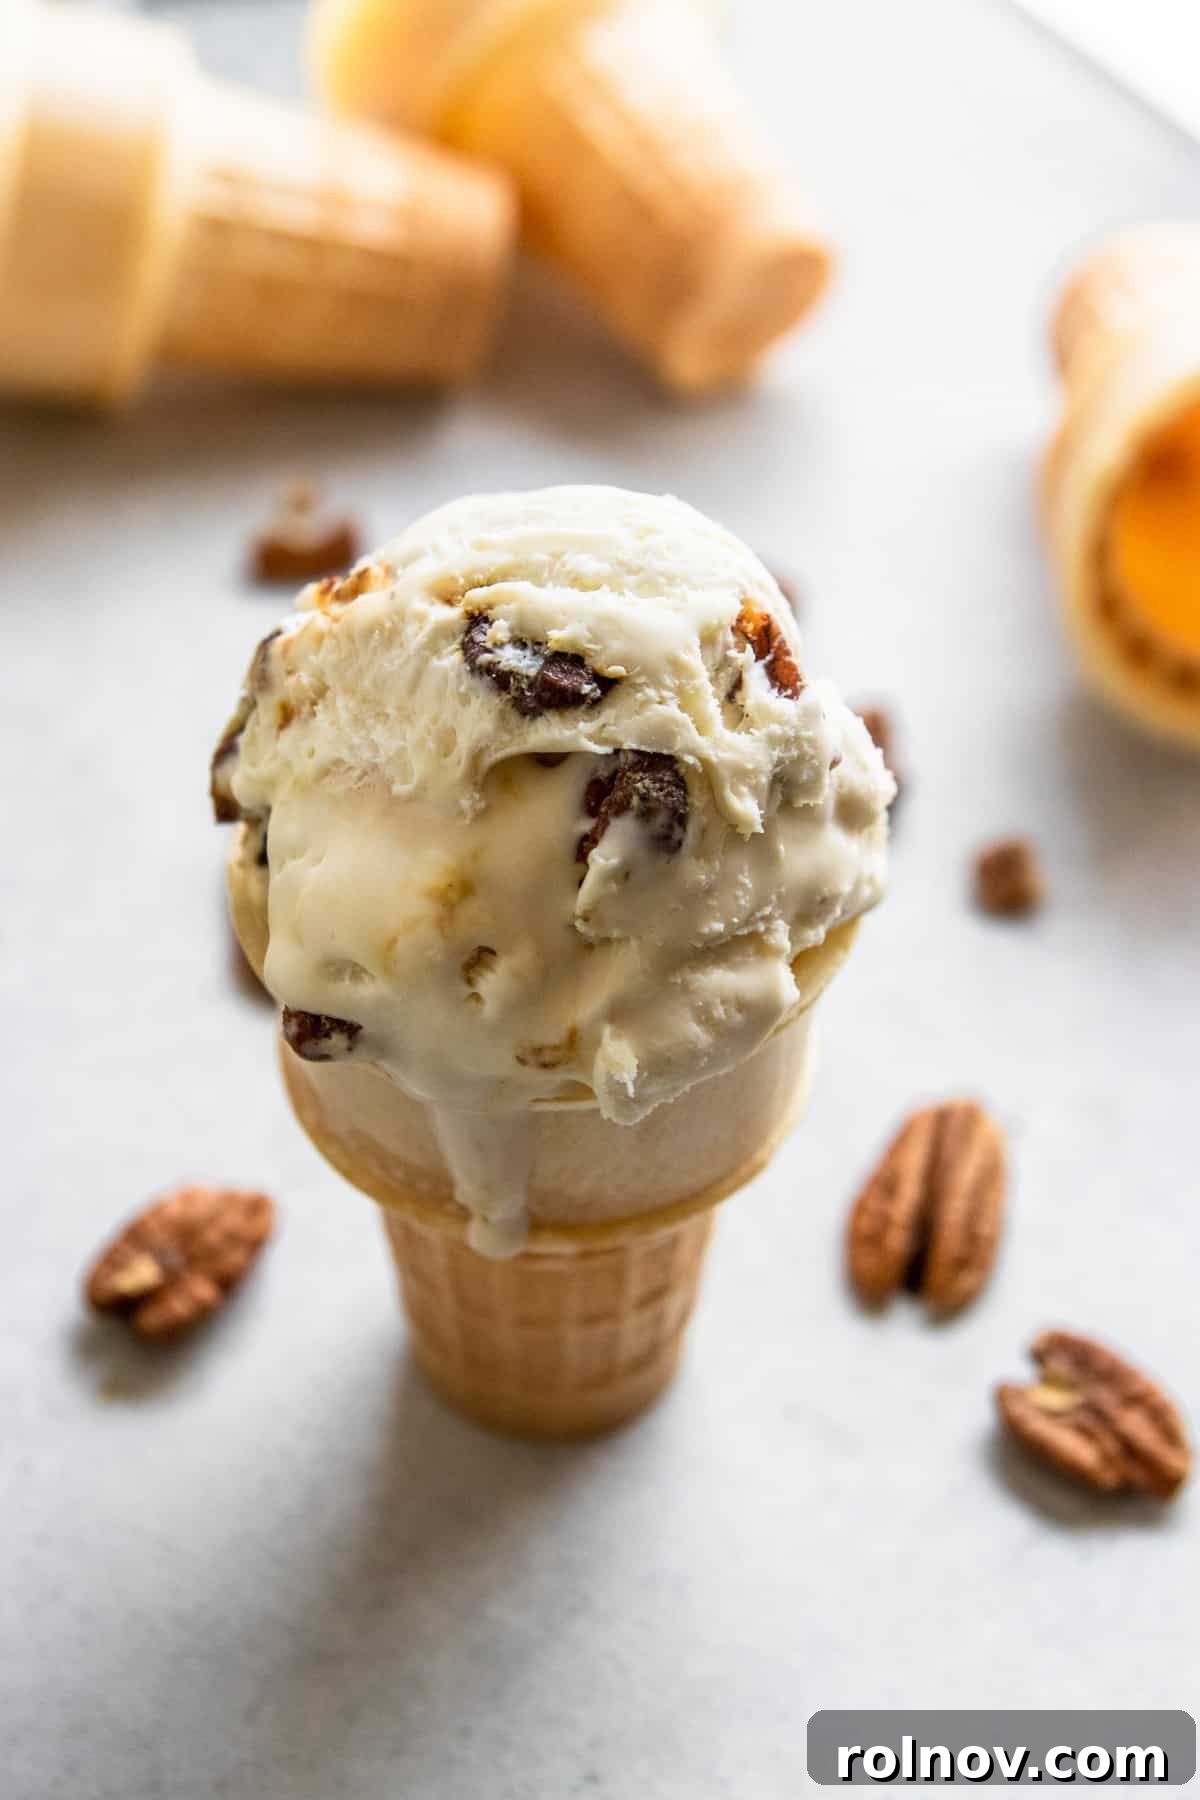
For many, ice cream isn’t just a dessert; it’s a culinary obsession, a staple that transforms any sweet occasion into something truly special. There’s an undeniable magic in its cool, creamy embrace, capable of complementing and elevating a myriad of other desserts. Imagine a slice of warm apple pie without that generous scoop of vanilla, or a rich chocolate cake yearning for a dollop of something cool and contrasting. Even a warm, gooey brownie finds its perfect partner in a slowly melting scoop of ice cream. It’s a universal truth for dessert lovers: ice cream reigns supreme.
While many homemade ice cream recipes require specialized equipment, this no-churn butter pecan ice cream stands out for its incredible flavor and remarkable simplicity. It holds a special place among my top dessert creations, though I also cherish my other no-churn favorites. For a zesty twist, my Homemade Lemon Ice Cream is wonderfully refreshing. If you’re a fan of berries, the Strawberry Ice Cream offers a burst of fruity sweetness. And for those who adore a classic combination, the No-Churn Peanut Butter Cookies and Cream is simply divine. Looking for something uniquely satisfying and protein-packed? Don’t miss this innovative Cottage Cheese Ice Cream for a surprising treat!
Why You’ll Fall in Love with This No-Churn Butter Pecan Ice Cream
This recipe isn’t just about making ice cream; it’s about creating a memorable dessert experience with minimal fuss. Here’s why this particular no-churn butter pecan recipe is destined to become a household favorite:
- Effortless Preparation: Forget complicated steps or lengthy churning times. The process is incredibly straightforward: toast the pecans, whip the cream, combine everything, and freeze. It’s a truly homemade ice cream recipe that delivers gourmet taste with beginner-friendly ease. You’ll be amazed at how quickly you can assemble this decadent dessert.
- Superior Flavor with Maple-Kissed Pecans: The secret to this ice cream’s exceptional taste lies in the pecans. We don’t just add plain nuts; we cook them in butter and maple syrup, deepening their nutty flavor and adding a subtle, sweet complexity. This maple infusion elevates the butter pecan experience, making each spoonful a symphony of crunchy, buttery, and sweet notes. This technique was inspired by my beloved Vanilla Spiced Maple Pecans, ensuring a truly gourmet touch.
- No Special Equipment Needed: One of the biggest hurdles for aspiring home ice cream makers is the need for an expensive and bulky ice cream machine. This recipe eliminates that entirely! Many, like myself, have opted to forgo an ice cream maker due to space or infrequent use. This simple summer recipe proves that you don’t need fancy gadgets to create rich, creamy, homemade ice cream. All you need are a few basic kitchen tools.
- Excellent Freezer Stability: This no-churn ice cream recipe is perfect for making ahead. When stored in an airtight, freezer-safe container, it remains fresh and delicious for approximately 2-3 months. This makes it an ideal dessert for meal prepping or always having a delightful treat on hand. Though, let’s be honest, it’s so good, it rarely lasts that long in our freezer!
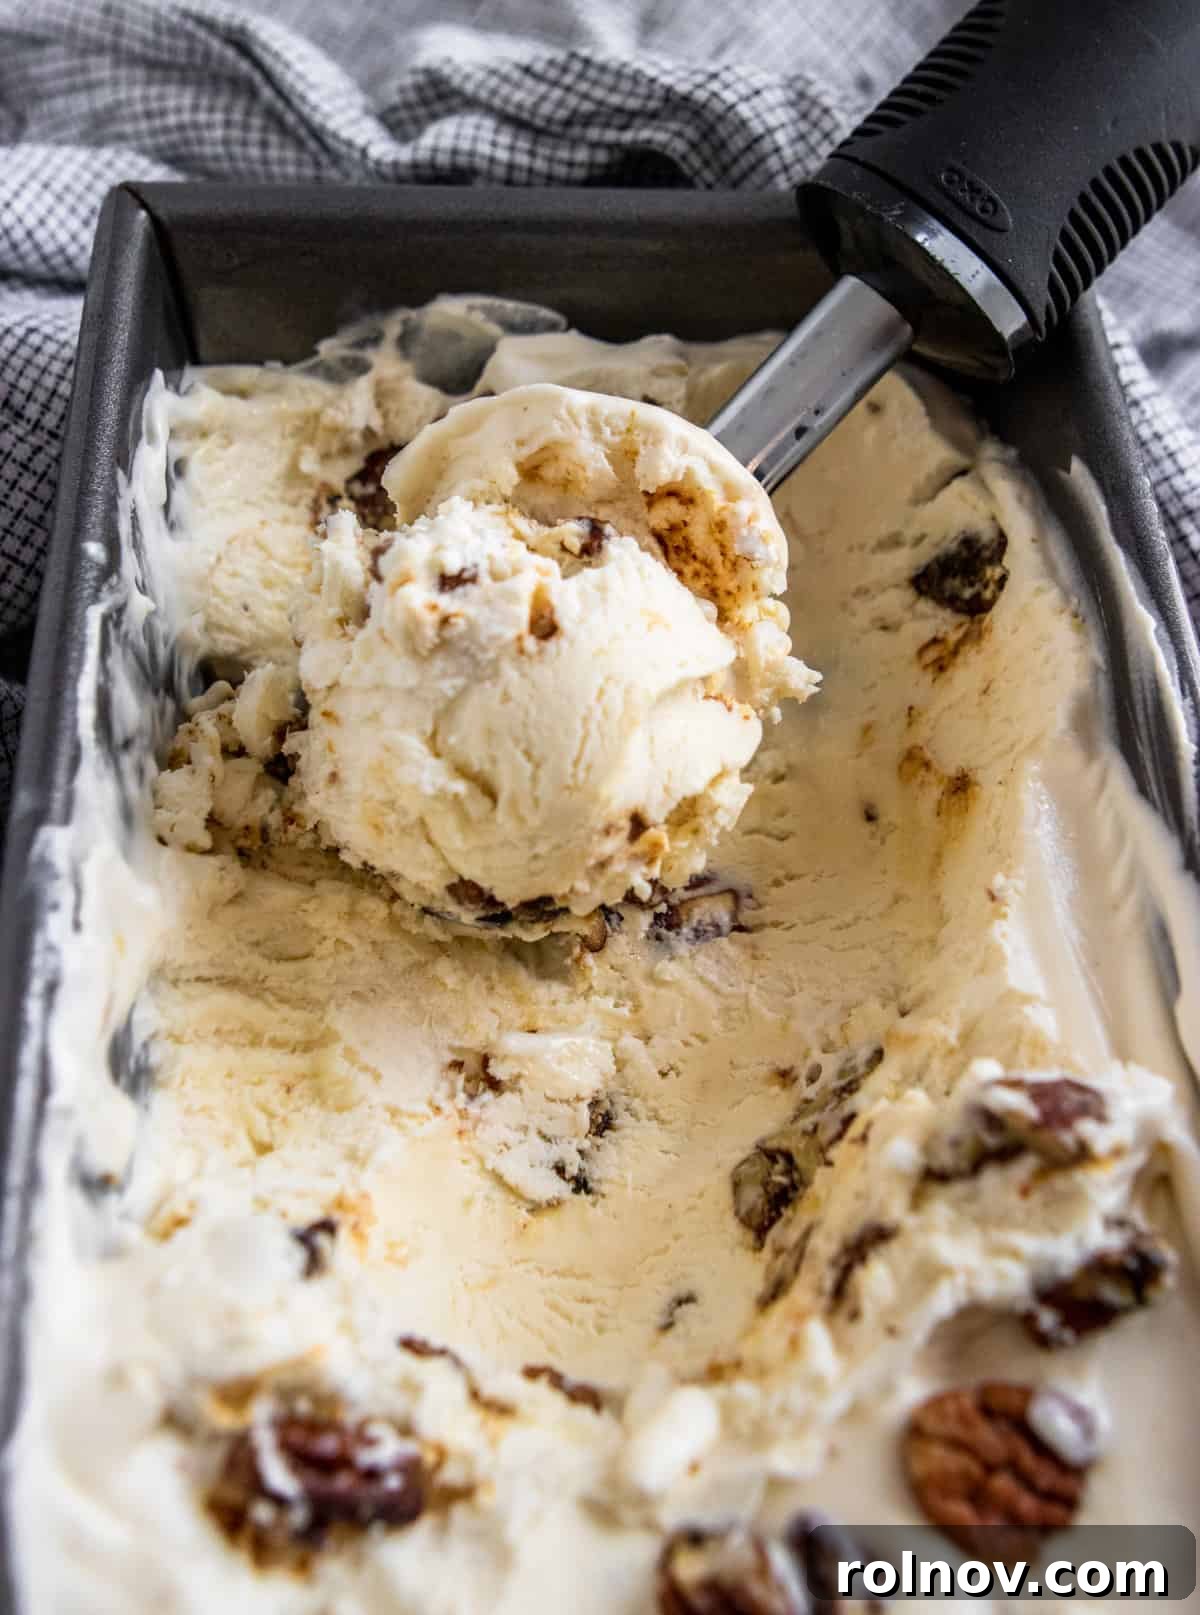
Demystifying “No-Churn” Ice Cream
If you’re new to the world of homemade ice cream without a machine, “no-churn” might sound like magic. Essentially, it’s a clever method to create delicious, creamy ice cream at home without the need for an electric ice cream maker or any specialized churning equipment. The secret lies in a simple yet brilliant combination of two key ingredients:
By beating heavy whipping cream until it forms stiff peaks, you incorporate air, creating a light, fluffy base. This whipped cream is then gently folded into sweetened condensed milk. The high-fat content of the heavy cream, combined with the thickness and sweetness of the condensed milk, results in an incredibly rich, creamy, and smooth ice cream texture that closely mimics traditional churned ice cream. It’s often described as having a texture similar to a luxurious soft serve, yet it hardens beautifully in the freezer. This method is not only simple but yields consistently delicious results, proving that you don’t need a machine to enjoy premium homemade ice cream.
Essential Ingredients for Your Butter Pecan Ice Cream
Crafting this irresistible butter pecan ice cream requires a handful of common ingredients, each playing a vital role in its flavor and texture. Here’s a detailed look at what you’ll need:
- Heavy Whipping Cream: This is the cornerstone of any no-churn ice cream. For the best results, always opt for heavy whipping cream over regular whipping cream. Heavy whipping cream boasts a higher fat content, which is crucial for achieving stable stiff peaks and contributing to the ice cream’s rich, smooth texture. The more fat, the creamier your final product will be.
- Sweetened Condensed Milk: This ingredient provides both the sweetness and the unique texture that makes no-churn ice cream so delightful. Its thick, syrupy consistency and concentrated sweetness eliminate the need for granulated sugar and help prevent ice crystal formation. I’ve always used the full-fat version for this recipe, which I highly recommend for optimal richness and creaminess. Do not confuse it with evaporated milk, as they are not interchangeable.
- Vanilla Extract: Vanilla is a powerful flavor enhancer that complements the butter pecan notes beautifully. For a truly superior taste, use pure vanilla extract. While imitation vanilla will work in a pinch, real vanilla extract offers a deeper, more complex aroma and flavor that will elevate your ice cream to another level.
- Pecans: The star of the show! You can use either pecan halves or pieces, depending on your preference for texture. Halves offer larger, more distinct bites, while pieces distribute more evenly throughout the ice cream. If you have a nut allergy, or simply wish to experiment, walnuts or cashews could be interesting substitutes, though the classic butter pecan flavor relies on pecans.
- Butter: Used to toast the pecans, butter adds an essential richness and depth to their flavor. I typically use unsalted butter to control the overall saltiness of the dish. If you only have salted butter, simply omit or reduce the amount of added sea salt in the recipe to prevent it from becoming too salty.
- Maple Syrup: This is my preferred sweetener for cooking the pecans, as its warm, earthy notes perfectly complement the pecans and vanilla. It adds a wonderful hint of autumn to this summer treat. If you don’t have maple syrup or prefer a different flavor profile, brown sugar can be used as a delicious alternative, contributing a similar caramelized sweetness.
- Sea Salt: A pinch of sea salt is crucial for balancing the sweetness of the ice cream and enhancing all the other flavors. It brings out the nuttiness of the pecans and prevents the ice cream from tasting one-dimensionally sweet.
- Cinnamon (Optional): For those who appreciate a touch of spice, a teaspoon of cinnamon adds a delightful warmth to the pecans. I love tossing it in sometimes, though I admit “Maple Cinnamon Butter Pecan No-Churn Ice Cream” might be a bit of a mouthful! Feel free to add it if you enjoy a more spiced flavor profile.
Crafting Your Dream: How to Make This No-Churn Ice Cream
Making this irresistible no-churn butter pecan ice cream is a straightforward and rewarding process. Follow these simple steps to create a dessert that will impress everyone:
- Prepare the Maple Butter Pecans: Begin by taking a sturdy skillet and placing it over medium heat. Add the butter, maple syrup, and pecans. Cook this mixture for about 5-7 minutes, stirring frequently to ensure the pecans toast evenly and don’t burn. Keep a close eye on them; they can go from perfectly toasted to burnt very quickly. The goal is a fragrant, slightly caramelized coating on the pecans. Once toasted, transfer the pecans onto a sheet of parchment paper laid on a baking sheet to cool completely. For an extra flavor boost, you can add a pinch of sea salt or a splash of vanilla to the pecans in the skillet. A touch of bourbon also adds a wonderful complexity if you’re feeling adventurous!
- Combine Condensed Milk Mixture: While the pecans are cooling, grab a medium-sized mixing bowl. Pour in the sweetened condensed milk, vanilla extract, and a small pinch of sea salt. Stir these ingredients together until they are well combined. Set this mixture aside for a moment.
- Whip the Heavy Cream: In a separate, larger bowl, or in the bowl of your stand mixer, add the heavy whipping cream. Using an electric hand mixer or your stand mixer fitted with the whisk attachment, beat the cream on high speed. Continue beating until strong, stiff peaks form. This means that when you lift the whisk, the peaks of cream will hold their shape firmly and not droop. Be careful not to overbeat the cream, as it can quickly turn grainy or even separate into butter. As soon as you see those firm peaks, stop mixing.
- Gently Fold and Incorporate Pecans: Now, it’s time to bring the two main mixtures together. Gently fold the whipped cream into the sweetened condensed milk mixture. Use a spatula and a light hand, folding until the two components are just incorporated and no streaks of condensed milk remain. Overmixing here can deflate the whipped cream, reducing the airiness of your ice cream. Next, gently fold in about three-quarters of your cooled maple butter pecans. Reserve the remaining pecans for garnishing the top.
- Freeze for Perfection: Carefully transfer the ice cream mixture into a freezer-safe container. A standard bread loaf pan (approximately 9×5 inches) works perfectly as it offers an ideal size and shape for freezing. Once the mixture is in the container, sprinkle the remaining reserved pecans evenly over the top. Cover the container tightly with plastic wrap or an airtight lid to prevent ice crystals from forming. Place it in the freezer for a minimum of 4-6 hours, or preferably overnight, until it is firm and scoopable.
That is truly it! In just a few simple steps, you’ve created a luxurious, homemade no-churn butter pecan ice cream!
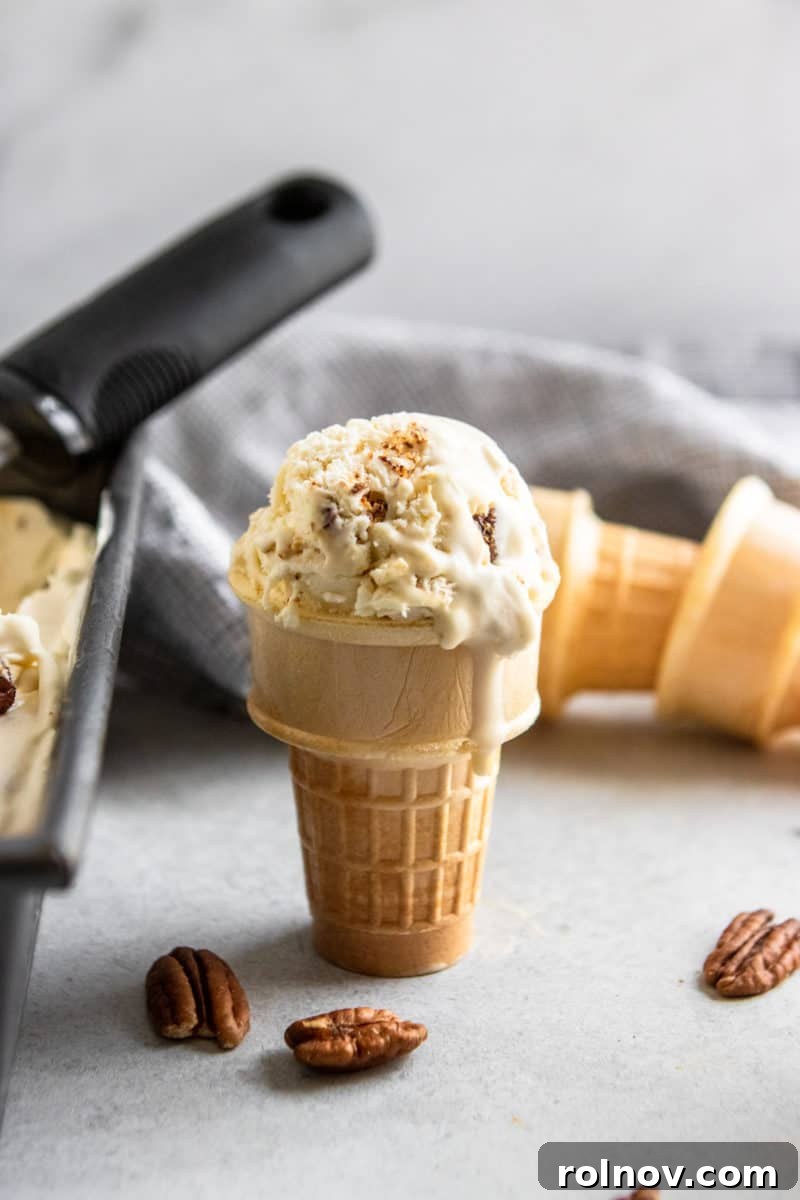
Pro Tips for Perfect No-Churn Butter Pecan Ice Cream
Achieving the perfect no-churn ice cream is simple, but a few expert tips can make all the difference:
- Pecan Vigilance is Key: When toasting your pecans in the skillet, maintain constant vigilance. They have a tendency to burn very quickly, especially with the sugar from the maple syrup. Don’t step away or get distracted. Stir them frequently and remove them from the heat as soon as they become fragrant and lightly browned. A burnt pecan can impart a bitter flavor to your entire batch.
- Roasting as an Alternative: If you prefer a hands-off approach to preparing your pecans, roasting is an excellent option. Simply toss the melted butter, maple syrup, pecans, and sea salt together in a bowl. Spread them in a single layer on a baking sheet and roast in a preheated oven at 350°F (175°C) for about 8-10 minutes. Ensure they are fully cooled before folding them into the ice cream mixture. Roasting can free you up to multitask on other steps of the recipe.
- The Art of Thawing Before Serving: To ensure the smoothest, most scoopable texture, always allow your butter pecan ice cream to sit out at room temperature for about 5-10 minutes before serving. This brief thawing period softens it just enough, making it easier to scoop and enhancing its creamy mouthfeel.
- Stiff Peaks for Ultimate Thickness: The success of no-churn ice cream heavily relies on properly whipped cream. Ensure you whip the heavy whipping cream until it forms strong, stiff peaks. This incorporation of air is what gives the ice cream its light, yet thick and creamy consistency without the need for an ice cream maker. Under-whipped cream will result in a denser, icier texture, while over-whipped cream can become grainy.
- Optimal Freezing Container: Using a shallow, wide freezer-safe container (like a loaf pan) can help the ice cream freeze more evenly and quickly, resulting in a consistent texture. Ensure it’s covered tightly to prevent freezer burn.
- Experiment with Add-ins: While this recipe is perfect as is, feel free to experiment with other additions. A drizzle of caramel or chocolate sauce, or even a sprinkle of toffee bits, could add another layer of indulgence.
Explore More Frozen Delights: Other Ice Cream & Frozen Treats
If you’ve enjoyed this no-churn butter pecan ice cream, you’re in for a treat with these other delightful frozen recipes:
- Festive Red, White and Blue Milkshake
- Refreshing Homemade Lemon Ice Cream
- Sweet No-Churn Strawberry Ice Cream
- Nostalgic Homemade Pudding Pops
- Energizing Peanut Butter Chocolate Coffee Smoothie
HUNGRY FOR MORE? Subscribe to our newsletter and follow us on Facebook, Instagram and Pinterest for all the latest delicious recipes and kitchen inspiration!
Homemade Butter Pecan Ice Cream – No Churn
Lorie Yarro
20 minutes
4 hours
4 hours
20 minutes
10
Ingredients
- 2 c heavy whipping cream
- 1 14 oz. can sweetened condensed milk
- 1 1/2 tsp vanilla extract
- 1 1/4 c pecan halves or pieces
- 2 T butter
- 2 T maple syrup (or brown sugar)
- 1 tsp cinnamon (optional)
- Pinch of sea salt
Instructions
-
In a skillet, combine butter, maple syrup and pecans (and cinnamon if preferred) over medium heat. Toast for about 4-5 minutes, stirring frequently. Transfer to a parchment-lined baking sheet and allow to cool completely.
-
In a medium mixing bowl, combine sweetened condensed milk, sea salt and vanilla extract. Set aside.
-
Using a standing or hand mixer, mix the heavy whipping cream on high speed until strong stiff peaks begin to form. This will take several minutes. Gently combine the whipped cream mixture with the condensed milk mixture until fully incorporated, taking care not to deflate the whipped cream.
-
Fold in 3/4 of the cooled pecans, reserving the remaining 1/4 cup for the top.
-
Pour the mixture into a freezer-safe container (a bread pan works well) and sprinkle the rest of the pecans over the top. Freeze for at least 4 hours, or until firm. Allow to thaw for 5-10 minutes before serving for the best scoopability. Enjoy!
Notes
- When toasting the pecans, keep a watchful eye on them. They can burn easily if left unattended. Promise!
- You can also roast your pecans for a slightly easier method. Toss melted butter, maple syrup, pecans, and sea salt together. Roast at 350°F (175°C) for 8-10 minutes. Allow to cool before adding to the ice cream.
- For ideal serving, let the butter pecan ice cream sit out to thaw for about 10 minutes before scooping. This makes it much easier to serve.
- Ensure the whipping cream forms stiff peaks for the best thickness and texture in your ice cream.
This recipe yields approximately 6 cups of ice cream, which amounts to about 12 half-cup servings. However, we rarely stick to official serving sizes when it comes to delicious ice cream! Since it’s a bit richer than regular ice cream, a small amount often goes a long way.
Nutrition
Carbohydrates: 27g,
Protein: 5g,
Fat: 30g,
Saturated Fat: 15g,
Cholesterol: 85mg,
Sodium: 89mg,
Potassium: 233mg,
Fiber: 1g,
Sugar: 25g,
Vitamin A: 881IU,
Vitamin C: 1mg,
Calcium: 155mg,
Iron: 1mg
Nutrition information is automatically calculated, so should only be used as an approximation.
Did you enjoy this recipe? Have a question?
Leave a comment below!
Shop Essential Kitchen Tools:
Hand Mixer
Buy Now →
Mixing Bowls
Buy Now →
Silicone Spatulas
Buy Now →