
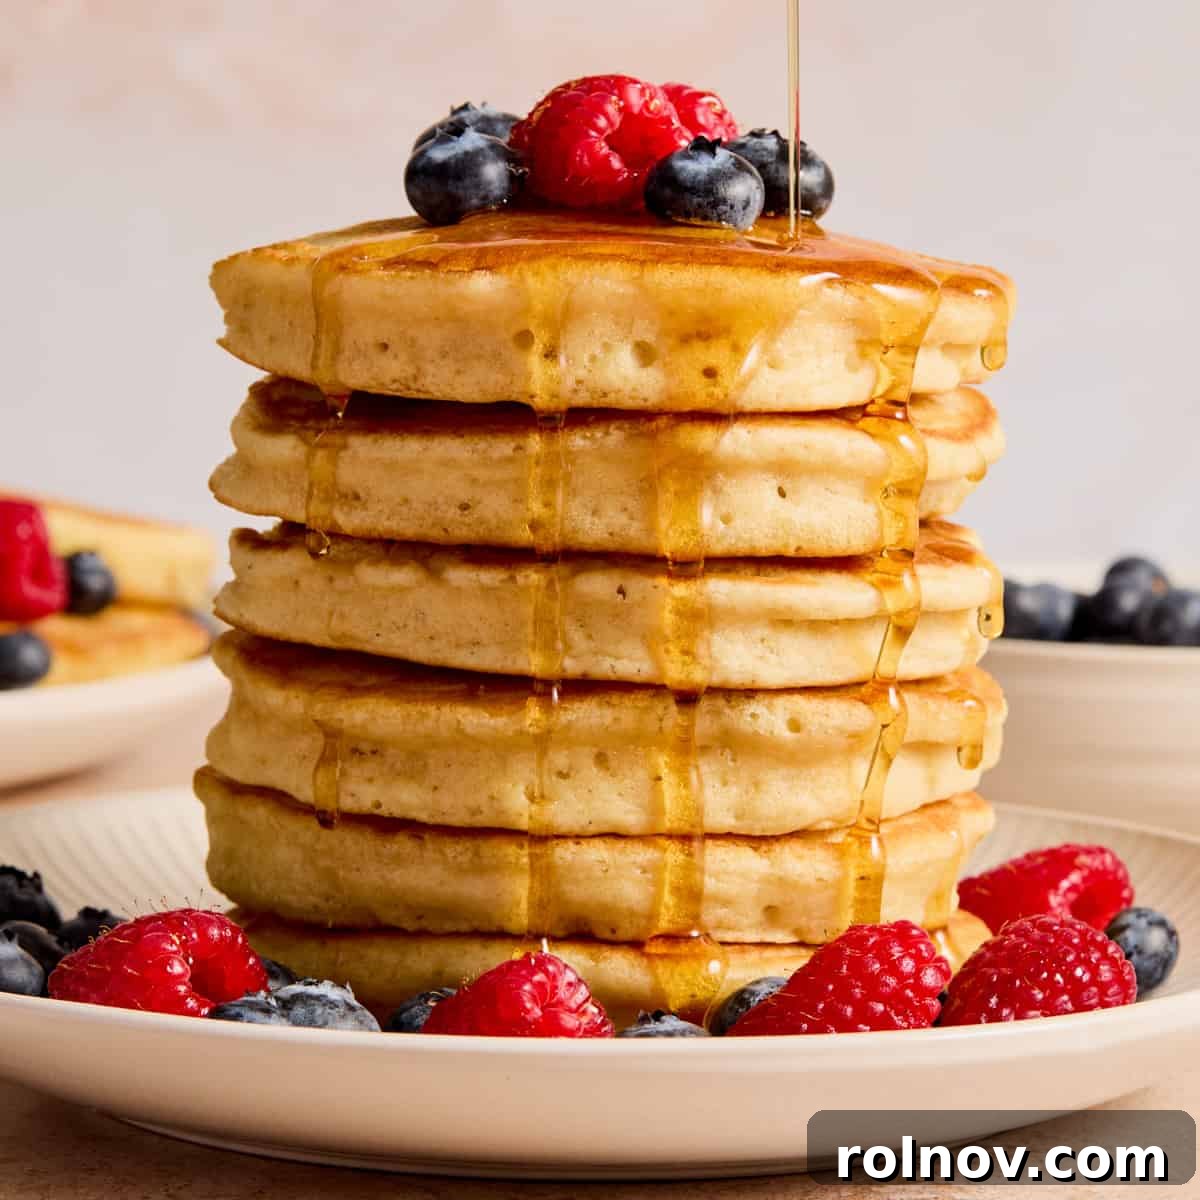
Fluffy Dairy Free Buttermilk Pancakes: Your Ultimate Guide to a Perfect Breakfast
These incredibly fluffy Dairy Free Pancakes are so delightfully delicious, you won’t even notice they’re missing dairy! Discover a simple trick to create a dairy-free buttermilk substitute in minutes, ensuring you can still enjoy golden, airy pancakes for breakfast without compromise.
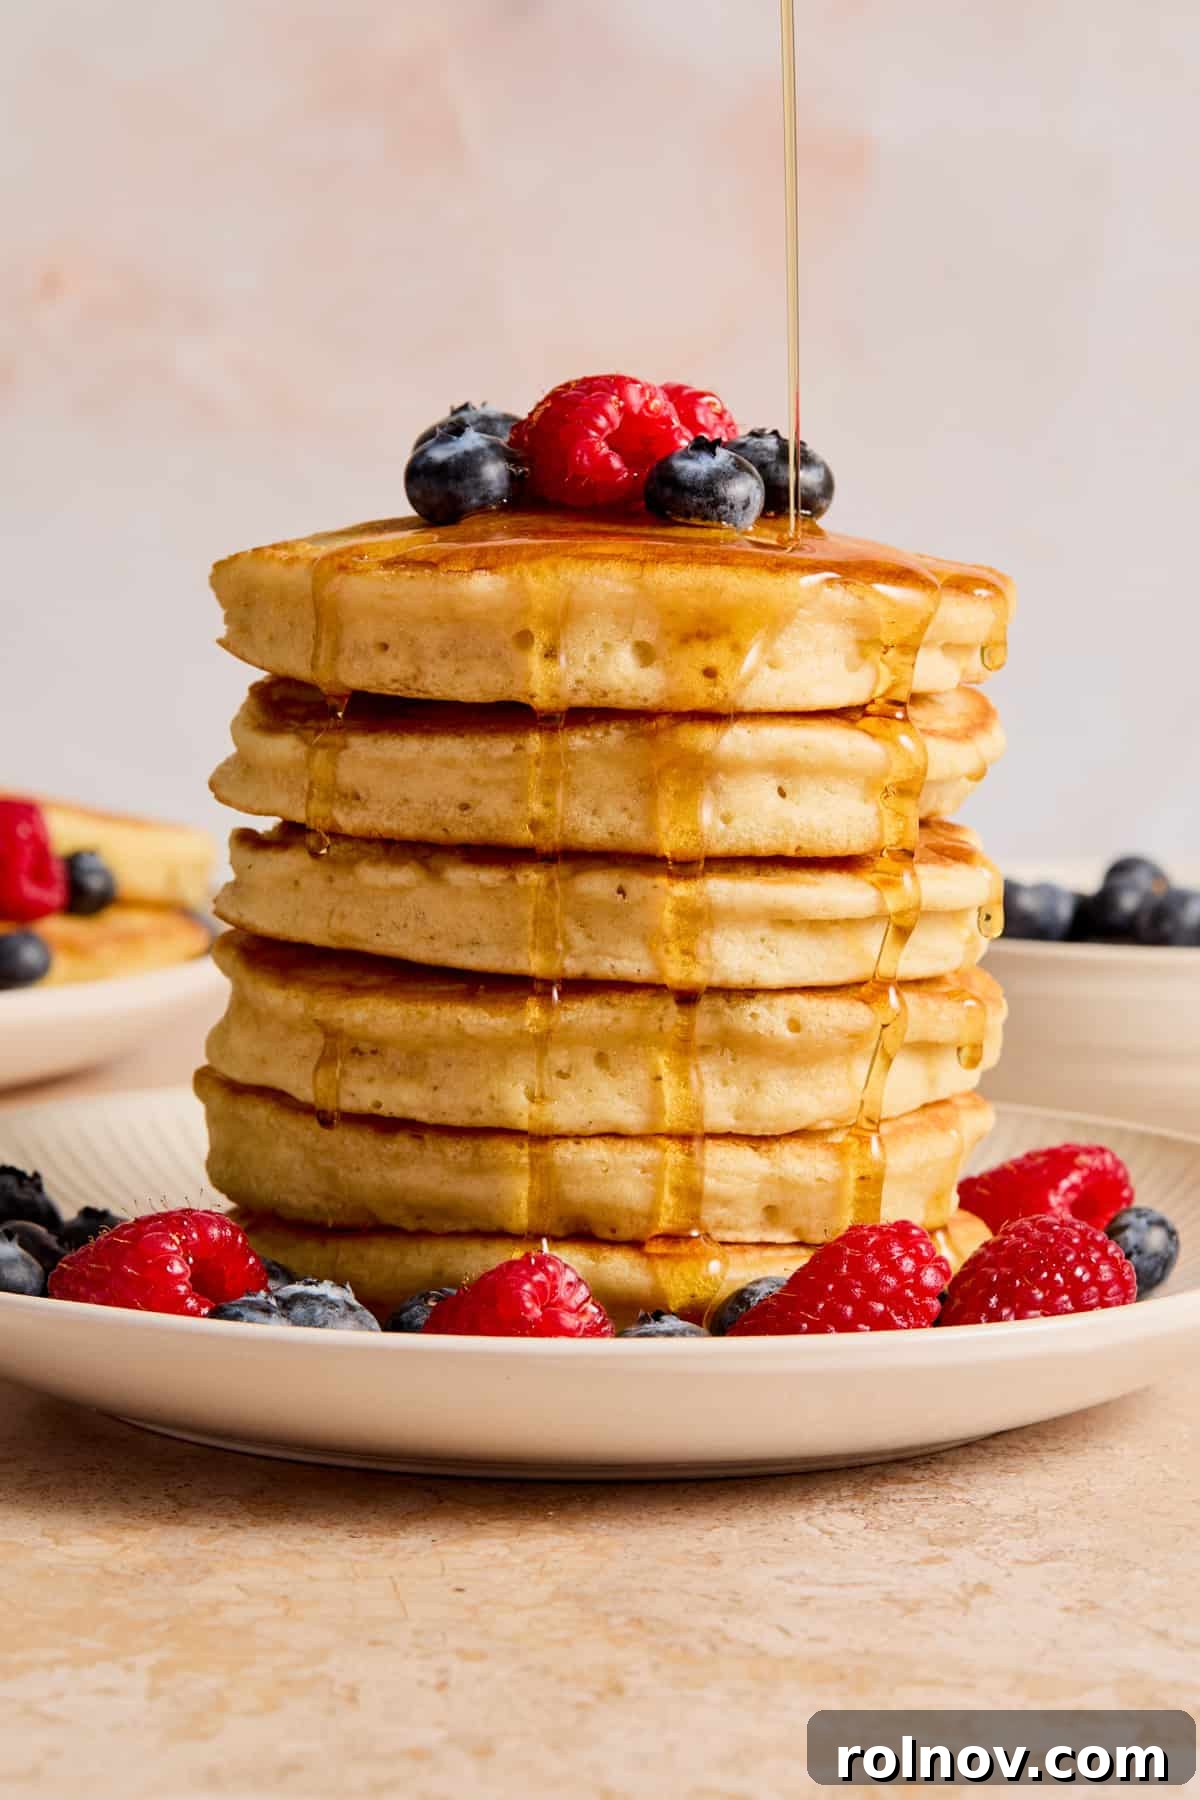
This recipe was originally published in September 2017 and updated with new photos and expanded content in April 2020 to bring you even more deliciousness!
Imagine waking up to the aroma of freshly cooked pancakes – light, fluffy, and golden brown, just like your favorite diner. Now, imagine achieving that perfect stack without any dairy at all! For many, the idea of dairy-free buttermilk pancakes might seem like a culinary oxymoron. Traditional buttermilk is, after all, a dairy product, crucial for giving pancakes their signature tang and tender texture. But what if we told you it’s not only possible but incredibly easy to create an equally delicious, dairy-free version?
Whether you’re managing a dairy allergy, following a vegan diet, or simply looking to reduce your dairy intake, these pancakes are a game-changer. They prove that you don’t have to sacrifice flavor or texture to enjoy a classic breakfast staple. Get ready to indulge in restaurant-quality pancakes right from your own kitchen, all without a single drop of dairy milk!
If you’re a pancake enthusiast looking to expand your repertoire, be sure to explore some of our other fantastic pancake recipes, including Zucchini Oat Flour Pancakes, Banana Oat Blender Pancakes, Whole Wheat Blueberry Flax Pancakes, or Apple Cinnamon Pancakes!
Why You Will Love These Irresistible Dairy-Free Pancakes:
- Incredibly Light and Fluffy: You might think removing dairy would compromise the texture, but these pancakes defy expectations. Thanks to our secret dairy-free buttermilk hack, they achieve an impressive lift and a melt-in-your-mouth tenderness that will have everyone asking for seconds. You’ll never miss the dairy!
- Made with Simple, Accessible Ingredients: Forget specialty stores and obscure items. This recipe relies on everyday pantry staples you likely already have on hand. It’s about making delicious food accessible to everyone, without any fuss or expensive additions.
- Lightning Fast Prep and Cook Time: Weekday mornings just got a whole lot brighter! These pancakes come together quickly with minimal effort. Basic steps and straightforward mixing mean you can have a stack of warm, homemade pancakes on the table in under 30 minutes, making them perfect for busy families.
- Excellent for Meal Prep and Freezer-Friendly: Love the idea of grab-and-go breakfasts? This recipe is ideal for batch cooking. Prepare a large quantity, and you’ll have delicious dairy-free pancakes ready for the entire week, or even months if stored in the freezer. They reheat beautifully, maintaining their delightful texture.
- Versatile for Dietary Needs: Not only are they dairy-free, but they can easily be adapted for gluten-free diets by simply swapping out regular flour for a 1:1 gluten-free all-purpose blend. This flexibility makes them a fantastic choice for various dietary preferences and restrictions.
The Secret to Dairy-Free Buttermilk Pancakes: A Simple Kitchen Hack!
The magic behind achieving that classic buttermilk flavor and tender crumb in a dairy-free pancake lies in a clever kitchen hack: making your own “buttermilk” substitute. It’s surprisingly simple and yields fantastic results!
Buttermilk, in traditional baking, is known for its acidity, which reacts with baking soda to create carbon dioxide bubbles, leading to a light and fluffy texture. It also adds a subtle tang that enhances the overall flavor profile. The good news is, you can replicate this chemical reaction and flavor by combining a non-dairy milk with an acid.
Here’s how it works: When you combine vinegar (or lemon juice) with a plant-based milk, the acid causes the proteins in the milk to curdle and thicken, mimicking the consistency and acidity of traditional buttermilk. This curdling process is exactly what you’re looking for! The resulting mixture will look slightly lumpy and thickened, indicating it’s ready to work its magic in your pancake batter.
This ingenious trick isn’t just for dairy-free recipes; it can even be done with regular cow’s milk if you’re ever out of actual buttermilk. I was genuinely amazed by how effective and straightforward this solution is. Now, you can enjoy all the benefits of buttermilk pancakes, including their signature fluffy texture and rich flavor, without needing to buy a specialized dairy product.
Essential Ingredients for Your Fluffy Dairy-Free Pancakes:
One of the best aspects of this recipe is its reliance on readily available ingredients. You likely have most, if not all, of these in your kitchen right now:
- Non-Dairy Milk: This is the foundation of your dairy-free buttermilk. I personally love using unsweetened almond milk for its neutral flavor and smooth consistency. However, feel free to use your preferred non-dairy alternative such as cashew milk, soy milk, or even my latest obsession: oat milk! Oat milk lattes are a dream, so imagine its creamy goodness in pancakes with a drizzle of maple syrup! Just steer clear of canned, full-fat coconut milk as it’s too thick; instead, opt for coconut milk beverages found in the refrigerated section for the right consistency.
- Vinegar: The key acid for our homemade buttermilk. White vinegar is perfectly fine and often what I use, but apple cider vinegar also works wonderfully and can add a subtle, pleasant depth of flavor. Some recipes suggest lemon juice as an alternative, which I have yet to personally try but is also a viable acidic option.
- Sweetener: I enjoy my pancakes with a touch of sweetness, typically using 3-4 tablespoons of white granulated sugar. This amount provides a lovely balance, but feel free to adjust it to your personal preference. You can slightly reduce it or even experiment with maple syrup or brown sugar for different flavor notes.
- Flour: All-purpose flour is my go-to for these pancakes, delivering that classic, comforting pancake texture. For those who need or prefer a gluten-free option, a 1:1 all-purpose gluten-free flour blend works beautifully, ensuring your pancakes are just as delicious and fluffy.
- Eggs: Large eggs are essential for structure and richness. For the best results and easier incorporation into the batter, ensure your eggs are at room temperature. This helps them combine more evenly with other ingredients.
- Vanilla Extract: A touch of pure vanilla extract elevates the flavor profile, adding warmth and depth. For a fun twist, consider adding a hint of almond extract or maple extract to create unique flavor variations.
- Oil: I prefer canola oil in my pancake batter. It contributes to a wonderfully tender texture without imparting an overwhelming flavor. While olive oil and coconut oil are also common choices for cooking, I find they can sometimes alter the pancake’s flavor more than we prefer. However, if those are your favorites, feel free to experiment!
- Baking Soda and Baking Powder: These are your leavening agents, crucial for achieving those coveted fluffy pancakes. Always ensure both are fresh; expired leavening agents are a common culprit for flat pancakes.
- Salt: A pinch of sea salt enhances all the other flavors, balancing the sweetness and adding a subtle savory note that makes these pancakes truly shine.
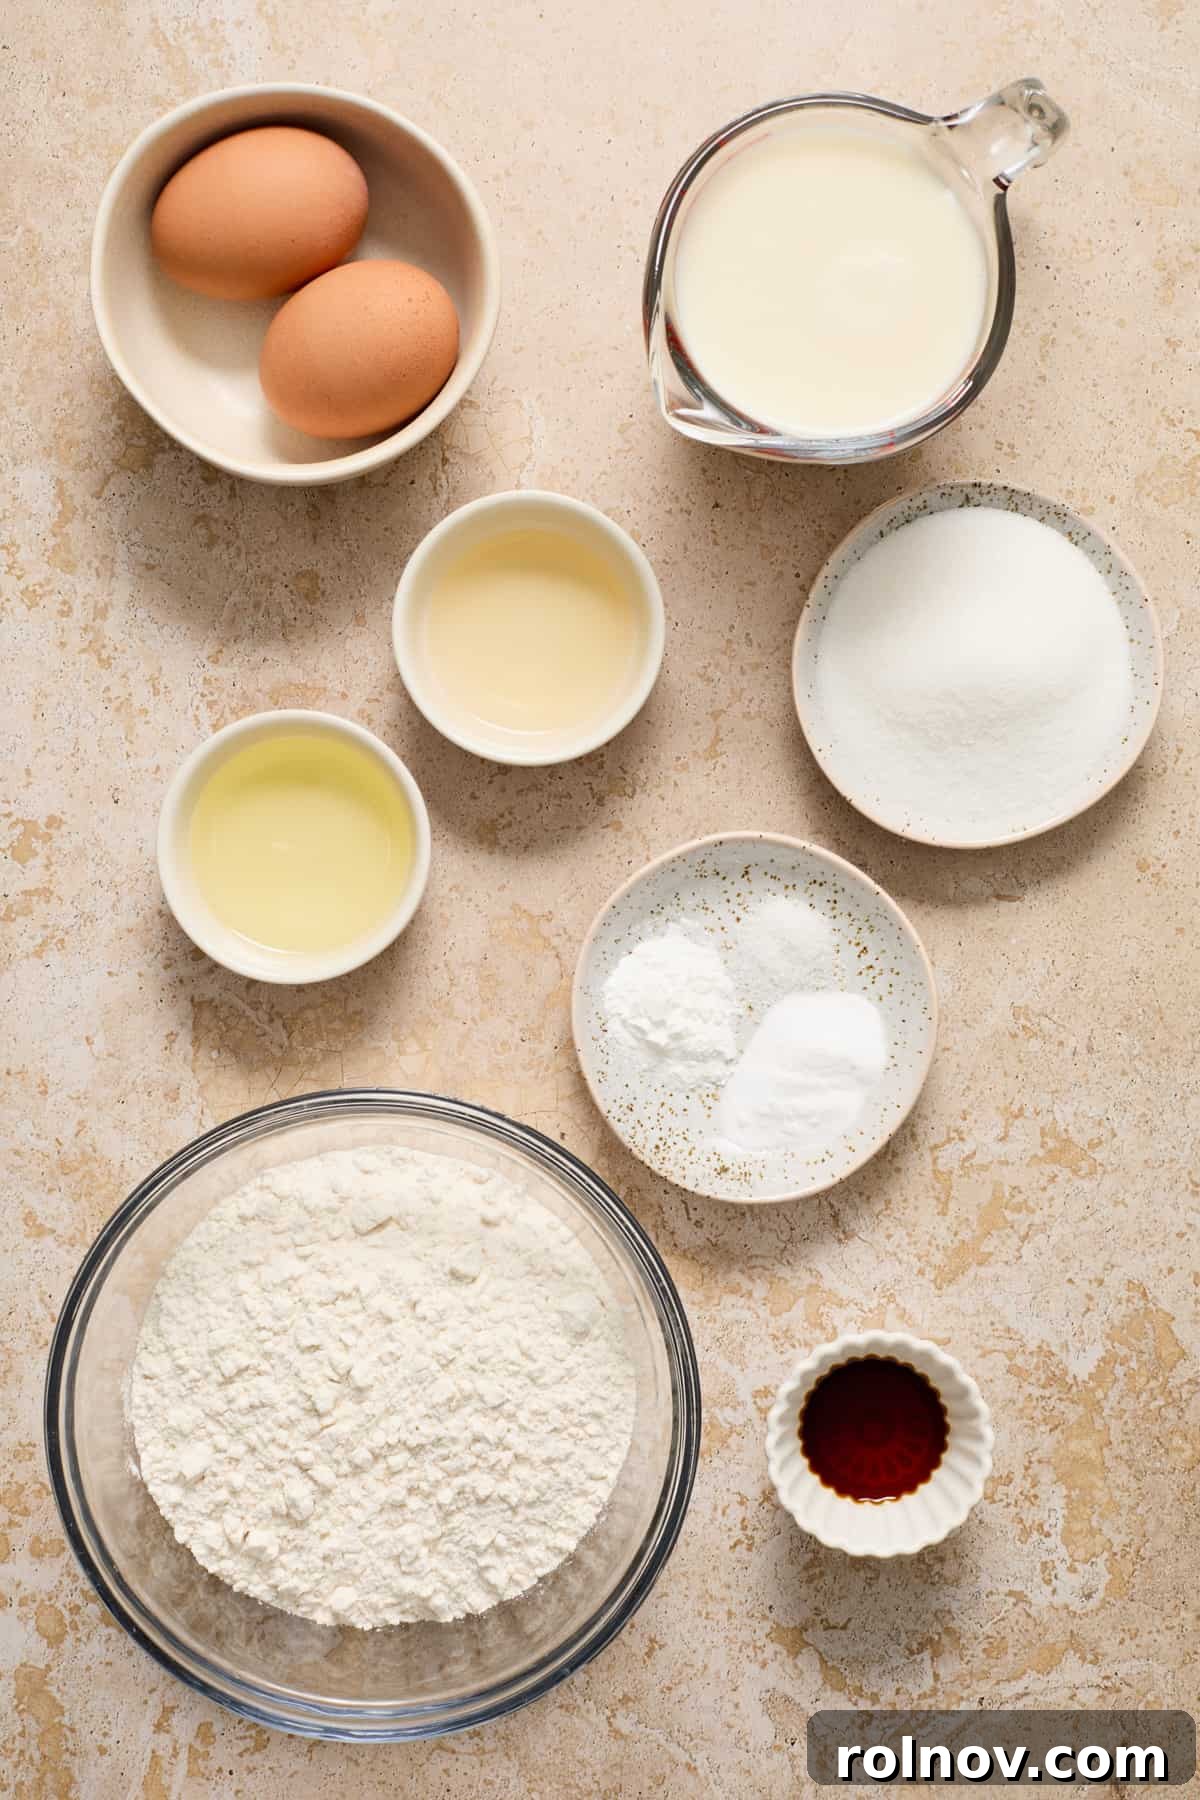
With these simple ingredients at the ready, you’re now perfectly poised to create a stack of the most delicious, fluffy dairy-free pancakes. Let’s get cooking!
Step-By-Step Guide to Making Your Dairy-Free Buttermilk Pancakes:
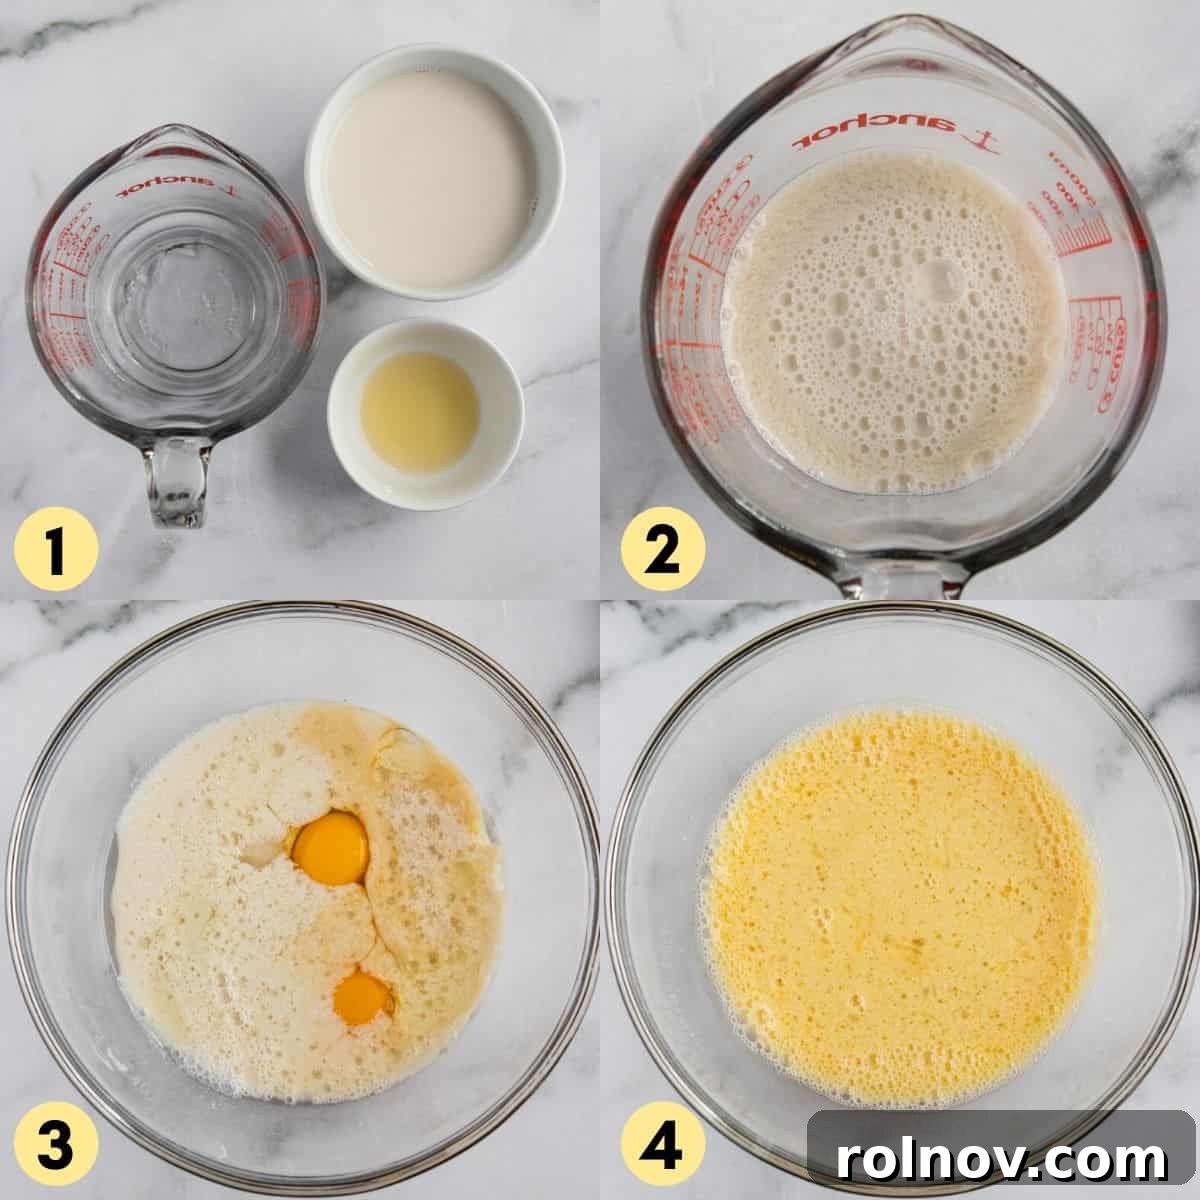
- Step 1: Create Your Dairy-Free Buttermilk. Begin by pouring your chosen non-dairy milk into a measuring cup or small bowl. Add the vinegar (or lemon juice) and give it a quick whisk. Allow this mixture to sit undisturbed for about 3-5 minutes. You’ll observe it beginning to curdle and thicken slightly, which is exactly the desired effect! This is your homemade “buttermilk.”
- Step 2: Combine the Wet Ingredients. In a separate medium-sized mixing bowl, whisk together the room-temperature eggs, sugar, oil, and vanilla extract. Once thoroughly combined, pour in your freshly made dairy-free “buttermilk” and whisk until all the wet ingredients are well integrated.
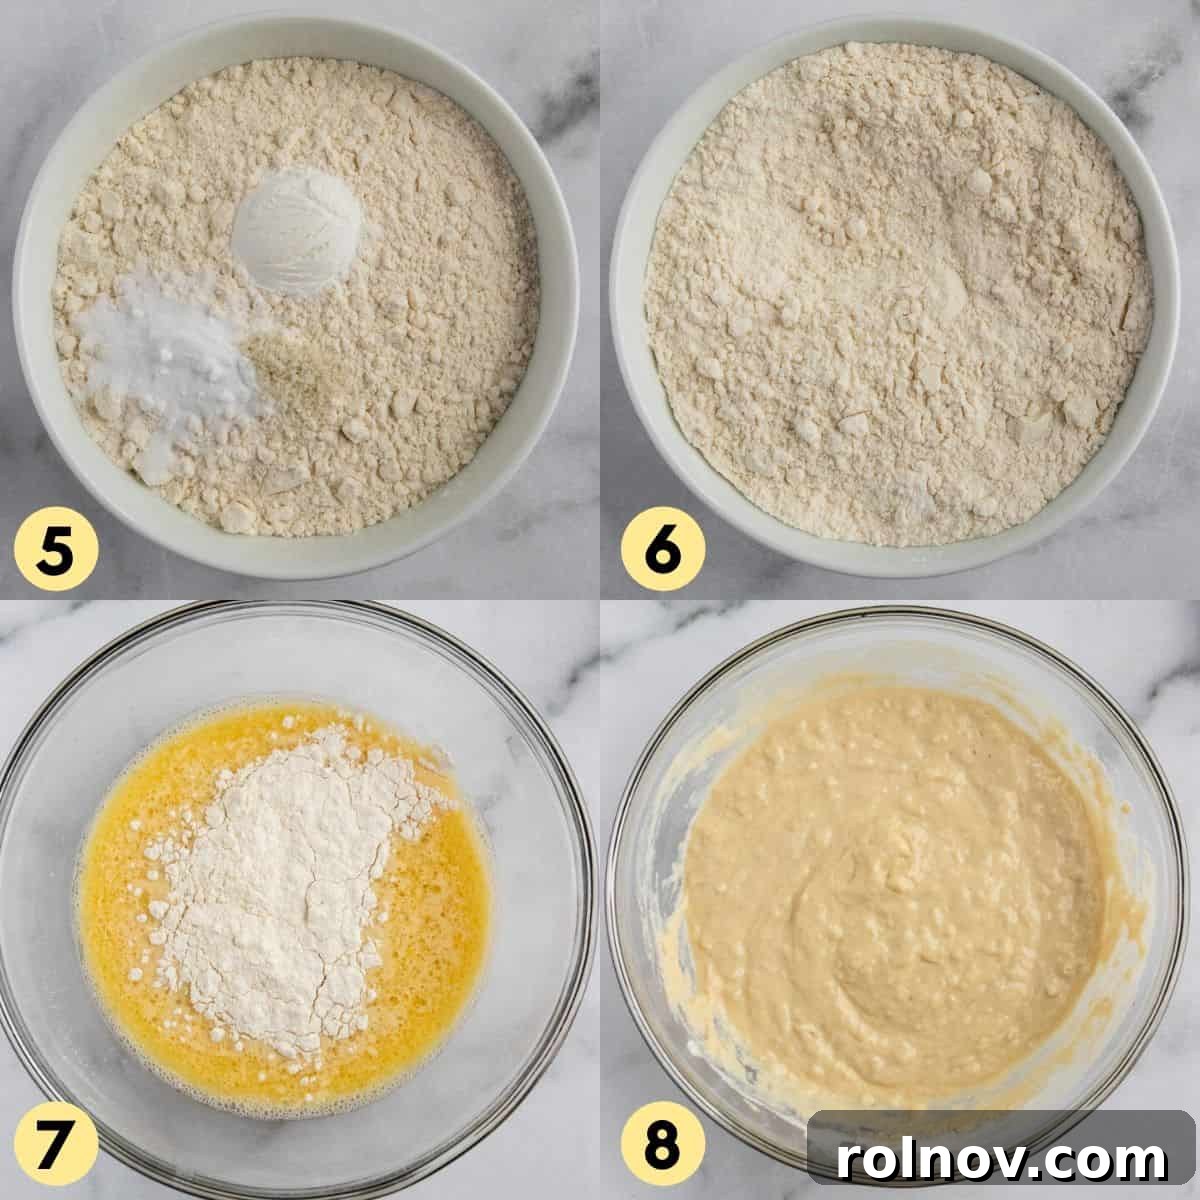
- Step 3: Prepare the Dry Ingredients. In a third bowl, whisk together the flour, sea salt, baking powder, and baking soda. It’s crucial to ensure your baking powder and baking soda are fresh; old leavening agents will result in flat, disappointing pancakes.
- Step 4: Gently Mix Wet and Dry. Gradually add the dry ingredient mixture into the wet ingredients. Stir everything together just until combined. It is vital not to overmix the batter – a few small lumps are perfectly fine and actually desirable for fluffy pancakes. Overmixing develops gluten, leading to tough pancakes. The batter for these dairy-free pancakes will be quite thick. If you find it too thick for your preference, you can stir in an extra 1-3 tablespoons of non-dairy milk until it reaches your desired consistency.
- Step 5: Cook Your Pancakes. Heat a lightly oiled griddle or non-stick frying pan over medium heat. Once hot, pour about 1/4 cup of batter per pancake onto the griddle. Cook for 2-3 minutes per side, or until bubbles begin to form on the surface and the edges look set.
- Step 6: Flip and Finish. Carefully flip the pancakes and cook for another 1-2 minutes, or until they are golden brown and cooked through. Repeat with the remaining batter, adding more oil to the griddle as needed.
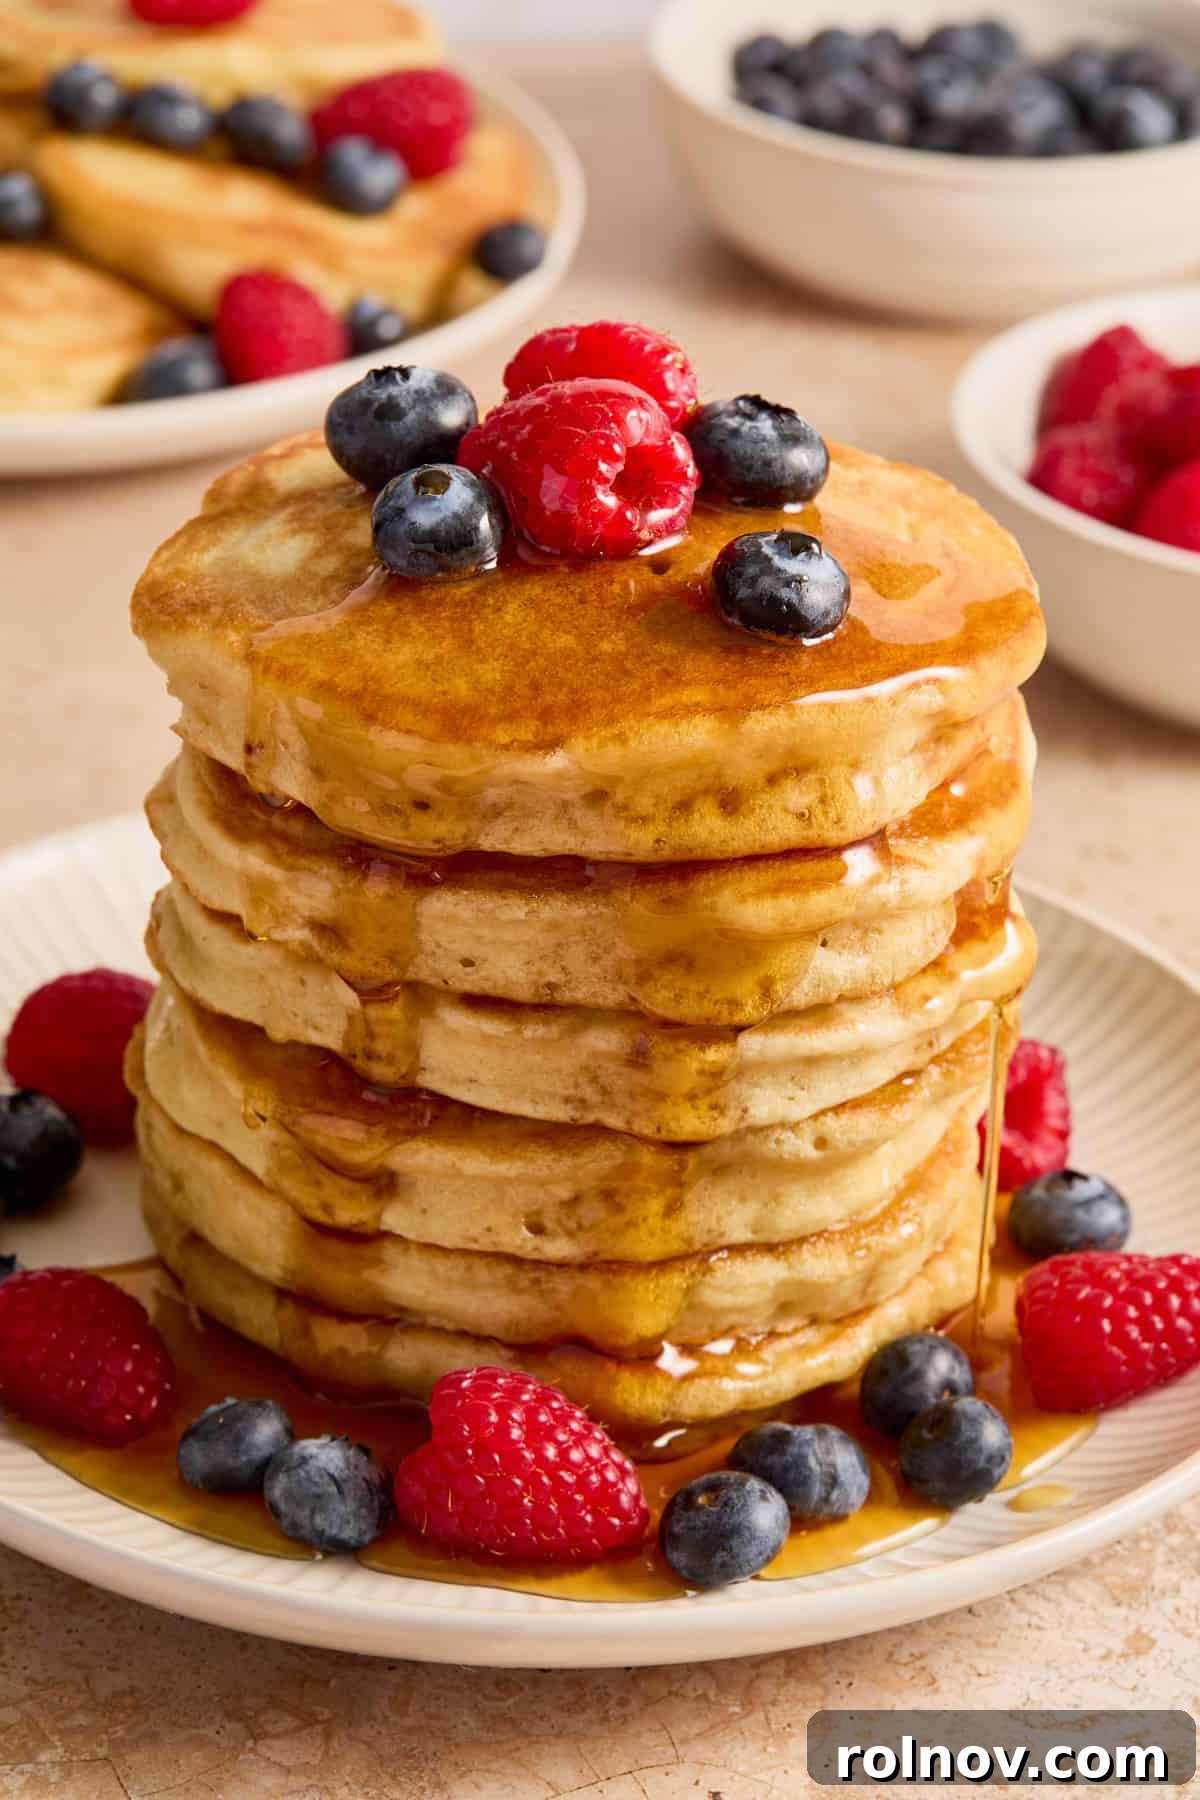
- Step 7: Serve Immediately. Transfer your hot, fluffy dairy-free pancakes to a plate and serve with your favorite toppings!
Expert Tips for Perfect Dairy-Free Pancakes:
- Accurate Flour Measurement: When measuring flour, avoid scooping directly from the bag with your measuring cup, as this can pack too much flour. Instead, gently stir the flour in its container to aerate it, then spoon it into your measuring cup and level it off with a straight edge. This ensures you use the correct amount and prevents dry, dense pancakes.
- Don’t Overmix the Batter: This is perhaps the most crucial tip for fluffy pancakes. Mix the wet and dry ingredients just until they are combined. Lumps are your friends! Overmixing develops gluten, which can lead to tough, rubbery pancakes.
- Room Temperature Eggs: Using eggs at room temperature helps them incorporate more easily and evenly into the batter, contributing to a smoother consistency and a better rise.
- Fresh Leavening Agents: Always check the expiration dates of your baking powder and baking soda. These ingredients lose their potency over time, and old leavening agents are the number one cause of flat pancakes.
- The Right Griddle Temperature: Medium heat is ideal. If the griddle is too hot, the pancakes will burn on the outside before cooking through. If it’s too cool, they’ll become dense and absorb too much oil. Test with a small drop of water – it should sizzle and evaporate within a second or two.
- Know When to Flip: Wait until bubbles appear across the surface of the pancake and the edges begin to look set and slightly dry. This indicates the underside is golden brown and ready to be flipped.
- Keep Them Warm: As you cook batches of pancakes, you can keep the finished ones warm in a preheated oven set to a low temperature (around 200°F / 95°C) on a baking sheet while you finish cooking the rest.
- Adjust Batter Thickness: If your batter seems too thick after mixing, add non-dairy milk one tablespoon at a time until you reach your desired pourable consistency. If it seems too thin, let it sit for a few minutes, or add a tiny bit more flour (1/2 teaspoon at a time) if absolutely necessary.
Storage for Leftover Pancakes:
Pancakes are fantastic for meal prepping! To store leftover dairy-free pancakes, first allow them to cool completely on a wire rack. This prevents condensation and keeps them from becoming soggy. Once cool, place them in an airtight container or wrap them tightly with foil. They will stay fresh in the refrigerator for about 5-6 days, making them perfect for quick breakfasts throughout the week.
For longer storage, freezing is an excellent option. Again, ensure the pancakes are completely cool before freezing to maintain their texture. To prevent them from sticking together, you can place a piece of parchment paper between each pancake before stacking them in an airtight freezer bag or container. Alternatively, you can flash freeze them individually on a baking sheet for about 30 minutes until solid, then transfer them to a freezer-safe bag. Frozen dairy-free pancakes will keep well for up to 3 months, ready for a quick reheat whenever a craving strikes!
Reheating Your Dairy-Free Pancakes:
Reheating pancakes properly ensures they retain their delicious texture. Here are a few methods:
- Toaster: This is my preferred method for just one or two pancakes. Simply pop them into your toaster on a medium setting for a few minutes until warmed through and slightly crispy on the edges.
- Oven: For reheating a larger batch, preheat your oven to 350°F (175°C). Place the pancakes on a baking sheet, covered loosely with foil to prevent drying out, and heat for about 5-10 minutes, or until thoroughly warm.
- Microwave: While convenient, microwaving pancakes can sometimes make them a bit chewy or rubbery. If you choose this method, heat them in short bursts (15-30 seconds) until warm. The results won’t be as good as the toaster or oven, but it works in a pinch.
Troubleshooting: Why Aren’t My Pancakes Fluffy?
The quest for perfectly fluffy pancakes is real, and it can be disheartening when your efforts result in flat, dense flapjacks. If your dairy-free pancakes aren’t rising to the occasion, the most common culprit is usually overmixing the batter.
When you mix flour and liquid together, gluten begins to develop. In bread making, gluten development is desired as it creates structure and chewiness. However, for light and airy pancakes, too much gluten is the enemy. Overmixing causes the gluten strands to strengthen excessively, trapping less air and resulting in a tough, rubbery texture that prevents the pancakes from expanding and becoming fluffy.
Another common reason for flat pancakes is using old or inactive baking powder or baking soda. These leavening agents are responsible for creating the carbon dioxide bubbles that give pancakes their lift. If they’ve lost their potency, the batter won’t rise properly.
To ensure your dairy-free pancakes are always light and airy, remember these key points:
- Mix Just Until Combined: When adding the dry ingredients to the wet, stir only until no streaks of dry flour remain. A few small lumps are perfectly acceptable and actually indicate you haven’t overmixed.
- Check Leavening Agents: Always ensure your baking powder and baking soda are fresh and active. You can test baking soda by mixing a spoonful with a bit of vinegar – it should fizz vigorously. For baking powder, mix a spoonful with hot water – it should also bubble.
- Don’t Press Down: Resist the urge to press down on the pancakes with your spatula while they are cooking. This deflates the air bubbles, leading to denser pancakes.
Delicious Serving Suggestions for Your Dairy-Free Pancakes:
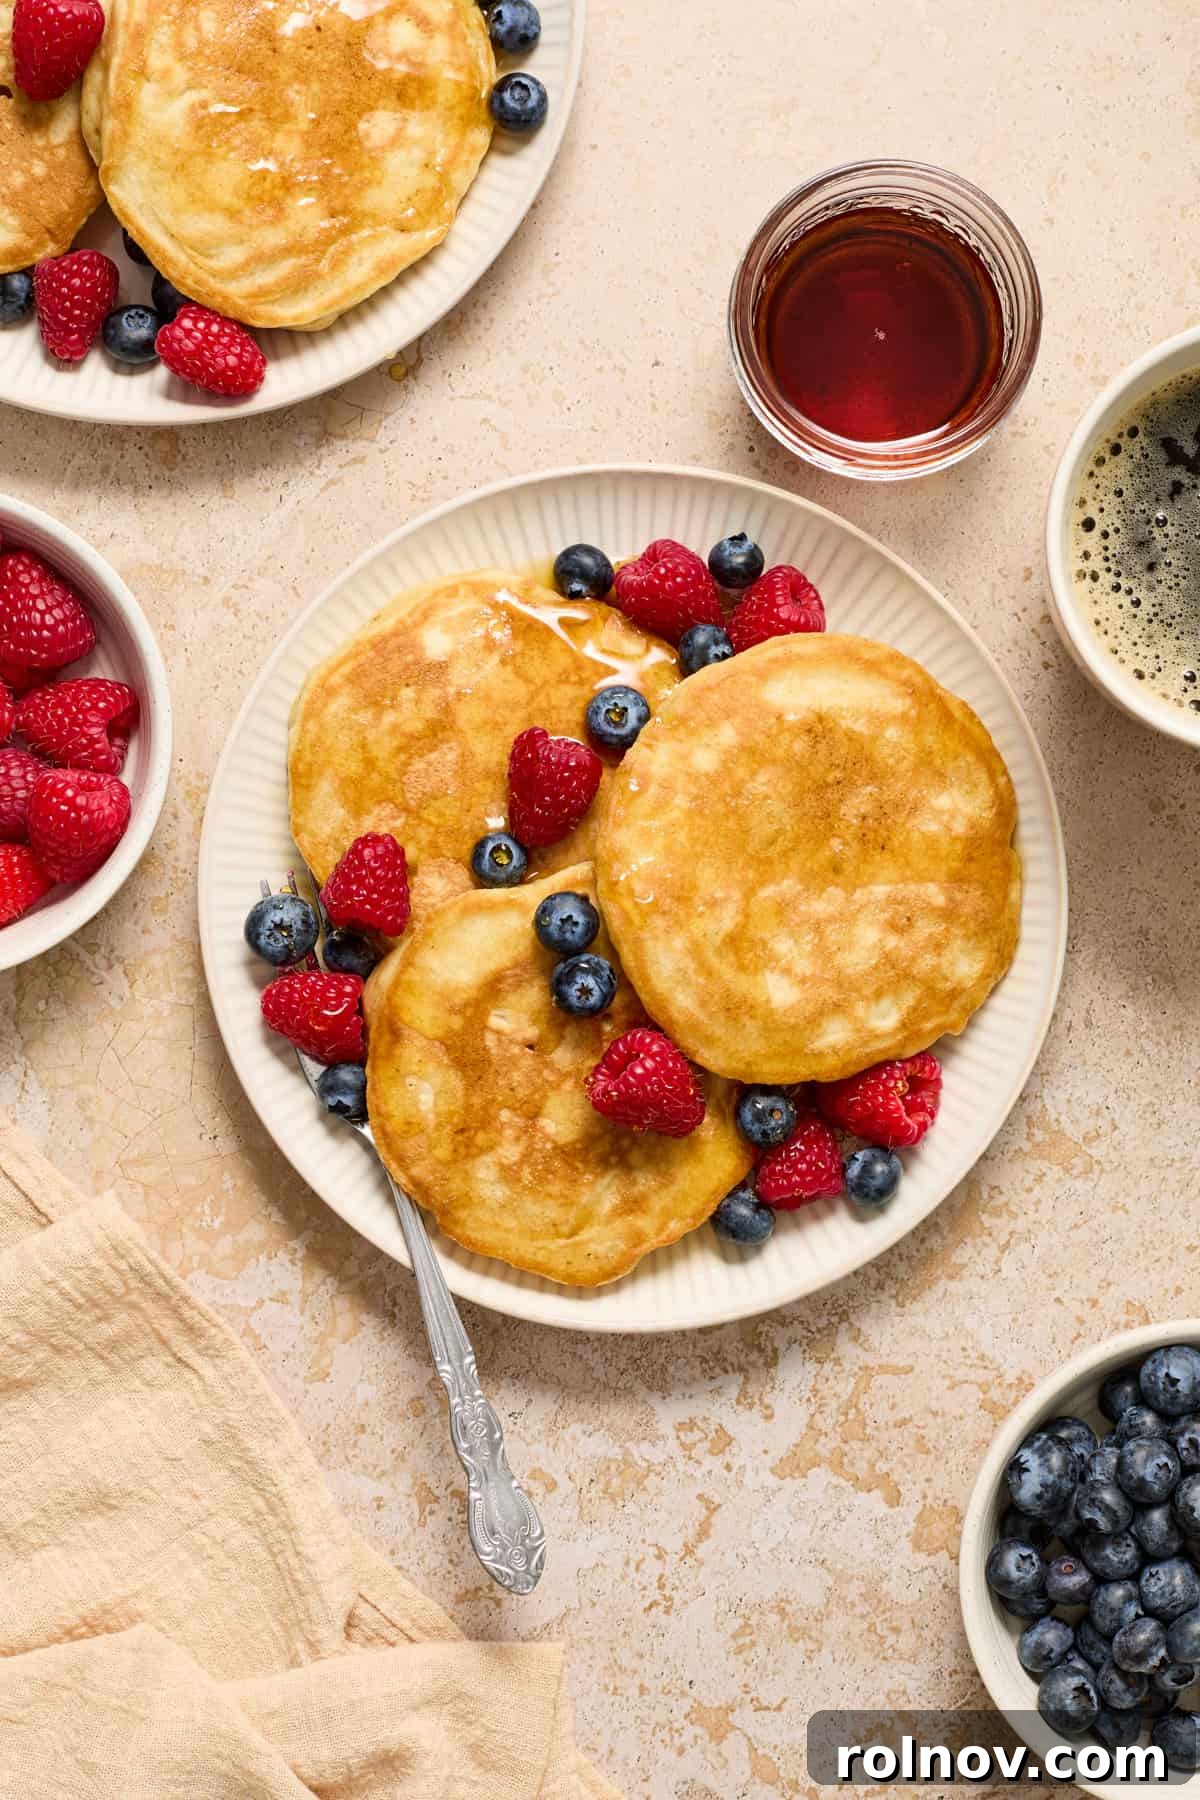
While these dairy-free pancakes are incredible on their own, a mountain of toppings can elevate them to an unforgettable breakfast experience. Here are some of our favorite ways to serve them:
- Classic Maple Syrup: You can never go wrong with a generous drizzle of pure, warm maple syrup. It’s the quintessential pancake topping for a reason!
- Dairy-Free Whipped Cream: A fluffy dollop of dairy-free whipped cream is pure decadence. Try our Chocolate Whipped Cream for a rich treat or Pumpkin Spice Whipped Cream for a seasonal twist.
- Fresh Fruit: Berries like blueberries, raspberries, and sliced strawberries add a burst of freshness and natural sweetness. Sliced bananas or peaches are also delightful.
- Homemade Jam or Compote: A big smear of fresh jam or a warm fruit compote (like berry, apple, or pear) is a fantastic way to change up your usual stack.
- Dairy-Free Yogurt and Granola: Sprinkle your favorite crunchy granola and a dollop of creamy dairy-free yogurt on top, then finish with some fresh berries for a wholesome and textured topping.
- Caramelized Apples: Top these pancakes with tender, spiced Air Fried Apples for a comforting, autumnal flavor profile.
- Nut Butters: A drizzle of peanut butter, almond butter, or cashew butter can add a delicious nutty flavor and a boost of protein.
Get Creative: Optional Add-Ins for Your Pancakes!
Customizing your pancakes with delicious add-ins is part of the fun! Stir these into your batter just before cooking for extra flavor and texture:
- Fresh or Frozen Berries: Blueberries are a classic choice! If using frozen, thaw them slightly and pat dry before adding to prevent too much moisture from thinning the batter.
- Chopped Nuts: Pecans, walnuts, or almonds add a lovely crunch. Toast them lightly beforehand for an even richer flavor.
- Chocolate Chips: Chocolate chip pancakes are a universally loved treat! Mini chocolate chips work especially well for an even distribution.
- Sprinkles: For a festive and fun touch, especially for kids (or kids at heart!), colorful sprinkles are always a hit.
- Nut Butter Swirl: Before pouring the batter onto the griddle, swirl in a drizzle of peanut butter or your favorite nut butter directly into the pan for pockets of nutty goodness.
- Brown Sugar or Maple Syrup: Stir a few tablespoons of pure maple syrup or brown sugar into the batter for a richer, deeper flavor.
- Chopped Dairy-Free Bacon Bits: For a savory-sweet combination, add some chopped vegan bacon bits to the batter.
- Zest: Lemon or orange zest can add a bright, fresh flavor to your pancakes.
Other Pancake Recipes You Might Love:
- Whole Wheat Blueberry Flax Pancakes
- Zucchini Oat Pancakes
- Super Fluffy Pancakes
- Banana Oat Blender Pancakes
HUNGRY FOR MORE? Don’t miss out on delicious new recipes! Subscribe to my newsletter and follow me on Facebook, Instagram and Pinterest for all the latest culinary inspiration!
Fluffy Dairy Free Buttermilk Pancakes
By: Lorie Yarro
These easy fluffy Dairy Free Buttermilk Pancakes are healthy and delicious. A simple trick with almond milk makes buttermilk! You can still have these simple fluffy pancakes for breakfast without the dairy!
Prep Time: 10 minutes
Cook Time: 10 minutes
Total Time: 20 minutes
Servings: 4
Print Recipe
Ingredients
- 1 c non-dairy milk of choice (e.g., unsweetened almond milk)
- 1 T apple cider vinegar (white vinegar also works)
- 1 3/4 c all-purpose flour (use a 1:1 gluten-free blend for GF option)
- 2 large eggs
- 3-4 T granulated sugar or desired sweetener
- 2 T oil (canola oil recommended)
- 1 tsp vanilla extract
- 1/4 tsp sea salt
- 1 tsp baking powder
- 1 tsp baking soda
Instructions
- Combine non-dairy milk and vinegar in a bowl and whisk. Allow to sit for about 3-5 minutes until it begins to curdle.
- In a separate bowl, whisk together eggs, vanilla, oil, and sugar. Then add the “buttermilk” (vinegar milk combination) and whisk to combine.
- In another bowl, whisk the dry ingredients together: flour, sea salt, baking powder, and baking soda.
- Slowly add the dry ingredients into the wet ingredients. Stir gently just until combined. Avoid overmixing; some lumps are fine.
- Heat a lightly oiled skillet or griddle over medium heat. Pour about 1/4 cup of batter per pancake. Cook until edges begin to bubble and set.
- Flip the pancakes and cook for several more minutes until golden brown and cooked through.
- Serve immediately with your favorite pancake toppings.
Notes
- When measuring flour: Stir the flour to aerate it, then spoon it into the measuring cup and level. Do not scoop directly with the cup, as this can result in too much flour.
- For EXTRA fluffy pancakes: You can beat the eggs until light and fluffy before adding them into the recipe.
- Freeze these dairy-free pancakes: Store in a freezer-safe bag or container with parchment paper between layers. They will stay fresh for about 3 months.
Nutrition Information (Approximate per serving)
- Calories: 349kcal
- Carbohydrates: 49g
- Protein: 11g
- Fat: 11g
- Saturated Fat: 2g
- Cholesterol: 87mg
- Sodium: 522mg
- Potassium: 294mg
- Fiber: 1g
- Sugar: 9g
- Vitamin A: 179IU
- Calcium: 145mg
- Iron: 1mg
Nutrition information is automatically calculated, so it should only be used as an approximation.
Enjoyed this recipe or have a question? Leave a comment below! We love hearing from you!