
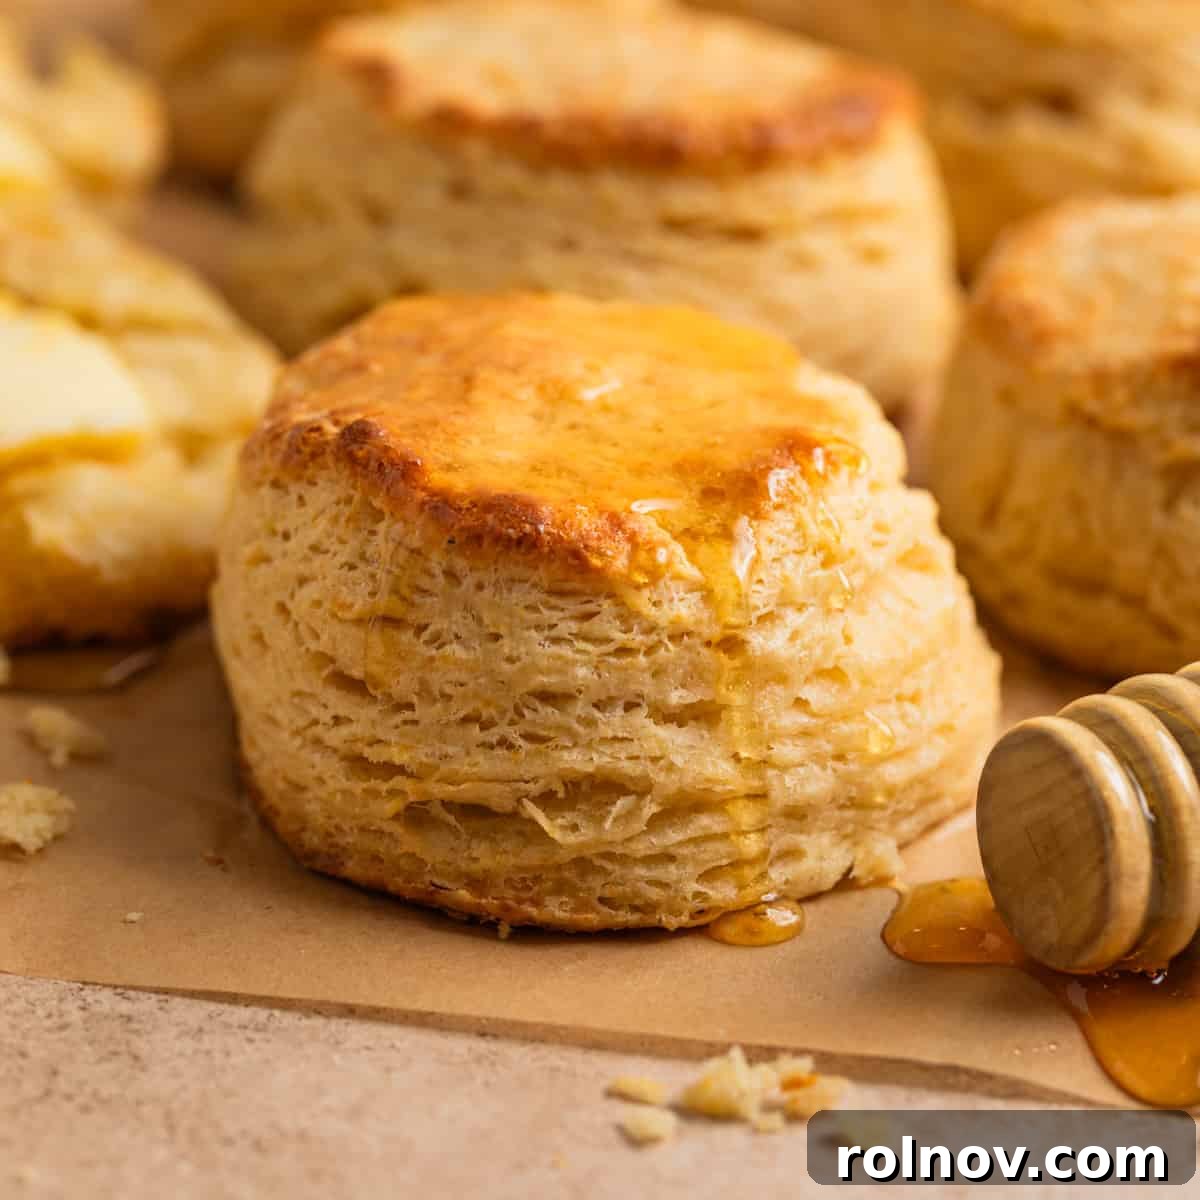
Discover the secret to incredibly flaky, impossibly tender Honey Biscuits with this super simple, from-scratch recipe. Perfectly buttery with a delightful hint of sweetness, these homemade biscuits are the ideal accompaniment to any meal or a comforting cup of tea. Ready in under 30 minutes using basic kitchen staples, this recipe promises classic results that your whole family will adore, even without a biscuit cutter!
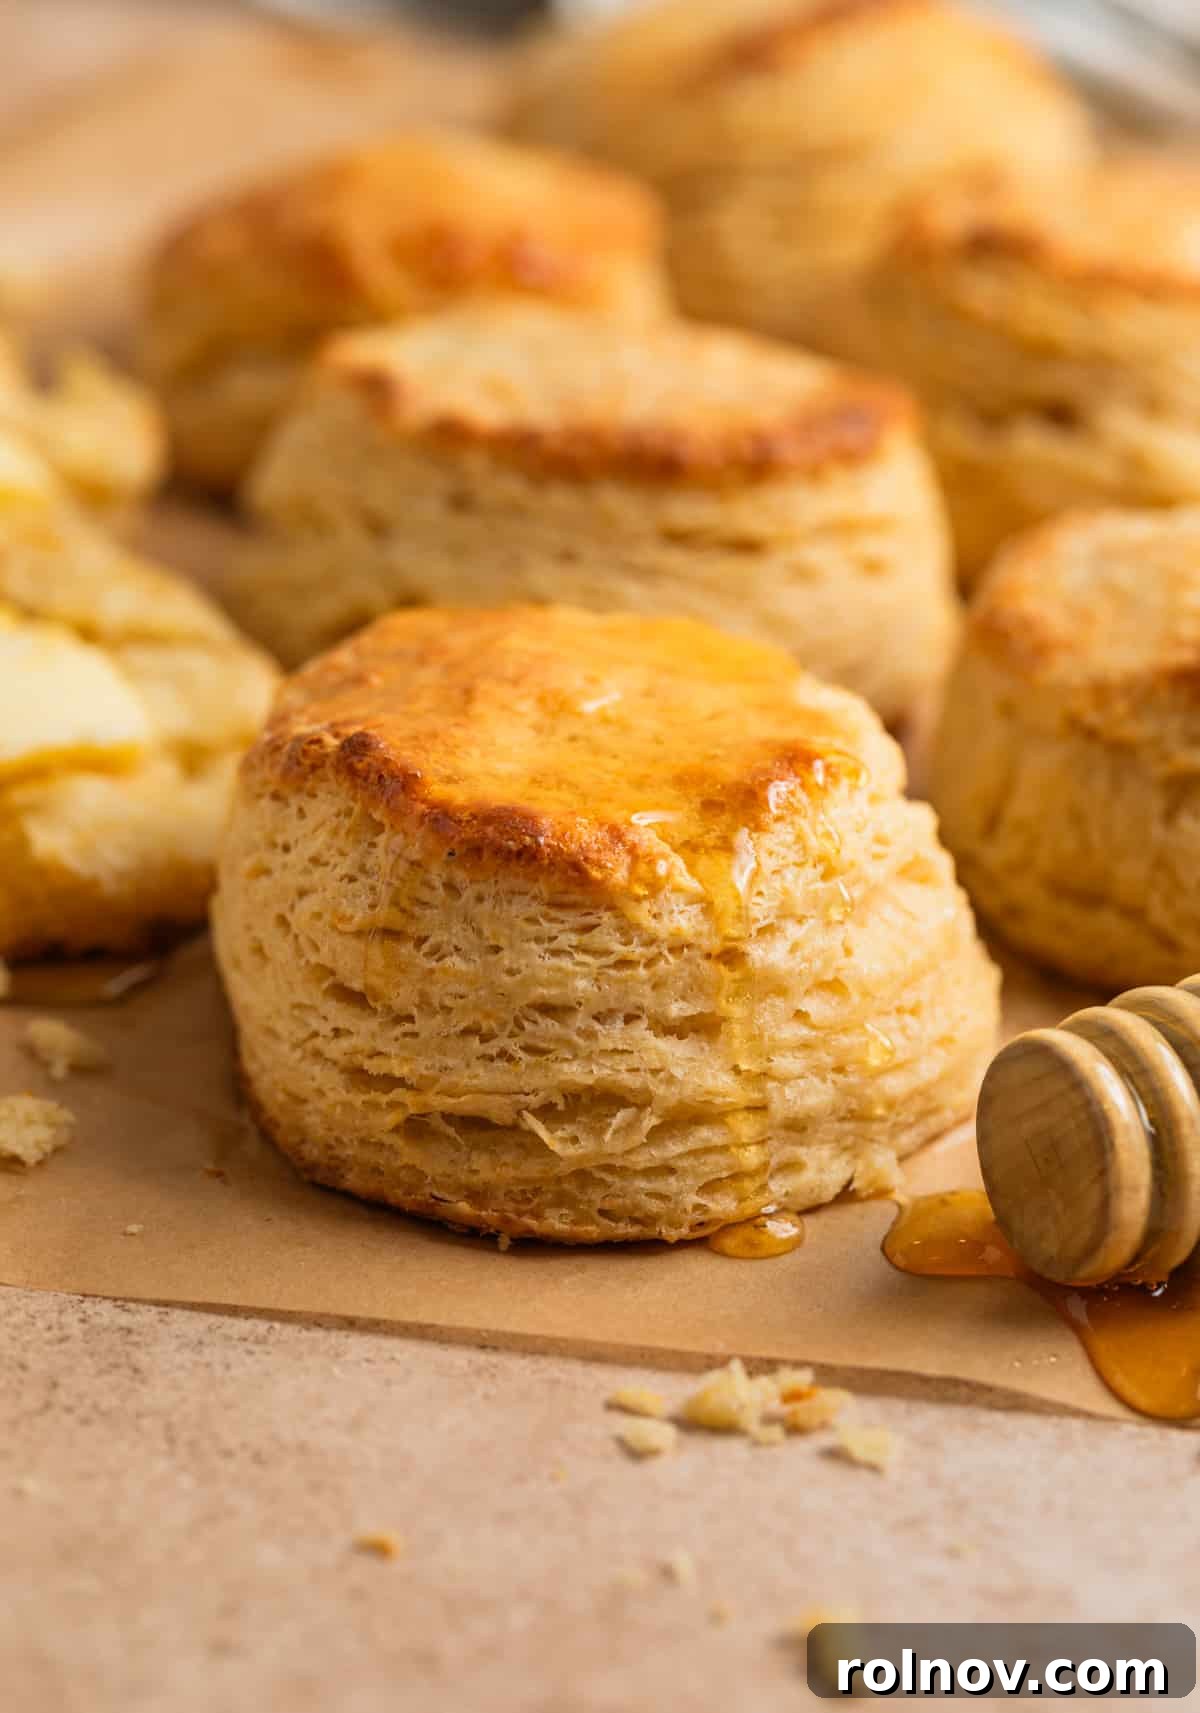
There’s something inherently comforting and utterly satisfying about a warm, flaky biscuit. For many, biscuits are more than just a baked good; they’re a love language, a staple of cozy meals, and a simple pleasure. This particular recipe for honey biscuits elevates the classic by introducing a subtle, natural sweetness that complements the rich, buttery texture perfectly. These aren’t just any biscuits; they are designed to be light, airy, and boast those coveted flaky layers, all while being surprisingly easy to make.
Don’t let the thought of making biscuits from scratch intimidate you. While some recipes can be complicated, this one streamlines the process, focusing on a few essential techniques that guarantee success. You don’t need fancy equipment or extensive baking experience to achieve biscuit perfection. In fact, with just a handful of pantry staples and a little attention to detail, you’ll be baking batches of these incredible homemade honey biscuits in no time.
These versatile honey biscuits make a fantastic addition to any breakfast spread or a delightful side for lunch and dinner. Imagine them alongside a savory chorizo egg bake, a light spinach mushroom quiche, a hearty sweet potato breakfast hash, or these wholesome spinach egg muffins. Their gentle sweetness and buttery flavor are truly universal.
Why You Will Love These Honey Biscuits: Flaky, Buttery, and Irresistible
These aren’t just ordinary biscuits; they are a culinary experience designed for ease and enjoyment. Here’s why these honey biscuits will quickly become a cherished recipe in your kitchen:
- Incredibly Quick and Easy: From start to finish, these delightful biscuits are ready in under 30 minutes. Forget complex techniques or long rising times. This recipe proves that homemade biscuits can be a spontaneous treat, not a laborious project. The key steps involve simply ensuring your ingredients are cold, mixing them correctly, and then gently folding and cutting the dough. It’s truly a straightforward process that even novice bakers can master with confidence.
- Made with Simple Pantry Staples: You likely already have all the necessary ingredients on hand. Flour, butter, milk, honey, baking powder, and salt are all it takes to create these golden-brown wonders. This accessibility makes it easy to whip up a batch whenever a craving strikes, providing that fresh, homemade taste without a special trip to the grocery store.
- Perfectly Buttery and Flaky with a Hint of Sweetness: The delicate balance of rich butter and a touch of natural honey creates an unparalleled flavor profile. Each bite delivers melt-in-your-mouth tenderness and distinct flaky layers that are a hallmark of expertly made biscuits. The hint of honey adds a unique twist that makes them stand out from traditional biscuits, turning them into a family favorite and an instant conversation starter at any meal. They are so good, they often become the best part of the entire spread!
Mastering the Art of Flaky Biscuits: Key Principles for Perfection
Achieving those coveted tall, flaky, and tender biscuits isn’t magic; it’s a science built on a few fundamental principles. Understanding these will transform your biscuit-making from good to absolutely phenomenal:
The Power of Ice-Cold Butter: The Secret to Layers
- Butter Temperature is Crucial: The single most important element in creating flaky biscuits is ice-cold butter. When small pieces of cold butter are dispersed throughout the dough, they melt in the hot oven, releasing steam. This steam creates tiny air pockets, separating the layers of dough and resulting in that wonderfully flaky texture we all desire. If the butter is too warm, it will fully incorporate into the flour, leading to a dense, cake-like biscuit rather than a light and airy one.
- Prepare Your Butter Properly: To ensure maximum flakiness, pop your unsalted butter in the freezer for at least 20 minutes, or even an hour, before you begin prepping other ingredients.
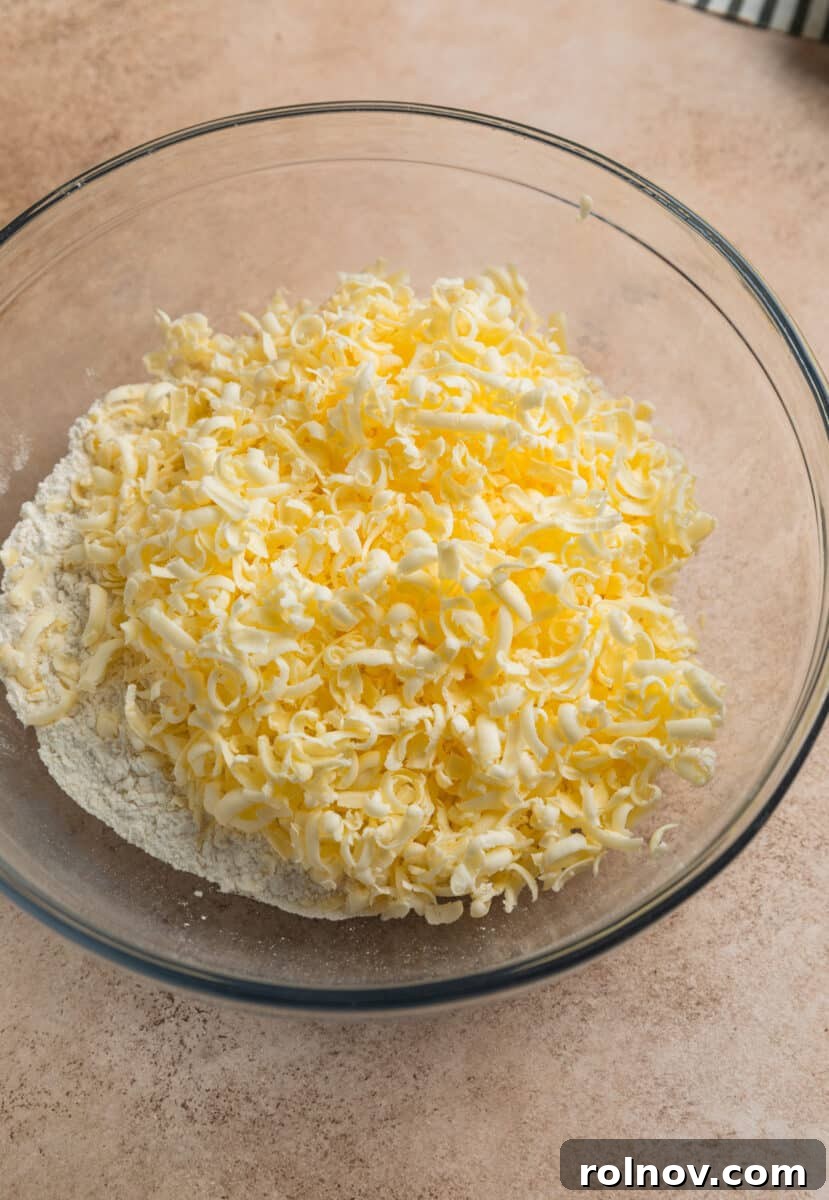
- The Grating Method: For the best results, use a box grater to incorporate the butter into the flour. Grating the butter ensures uniform distribution of tiny, cold pieces throughout the dry ingredients, minimizing the need to work the dough excessively. This method helps prevent the butter from warming up too quickly and creates more consistent flaky layers compared to cutting it in with a pastry cutter. Remember to cut up the very last bit of butter to avoid any grating mishaps!
Gentle Hands, Tender Dough: Avoiding Overworking
- Handle with Care: The golden rule for biscuit dough is “gentle.” Overworking the dough develops the gluten, which leads to tough, chewy biscuits instead of tender ones. The less you handle the dough, the better. You want to mix just enough to bring the ingredients together, leaving visible pieces of butter and a somewhat crumbly texture before the final folding.
- The Folding Technique: The repeated folding of the dough (often called “lamination”) is another crucial step for creating layers. This process gently stacks the dough, incorporating air and arranging the butter pieces so they can create steam and separate the layers during baking. Always use a light touch when pressing and folding.
Fresh Leavening Agents: The Foundation of a Perfect Rise
- Baking Powder is Your Best Friend: The rise of your biscuits depends heavily on fresh and active baking powder. Baking powder creates carbon dioxide bubbles when mixed with liquid and heated, which makes the biscuits expand and become light and fluffy.
- Check for Freshness: An old or inactive baking powder is a common culprit for flat, sad biscuits. To test if your baking powder is still good, mix a teaspoon with a few tablespoons of hot water. If it fizzes vigorously, it’s still active. If not, it’s time to get a new batch. This recipe specifically calls for one TABLESPOON of baking powder, which is more than many recipes, but essential for a truly magnificent rise.
Essential Ingredients for Your Honey Biscuits & Smart Swaps
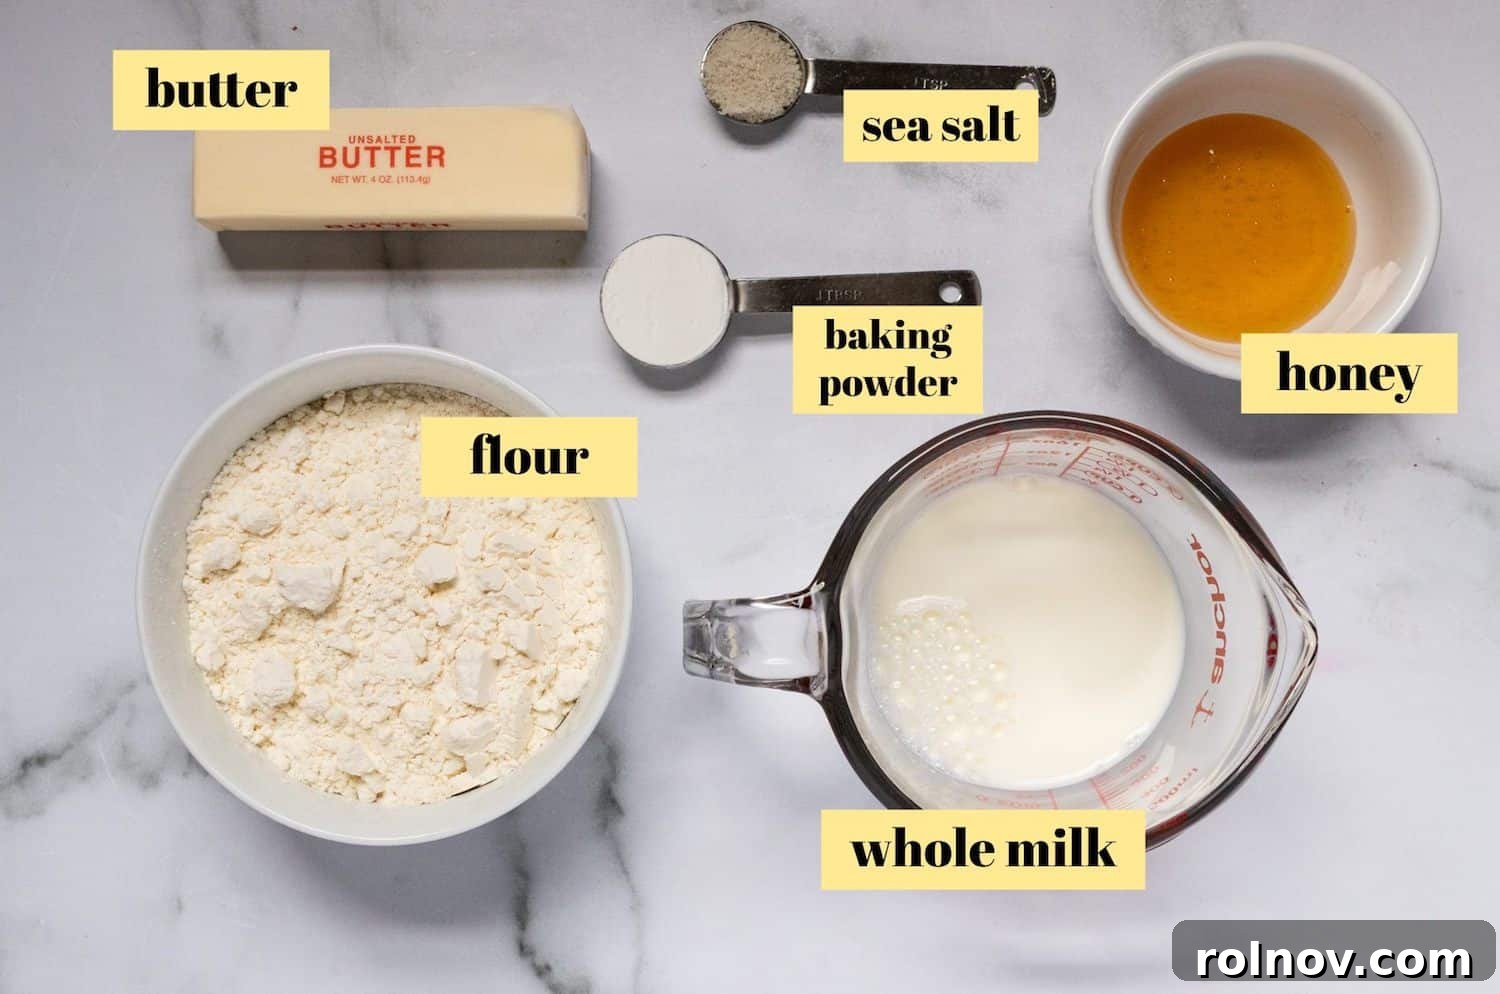
Crafting delicious honey biscuits starts with quality ingredients, especially when using simple staples. Here’s a detailed look at what you’ll need and potential substitutions:
- All-Purpose Flour: Standard all-purpose flour is your go-to for these homemade honey biscuits, providing the perfect structure and tenderness. If you’re looking for a gluten-free alternative, a 1:1 gluten-free all-purpose baking flour blend (ensure it contains xanthan gum) can be successfully used. Be aware that the texture might vary slightly, but they will still be delicious.
- Baking Powder: As previously emphasized, fresh baking powder is paramount for a proper rise. This recipe requires a generous one TABLESPOON, not a teaspoon. This larger quantity is key to achieving those wonderfully tall and fluffy biscuits. Always double-check the freshness of your baking powder before you start.
- Salt: I prefer to use fine sea salt for its clean flavor and even distribution, but regular table salt works perfectly well. Salt balances the sweetness of the honey and enhances the overall flavor profile of the biscuits.
- Unsalted Butter: Stick to unsalted butter so you can control the salt content in the recipe. Most importantly, ensure your butter is ice-cold. The colder the butter, the flakier your biscuits will be. Don’t skip the step of popping it in the freezer for at least 20 minutes before you even preheat your oven. This simple step makes a world of difference.
- Cold Whole Milk: Just like the butter, your milk needs to be very cold. Cold liquids help keep the butter solid, contributing to those flaky layers. I often place my whole milk in the freezer for about 10 minutes before whisking it with the honey. While I’ve only tested this recipe with whole dairy milk, you might experiment with full-fat cream or a rich, unsweetened non-dairy milk (like oat or cashew milk) if dairy is an issue, though results may vary slightly in texture and richness. Have a little extra cold milk or melted butter on hand for brushing the tops before baking.
- Honey: Any of your favorite liquid honey varieties will work beautifully. The honey not only adds a delicate sweetness but also imparts a lovely depth of flavor that complements the buttery biscuits. Clover, wildflower, or even a local specialty honey will be fantastic choices.
Step-by-Step Guide to Baking Perfect Honey Biscuits
Follow these detailed instructions to create beautifully flaky and tender honey biscuits every time:
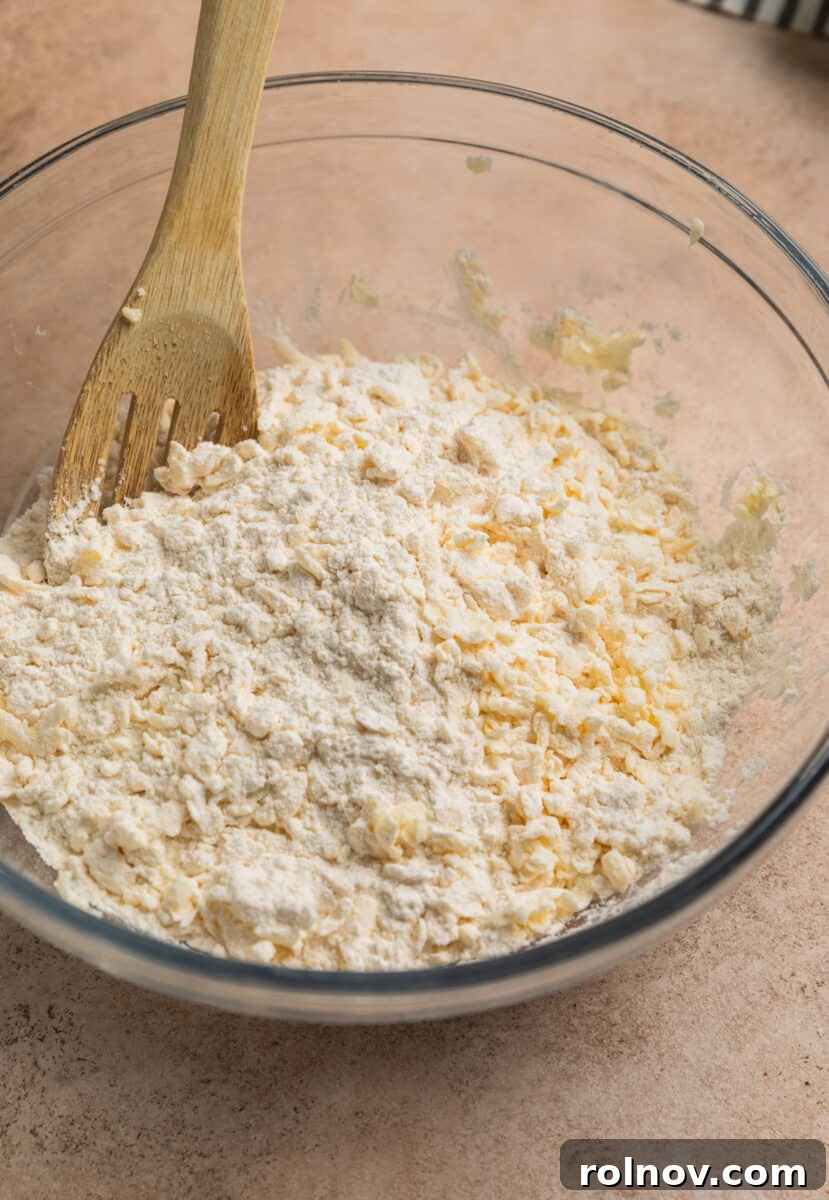
- Pre-Baking Prep: Start by preheating your oven to 425°F (220°C). Crucially, place your unsalted butter in the freezer for at least 20 minutes, up to an hour, to get it thoroughly chilled. Also, ensure your whole milk is ice-cold. Having these ingredients at optimal temperature is key to flaky biscuits.
- Combine Dry Ingredients: In a medium to large mixing bowl, whisk together the all-purpose flour, sea salt, and the full tablespoon of baking powder until well combined. For the best practices on how to measure flour correctly, refer to reliable baking guides to ensure accuracy.
- Incorporate the Cold Butter: Remove the chilled butter from the freezer. Using a box grater, grate the butter directly into the bowl with the dry ingredients. Grating helps distribute the butter evenly and thinly, which is ideal for creating flaky layers. If you don’t have a grater, a pastry cutter can be used, but grate for superior results. Be mindful when grating the last small piece to protect your fingers!
- Gentle Mixing of Butter and Flour: Gently toss and mix the grated butter into the dry ingredients. The goal here is to coat the butter pieces with flour, not to fully combine or melt the butter. You want the butter to remain in distinct, cold pieces. This separation of butter and flour is what will create those wonderful flaky layers as the butter melts and creates steam in the oven. Avoid overworking the mixture at this stage.
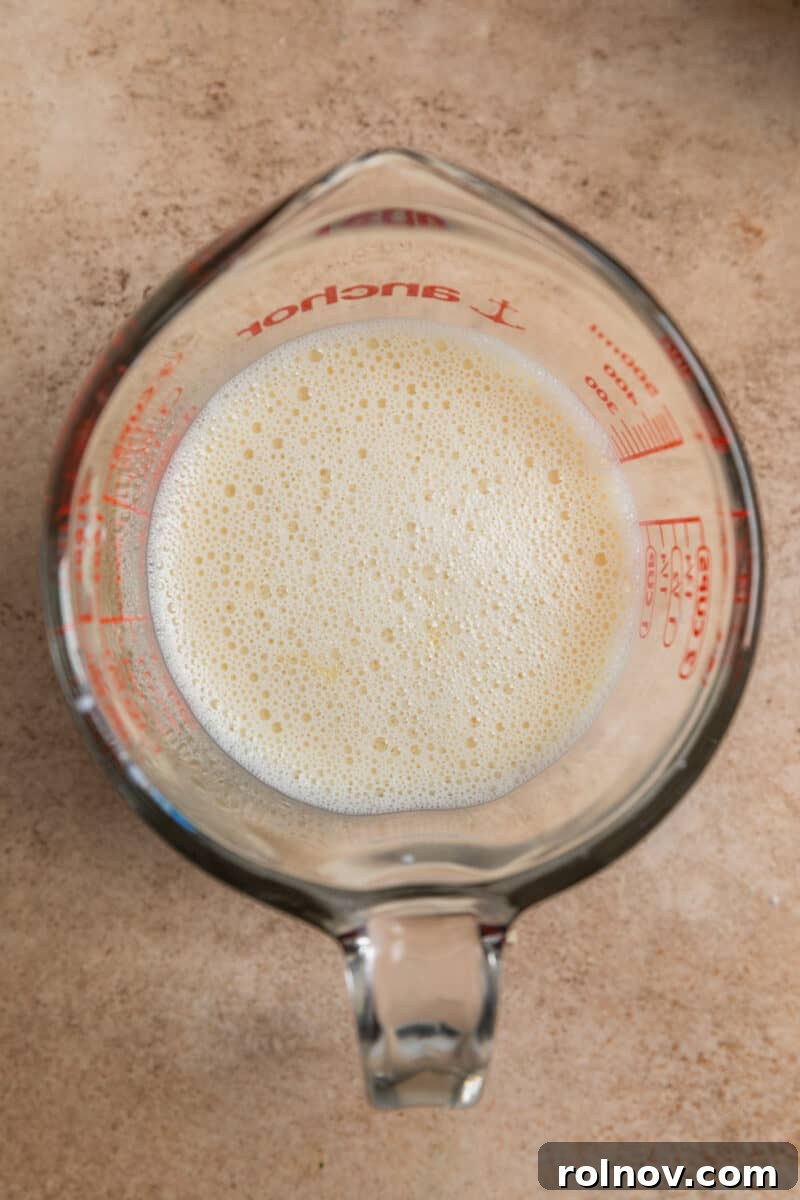
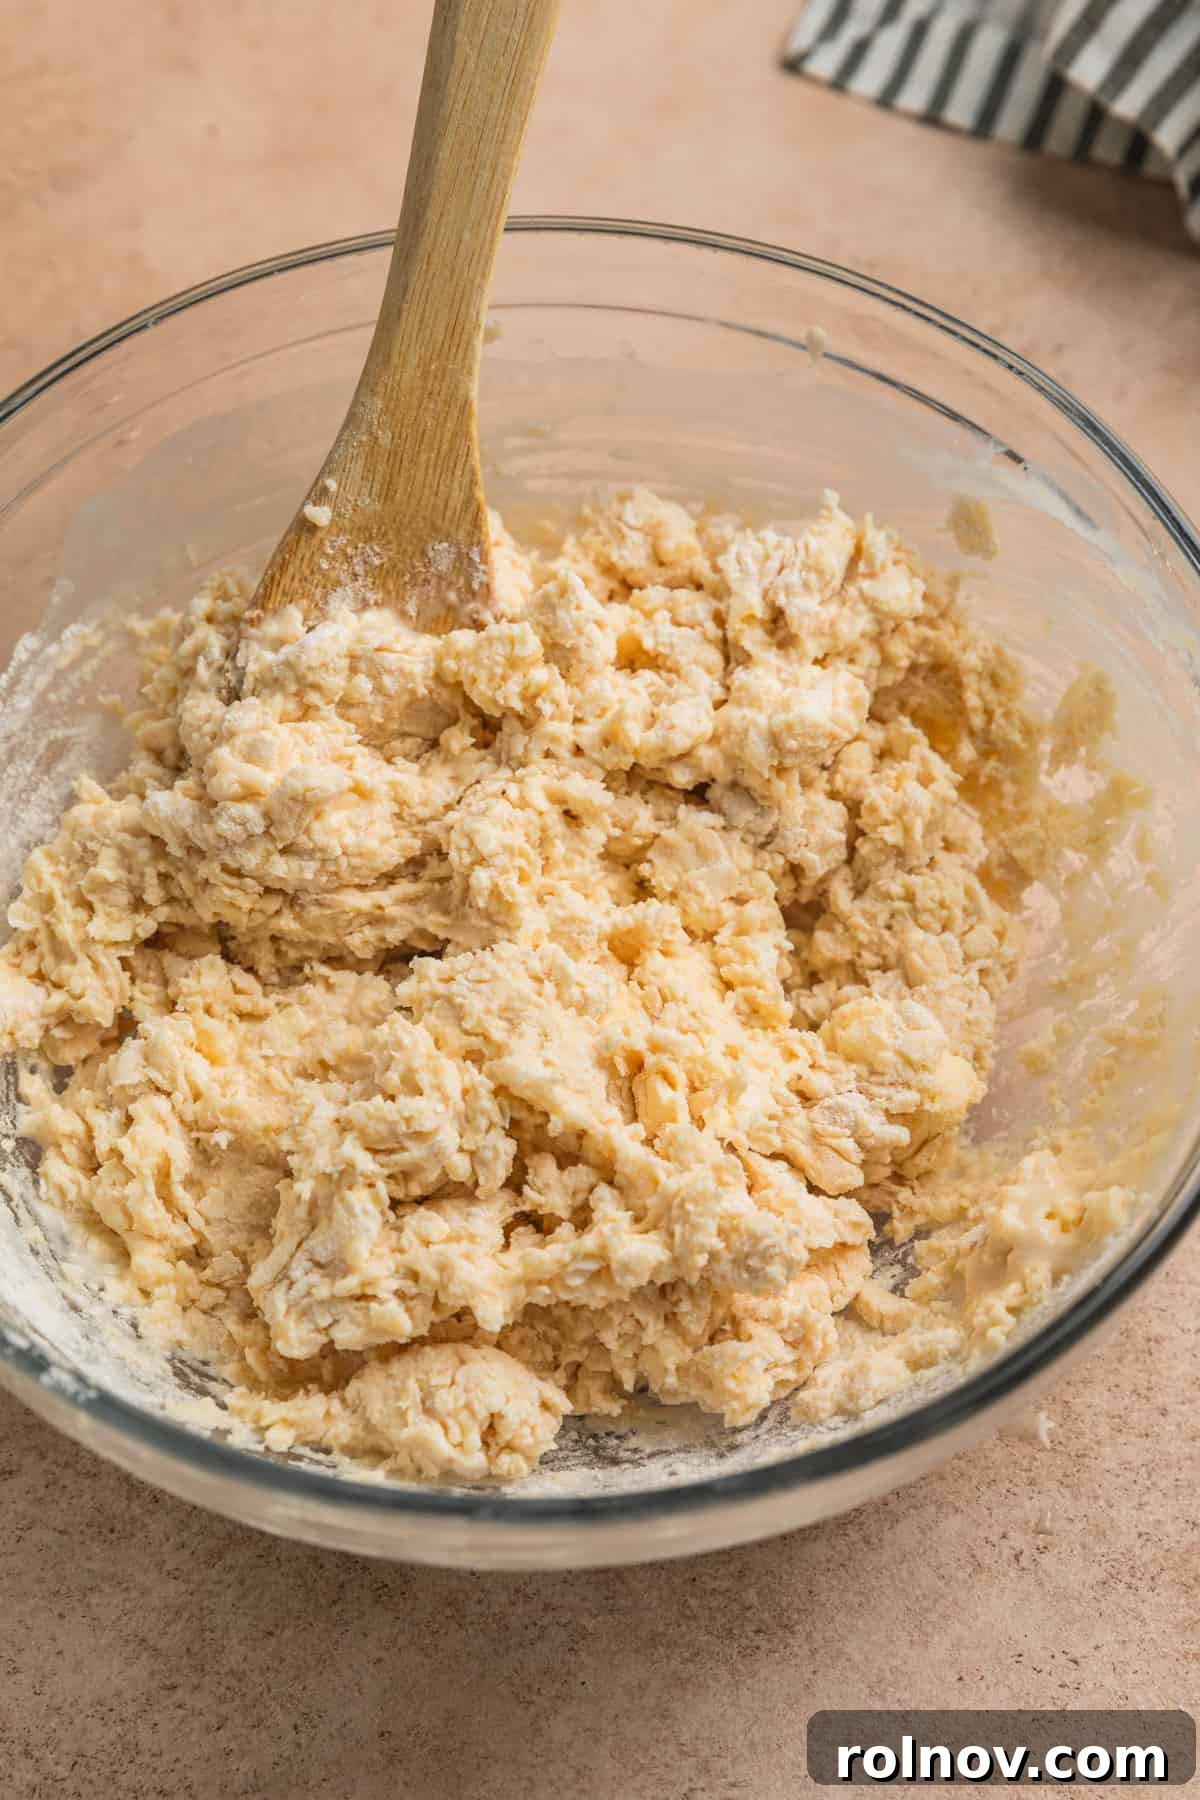
- Prepare the Wet Ingredients: In a separate bowl or a large measuring cup, whisk together the very cold whole milk and the honey until they are well combined.
- Combine Wet and Dry: Pour the cold milk and honey mixture into the bowl with the flour and butter. Using a gentle hand or a spatula, mix just until the dry ingredients are moistened. The dough will look somewhat shaggy, clumpy, and in pieces – this is exactly what you want. Do not overmix; a uniform, smooth dough means you’ve overdeveloped the gluten and warmed the butter.
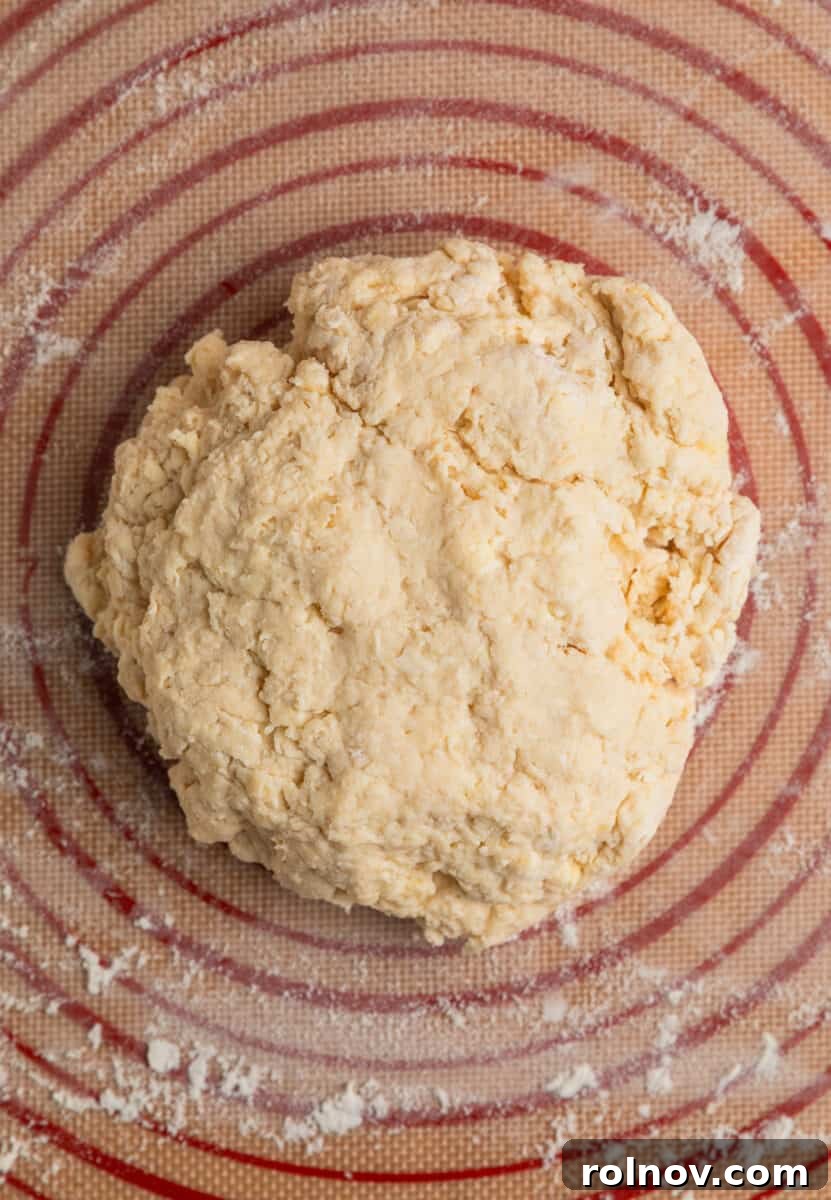
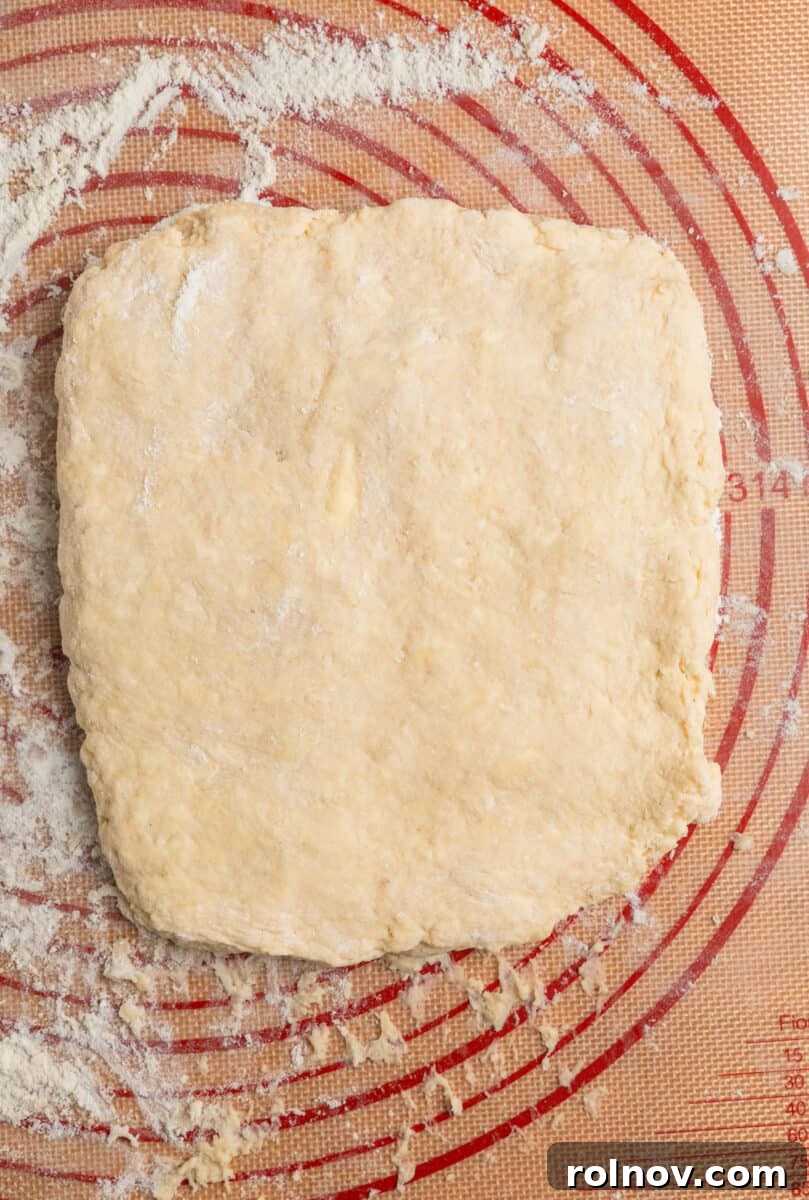
- Shape and Fold the Dough: Lightly flour a clean work surface or a pastry mat. Turn the shaggy dough out onto the floured surface and gently bring it together into a cohesive mass. If it feels too sticky, lightly dust your hands and the dough with a little extra flour. Very gently, press the dough out into a rough rectangle, then fold it over onto itself. Rotate the dough by about 90 degrees, and press it out again before folding. Repeat this folding and pressing process 4-5 times. This crucial step helps create those distinct, flaky layers. Refer to the video tutorial for a visual guide on this folding technique.
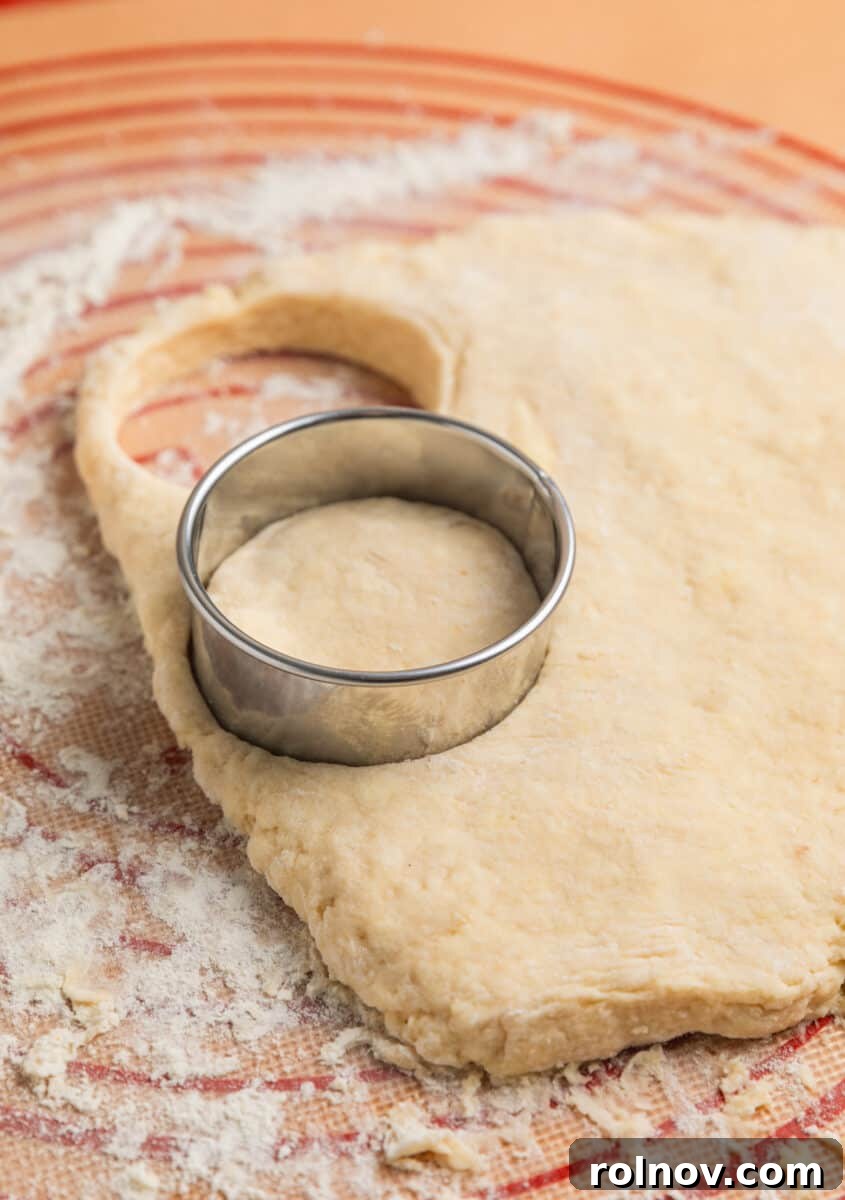
- Cut the Biscuits: After the final fold, gently press the dough out to an even thickness of about one inch. Using a biscuit cutter, a sturdy glass, or any round object approximately 2¾ inches in diameter (a 3-inch cutter will yield fewer but larger biscuits), make clean, close cuts to maximize the number of biscuits from the first press. A sharp edge on your cutter is best for clean separation, but everyday objects work too. If you don’t have a round cutter, you can use a sharp knife to cut the dough into squares for rustic biscuits. Gather the excess dough, gently press it together a couple more times (avoiding excessive handling), and cut any remaining biscuits. Watch the video for a demonstration of the cutting process.
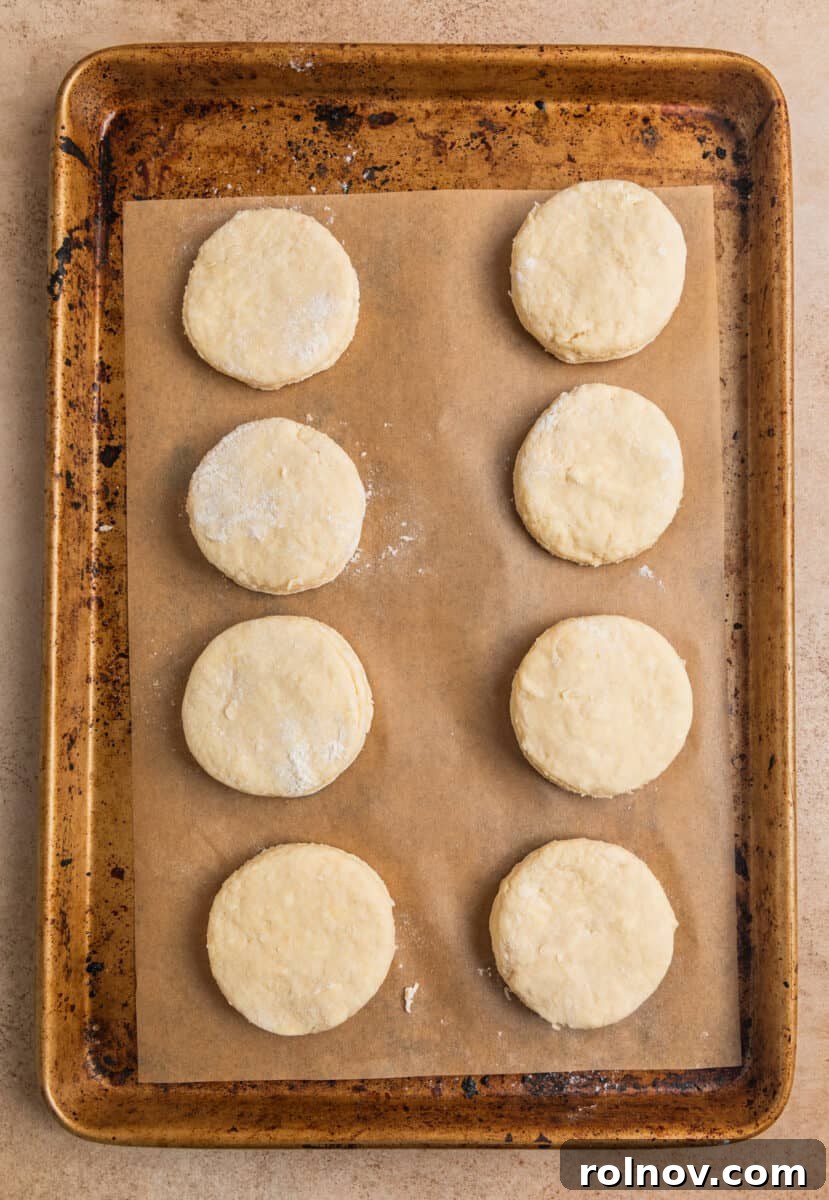
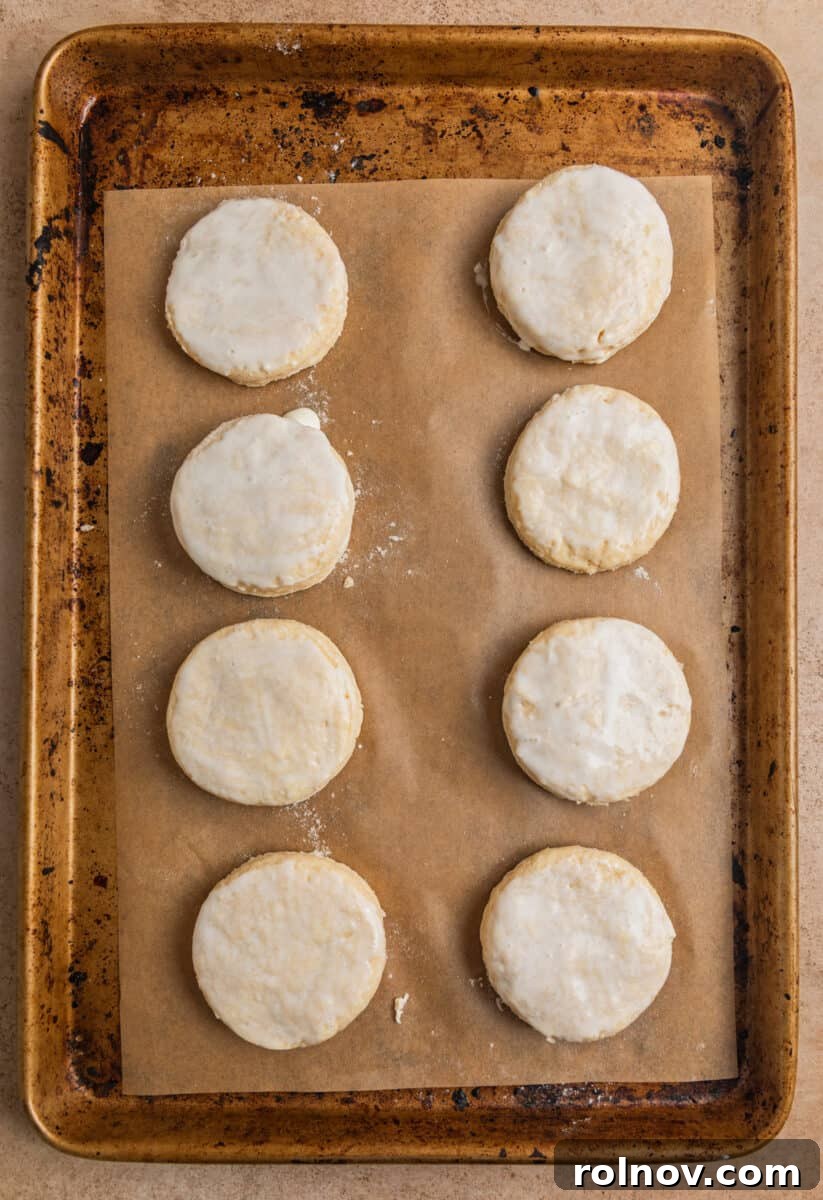
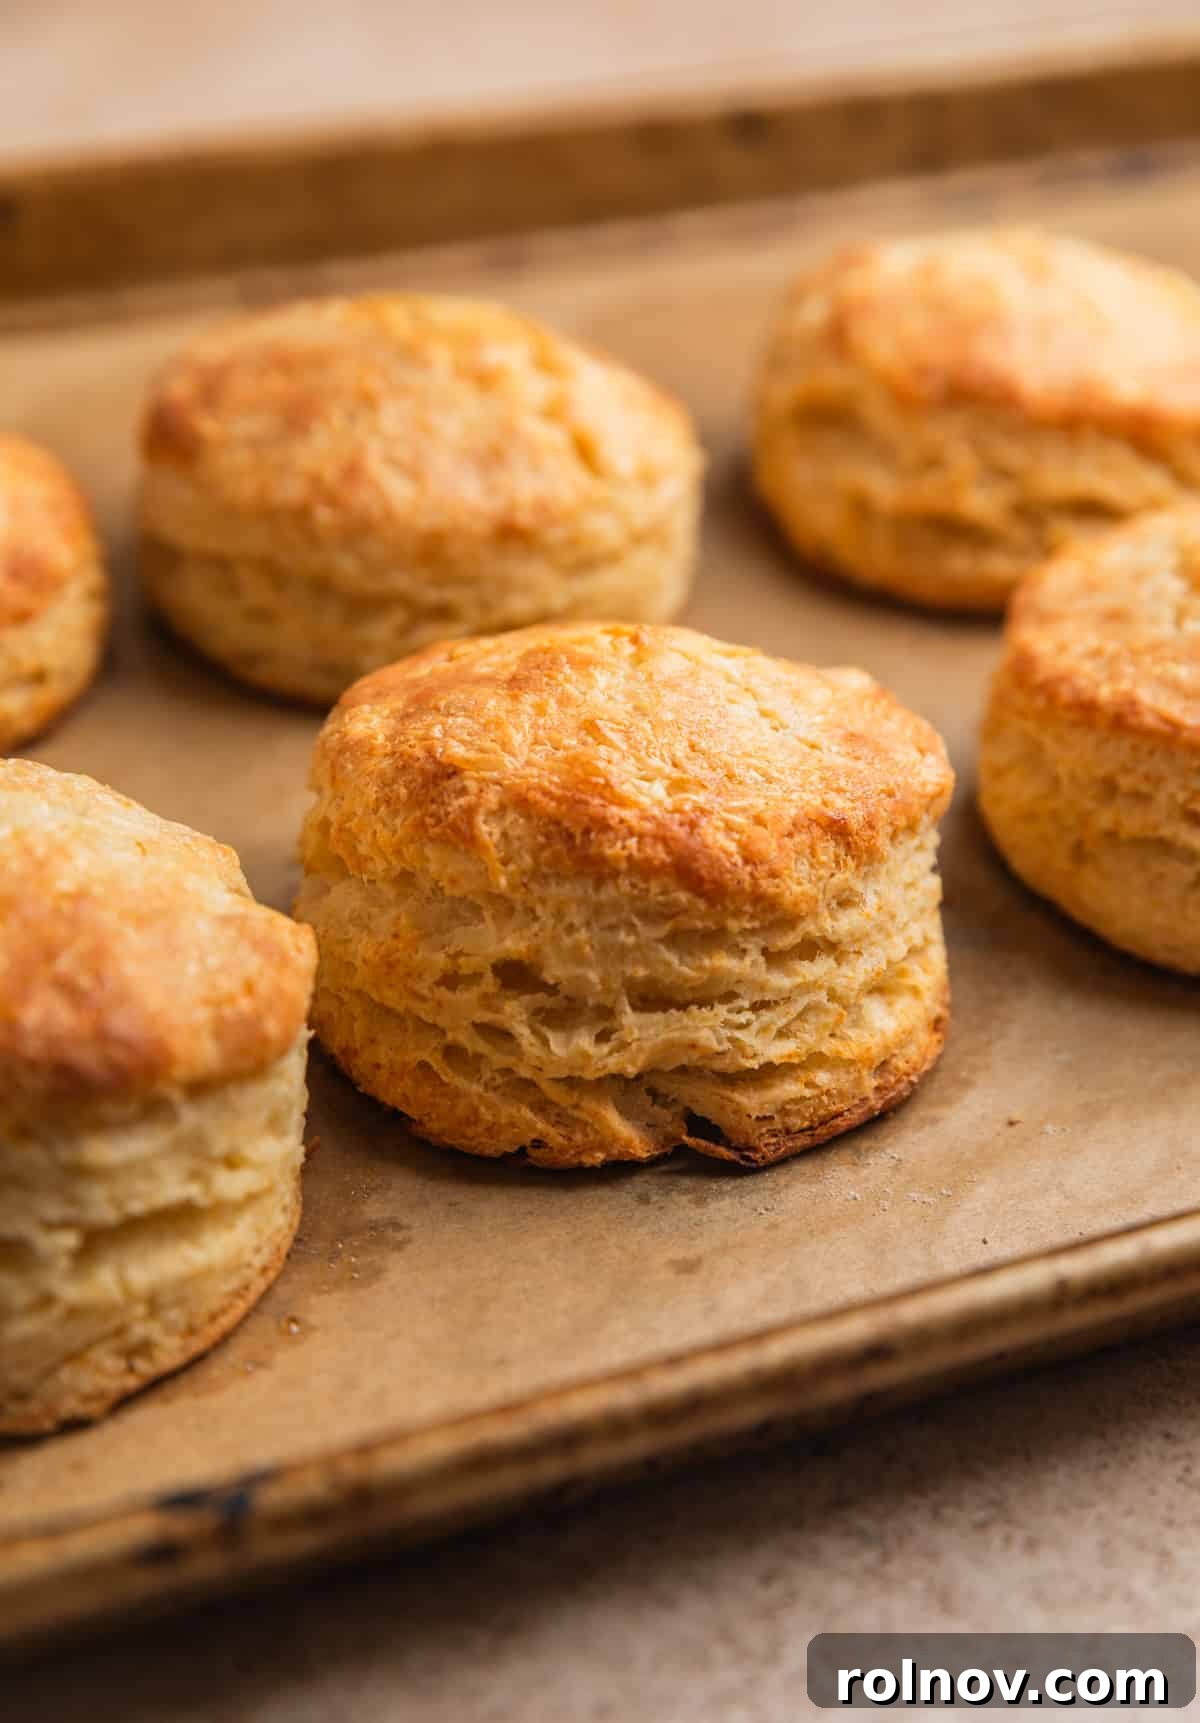
- Bake to Golden Perfection: Place the cut biscuits onto a baking pan lined with parchment paper. If desired, lightly brush the tops of the biscuits with a little extra milk or cream for a golden finish and added richness. Bake in your preheated 425°F (220°C) oven for approximately 12 minutes, or until the tops turn a very light golden brown and the biscuits are risen and fluffy. Be careful not to overbake, as this can lead to dry, tough biscuits.
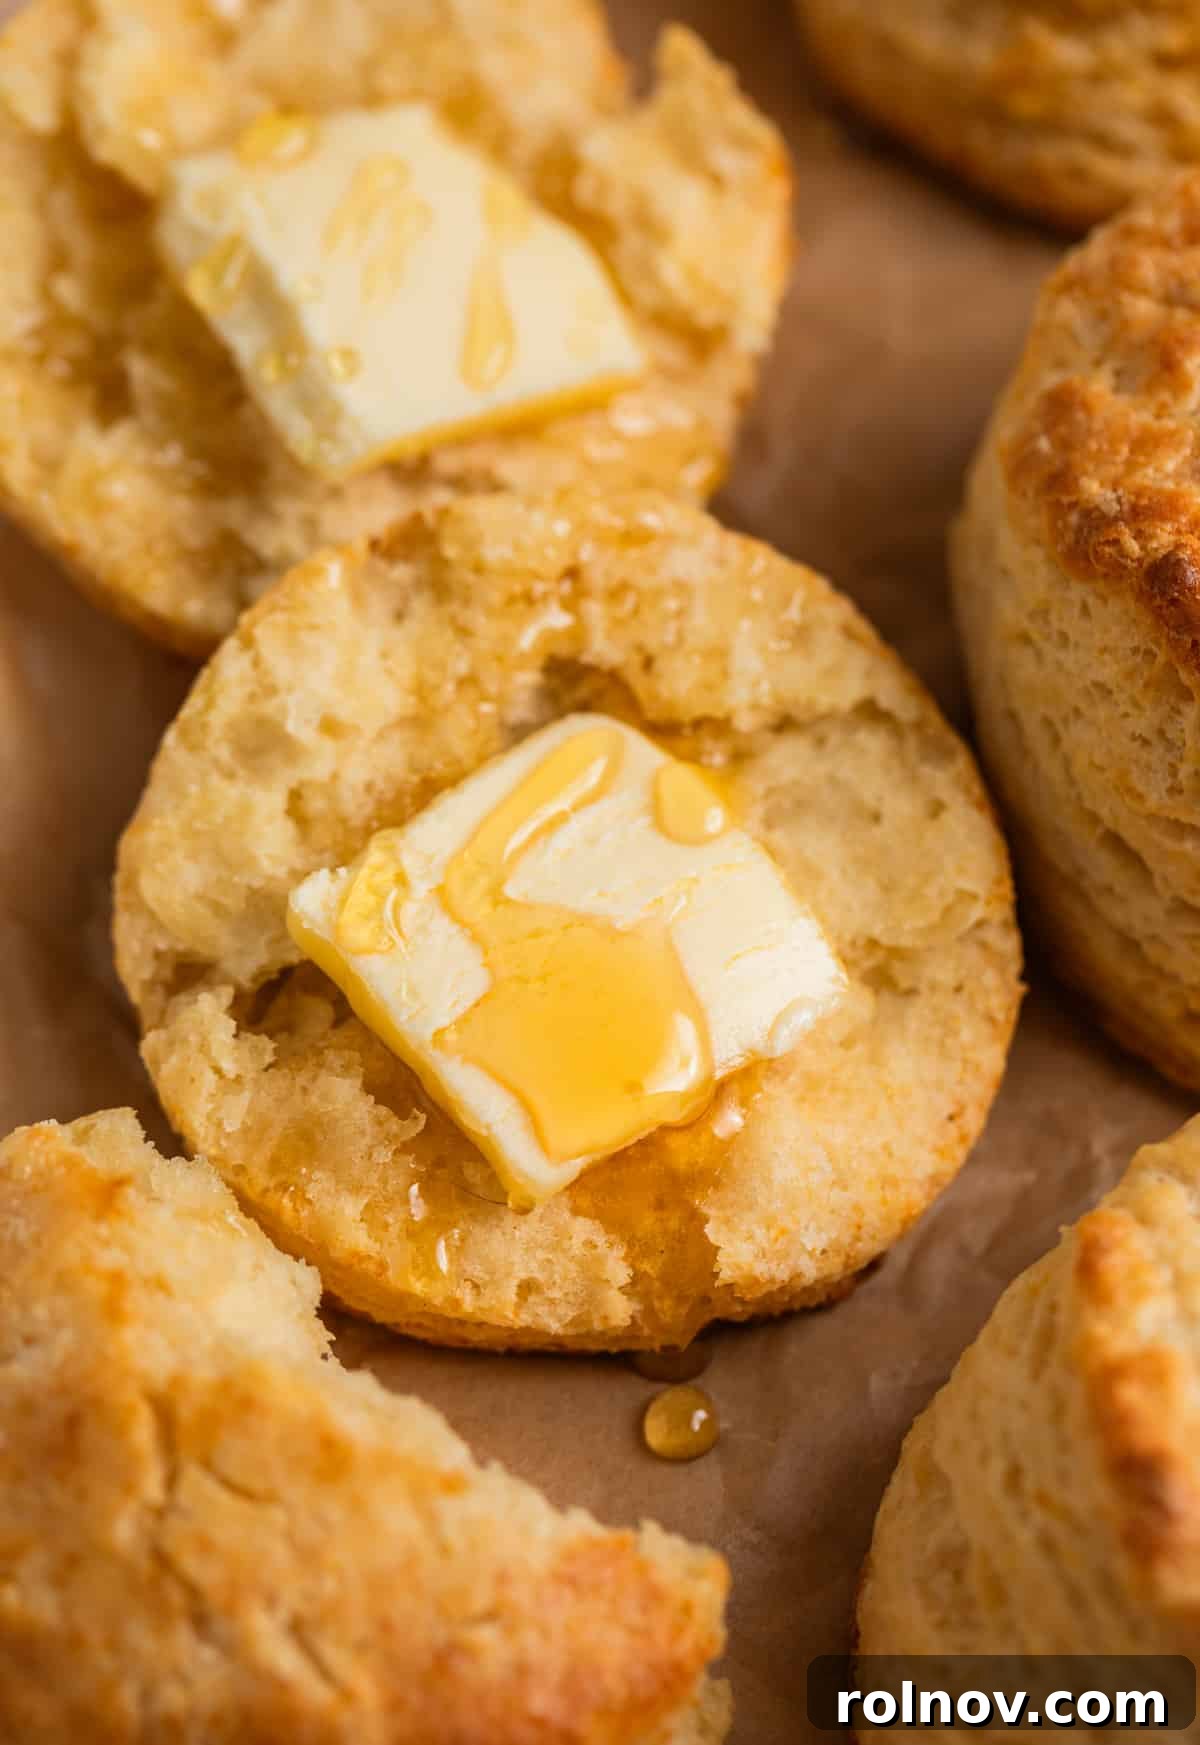
- Serve and Enjoy: Remove from the oven and serve warm. These honey biscuits are phenomenal on their own or with an extra drizzle of honey, a dollop of butter, or any of the delicious serving suggestions below! You can typically yield 6-8 biscuits from this recipe, depending on the size of your cutter.
Expert Baking Tips for Flawless Honey Biscuits
Even with a straightforward recipe, a few extra tips can make all the difference in achieving consistently perfect results:
- Minimize Dough Handling: This cannot be stressed enough – the less you work the dough, the more tender and flaky your biscuits will be. Overworking develops gluten, leading to a tough texture, and also warms the butter, which prevents the formation of distinct layers. Handle the dough just enough to bring it together and shape it.
- Embrace Coldness: Seriously, cold is your best friend in biscuit making. Freeze the butter, use ice-cold milk, and if your kitchen is warm, even pop the mixed dry ingredients in the fridge for a few minutes before adding the butter. This keeps the butter solid and ensures maximum steam release for flakiness.
- No Rolling Pin Needed: Resist the urge to use a rolling pin to flatten the dough. Instead, use your hands to gently press it out. A rolling pin can compress the dough too much and overwork it, which hinders the rise and flakiness. Your gentle touch is all you need.
- Whole Milk for Richness: This recipe has been developed and tested exclusively with whole milk. The fat content in whole milk contributes significantly to the richness and tenderness of the biscuits. While other milk types might work, I cannot guarantee the same results. For best flavor and texture, stick with whole dairy milk.
- Avoid Overbaking: Keep a close eye on your biscuits during the last few minutes of baking. Biscuits can go from perfectly golden to dry and hard very quickly. You want a very light golden-brown top and slightly crisp edges. Overbaked biscuits will have tough bottoms and a dry, crumbly interior.
- Don’t Twist the Cutter: When cutting your biscuits, press straight down and lift straight up. Do not twist the biscuit cutter. Twisting seals the edges of the biscuit, which can prevent it from rising as high and forming those beautiful layers.
- Close Placement on Baking Sheet: For taller, softer biscuits, place them relatively close together on the baking sheet (just touching or with a small gap). As they bake, they will rise and support each other, helping them climb higher.
Storage and Freshness: Keeping Your Honey Biscuits Perfect
To enjoy your homemade honey biscuits at their best, proper storage is essential. Here’s how to keep them fresh and delicious for as long as possible:
For immediate consumption, store baked biscuits at room temperature. A plastic ziplock bag is often more effective than an airtight container for maintaining their softness. By pressing out as much air as possible from the plastic bag, you create an environment that helps keep the biscuits moist and fresh for 1-2 days. For optimal texture and flavor, consume them within this timeframe.
If you have leftover biscuits and wish to preserve them for longer, freezing is an excellent option. For best storage, double-wrap them. First, wrap each individual biscuit (or small stacks) tightly in plastic wrap, ensuring no air exposure. Then, wrap them again in aluminum foil. This double layer protects against freezer burn and helps maintain their quality. Frozen honey biscuits can be stored for about 3 months. To reheat, simply unwrap and warm them in a preheated oven (around 300°F/150°C) for 10-15 minutes until warmed through, or microwave briefly for a quicker option, though an oven will help restore some crispness.
Delicious Serving Suggestions for Your Honey Biscuits
These honey biscuits are incredibly versatile and can be enjoyed in countless ways. Here are some ideas to elevate your biscuit experience:
- Simple Honey Butter Glaze: Create an indulgent topping by gently warming 3-4 tablespoons of unsalted butter with the same amount of your favorite honey. Whisk until beautifully combined and smooth. Brush this glaze generously over freshly baked, warm biscuits for an extra layer of sweetness and richness.
- Whipped or Creamed Honey: For a delightful texture, top your biscuits with whipped honey, sometimes known as creamed honey. You can often buy this, or make your own by beating regular honey with an electric mixer on medium-high speed until it becomes lighter in color and creamy in consistency. It’s a luxurious spread that melts beautifully on warm biscuits.
- Savory Breakfast Sandwich: Transform a biscuit into a hearty breakfast sandwich. Slice a warm biscuit in half, lightly toast if desired, then fill it with fluffy scrambled eggs, your favorite breakfast meat (like crispy bacon or sausage patties), and a slice of cheese or any other preferred toppings.
- Classic Fried Chicken Companion: There’s no more iconic duo than biscuits and fried chicken. Serve these honey biscuits alongside your favorite crispy fried chicken, either as a complementary side dish or as the base for a delicious chicken sandwich.
- Fruit Jams and Preserves: Embrace tradition by serving them with a generous dollop of homemade or store-bought fruit jam, marmalade, or preserves. The sweetness of the honey biscuit pairs wonderfully with tart fruit flavors.
- Tea Time Treat: Enjoy these biscuits simply with a comforting cup of tea or coffee, allowing their buttery, sweet flavor to shine on its own.
Frequently Asked Questions About Honey Biscuits
Got more questions about baking these delicious honey biscuits? Here are answers to some common inquiries:
- Can I make the biscuit dough ahead of time? While biscuits are best baked fresh, you can prepare the dough and cut out the biscuits, then place them on a parchment-lined baking sheet and freeze them for about 30 minutes until solid. Transfer the frozen raw biscuits to an airtight bag and freeze for up to 2-3 weeks. When ready to bake, place them on a baking sheet (no need to thaw) and bake for a few extra minutes (around 15-18 minutes total) until golden.
- Why are my biscuits tough? Tough biscuits are almost always a result of overworking the dough. Too much handling develops the gluten, leading to a chewy, bread-like texture instead of tender and flaky. Remember to mix gently and fold the dough minimally.
- My biscuits didn’t rise. What happened? This is usually due to inactive or old baking powder. Ensure your baking powder is fresh and active. Another reason could be excessively warm butter or dough, which prevents the steam from creating layers.
- Can I use self-rising flour? No, this recipe is designed for all-purpose flour with a specific amount of baking powder and salt added. Using self-rising flour would alter the leavening and salt balance, leading to unpredictable results.
- How can I make my biscuits taller? Ensure your baking powder is fresh, your ingredients are ice-cold, and you don’t overwork the dough. Also, pressing the dough to a full 1-inch thickness before cutting, and placing the cut biscuits relatively close together on the baking sheet, will help them rise higher.
More Delightful Breakfast Recipes You’ll Love
If you’re a fan of a cozy breakfast or brunch, be sure to explore these other delicious recipes:
- BANANA BREAD BAKED OATMEAL
- PUMPKIN CHIP BANANA BREAD
- CINNAMON ROLL BREAKFAST COOKIES
- SPINACH EGG MUFFINS
- SPIRALIZED SWEET POTATO AND ARUGULA FRITTATA
HUNGRY FOR MORE? Subscribe to my newsletter and follow me on Facebook, Instagram and Pinterest for all the latest!
Honey Biscuits Recipe
Ingredients
- 2 c flour, 250 g
- ½ c unsalted butter (one stick), very cold
- ¾ c whole milk
- 3 T honey
- 1 T baking powder
- 1 tsp sea salt
Instructions
- Preheat oven to 425°F. Before starting, freeze your butter for at least 20 minutes for best results. Also make sure your milk is ice cold.
- In a medium bowl, whisk together flour, sea salt and baking powder. Using a box grater, grate the butter and add into the bowl with the flour. If you don’t have a grater, you can use a pastry cutter. Gently stir the butter into the dry ingredients trying not to overwork it or break it down.
- In a large measuring cup or small bowl, whisk together the milk and honey. Pour the milk into the flour and butter mixture and gently stir to combine. This will still be sort of chunky and in pieces, not a uniform dough.
- On a flour covered surface, pull the dough together as one. If it seems a bit sticky, just dust with some extra flour. Very gently, press the dough out and fold it over. Press out once again, turn 90 degrees, and fold it again. Do this step 4-5 times. (see video for help)
- Press the dough out gently to about 1 inch in height. Using a biscuit cutter (or another round object that will cut into the dough), make close cuts into the dough and place the biscuits on a parchment lined baking sheet. Gently pull the excess dough together and press it out once again. Cut the remaining biscuits.
- Brush tops of biscuits with milk or cream if desired (butter will also work). Bake for about 12 minutes or until a very light golden brown on top. Enjoy warm with an extra drizzle of honey, butter or however else you prefer your biscuits! I typically get about 6-8 biscuits out of this recipe, depending on what I use to cut the biscuits.
Video Tutorial
Notes
- The less you work the dough the better. You want the butter to stay cold and in form to form layers versus warm butter that will give you just one dense layer inside.
- I have only used whole milk to make these so I cannot say whether another milk will be successful as of now.
- Do not over bake your biscuits. The bottoms will be too hard and the inside can easily dry out. And who wants that??!
Nutrition
Nutrition information is automatically calculated, so should only be used as an approximation.
Did you enjoy this recipe? Have a question?Leave a comment below!