
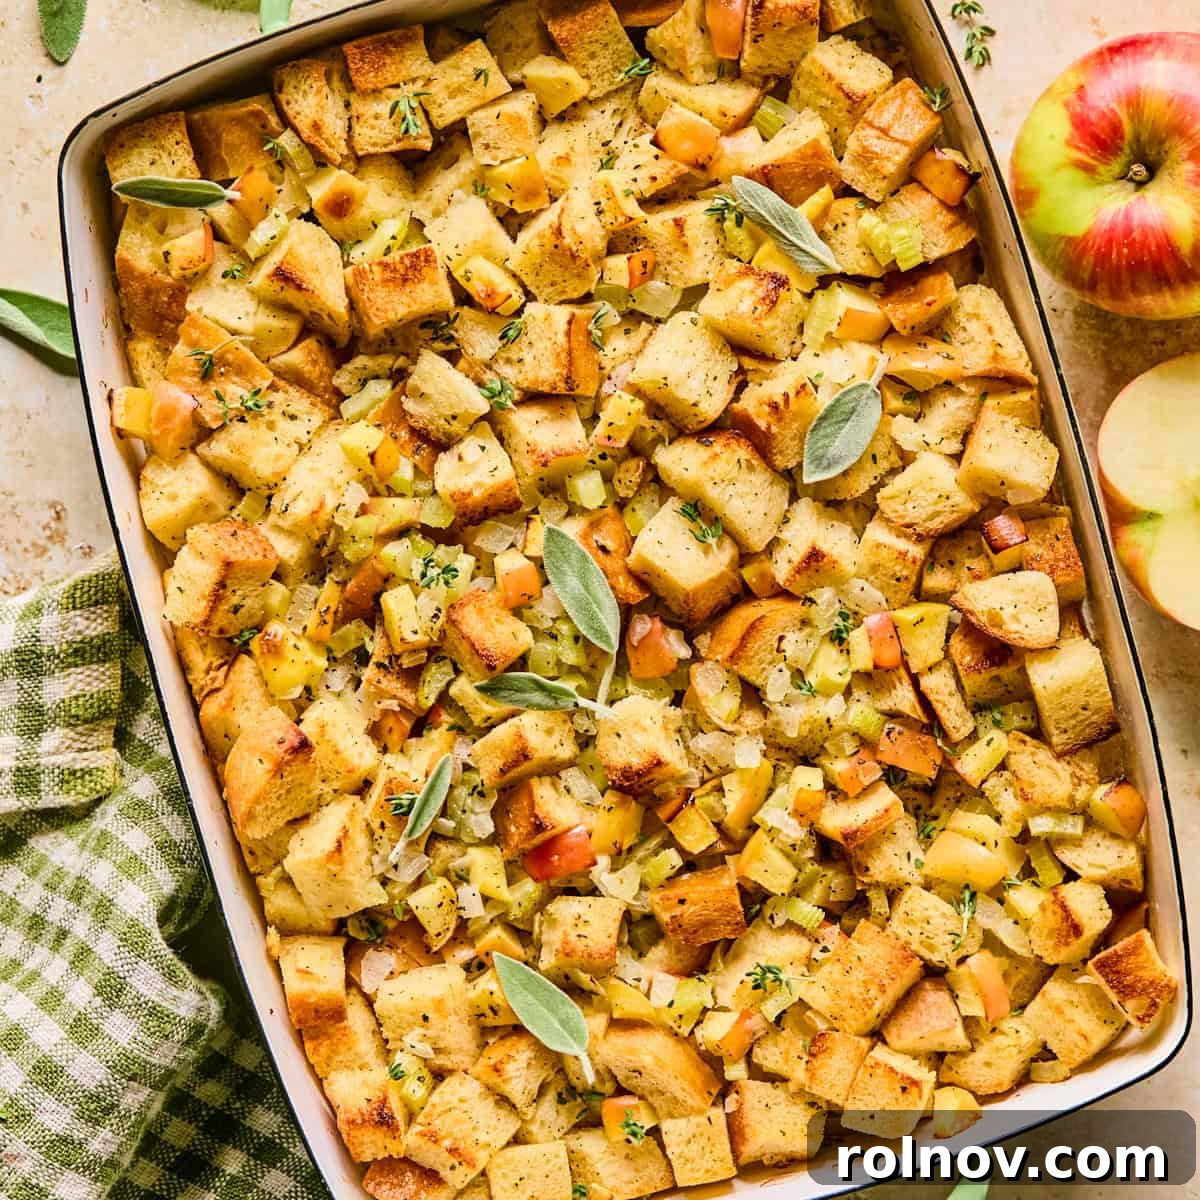
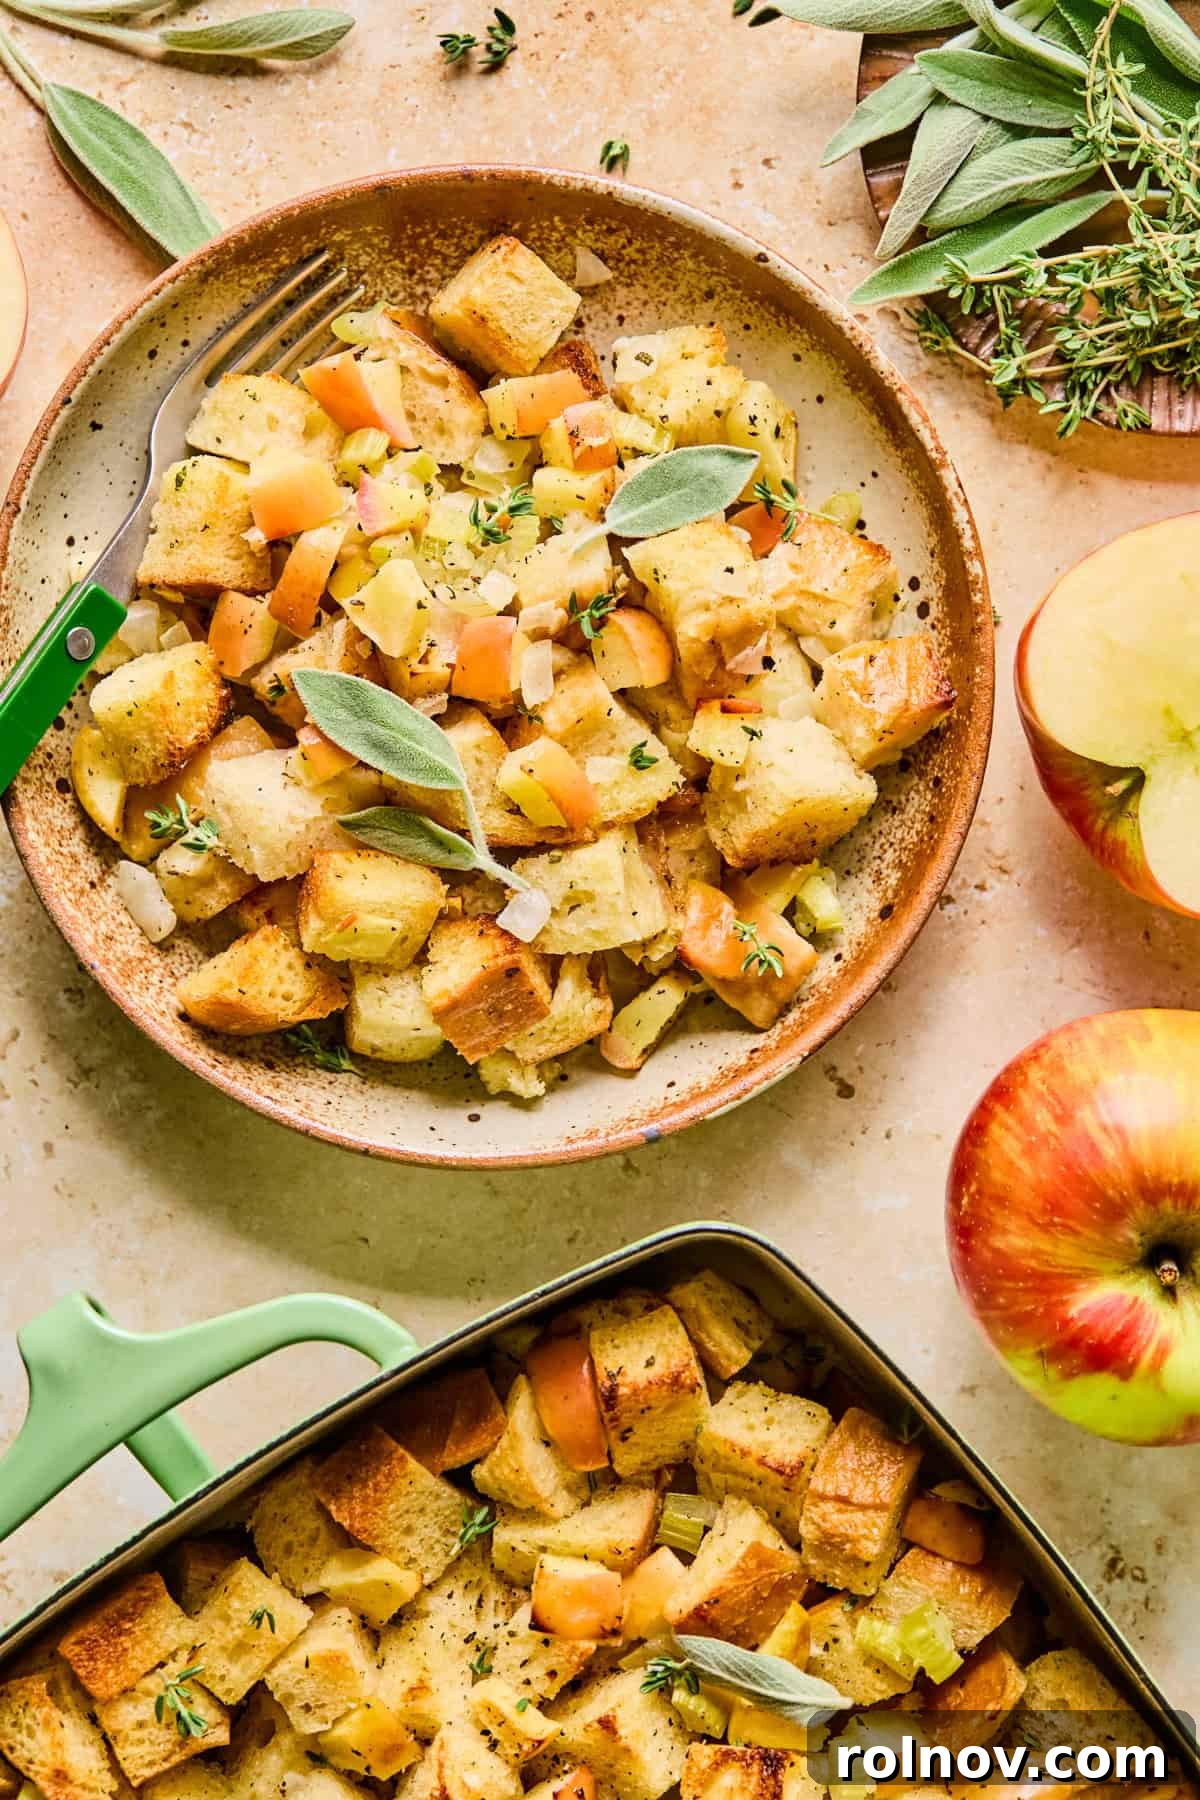
Elevate your holiday feast with this simple yet incredibly flavorful Apple Sage Stuffing recipe. The delightful sweetness of apples perfectly complements rich, savory stuffing, creating a side dish that’s sure to be a star on any Thanksgiving or holiday table. Easy to prepare and bursting with fresh herbs and aromatic flavors, it’s the ultimate accompaniment to your festive turkey or roast.
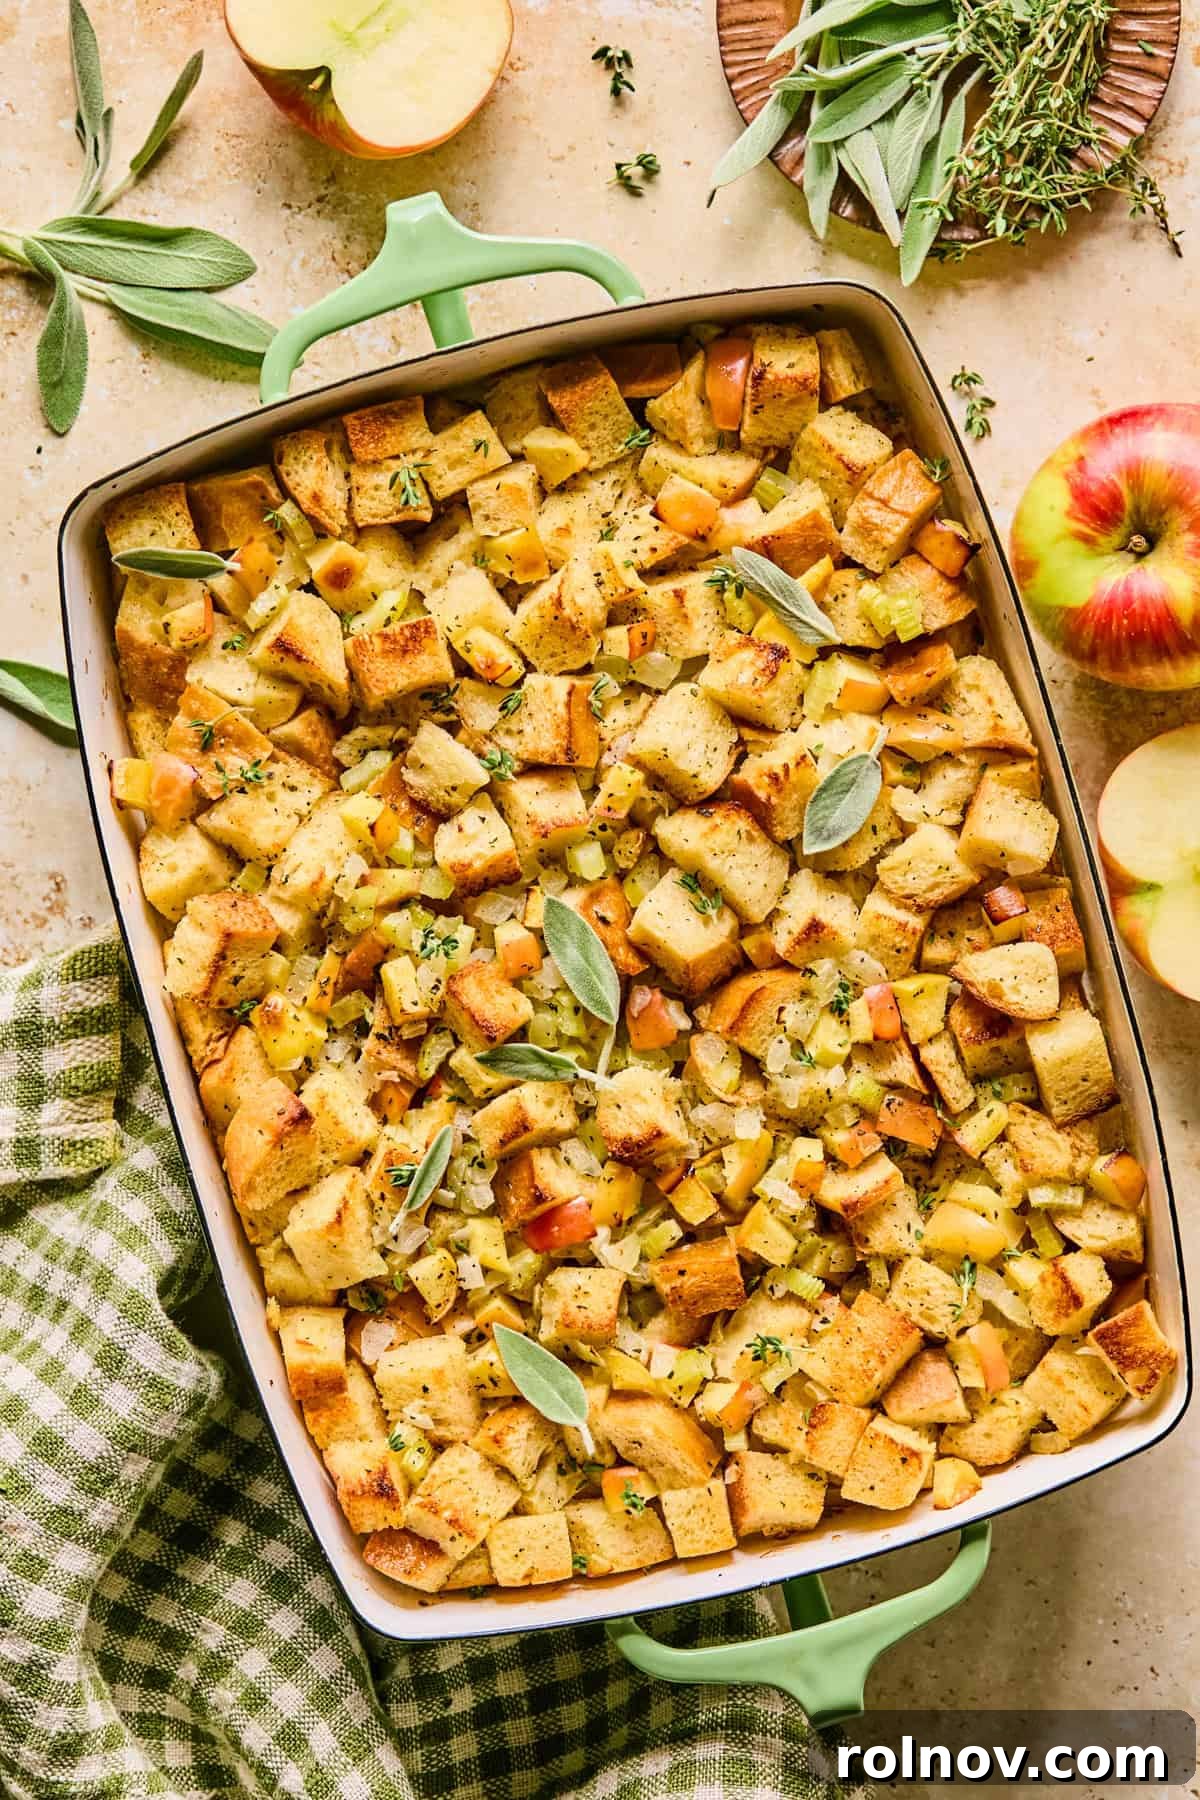
Originally published in November 2018.
As the holiday season approaches, anticipation builds for cherished traditions and, of course, the incredible food that comes with them. Among all the festive dishes, homemade stuffing holds a special place, and this Apple Sage Stuffing is an absolute game-changer. Forget the boxed varieties; once you taste the homemade difference, there’s no going back!
This recipe, alongside favorites like butternut squash stuffing, ensures my holiday plate is always brimming with deliciousness. If you’re a fan of holiday side dishes, you’ll also adore these other festive creations: Puff Pastry Brie Bites, creamy Cheddar Gruyère Mac and Cheese, tangy Cranberry Apple Chutney, or fluffy Instant Pot Garlic Parmesan Mashed Potatoes. And to complete your spread, pair it all with the incredibly easy Butter Herb Crock Pot Turkey Breast.
Why This Apple Stuffing Will Become Your Holiday Staple

This apple stuffing recipe is a beloved tradition in my home, one I faithfully prepare every single year. It’s an absolute must-have, and here are just a few compelling reasons why it will undoubtedly become a favorite in your kitchen too:
A Symphony of Sweet and Savory: The delicate sweetness and subtle tartness from the apples infuse this stuffing with a vibrant, refreshing counterpoint to its rich, buttery, and savory foundation. This harmonious blend of flavors is what truly sets this dish apart, elevating it beyond traditional stuffing.
Effortless Holiday Prep with Make-Ahead Options: The holiday season is often a whirlwind of activity, leaving little time for last-minute cooking. This apple stuffing recipe is a lifesaver as it can be prepared largely in advance. Feel free to assemble it the night before and let the flavors meld overnight. If you choose this make-ahead option, simply pour the melted butter over the top just before baking to ensure a perfectly crisp, golden crust.
The Ultimate Versatile Side for Any Holiday Dinner: Whether your main course is a succulent roasted turkey, a glazed ham, a tender roast, or even lamb, the deep, aromatic flavors of this stuffing will beautifully balance and enhance your entire meal. It’s not just a perfect Thanksgiving recipe; it’s an ideal addition to any celebratory spread throughout the year.
Comfort Food for Any Day: While it shines brightly during the holidays, there’s no need to reserve this incredible dish for special occasions. This apple stuffing is a fantastic comfort food recipe to enjoy year-round, whenever you crave a hearty, flavorful side dish.
We are confident that you will cherish this recipe as much as we do!
Essential Ingredient Notes for Perfect Apple Stuffing
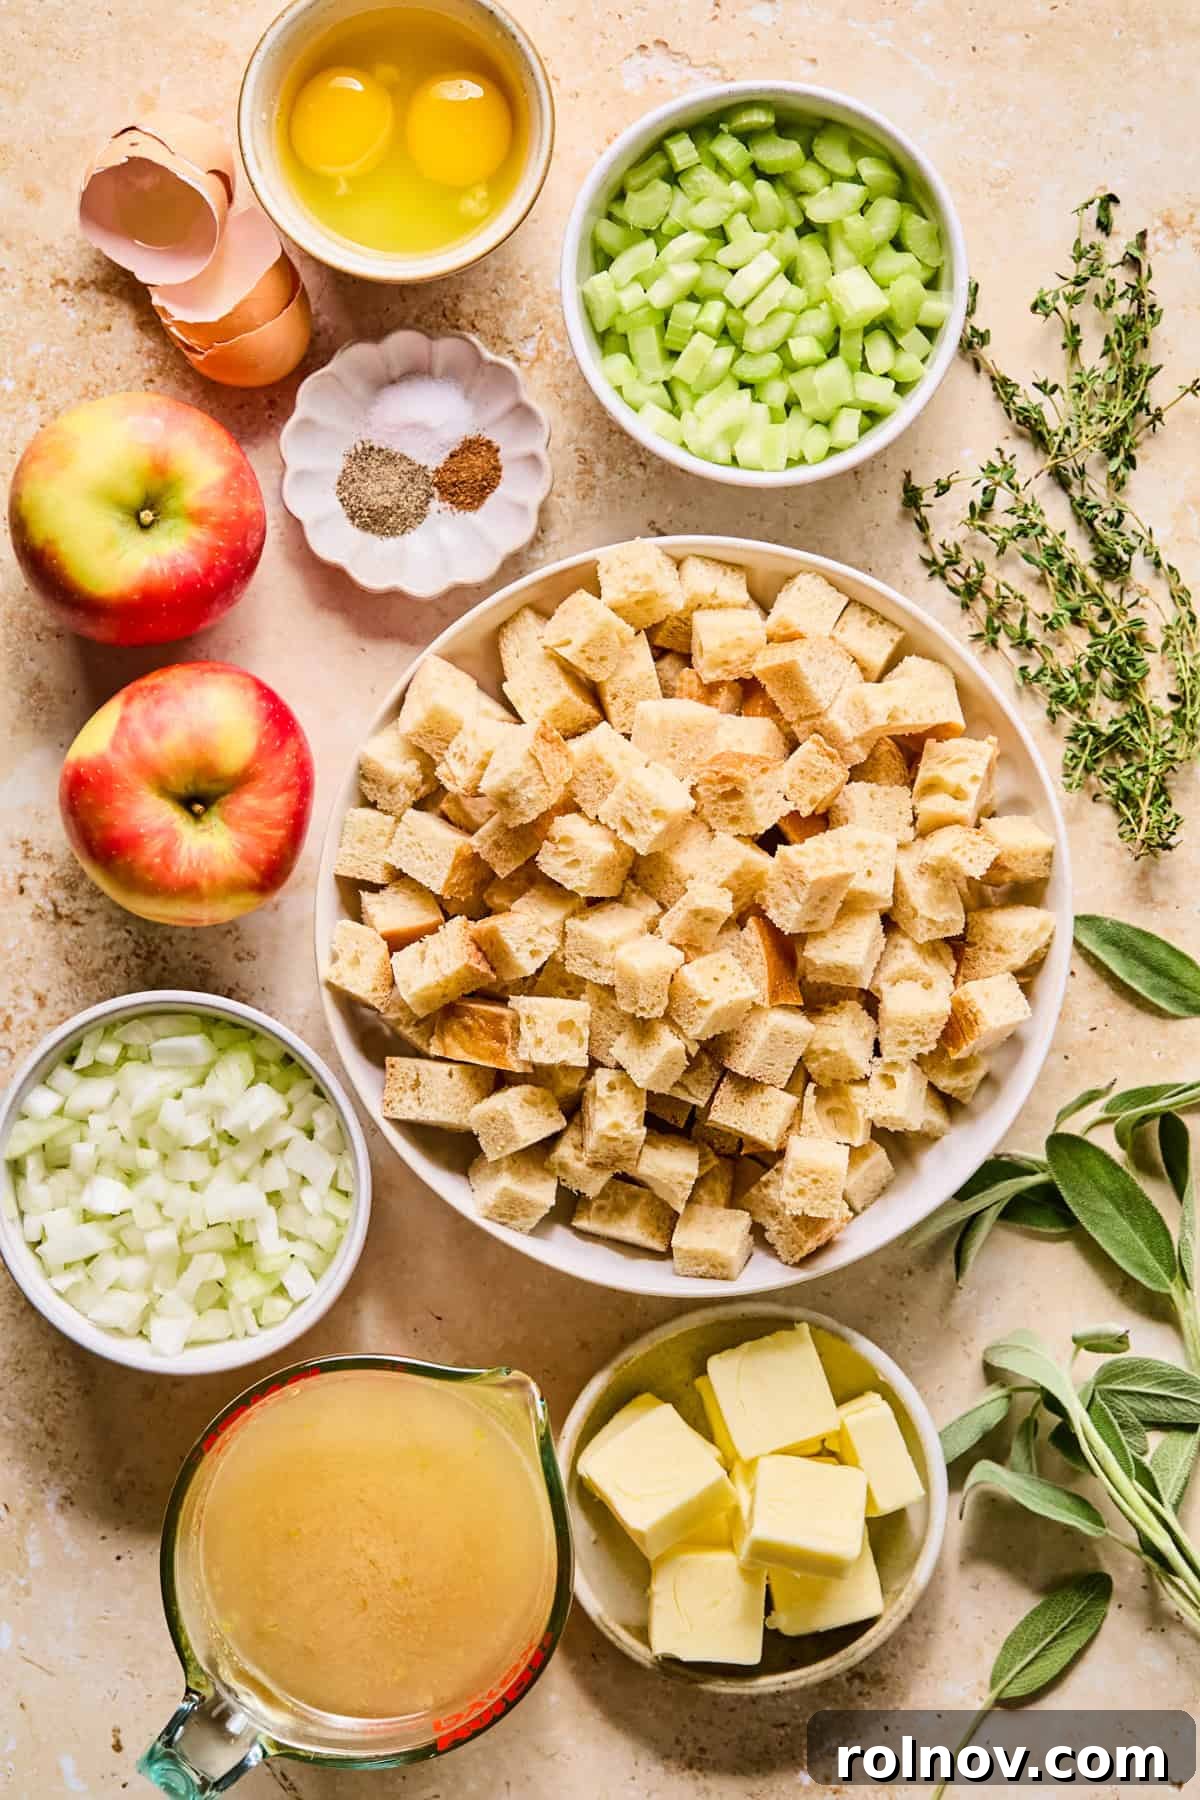
Crafting exceptional stuffing begins with selecting the right ingredients. Here’s a closer look at what you’ll need and some helpful tips for each:
- Bread: The Foundation of Great Stuffing
For the best texture and flavor absorption, I highly recommend using a large loaf of crusty French bread or Italian bread. These varieties, often found fresh in your grocery store bakery, provide a dense, sturdy base that holds up beautifully to the moisture and flavors of the stuffing without becoming mushy. While you can use other styles, a bakery-style bread with a tight crumb is generally the most successful. For those with dietary restrictions, a good quality gluten-free bread can also be used effectively.
- Apple: The Sweet-Tart Heart
You’ll need one large apple or a couple of small to medium apples. The choice of apple can significantly influence the final taste. I typically opt for Gala or Fuji apples, known for their balanced sweetness and firm texture that holds up well during baking. If you prefer a more pronounced tartness to contrast the savory elements, Granny Smith apples are an excellent choice. Leaving the skin on adds a rustic touch and extra fiber, but feel free to peel them if preferred.
- Herbs: The Aromatic Essence
Fresh herbs are truly transformative in stuffing, lending a vibrant and profound flavor. I prefer using fresh sage and thyme in this recipe. While dried herbs can be substituted (use about one-third of the amount of fresh herbs), they will offer a less intense aroma and taste. The fresh herbs really make a difference, especially for a holiday dish.
- Broth: For Moisture and Depth
Chicken broth forms the moist base of the stuffing, infusing it with savory depth. I typically use a low-sodium chicken broth (chicken stock also works), which allows me to control the salt content in the dish. If you require a vegetarian option, simply swap chicken broth for vegetable broth. The goal is to moisten the bread without saturating it, creating a perfect balance.
- Butter: The Golden Elixir
Unsalted butter is my preferred choice, as it gives you complete control over the seasoning. If you only have salted butter on hand, remember to reduce the amount of added salt in the recipe to avoid over-seasoning.
- Nutmeg: A Warm Secret Touch
A very small pinch of nutmeg is optional, but highly recommended. It adds a subtle warmth and aromatic complexity that beautifully enhances the apple and sage flavors, truly elevating the dish to another level.
Crafting Your Delicious Apple Sage Stuffing: A Step-by-Step Guide
Creating this flavorful apple sage stuffing is straightforward. Follow these steps for a perfect holiday side dish:
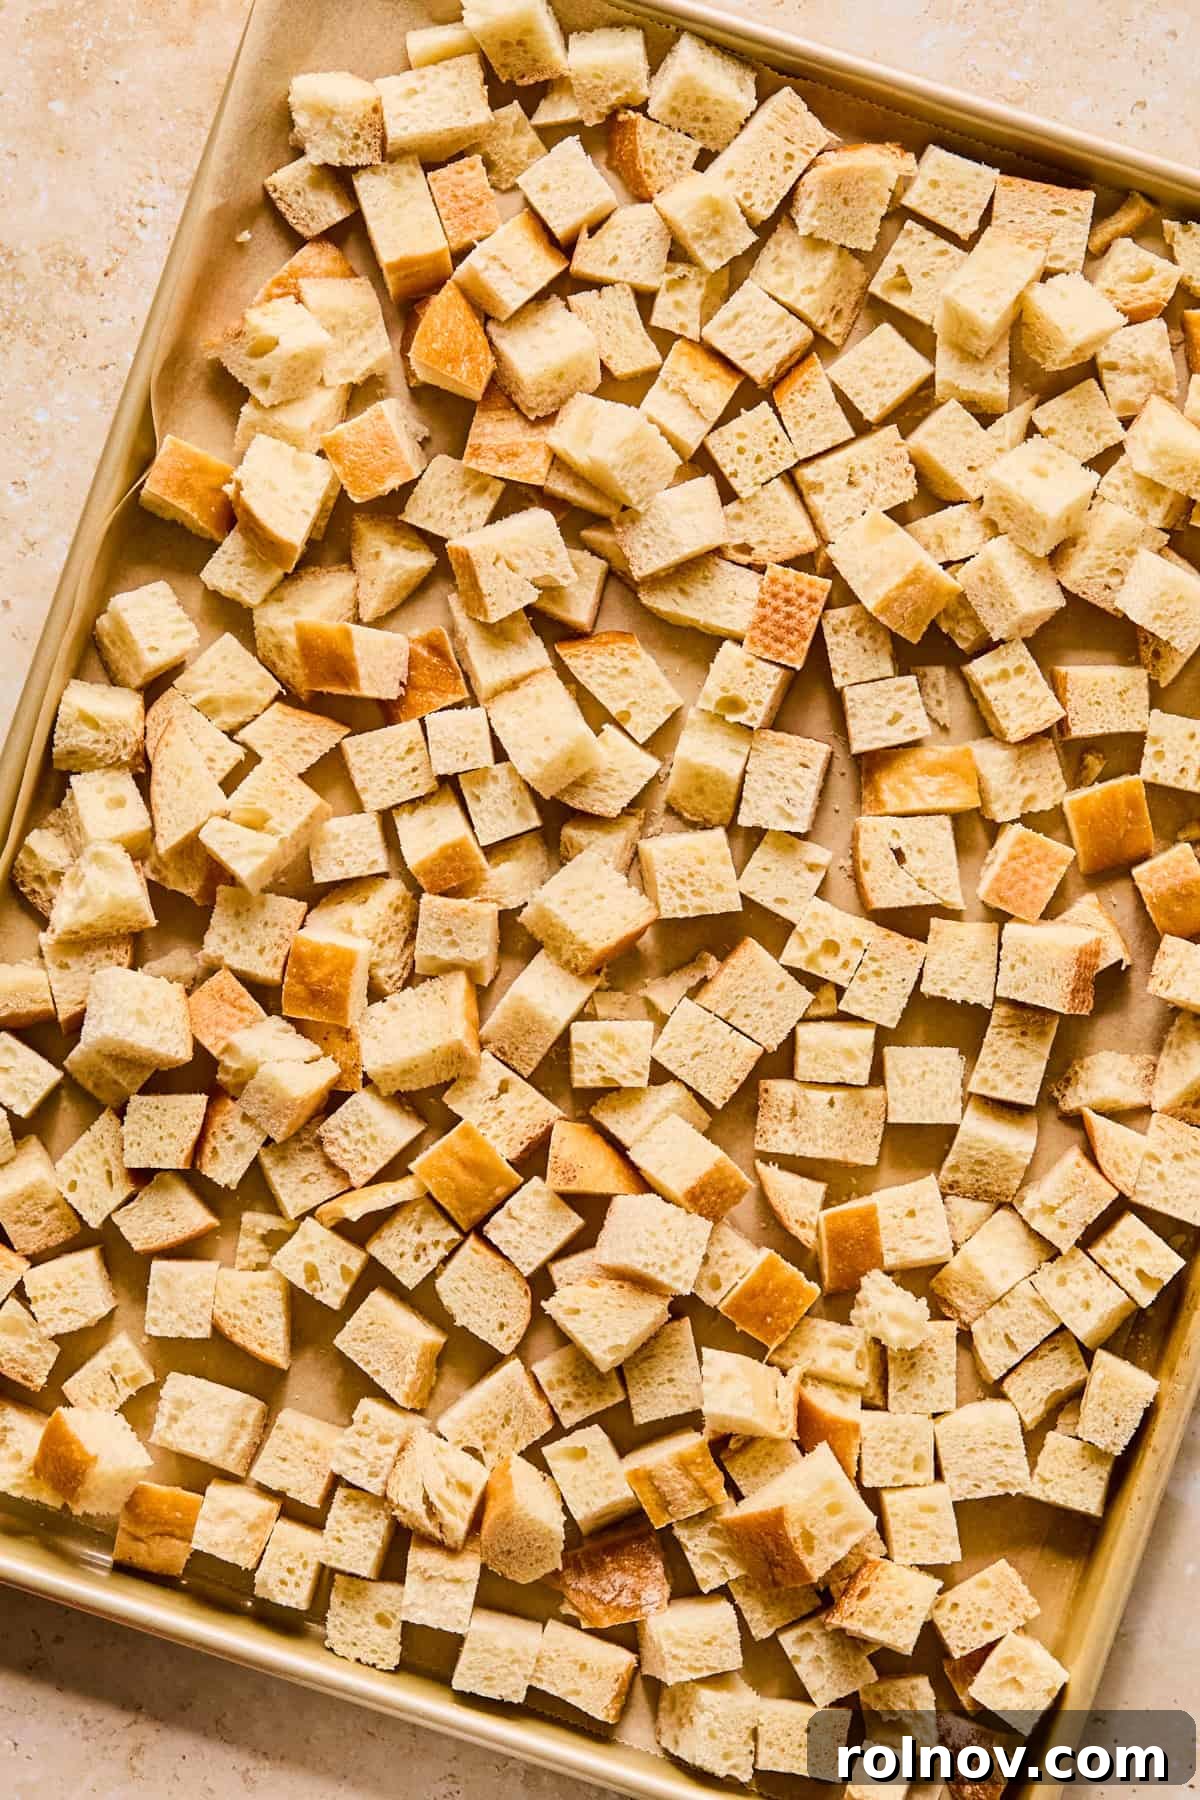
Step 1: Prepare Your Bread Base. For the best apple sage stuffing, begin with day-old bread. Cube your bread into 1-inch pieces and allow it to sit out overnight to dry naturally. If you’re short on time, you can quickly dry it out in the oven: spread the cubed bread evenly on a sheet pan and bake at 325°F (160°C) for approximately 30 minutes, or until thoroughly dried and lightly toasted.
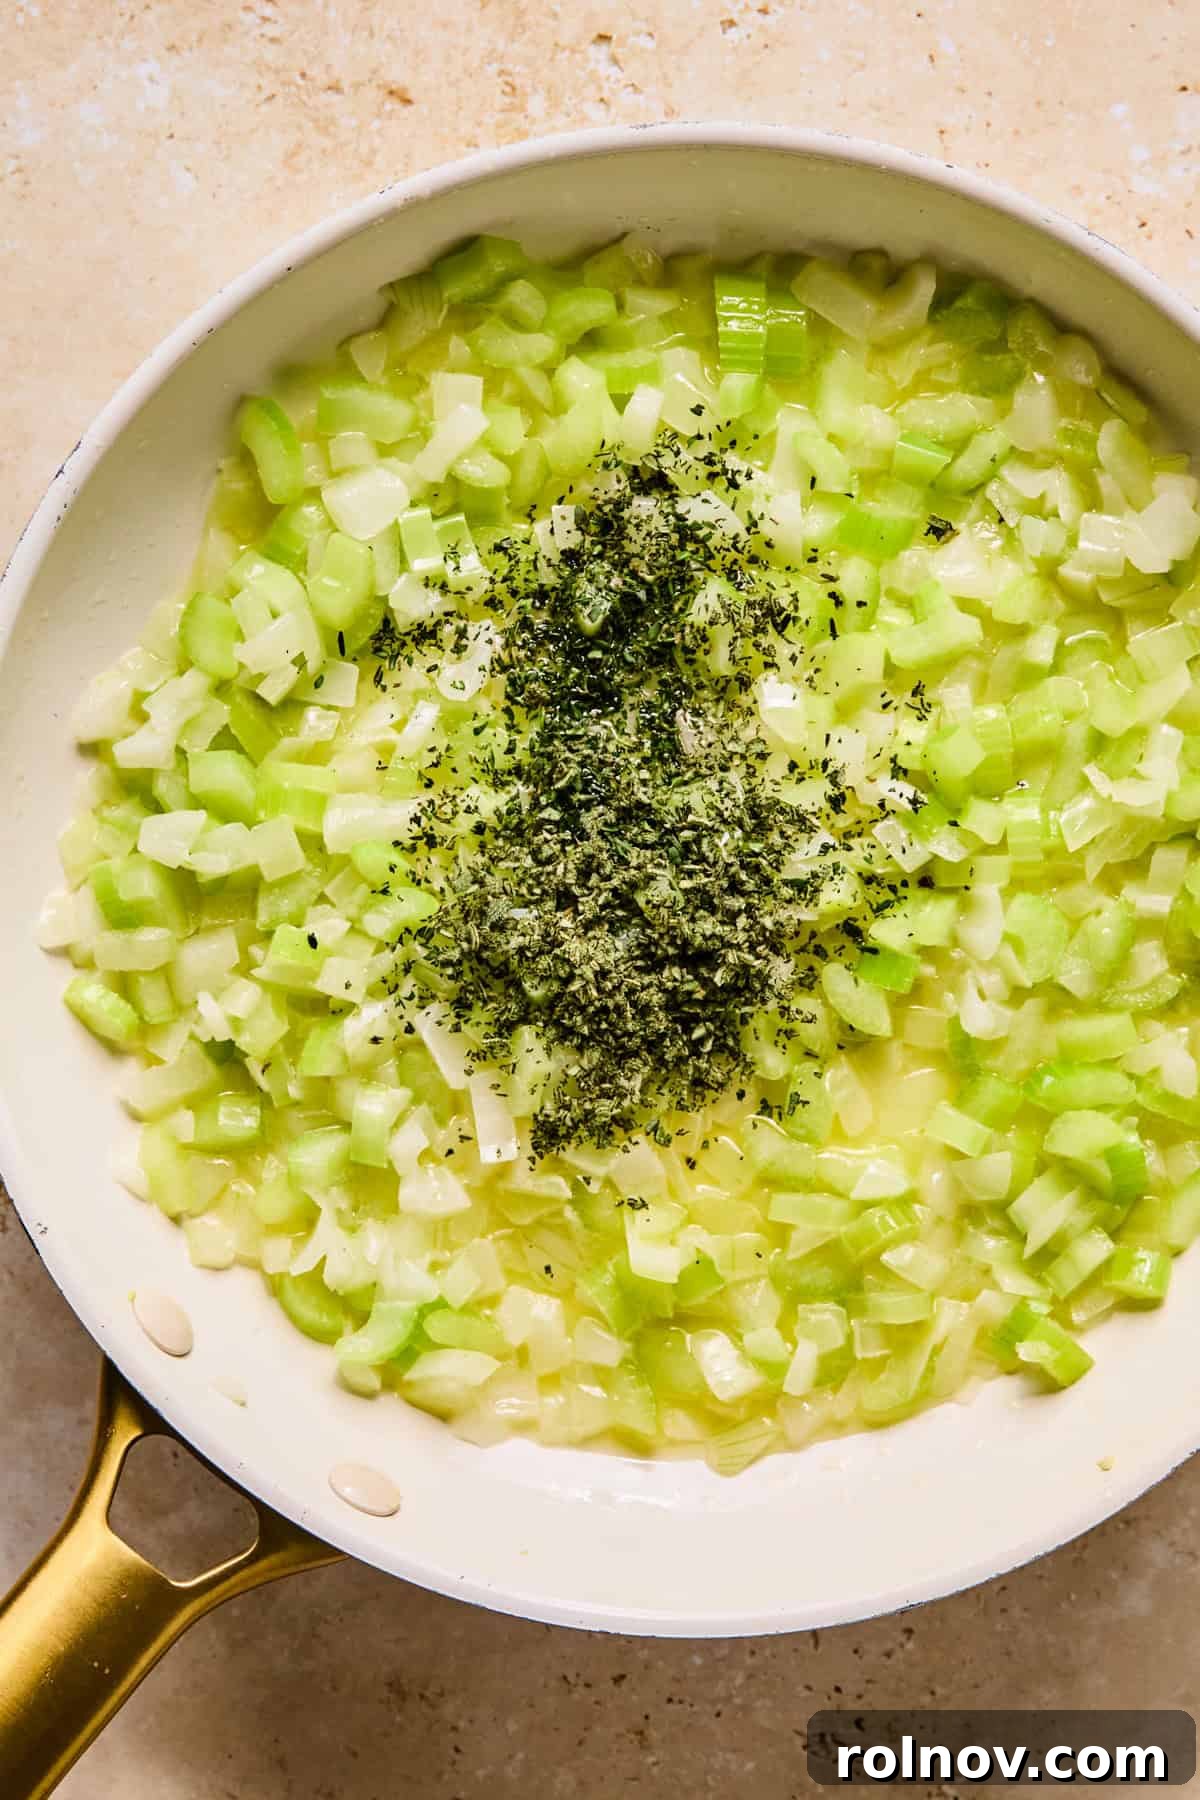
Step 2: Sauté Aromatics and Herbs. In a large skillet set over medium heat, melt 6 tablespoons of butter. Add the chopped celery and diced onion, cooking until they are softened and the onion becomes translucent, usually about 5-7 minutes. Stir in the fresh sage and thyme, and continue to cook for another 1-2 minutes to release their fragrant oils.
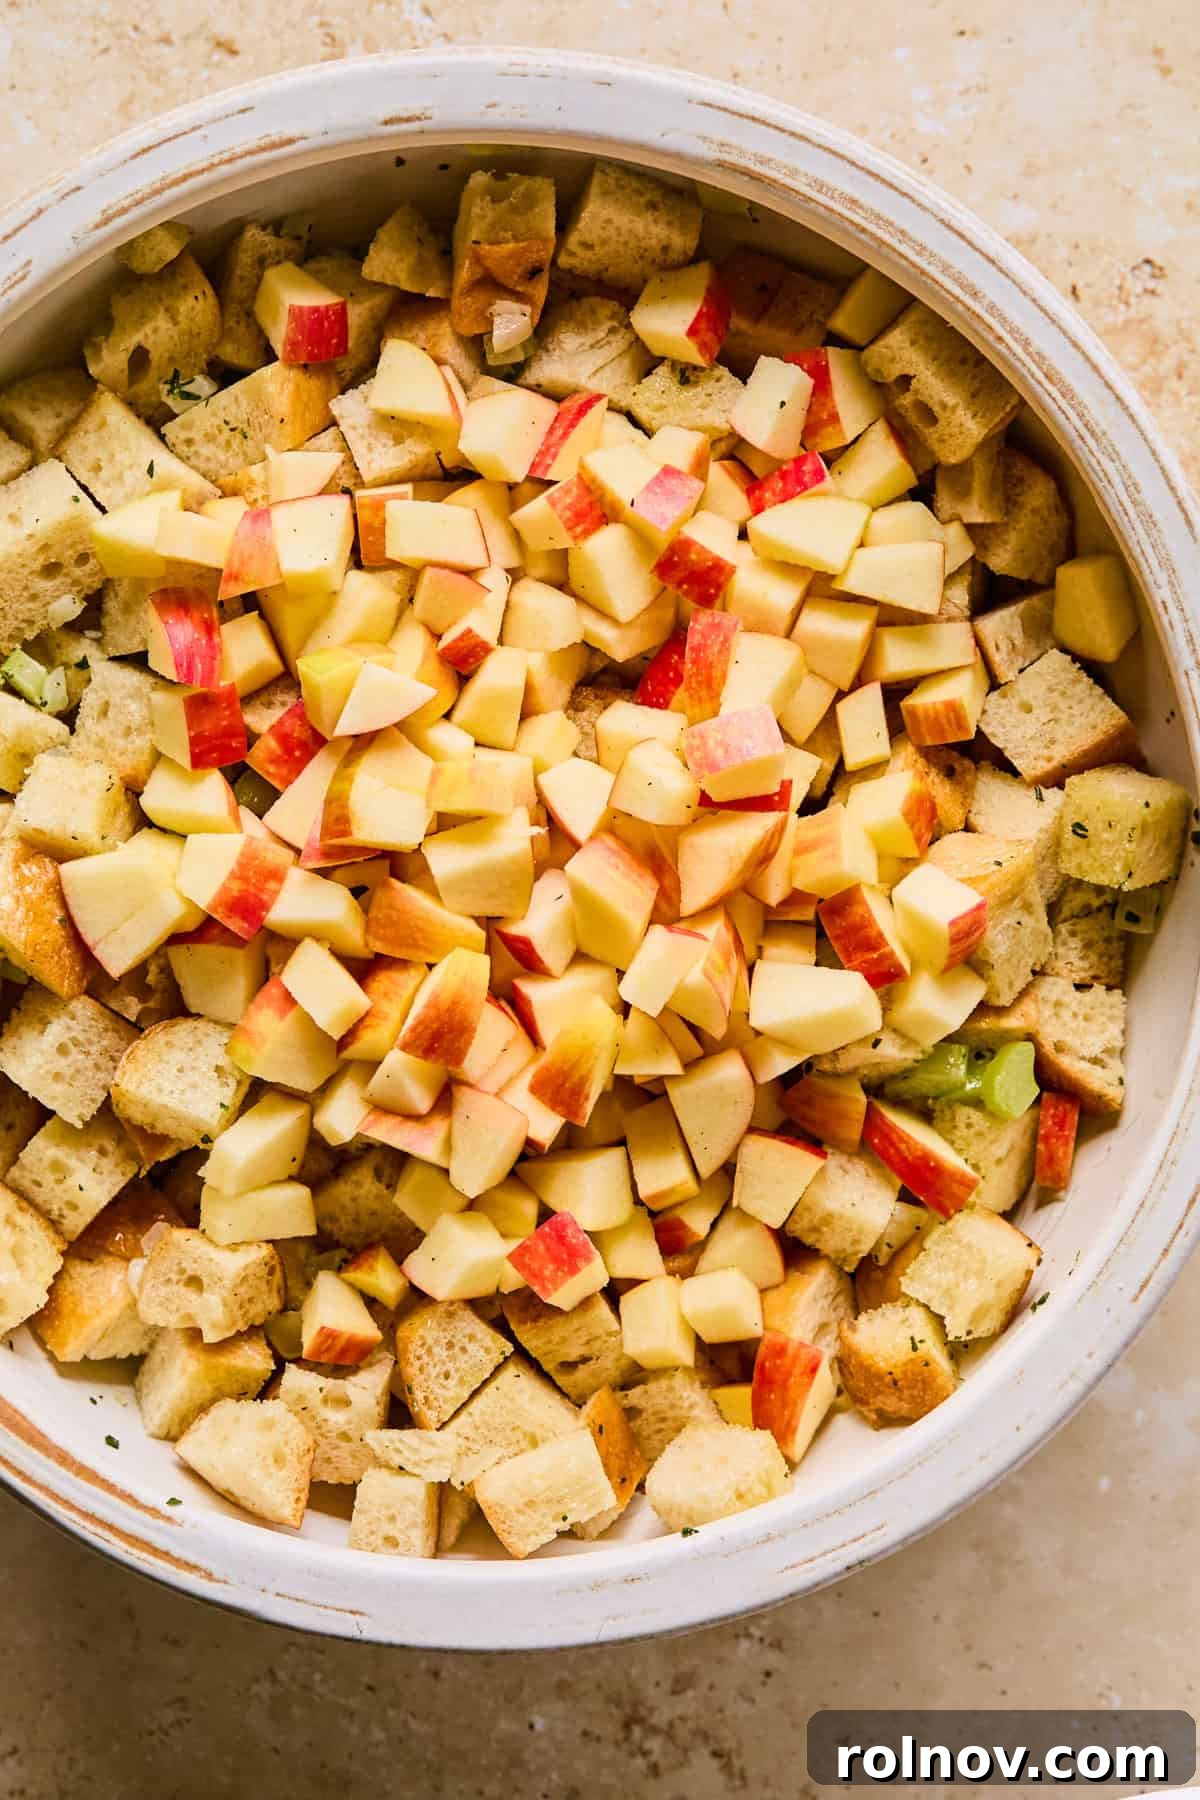
Step 3: Combine Dry Ingredients. Transfer the sautéed celery and onion mixture into a large mixing bowl with the dried bread cubes. Add the diced apples to the bowl as well. If you are preparing the stuffing ahead of time to bake the next day, hold off on adding the apples until just before baking to prevent them from becoming too soft overnight.
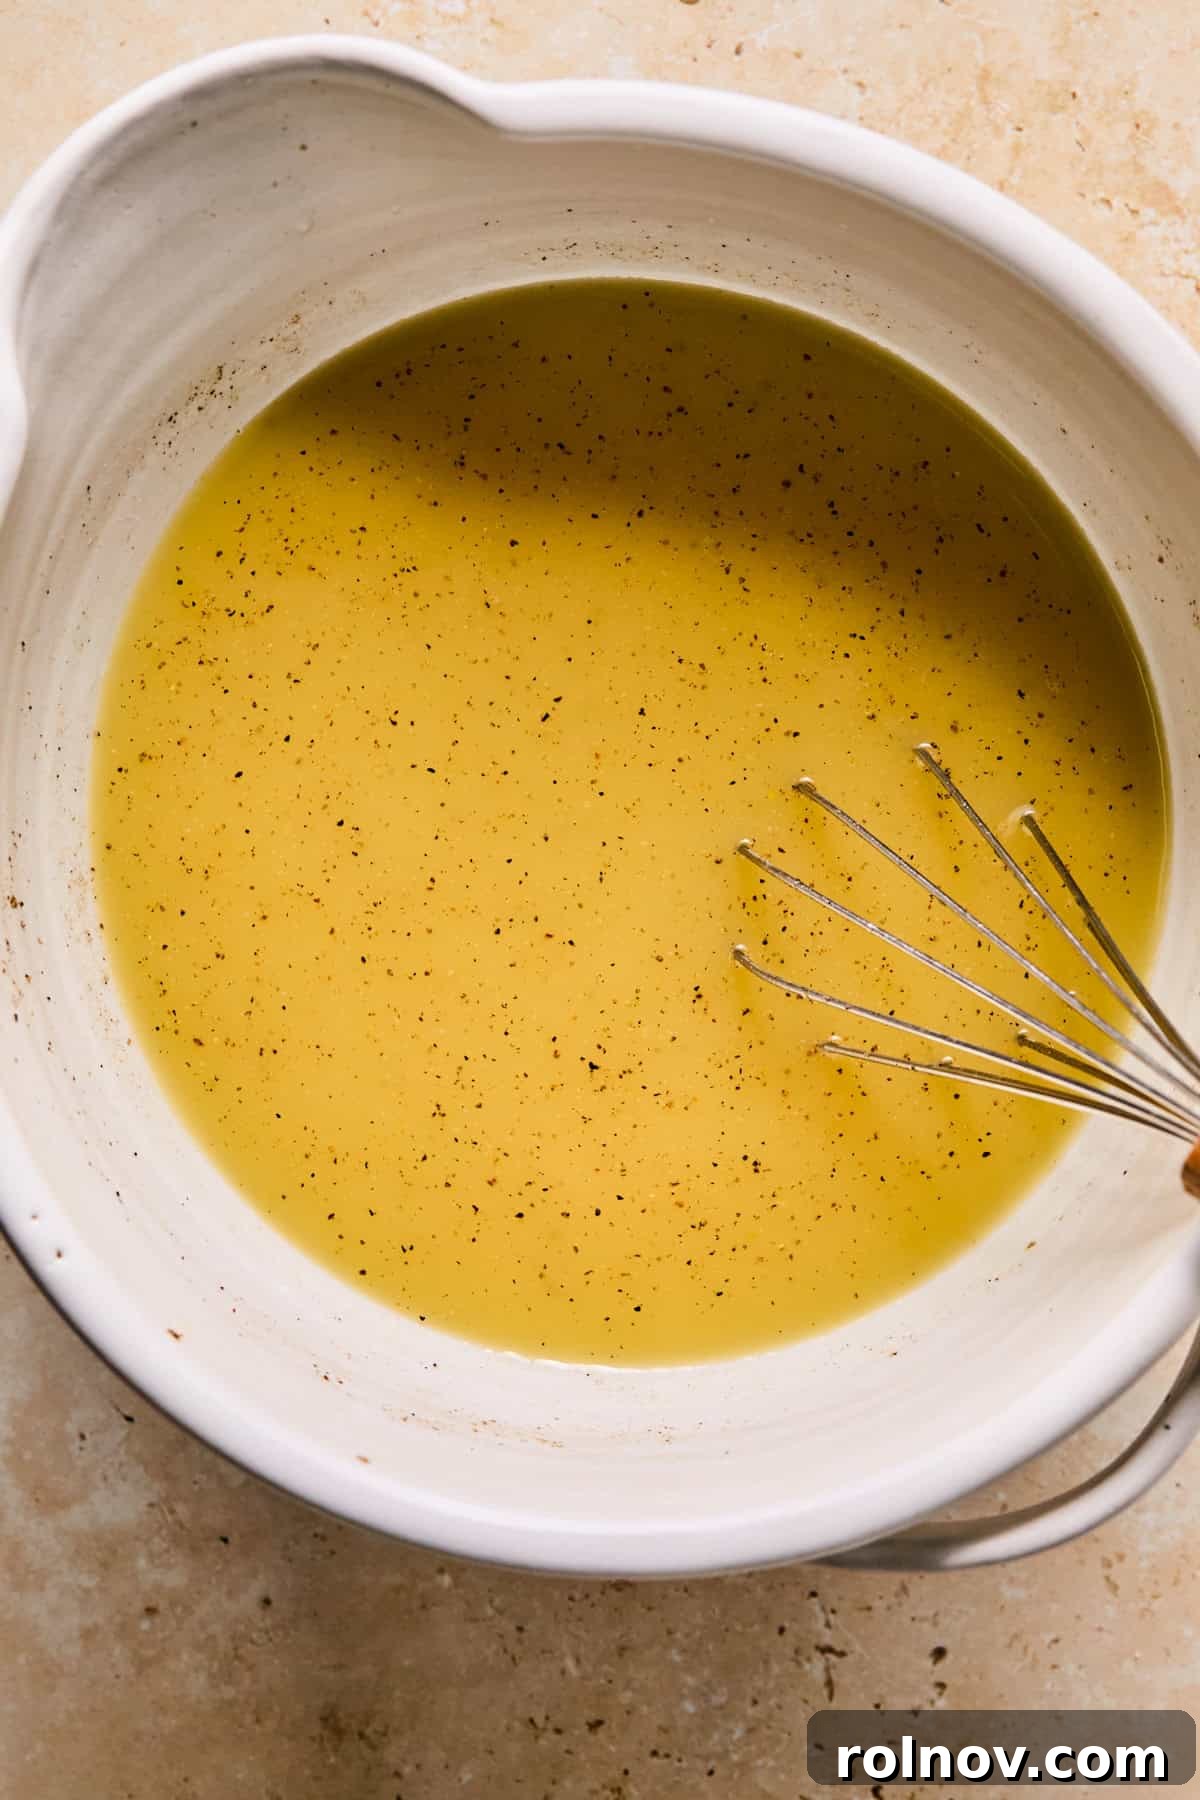
Step 4: Prepare the Liquid Binding. In a separate medium bowl, whisk together the chicken broth, eggs, a pinch of nutmeg, salt, and cracked pepper until well combined. This mixture will bind the stuffing together and add crucial moisture and flavor.
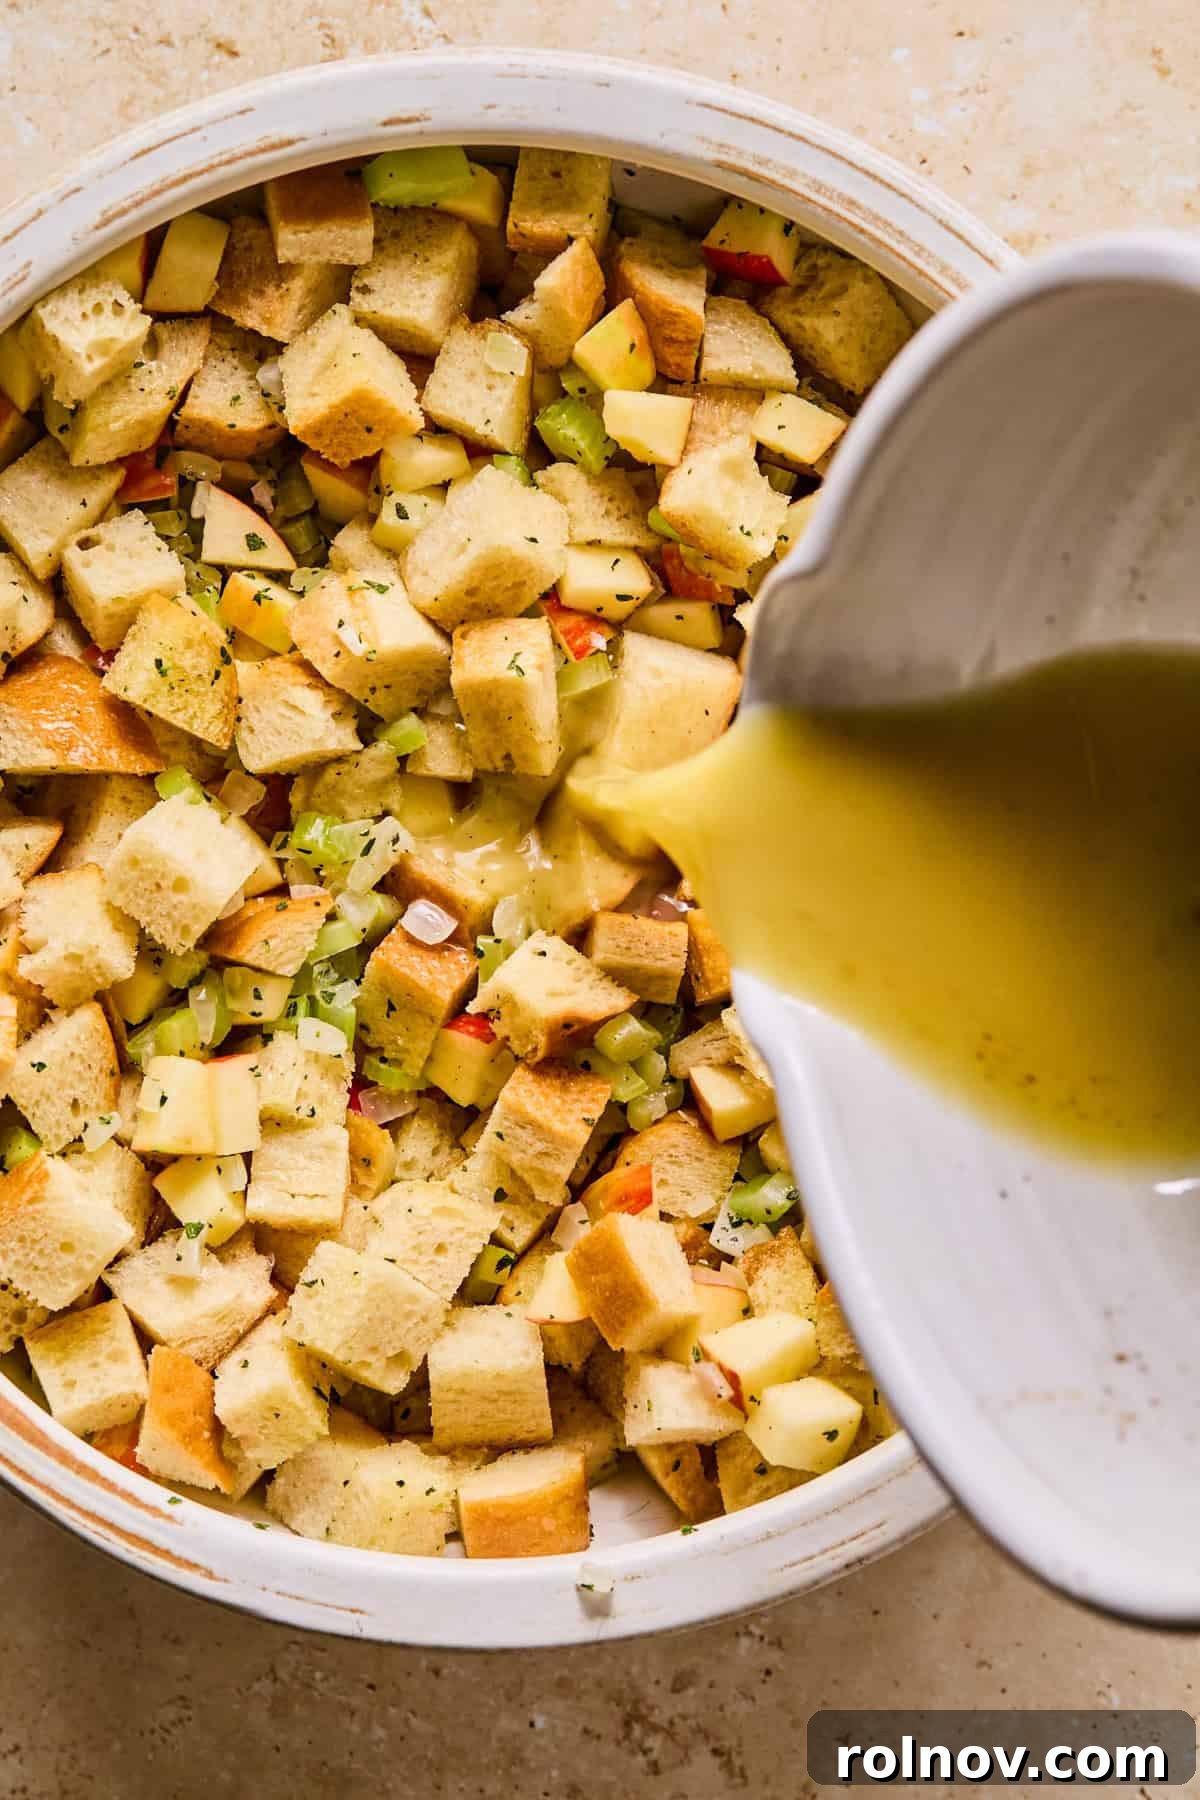
Step 5: Moisten the Stuffing. Pour the whisked broth and egg mixture evenly over the bread and apple mixture in the large bowl. Gently toss everything together using a spatula or your hands, ensuring all the bread cubes are thoroughly coated and moistened without becoming soggy.
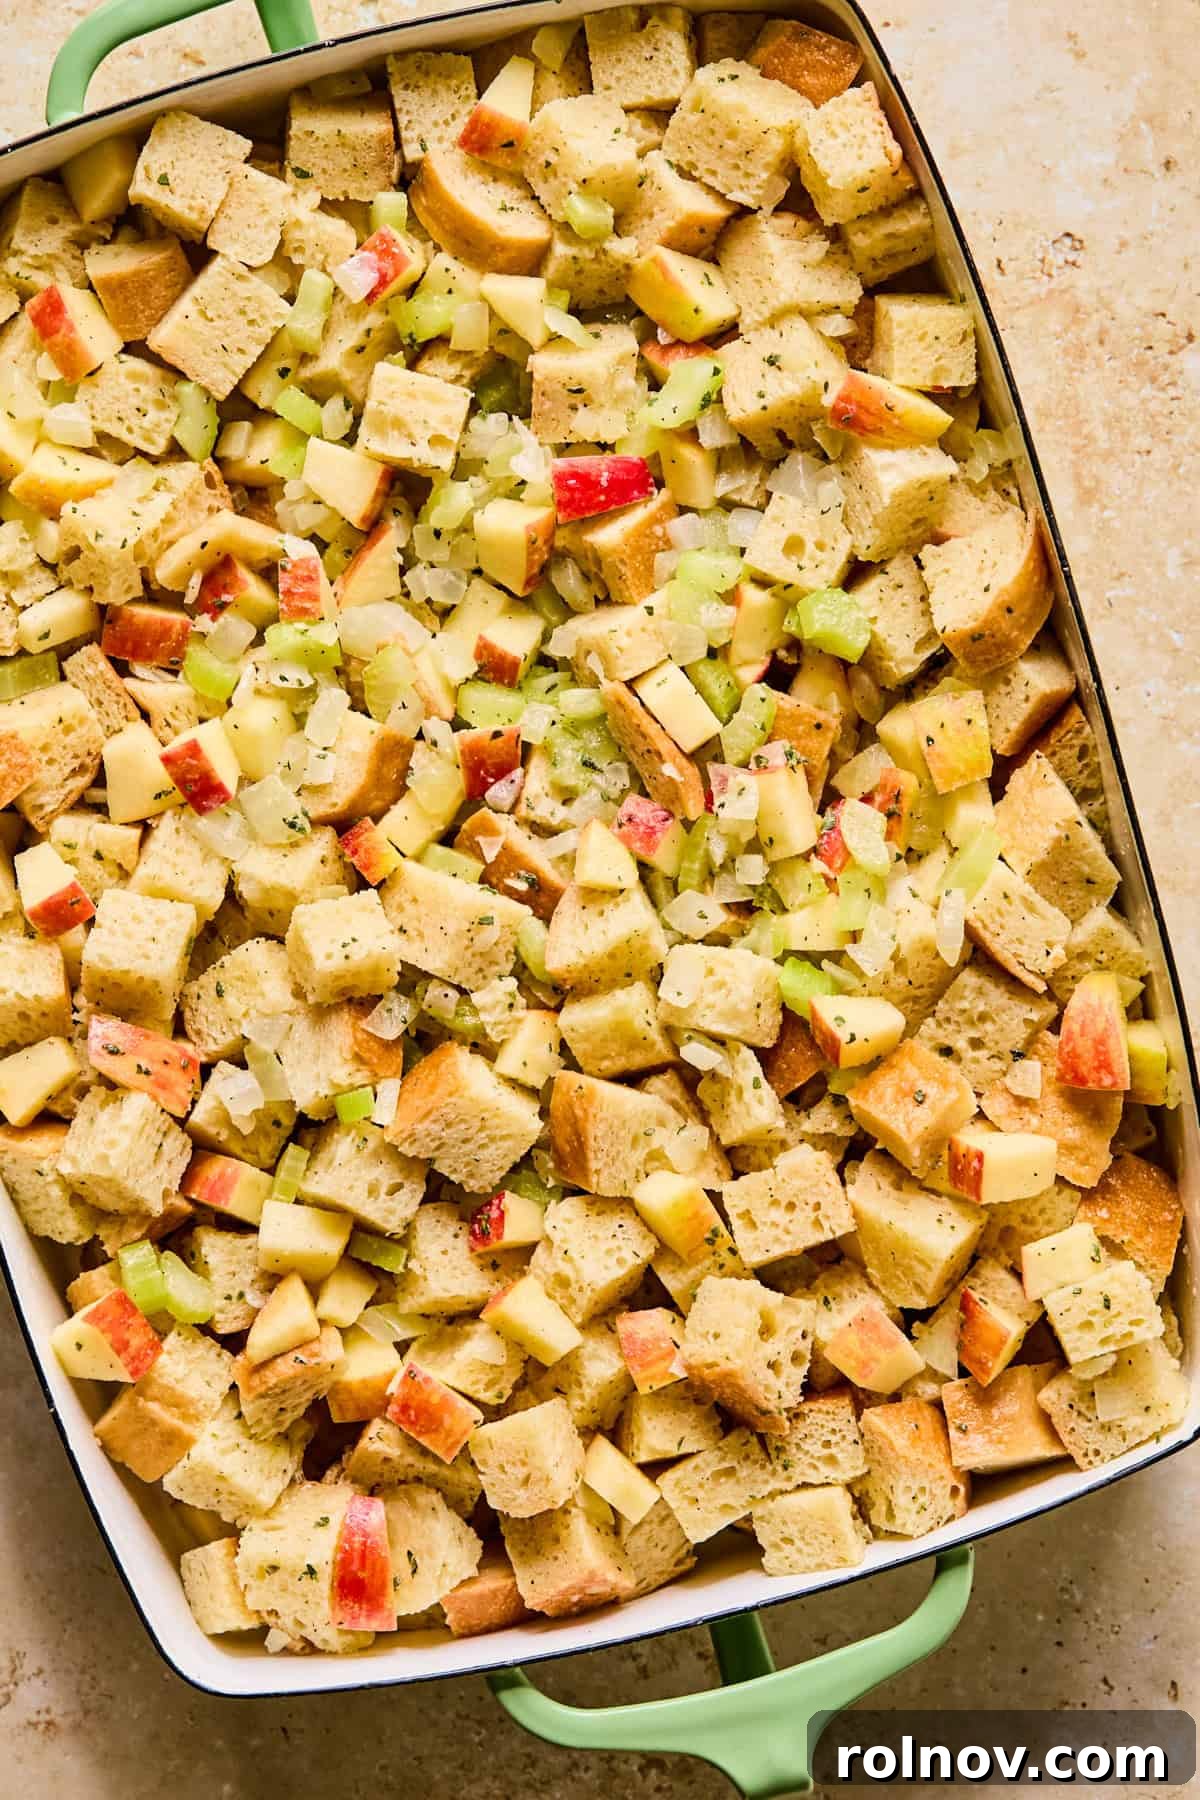
Step 6: Transfer to Baking Dish. Transfer the prepared stuffing mixture into a greased 9×13 inch baking pan or a large casserole dish, spreading it out evenly. Preheat your oven to 375°F (190°C).
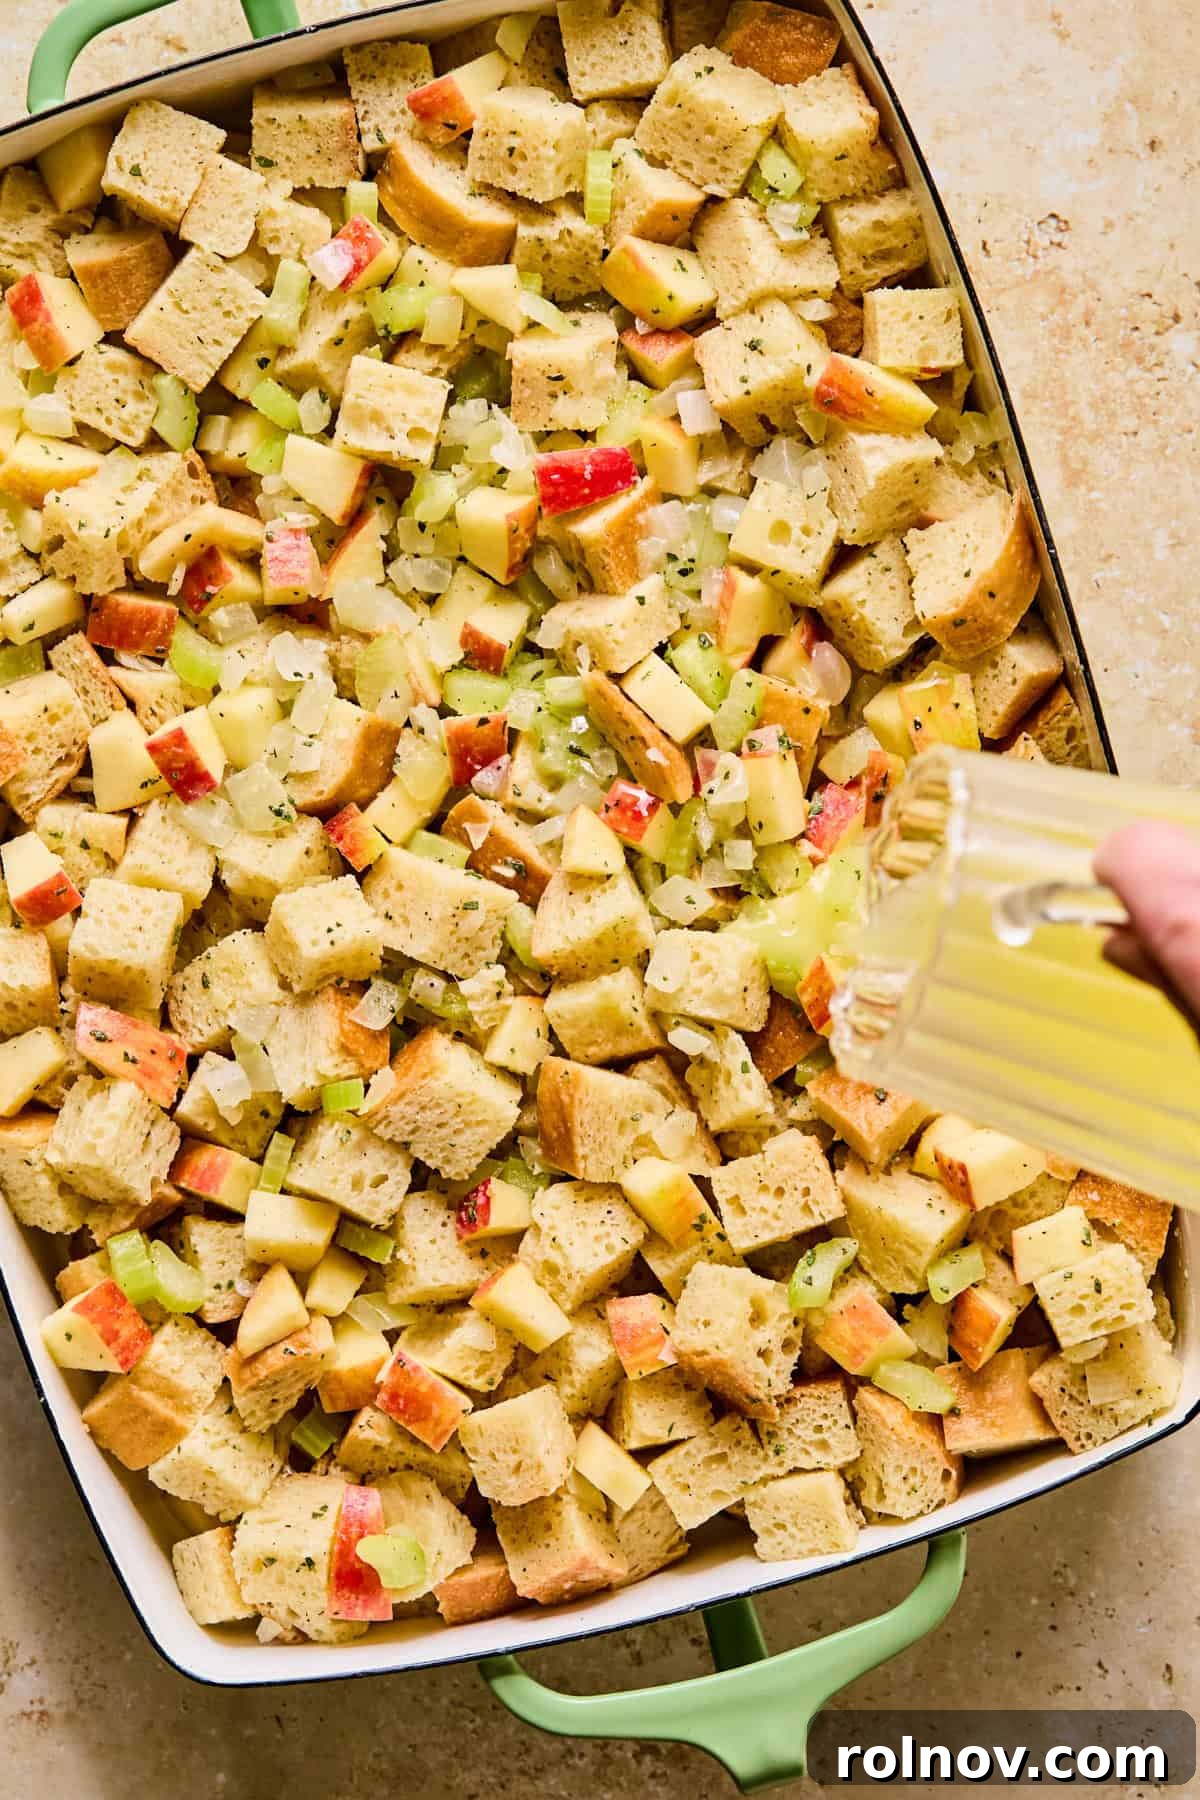
Step 7: Add Finishing Butter. Melt the remaining 2-4 tablespoons of butter. Evenly spread or drizzle this melted butter over the top of the stuffing. A pastry brush works wonderfully for this step. If any areas of the bread appear dry, add a little extra melted butter to ensure a moist interior and a beautifully crisp top.
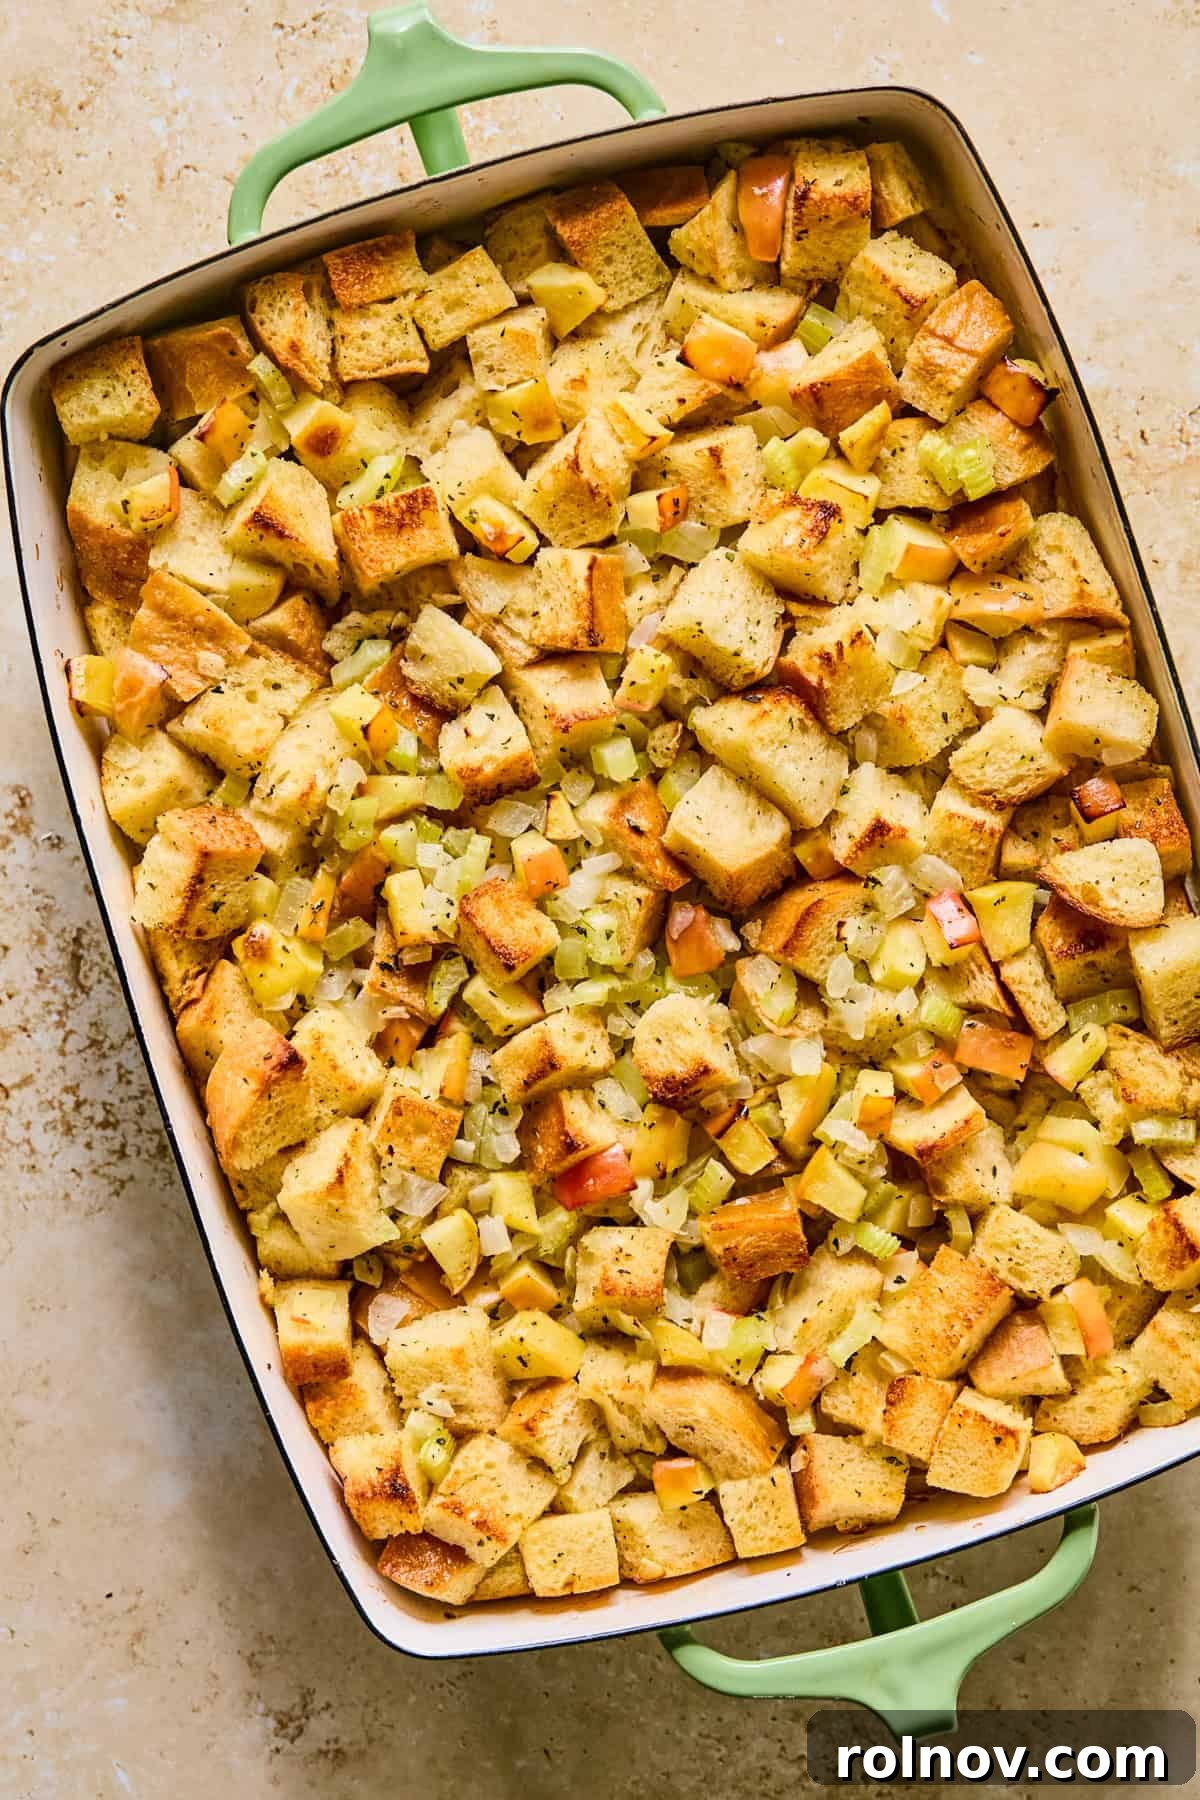
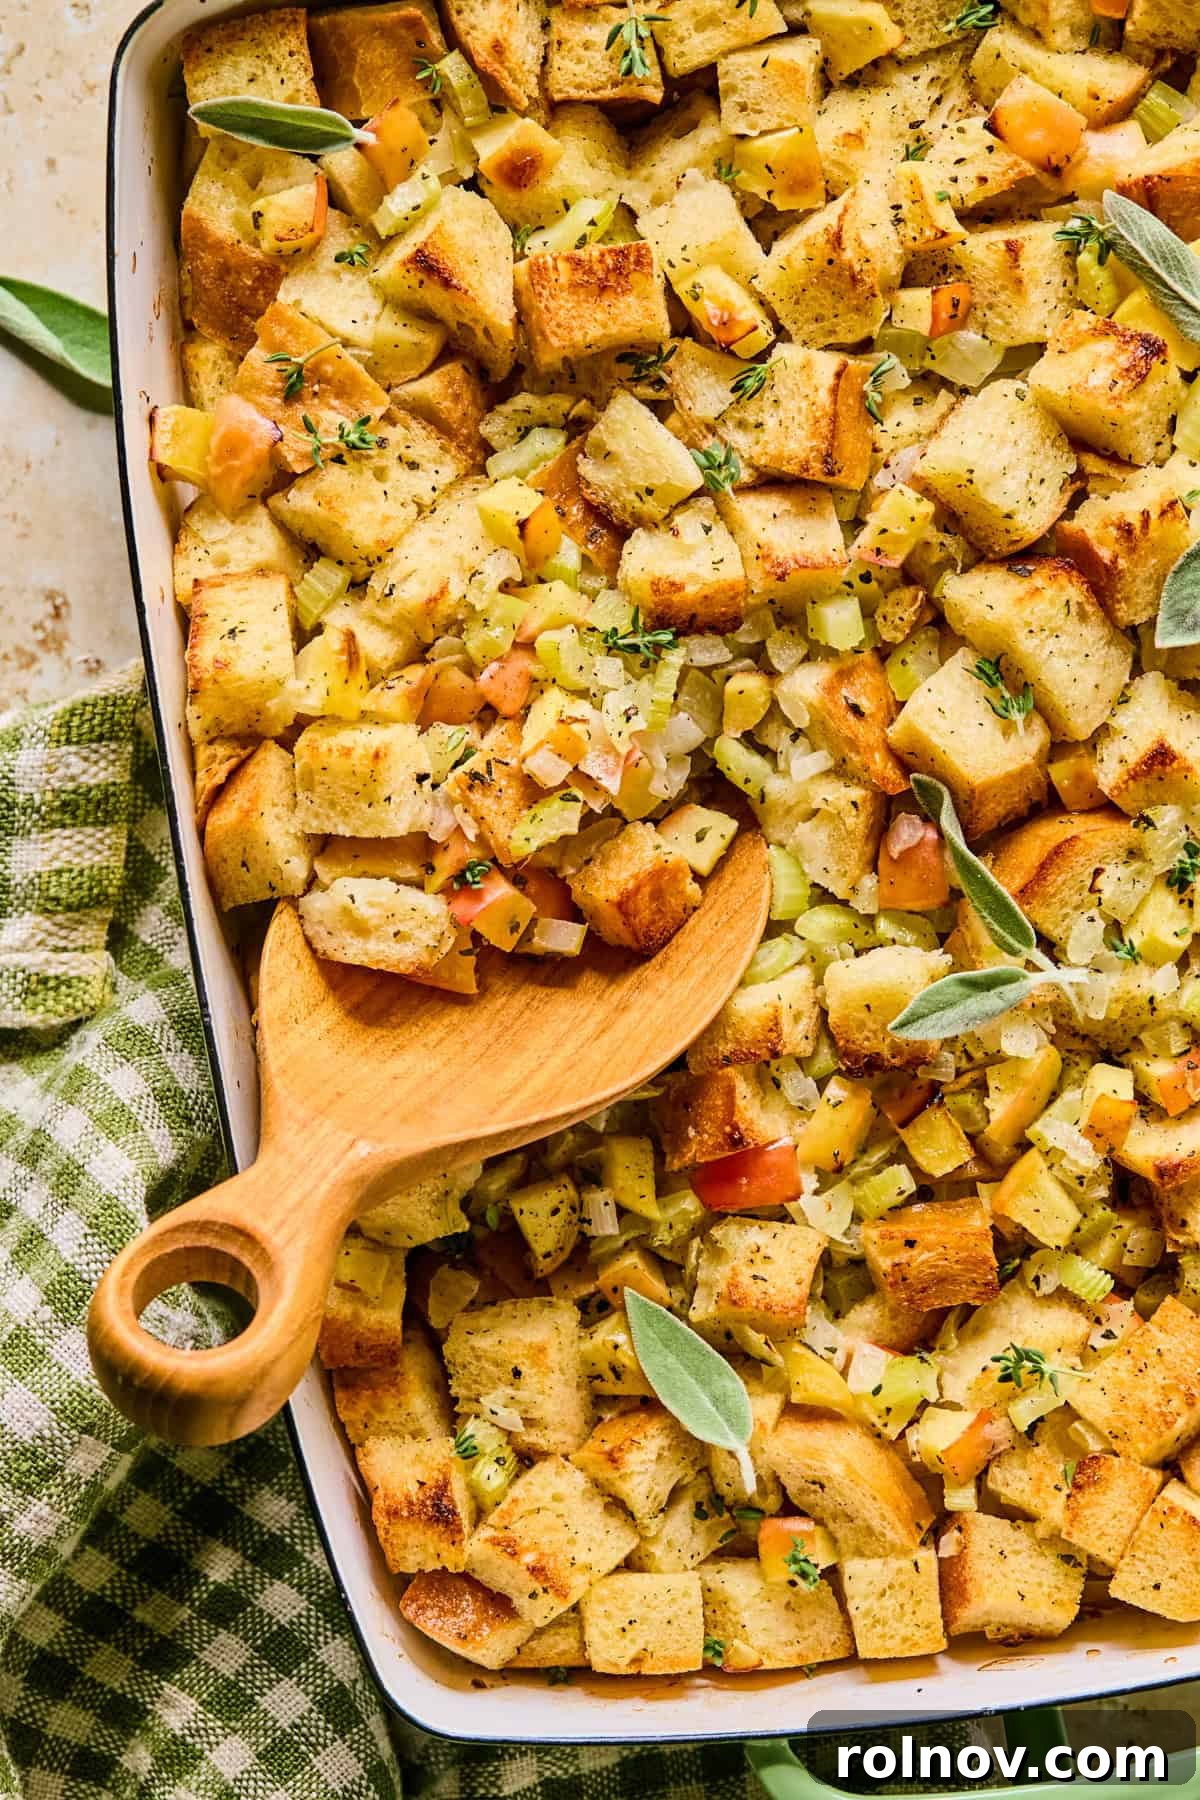
Step 8: Bake to Golden Perfection. Cover the baking dish tightly with aluminum foil and bake for approximately 20-25 minutes. Then, remove the foil and continue baking for another 10-15 minutes, or until the top of the stuffing is beautifully golden brown and crispy. If you notice any dry spots during this stage, feel free to dab on a little more melted butter. Once baked, remove from the oven and let it cool for about 5-10 minutes before serving. Garnish with freshly chopped parsley or your favorite fresh herbs for an extra touch of freshness.
Choosing the Best Bread for a Perfect Stuffing Texture
The type of bread you choose is paramount to the success of your stuffing. While there are many options, consensus often points to white bread as one of the most popular and reliable choices for any stuffing recipe.
Ideally, you want a bread that acts as a canvas, readily absorbing the rich flavors you introduce without becoming soggy or overpowering the dish. Look for a bread with a smooth, dense texture and minimal large holes. This structure allows it to maintain its shape and absorb moisture evenly.
Beyond traditional white bread, challah and brioche are also highly recommended due to their slightly sweet flavor and tender yet firm crumb. Regardless of your choice, the key is to use day-old or slightly stale bread. This dryness is crucial because fresh bread tends to be too soft and will absorb too much liquid, resulting in a dense, mushy stuffing. Stale bread, on the other hand, soaks up the broth and butter beautifully, leading to that ideal balance of crisp exterior and tender, flavorful interior.
Selecting the Ideal Apples for Your Stuffing
When incorporating apples into stuffing, the goal is to strike a balance between sweetness and a hint of tartness, while also ensuring the apple maintains a firm texture during baking, preventing it from turning into mush. Certain apple varieties are better suited for this purpose.
Varieties like Pink Lady and Golden Delicious are frequently recommended for baking and stuffing because of their firm flesh and well-rounded flavor profile. Many also find Honeycrisp to be an excellent option, offering a perfect blend of sweetness and crispness that holds up to heat. In my own kitchen, I often gravitate towards Fuji or Gala apples simply because they are staples I always have on hand. Their consistent sweetness and crunch work wonderfully in this recipe.
Ultimately, the best apple for your stuffing is one you enjoy eating, as its flavor will subtly permeate the dish. Experiment with different varieties to find your personal favorite, keeping in mind that a firm, sweet-tart apple will yield the most desirable results.
Expert Tips for the Best Apple Sage Stuffing
- No Stale Bread? No Problem!
If you don’t have day-old bread, you can easily dry it yourself. Cut your fresh bread into cubes and spread them in a single layer on one or two baking sheets. Bake at 325°F (160°C) for about 30 minutes, tossing halfway through, until the bread cubes are dry and lightly golden. This step is essential for preventing soggy stuffing.
- Ensure Ample Moisture and Butter on Top.
A common pitfall with stuffing is a dry, crumbly top. To achieve that coveted golden, crispy crust while keeping the interior moist, be generous with the melted butter drizzled over the top before baking. Ensure the top layer of bread cubes is visibly soaked. Depending on the initial dryness of your bread, I sometimes add an extra 2-3 tablespoons of melted butter to guarantee a perfectly rich and moist outcome.
- For Extra Crispy Edges, Use a Sheet Pan.
If you, like many, savor the crispy edges and top layer of stuffing, consider baking it on a large sheet pan instead of a deep casserole dish. Spreading the apple sage stuffing out on a sheet pan maximizes the surface area exposed to heat, resulting in more of those irresistible crunchy bits that everyone fights over.
- Customize with Sausage (Optional).
For those who love a heartier stuffing, adding browned sausage is a fantastic option. Simply cook your favorite breakfast or Italian sausage, crumble it, and stir it into the bread mixture before baking. If you’re a fan of sausage in your stuffing, you might also enjoy this Turkey Sausage Stuffing recipe!
Storing Your Delicious Apple Stuffing
Proper storage ensures you can enjoy your homemade apple stuffing for days after it’s made, or even freeze it for future meals.
To store leftover stuffing, transfer it to an airtight container and refrigerate for up to 4-5 days. If you find the stuffing appears a bit dry when reheating, a drizzle of melted butter over the top before warming will bring it back to life.
This recipe is also freezer-friendly, allowing you to prepare it well in advance for busy holiday periods. Allow the stuffing to cool completely after baking – I often chill it in the refrigerator for a few hours first – then transfer it to a freezer-safe container or freezer bags. It can be frozen for up to 3 months. For the best reheating results, thaw the frozen stuffing overnight in the refrigerator before warming it in the oven.
Creative Add-Ins to Personalize Your Apple Stuffing
This apple stuffing recipe is wonderfully versatile, serving as a perfect base for customization. Feel free to experiment with these delicious additions to fine-tune the flavors and make it uniquely your own:
- Protein Power: Add cooked and crumbled sausage or turkey sausage for a heartier dish.
- Nutty Crunch: Stir in sliced almonds, pecans, or walnuts for added texture and richness.
- Festive Flair: Fresh cranberries introduce a beautiful tart burst of flavor and color.
- Earthy Depth: Sautéed mushrooms bring an umami richness – a staple in my mother-in-law’s famous stuffing!
- More Herbs: Fresh rosemary can add another layer of aromatic complexity.
- Vegetable Boost: Incorporate roasted butternut squash for extra sweetness and a tender texture (or check out this dedicated recipe!).
- Savory Indulgence: Crispy crumbled bacon bits are always a welcome addition.
More Irresistible Holiday Recipes to Complete Your Feast
Thanksgiving Recipes
Butternut Squash Casserole
Thanksgiving Recipes
Cheesy Bacon Green Bean Casserole
Thanksgiving Recipes
Butternut Squash Stuffing
Appetizers
Puff Pastry Brie Bites
Craving More Delicious Recipes? Make sure to subscribe to my newsletter and follow me on Facebook, Instagram, and Pinterest for the latest culinary inspirations and holiday favorites!
Simple Apple Sage Stuffing
Lorie Yarro
This simple apple stuffing recipe is sure to make this holiday season all the more delicious. Sweet apples add a new level to buttery savory stuffing. Simple to whip up and full of fresh herbs and flavor. It’s the perfect compliment to any turkey or Thanksgiving dinner!
20 minutes
35 minutes
1 hour
8
Ingredients
- 1 crusty white bread like French loaf (approx. 20 oz), (day old, cubed)
- 1 large apple, small diced, or 2 small/medium
- 4 celery stalks, chopped
- 1 medium onion, diced
- 1 Tbsp fresh chopped sage (or 1 tsp dried sage)
- 1 Tbsp freshly chopped thyme (or 1 tsp dried thyme)
- 2 cups chicken broth
- 2 large eggs
- 8-10 Tbsp. butter, 1 stick, (6 Tbsp. to sauté, 2-4 Tbsp for topping*)
- pinch of nutmeg
- cracked pepper
- sea salt
Instructions
- Begin with bread sliced into one-inch pieces that have set out overnight. If you do not have time for this, heat oven to 325°F (160°C) and place cubed bread on a baking sheet and bake for about 30 minutes or until dried out.
- Preheat oven to 375°F (190°C) after bread is removed.
- Place dried bread cubes into a large bowl.
- In a skillet, heat 6 Tbsp butter to melt. Add in celery and onion and cook until softened (about 5-7 minutes). Add in fresh herbs and cook for another 1-2 minutes.
- Transfer celery and onion mixture to the bread bowl and gently fold into the bread. Add in diced apple (if making this in advance and not baking until the next day, omit the apples and stir in just before baking).
- In a small bowl, whisk together eggs, chicken broth, nutmeg, and salt and pepper to your liking. Pour mixture into the bread and apple mixture, and stir to coat evenly.
- Pour into a greased casserole dish and evenly pour or dab 2-4 Tbsp remaining melted butter over top.
- Cover with foil and bake for about 25 minutes. Remove foil and bake for about 10-15 minutes more or until desired crispiness on top.
- Remove from oven and allow to cool for 5-10 minutes. Add freshly chopped herbs to garnish and serve!
Notes
Storage: Transfer to an airtight container and refrigerate for about 4-5 days. If the stuffing seems a bit dried out when reheating, drizzle some melted butter over top. You can also freeze this recipe for up to 3 months. Allow it to cool completely first (I like to store it in the refrigerator for a few hours first), and then freeze. Allow to thaw overnight in the refrigerator for best results when reheating.
Make sure the top of your apple stuffing has sufficient butter and moisture. You don’t want the top of your stuffing to dry out. Add sufficient butter over top and make sure the top layer has soaked in enough moisture. More butter can be used in this case.
If you love the crispy texture, use a large sheet pan instead of a baking dish. We fight over the top crispy layer. If you spread the apple sage stuffing on a sheet pan, you will have even more of that top layer to serve up.
*After making this many times, I noticed I was using more butter than originally to lock in more moisture as well as get that golden crisp topping. You can lessen the butter slightly, by about 1-2 Tbsp. if desired.
Nutrition
Calories: 302kcal, Carbohydrates: 39g, Protein: 9g, Fat: 12g, Saturated Fat: 6g, Cholesterol: 64mg, Sodium: 672mg, Potassium: 239mg, Fiber: 4g, Sugar: 7g, Vitamin A: 347IU, Vitamin C: 6mg, Calcium: 113mg, Iron: 3mg
Nutrition information is automatically calculated, so should only be used as an approximation.
Did you enjoy this recipe? Have a question?
Leave a comment below!
Recommended Kitchen Essentials for This Recipe:
Glass 9×13 inch Baking Dish
Buy Now →
Silicone Spatulas
Buy Now →
Mixing Bowls
Buy Now →
Ceramic Knives
Buy Now →